How to smash switchbacks
Jared Rando teaches you the fine art of linking switchbacks to maintain speed and ultimately push the stoke.
Linking switchbacks is a skill which seems to be less and less relevant in the day and age of flow trails and bike parks. That said though, linking tight switchbacks is a skill which crosses over extremely well to regular cornering as the fundamentals to getting switchbacks right is hugely important on any corner you’ll tackle on a mountain bike. And, on the other hand, if you ever head to do any sort of big mountain descending in North America or Europe on older, established trails, there’s a good chance you’ll spend a good time whipping around tight and tighter switchbacks.
Always remember when tackling switchbacks to brake early, look for the highest line possible and roll through the turn for traction. Like with all cornering on a mountain bike, the judge of how well you have executed the turn is how fast you exit the turn – not how fast you enter it. Here’s some tips to get around switchbacks and link them up for maximum fun and minimal effort: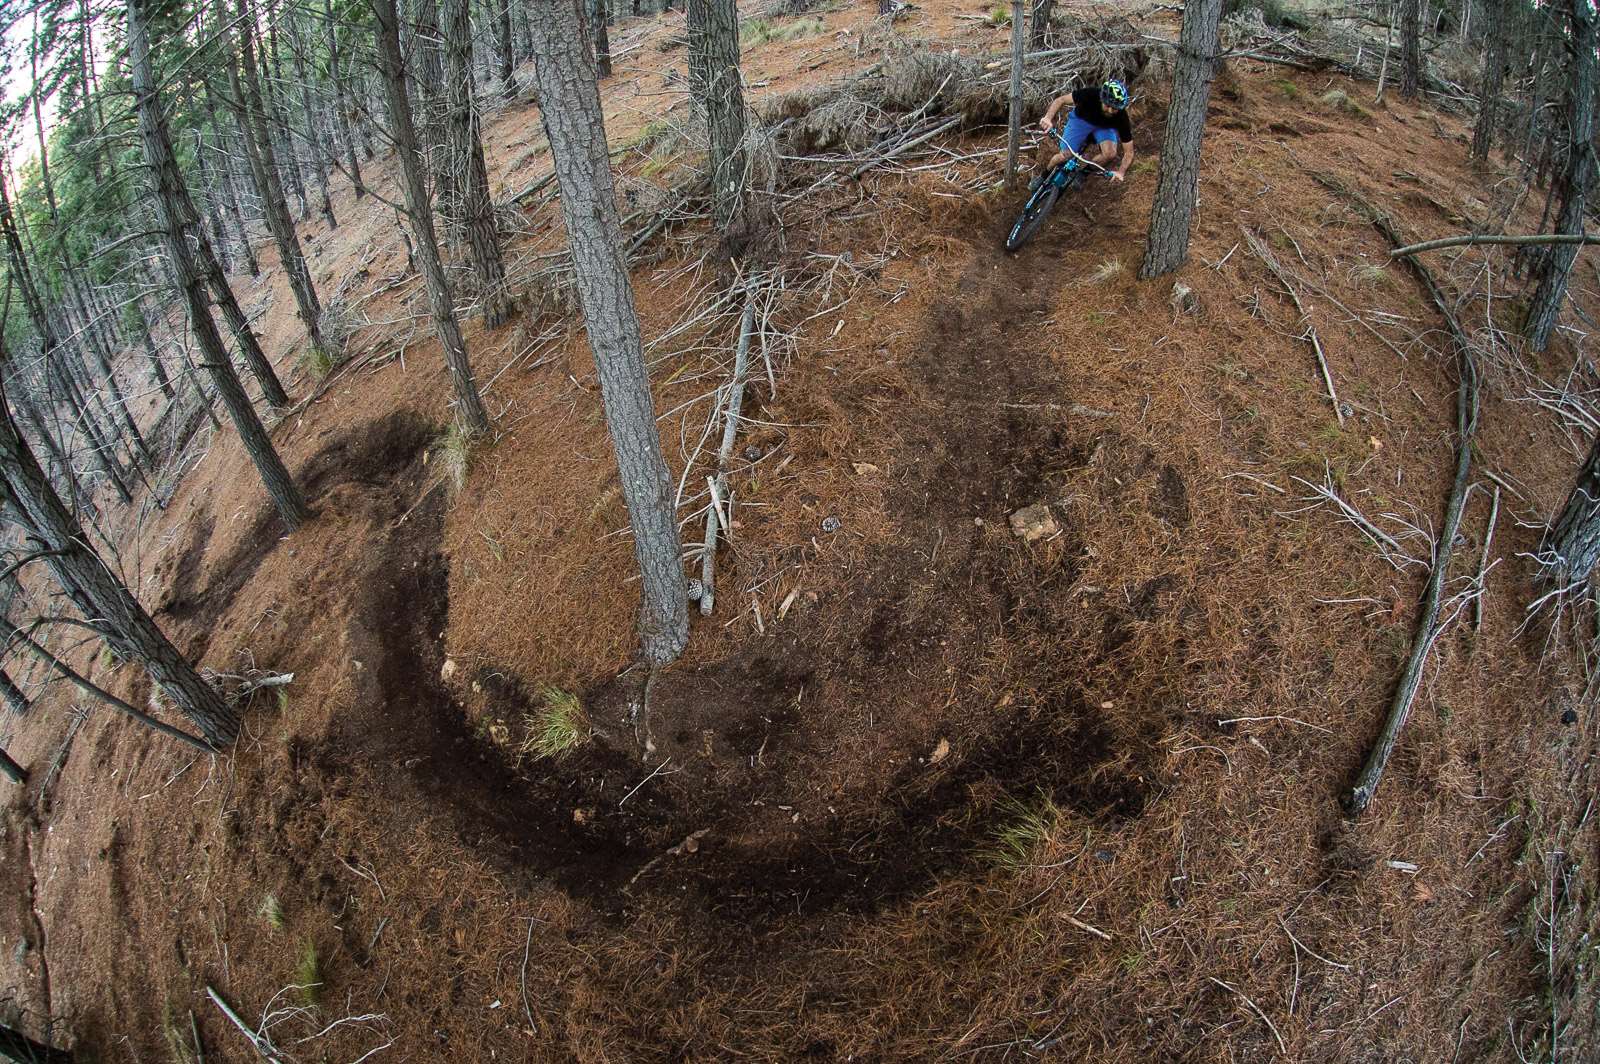
Step 1 – Look high, aim high
The key to railing any tight switchback is to make the corner as large as possible and the best way to do this is to get as high on the entry as possible. Don’t expect to be able to do it at the last minute though. The key is to control your speed early so you can carry the good lines through from the beginning. As you set up, look high at your line, brake early and get on the right line.
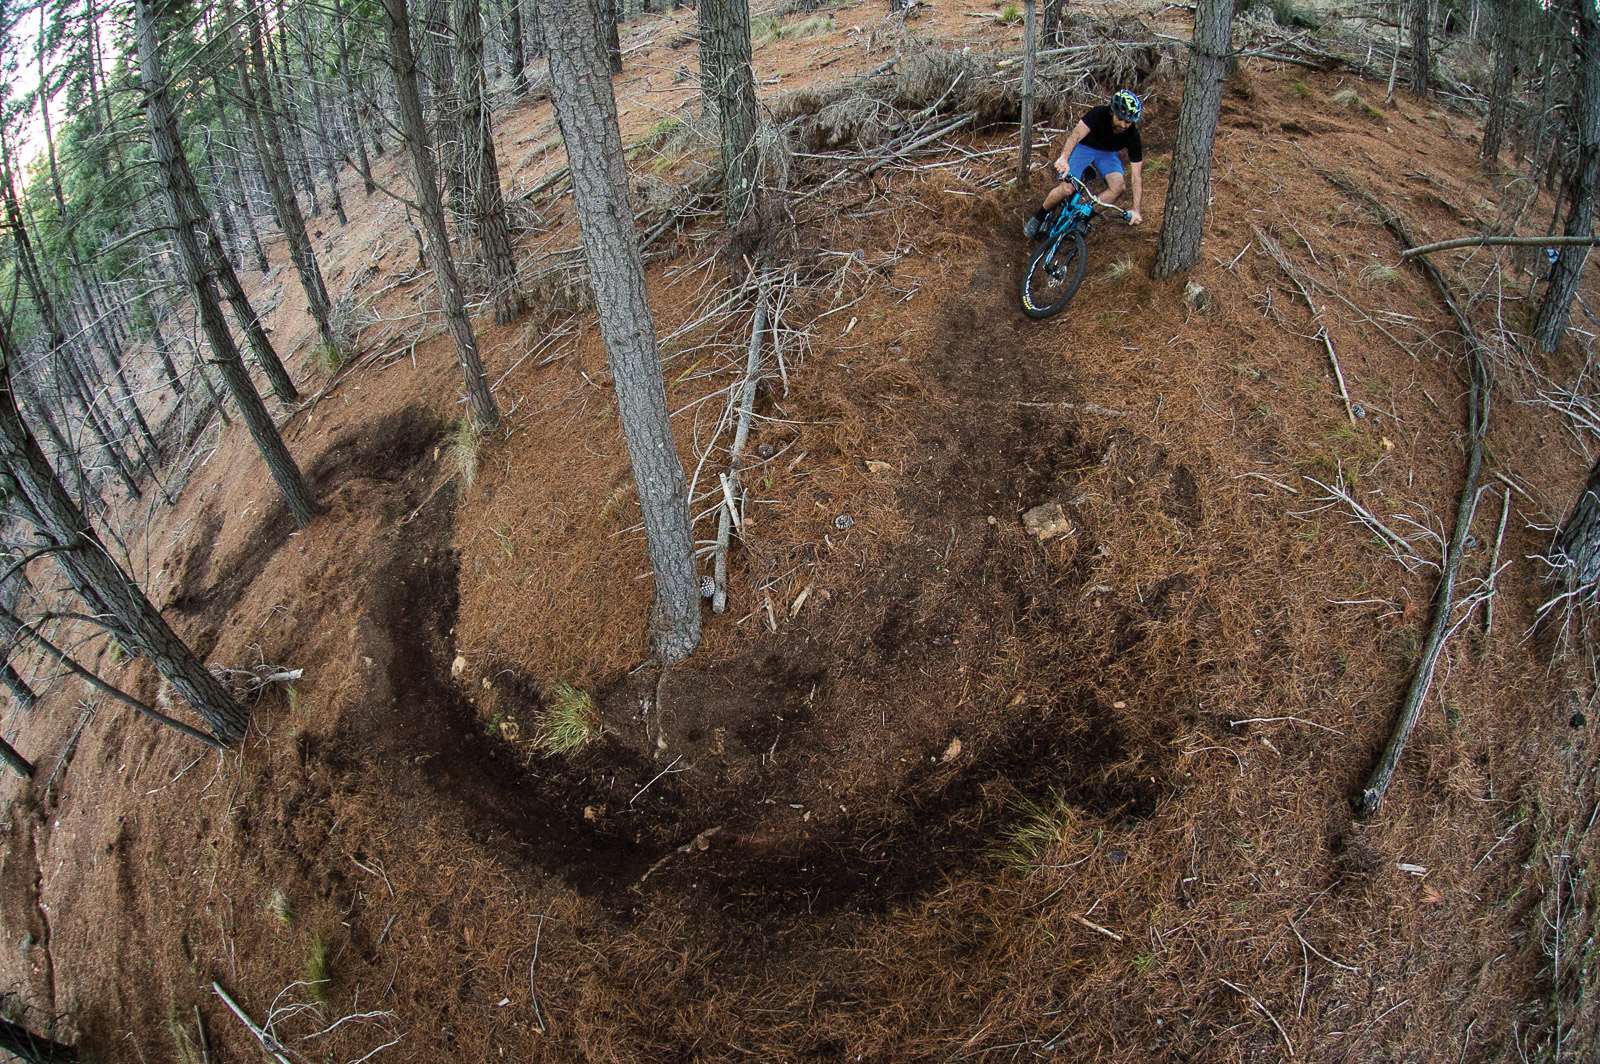
Step 2 – Get on the highest line possible
Look to get on the highest line possible. Normally this will be on or beyond the highest edge of the worn line. It might seem ridiculous, but this is absolutely key to setting up as the extra height will allow you to brake early and carry your speed through the exit of the turn. At this point you also want to be looking into the corner and looking to get off the brakes as soon as possible.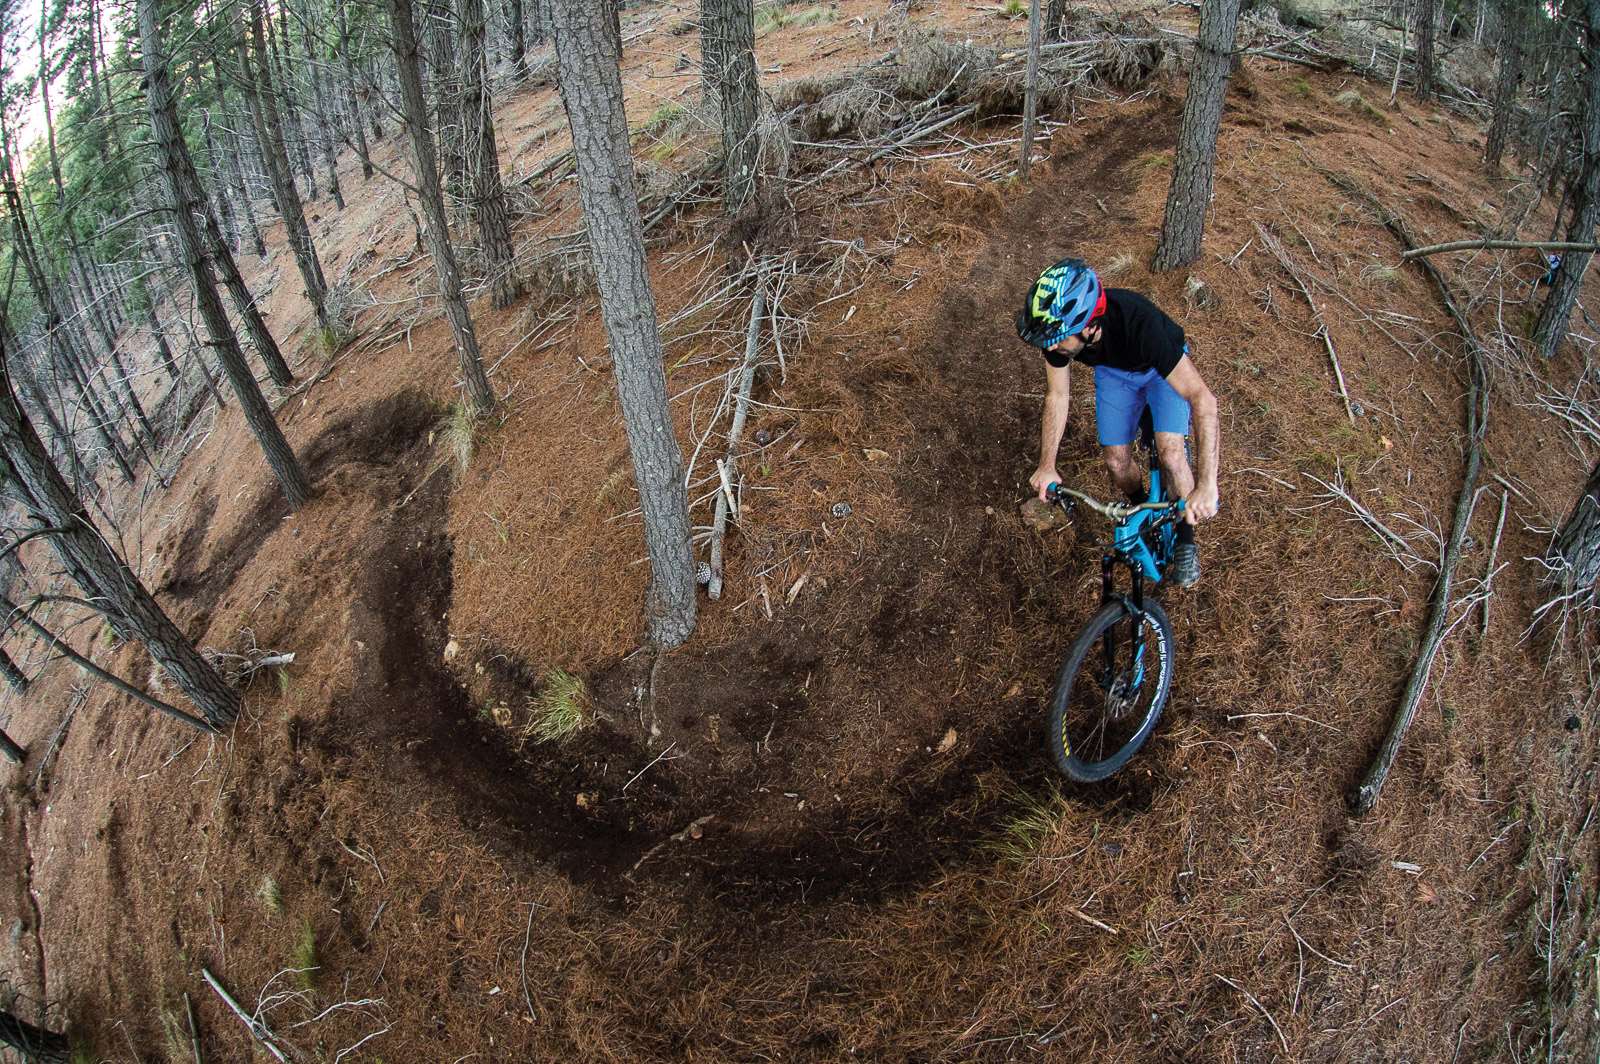
Step 3 –Look ahead and beyond the exit
Once you’re in the turn and beginning to make your turn, you want to focus as far ahead as possible. Look for the exit and entry into the next turn. This is also where you seriously want to be letting off your brakes and begin to roll through the turn – remember that rolling wheels have traction and skidding wheels don’t.
Step 4 – Roll through and spot the next entry
As you roll through the turn, you should already be looking ahead at your next entry point to repeat the process. Keep your cranks level, looking to drop the outside foot slightly if you need a little extra traction. On consecutive switchbacks, you won’t have the time and it’s simply not necessary to drop your outside foot all the way down. Remember to keep your weight centred or slightly back if it’s steeper and push through with your legs for traction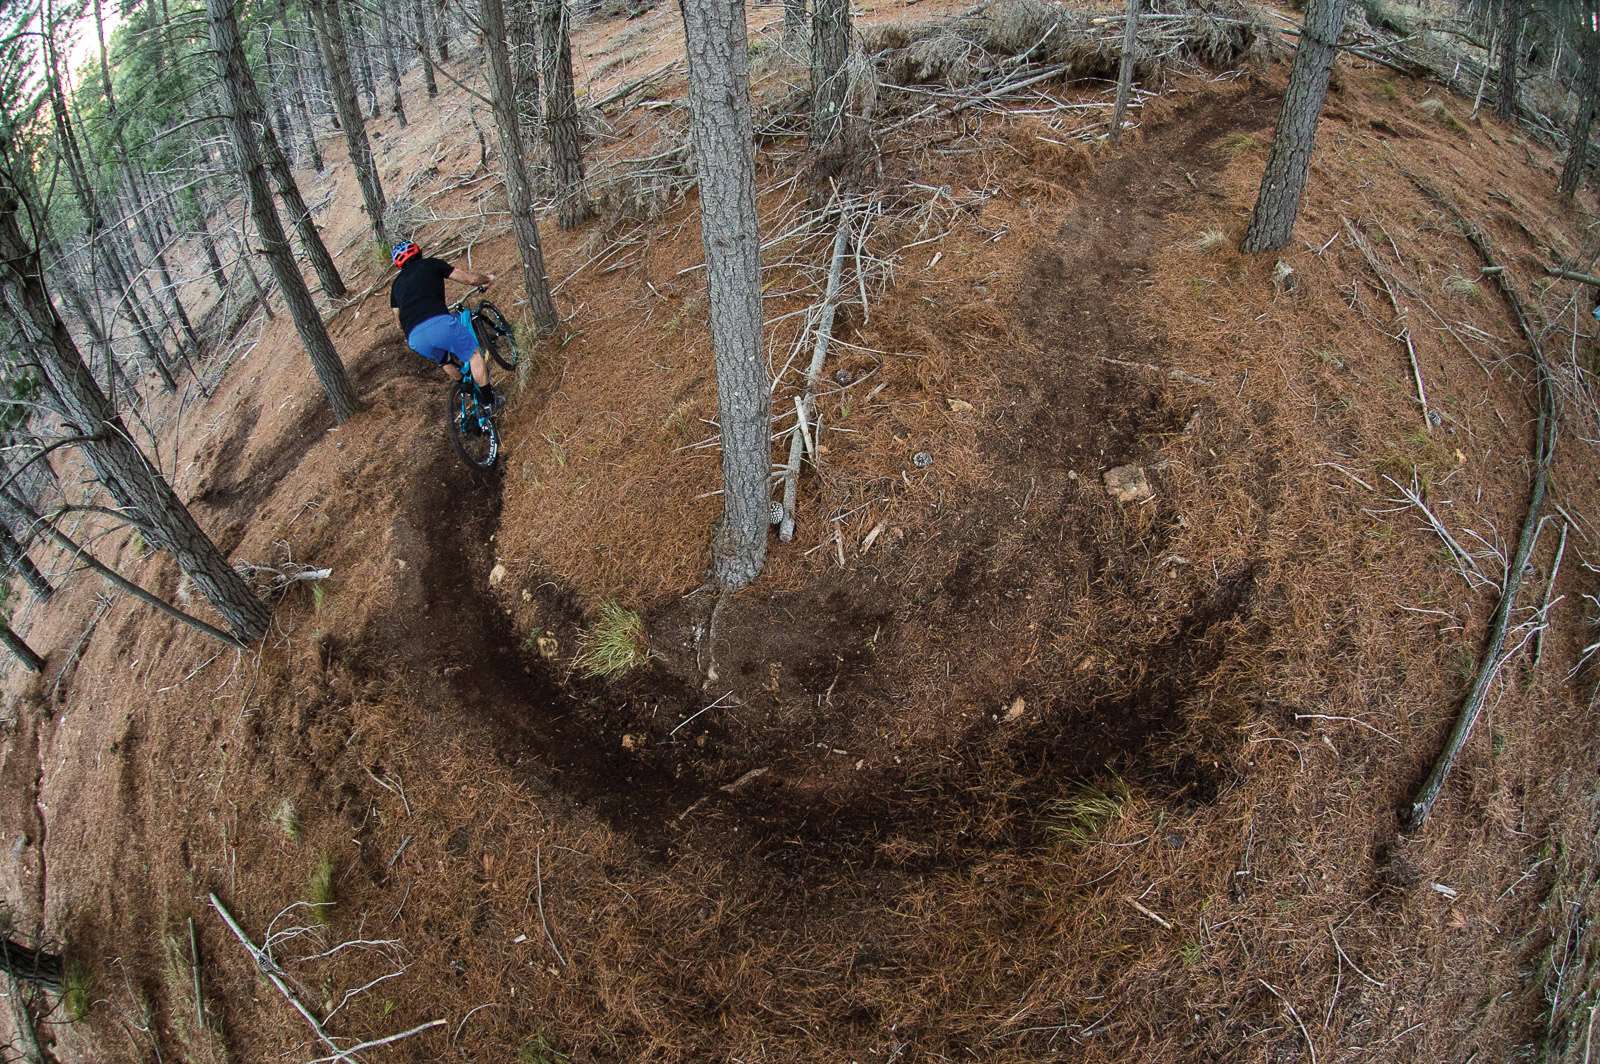
Step 5 – Hit the repeat button
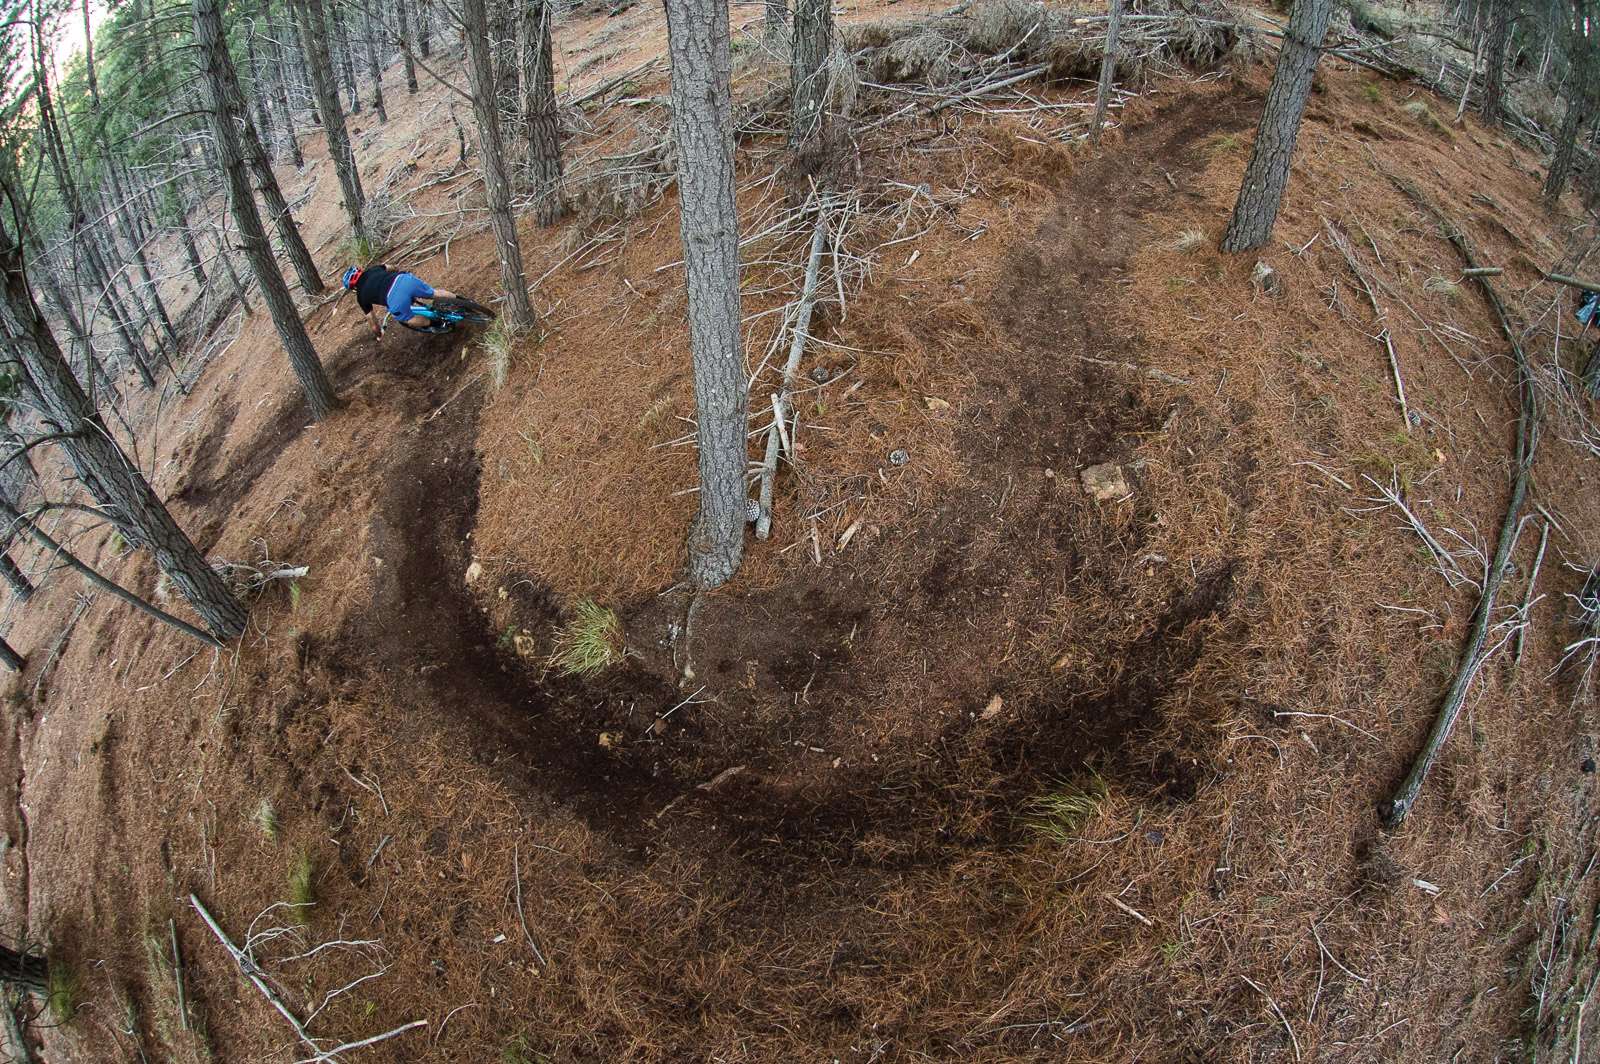
As you exit the turn, you should once again be looking for the next high line ready to do it all again. Here you can see I’m looking to ride on the high side of a rock in the corner to set up high for the turn. The key to hitting this line was my braking point and line into the first switchback – you’ll find that once you set up, the “good line” will continue throughout the switchbacks. Get it wrong and you’ll find it extremely hard to get back on line.

