AMB Tubeless Tyre Insert group test - ridden and rated!
In the world of tubeless tyre inserts there is a lot of difference. We put a bunch to test for gravity, XC and gravel use. Check it out!
Words: Mike Blewitt, Will Shaw, Ryan Walsch, Hayden Wright
Photos: Nick Waygood, Mike Blewitt, Will Shaw
Punctures suck, and we’ve come a long way in preventing them over the past few decades. With stronger tyres, a move to tubeless, and of course rim protectors/inserts, times have changed. Inserts are not a totally new concept, as even John Tomac used to run a slick tyre inside his Tioga DH tyres in the late 90s for World Cup DH. And of course about a decade ago Schwalbe released Procore, a high pressure inner tube against the rim that did as much to hold the bead on while also protecting the rim, and the rim from the tyre in the case of a compression. It worked, and really gave a huge increase in traction, but had a few limitations around rim and tyre sizing. The advent of tyre inserts like CushCore meant there was a fairly straight forward system that just about any of us could fit.
Are all tyre inserts the same?
Different inserts act in different ways, and they are constructed from different materials. While some are very heavy duty and designed for gravity riding and racing, others are far light, offering a measure of insurance for riders wary of damaging their rims. Some designs float in the space, some are a very snug fit into the rim acting like a bead locker. The general idea is there is another material there to prevent damage to your rims on a square edge impact, and damage to your tyre from the rim – the inevitable snake bight puncture. Inserts that fit very securely can also offer more sidewall support and help hold the bead on for more aggressive riders.
Related:
– Trail and Enduro Mountain Bike Tyre Test
– Top 7 Trail Bikes Under $4600
– Best Hardtail Mountain Bikes Under $2000
– Best Mountain Bike Goggles
– Hydration Pack Group Test
Can you notice riding with an insert?
In short, yes. While some riders may notice it more than others, there is more material in your wheel system and it is usually adding some resistance as well. It’s not much, and it will depend on the model used. But there is a noticeable feel for most. But that’s not all bad, as many riders also notice the extra support through the sidewalls, which can feel far more secure depending on how you ride, and the tyres you use. Some riders may sense it feels slower, others will sense it feels more secure.
Fitting tyre inserts
Some inserts are easier to fit than others, but all are easier to fit if you follow the manufacturer’s instructions. We do find using a compressor with the valve core removed makes a difference for inflation. The higher force of air helps ensure the bead sits in place more easily – which can be a little tricker with an insert sitting against it. A bit of soapy water on the bead also helps it pop into place.
What we tested
Tubolight EVO HD – $80 per wheel
Tannus Armour Tubeless Inserts – $99 per wheel
CushCore Pro – $145 per wheel
Panzer Agressive – $100 per wheel
Rimpact Pro/Original – $135 for the set
Vittoria Air-Liner MTB – $164.95 per wheel
Tubolight EVO SL – $80 per wheel
Panzer XC Light 28mm – $100 per wheel
Vittoria Air-Liner XC – $119.95 per wheel
Tubolight EVO Gravel – $120 pair
Tubolight Evo HD
$80 each | FEsports.com.au
Available in: 29”, 27.5”
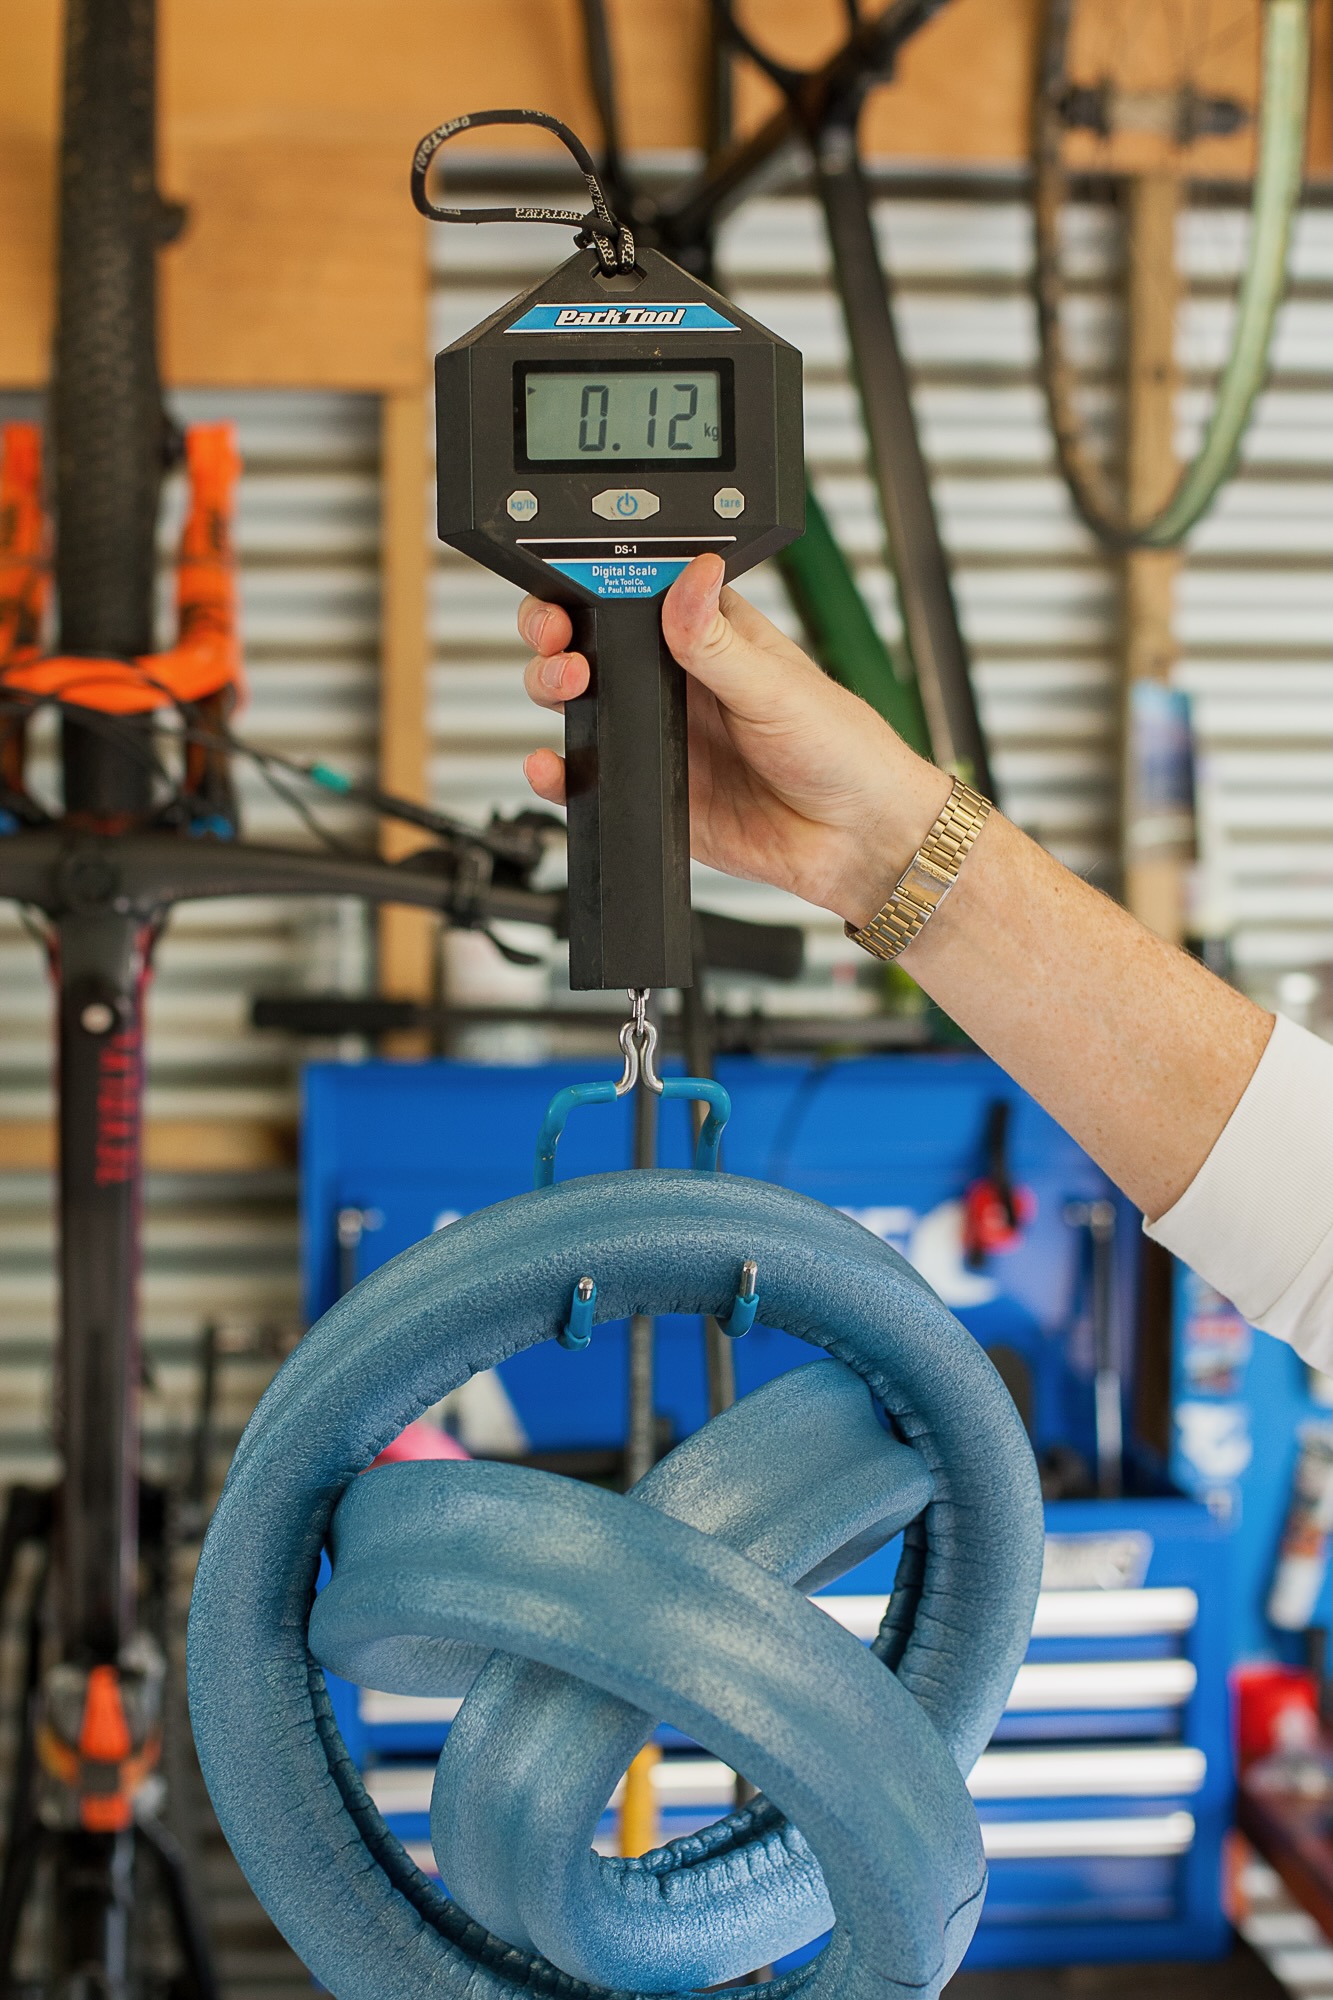
Weight: 120g in 29”
Width: 57mm
Height Above Rim: 38mm
Intended use: Downhill, Enduro, E-MTB
Tester: Hayden Wright
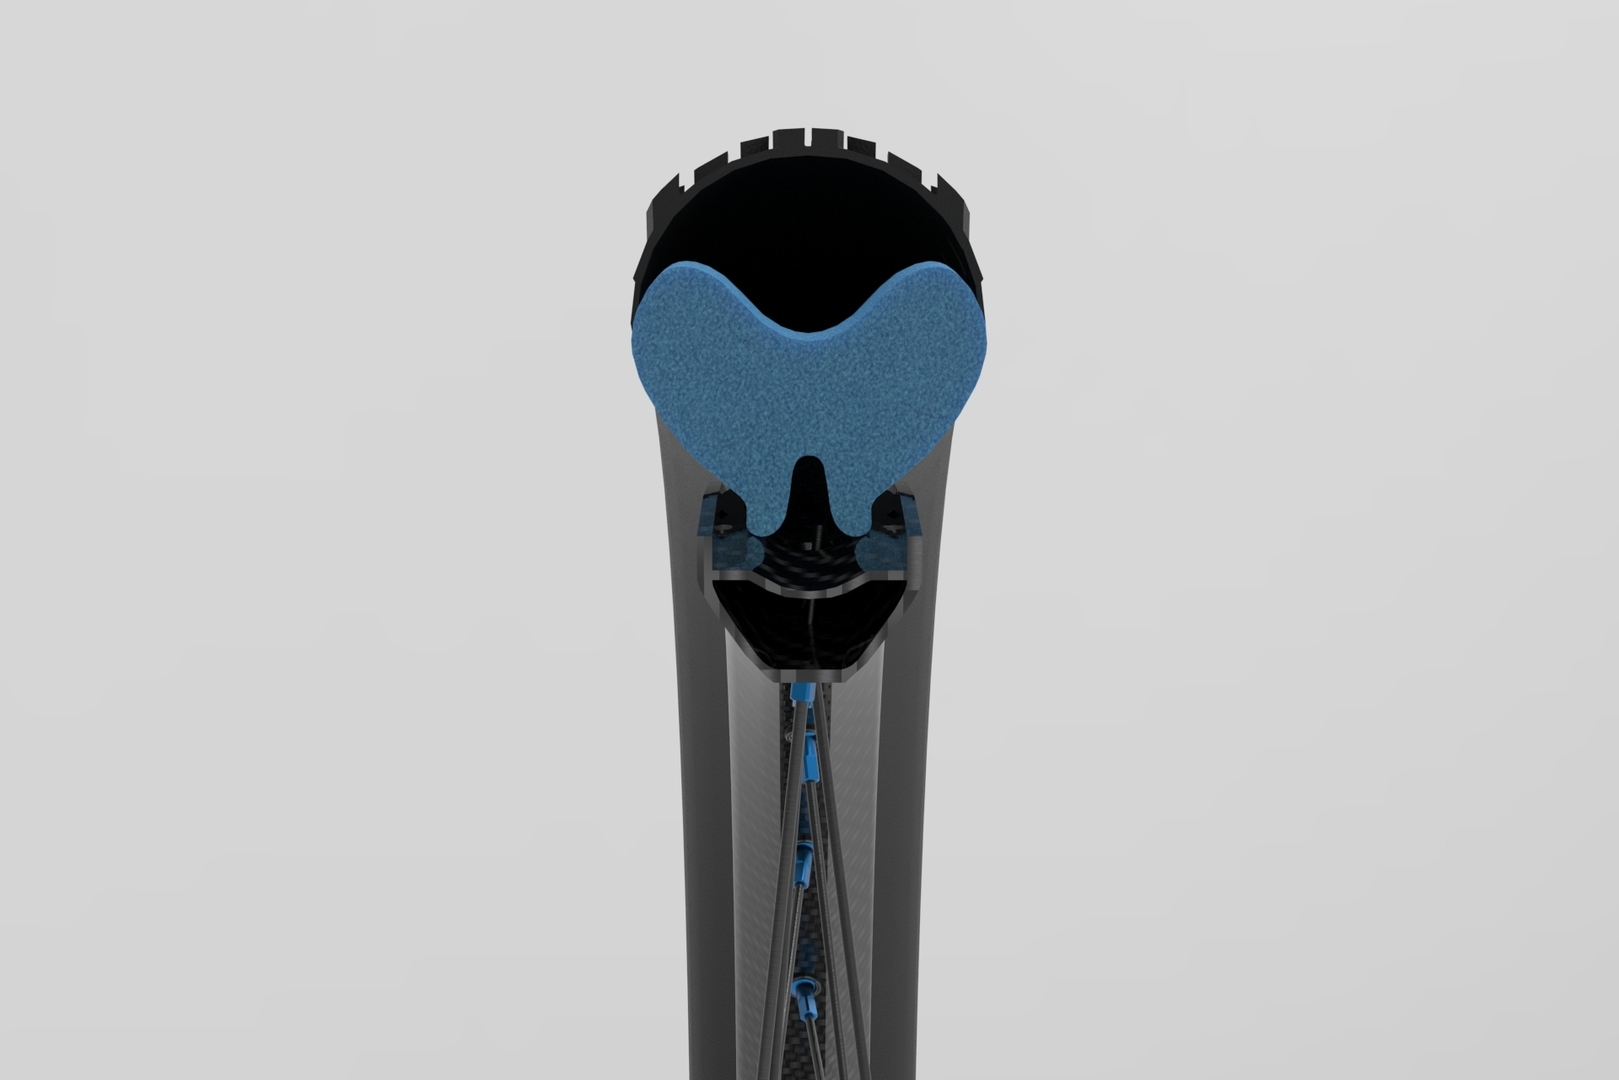
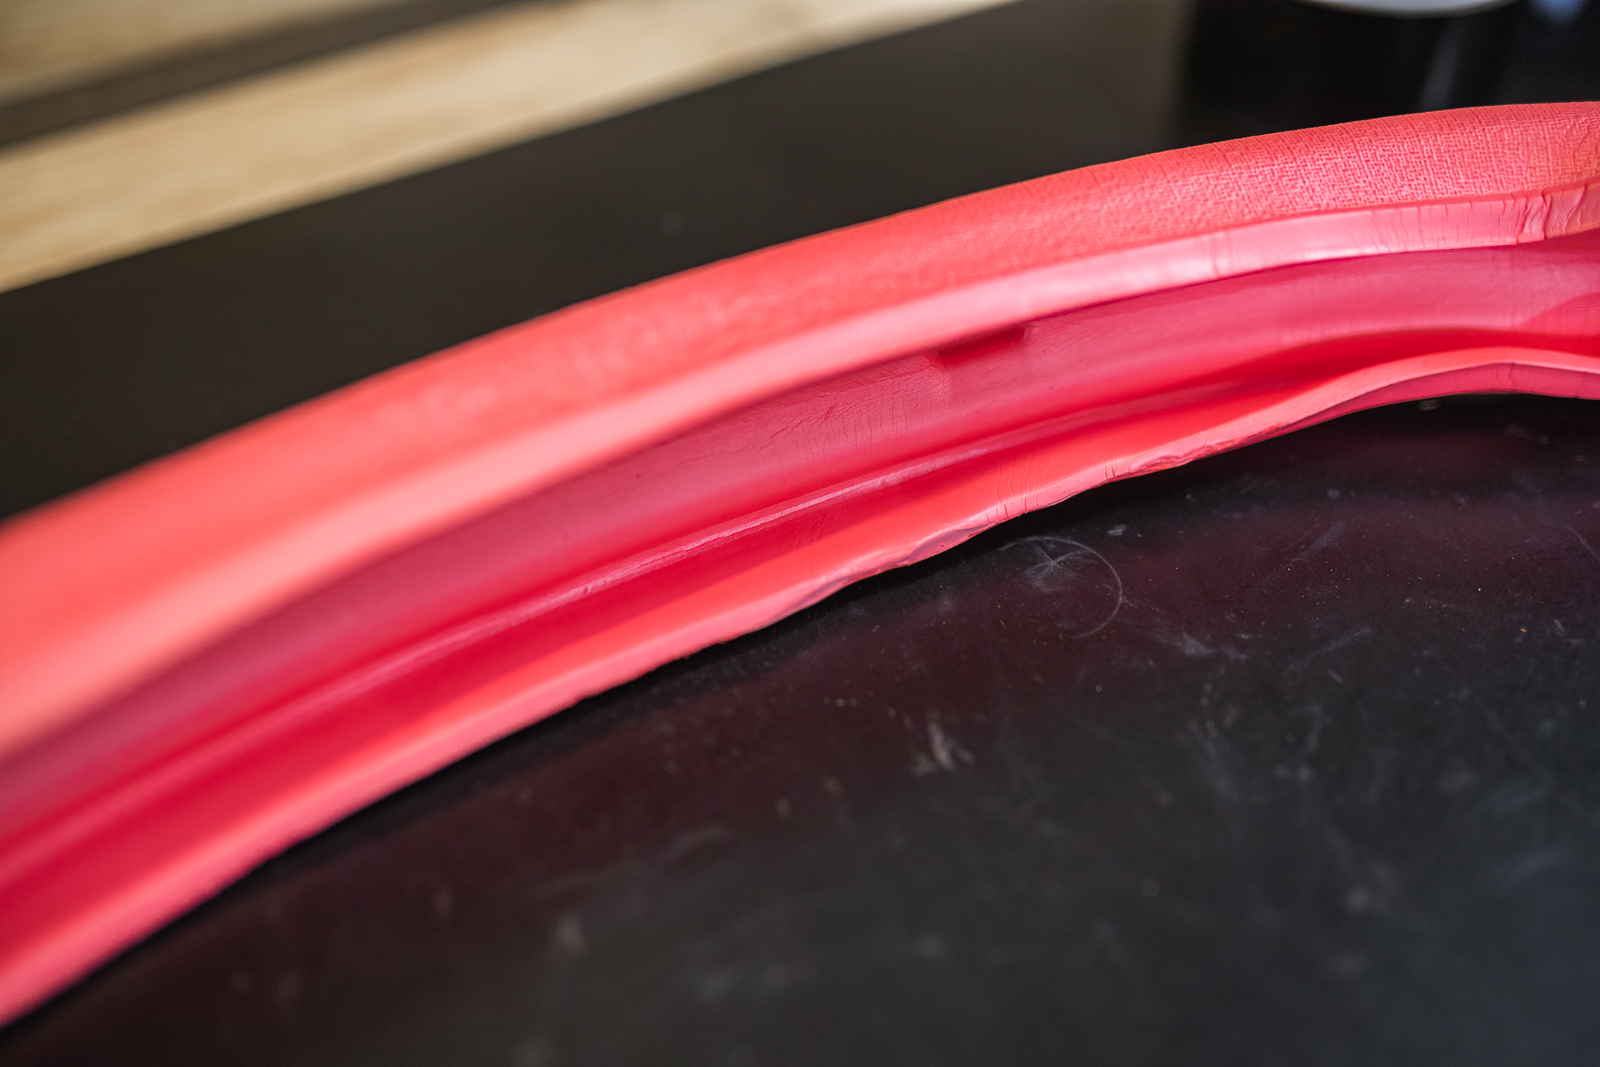
Tubolight’s tyre liners hail from Italy, and they should be well-known to anyone who follows successful World Cup riders, thanks to their use by the venerable Commencal Muc-Off Downhill squad. Regulars to the WC podium, this team is known to never leave equipment choice to chance, and this alone speaks highly for the Tubolight EVO HD. While they have models for everything from road to downhill, the overall design is similar, although construction uses different materials and shapes. The Tubolight design has an inner channel and an outer channel, ensuring a lot of the material sits over the rim edge. This provides security against rim impacts, adds sidewall stability, and the two channels also have an impact on the movement of air within the system on impact, and is said to reduce rolling resistance for greater efficiency. The EVO HD is their flagship gravity model, rated for DH, Enduro and E-MTB use.
Set up of the Tubolight EVO HD
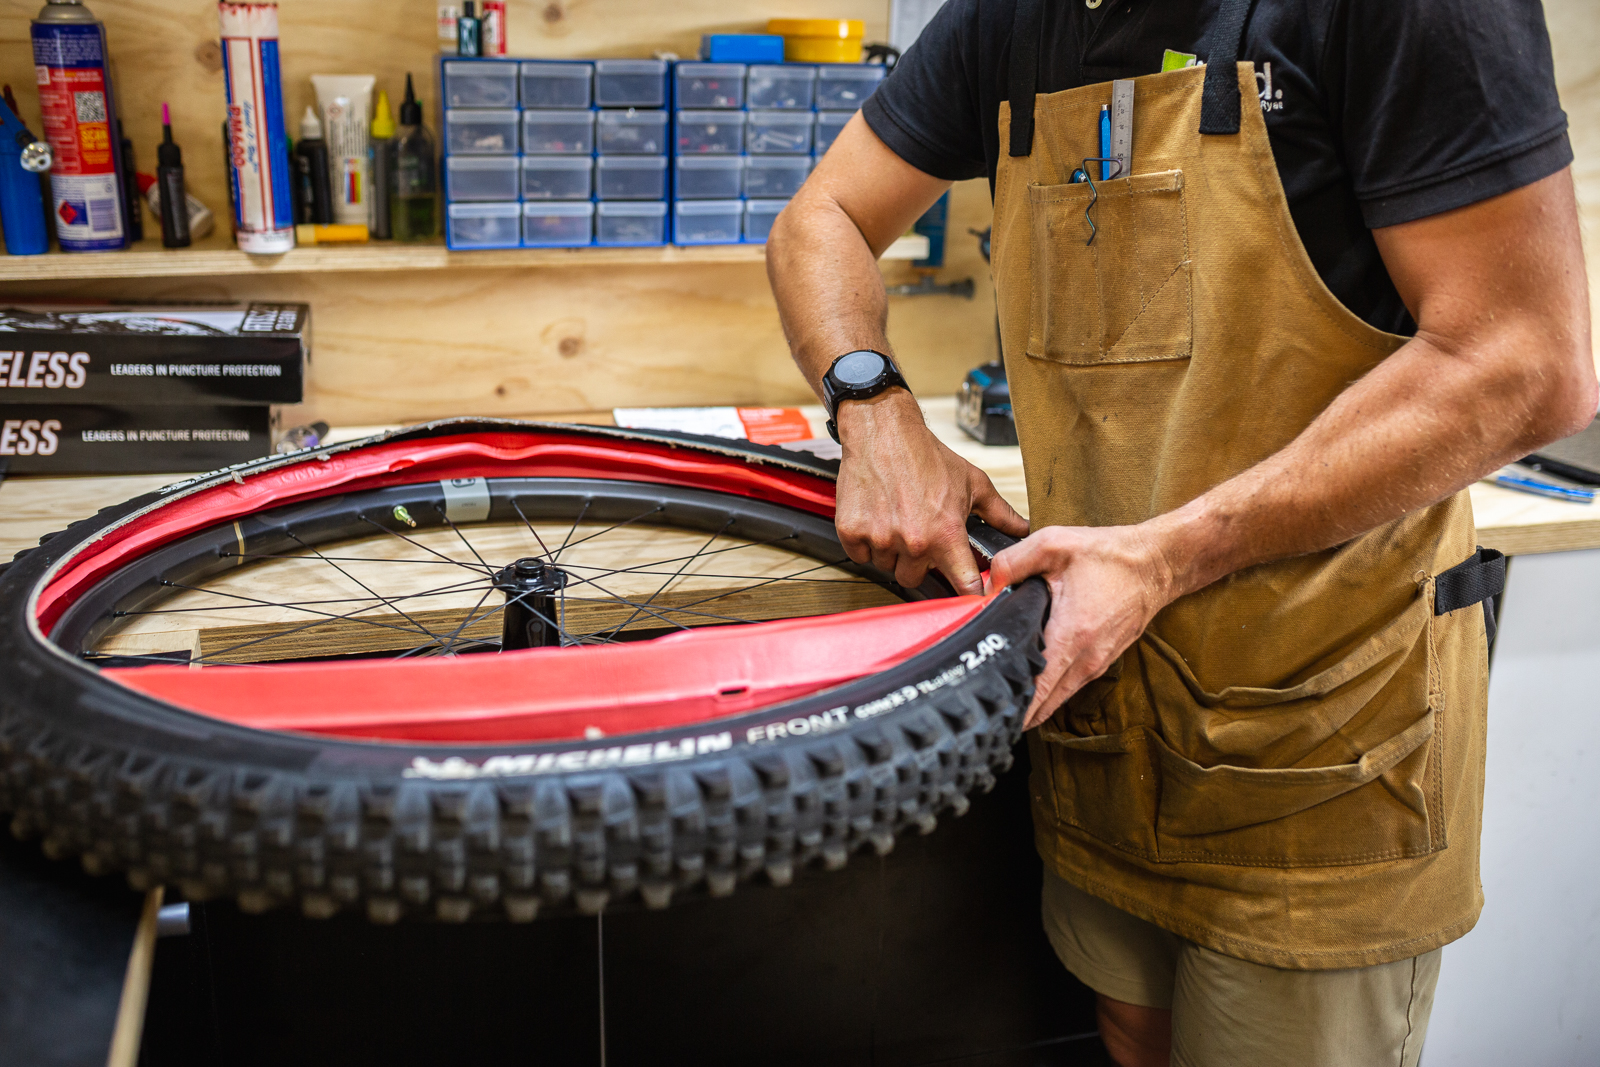
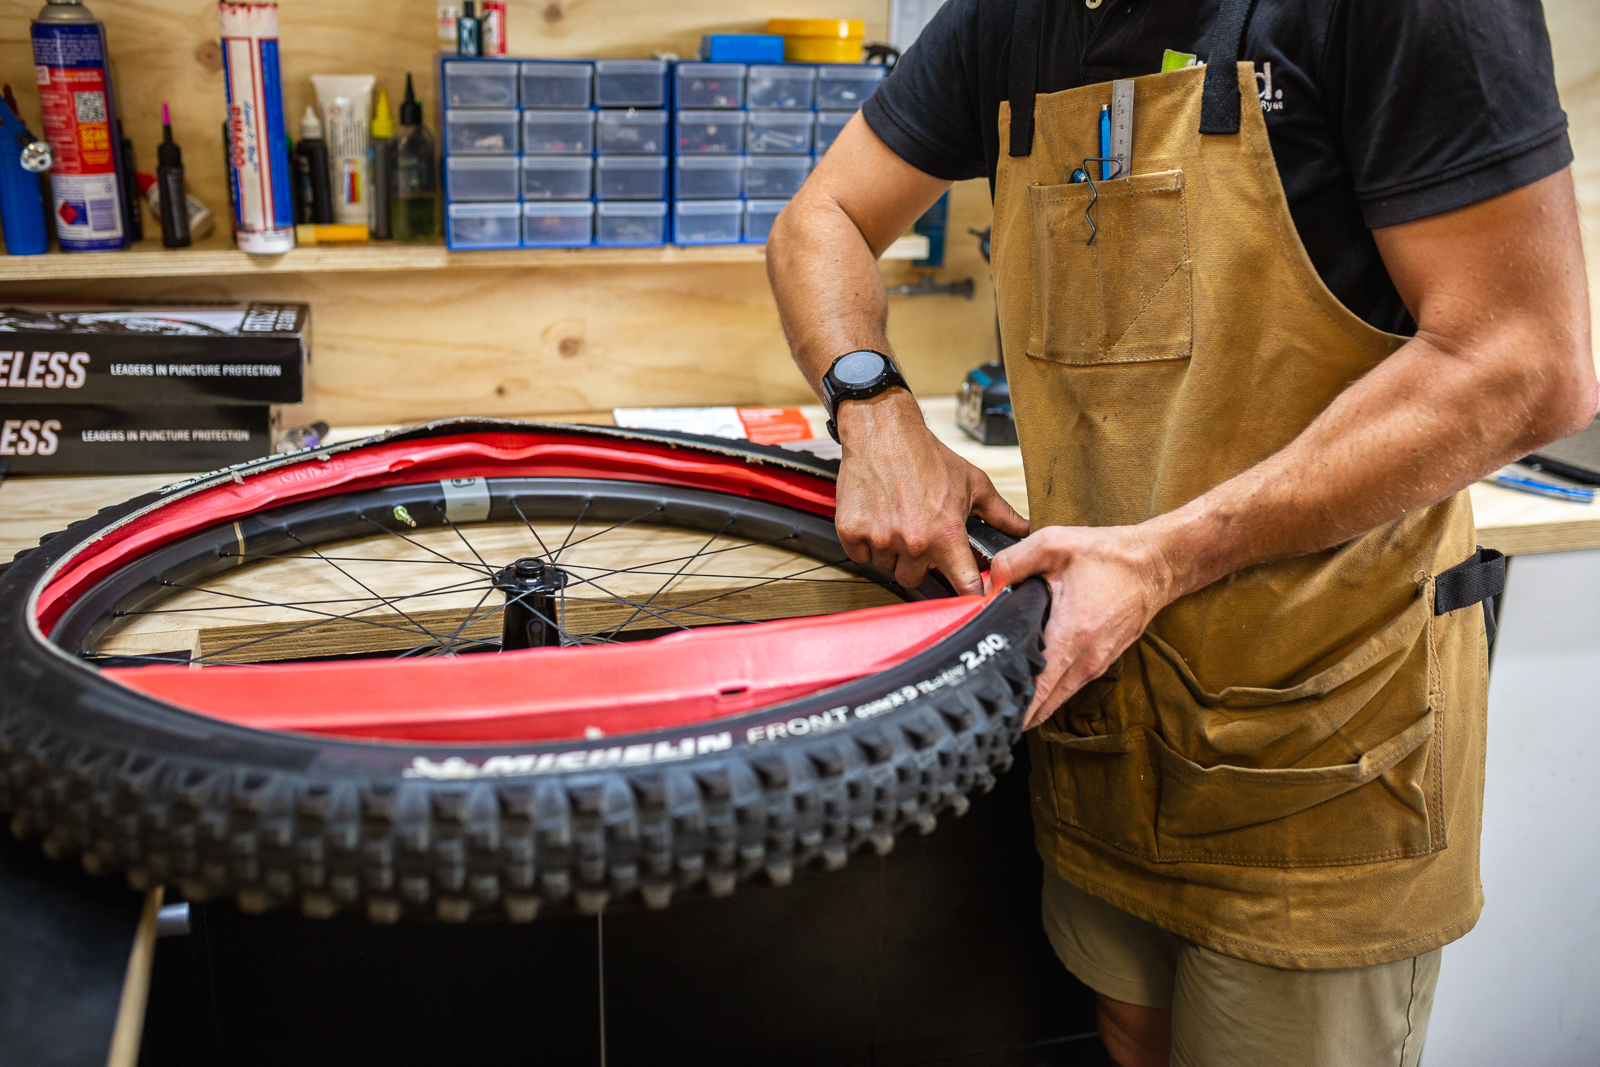
The Evo HD has to be one of the easiest inserts we have mounted up to date. As per their instruction, we popped on one bead of the tyre and then stretched the insert over the WAO Union rim it was being paired with. Given that the Tubolight system creates two air channels, one against the rim and liner, and one between the liner and tyre beneath the tread – Tubolight suggest putting sealant in when the second bead is almost on, as opposed to through the valve. This could leave the majority of sealant in the internal channel, where it’s not really going to help with a small cut in the other channel. After this, the bead of the Pirelli Enduro control tyres easily popped on with the help of a tyre lever. The ease of install can be primarily attributed to the malleable nature of the insert itself – which has a hardness measurement that is near half of the comparable Cushcore. A sub 10 minute install/uninstall from beginning to completion is easily achievable for even the novice mechanic, something which cannot be said for some larger and more dense inserts. As with the Cushcores, it is recommended that these inserts are installed with the matching valves (sold separately @ $38/pair) to ensure no blockages and easy inflation.
On the Trail
Thanks to the light weight of these inserts, they’re barely noticeable when pedalling around and riding smooth trails. Once things get rough and rocky they offer all the positive traits we have come to love from any quality insert. Most notably, they offer an increase in square edge bump compliance and a decrease in trail chatter being transmitted through the wheels to the rider. This is achieved both through the insert’s absorption of impacts, and also because you are able to run lower than usual pressures with the EVO HD.
The additional sidewall support and bead locking properties of the insert mean that I was able to drop from around 28psi to 24psi in the rear and 24psi to 20psi in the front, which gave a much more supple ride character without allowing any rim damage or tyre burps. While they do not provide the bottomless, “I can never dent a rim again” style feel of the Vittoria Airliner or the class leading bead locking properties of a Cushcore Pro they do come in at nearly half the weight.
Verdict
These easy to install inserts are ideal for a gravity rider who is looking for a noticeable increase in rim protection and a damped ride quality while minimising the amount of increased effort it takes to change a tyre. While some other inserts on test offer more support or impact protection, they also weigh much more than the Tubolight EVO HD and are quite difficult to live with long term. If you’re a budget or weight conscious rider who wants to get all the benefits of running a rim liner with minimal hassle, look no further.
Tubolight EVO HD – $80 per wheel
Tannus Armour Tubeless Inserts – $99 per wheel
CushCore Pro – $145 per wheel
Panzer Agressive – $100 per wheel
Rimpact Pro/Original – $135 for the set
Vittoria Air-Liner MTB – $164.95 per wheel
Tubolight SL – $80 per wheel
Panzer XC Light 28mm – $100 per wheel
Vittoria Air-Liner XC – $119.95 per wheel
Tubolight EVO Gravel – $120 pair
Tannus Armour
$99 each | Bikecorp.com.au
Available in: 29”, 27.5”
Weight: 165 in 29”, 150g in 27.5″
Width: 60mm
Height Above Rim: 20mm
Intended use: Downhill, Enduro, E-MTB, XC, Trail
Tester: Ryan Walsch
Tannus may not be a house hold name in Australia, but globally Tannus have been producing airless tyres for many years. In Japan alone, commuter bikes are fitted with hundreds of thousands of Tannus’ airless tyres made from Aither 1.1 closed cell foam.
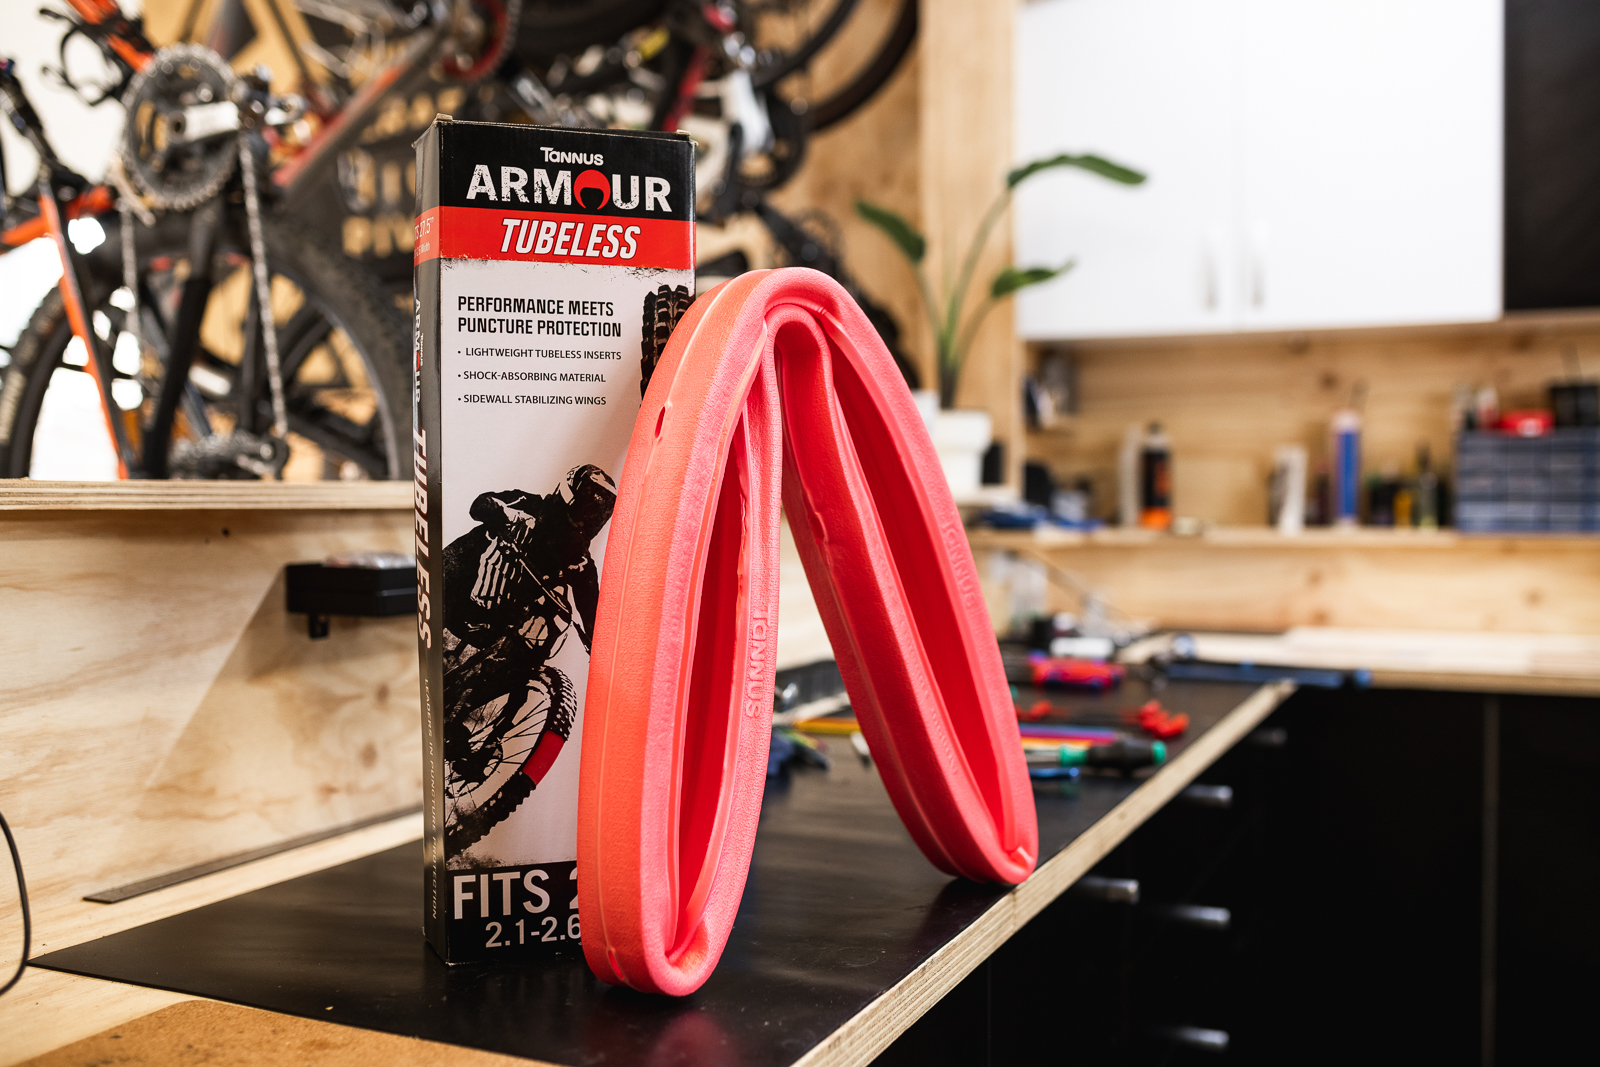
More recently, Tannus Armour became available downunder (for tubed setups) and while many of us may not use tubes much anymore, the transformation in ride quality and reduction in punctures makes it an extremely popular product. Tannus released Tannus Armour Tubeless inserts a few years back, made from their proprietary Aither foam. It boasts some big benefits such as being quite light at only 150g for 27.5 inch and 165g for 29inch, while also being easier to install than others and faster rolling. Rather than being a strip or wedge style foam insert, Tannus have a rather unique profile that has wings that enables the tyre to still conform to the trail more naturally and provide a more staged cushion or progressive feel, you could say.
Setup of Tannus Armour Tubeless
This is probably going to be the shortest installation piece on any insert ever written. For those whom have already got their wheels setup tubeless follow these simple steps. Pop one side of your tyre off the rim, line up one of the tubeless valve notches with the valve, pop the Tannus insert into the tyre, tuck the wing under the rims bead, if you didn’t already have sealant in there either pop some in now or inject through the valve at the end, pop tyre back over bead of rim, inflate.
Setting the pressure was pretty easy, dropping the pressure slightly from my normal 26psi/28psi down to 22psi/24psi which really does make a huge difference to the contact patch. I normally run higher pressures to fend off rock strikes and rim damage, so a tyre’s contact patch can be quite small and reduce the grip and control over a bike. Dropping that pressure down without as much fear of these impacts and keeping the tyre from squirming laterally means that Tannus Armour drastically changes the ride quality.
On the Trail
The very first thing you will notice when riding Tannus Armour and a slightly lower tyre pressure is the noise, or lack thereof. There is less rattling and vibration, the bike has a smoother feeling and while I couldn’t notice the 3% improvement in rolling efficiency, at 165g an insert it really doesn’t feel more difficult to get up too speed when compared to running a heavier and softer compound tyre. Climbing grip and control is improved from the larger contact patch and the flexible and more pliable trail/enduro casing which is able to conform to the terrain more easily than a rigid downhill tyre for rim protection.
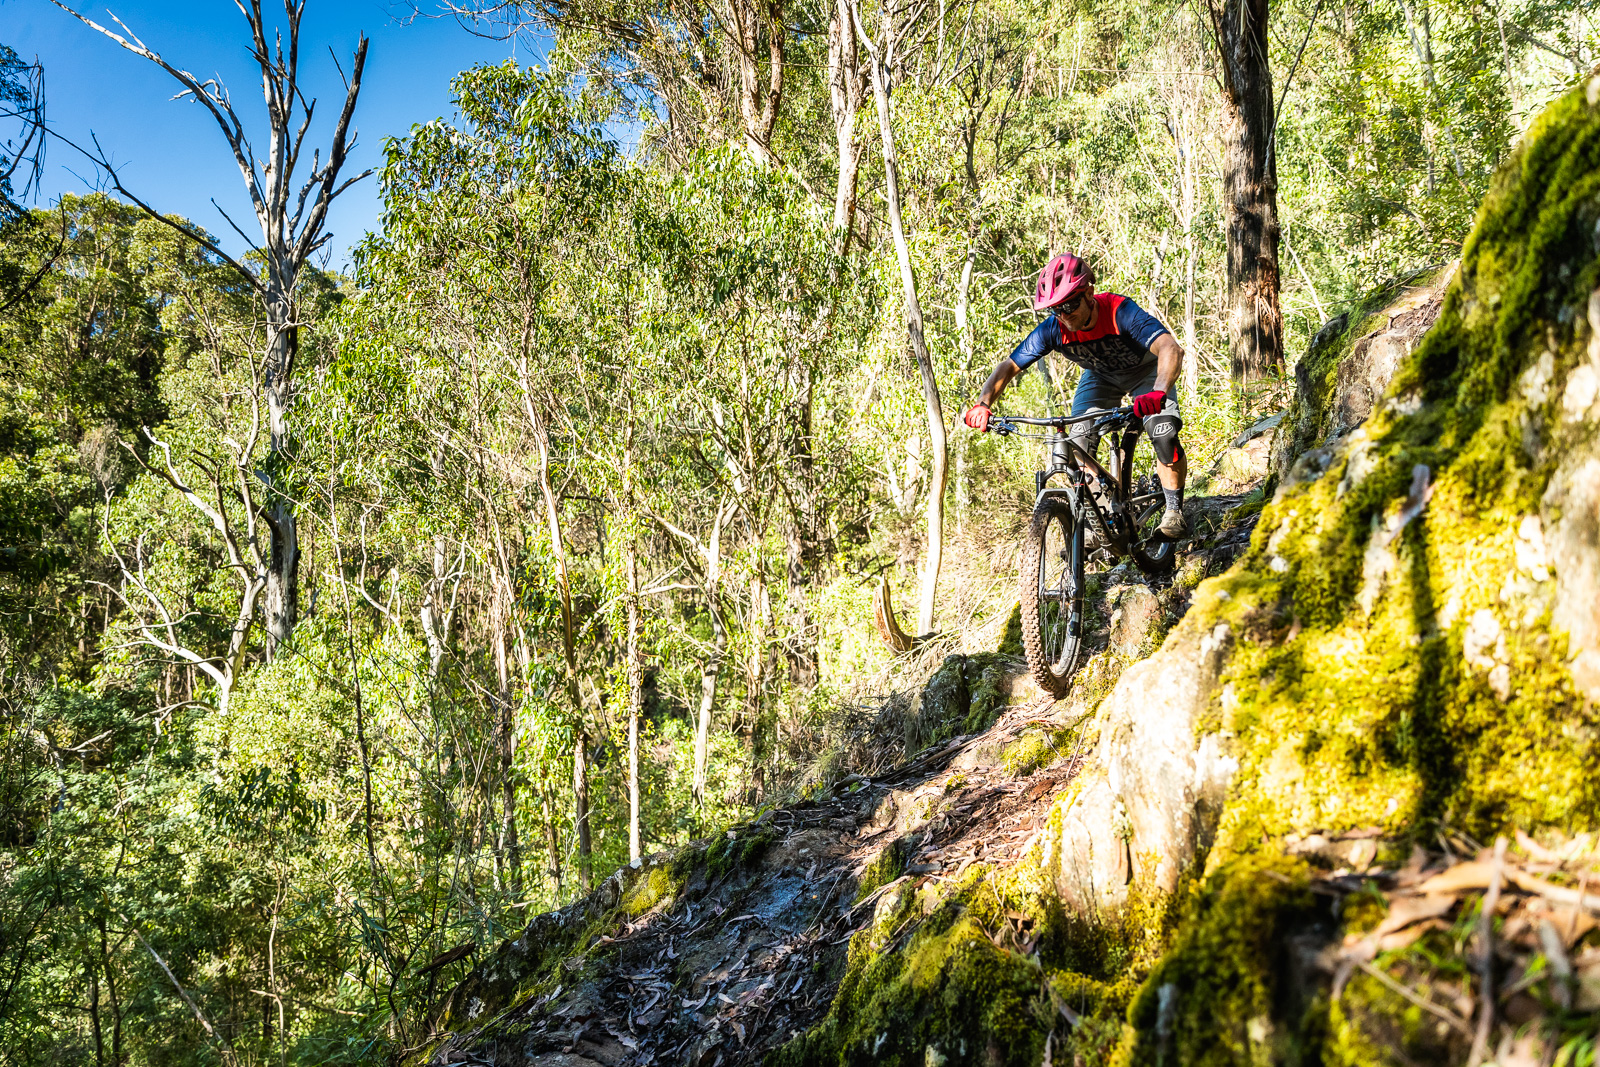
When pushing into turns the tyre remains very stable and does not roll too much despite the lower pressures, laterally there is a huge improvement over a tyre with no insert and Tannus’ data supports this showing it can withstand more than twice the side load of a normal tyre and 1kgf more than a CushCore for a total of 115kgf @ 30psi which is a mammoth effort.
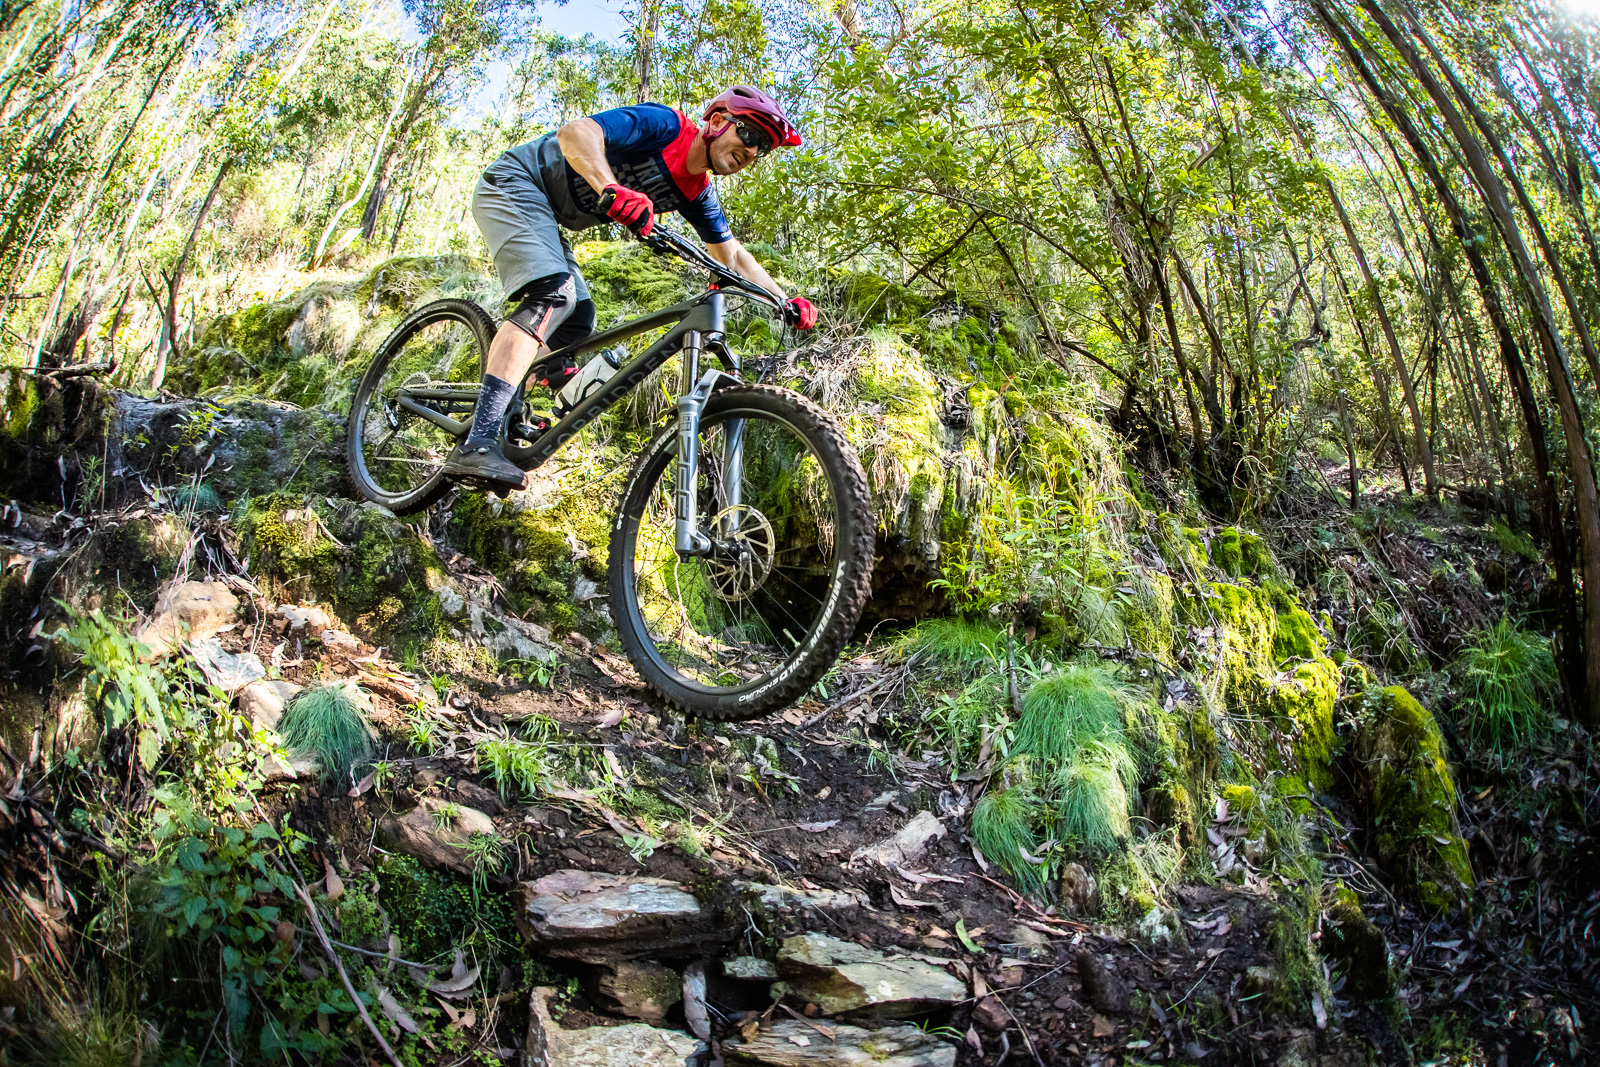
Riding Tannus Armour across rough, off camber and rocky sections is where I think it really excels. Tannus Armour’s wings give a more natural feel over solid inserts, the support is there as is the damping but the transition between what the pneumatic tyre cushion and where the Tannus takes over is much more subtle as a result of the wing and the inserts profile.
Verdict
Is a Tannus Armour Tubeless insert as robust and confidence inspiring as a fully fledged DH tyre? Well no, it isn’t but it certainly is more sensitive to terrain, lighter (depending on what you’re stuffing it into) and can be reused and popped into tyre after tyre. Out of all the inserts I have used, this is my favourite so far. It is cheaper, light, performs brilliantly and is easy to install – a very rare combination. I can recommend the Tannus Armour Tubeless for E-bikers, racers and casual riders who want better control over their bike, the benefits with this simple and easy to use insert are vast.
Tubolight EVO HD – $80 per wheel
Tannus Armour Tubeless Inserts – $99 per wheel
CushCore Pro – $145 per wheel
Panzer Agressive – $100 per wheel
Rimpact Pro/Original – $135 for the set
Vittoria Air-Liner MTB – $164.95 per wheel
Tubolight SL – $80 per wheel
Panzer XC Light 28mm – $100 per wheel
Vittoria Air-Liner XC – $119.95 per wheel
Tubolight EVO Gravel – $120 pair
CushCore Pro
$145 each | Bikebox.com.au
Available in: 29”, 27.5”
Weight: 260g in 29”
Width: 57mm
Height Above Rim: 22mm
Intended use: Downhill, Enduro, E-MTB
Tester: Hayden Wright
Cushcore are pioneers in this space, with their first inserts bursting onto the scene and creating this now blossoming sub-category of tubeless wheel accessories. The Pro is their flagship model, rated for aggressive MTB use. The Cushcore system manages to offer impact protection and increase tyre stability that is class leading, through their combination of a wide, dense rubber insert that is as tough to get on the rim as it is on the trail. They do add 260g per end (although there is a 140g XC model now too) but means aggressive riders can play around with tyre options beyond the heavy casings of downhill treads.
Set up of CushCore Pro
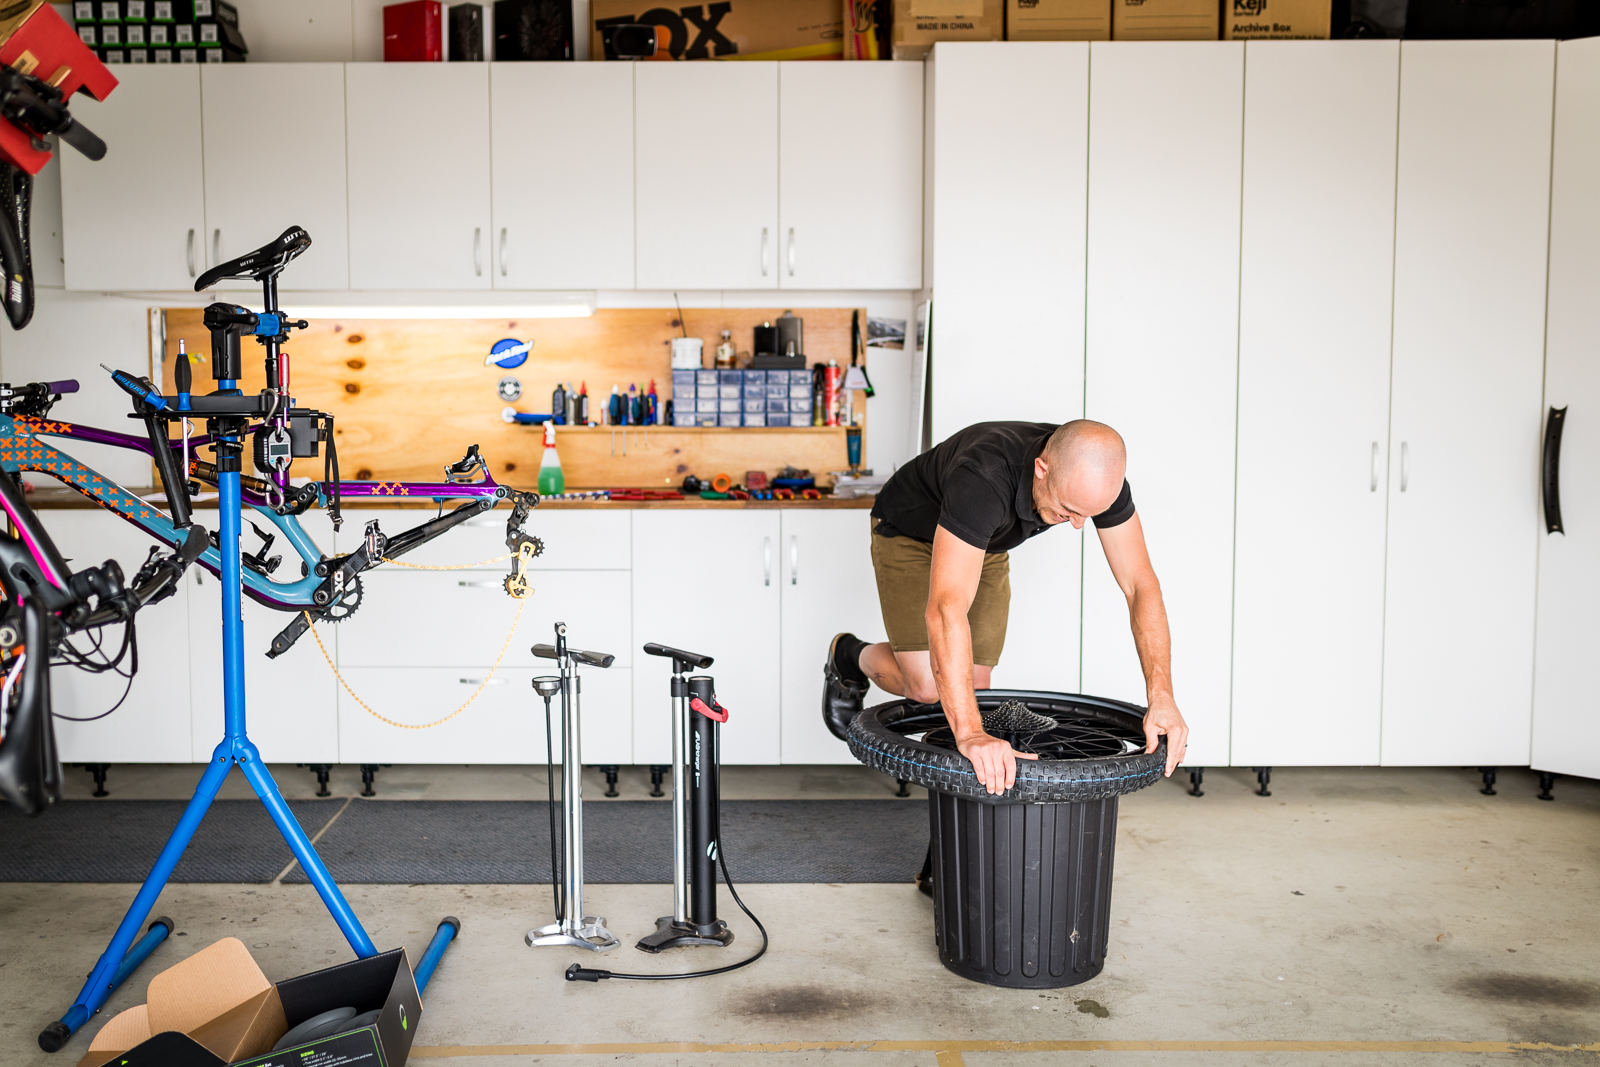
Do you want to make the mechanic at your local LBS shudder? Tell them you have a set of brand new Cushcores that you want installed. While the installation method is well documented, and can be supplemented by the use of Cushcore’s own tyre lever and beadlock, it’s still a process which can range from difficult through to downright frustrating depending on your rim and tyre choice. This is caused by the low, wide profile and dense makeup of the insert – the same features we love when out on the trail. While not impossible in the slightest, a correct Cushcore install requires patience.
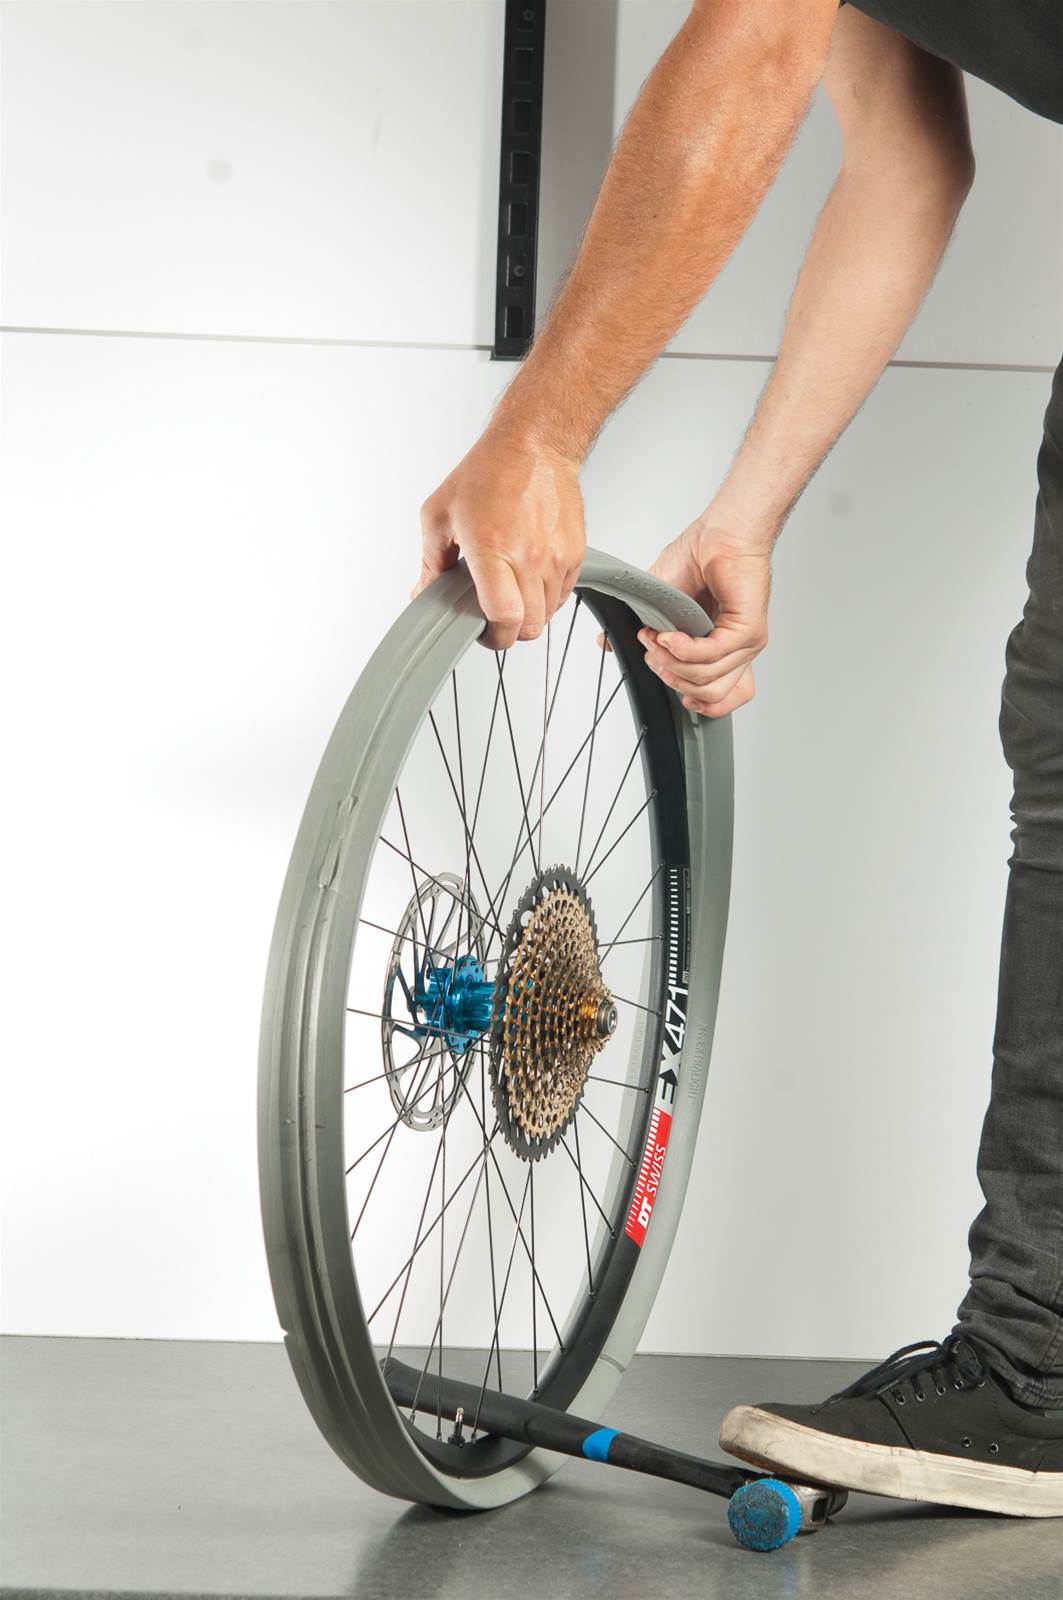
The key is getting the tyre bead to the centre of the rim, which requires constant pushing down with a tyre lever. Be careful though, as heavy hands and a wayward tyre lever can actually peel up the edges of your rim tape during this process. Take your time, and you’ll get there in the end!
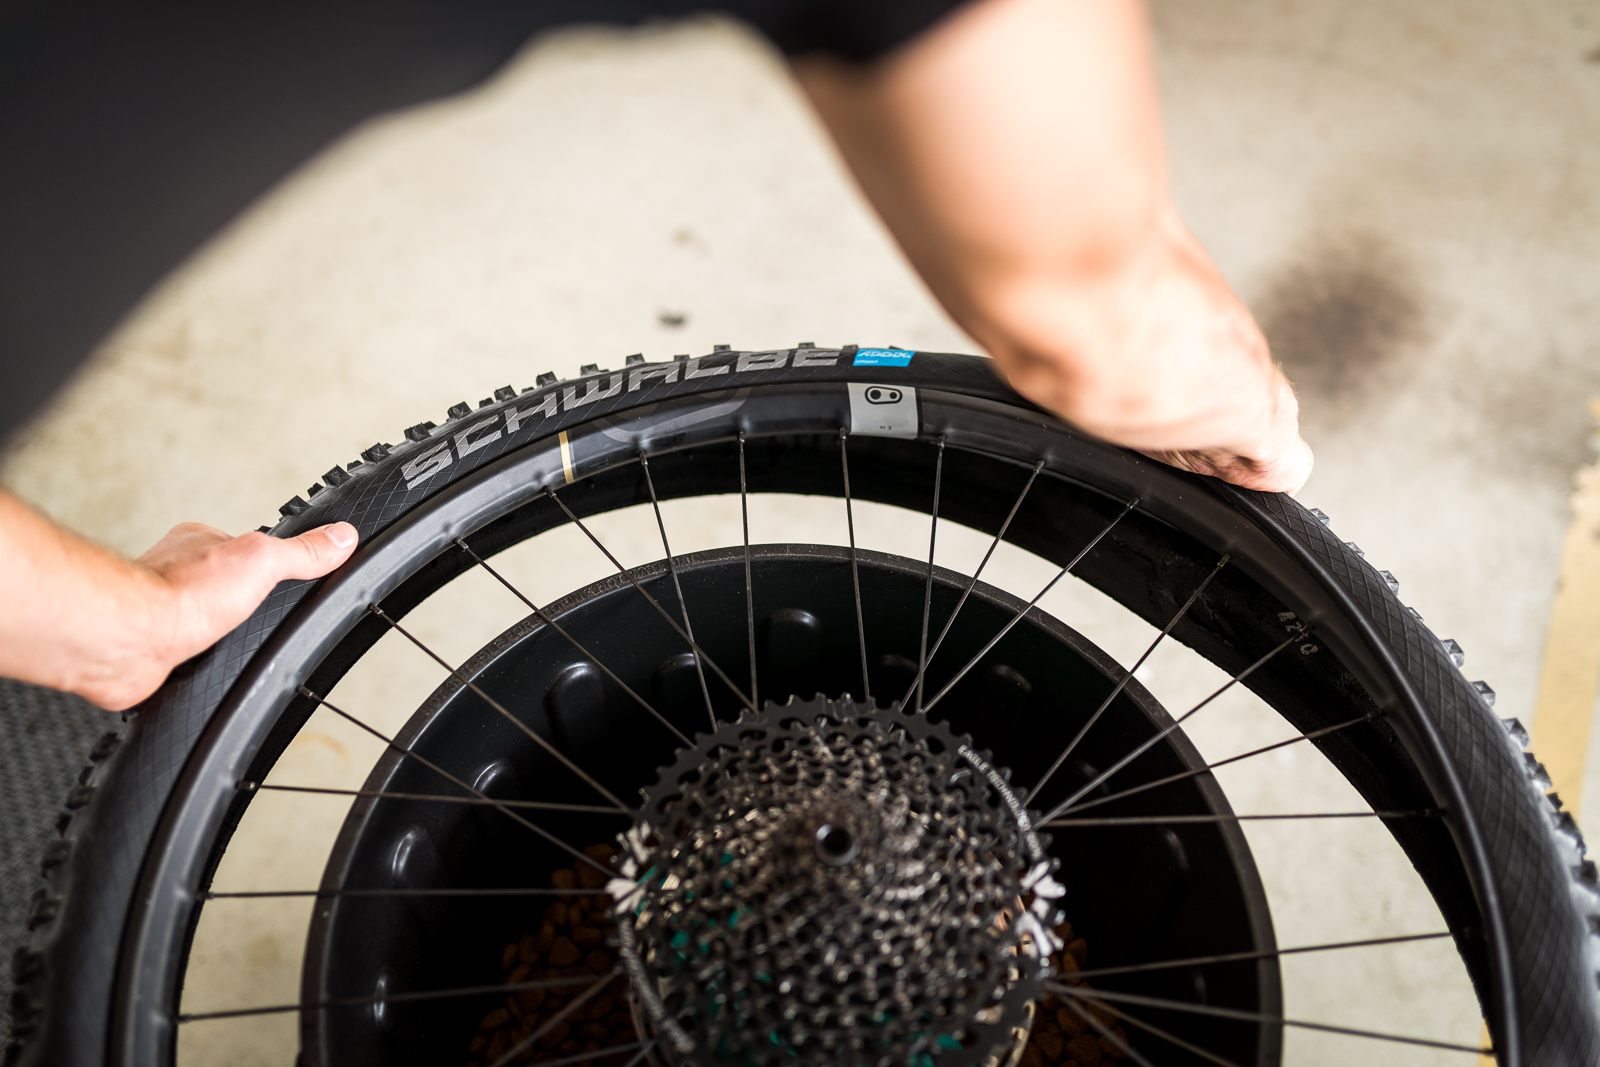
During testing we had the Cushcores mounted up within a set of Schwalbe Hans Dampf tyres, which did not throw up too much of a fight. Note that Cushcore inserts must be used with their own proprietary valve which is included in your purchase. The difference here is that it has the air channels located on the sides of the internal valve stem, rather than the top. This stops the insert from blocking it as it rests in the rim bed. Sealant is best added to a wheelset with the Cushcore system once it is fully installed, through the valve. This will minimise spills and ensure all of your sealant stays inside your tyres where it belongs.
WORKSHOP: How to fit CushCore tubeless tyre inserts
On the Trail
The biggest advantage of using Cushcore is the extra security for your rims, combined with the greater sidewall stability you can gain. Across the inserts we tested, they were measured to be the most dense – a huge plus for anyone who rides on trails laden with rim dinting rocks. While they are advertised for their rim protection, it’s the stability you will notice more readily on the trail.
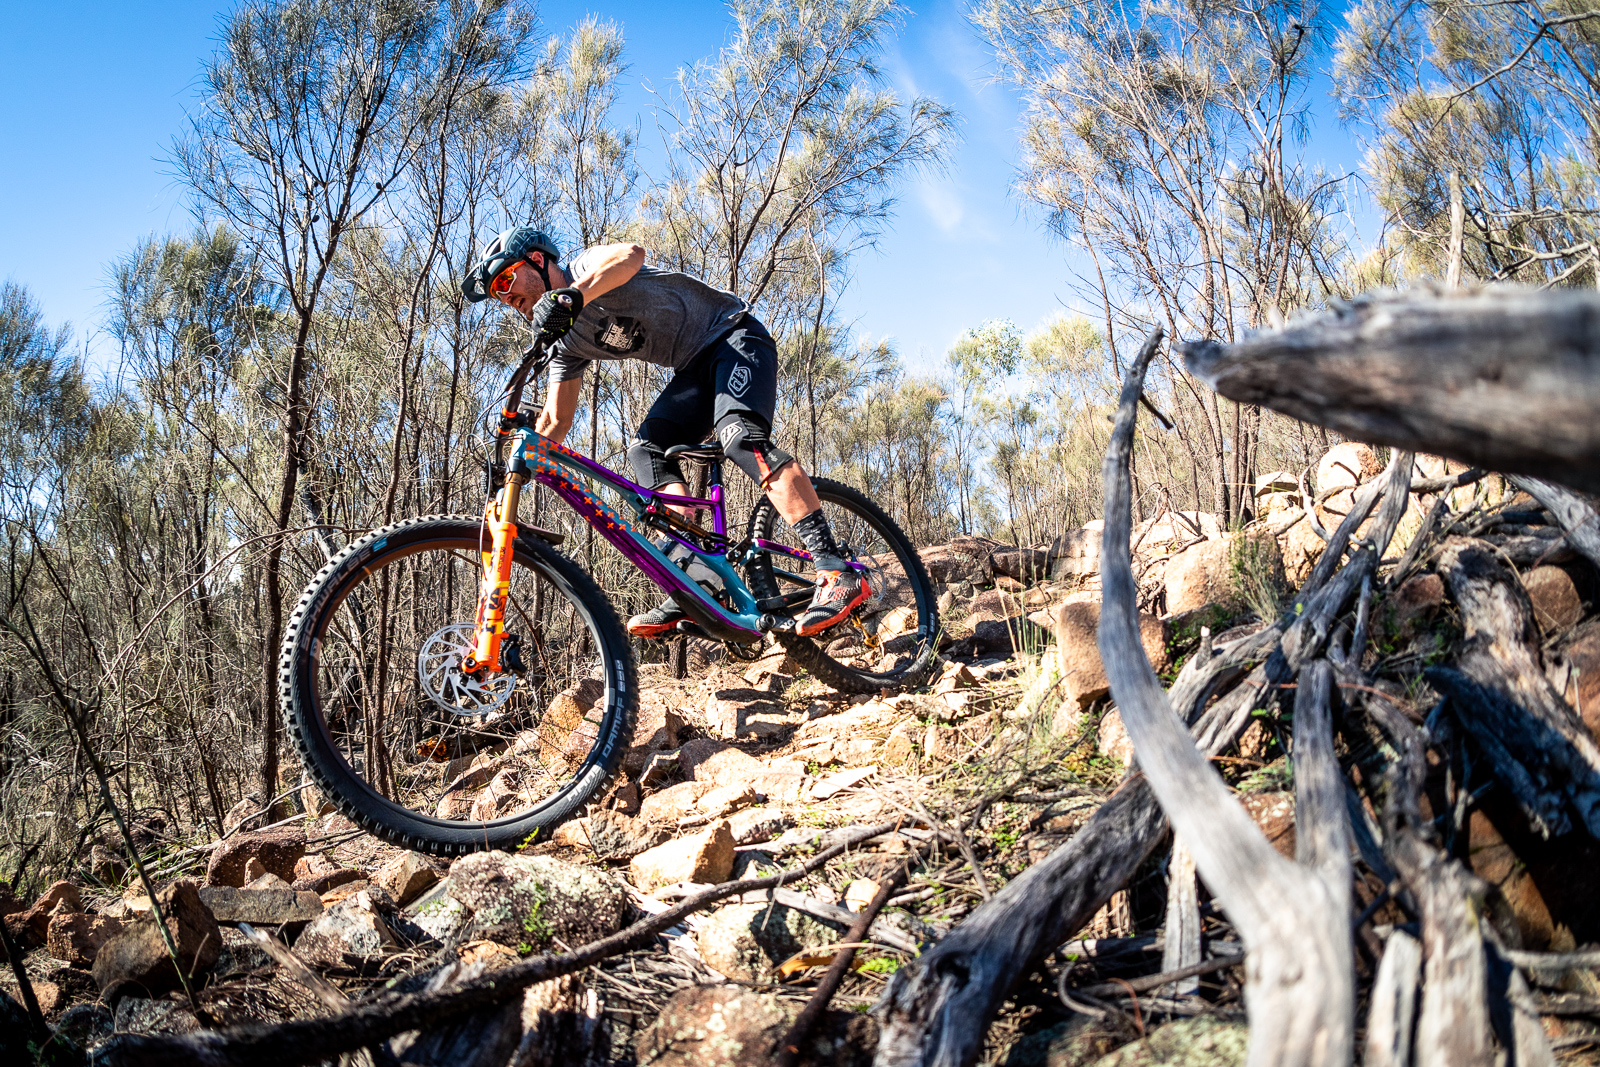
High volume trail tyres and plus tyres often get into trouble when pushed hard in berms or choppy terrain. The lower pressures that the volume allows can mean the stability you want isn’t there when really pushing. Pairing the Cushcore with a larger volume trail tyre can give it the much needed support that’s required for riders who want to push harder through rocks and turns yet retain the supple trail feel of a single ply tyre.
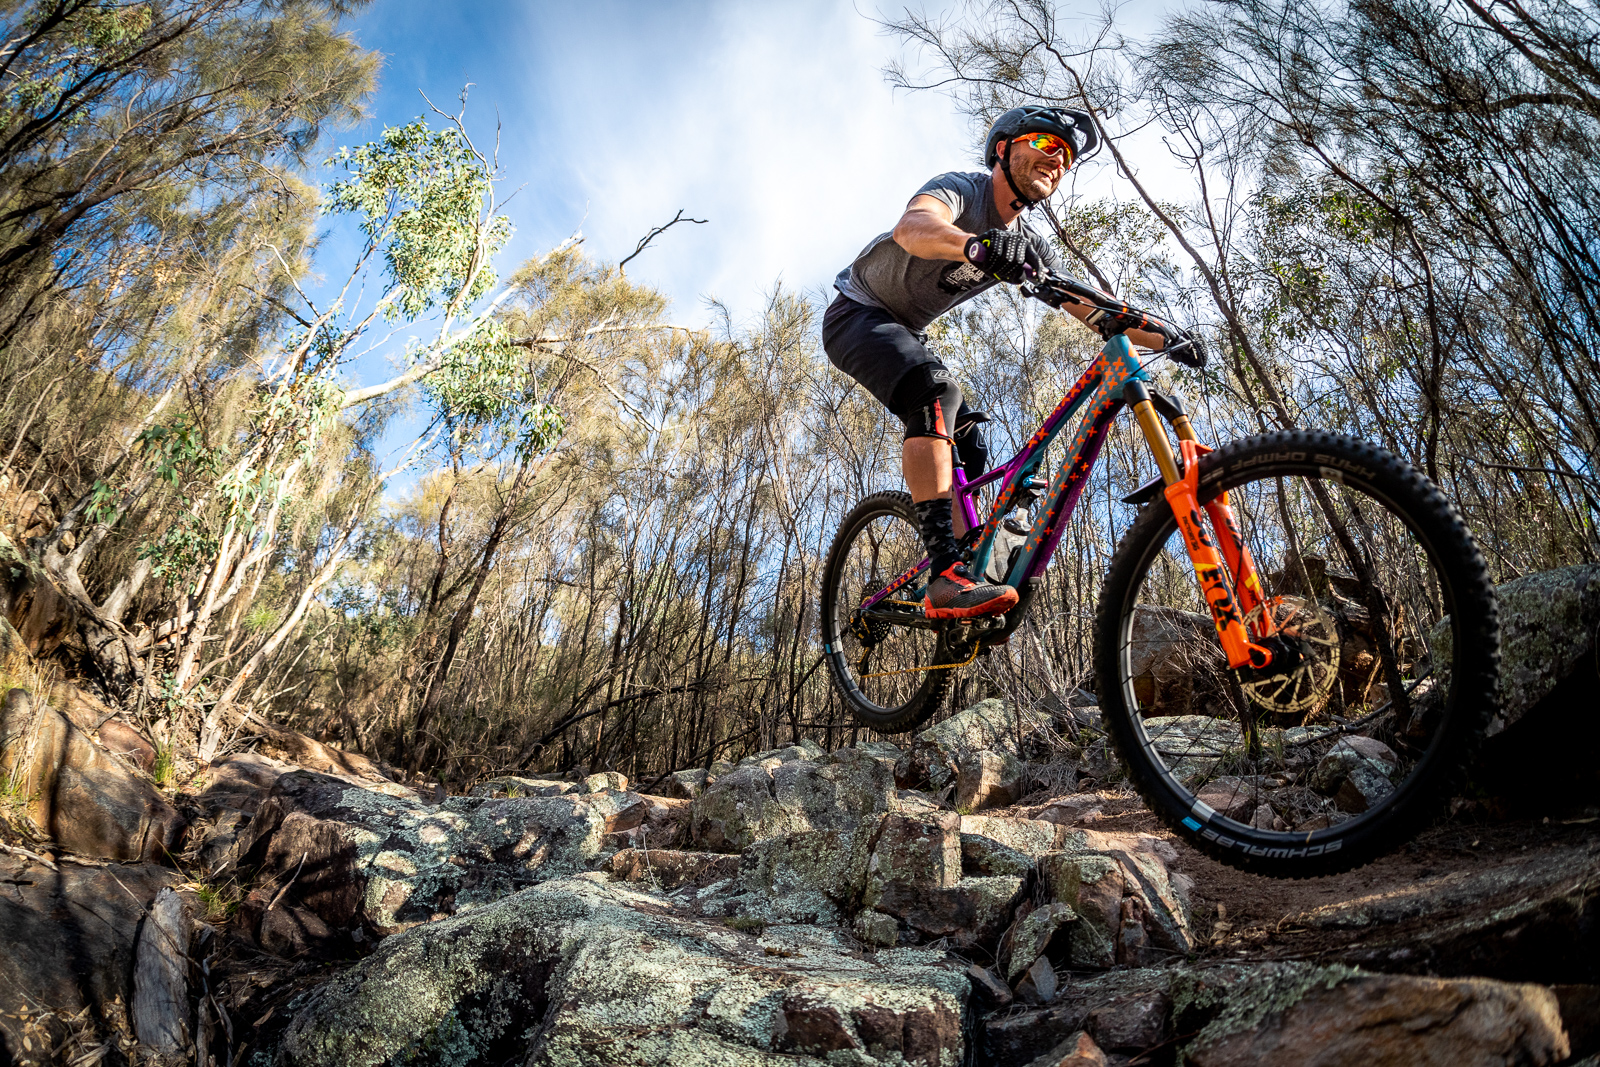
As Cushcore sits firmly up against the bead and 1/3rd of the sidewall, even when dropping the pressures down the tyre remains composed and doesn’t feel like it wants to peel off the rim. So you can have the traction you want with lower pressures and higher volume tyres, the rim protection for your fancy wheels, and the security of not feeling like you’ll tear your tyres off in berms and rock gardens. That’s a pretty magic combination.
Verdict
There is no faulting the performance of Cushcore’s class leading impact protection and tyre casing support. Cushcore’s low profile still allows the pneumatic benefits of supple tyre casings to provide grip while hampering tubeless tyres’ tendency to roll in corners. We consider these inserts one of the must-haves for hard hitting riders who have a preference for running high volume tyres or light weight casings. Be wary though, as install and uninstall can be difficult even when you do follow the recommended steps. As such, if you are the kind of rider who runs their tyres to within an inch of their life – these inserts are the one for you. They’ll help you increase your tyre lifespan and help you minimise the amount of times you need to do an insert / tyre change, while also increasing the use life of your rims.
Tubolight EVO HD – $80 per wheel
Tannus Armour Tubeless Inserts – $99 per wheel
CushCore Pro – $145 per wheel
Panzer Agressive – $100 per wheel
Rimpact Pro/Original – $135 for the set
Vittoria Air-Liner MTB – $164.95 per wheel
Tubolight SL – $80 per wheel
Panzer XC Light 28mm – $100 per wheel
Vittoria Air-Liner XC – $119.95 per wheel
Tubolight EVO Gravel – $120 pair
Panzer EVO Aggressive
$100 each | KWTimports.com.au
Available in: 29”, 27.5”
Weight: 130g in 29”, 110g in 27.5″
Width: 53mm
Height Above Rim: 25mm
Intended use: Downhill, Enduro, E-MTB
Tester: Hayden Wright
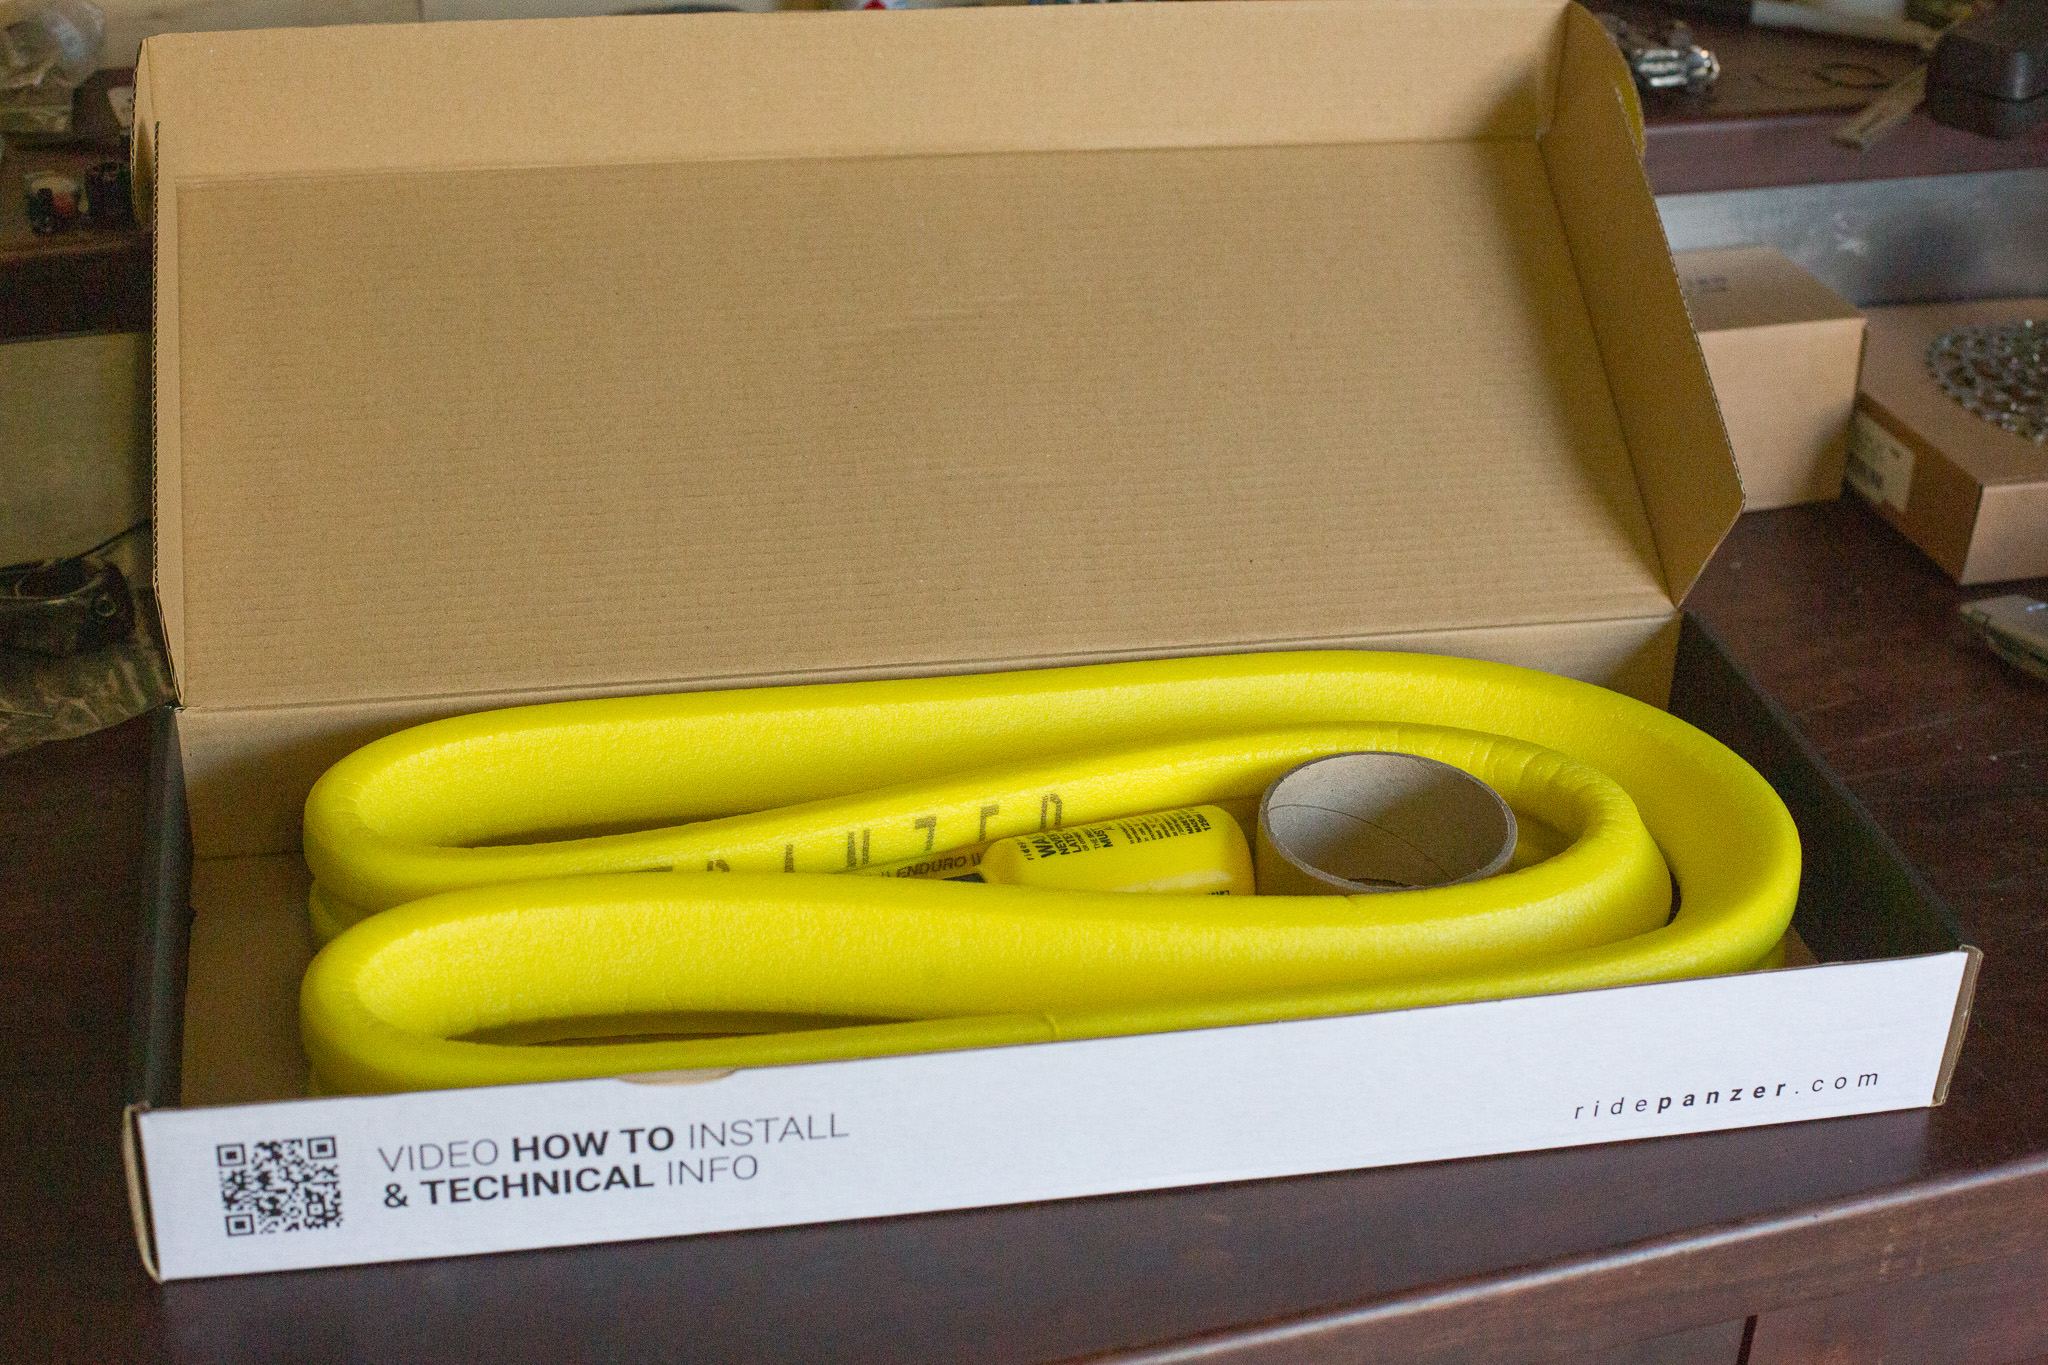
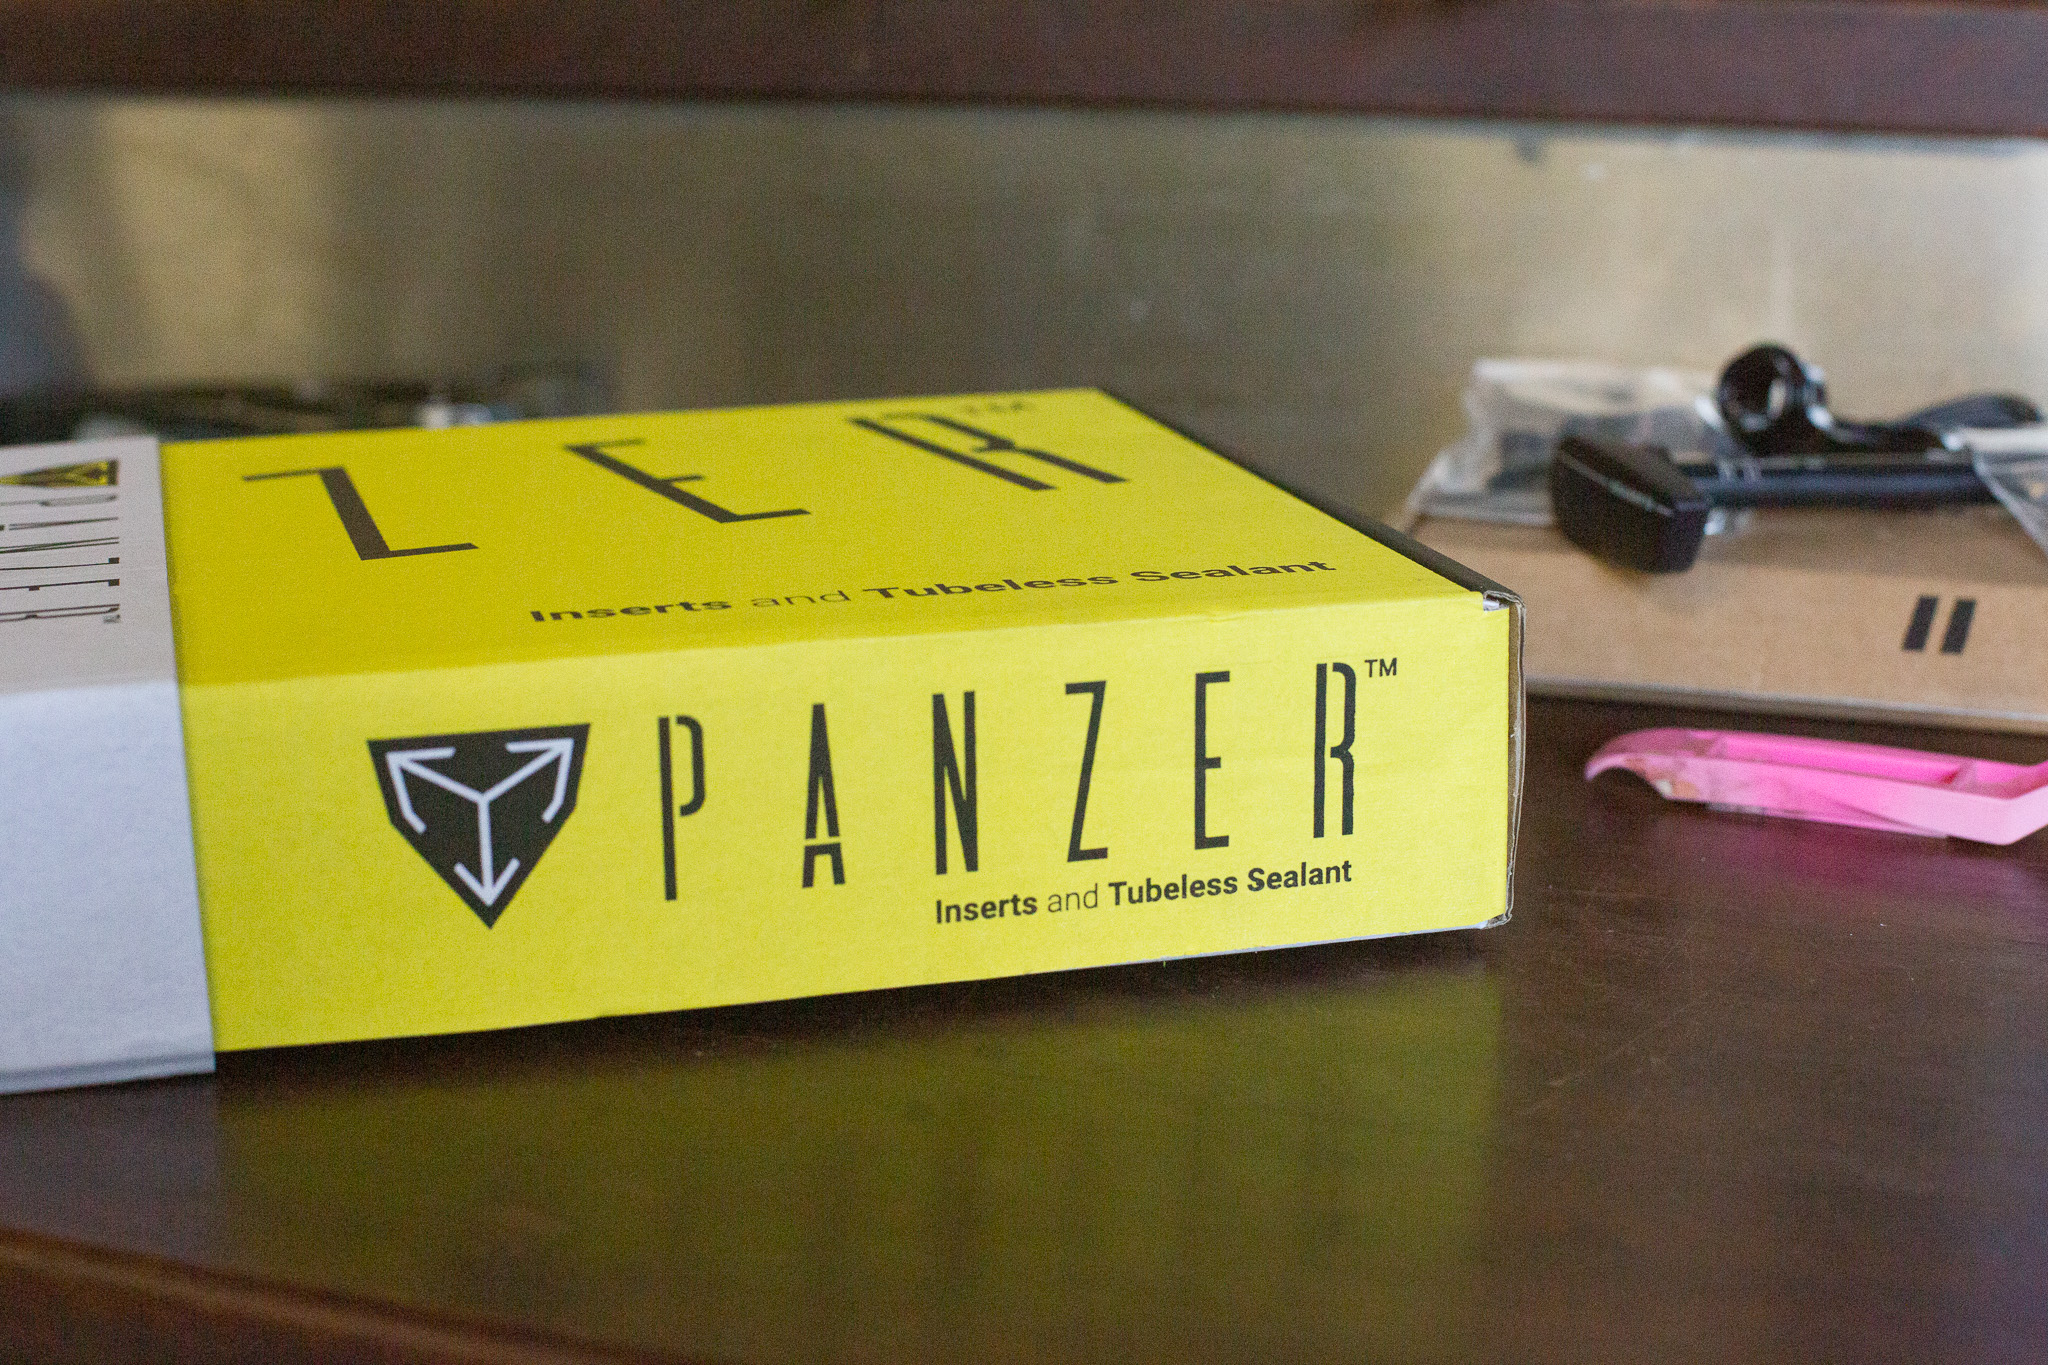
Panzer’s Agressive insert sits atop their broad range of rim protection products. Rated for Enduro, DH and E-Bike use, these bright yellow inserts are rated for rim widths of 25mm to 31mm, and a maximum tyre width of 2.6”. Measurements of size, weight, and density all put this insert right in the middle of the road in comparison to the other Enduro / DH inserts on test. Some are wider, lighter or more dense but the Panzer happily sits mid-range on all of these metrics. It also has a fairly competitive price point to boot considering it comes with sealant. Having seen a fair bit around this product and its use by the Pivot Factory Off Road Team, I was excited to install them and put them to the test.
Setup of the Panzer Aggressive
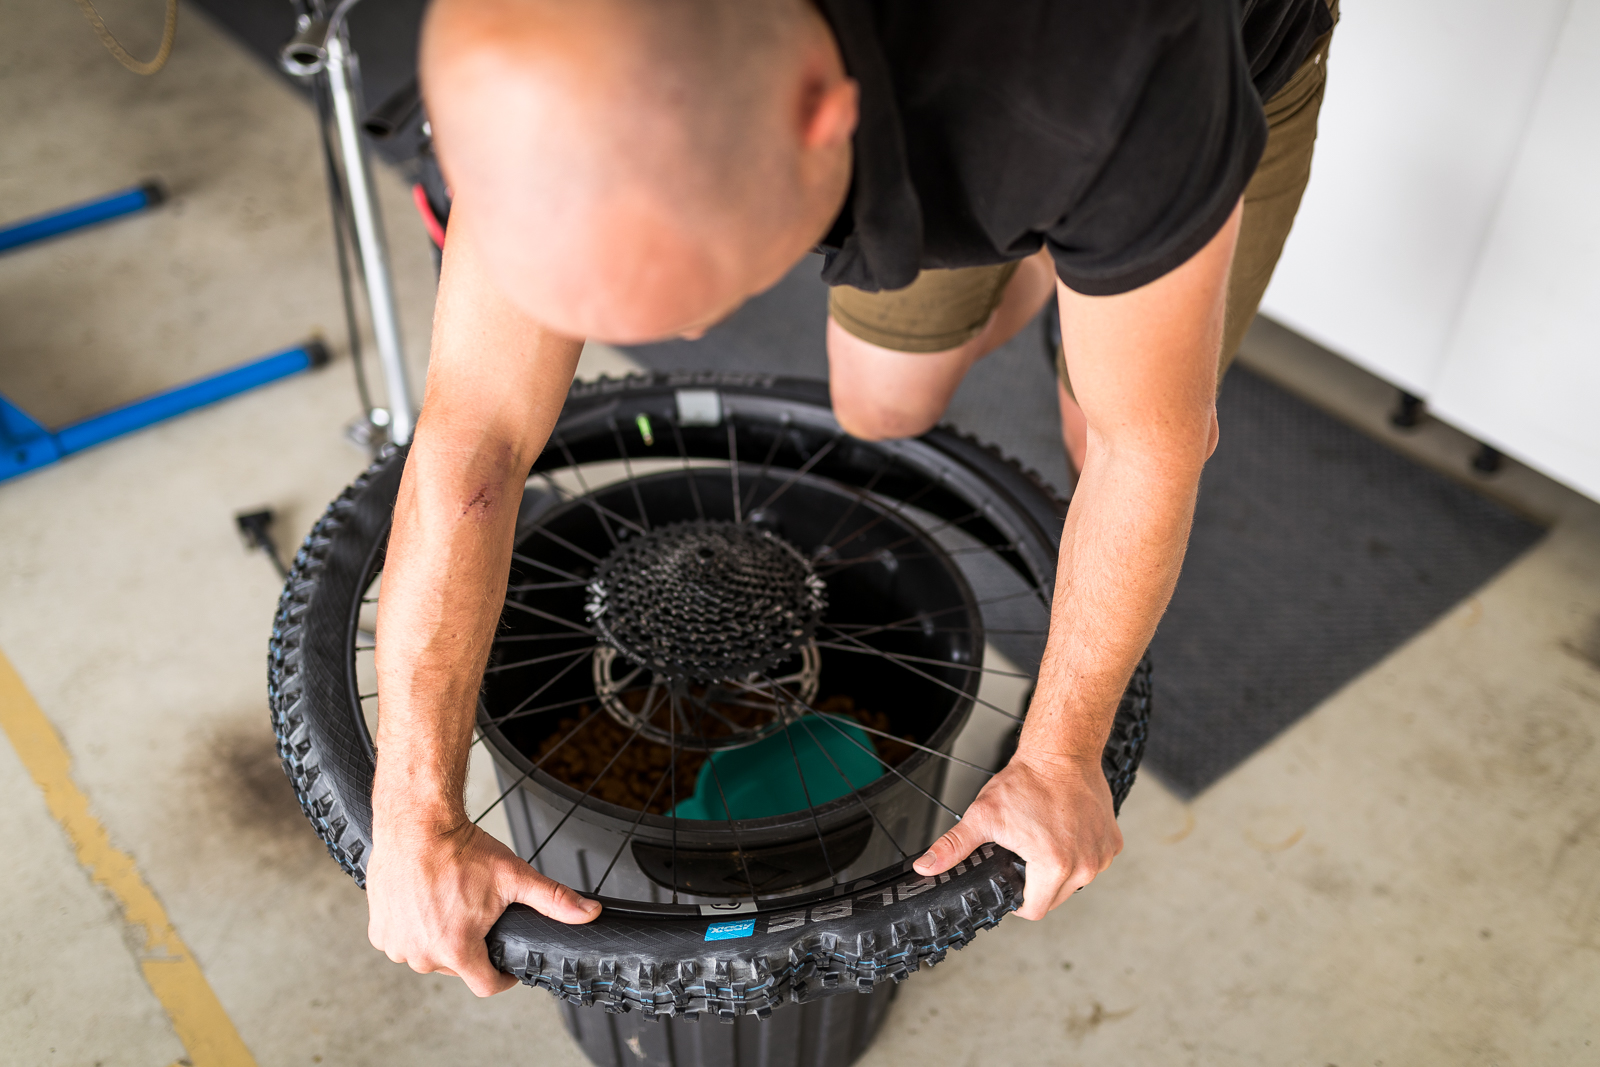
Mounting the Panzer Aggressive inserts was a fairly easy affair, which to me is reminiscent of the process required to install a Tubolight. The process includes popping on one side of the tyre, installing the insert, and then mounting the second side of the tyre.
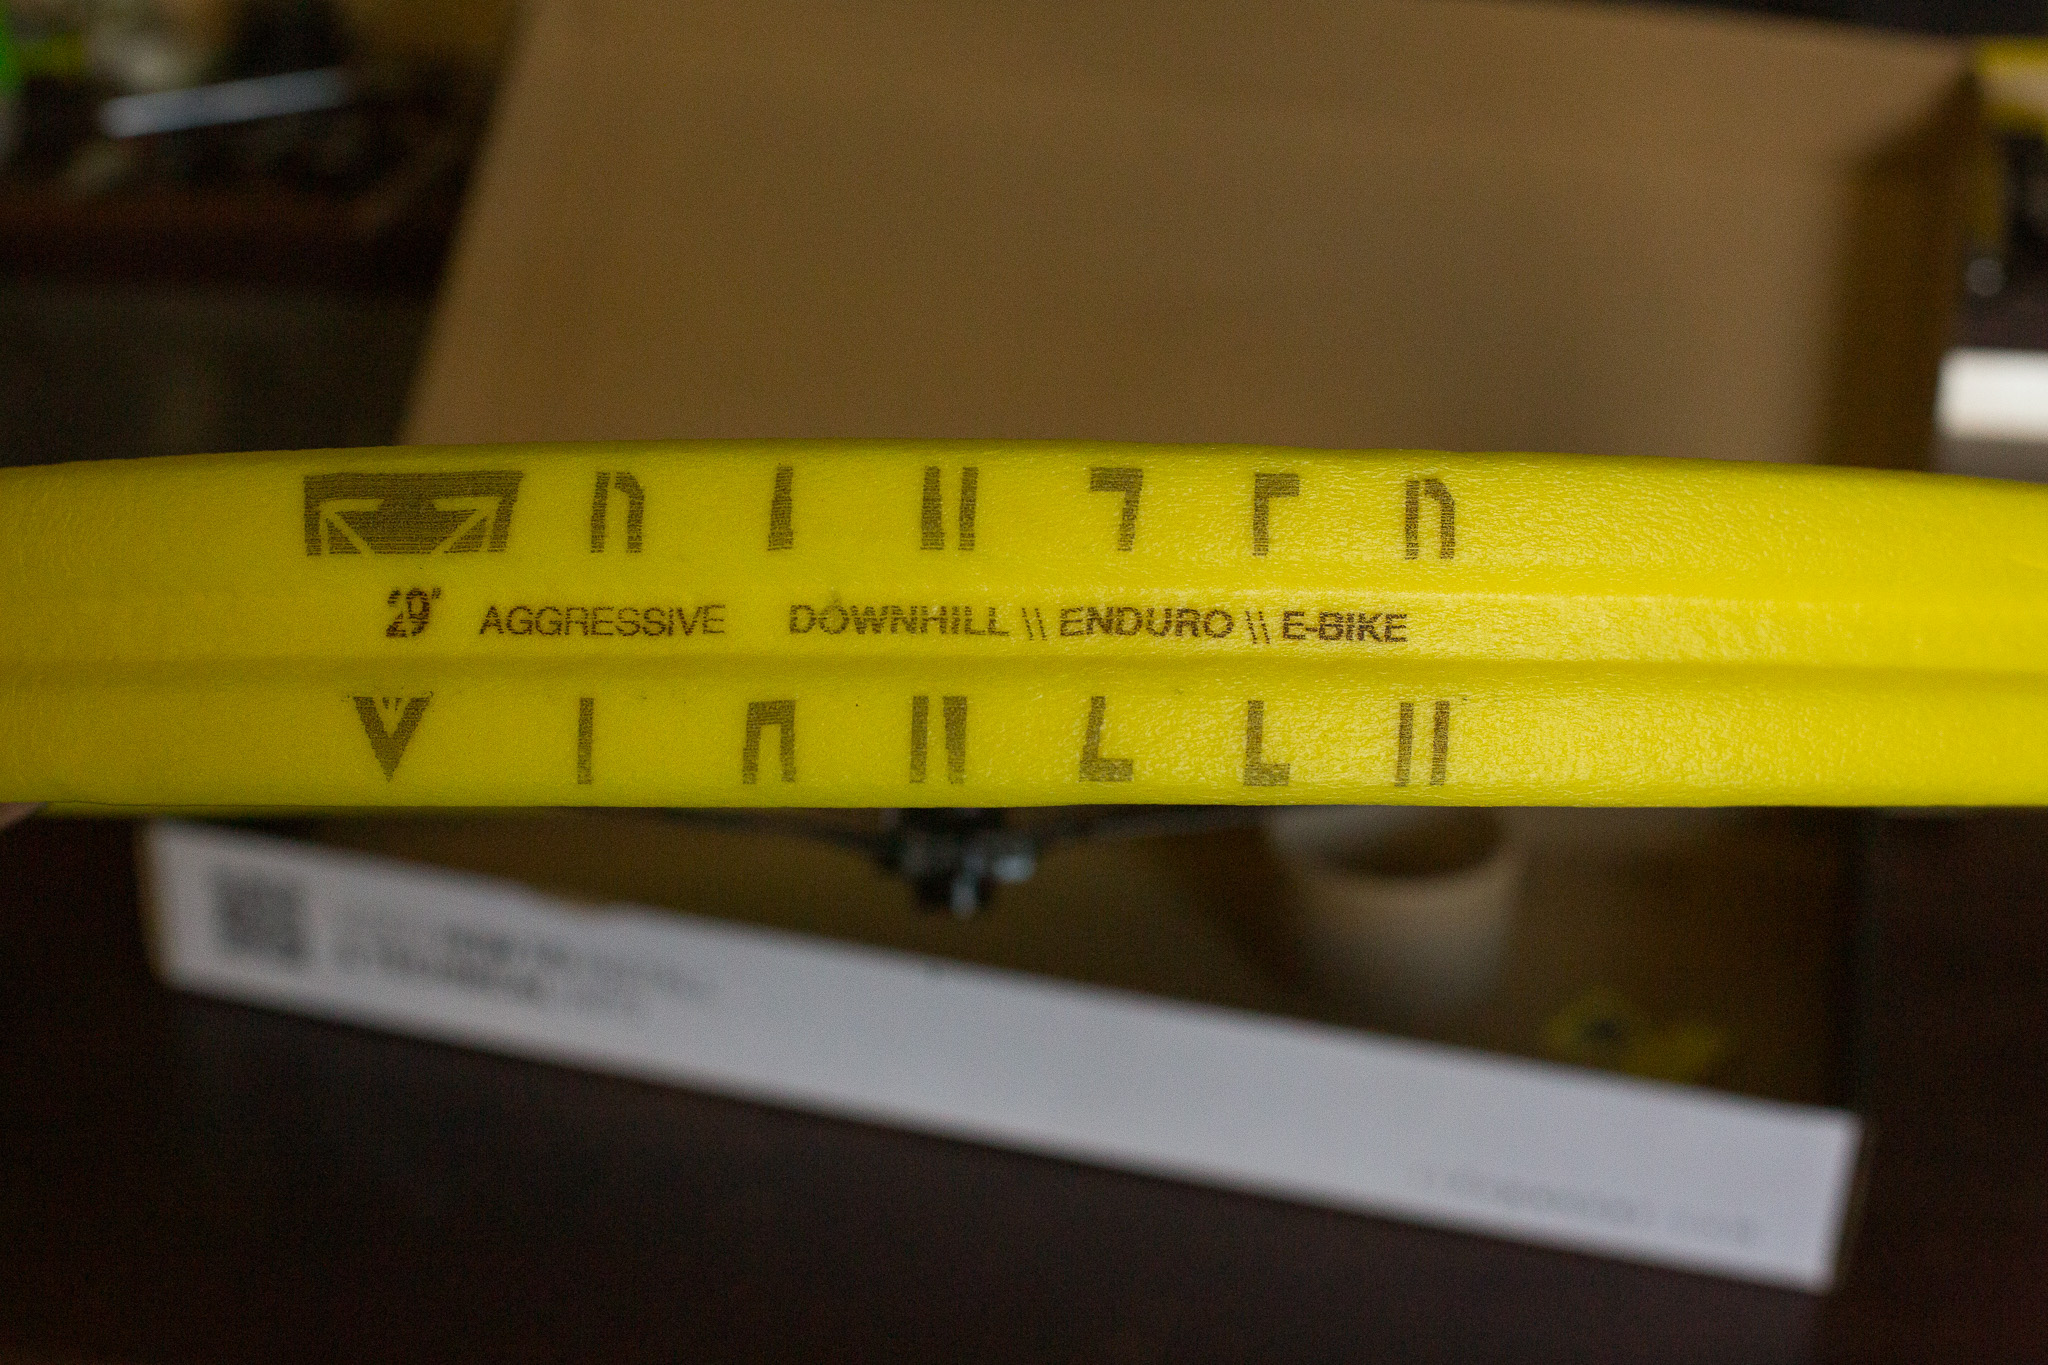
Pushing the bead of the Pirelli Enduro control tyres in under the Panzer is relatively easy thanks to the malleable makeup of the insert itself, which has a hardness measurement which is around halfway between a Cushcore and a Tubolight HD. Once complete they recommend you seat the tyre using compressed air, and then dislodge the insert from the valve as it may become stuck.
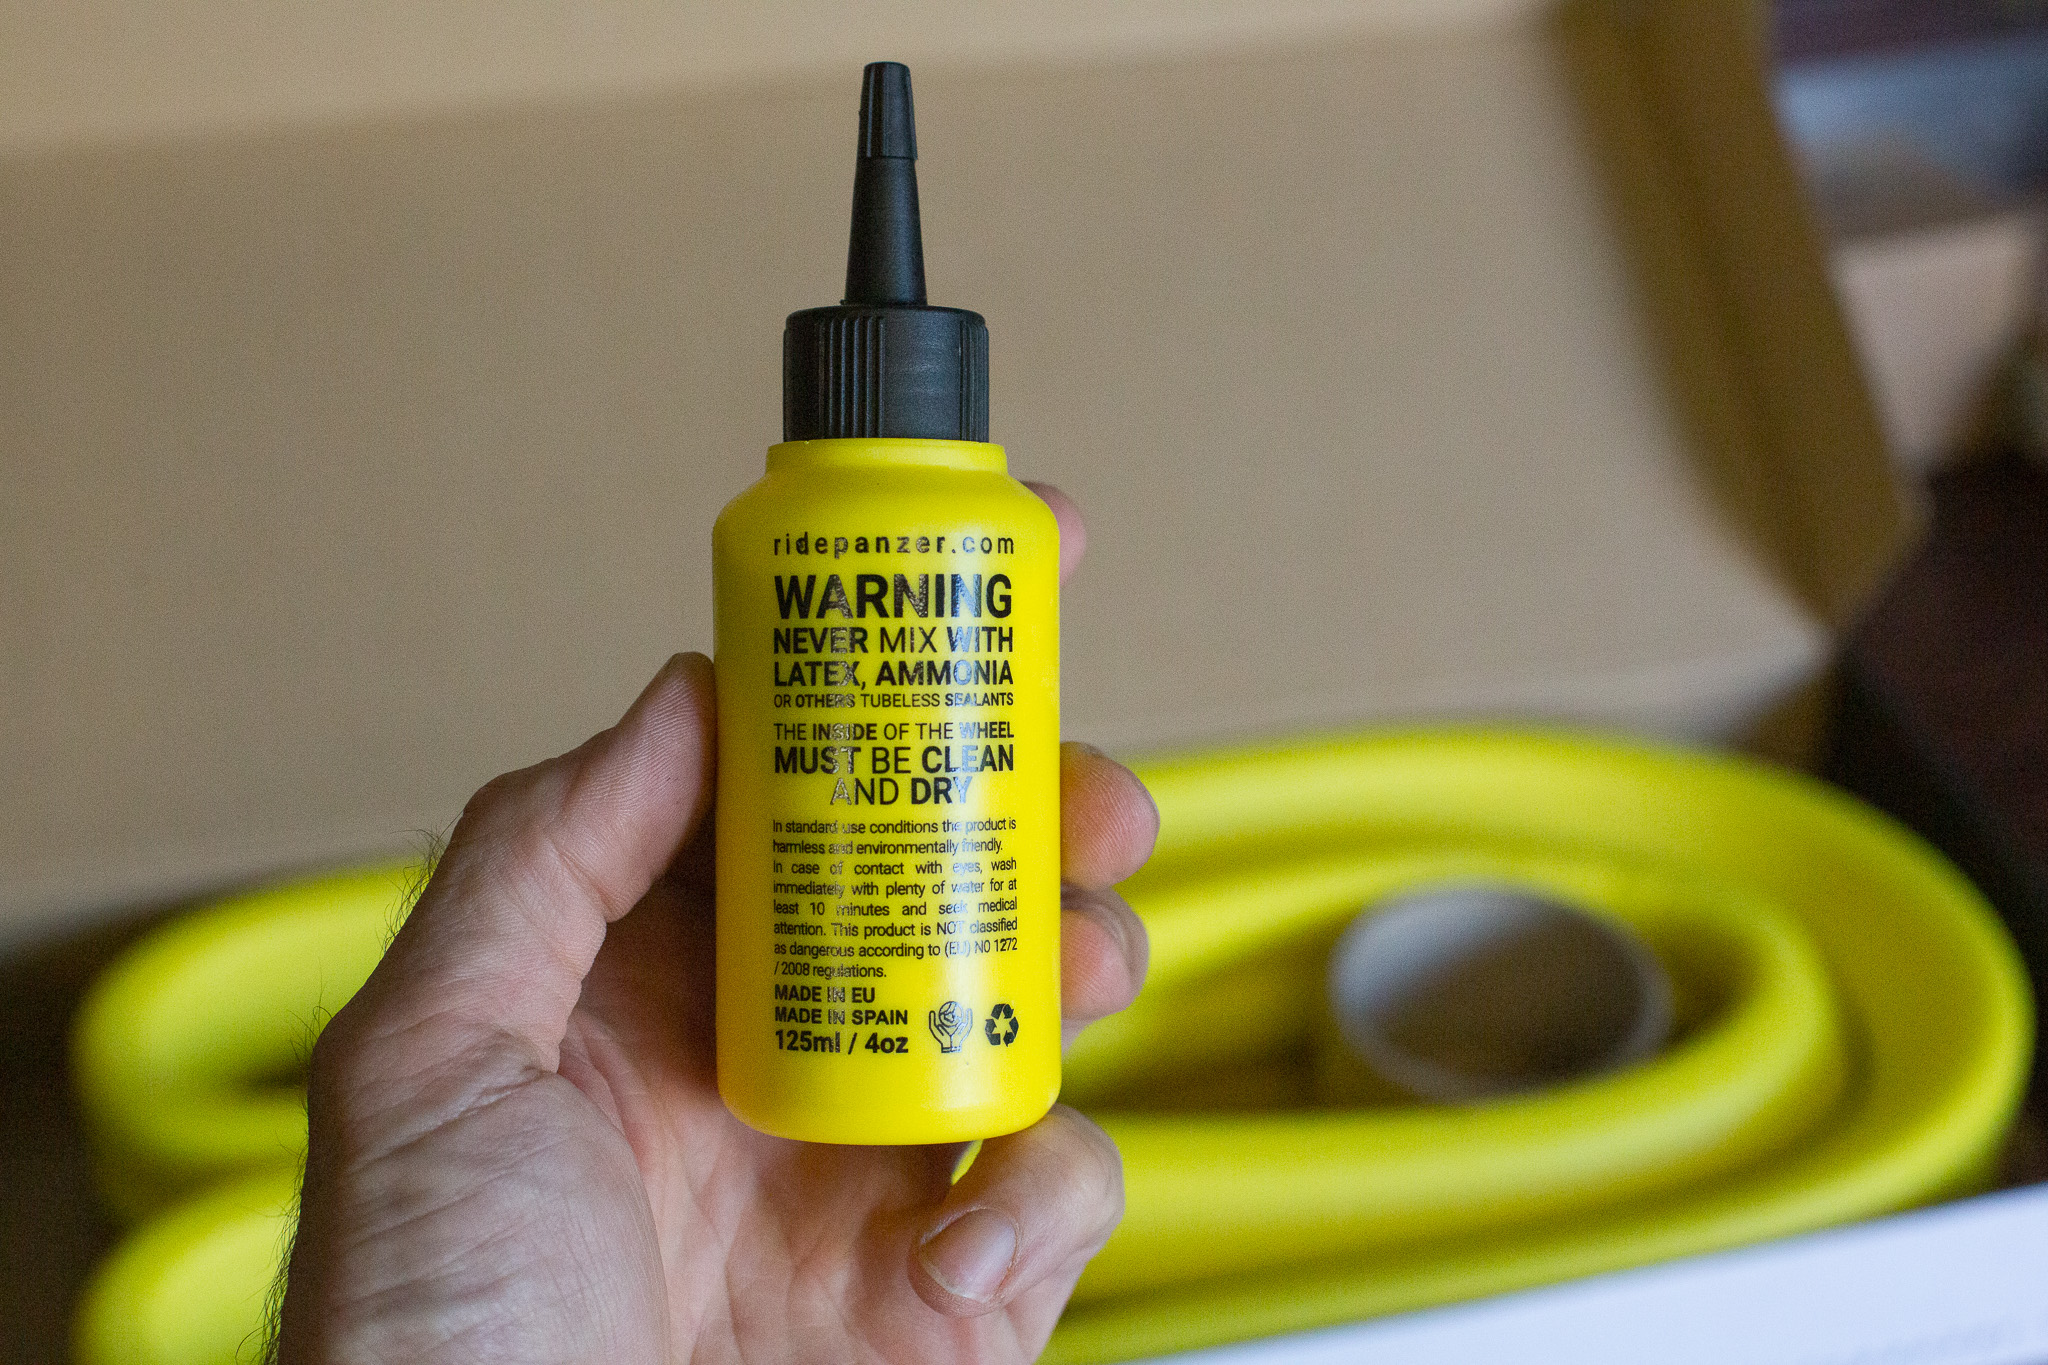
Note that Panzer claim these inserts are compatible with any tubeless valve, and were used with a set of Stans tubeless valves for this test. After following these steps, I tried to squirt in some of the supplied sealant through the valve core. Much to my dismay, there was a fair amount of resistance which led to sealant spilling extensively over my garage floor. It seems that the insert had already slid back over the valve body and blocked it – a common theme encountered when testing these inserts. I did eventually manage to get about 50 ml of sealant in each wheel, which held pressure fine through the duration of testing.
On the Trail
Blocked valves at the beginning of every test ride led to my development of a new pre-ride ritual. That was, to slowly pump the tyre up to around 30psi, remove the valve core, and use a 2.5mm allen key to bleed air down to my desired pressures. A frustrating way to start the day no doubt, but not something I was going to let get in the way of the on trail testing. I genuinely enjoyed the feel of these inserts out on the bike. Their fairly low profile allowed the pneumatic benefits of low pressures to still reign supreme over small bumps, roots and the like, with the insert only being ‘engaged’ on harder hits.
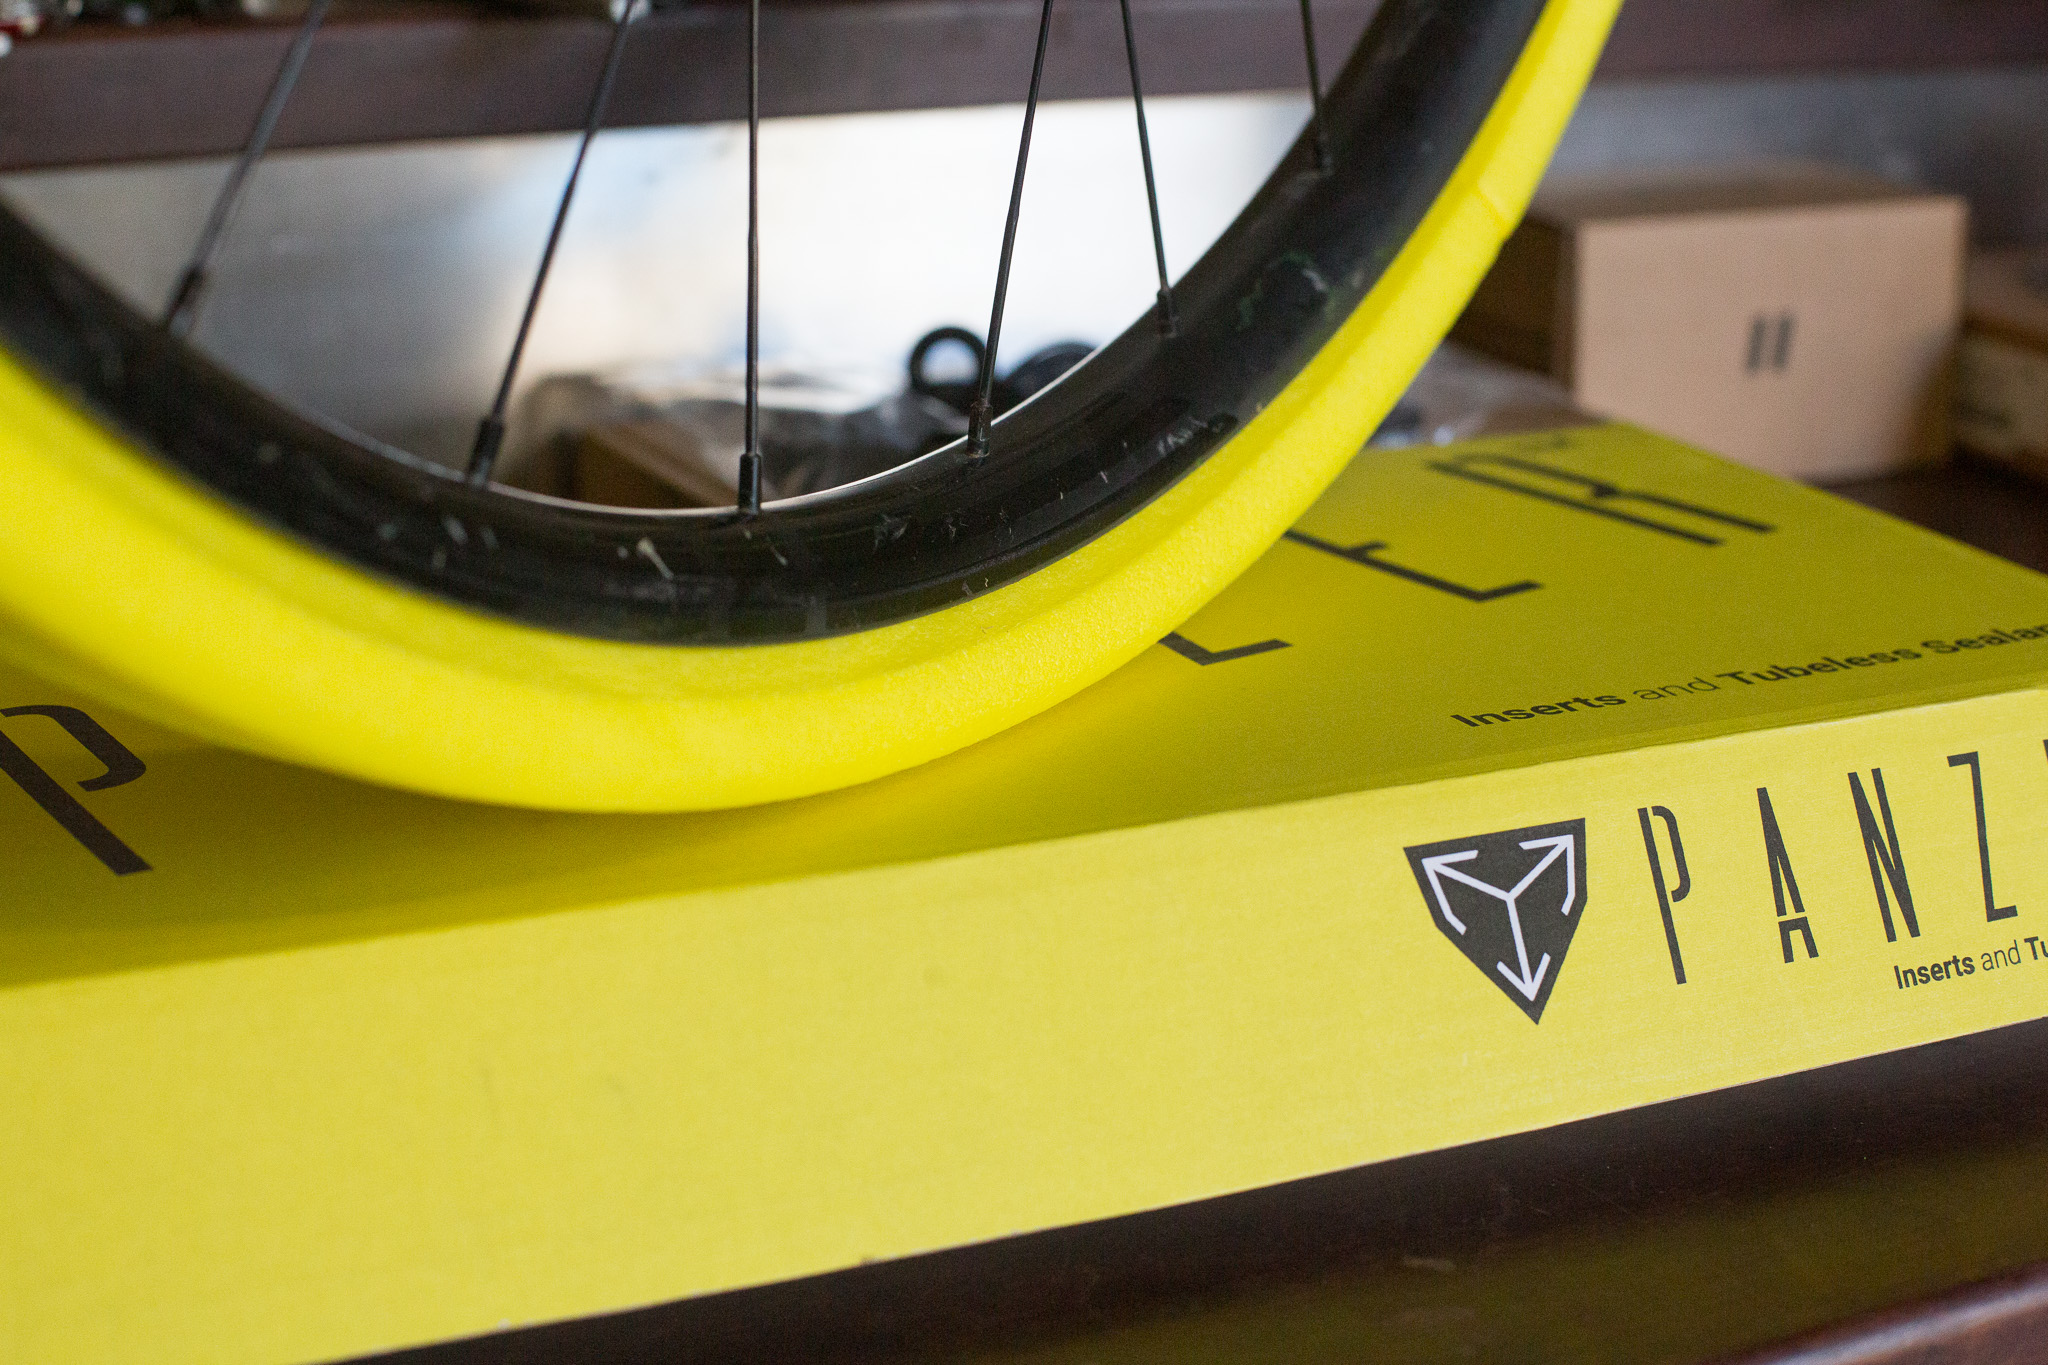
This allowed me to dive quite low on the relatively light and thin Pirelli Enduro control tyres, to around 20psi in the front and 23psi in the rear. The weight difference to me really was negligible, and while it is noticeable on the first few climbs those thoughts slowly dissipate to the back of your mind as you re-define what the new normal is. The sidewall support was also admirable, and gave the tyres a much more robust feel through hard hits and compressions akin to what I feel when riding a dual casing, 60tpi tyre. This support and increased descending performance is very impressive when you consider that these inserts weigh nearly half of the heaviest on test.
Verdict
While installation of these inserts is fairly easy, be sure to grab a set of insert-specific valves. The constant blockages were a real thorn in my side through an otherwise great testing period on the Panzer Aggressives. These inserts are best suited to a rider who is looking for all the benefits an insert can bring for bump absorption and rim protection, in a package that is fairly easy to live with. The Cushcore Pro may offer more rim protection, and the Vittoria Airliner has better run flat qualities, however the Panzer Aggressive inserts offer admirable support and a damped ride quality I grew to really enjoy once I got past the technical difficulties.
Tubolight EVO HD – $80 per wheel
Tannus Armour Tubeless Inserts – $99 per wheel
CushCore Pro – $145 per wheel
Panzer Agressive – $100 per wheel
Rimpact Pro/Original – $135 for the set
Vittoria Air-Liner MTB – $164.95 per wheel
Tubolight SL – $80 per wheel
Panzer XC Light 28mm – $100 per wheel
Vittoria Air-Liner XC – $119.95 per wheel
Tubolight EVO Gravel – $120 pair
Rimpact Original and Pro pack
$135 each | 32spokes.com.au
Available in: 29”, 27.5”
Weight: 160g in 29” for Pro, 95g in 29″ for Original
Width: 50mm
Height Above Rim: NA
Intended use: Downhill, Enduro, E-MTB, Trail
Tester: Will Shaw
Rimpact are a UK based company with numerous models of tyre insert that have been refined over a number of years now. The Pro/Original Mix pack includes valves and one each of the Pro and Original. The Original weighs less and provides less protection than the Pro, and is often used in the front, with the beefier Pro in the rear. Rimpact now have a V2 models of both since we first reviewed these inserts.
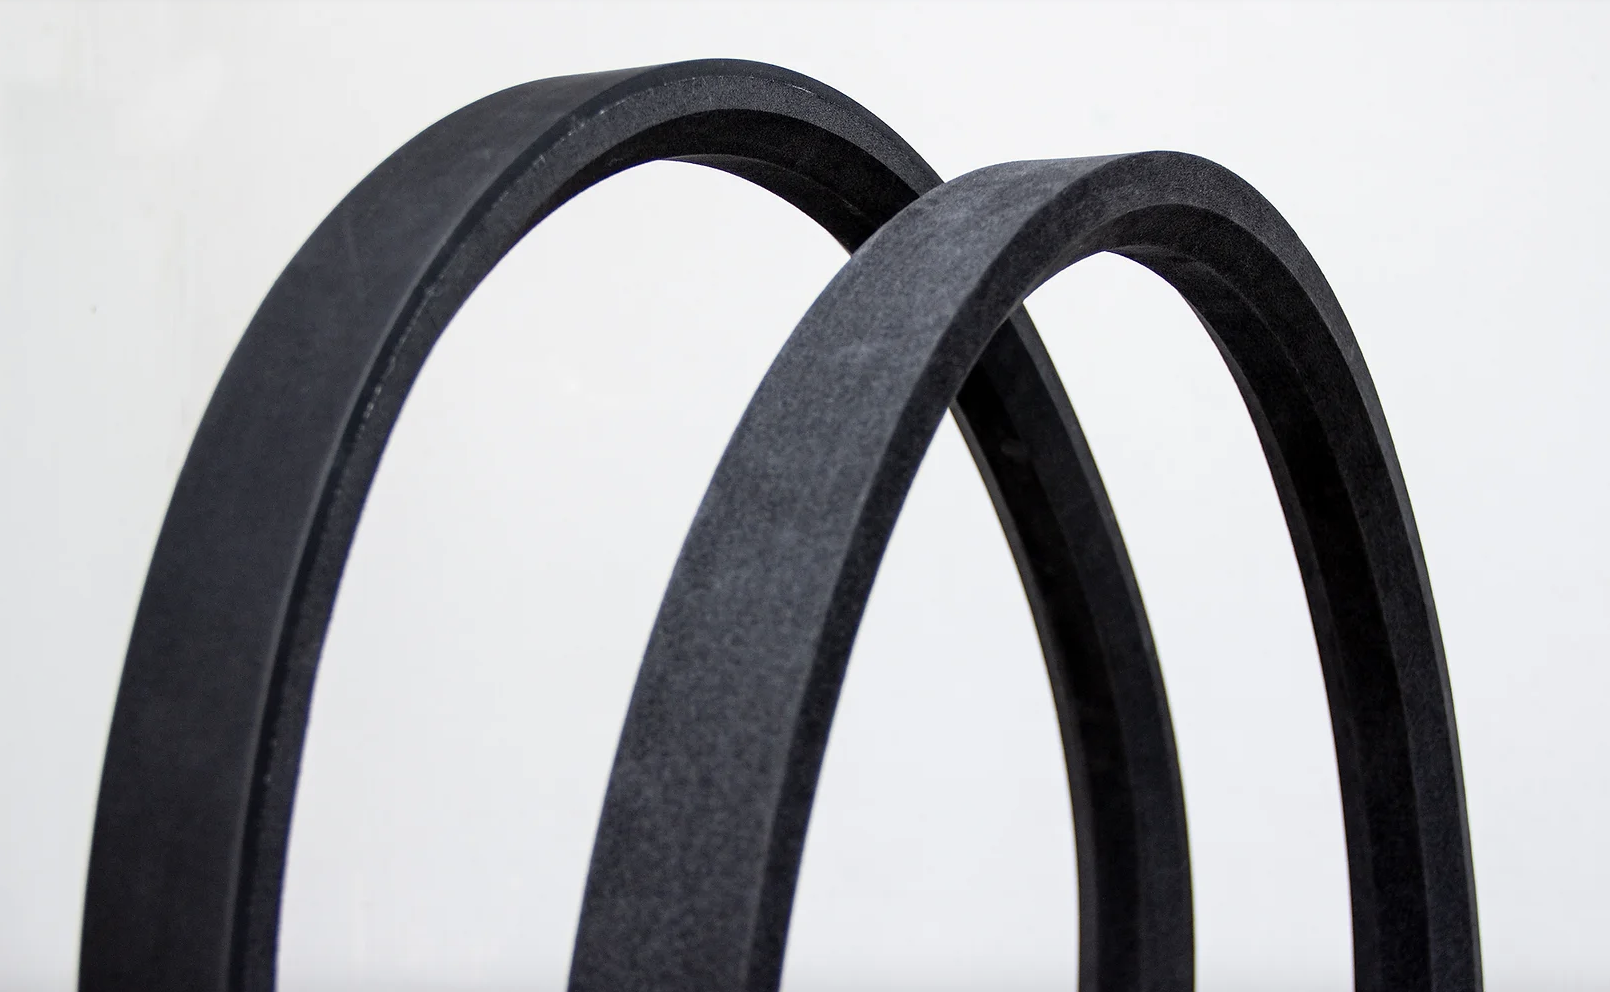
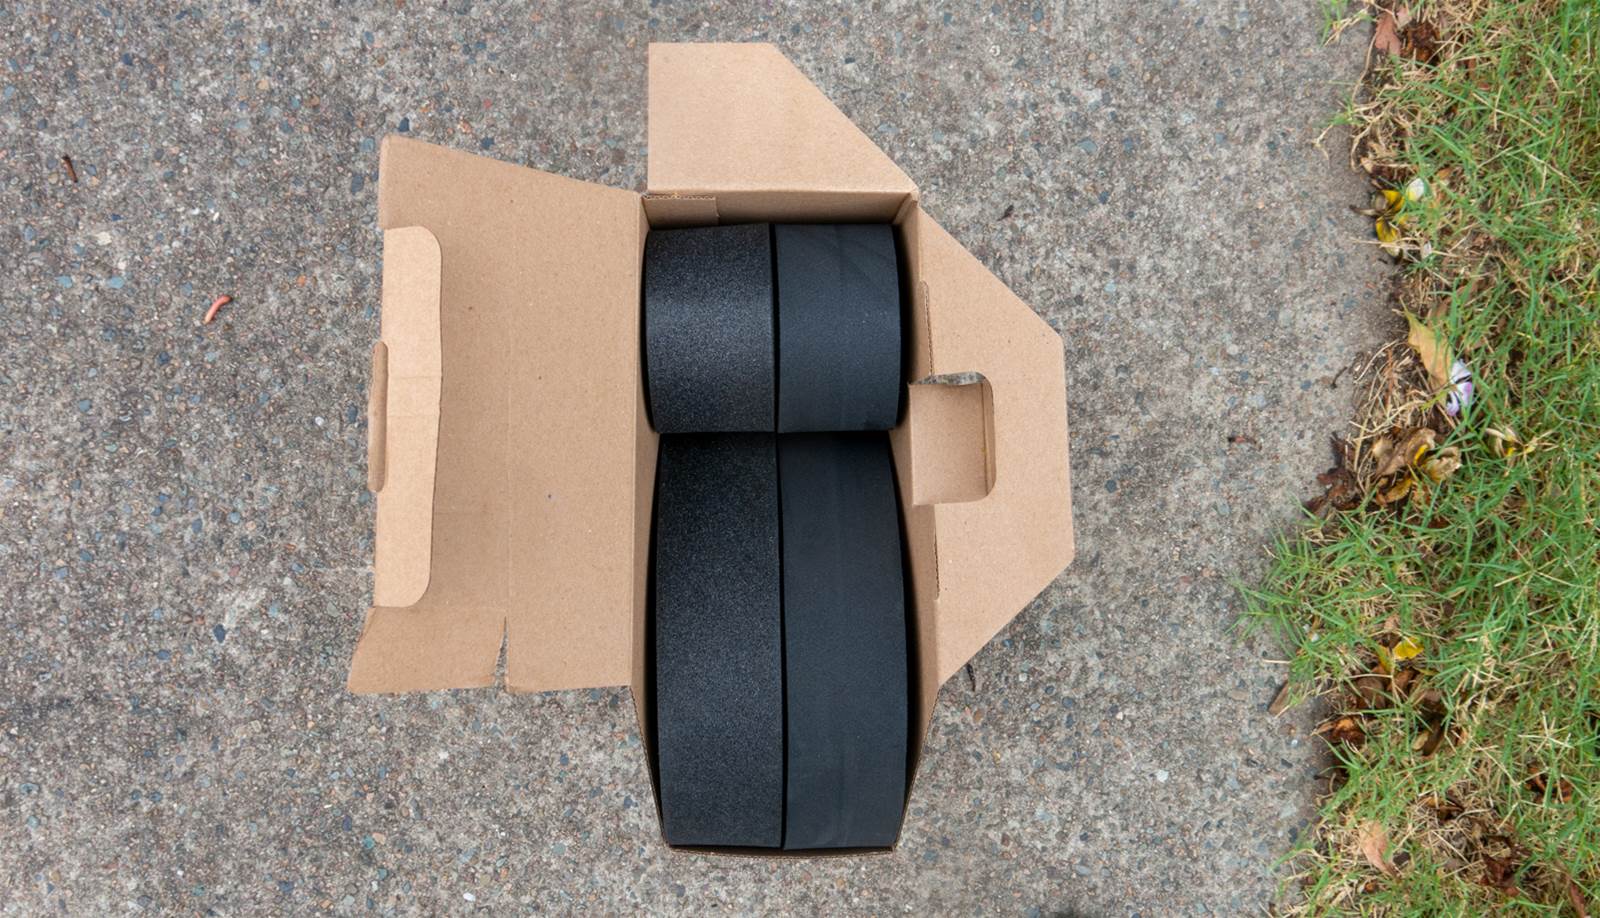
Rimpact also offer both the Original and Pro as standalone sets. They have a handy guide on their website about what insert is best for your style of riding. Essentially the harder you ride, or the more you want to insure yourself against both flats and rim damage, the more you’d lean towards Pro inserts front and rear. Out of the box, the two Rimpact variants are markedly different. The Original has a softer feel, whilst the Pro is much firmer and does feel heavier in the hand. The packaging is fairly minimal, with a cardboard folder holding the two inserts as well as a set of valves.
Rimpact inserts must be used with their valve, similar to CushCore. Our insert set came with two valves; however, you can also purchase inserts without valves as replacements. The Rimpact valves use 4 horizontal holes to inflate your tyre, which means they won’t get blocked if the insert shifts within your tyre. They can be used with sealant injectors as well as in regular tubeless setups.
Rimpact inserts are made of High Density, Closed Cell, Cross linked, Polyethylene Foam. This meant nothing to me on face value, so I’ll quickly run through what all of that means.
According to Rimpact, an increase in density past a certain point begins to transfer force through to the surface below (your rim). As a result, Rimpact inserts aren’t the highest density out there (compared to something like CushCore). Rimpact’s inserts are supple at rest and stiffen under force (similar to knee pads with D30 inserts). This means that the insert is easy to fit and can absorb low to moderate vibrations (trail chatter), whilst also stiffening up to prevent flat tyres and rim damage under big hits.
The Closed Cell component means the insert doesn’t absorb sealant. This is something I can report is a great feature of the Rimpact inserts. In my experience with Huck Norris and CushCore inserts, both of them have absorbed sealant and required frequent top ups. With the Rimpact inserts I’d feel comfortable replacing the sealant at the same intervals as a regular tubeless setup. Rimpact recommend you use 25 percent more sealant to compensate for the added surface area.
The Cross-Linked element gives the inserts superior torsional strength to resist tearing and stretching. Over the course of four months of testing, the inserts showed relatively little sign of wear, which is great to see. There was a couple of small cuts but compared to other inserts I’ve used the lack of wear was impressive.
Lastly, the Polyethylene element of these inserts refers to the fact that the inserts will not leak dye into latex based sealants, thus rendering your sealant useless. Over the course of testing, I noticed no discolouration of both the insert and sealant.
Setup of Rimpact Tyre Inserts
Fitting the Rimpact inserts was once again somewhere between installing a Huck Norris and a CushCore. Rimpact have a handy guide on their website, and following those instructions worked a treat. Once installed, my tyres beaded with a floor pump and a bit of elbow grease. When I re fitted them after topping up the sealant it was much easier than the initial install.
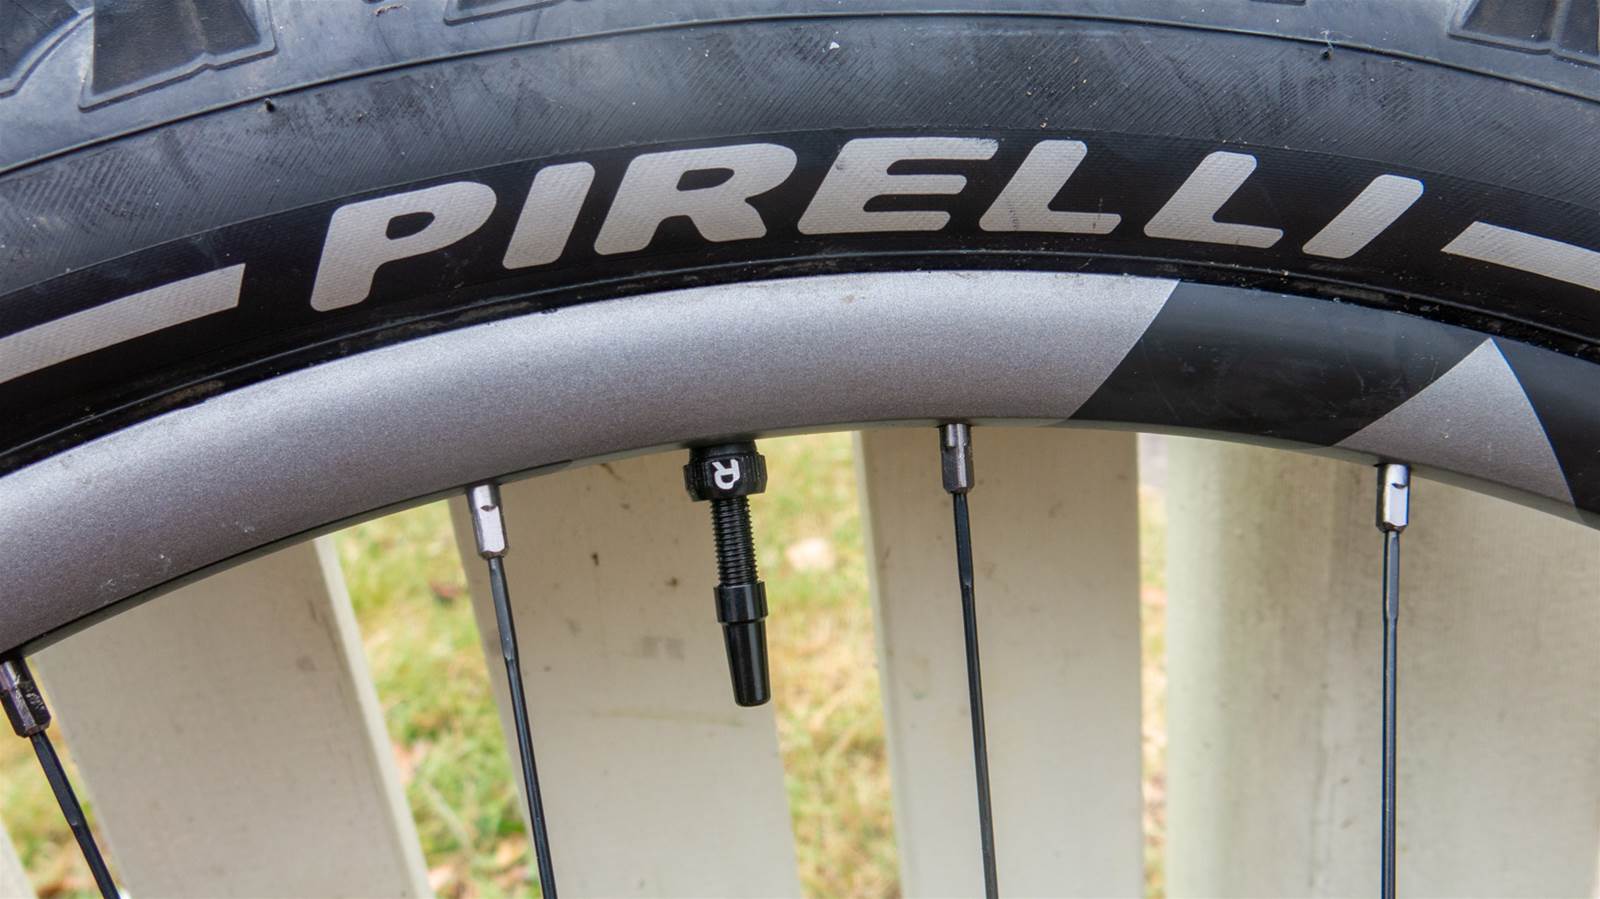
On the Trail
So how do they ride? Once again, I’d put the Rimpact between the Huck Norris and CushCore in terms of ride feel. I was running the inserts in an eBike, and the rear insert was particularly noticeable in preventing rim dings that were occurring prior to installing the insert. I’d feel comfortable moving to a slightly lighter casing with the Rimpact inserts, as my total wheel system weight was pretty beefy with the Pirelli eMTB tyres I was running.
In terms of smoothing out trail chatter, the Rimpact inserts are much more comparable to CushCore than other options, and they allow you to drop your pressures a few psi without tyre roll or rim impacts occurring.
Rimpact have partnered with Australian distributor 32 spokes for Australian purchases. To purchase their inserts head to the 32 Spokes website. The Original/Pro mixed set I reviewed comes in at $135.00. For trail riding and Enduro racing I think the mixed kit is the way to go.
Verdict
All in all, I would recommend Rimpact as a great middle of the road option when it comes to inserts. Whilst I still feel that CushCore offers the ultimate in rim protection, Rimpact offers all of the ride features except for the very top end rim protection at a lower cost, which makes it a great option for many riders.
Tubolight EVO HD – $80 per wheel
Tannus Armour Tubeless Inserts – $99 per wheel
CushCore Pro – $145 per wheel
Panzer Agressive – $100 per wheel
Rimpact Pro/Original – $135 for the set
Vittoria Air-Liner MTB – $164.95 per wheel
Tubolight SL – $80 per wheel
Panzer XC Light 28mm – $100 per wheel
Vittoria Air-Liner XC – $119.95 per wheel
Tubolight EVO Gravel – $120 pair
Vittoria Air-Liner MTB
$164.95 each | GKAsports.com.au
Available in: 29”, 27.5” for S-XL relative to tyre width
Weight: 197g in 29”, 189g in 27.5″ (large)
Width: 50mm
Height Above Rim: 46mm
Intended use: Enduro, All-mountain
Tester: Hayden Wright
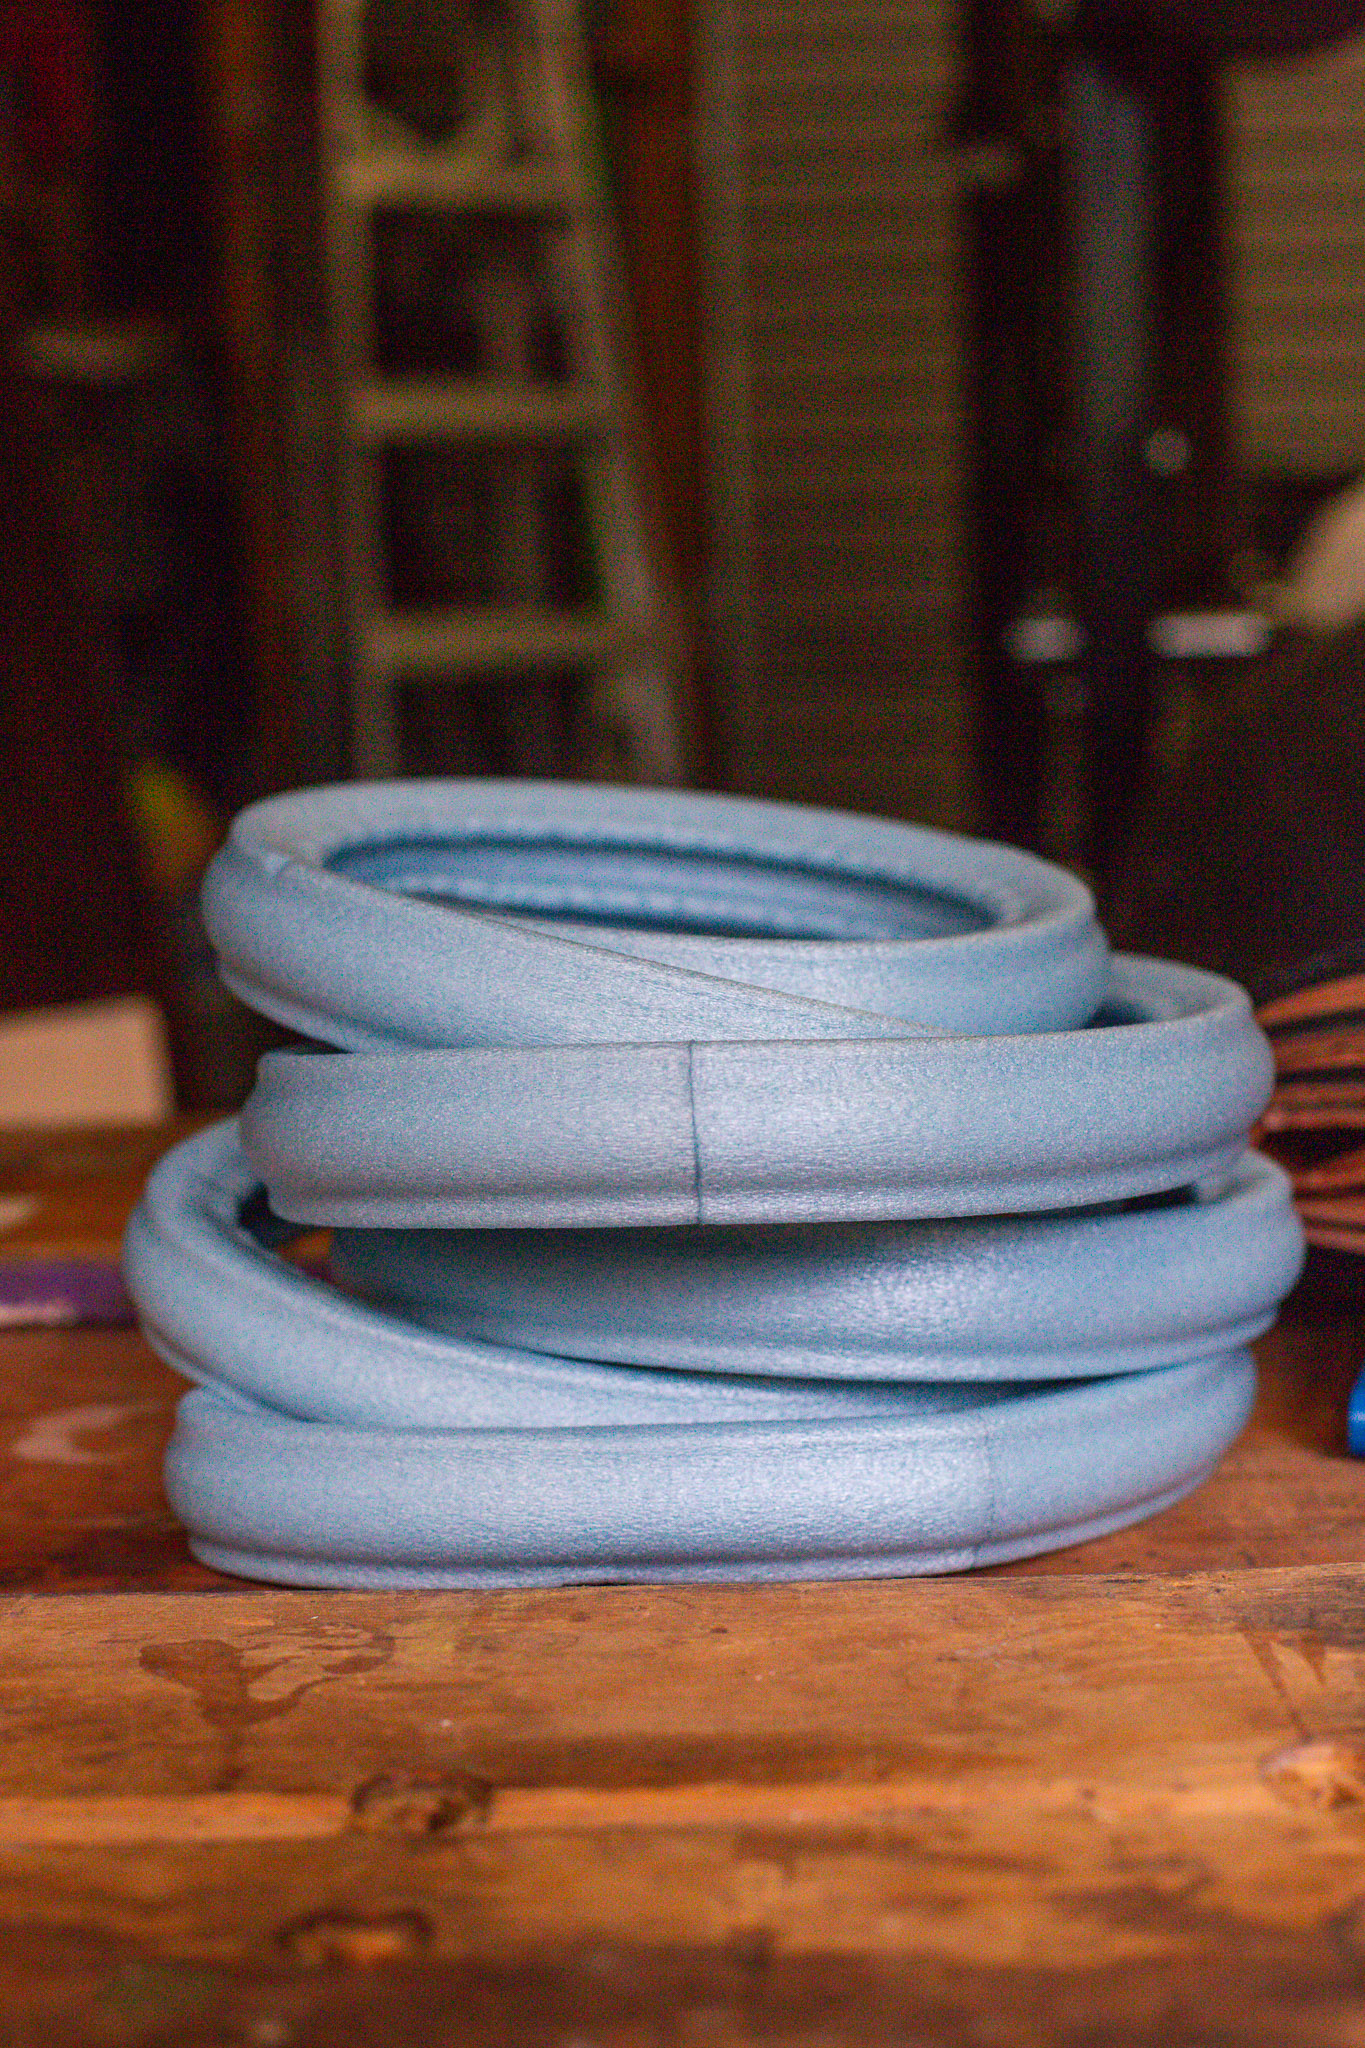
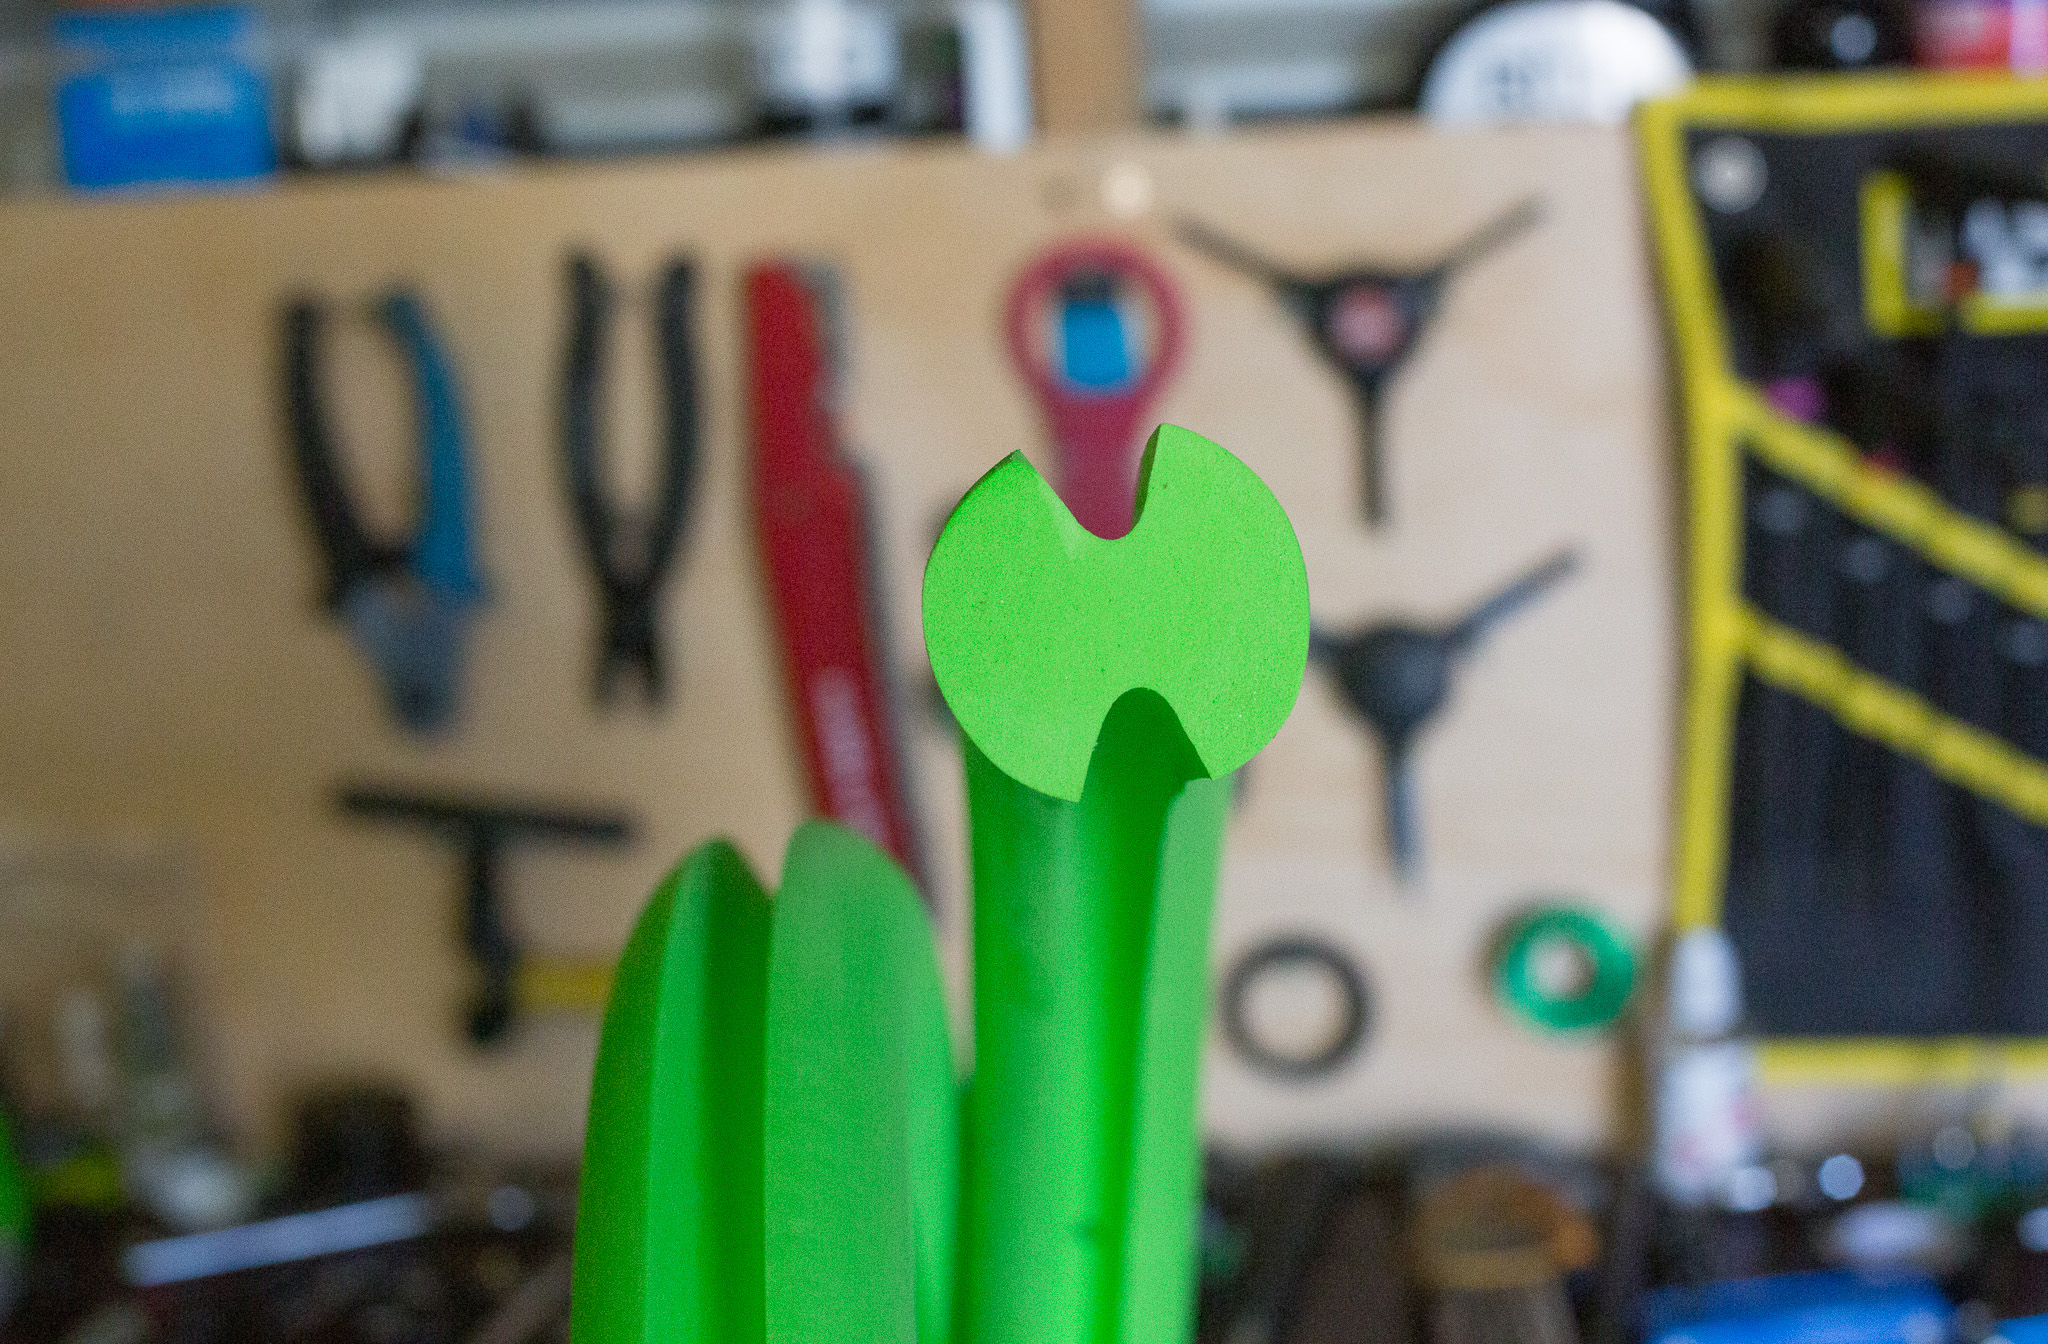
While most inserts in this group test follow a similar mould, the Vittoria Air-Liner stands out as a unique offering. Claims of its run-flat capabilities headline the marketing spiel, along with statements behind its compatibility with all tubeless valve types. Available in 4 sizes which are descriptive of the inserts cross-sectional dimensions there should be an Airliner to suit most MTB based applications. Curiously, the unique features continue with the fact that the Airliner is shipped as a single incomplete unit (not unlike a pool noodle), which must be cut to size and zip-tied together to suit your specific wheel diameter.
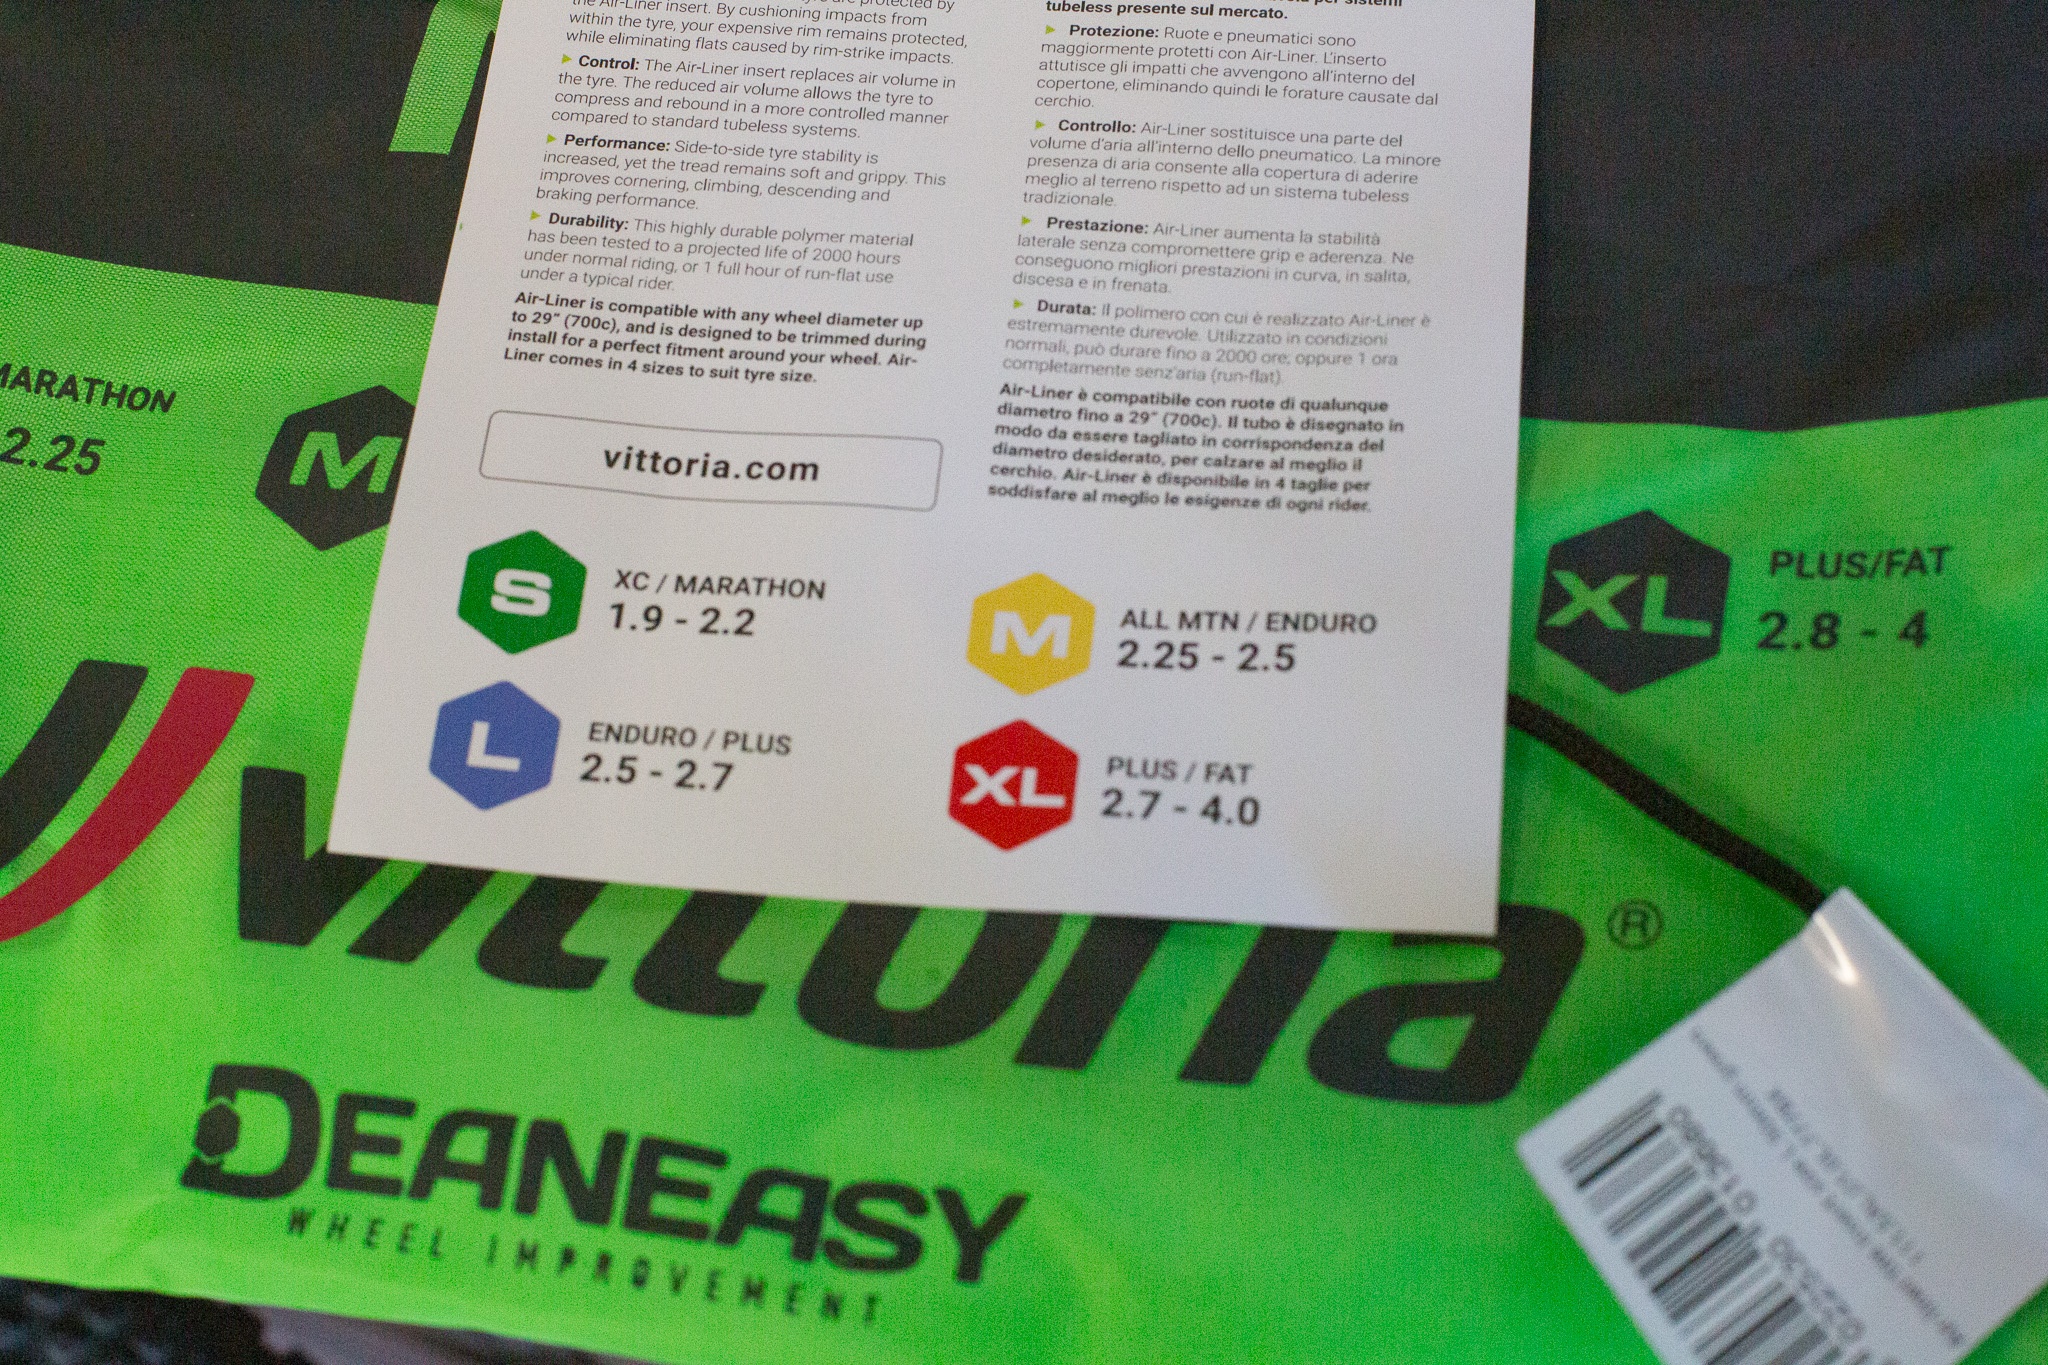
Set Up of a Vittoria Air-Liner MTB
As mentioned above, Air-Liner must be cut to length and then zip-tied together prior to installation. While this is a fairly quick and easy process there is a margin for error which makes me question why they chose to deliver the product this way? It seems a little half-baked to take a stanley knife to a brand new product, cut it, and then zip tie it together prior to mounting it in your tubeless wheelset. Nevertheless, after this trimming was complete I installed the control tyres (Pirelli Enduro) in a fashion that was similar to, and as frustrating as the first time you install a Cushcore Pro.
The massive cross-sectional profile of these inserts leaves little of the tyre’s carcass to manipulate, making getting the tyre itself on quite challenging. Second to this, its rounded edges make it prone to jumping out of the rim bed as you’re wrestling the tyre. As with installing a Cushcore Pro it is imperative you take your time – you’ll get there in the end. Once installed I used a syringe to add sealant to the tyre through the valve body with no issue. As Vittoria claimed these inserts were compatible with any valve type, they were tested with a set of generic Stans tubeless valves.
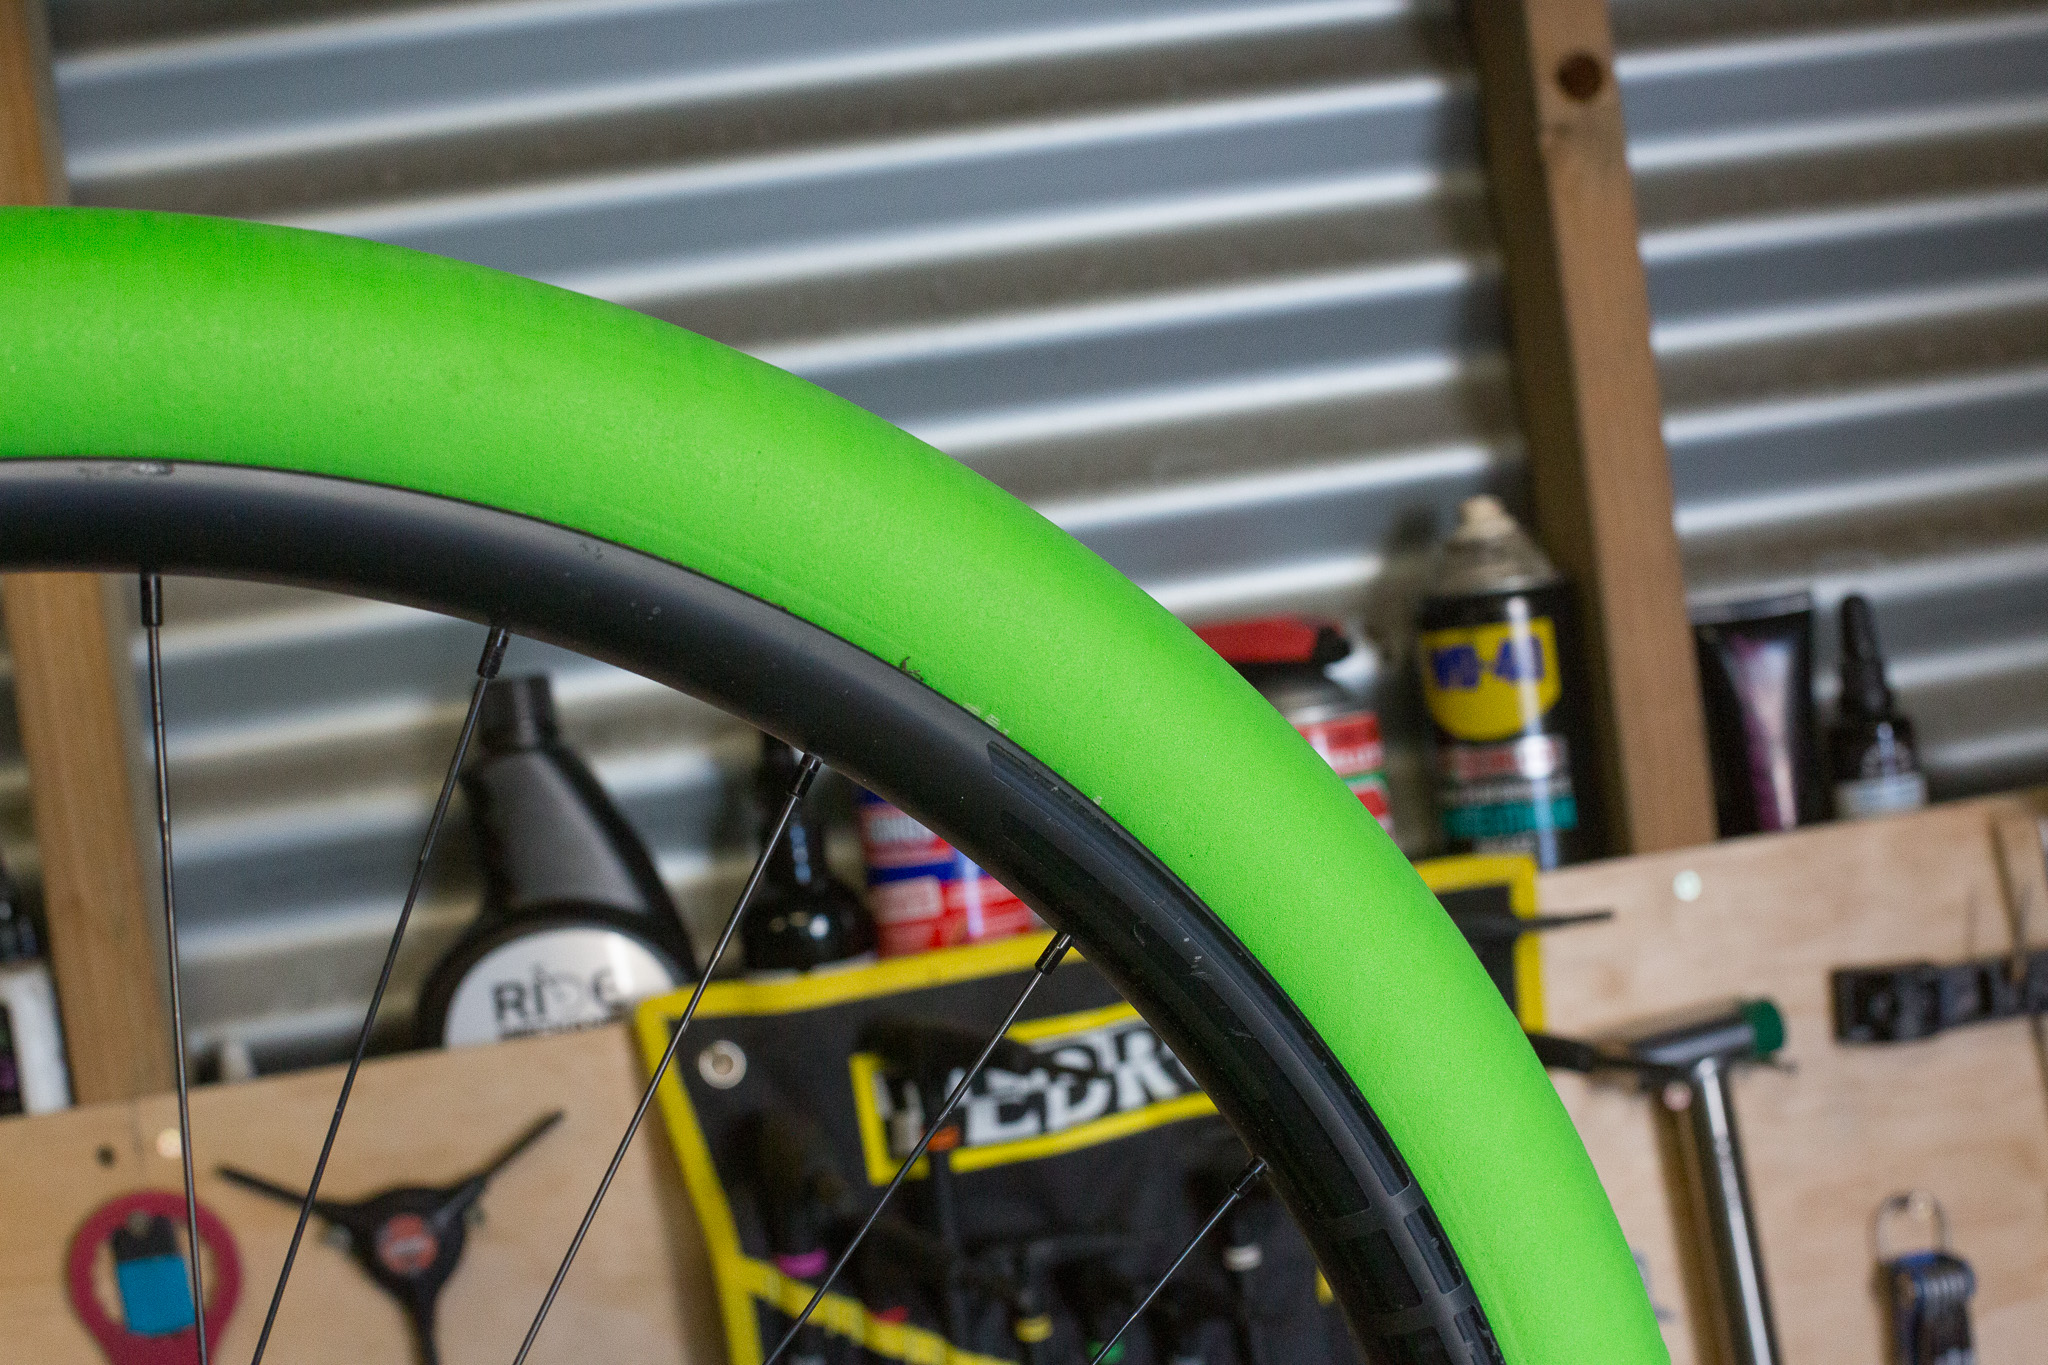
On The Trail
Frustratingly, most of my test rides began with a blocked valve inhibiting me from accurately checking and adjusting pressures. Some investigation showed that the valve was being covered by the insert, disproving Vittorias claims that their inserts can be used with any tubeless valve. My remedy for this during use was to over inflate the tyre, and then bleed air out by removing the valve core and pushing the insert away from the valve with a 2.5mm allen key. Through testing, I did settle on lower pressures than what I would typically use without inserts which is typical for most insert systems. The Air-Liners really do stand up to their claims of increased bump absorption and sidewall support. There is one particular rock garden I ride regularly which has a few sharp, square rocks that really knock the wheels around. With the Airliners, these impacts were muted more than any other insert I have ever used. This can be attributed to their fairly dense makeup, and class-leading volume. Furthermore, this massive volume and tyre support as a result also meant that no matter how low I got with pressures, I could still roll around as if I was riding on a typical pneumatic tyre.
Verdict
The Vittoria Air-Liners were arguably the most difficult insert to live with, and also most expensive of the models we have tested. Furthermore, they require insert specific valves similar to a Cushcore or Tubolight – regardless of what the spec sheet says. However, these frustrations melt away as you’re gleefully smashing through a rock garden with reckless abandon. These inserts mute impacts and trail chatter better than any other we have used, thanks to their high volume and firm material. Racers who are concerned with nothing more than completing their timed runs above all else should consider these inserts as the combination of their bump absorption, run-flat ability and rim protection is unchallenged.
Tubolight EVO HD – $80 per wheel
Tannus Armour Tubeless Inserts – $99 per wheel
CushCore Pro – $145 per wheel
Panzer Agressive – $100 per wheel
Rimpact Pro/Original – $135 for the set
Vittoria Air-Liner MTB – $164.95 per wheel
Tubolight SL – $80 per wheel
Panzer XC Light 28mm – $100 per wheel
Vittoria Air-Liner XC – $119.95 per wheel
Tubolight EVO Gravel – $120 pair
Tubolight EVO SL
$80 each | FEsports.com.au
Available in: 29”, 27.5”
Weight: 60g in 29”
Width: 51mm
Height Above Rim: 25
Intended use: XC, Trail, Downcountry
Tester: Mike Blewitt
Tubolight have quickly made a name for themselves by delivering a range of inserts for gravity, cross-country, gravel and even road bikes. They are easy to fit and quite light for the protection offered. Like the Tubolight EVO HD Hayden tested, the EVO SL uses a shape that creates an internal chamber of sorts, while there is another chamber of air between the insert and tyre. Bear in mind this isn’t an airtight chamber like the OG Schwalbe Procore – but it’s certainly enough to mean you need to put the sealant in the right place. I have used the Tubolight EVO SL in one or both ends of my 120mm cross-country bike for about 18 months.
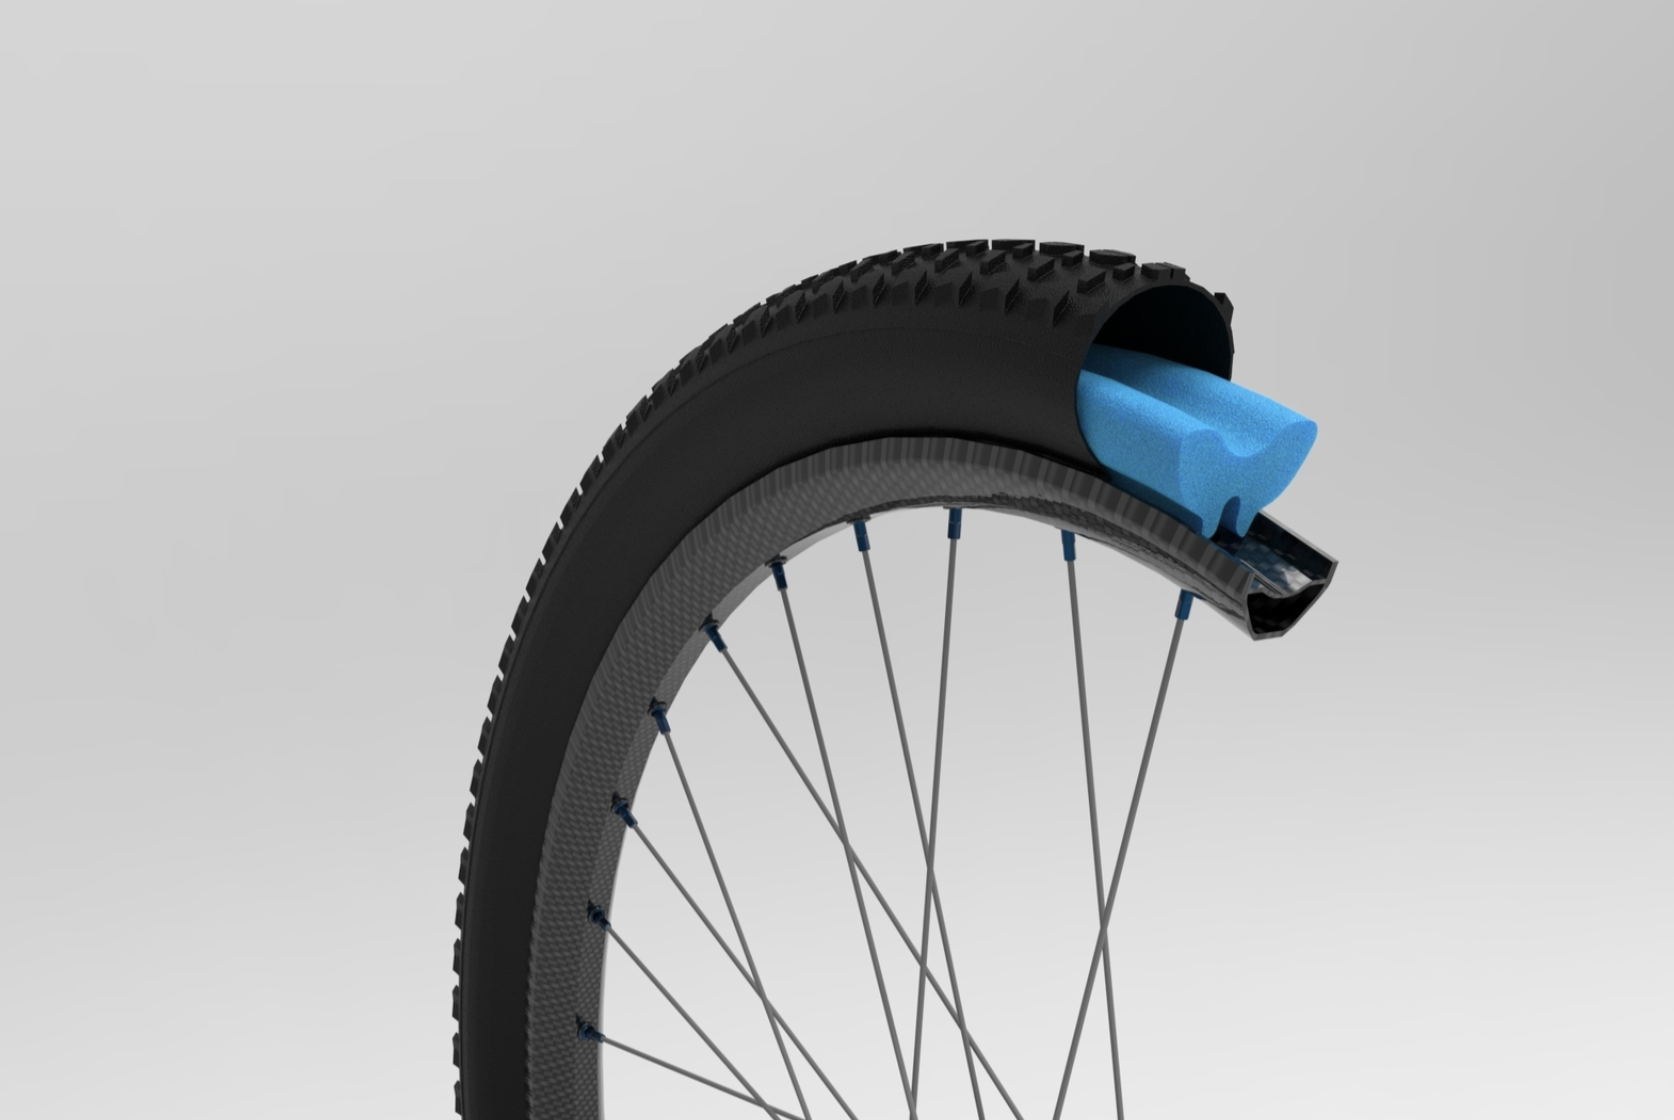
Setup of Tubolight EVO SL
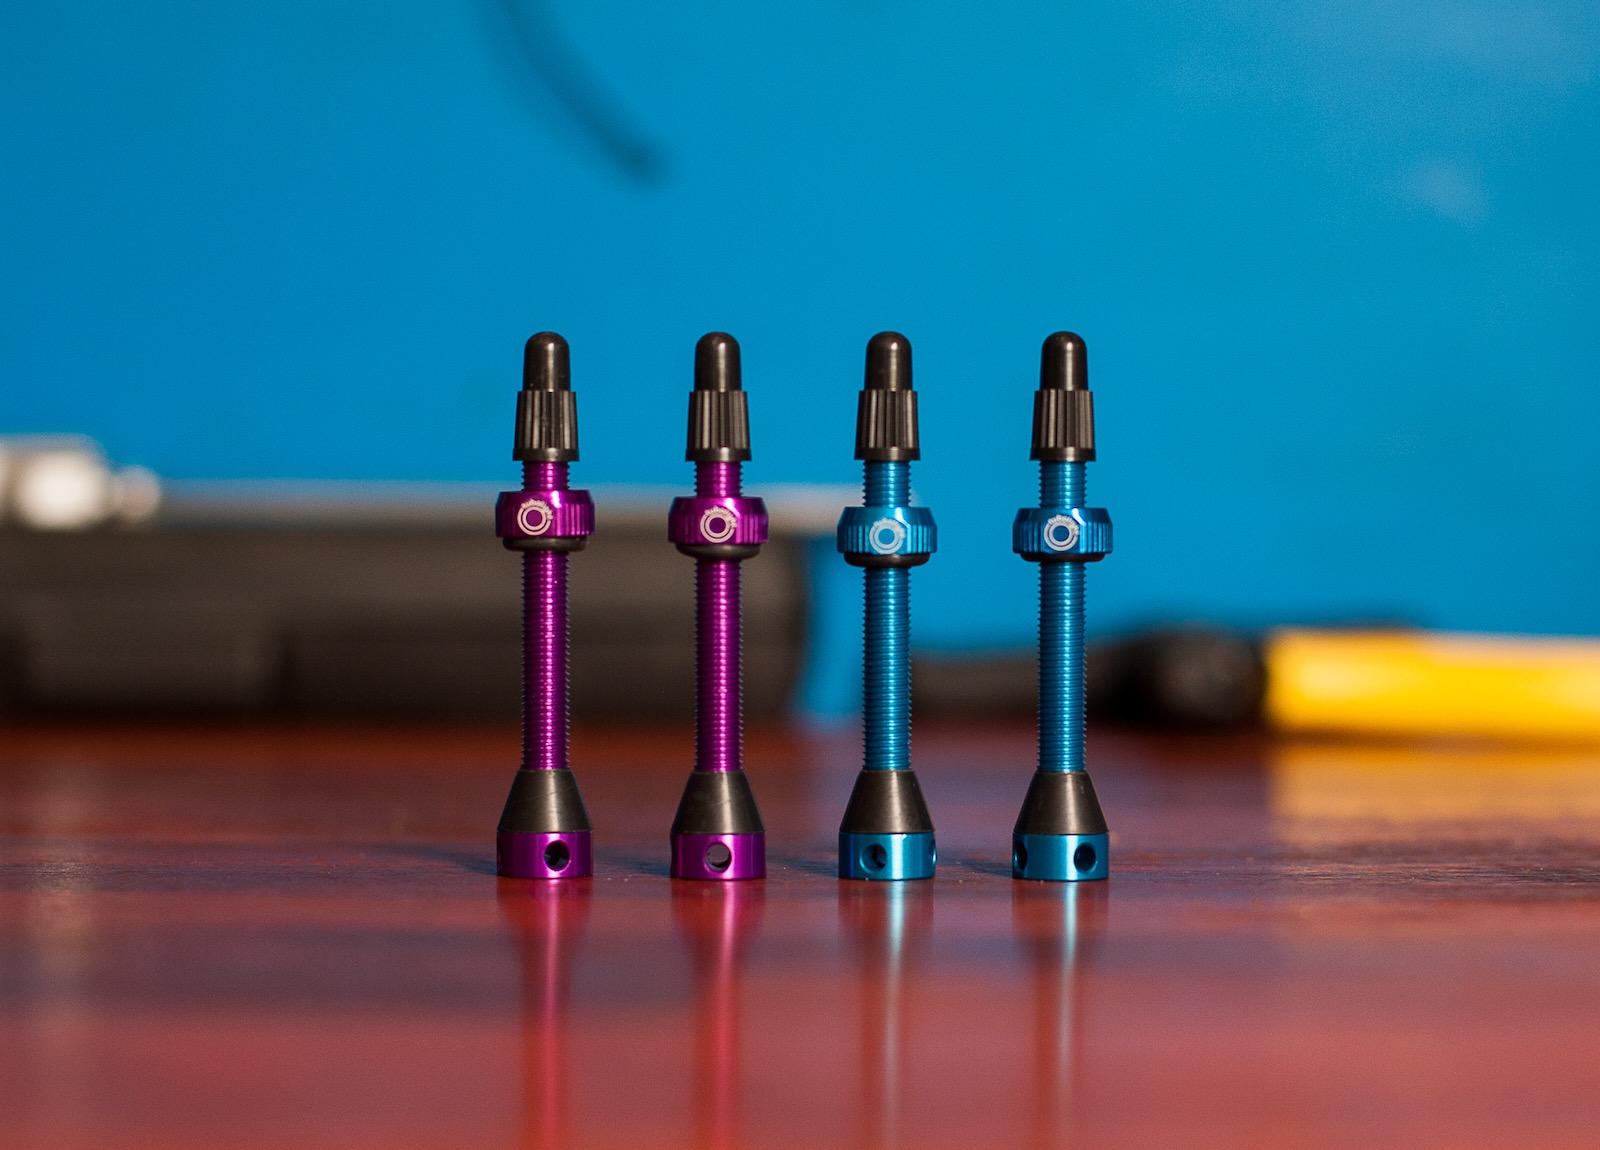
This is easy, as you saw with Hayden’s review fitting a Tubolight EVO SL is laughingly simple. You do need a specific insert valve, and while they do not come with the inserts, Tubolight do sell their own snazzy anodized alloy valves.
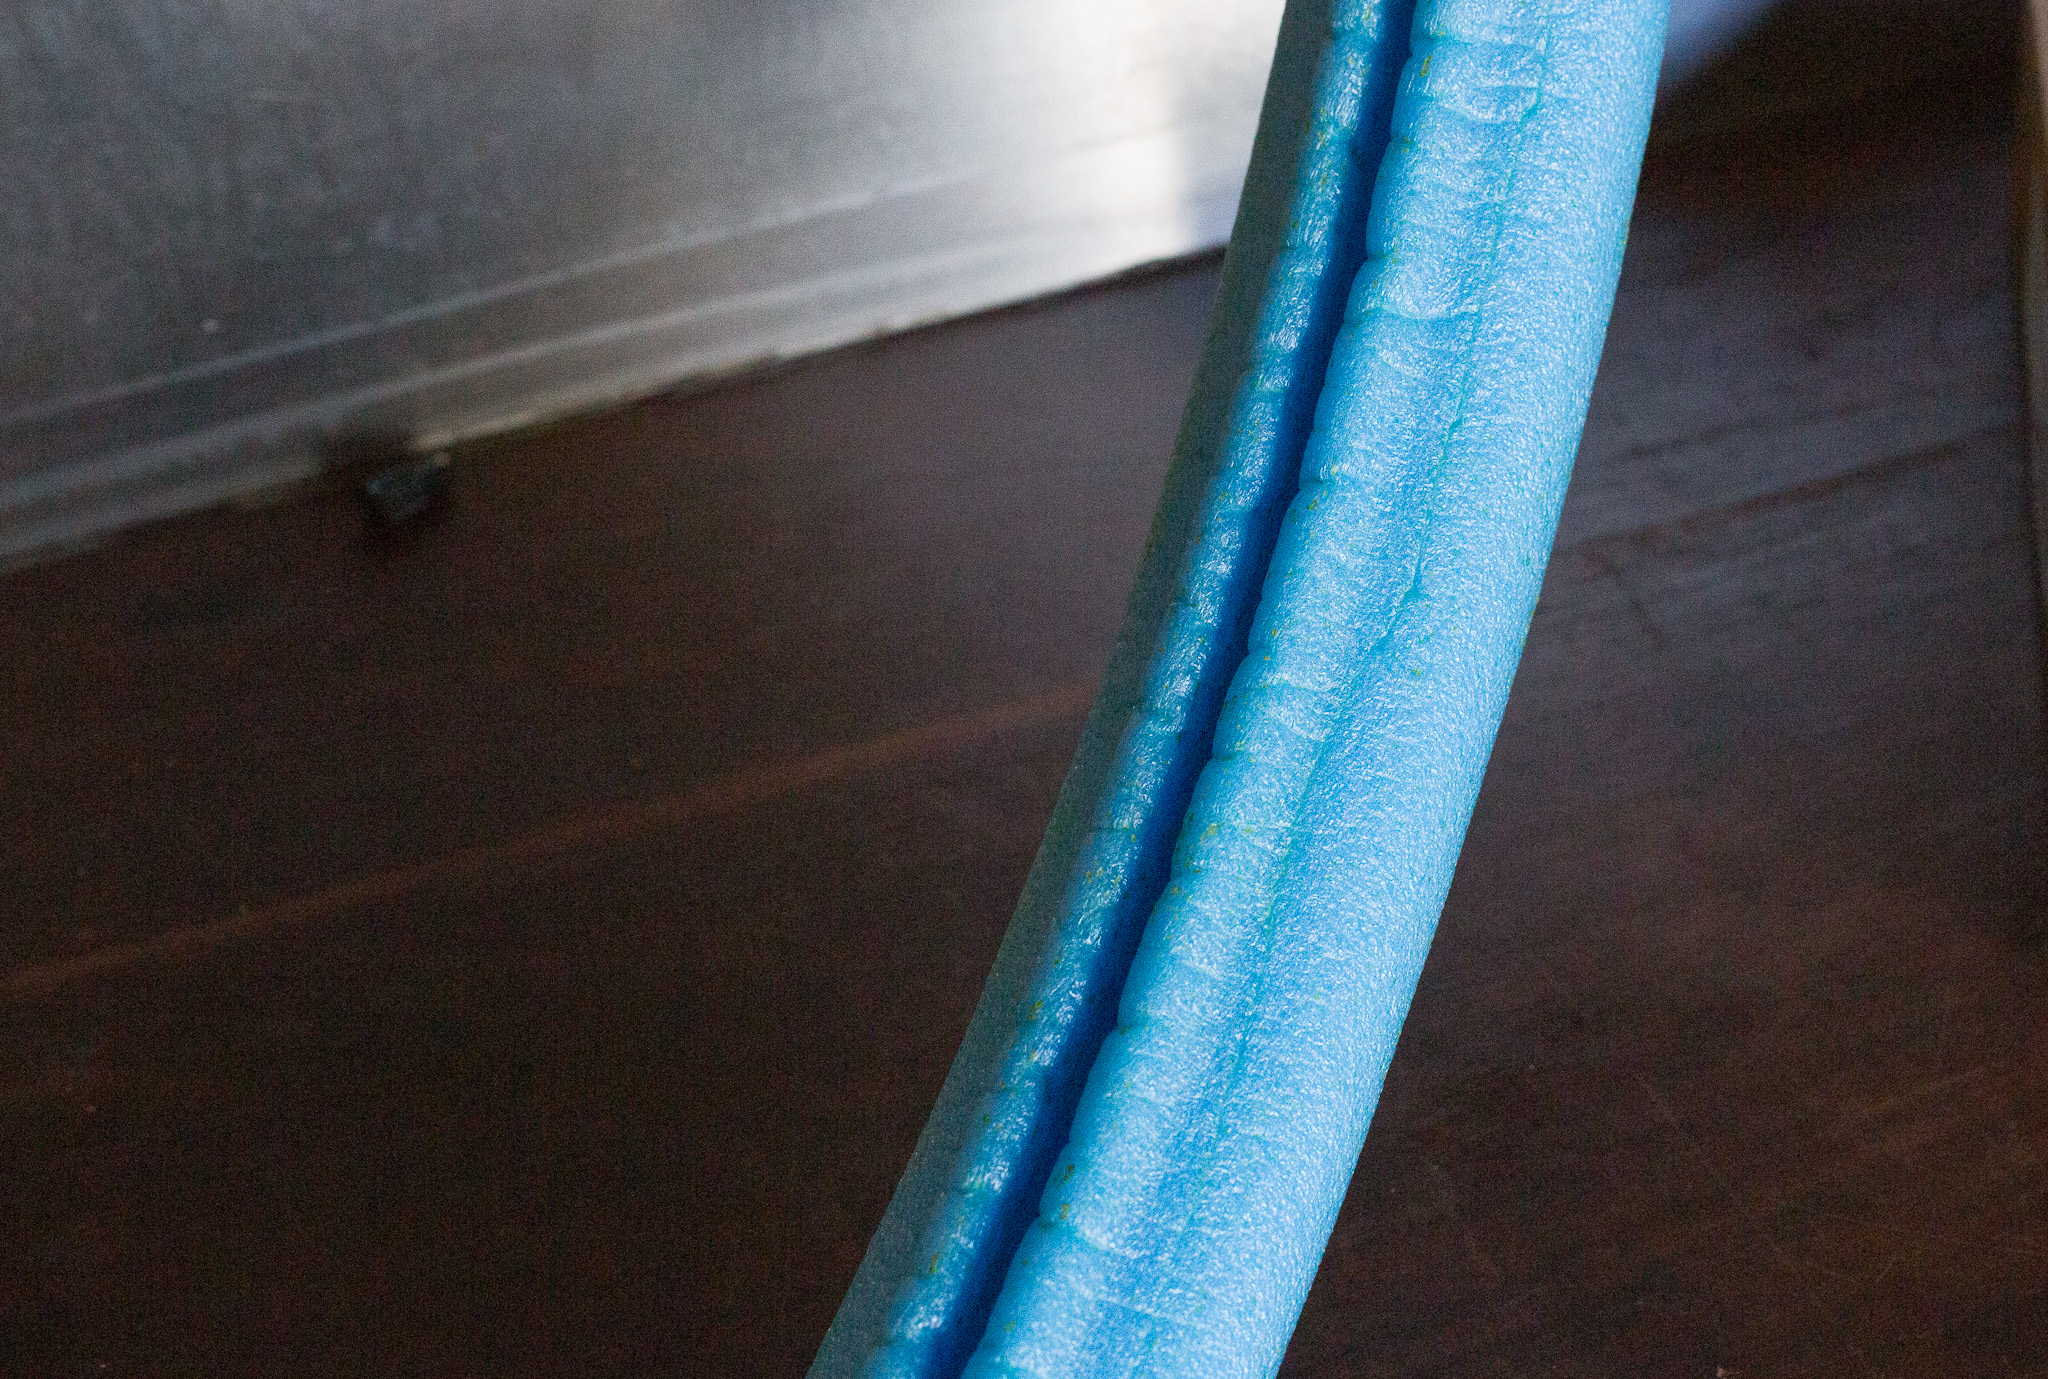
When fitting, you need to seat one bead of the tyre on the rim, then push one lip of the insert into the space. Then you move the second lip of the insert in, and make sure that and the one bead of the tyre are in the lower part of the rim well. I find getting most of the other bead in is easy enough, save for the last quarter or so. At this point – put your sealant in so it is against the tyre. If you want to put it through the valve it will stay mostly in the chamber next to the rim – which isn’t much help. I typically use a tyre lever to get the last bit on but depending on the tyre and your arm strength, you may not need to.
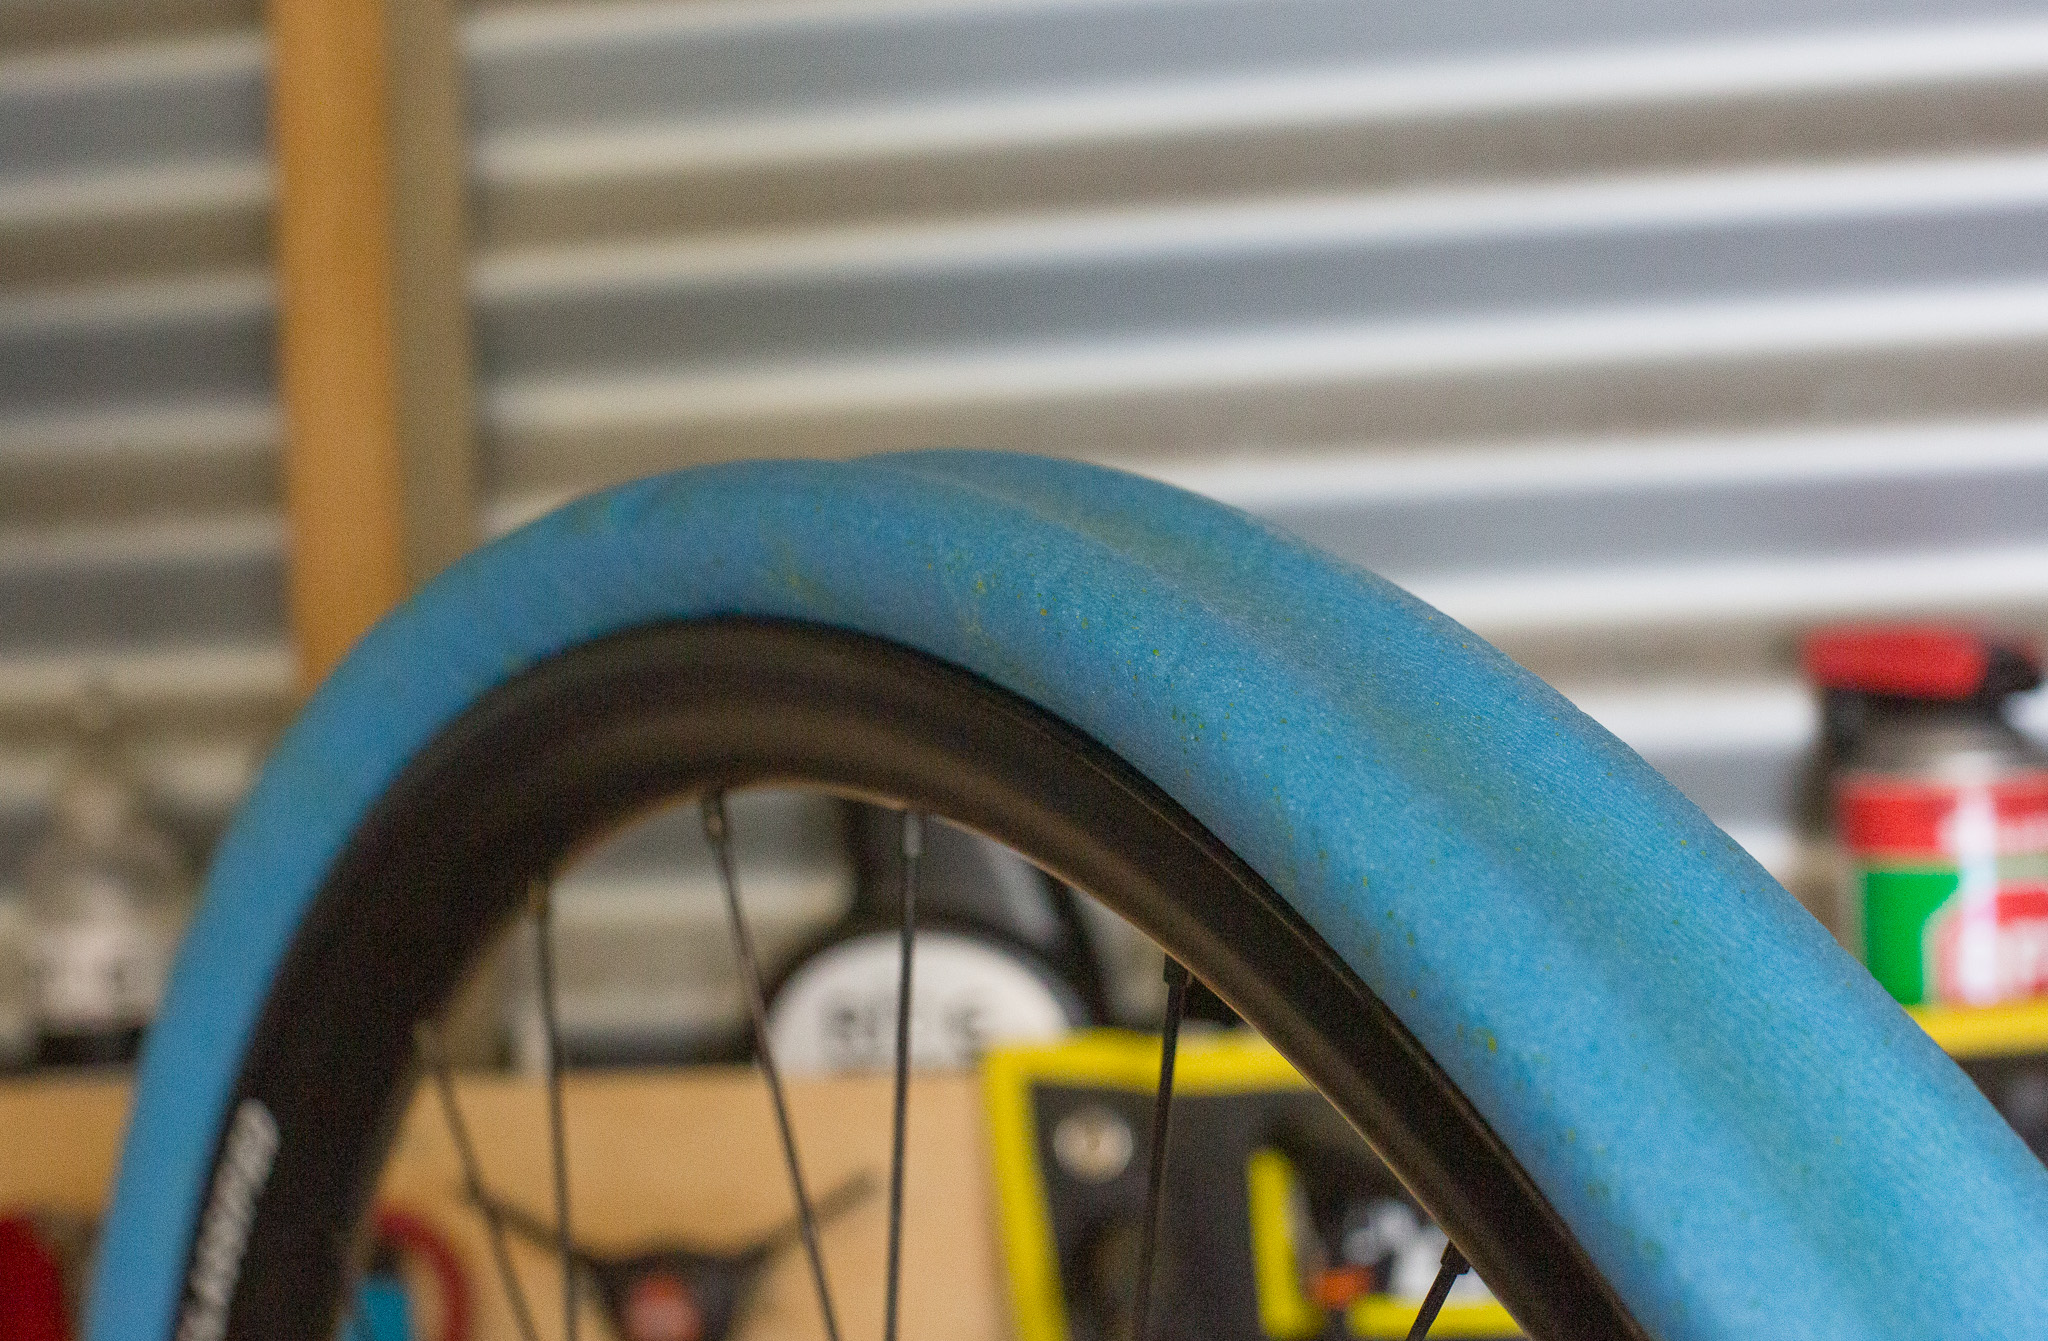
On the Trail
The Tubolight EVO SL acts a lot like the HD – it’s just got a bit less volume and a less dense foam for less weight. The design does lock the bead in place quite well, but not quite the same as a CushCore. Similarly, it does add sidewall support running about 25mm up the side of the tyre.
I’ve spent a lot of the last 12+ months using 30mm EIE Carbon rims with a MAxxis Rekon Race/Aspen combination, or Rekon/Ikon combination, mostly with a Tubolight EVO SL in the rear only. It meant I could ‘comfortably’ race my hardtail in Derby, ride hard in rock gardens, or even load up for bikepacking trips with extra weight still on race wheels or tyres.
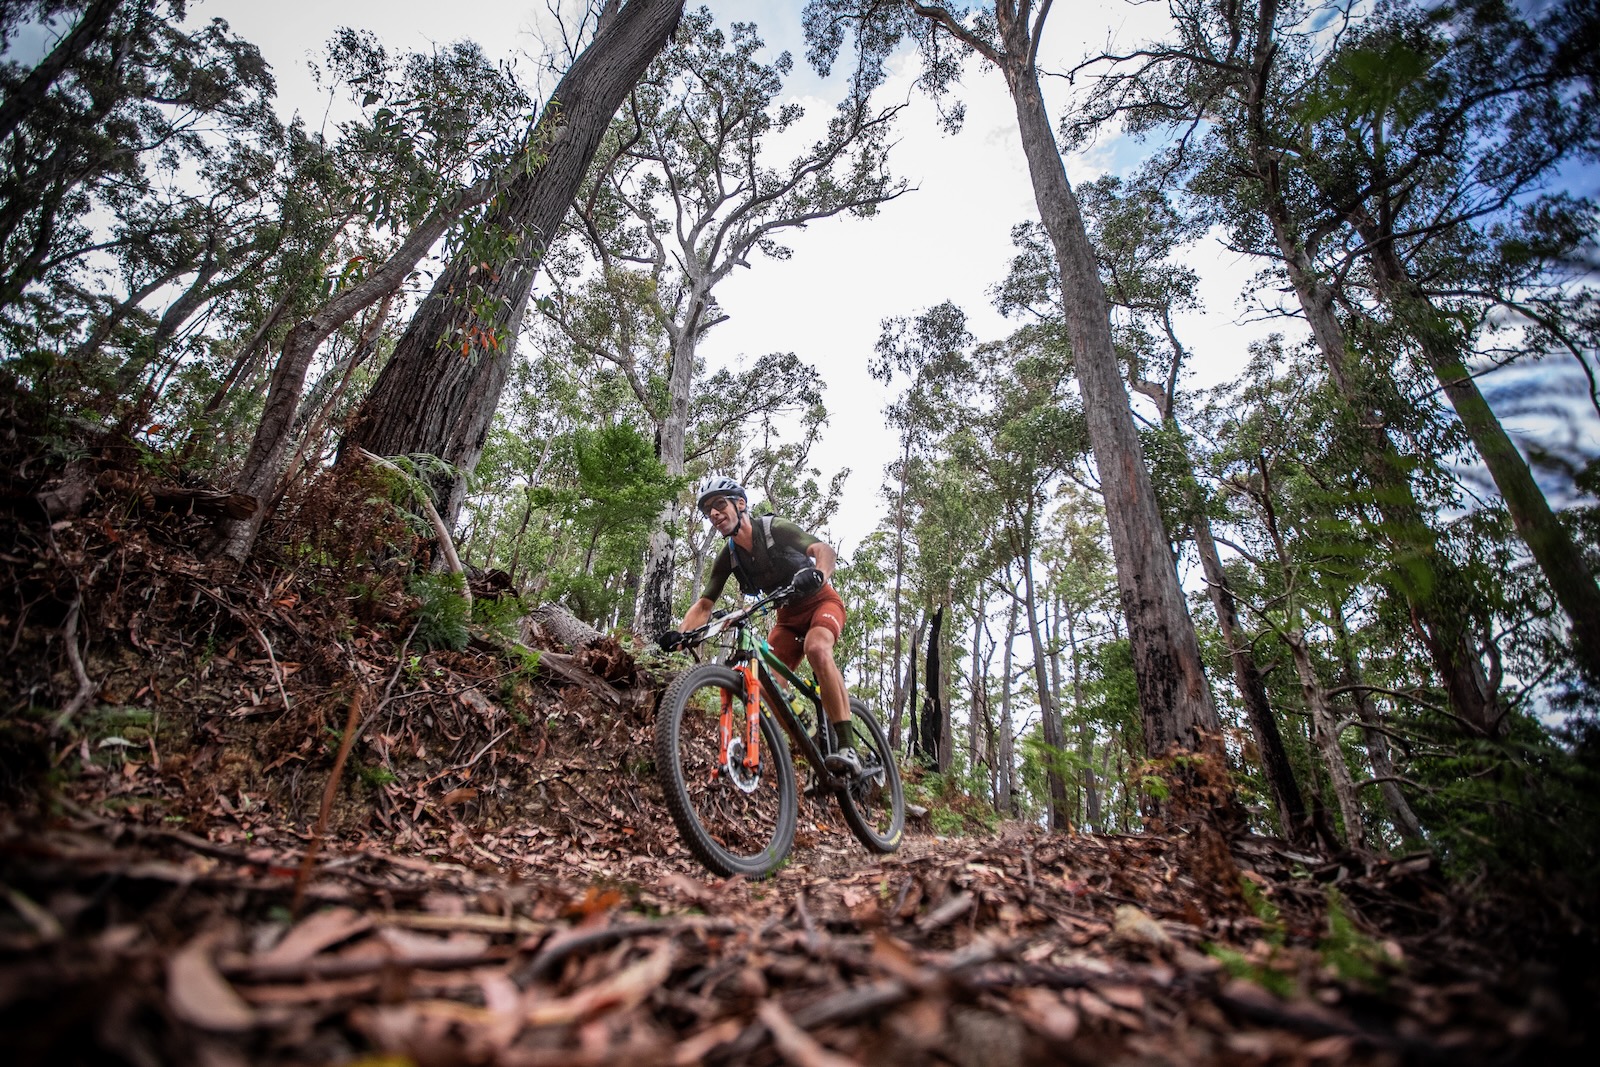
At times, from an efficiency point of view, it does feel a bit slower with an insert in. It is rubbing against the casing and rim afterall so there is more resistance there. In a race setting the beenfits are immense – as when you feel sealant on the back of your leg you know you can keep riding, if you think it will seal. You won’t crack a rim. Even if it’s just slowing down safely to plug the hole, it is a benefit.
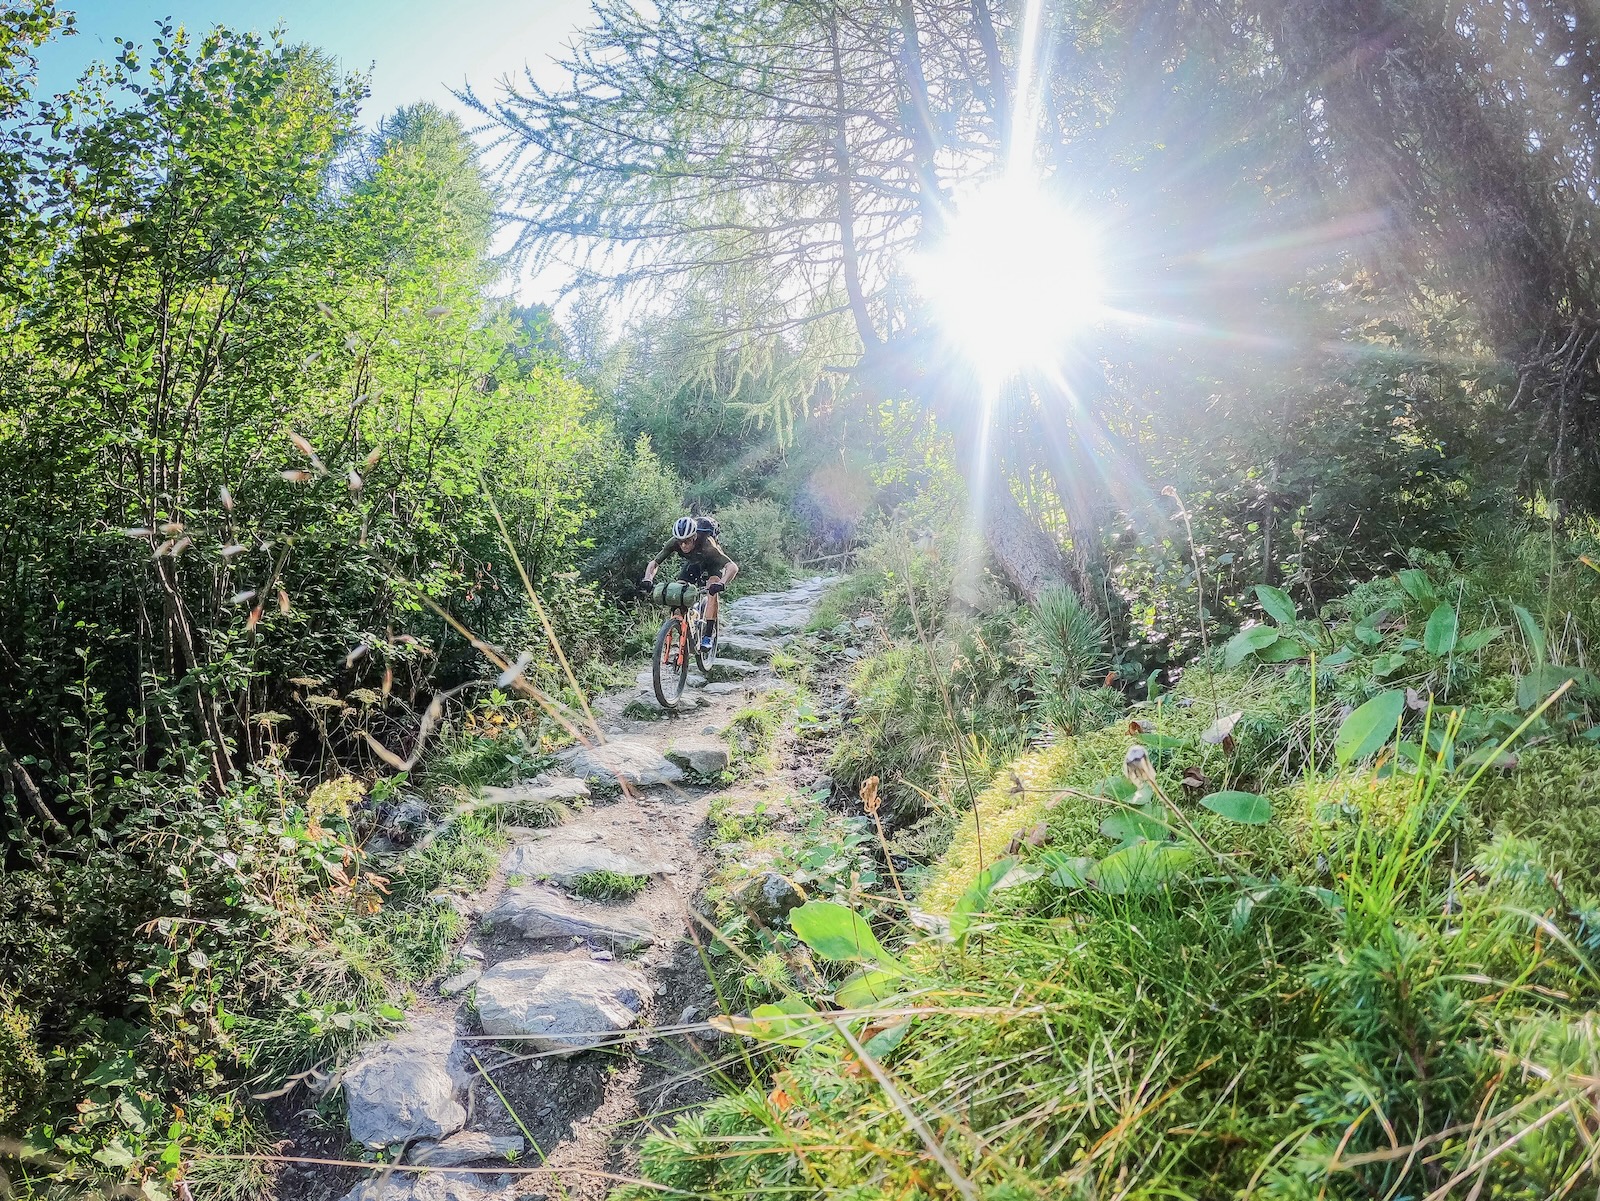
The downsides in a race sense are tyre removal or if you need to put a tube in – you have to be invested in plugging any puncture, which means knowing how to use plugs and having fresh sealant in at all times. I’d also suggest knowing how to remove the insert if needed. The bead does get locked in more than you might expect for a light XC tyre and insert – it does need a good wrench to break it off – simple once you know how much force.
I’ve found with a Tubolight EVO SL liner in the rear wheel I’m sneaking under 20psi more often than not, although this will depend on the tyre I am using and the conditions.
Verdict
After replacing a couple of broken rims in 2022 it made sense to look at something light, easy to fit, and reliable. That turned out to be the Tubolight EVO SL. While the SL and HD models may be fore XC and DH at a glance, you may be best to think of them in terms of force. I’ve heard some gravity racers use the SL in the front, and Jolanda Neff uses HD both front and rear. The EVO SL have been my choice for well over a year and they’re well worth a look for anyone looking to up the support and protection for the wheels for cross-country, marathon, stage racing or even downcountry or light trail use.
Tubolight EVO HD – $80 per wheel
Tannus Armour Tubeless Inserts – $99 per wheel
CushCore Pro – $145 per wheel
Panzer Agressive – $100 per wheel
Rimpact Pro/Original – $135 for the set
Vittoria Air-Liner MTB – $164.95 per wheel
Tubolight SL – $80 per wheel
Panzer XC Light 28mm – $100 per wheel
Vittoria Air-Liner XC – $119.95 per wheel
Tubolight EVO Gravel – $120 pair
Panzer XC Light 28mm
$100 each | kwtimports.com.au
Available in: 29”
Weight: 120g in 29”
Width: 52mm
Height Above Rim: 23mm
Intended use: Cross-country, marathon
Tester: Mike Blewitt
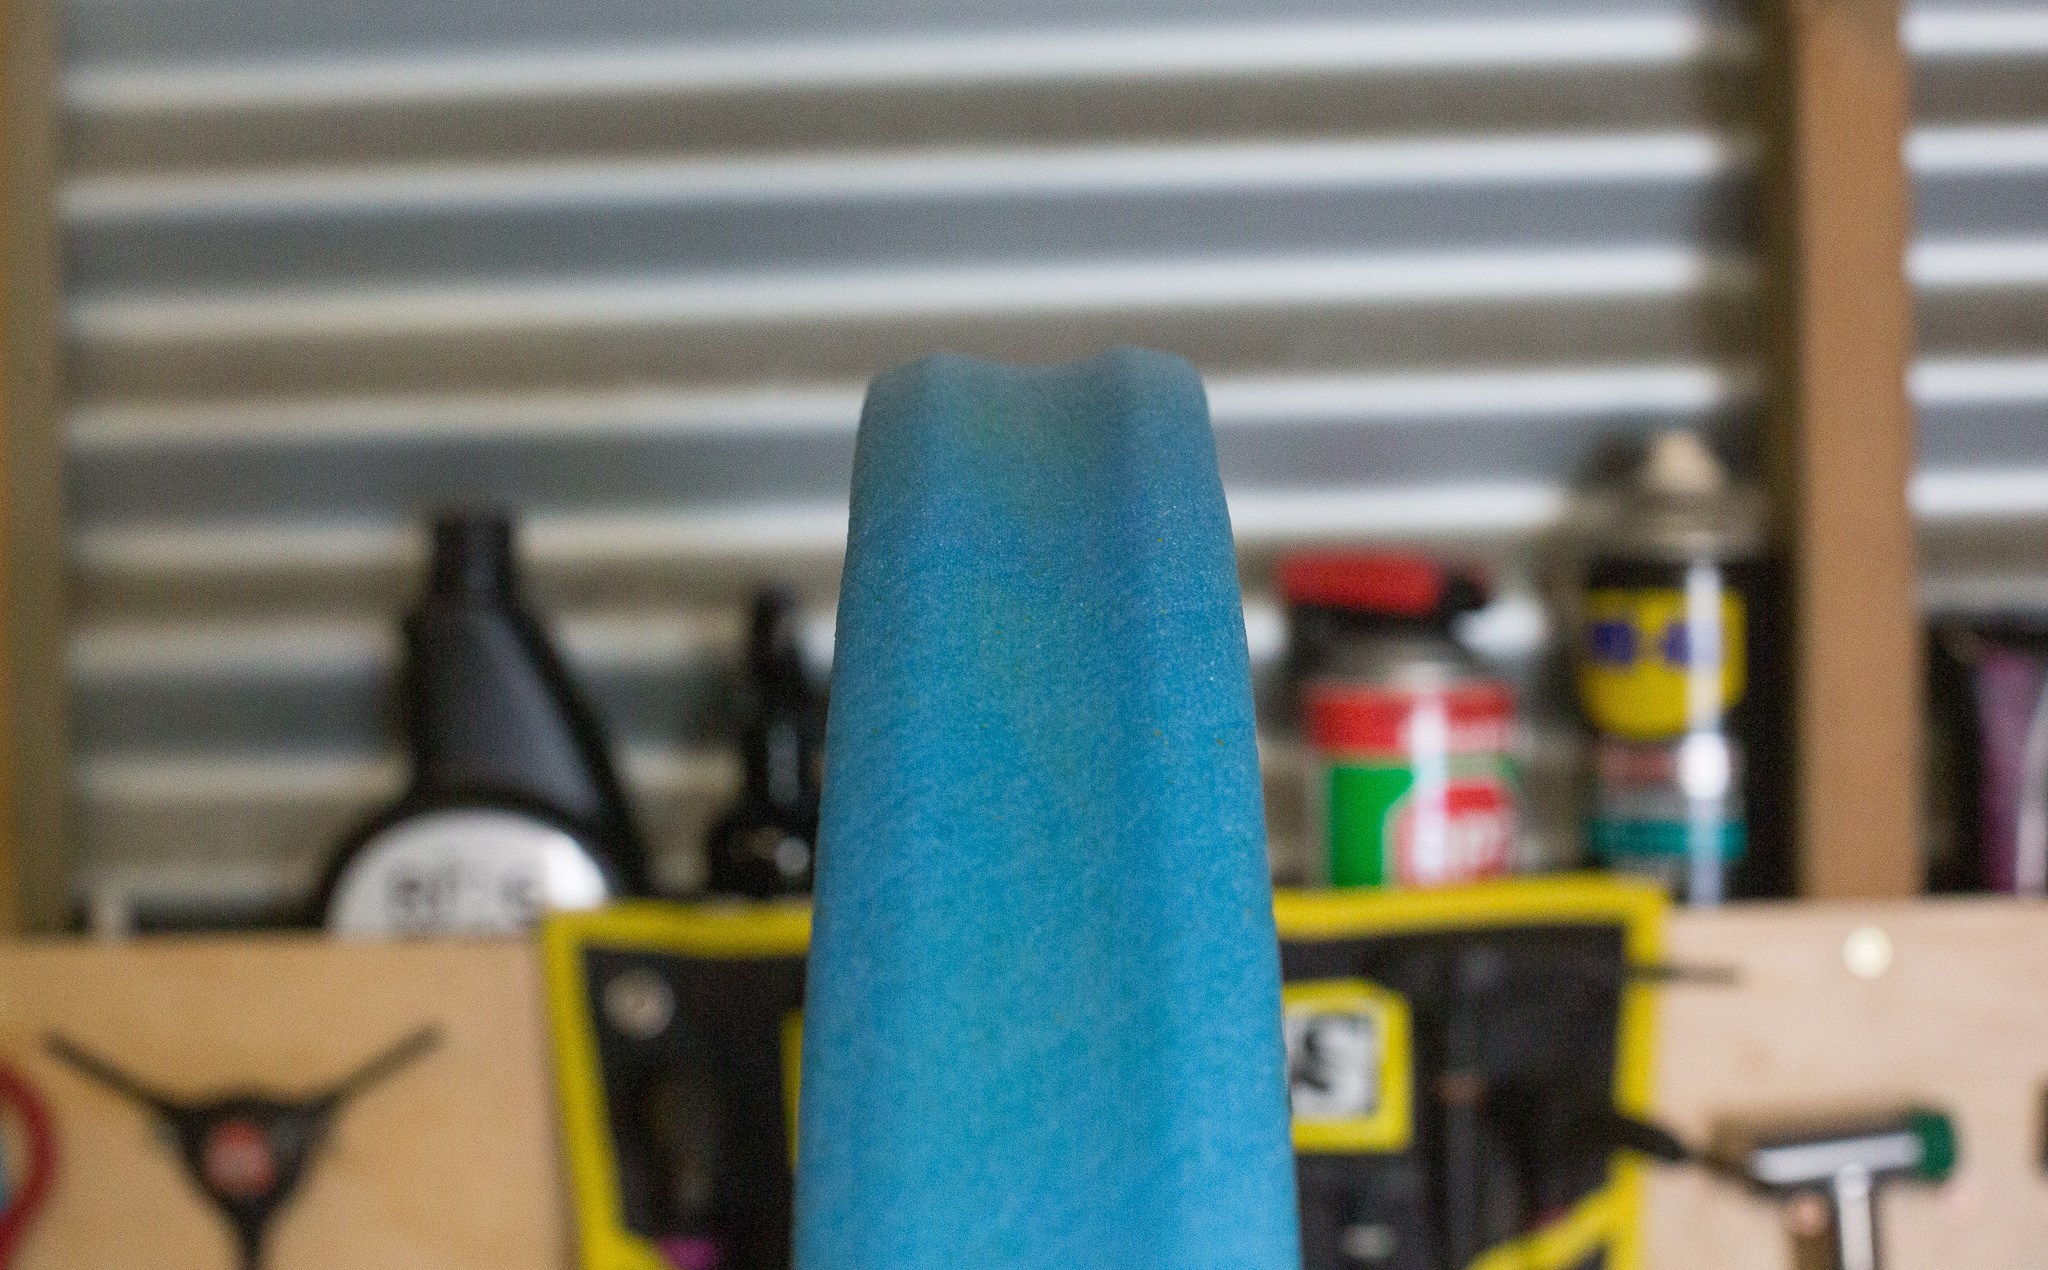
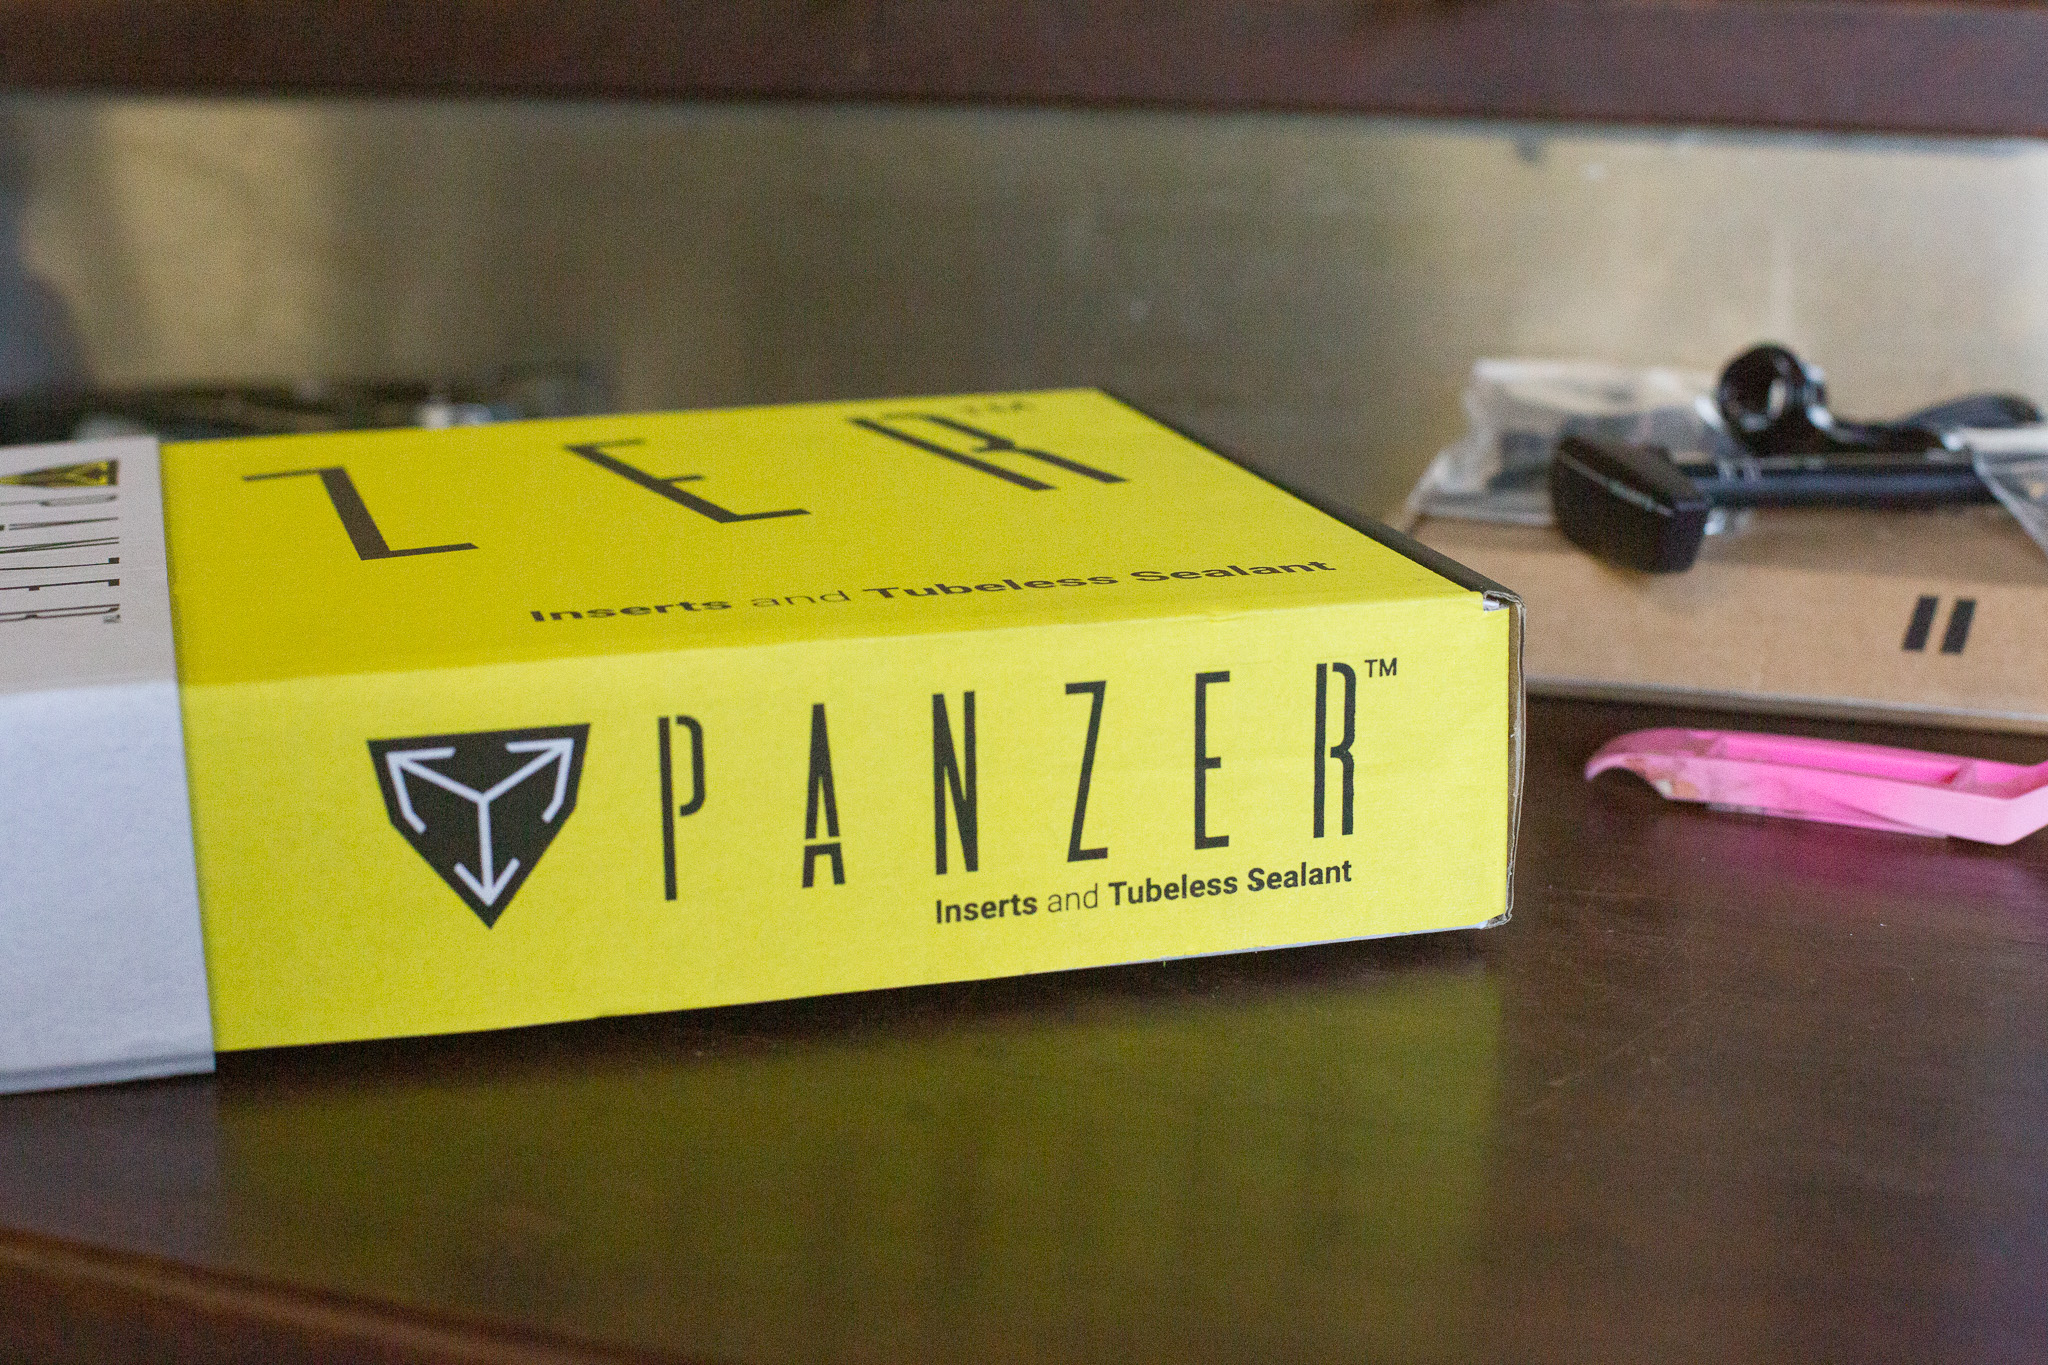
Panzer have a range of inserts dedicated to aggressive/gravity use, cross-country use and even a gravel model. The liners are a fairly snug fit over the rim, with a deep profile that helps lock your tyre bead into place while also offering good sidewall support.
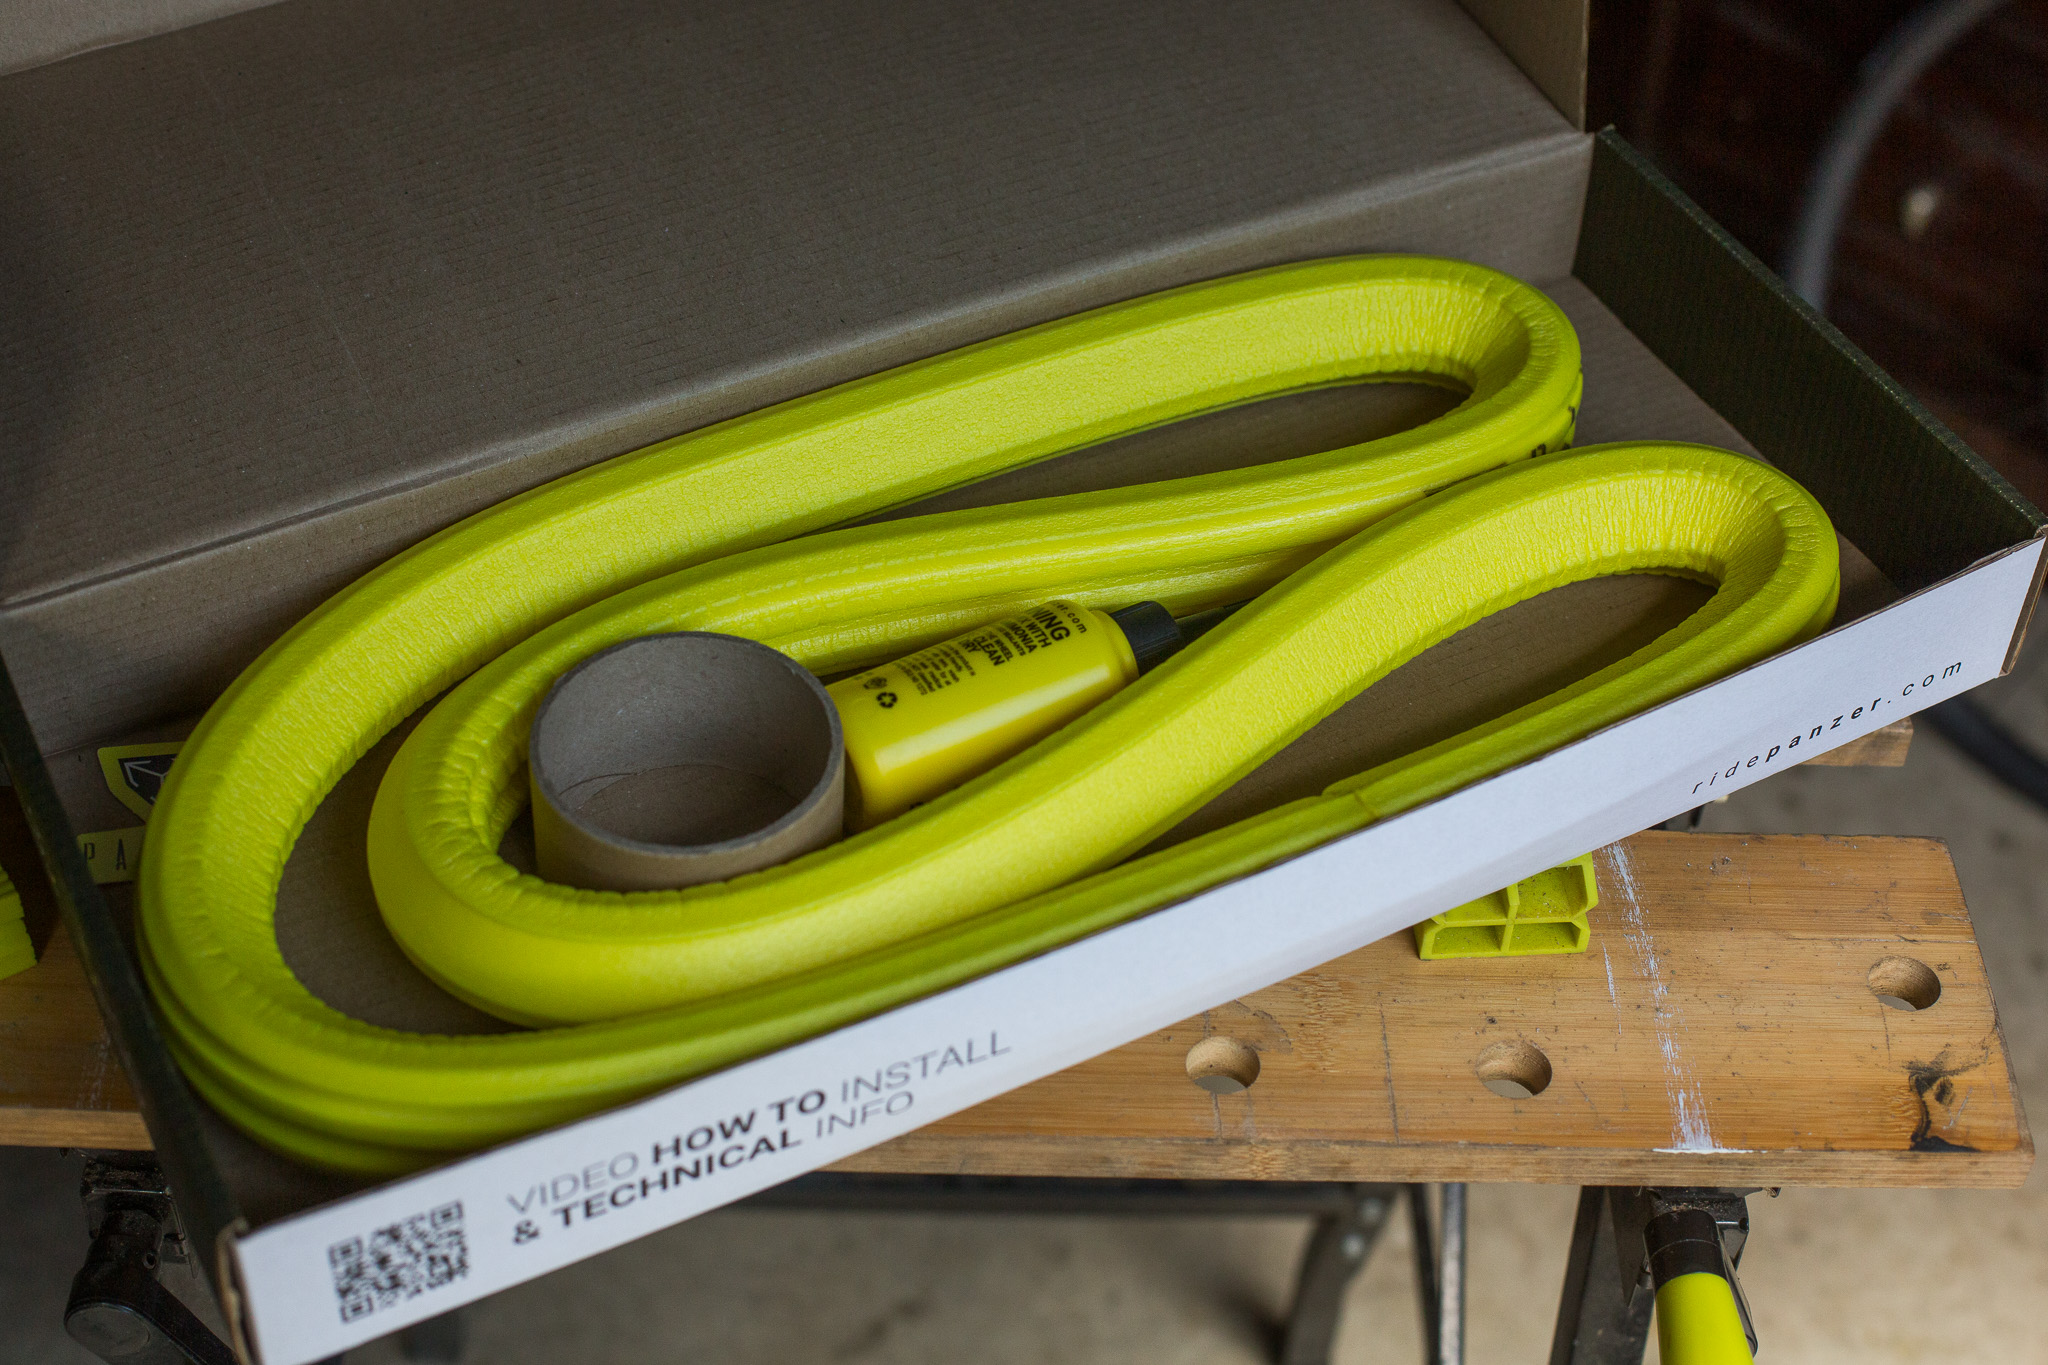
Panzer also have their own sealant, which they recommend you use exclusively with their inserts. I have tested the Panzer EVO XC previously, and I liked the low weight and protection available, I even got pressures down to about 16psi in 2.4″ Maxxis WT tyres!
Panzer have updated their range, with two widths in their XC Light model, with 25 and 28mm (on test here) to offer best fits for 2.1 – 2.4″ tyres. But it is the material that has truly changed, with the new compound meaning Panzer have 12% less volume. This means more air to do the job of finding traction, but still with the needed support and traction.
Setup of Panzer XC Light
Panzer have their own setup video but essentially, like most tyres you put one bead on, the insert, then the other bead. However – Panzer do state that the tyre must be clean and free of any other sealant.
I used a Vittoria insert compatible valve as from experience, you really need it with the Panzer inserts as they do sit atop the valve.
The Panzer XC Light is a pretty snug fit – more so than the Tubolight EVO SL and especially more than the Vittoria Airliner SL. It’s also the densest material, so it makes sense that it is snug. The V shape sits right into the rim well and I got the second bead most of the way in before adding the recommended 90mL of Panzer’s own sealant.
On the Trail
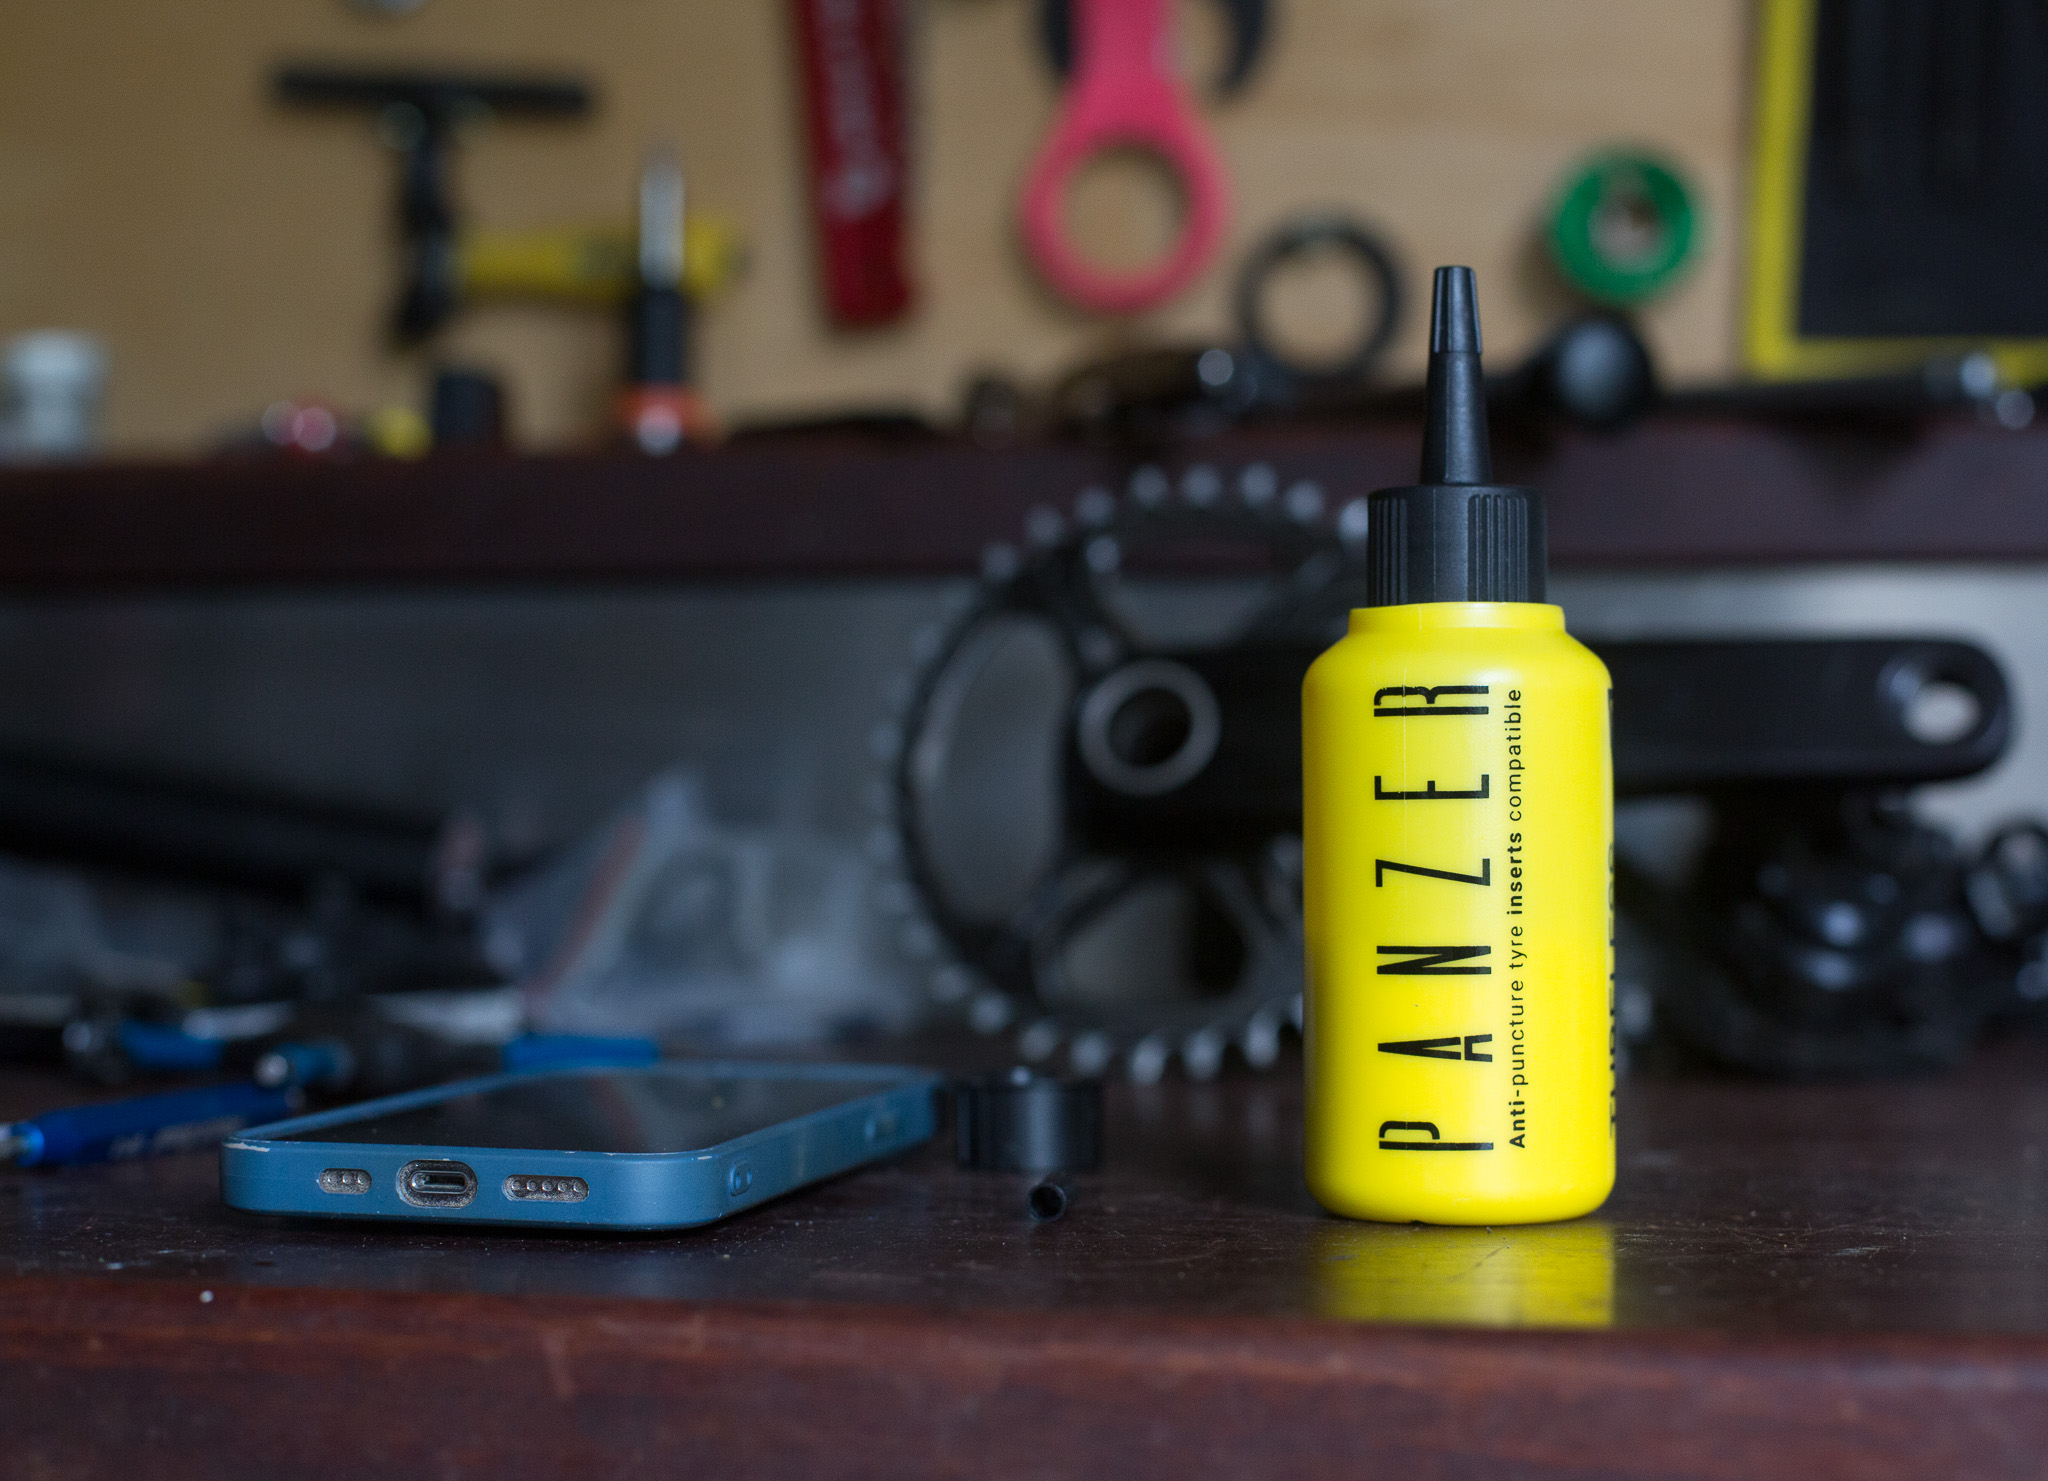
Just like with the original Panzer XC insert, I readily took to the feel of the Panzer XC Light model. There isn’t a massive difference but they are subtle. I hovered at 17/19psi front and rear on my local trails, which gave me the stability I wanted without any mush. This is a couple of psi lower than what I would run without inserts, so I certainly had more traction without a trade off in confidence.
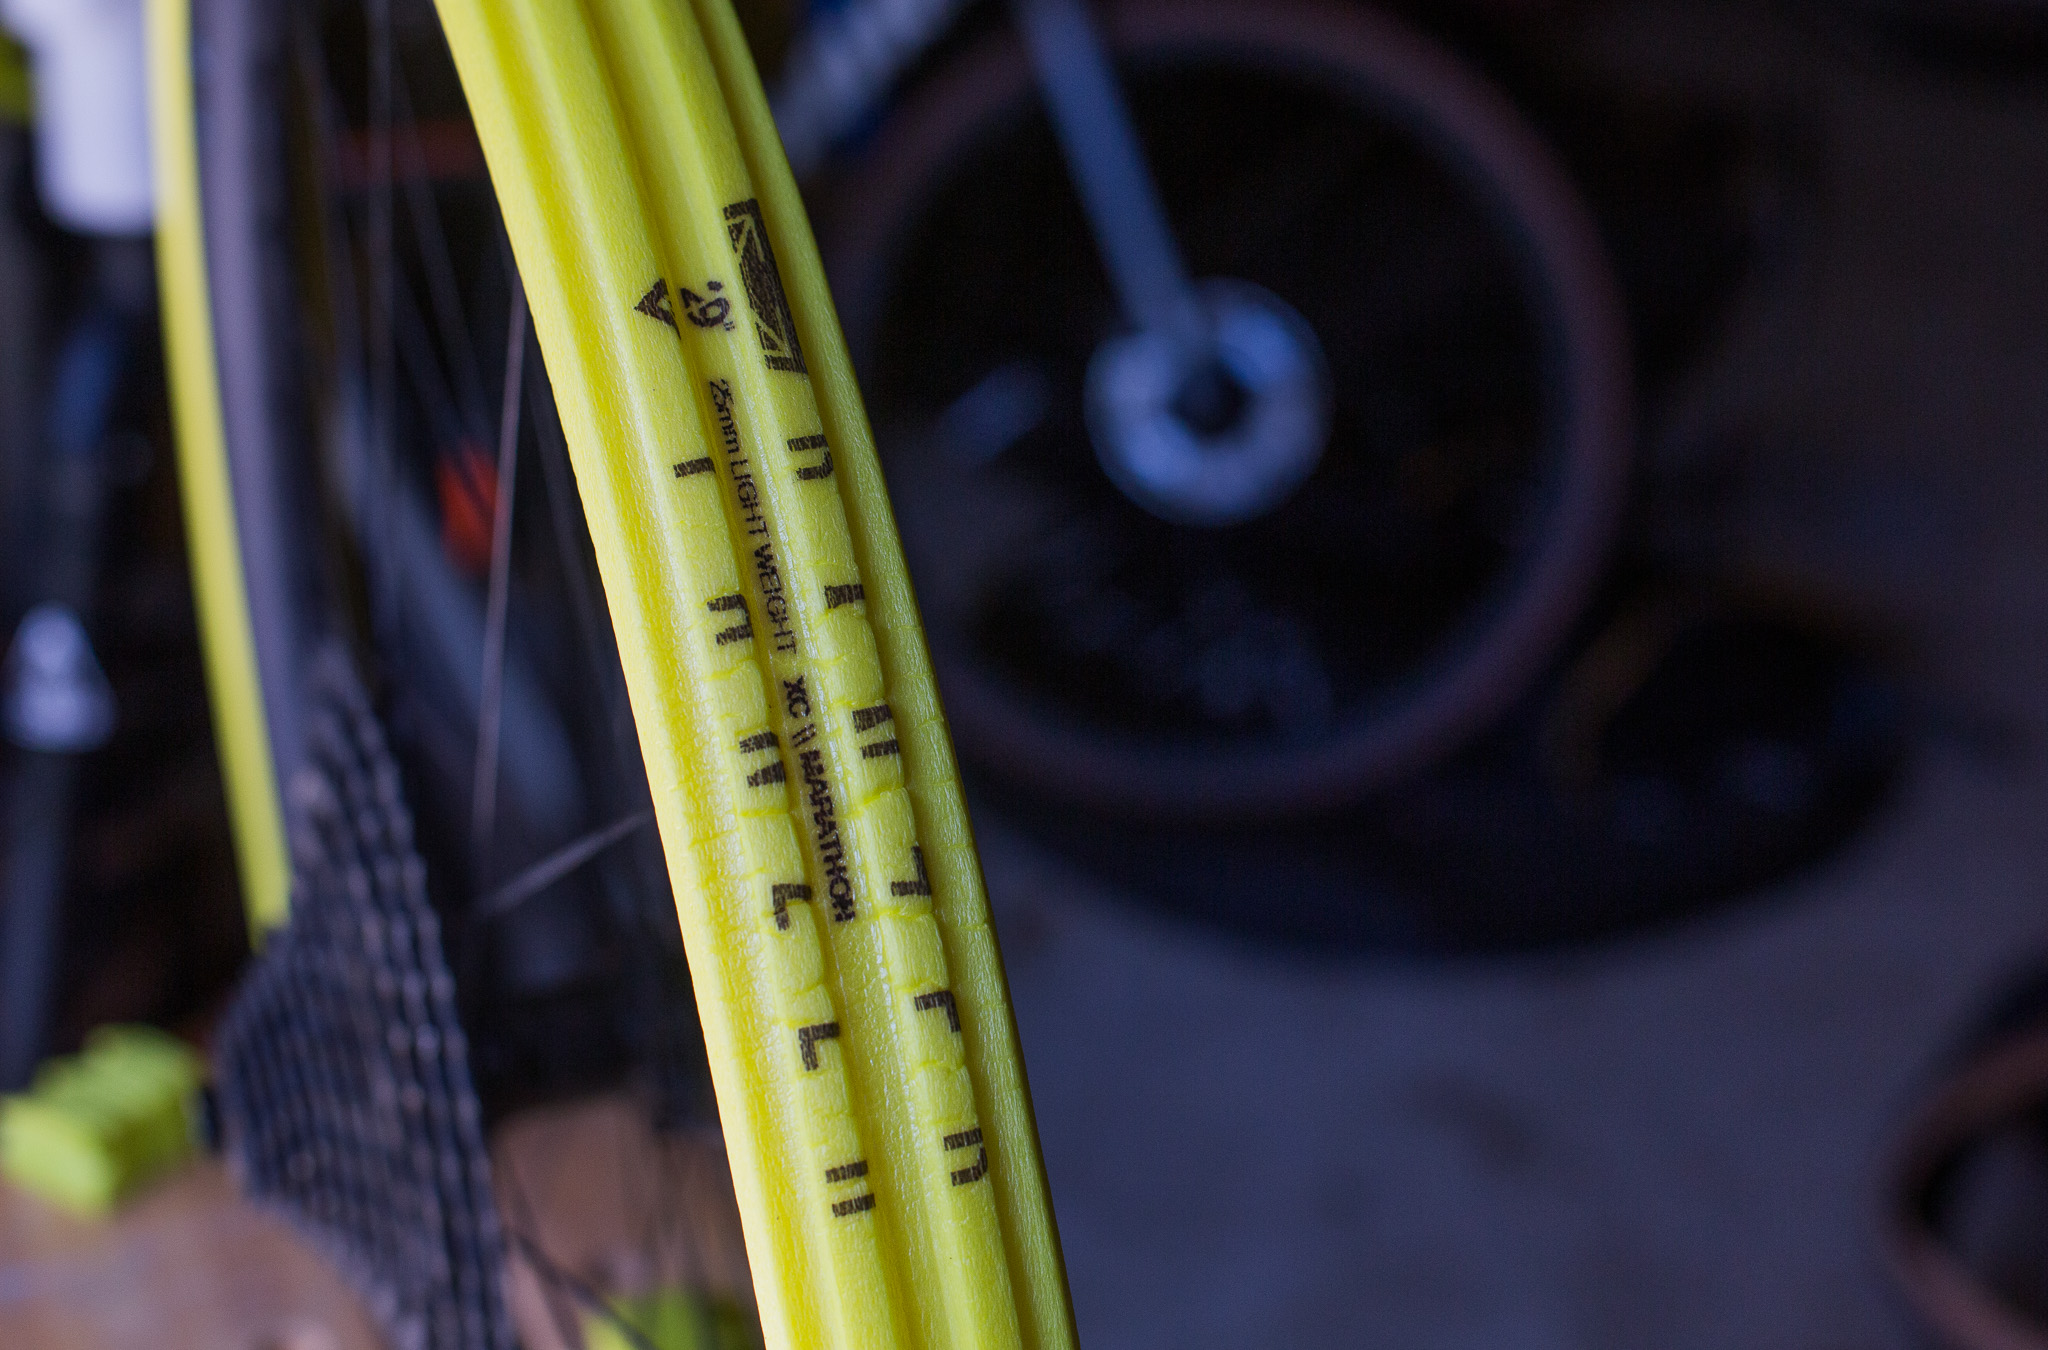
In all, it’s pretty hard to notice they are there. While the foam is a bit denser than the previous model, it is still soft enough to not make the ride harsh. That’s a criticism that can be levelled at some early inserts on the market, but the range of models out now means it doesn’t really hold true. Of course, the softer the insert the less likely it will serve you year on year.
Like any other XC insert, I liked use the Panzer XC, and preferred to run it rear only. Having an insert in the front is good, but I don’t get the true benefit of getting the pressure down as the front tyre feels too squirmy – but that is my setup preference.
Verdict
While I can appreciate the changes in size and material, it’s a small update from Panzer for someone who may already have their original XC inserts. That said, with two sizes available and a longer lasting material that will also deal with heavier hits better, I think the new Panzer XC Light inserts are a good choice for someone who wants a long lasting insert. However, I do suggest using proper insert-compatible valves to make pressure checks easier, and you are best to stick to Panzer’s own sealant. While this insert clocked in almost 20% heavier than claimed, I’m sure it will have a long life and deliver value in durability.
Tubolight EVO HD – $80 per wheel
Tannus Armour Tubeless Inserts – $99 per wheel
CushCore Pro – $145 per wheel
Panzer Agressive – $100 per wheel
Rimpact Pro/Original – $135 for the set
Vittoria Air-Liner MTB – $164.95 per wheel
Tubolight SL – $80 per wheel
Panzer XC Light 28mm – $100 per wheel
Vittoria Air-Liner XC – $119.95 per wheel
Tubolight EVO Gravel – $120 pair
Vittoria Air-Liner Light
$119.95 each | gkasportsstore.com.au
Available in: 29”
Weight: 50g in 29”
Width: 50mm
Height Above Rim: 25mm
Intended use: Cross-country, marathon, stage racing, trail, downcountry
Tester: Mike Blewitt
Vittoria are a big player in the world of tyres and tubes, and they are about the only tyre manufacturer out there that makes their own tyres, sealant and tubeless inserts with their Air-Liner range. The Air-Liner Light comes in one size for XC tyres, and is crazy light at 50g per end. It is also pretty expensive.
Vittoria designed the insert with their pro riders, including to develop their own run flat technology. It’s said that the Air-Liner will help fill part of the volume of a tyre when there is a rapid loss of pressure. Does that mean it is a one and done product?
Setup of Vittoria Air-Liner Light
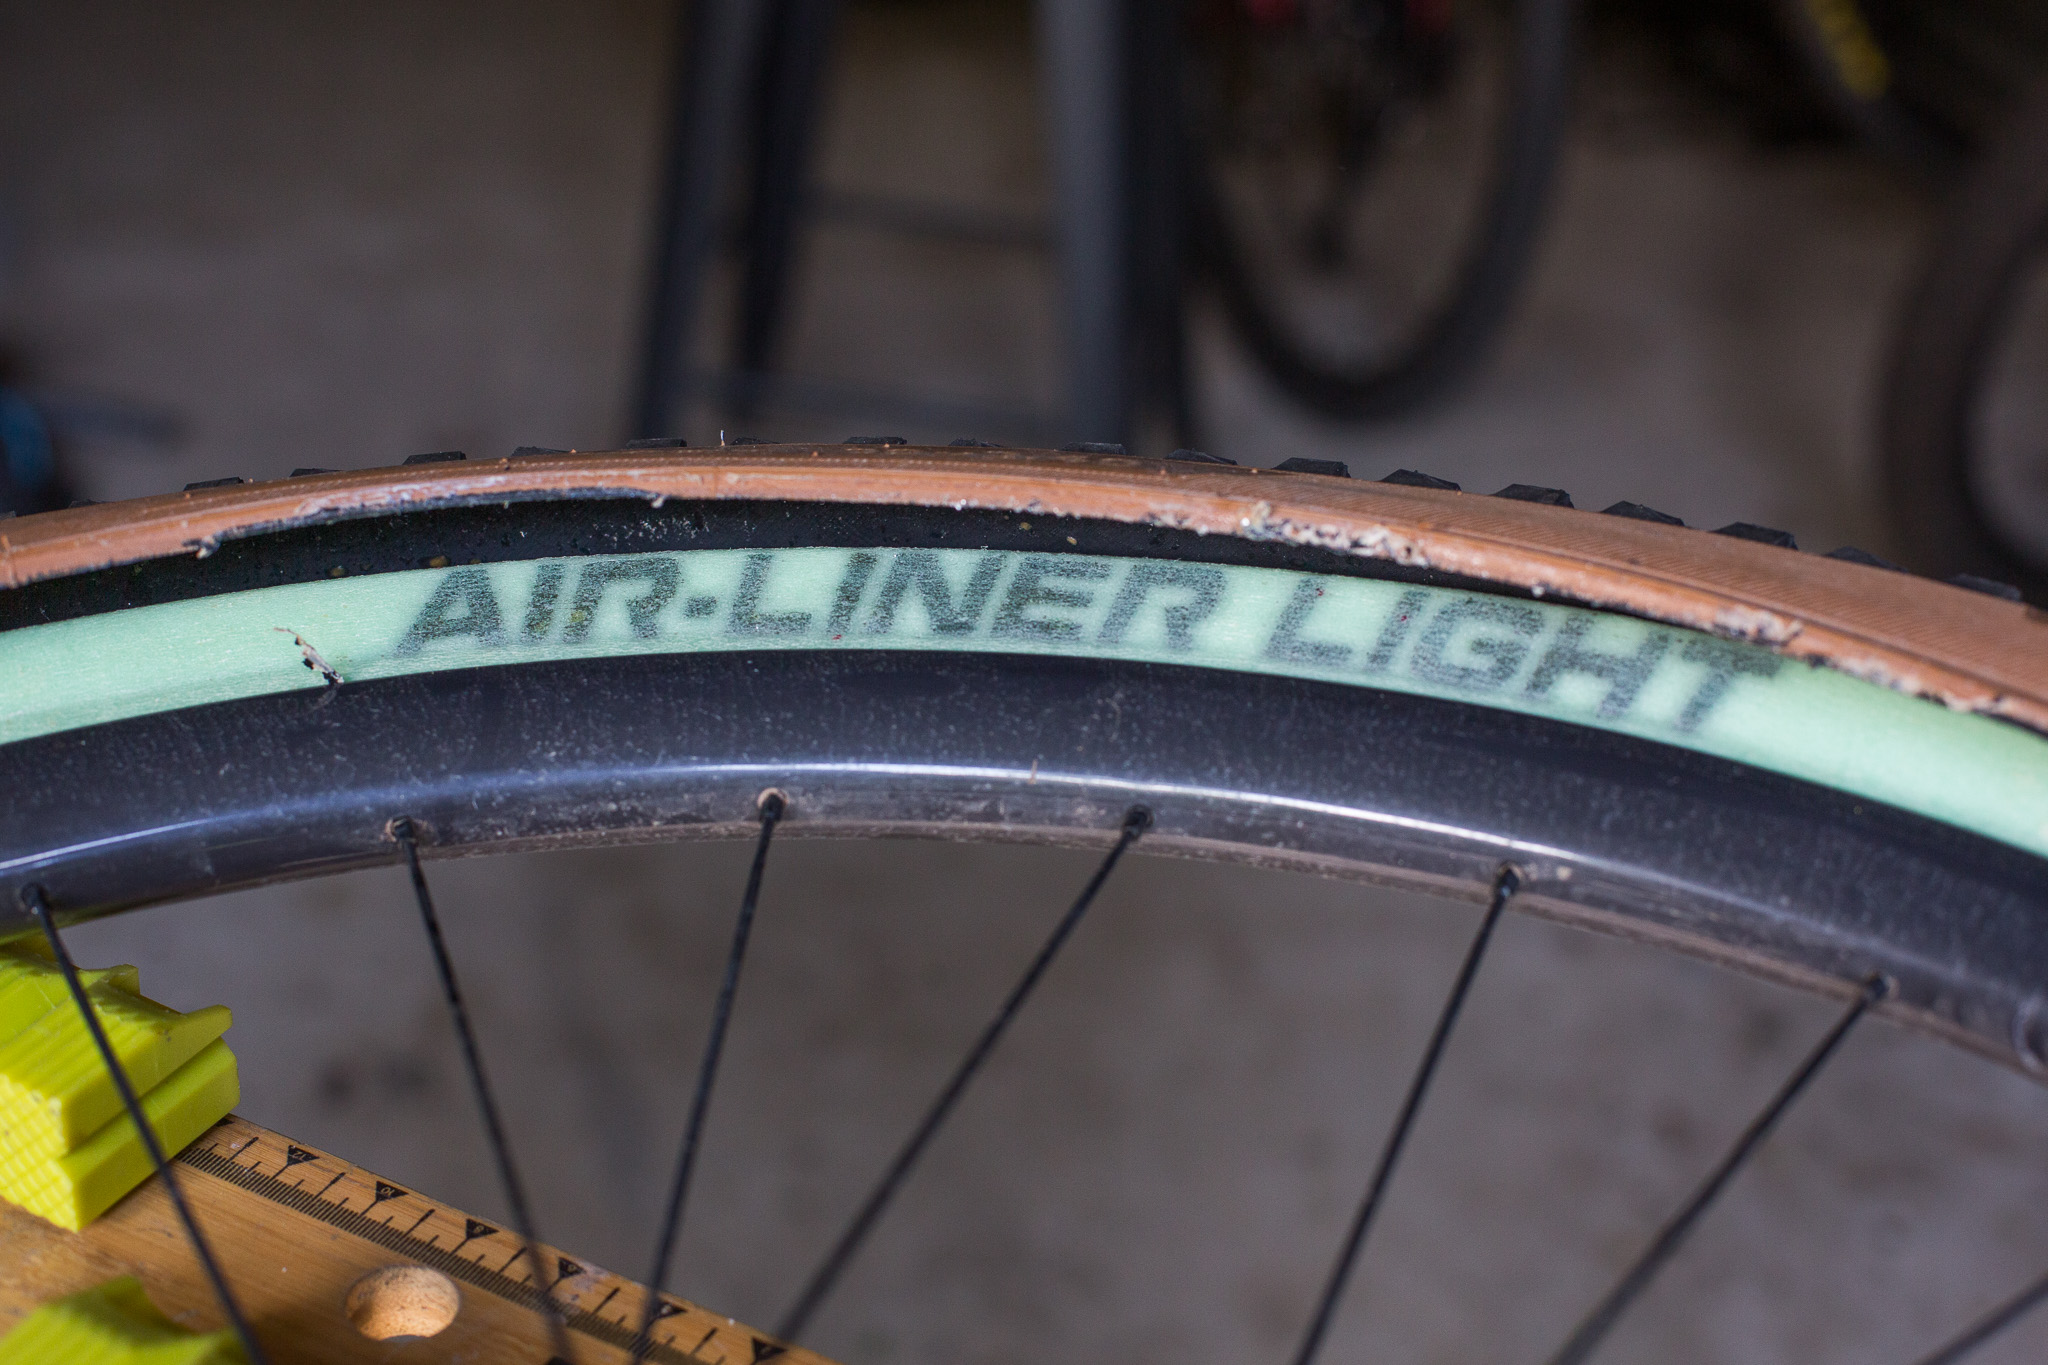
Hands down, this is the easiest liner to set up. The box comes with tyre insert compatible valves, so I fitted them, put one bead of the tyre on, pushed the liner in, got most of the other bead on, added sealant, and got the second bead in.
The liner has a wedge shape to sit in a rim well, and I had no concerns with it fitting in some 27mm Black Inc rims.
The material is very soft and I did wonder if it would soak up sealant. Vittoria state the insert has a coating to resist absorption and cuts – but time would tell.
On the Trail
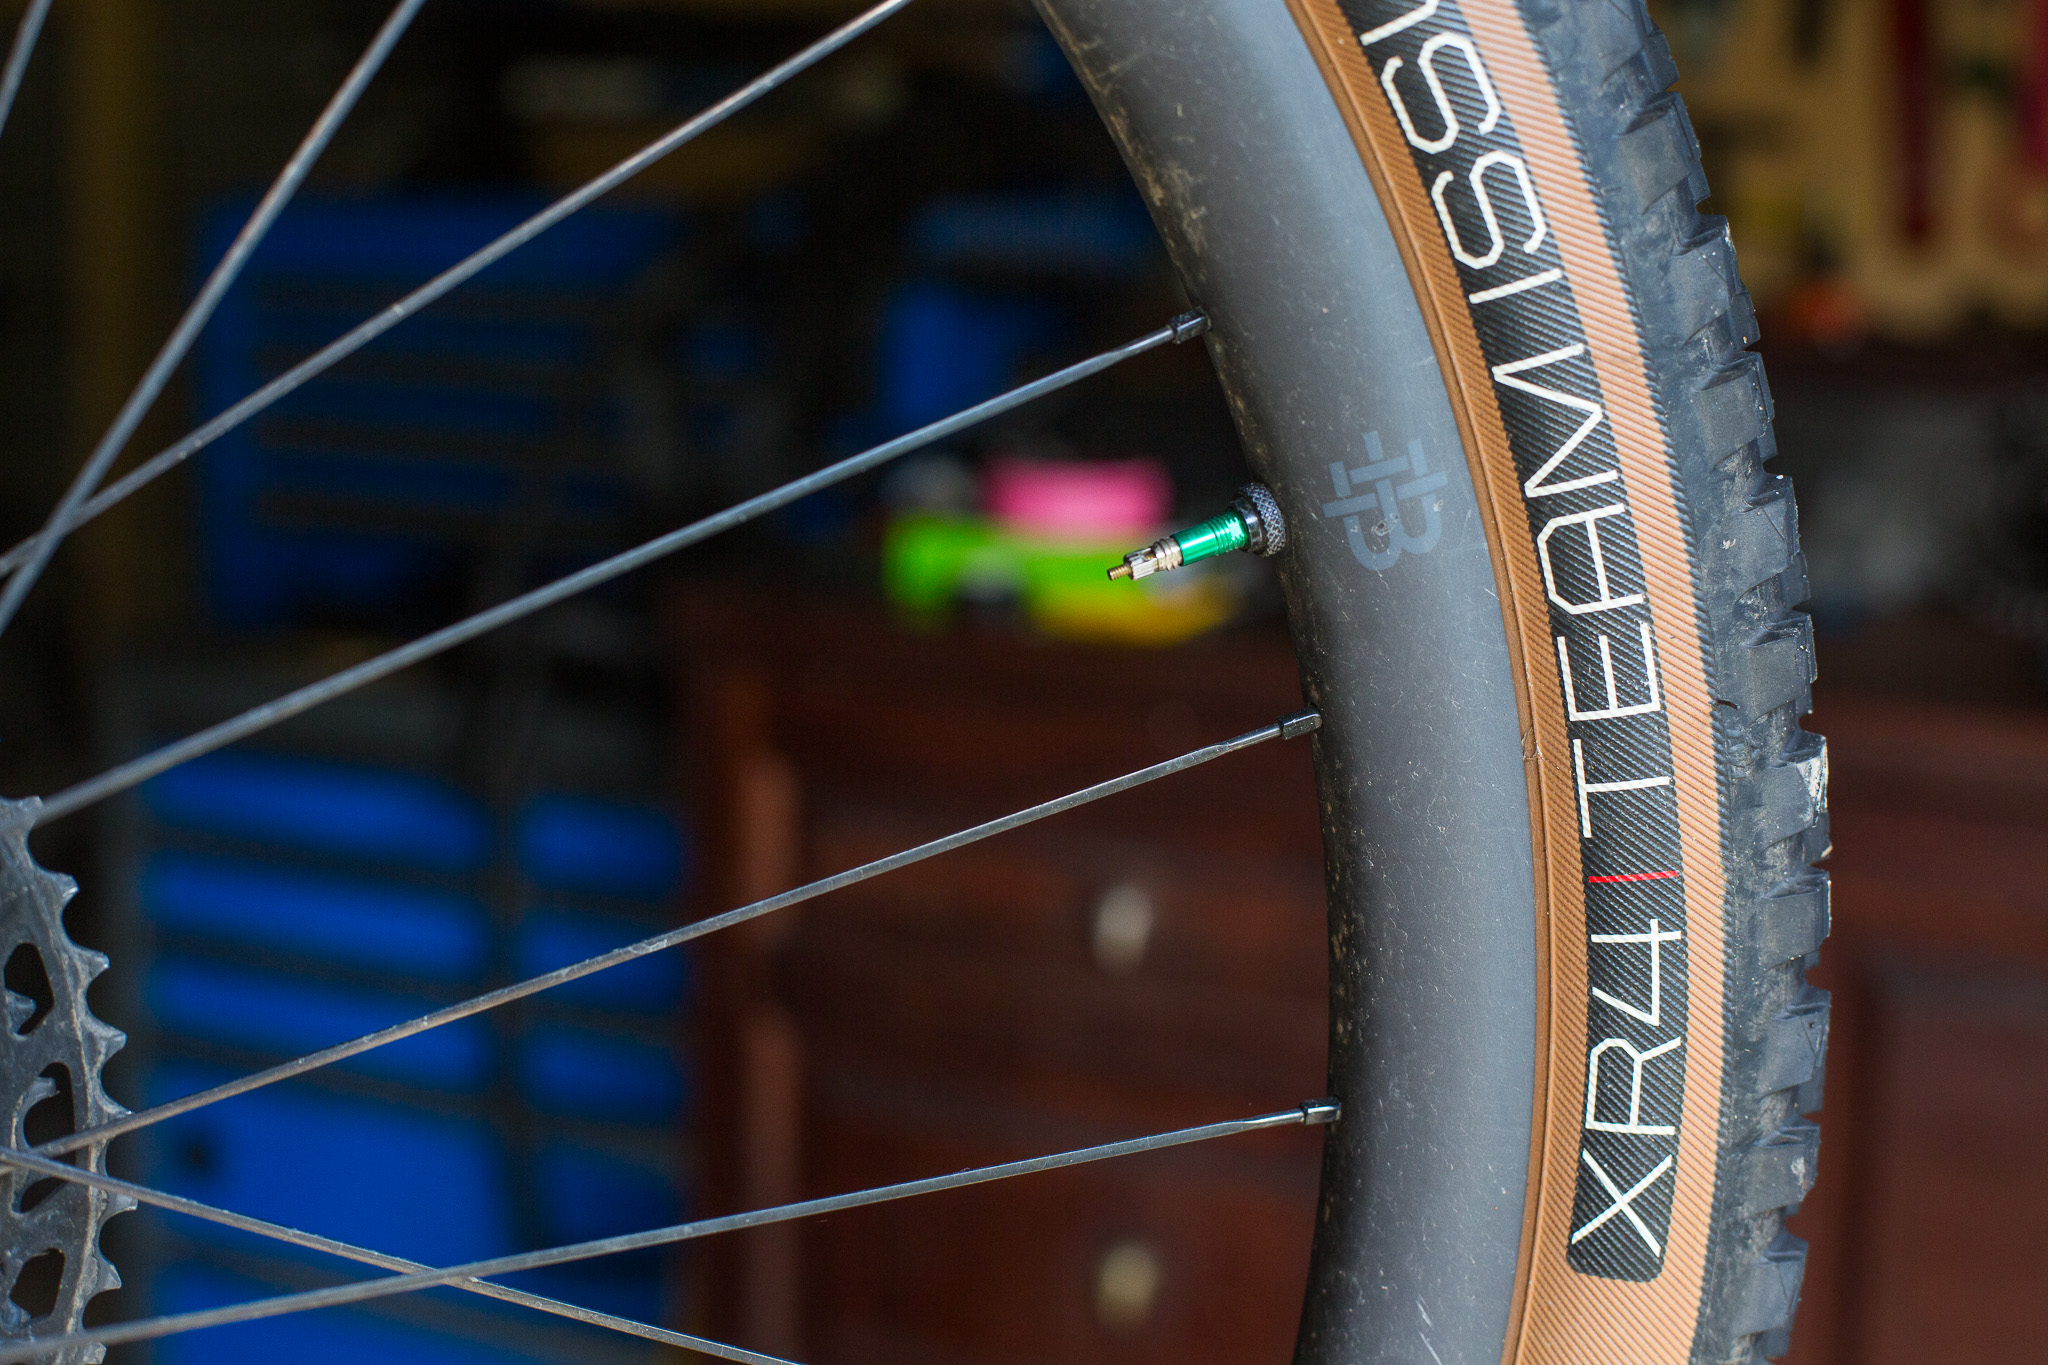
I used this insert for a couple of months with a pair of Bontrager XR4 tyres. As I have been testing the tyres casing and tread as well, it has been useful to run them as low as possible to see what support is available. In terms of ride feel, I can’t really tell that there was an insert in there.
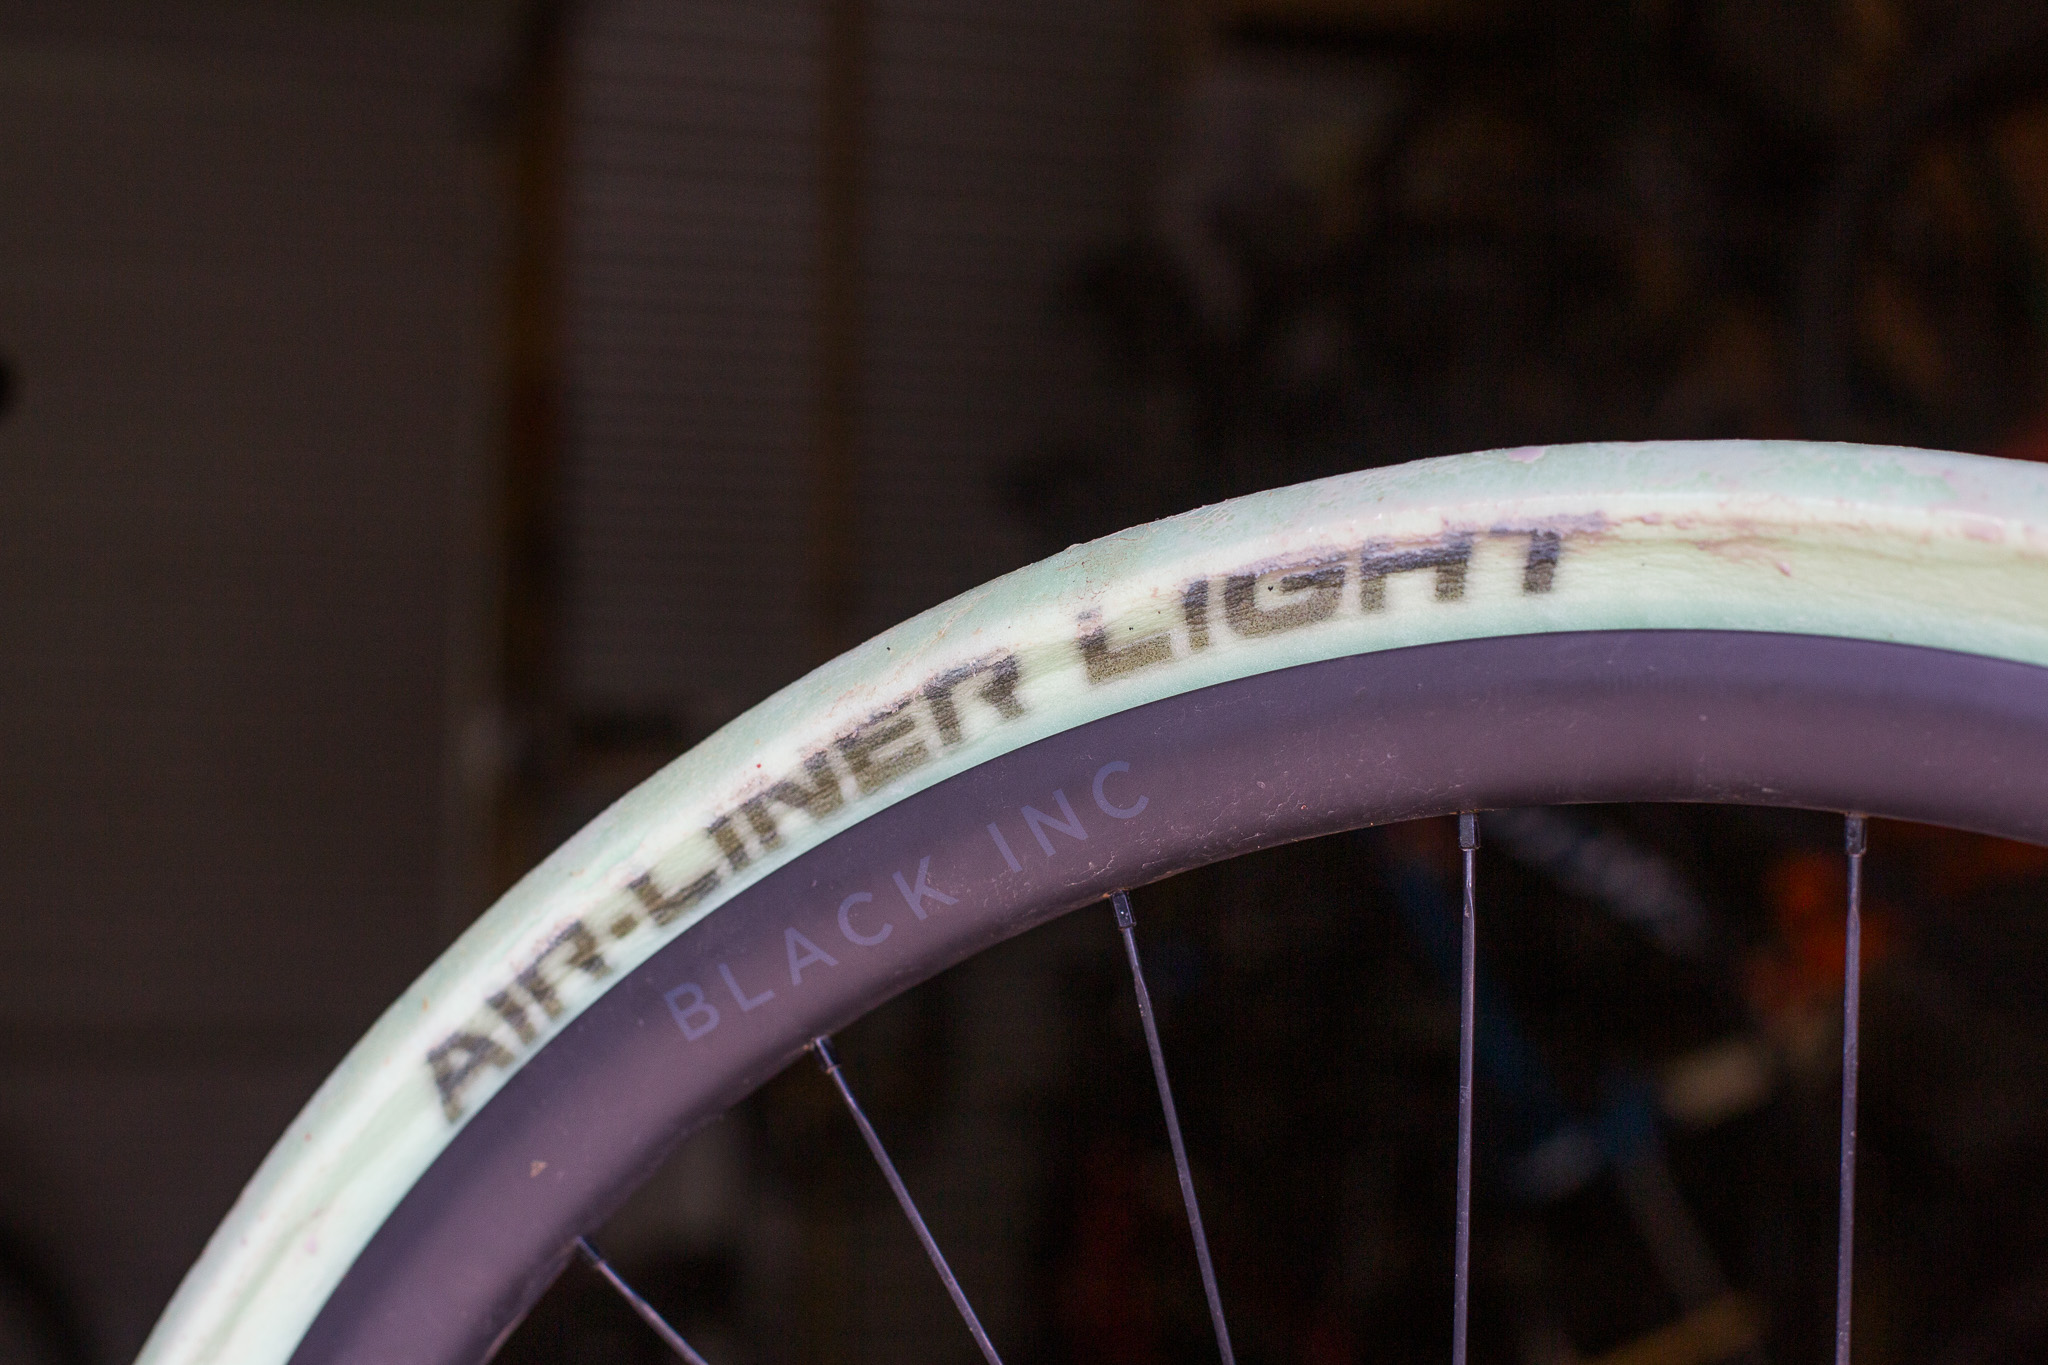
This is both from weight, but also how malleable the insert is. It’s soft and compliant, and so I think it doesn’t offer more support in the way some inserts do. But that’s fine, I’m typically happy with the support from an XC tyre for XC use. Your wheel system is about aiding traction and control. Yes, sidewall support is part of that, but so is compliance for traction.
But the big question – does it fill the tyre volume when you flat? I didn’t puncture during the test period, and I’m not interested in cutting tyres (anymore) considering the waste involved. But, I did notice that with the wheels left for a couple of weeks while I went to Tasmania and wasn’t riding this set, they lost almost all their air – likely from the temperature changes in a hot Queensland shed in January. And the liner was filling a lot more of the 2.4″ tyre than I would have expected. Now removed, they are closer to their regular size.
Vittoria claim that the nature of the material means it is air permeable. With a loss of pressure in the system it expands to fill the space. From what I have seen it’s not like it expands to the limit of the tyre – it just plumps up. I did inflate my tyre and let it sit for a day before removing the core to expel air, and the liner was noticeably fuller than before. Would I ride it still? Yes, if I knew there was a new wheel waiting in a tech zone. It’s more of a back up than a get out of jail free card.
Verdict
This is an easy to fit, light weight tubeless tyre insert. I think it will become my new go to for racing due to how easy it is to fit, the low overall weight and effectiveness. It may assist with loss of air pressure, but what I likeed overall is how it worked as a back up without making the tyre and wheel system feel too firm and impacting ride feel. It is a bit more expensive than others, however each insert does come with a high quality valve as well.
Tubolight EVO HD – $80 per wheel
Tannus Armour Tubeless Inserts – $99 per wheel
CushCore Pro – $145 per wheel
Panzer Agressive – $100 per wheel
Rimpact Pro/Original – $135 for the set
Vittoria Air-Liner MTB – $164.95 per wheel
Tubolight SL – $80 per wheel
Panzer XC Light 28mm – $100 per wheel
Vittoria Air-Liner XC – $119.95 per wheel
Tubolight EVO Gravel – $120 pair
Tubolight EVO Gravel
$120 pair | FEsports.com.au
Available in: 700c (use 27.5″ EVO SL for 650b wheels)
Weight: 37g per insert
Width: 35mm
Height Above Rim: 22mm
Intended use: Gravel, cyclocross, bikepacking
Tester: Mike Blewitt
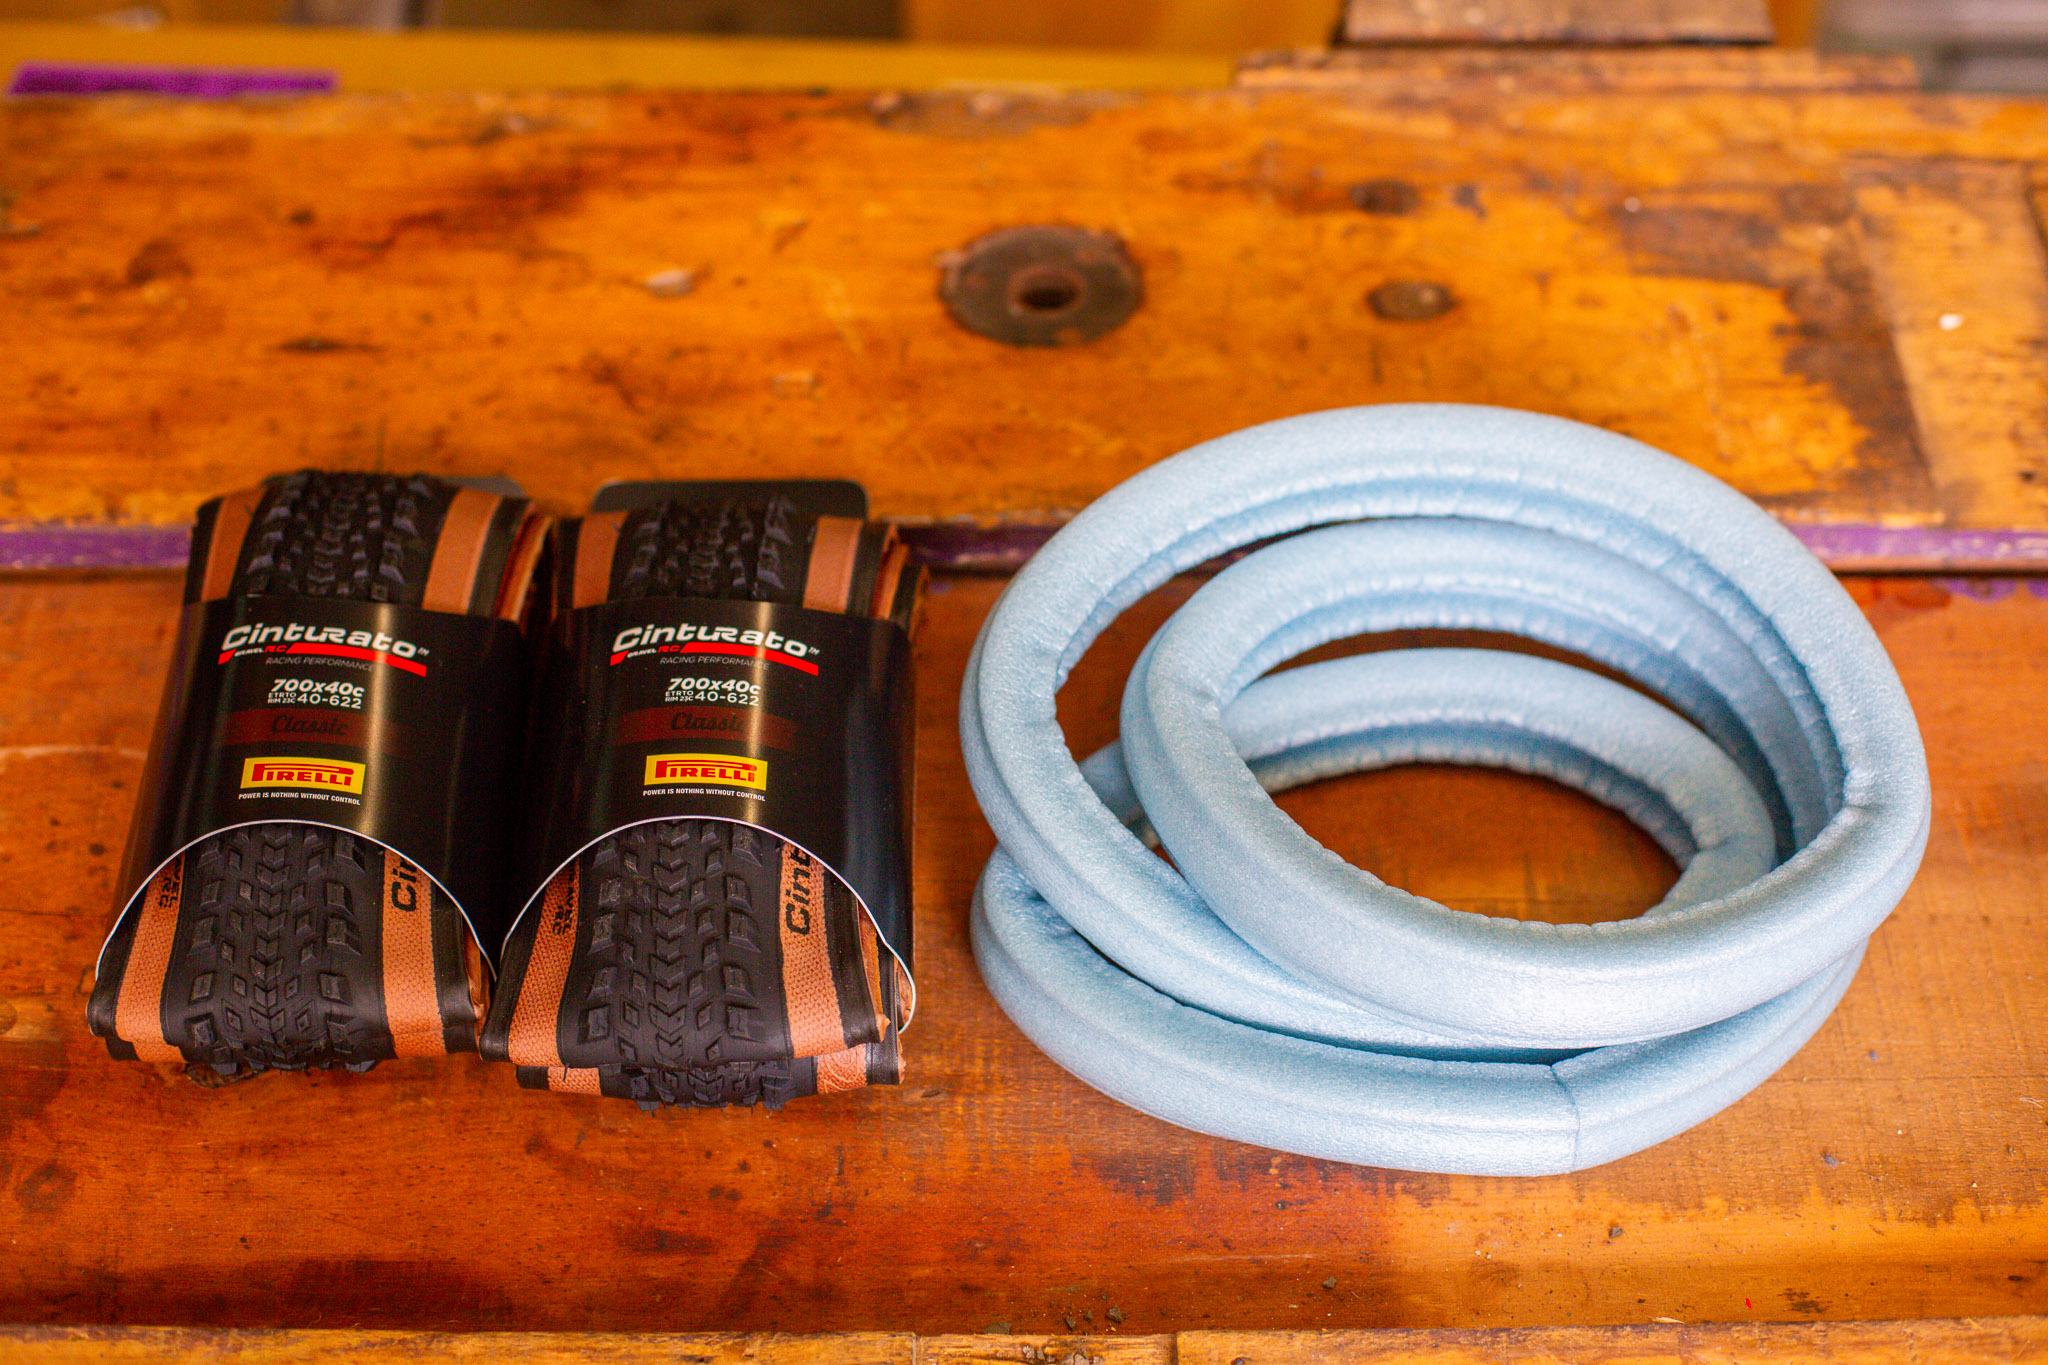
When I first tested a pair of tubeless tyre inserts for a gravel bike, I was ready to laugh at myself. That is until I rode on them and realised I could now use functional tyre pressures off-road in 40mm tyres. Since then I have continued to use tyre inserts on my gravel bike, as it truly improves the ride. Having used the Tubolight EVO SL liners for over a year in my XC bike, I was keen to use their gravel model on the Factor LS long-term gravel test bike I built. The EVO Gravel models sell for $119.99 as a pair, not including valves. You don’t need special valves, but ones with a few air outlets do help. Tubolight have alloy valves in pairs and different colours for $37.99, or $46.99 for 70mm length models.
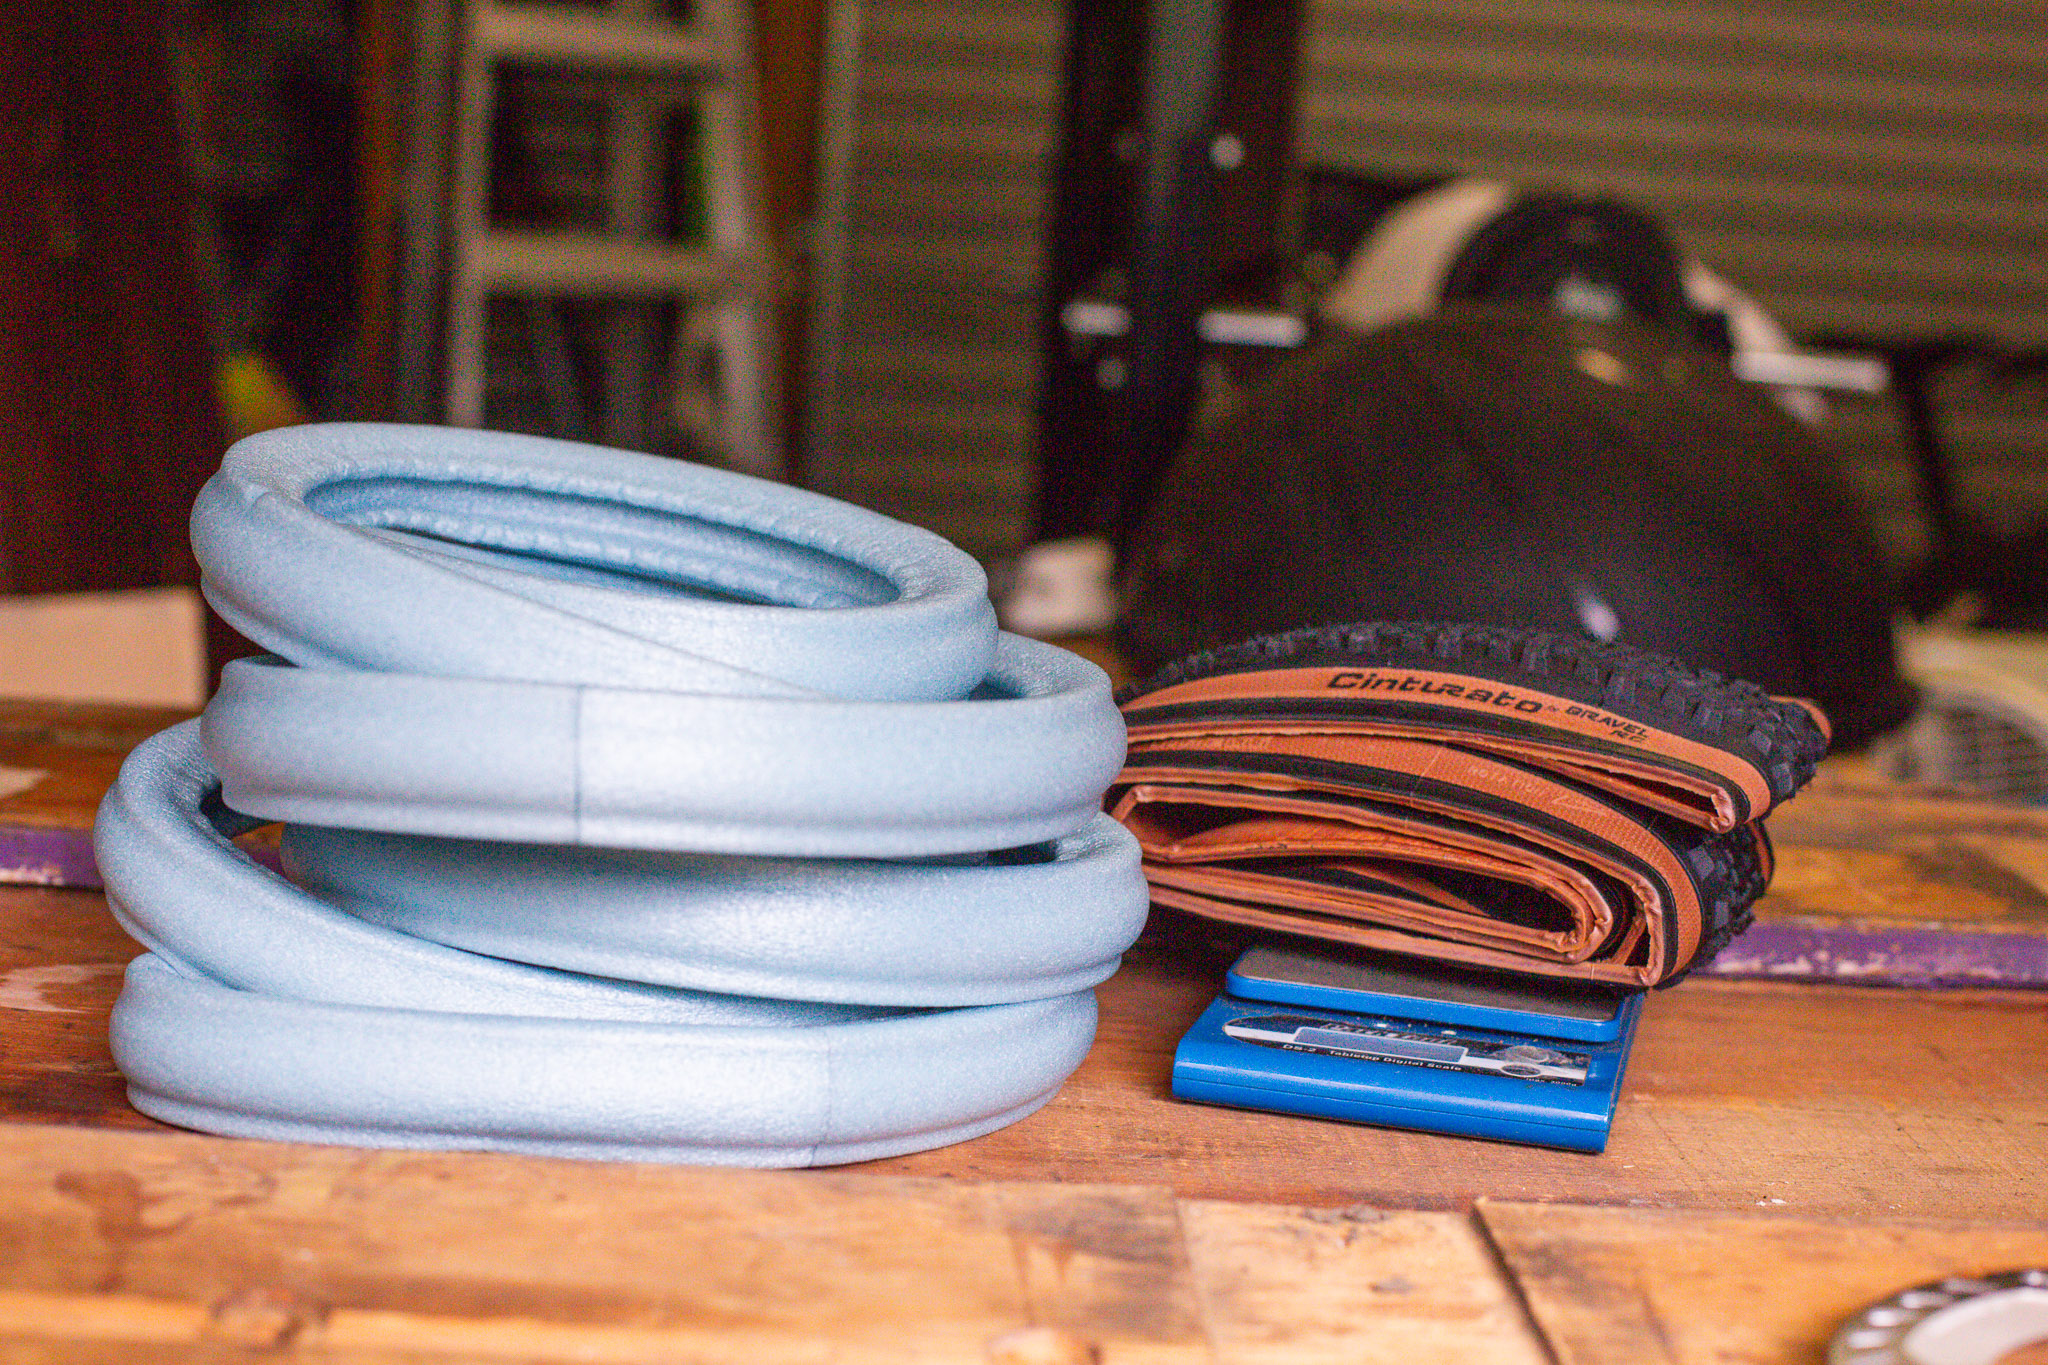
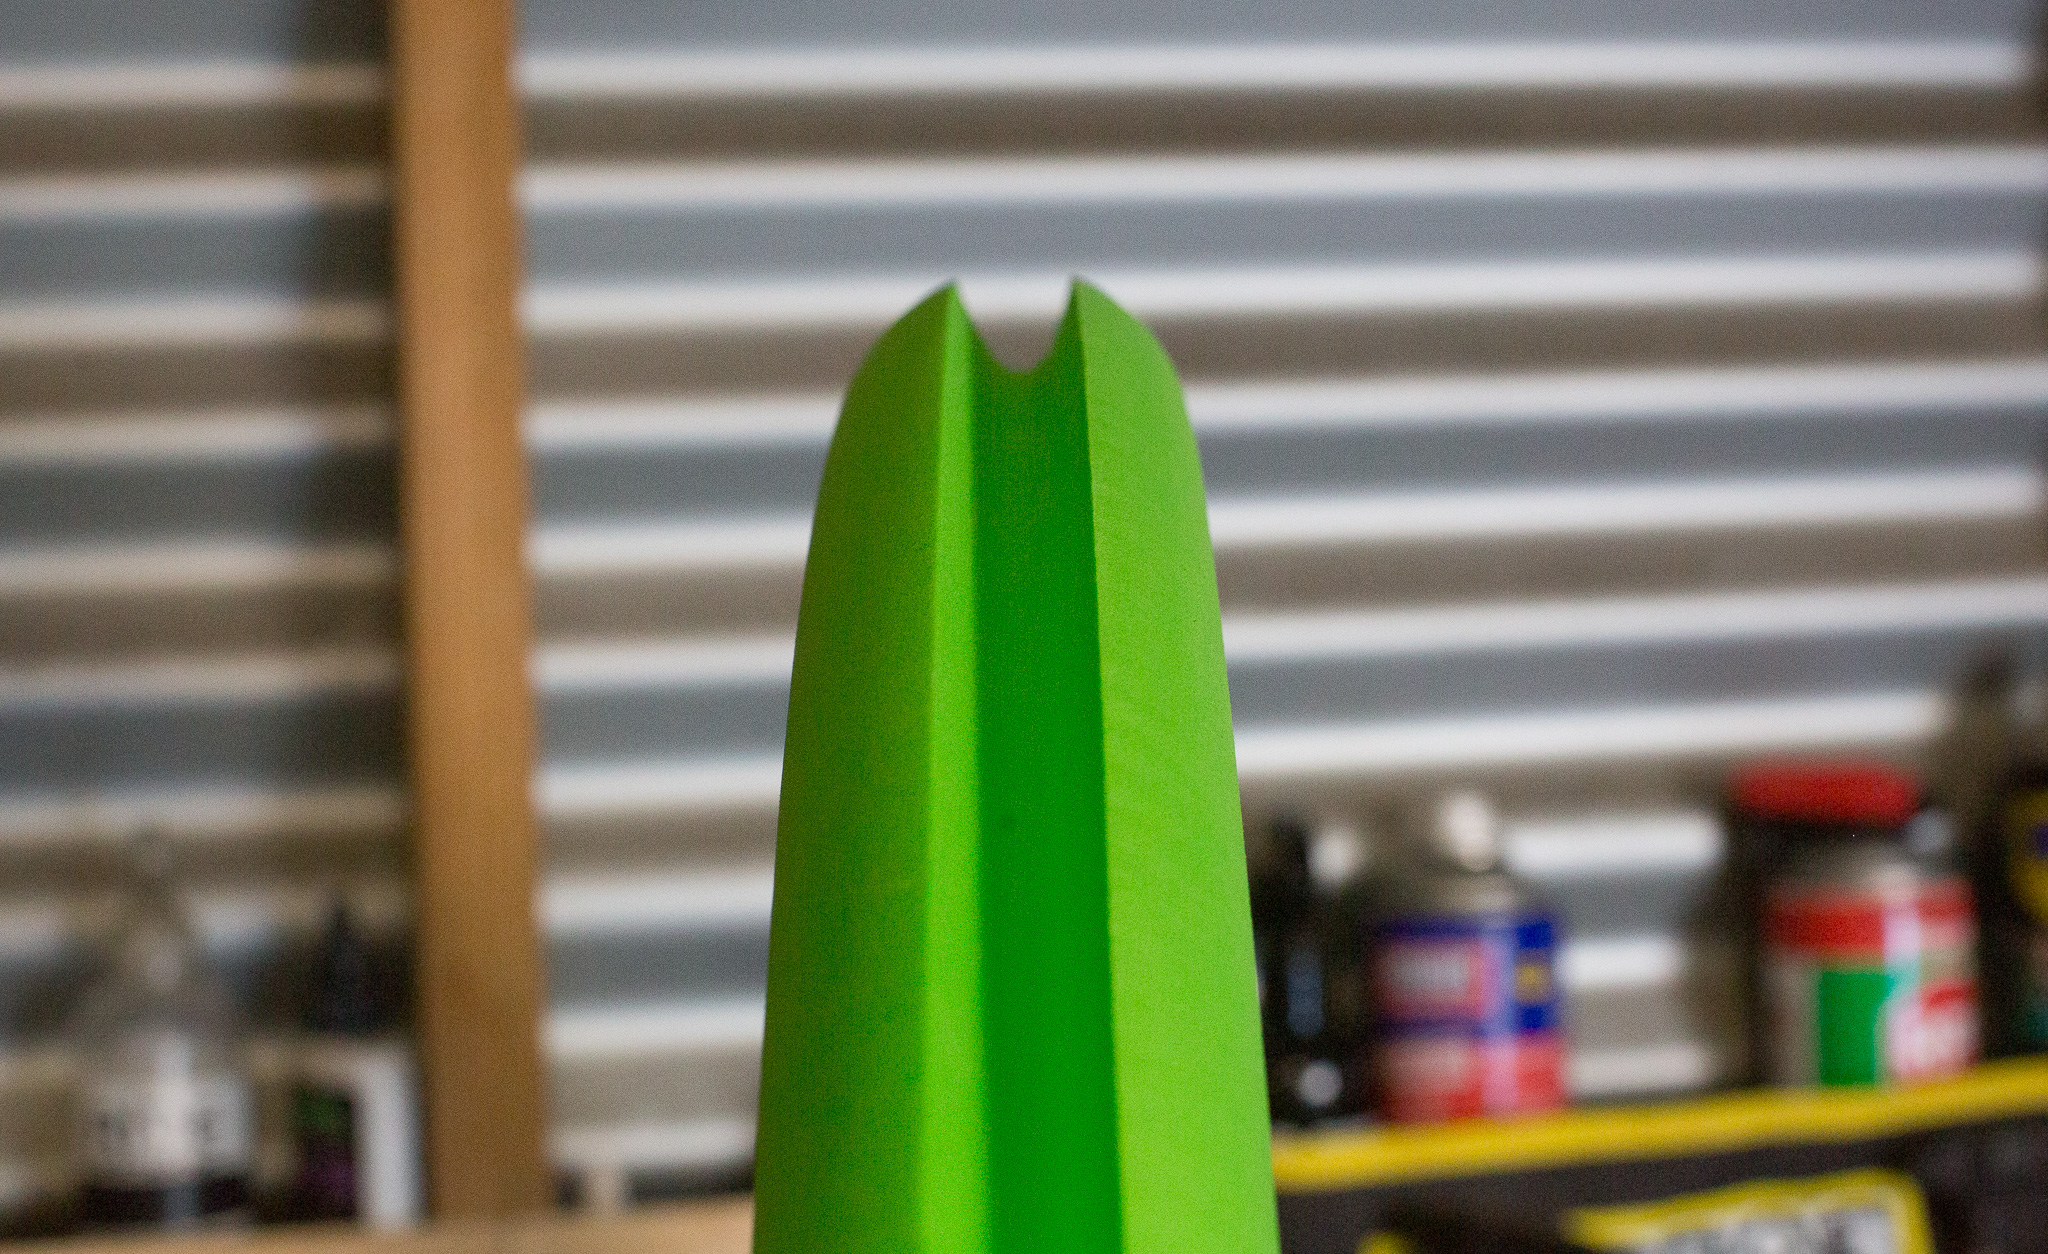
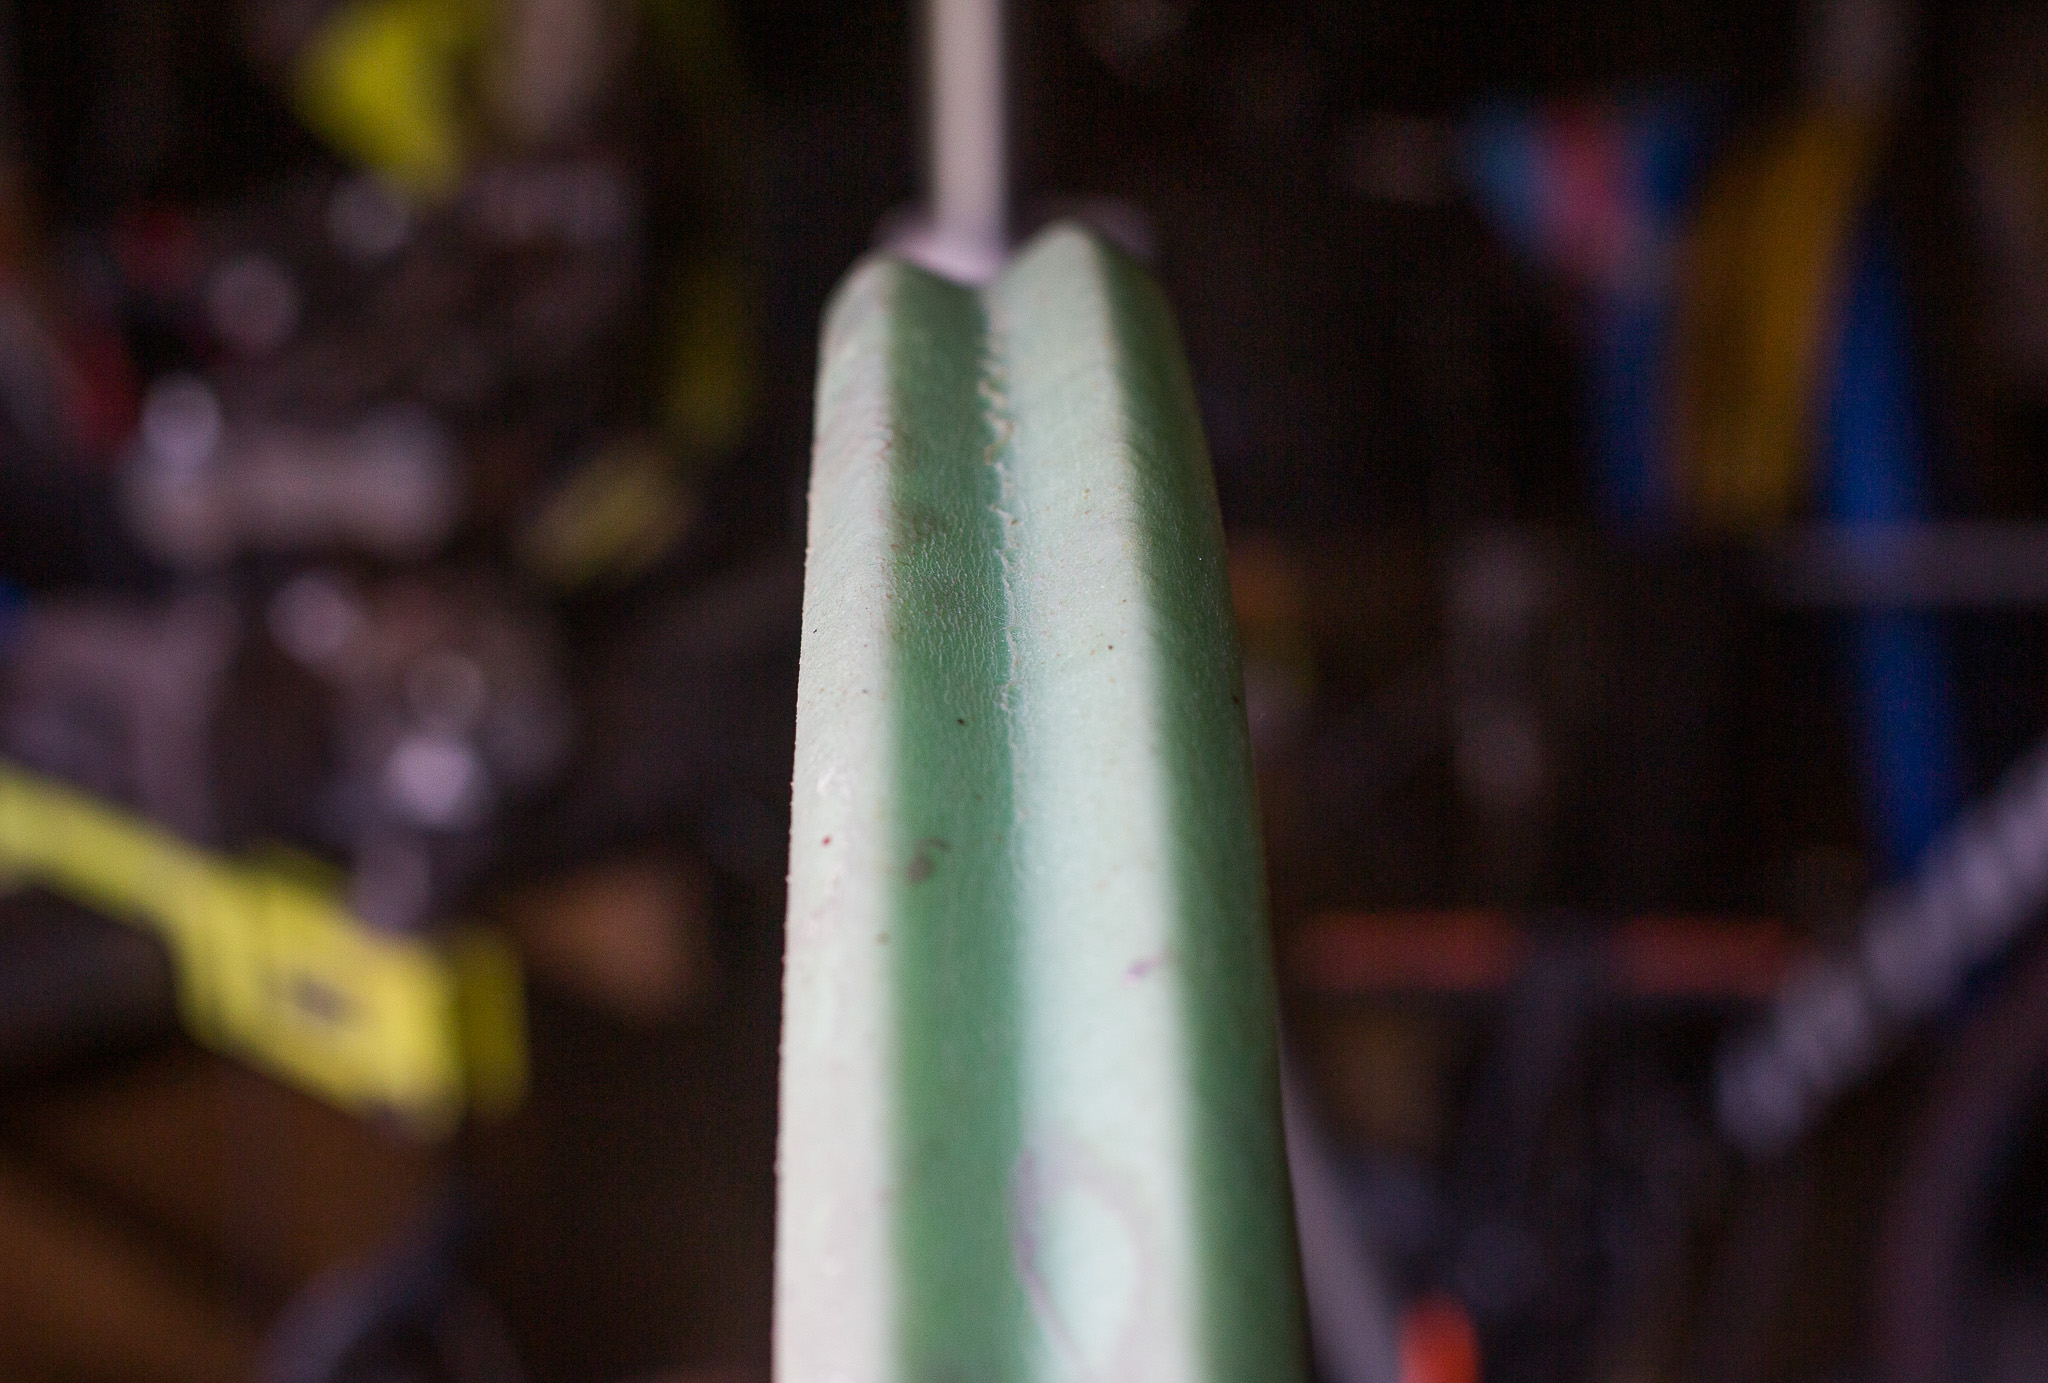
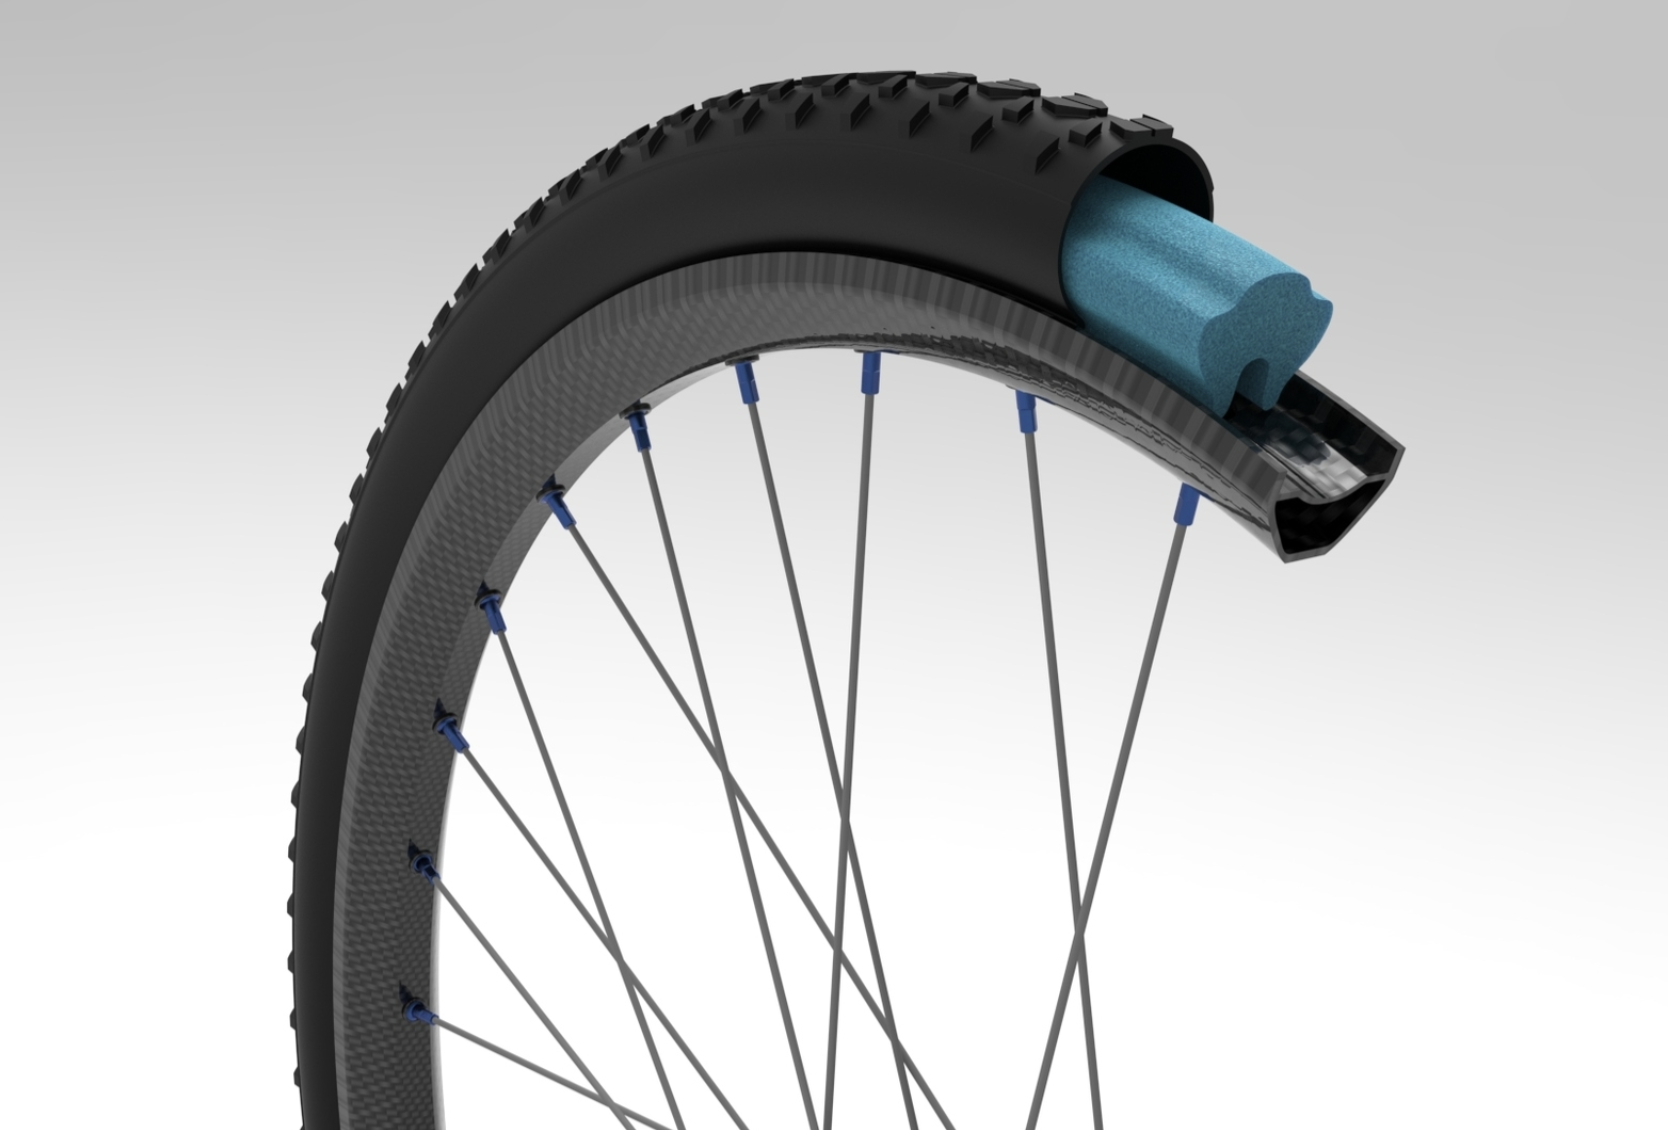
The Tubolight EVO Gravel liner is optimised for 19-25mm internal rims, and tyres from 37-45mm wide. Just like the SL and HD mountain bike models, the design relies on a channel and two lips. The lips sit inside the rim well and are held in place by the bead of your tyre. There is then an internal channel between the liner and the rim bed, and then an external one between the outer side of the liner and the inside of the tyre. Compared to the EVO SL or EVO HD, the EVO Gravel has a pronounced centre, filling up a greater percentage of the tyre volume. No doubt this helps for the impact resistance. Each liner weighed about 37g on my scales. They’re not heavy.
Setup of the Tubolight EVO Gravel
Tubolight are some of the easiest liners I have installed, although Panzer, Vittoria and Rimpact are close as well. It’s as simple as putting one bead of the tyre on, getting one lip of the liner over the rim edge, and then putting the other lip over. With most of the second bead on, this is the time to put sealant in.
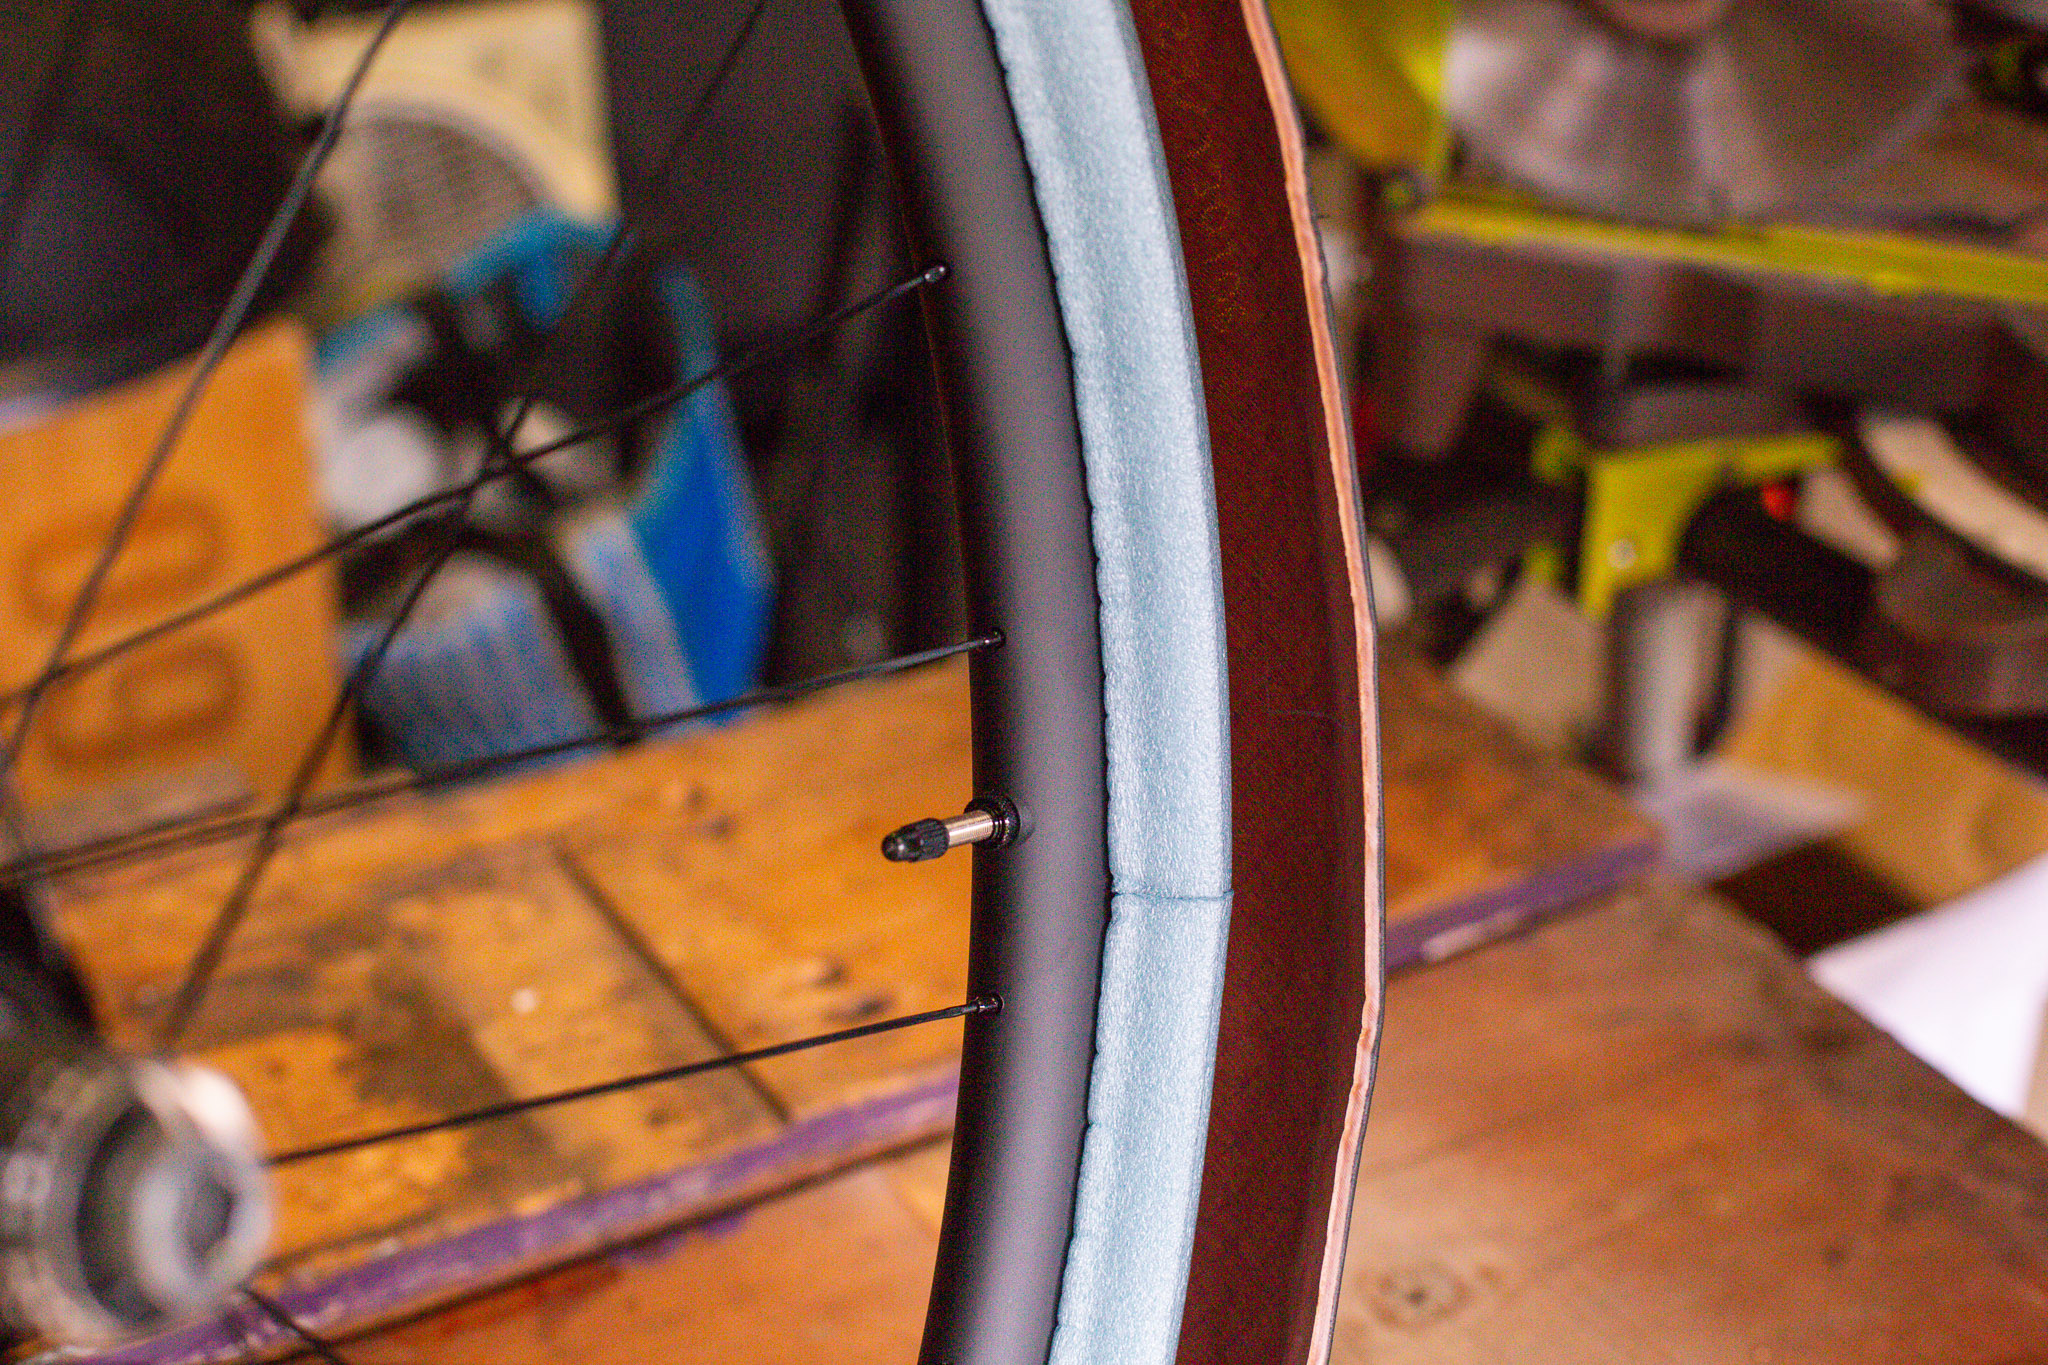
If you go via the valve the sealant will remain between the liner and rim bed – not the liner and tyre. I did need to use a tyre lever for the last 20%, but I seem to always have to do that. I used Pirelli Cinturato RC in 40mm when testing these insets.
On the Trail
Gravel may not be within your riding interests, but it edges into mine. What always kept gravel on the outer was the need to run higher tyre pressures to avoid rim damage or pinch flats. We don’t have much smooth gravel in my neck of the woods, and running inserts has let me take a gravel bike on some routes which I’d always thought were best tackled on a hardtail instead.
In terms of setup, compared to wanting to run 45psi or more, I can drop well below 40psi when running an insert. In the low 30s the tyres are way too squirmy for me. The weight difference is minimal compared to the confidence gained and traction available both climbing, braking, and on looser dirt or gravel.
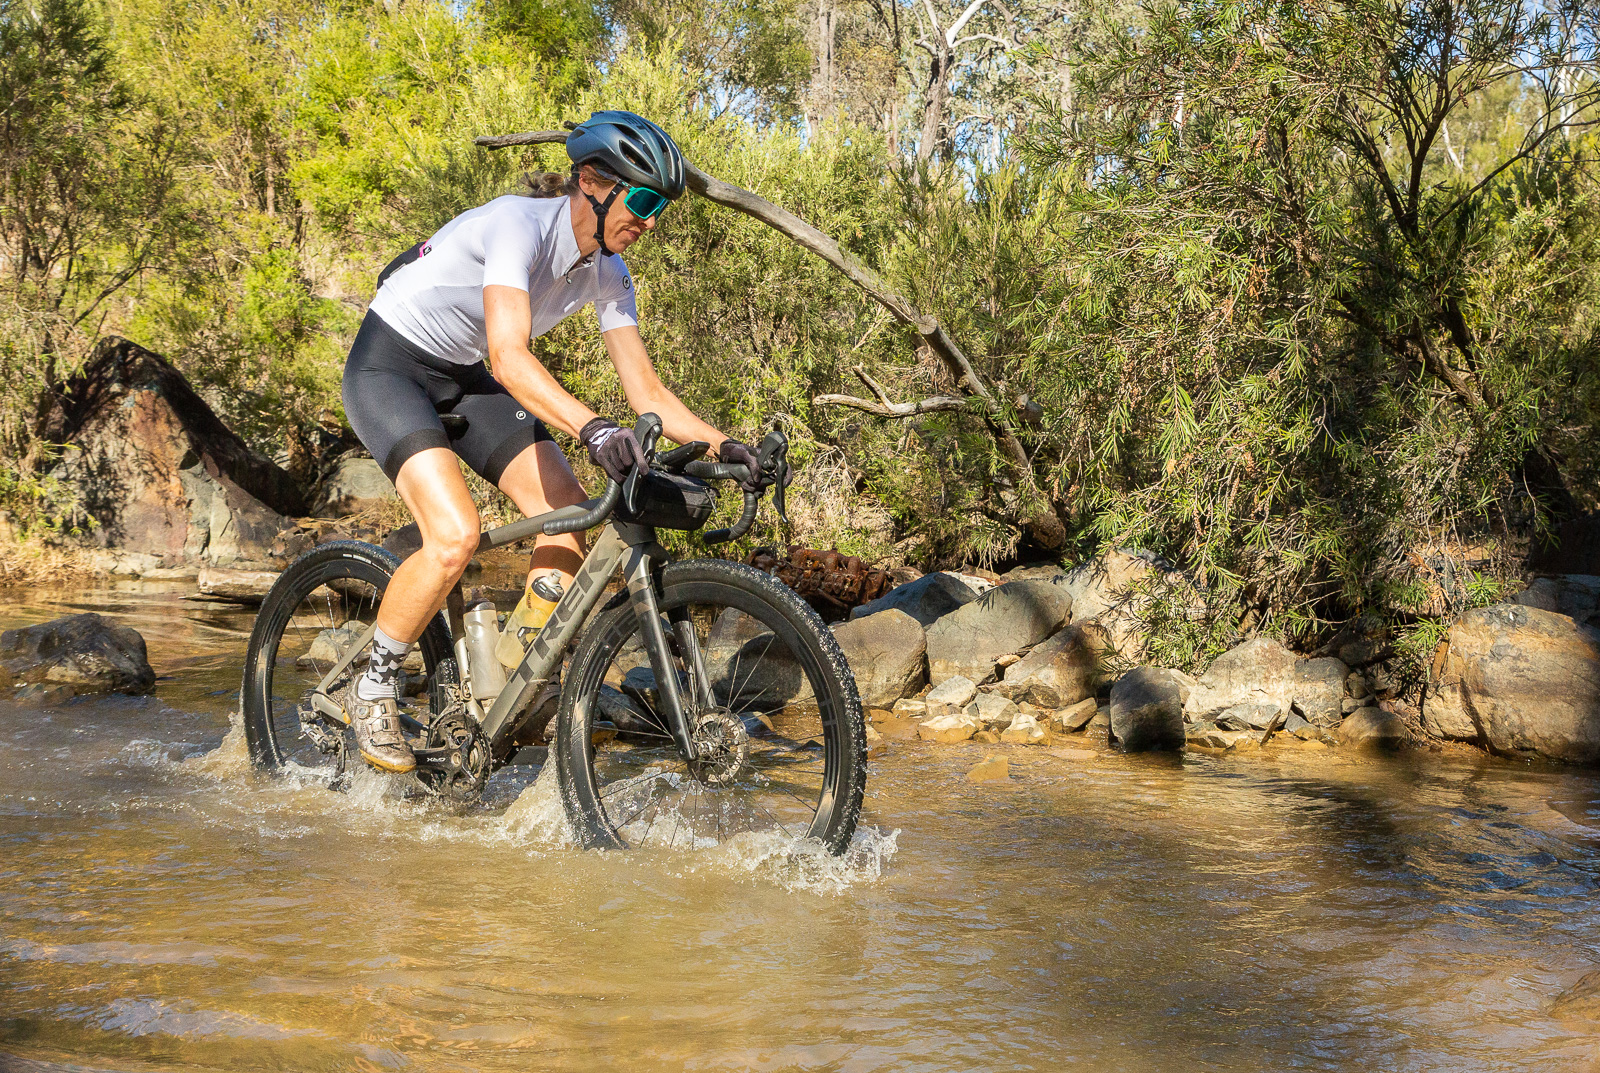
One aspect of using a tyre liner is perceived extra rolling resistance from friction between the liner and the rim, and the liner and the tyre. I notice it on my mountain bike given the size of the rim and tyre. It’s not huge and not enough for me to not run an insert in my rear wheel – but it’s there. While I often ride with a power meter, I haven’t found a consistent way to validate this as you would need to ride a very consistent output on a set ascent to measure it. I sense other variables would be enough to impact results.
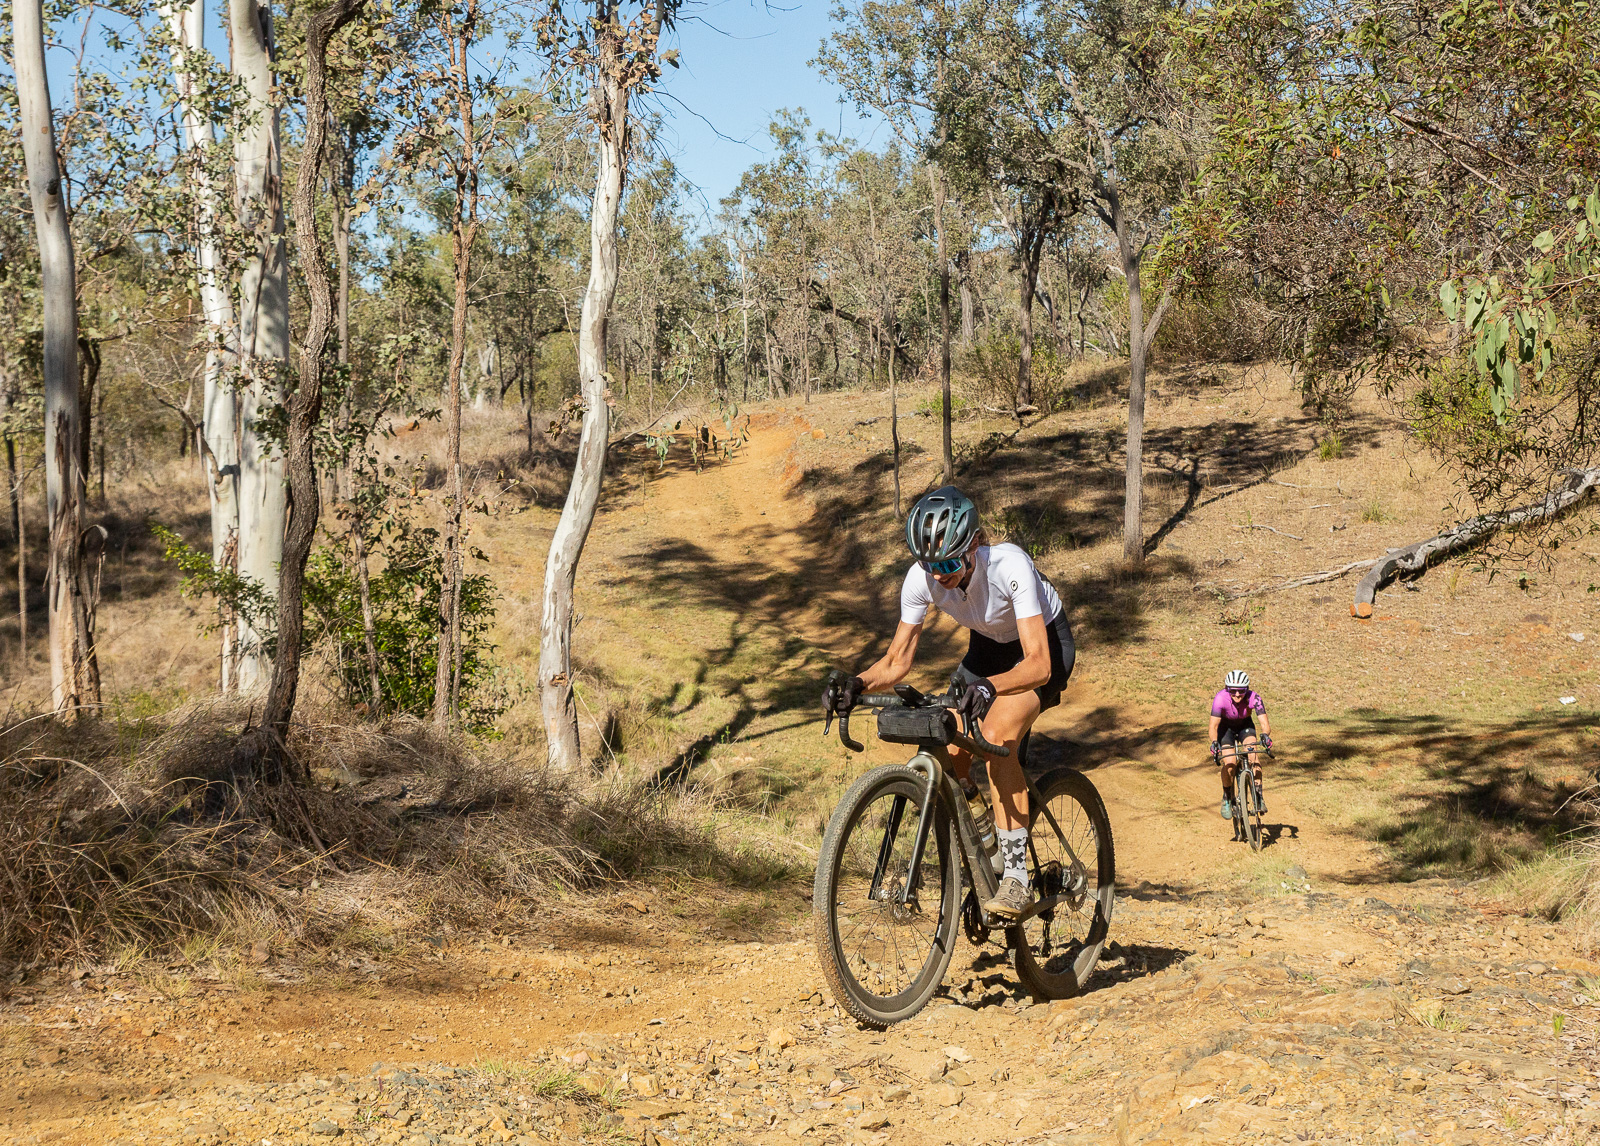
This hasn’t been a concern with a gravel liner. I have way more scope to run the pressure I want, to the point that a gravel bike no longer seems like a silly idea, and the surface area contact is less so my perception of any extra resistance is negligible.
Verdict
I’m sold on using tyre liners on gravel bikes, and the Tubolight has been both the lightest and the easiest to fit and remove that I have used so far. They are an excellent insurance policy for fancy wheels, but more importantly they let you ride a gravel bike to its capability, with more grip and comfort than you might have otherwise in your wheel and tyre system.
Tubolight EVO HD – $80 per wheel
Tannus Armour Tubeless Inserts – $99 per wheel
CushCore Pro – $145 per wheel
Panzer Agressive – $100 per wheel
Rimpact Pro/Original – $135 for the set
Vittoria Air-Liner MTB – $164.95 per wheel
Tubolight SL – $80 per wheel
Panzer XC Light 28mm – $100 per wheel
Vittoria Air-Liner XC – $119.95 per wheel
Tubolight EVO Gravel – $120 pair
