WORKSHOP: How to adjust your derailleur
Mike Blewitt takes you through how to readjust your derailleur.
Words: Mike Blewitt
Photos: Tim Bardsley-Smith
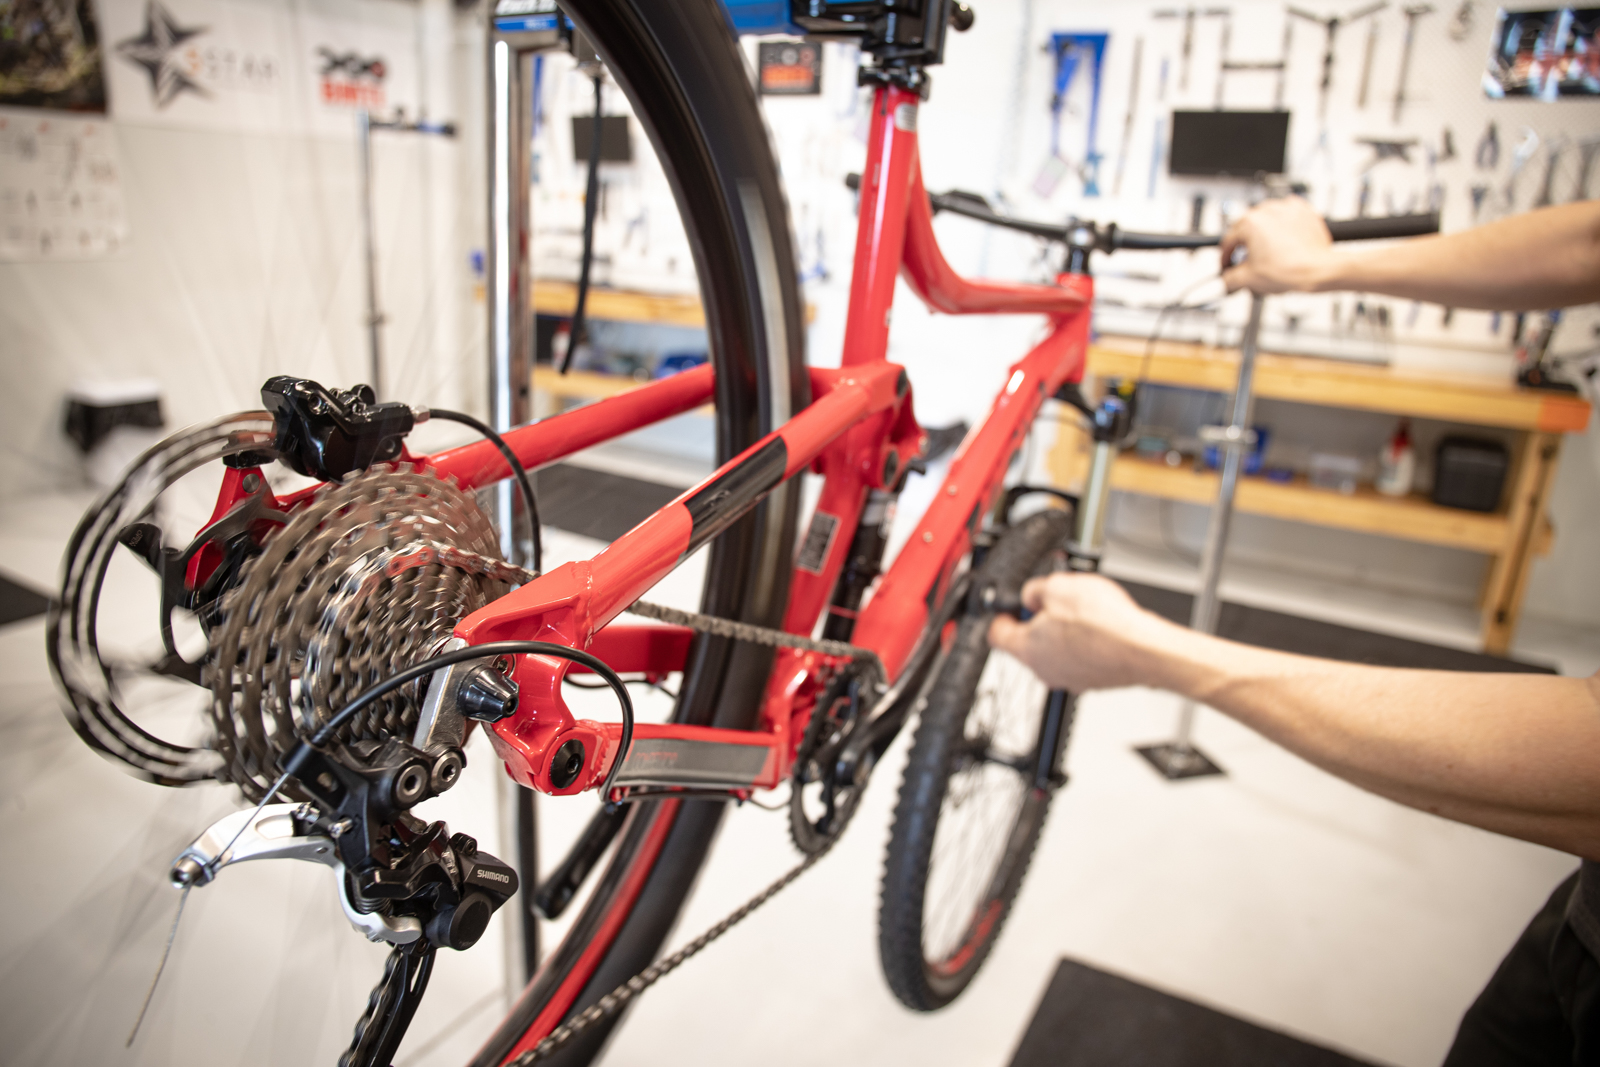
Whether it’s after fitting a new cable and outer, a new derailleur or straightening a gear hanger, adjusting your gears is a lot easier when you get the basics right, by setting your derailleur high and low limits, and B-tension, before fine tuning the cable tension. Thanks to the demonstration from the Bicycle Mechanic Training Institute, we’ll focus on the rear derailleur, given the popularity of single chain ring group sets.
Tools needed:
You’ll need an allen key or torx key to suit your derailleur cable clamp, and either a Phillips head screwdriver or small allen key for the limit screws and B-tension. Double check the specific tool required for your derailleur.

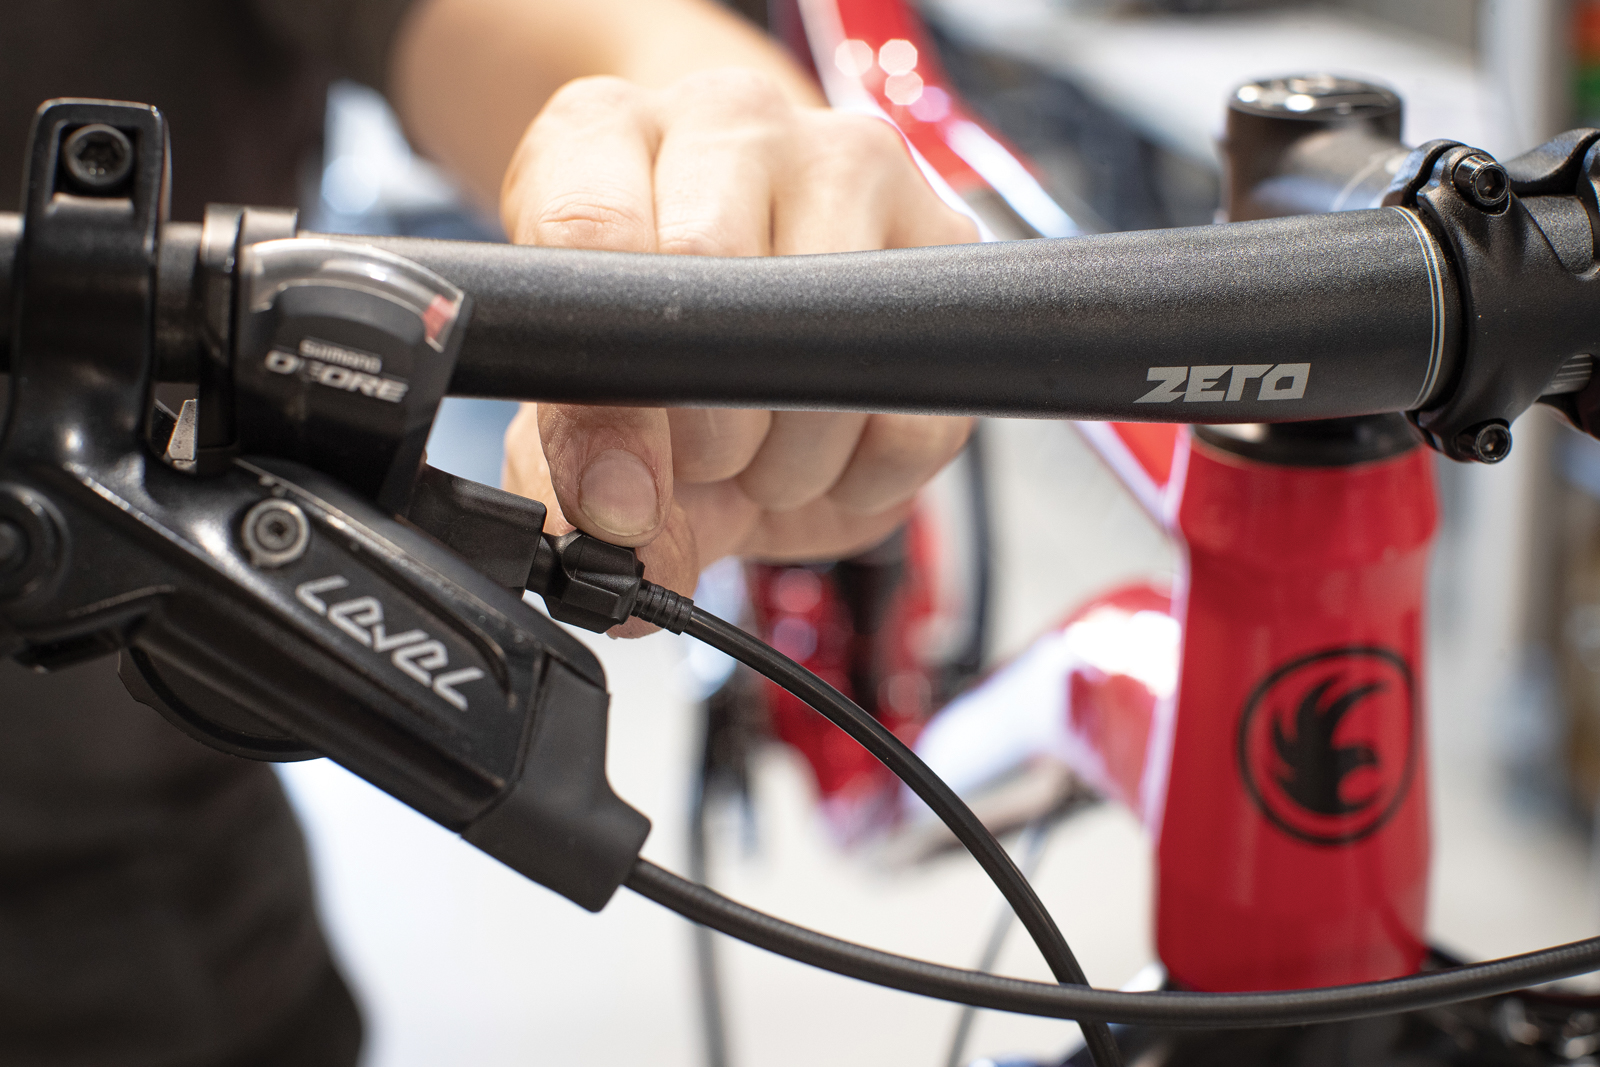
Step One:
Shift your bike to the smallest sprocket, then wind in the barrel adjuster clockwise on your shifter – then wind it out 2-3 clicks. Note any specific routing for where your derailleur clamps the cable – many derailleurs have a specific line and guide for how the cable should feed into the clamp. Undo your rear derailleur cable, and be sure not to lose the nut and washer that holds it in place.
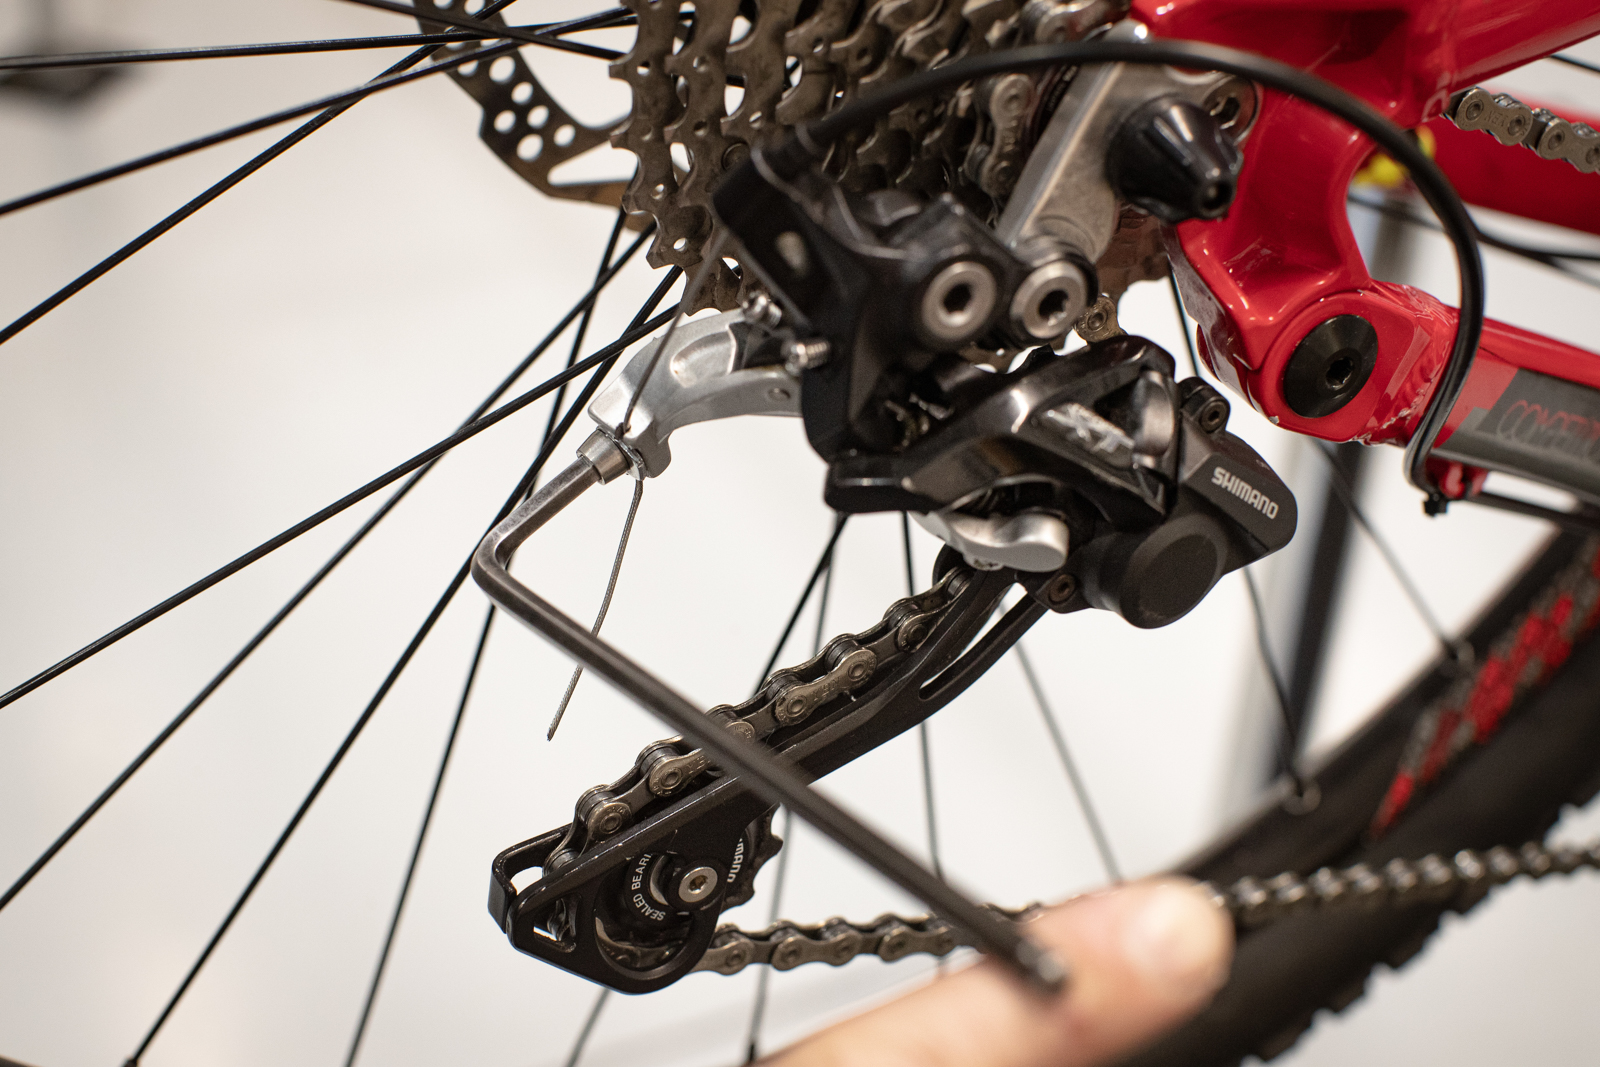
Step Two:
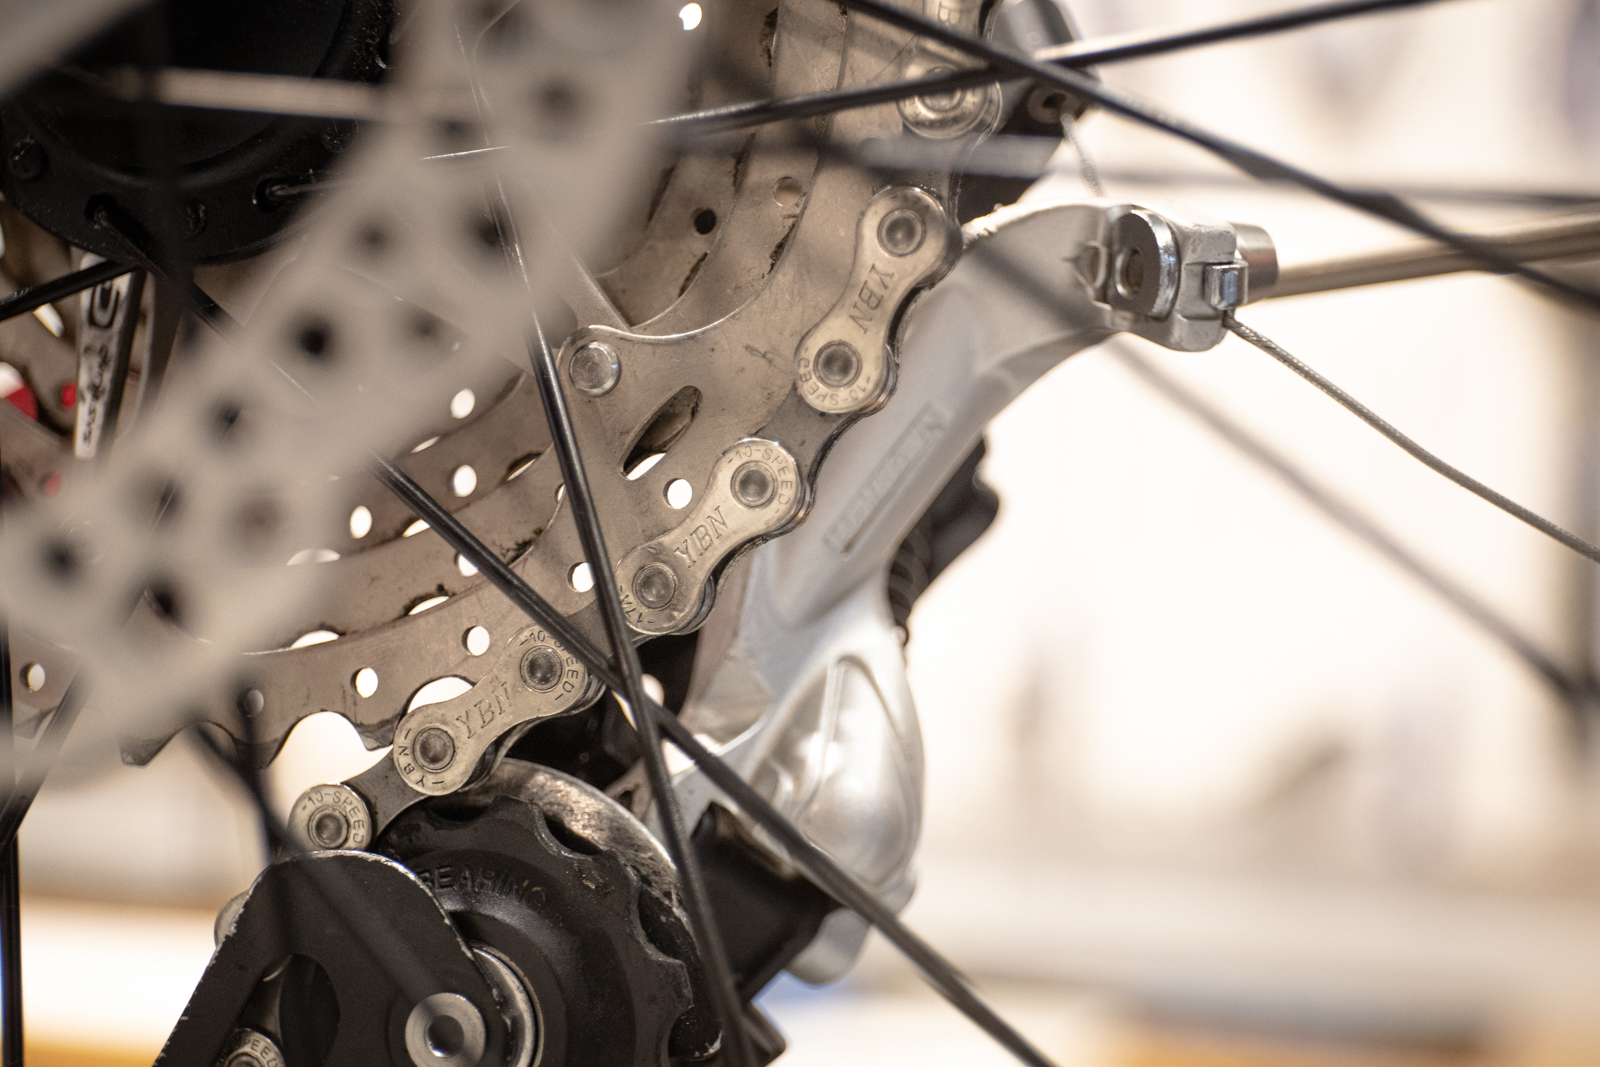
Identify the High and Low limit adjusters – you may need to consult a guide for your derailleur. These are hard stops to set the boundary of where your derailleur moves to. The high limit is for the smallest sprocket. You want to make sure the top jockey wheel sits right under the smallest sprocket. Wind the screw in if it’s too close to the frame, or out if it’s too close to the next sprocket. You can pedal the bike with it in a stand to check it runs smoothly. If it sits at an angle, see the derailleur hanger alignment process from our last issue.

Step Three:
Use your hand to push the derailleur up to the low gear, the largest sprocket. Go gently, as if it’s not quite right you might go into the spokes! You want it to stop right below the largest sprocket. Again, use your screwdriver (or appropriate tool) to adjust the firm stop. Screw it in to stop the chain moving past the sprocket, or wind it out to let it get there. With this and the previous step, you have set the limits of the range of movement for your derailleur, an essential step for proper adjustment.

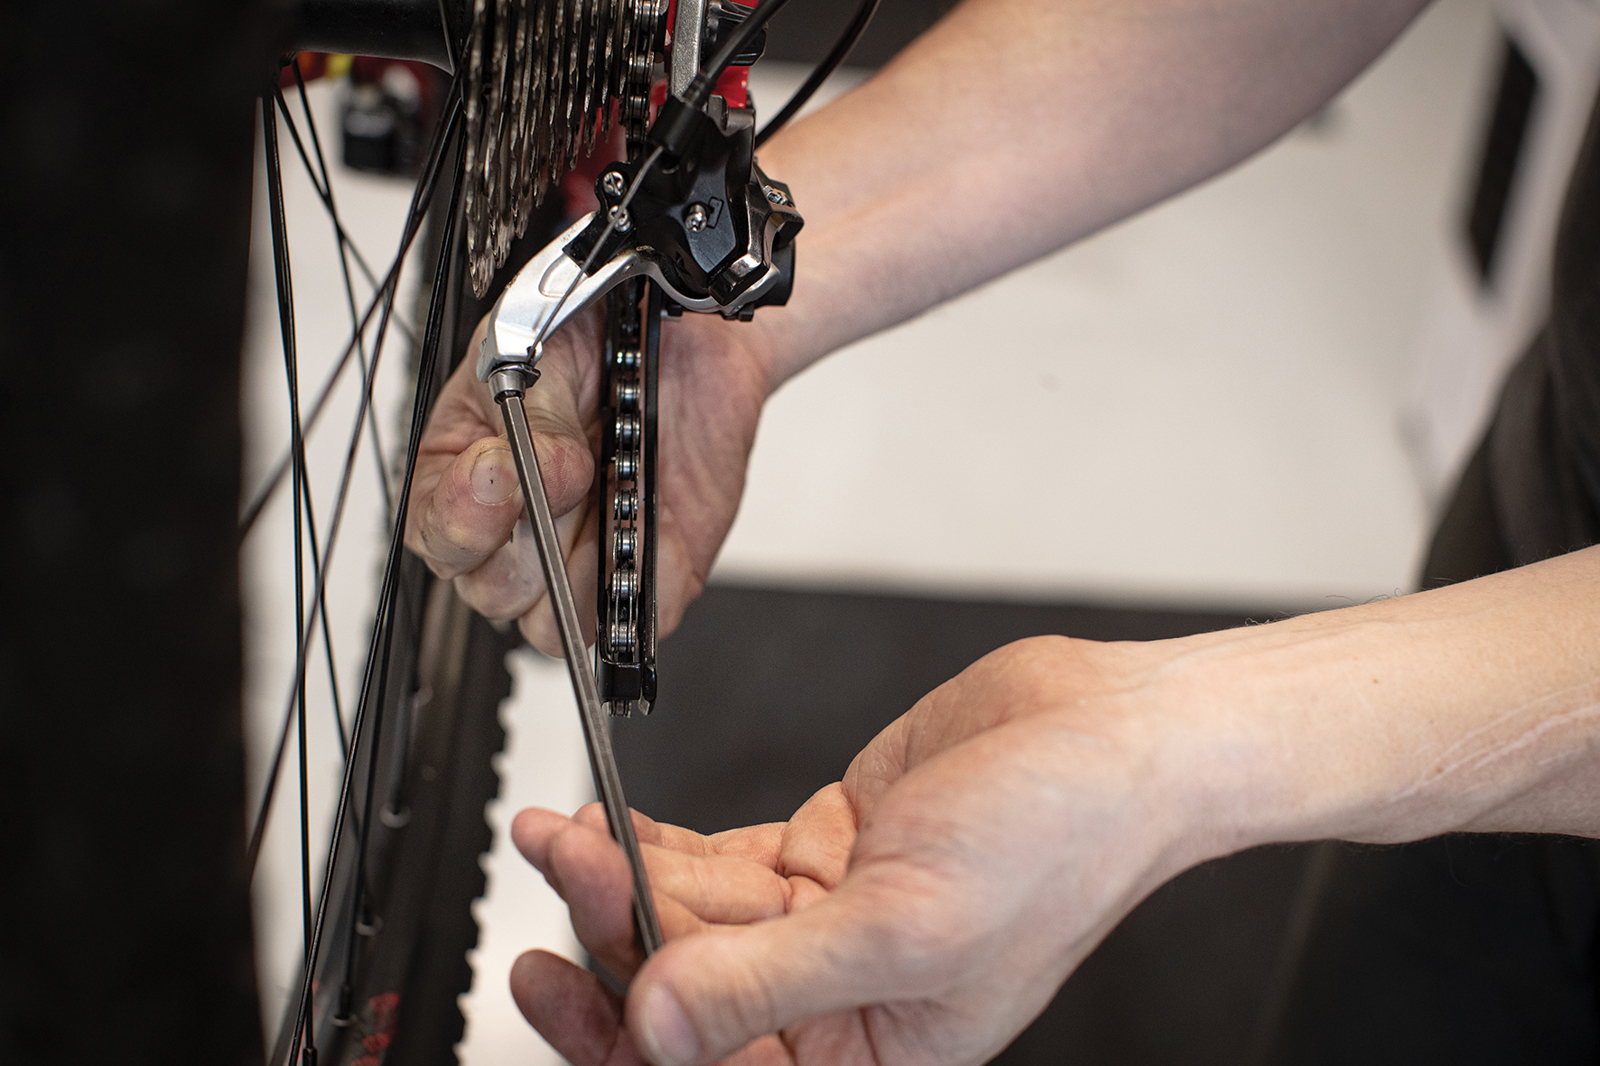
Step Four:
With your chain in the smallest sprocket and your shifter in the highest gear position, tighten the cable by hand and clamp it to the appropriate torque. Take up any visible slack in the cable with the barrel adjuster at the shifter.
Step Five:
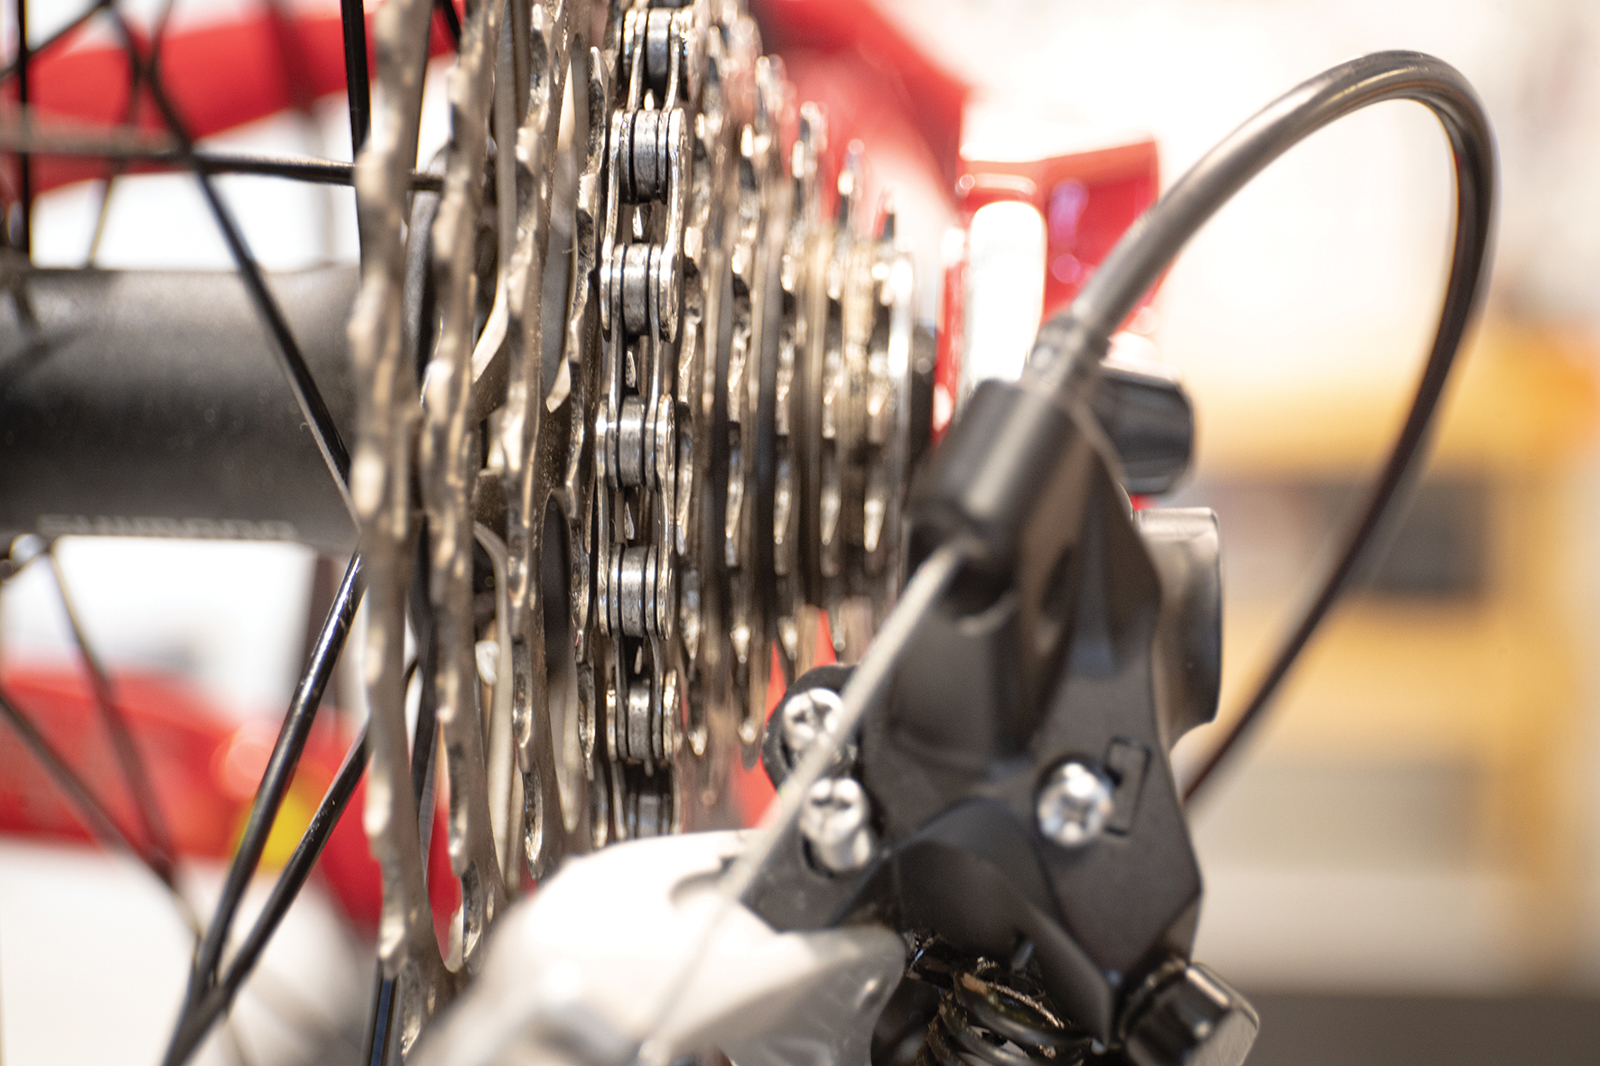
B-tension is next – it determines the distance between the top jockey wheel and the cassette. On SRAM Eagle group sets you need a special tool to use as a guide – use this and wind the B-tension screw in or out. On Shimano 12-speed group sets there is a marking on the inside of the derailleur cage to line up with the 51t sprockets. When it’s too tight, the chain gets pinched in the lowest gears. When it’s not close enough, the shifting is really slow – or inaccurate on 12-speed group sets. For other group sets, the most versatile thing to understand is that you should run the pulley as close to the largest sprocket as possible, so that the chain runs freely without noise when shifting.
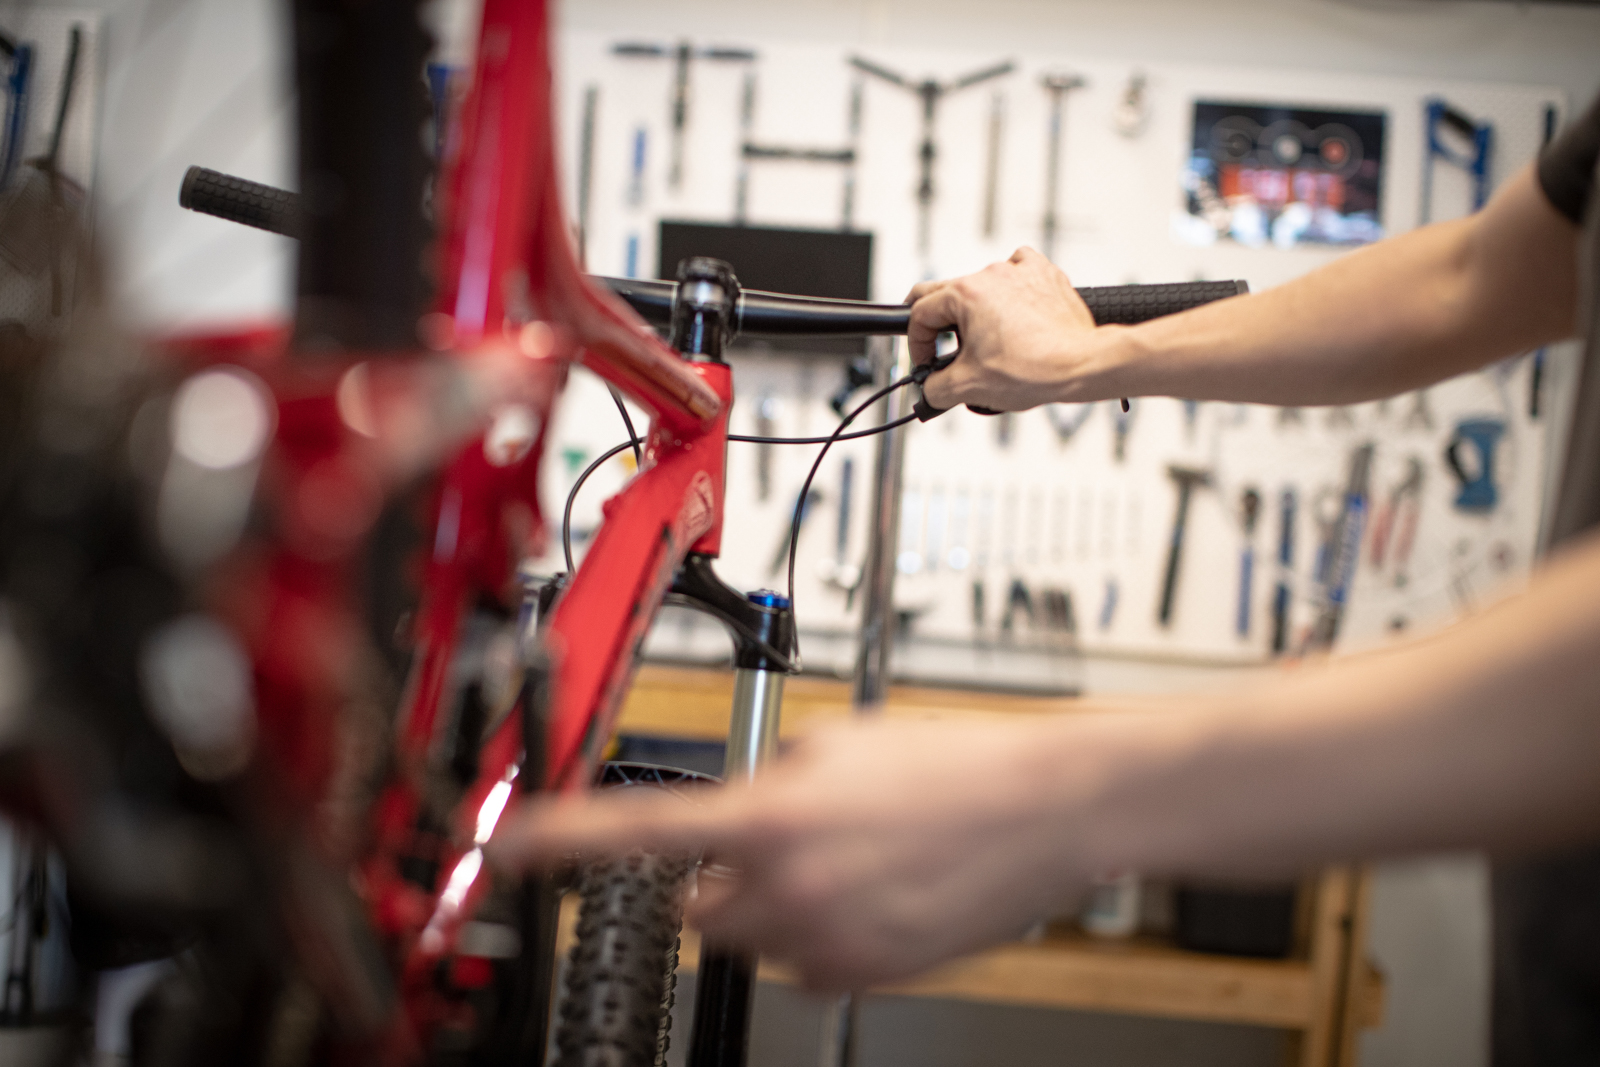
Step Six:
Pedal and shift! Start with one gear at a time, checking to see how fast, or slow, it is moving from a high gear to a lower one and vice versa. If it’s slow getting to a lower gear, unwind the barrel adjuster one click counter clockwise. Too fast? Wind it in one click clockwise and try again. Readjust as needed, then try multiple shifts in each direction. Check the whole range and then you should be good to go.
After more workshop articles? Click here.