WORKSHOP: Derailleur Hanger Adjustment
Adjusting your derailleur hanger can bring your gears back to life.
Photos: Tim Bardsley-Smith
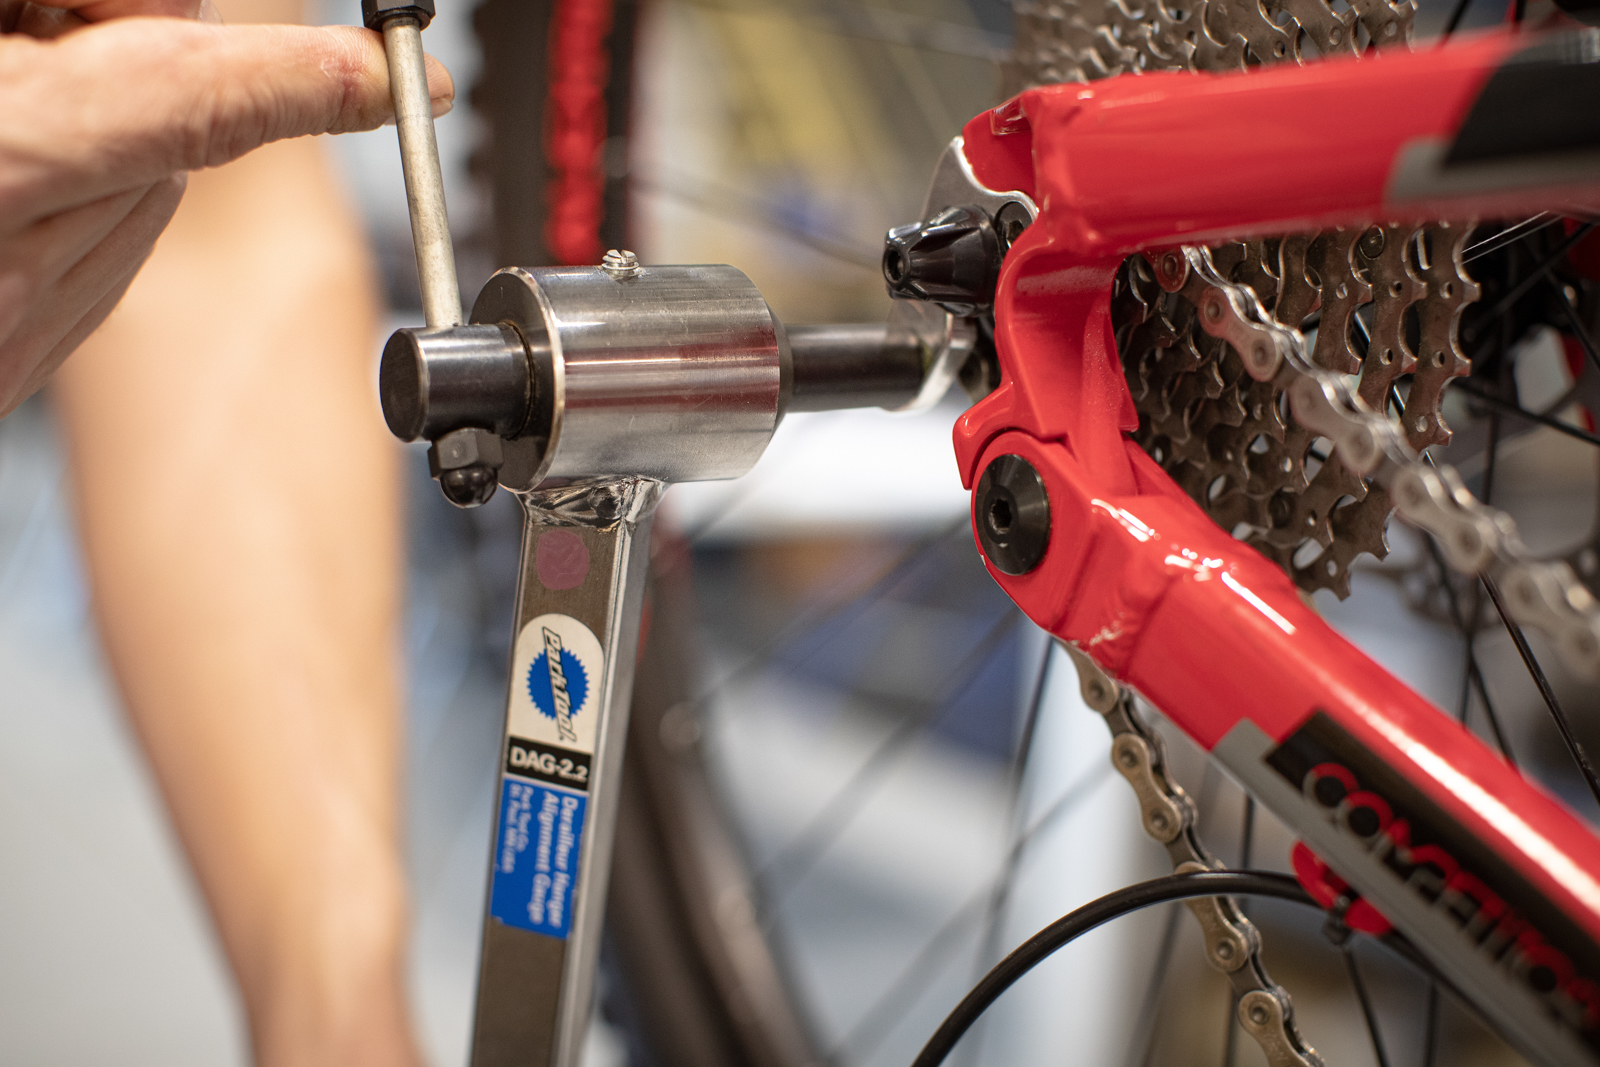
If your shifting has quickly gone south, chances are your derailleur hanger might be bent. It’s easy enough to do when riding (or crashing!) and can also occur when loading bikes into the back of a car. Thankfully, the hangers are not just replaceable, but often can be aligned with the appropriate tools. This does require a specific tool. If you’ve got more than one bike to look after then chances are the investment will pay for itself a few times over for the life of the tool.
The goal is to align the derailleur hanger parallel both vertically and horizontally to the rear sprockets – this isn’t just creating a bar for leverage!
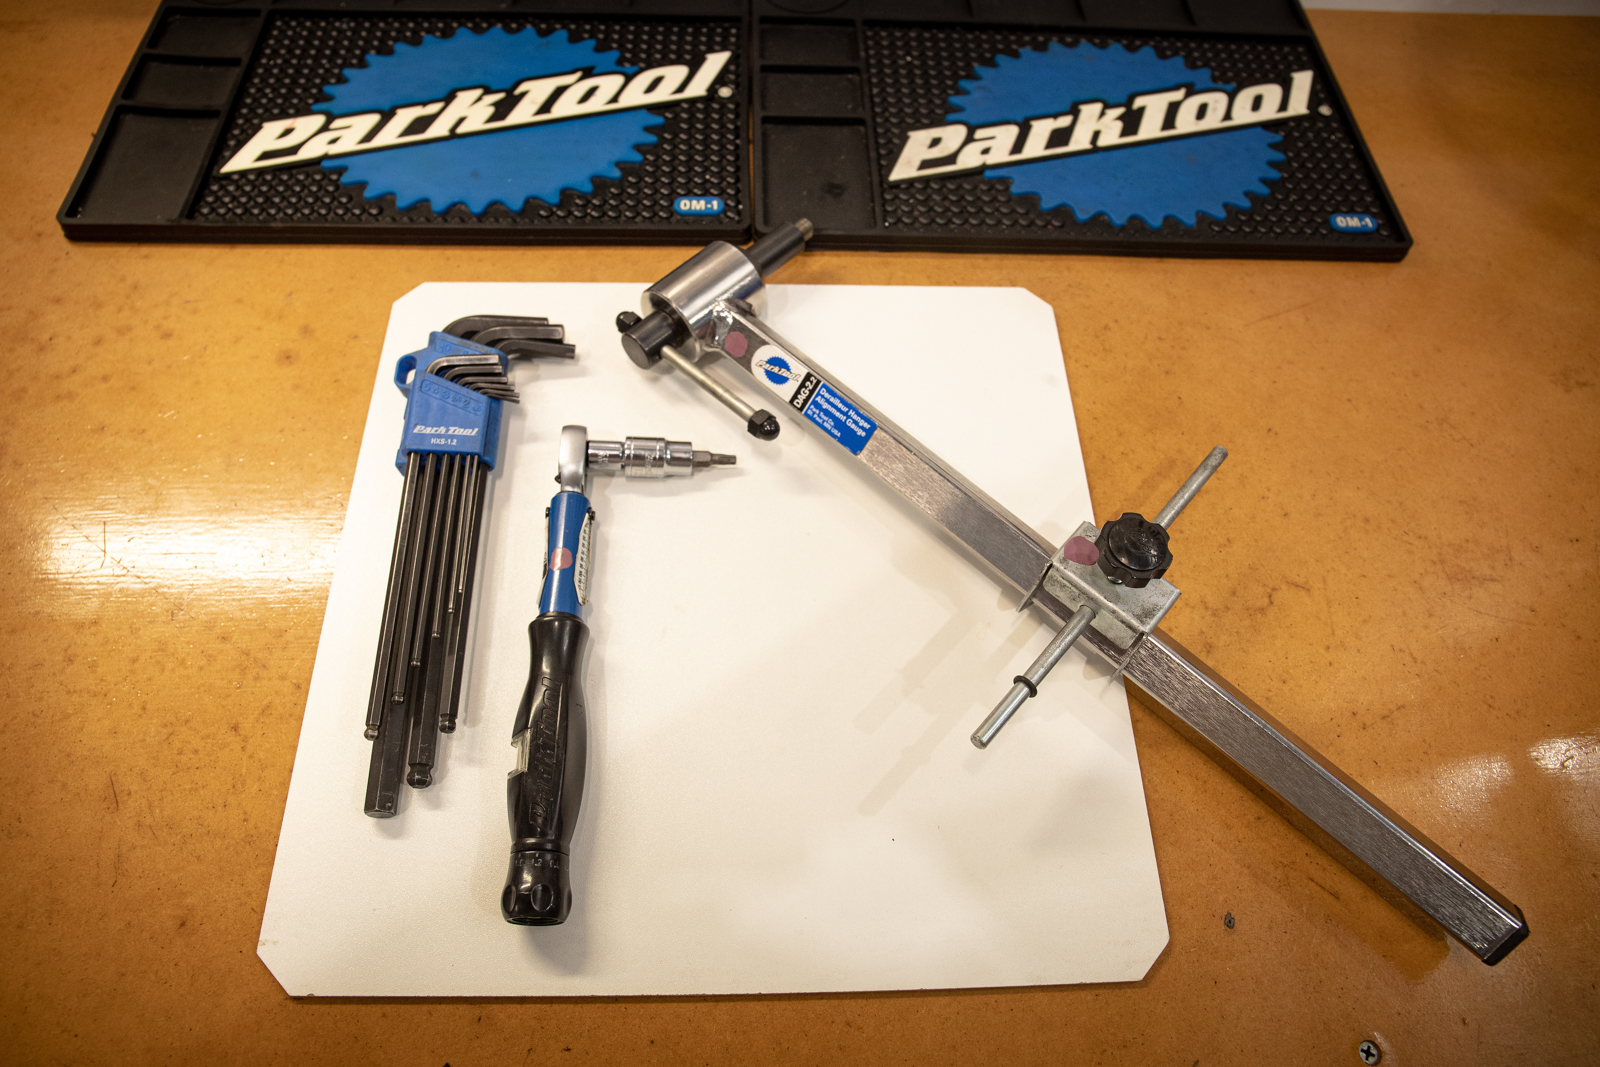
Tools required:
Allen key or Torx key for your derailleur, derailleur hanger alignment tool, torque wrench.
Step 1
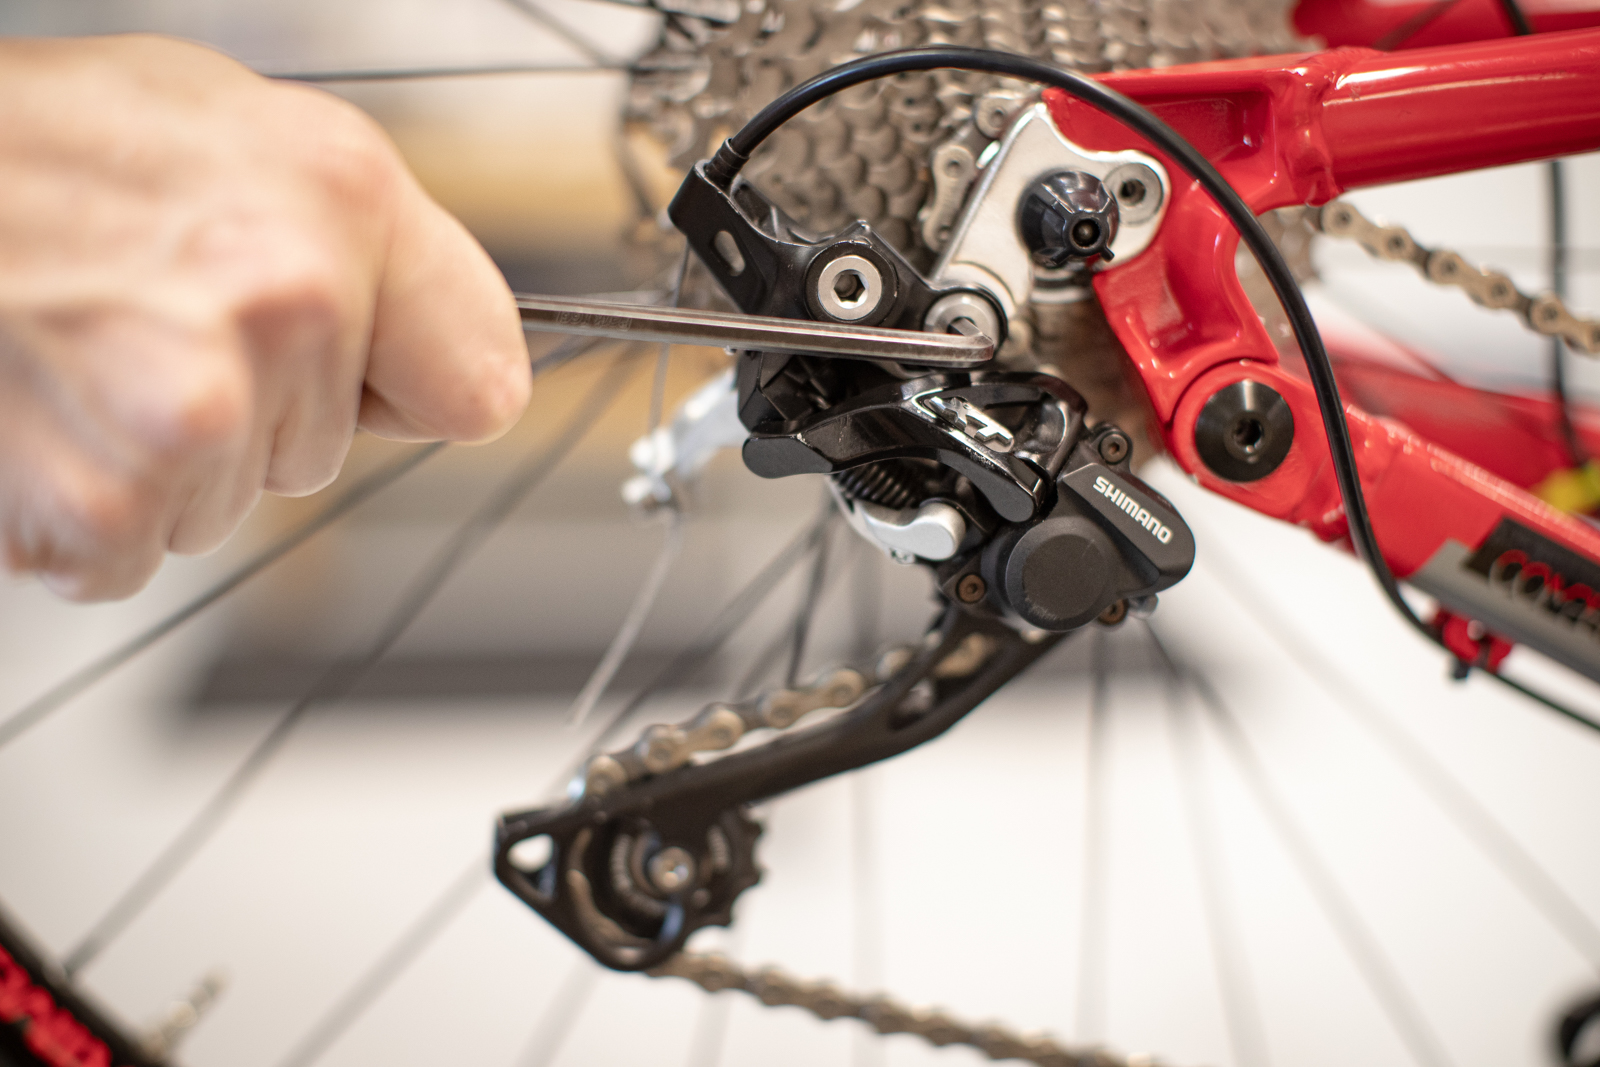
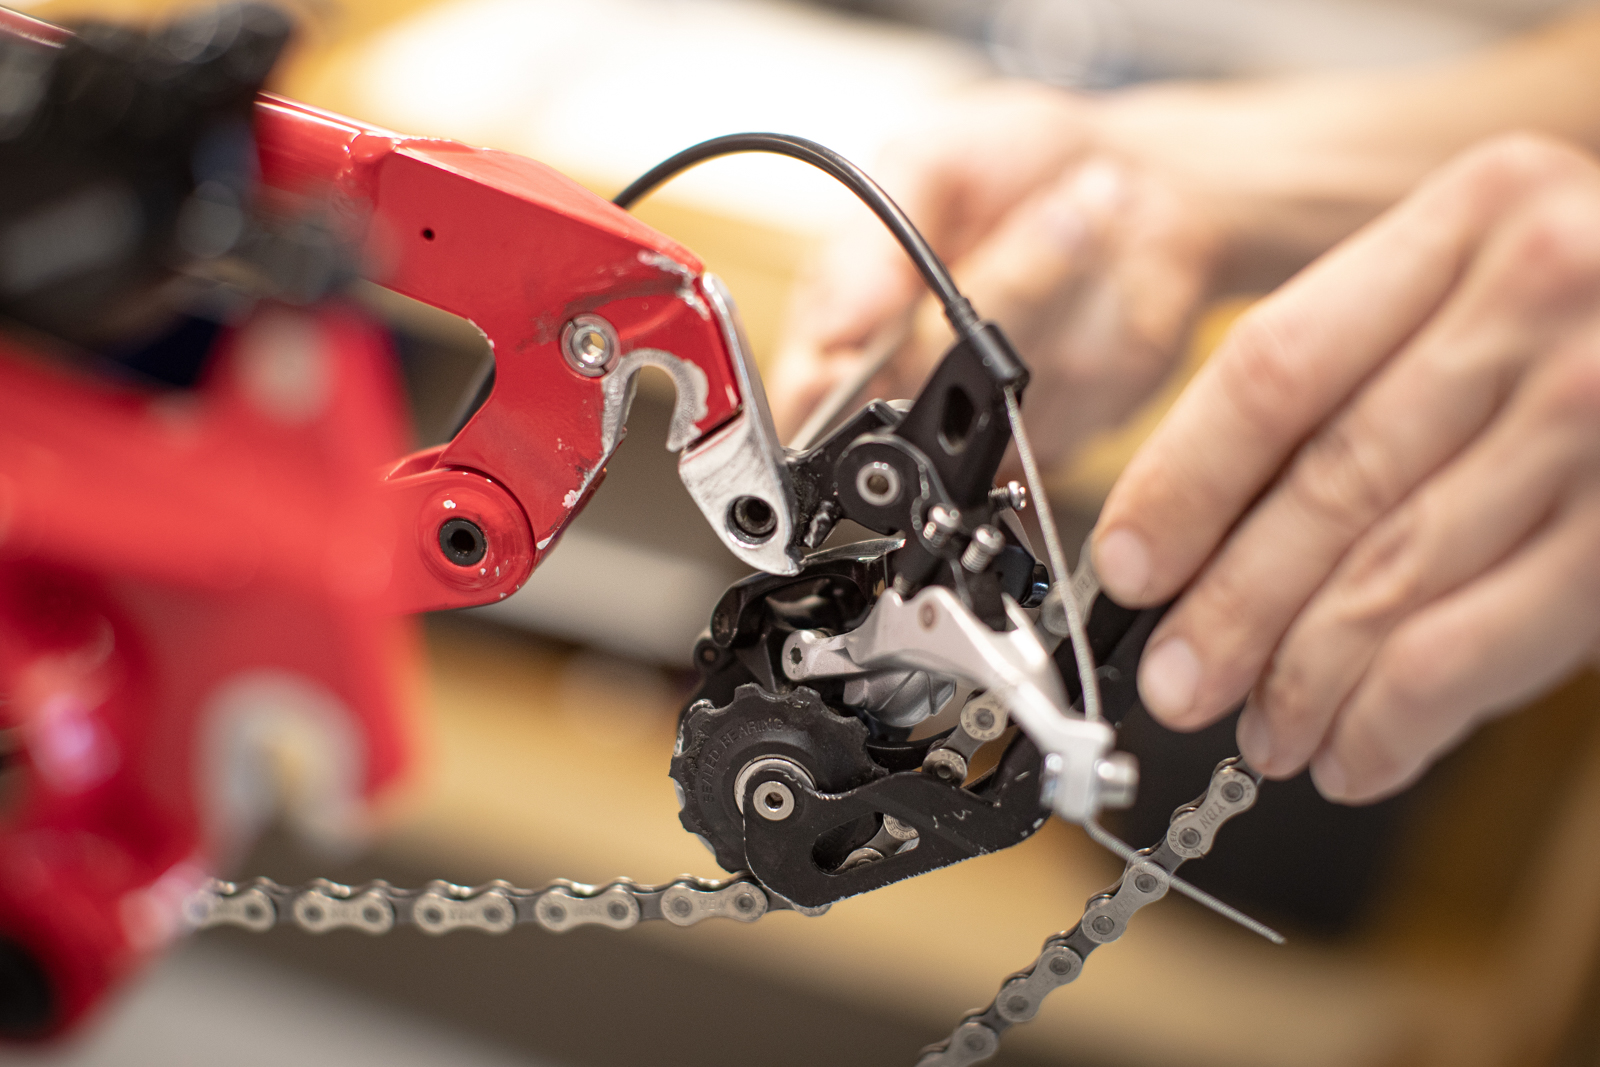
Ensure the rear wheel is mounted correctly into frame. Remove rear derailleur from hanger using the 5mm or T25 tool, and let hang via cable (if electronic use care not to damage the wire)
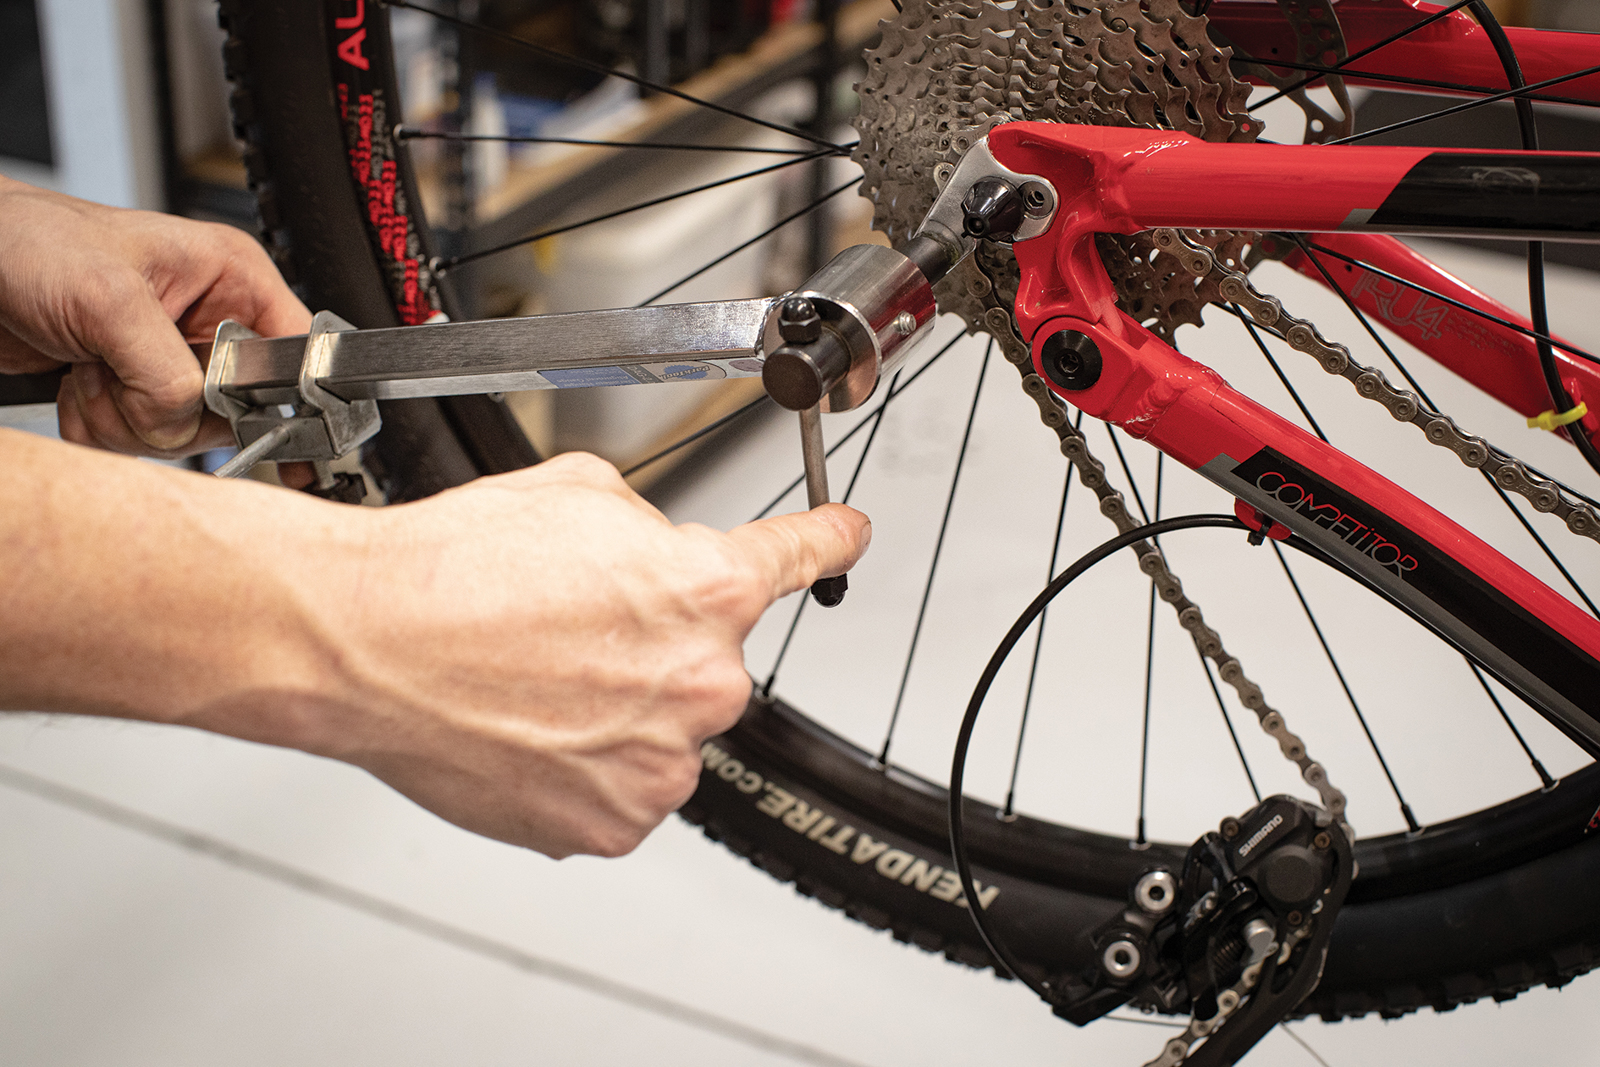
Install the derailleur hanger alignment tool on to the hanger – thread it all the way in.
Step 2
Rotate the tool arm to 12 o’clock. Then, rotate the wheel so the valve is in same position. Always use the valve as a constant reference point when checking the hanger alignment, this ensures wheel trueness or dish will not affect the alignment.
Step 3
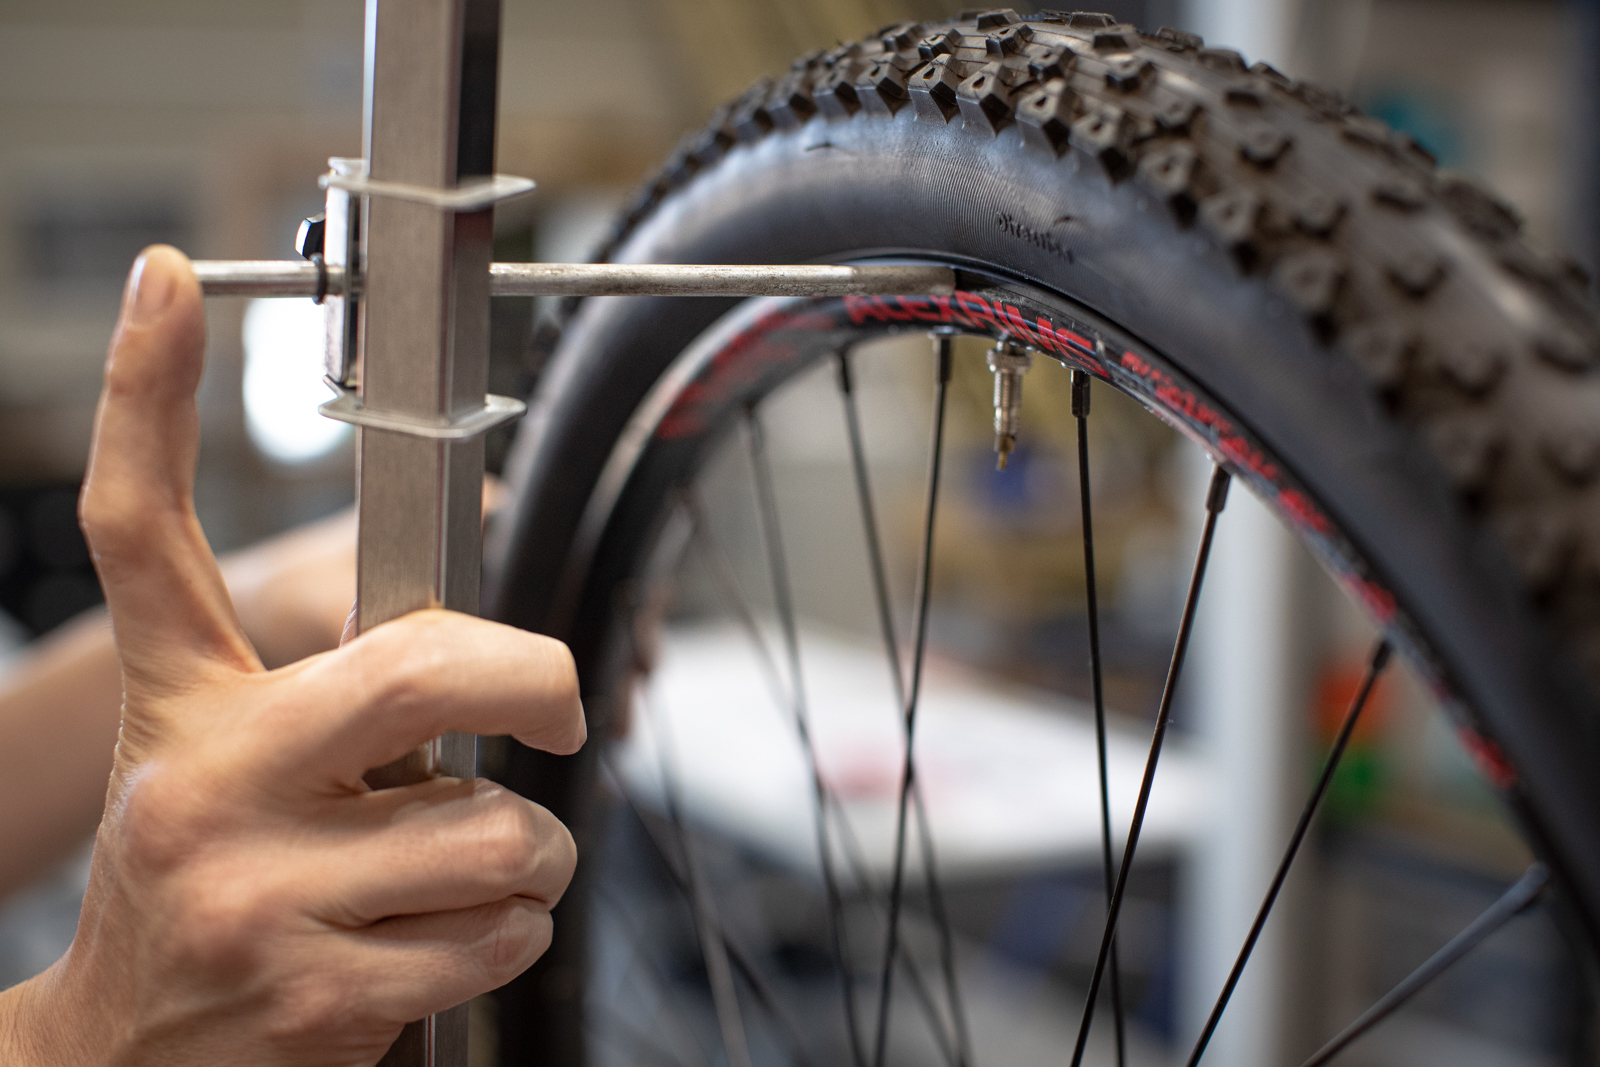
Slide the pointer to the outermost face of the rim and set in place. This is known as our reference point.
Step 4
Rotate the tool arm and wheel valve to the 6 o’clock position and check the same position near the valve.
There will be three possibilities :
- The pointer strikes the inside of the rim, this indicates the hanger is bent inwards.
- The pointer has a gap of more then 3mm from the rim indicating the hanger is bent outwards.
- The pointer has a gap less then 3mm of error, in this case the hanger is aligned vertically.
The tolerance allowed at any point is 3mm from the original reference point.
If the pointer strikes the inside of the rim a slight adjustment outward is required. If the pointer has a gap larger then 3mm from the rim a slight adjustment inward is required. Use the hanger alignment tool to gently put pressure on the hanger in the desired direction.
Once an adjustment has been made to the hanger go back to the 12 o’clock position and reset the pointer, repeat the steps until you have a gap of 3mm or less at the 12 and 6 o’clock positions. Do not move the pointers set position and move to the next step.

Step 5
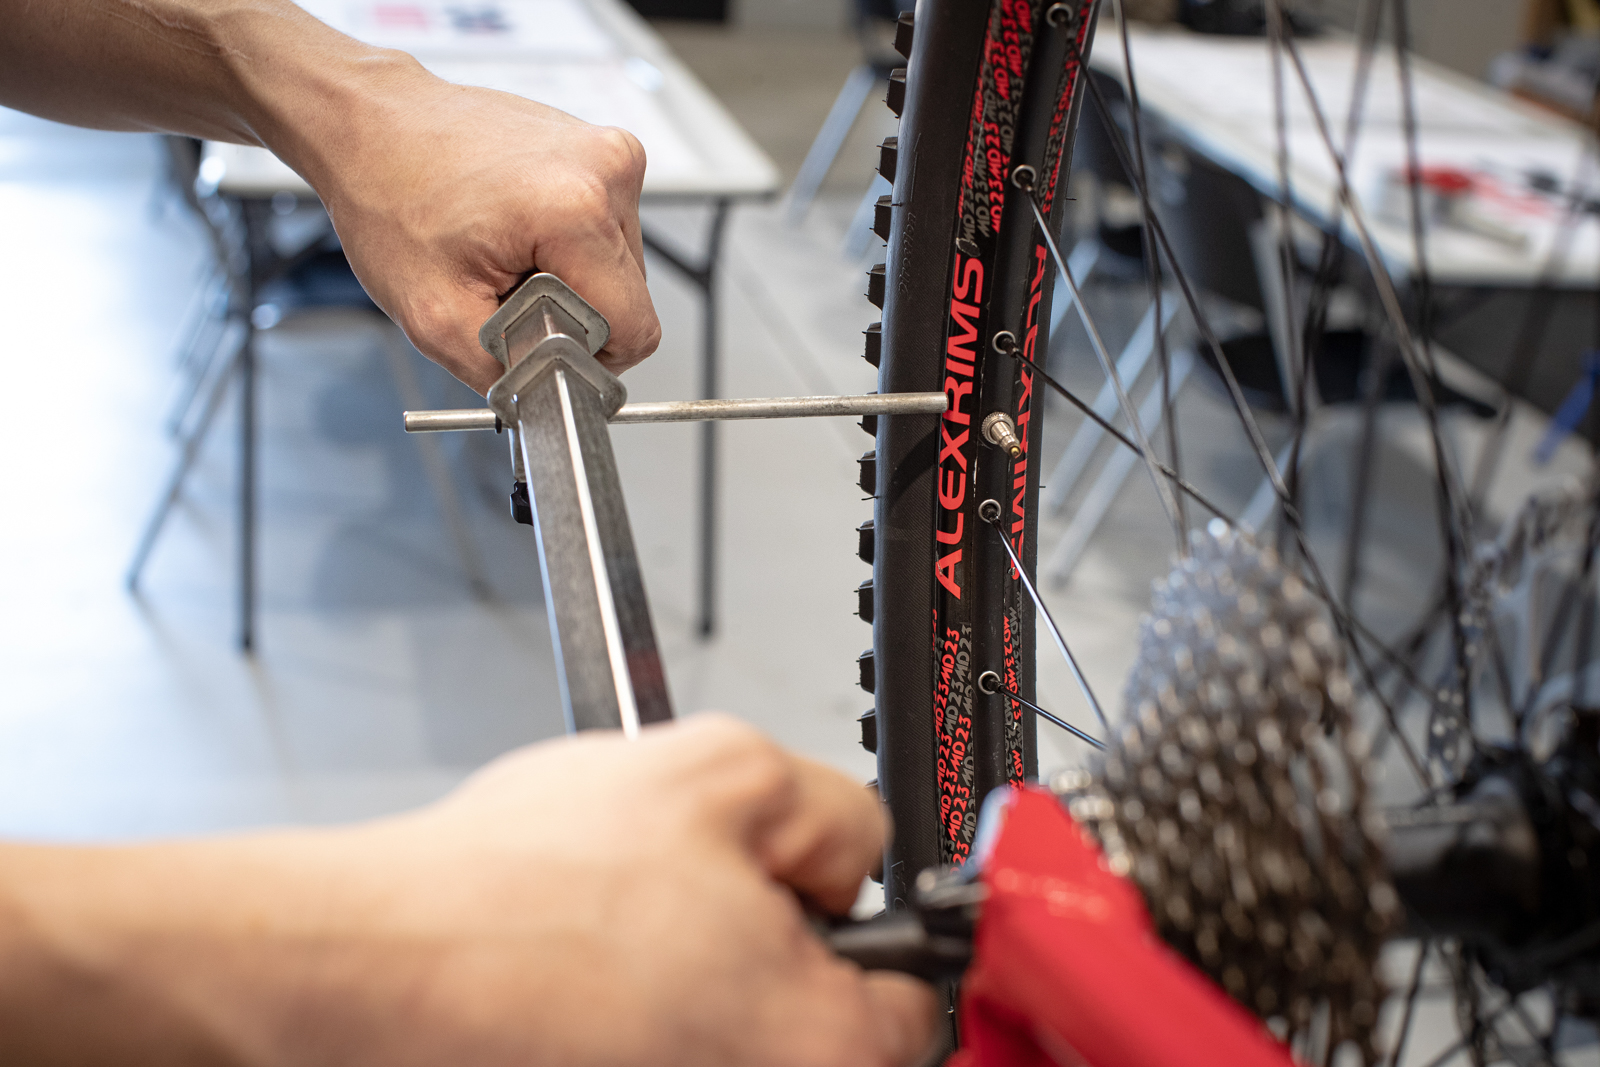
At this point the hanger should be vertically aligned to within the 3mm tolerance, rotate tool arm and wheel valve to the 9 o’clock position and check the same position near the valve. Again, you have 3mm of error to play with. If the tool strikes the inside of the rim a slight adjustment outward is required, if the pointer has a gap of more than 3mm from the rim then a slight adjustment inward is required. The tolerance again is 3mm. Make small adjustments as necessary.
Once completed check all 3 position again and once satisfied you have 3mm or less at any 3 points you can remove the tool from the hanger.
Step 6
Remove the wheel from the frame, mount the derailleur back onto the hanger ensuring the tab on the derailleur sits to the back of the tab on the hanger. Be careful not to cross thread the bolt when mounting the derailleur. Refer to the derailleur manufacturer’s specifications for the correct torque recommendations. Correctly install the wheel and reset your derailleur’s adjustments. We’ll cover that next issue.
Caution – it is possible to break your derailleur hanger whilst attempting to straighten it. Please remember this is a simplified process of how to adjust a derailleur hanger. If you would like to receive further training in this or other bicycle servicing check out www.bmti.com.au.
Keen on more workshop articles? Click here.

