Skills: How to ride setup corners
Dial in your cornering with setup corners!
Words: Jared Rando Photos: Nick Waygood
Alright, for this skills session we have a bit of a feature which largely goes unnoticed on the trail but when you think about it, is far more prevalent than you might realise. As trails progress more and more towards man-made formed and sculpted trails, we are quite often seeing “setup corners” which direct the trail up the hill slightly before linking in with the larger more prevalent turn on the trail. Even on hand cut trails it’s really common to turn up the hill first before any corner.
These setup turns appear for a variety of reasons but the main reason they are there is for speed and subsequently wear and erosion control coming into corners and also to gain a little extra elevation on the trail to make that downhill goodness last just that little bit longer as we try to squeeze as much trail as possible on to the relatively small hills we have in Australia. In many ways the setup corner can make your cornering technique much more effective if used correctly and the skill also translates to where a setup corner isn’t present and you might need to get just that little bit higher into the turn to carry as much speed through as possible. Here’s how it’s done.
Step 1 – Focus on the main turn, not the setup turn
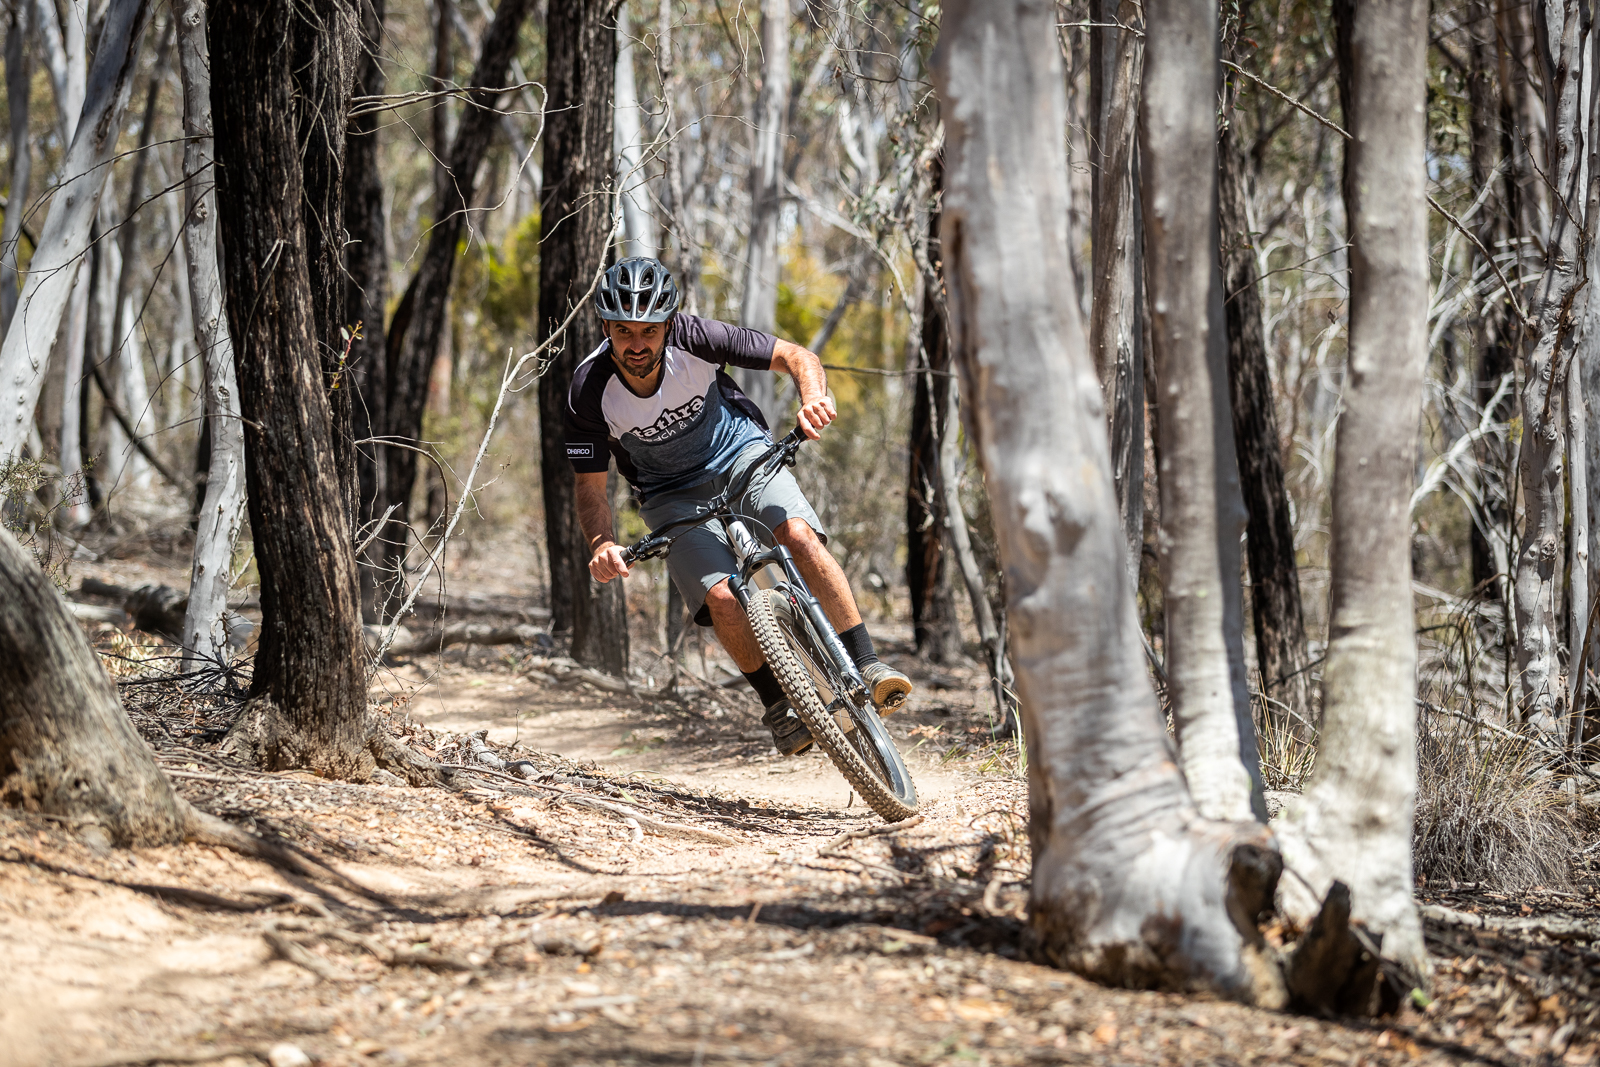
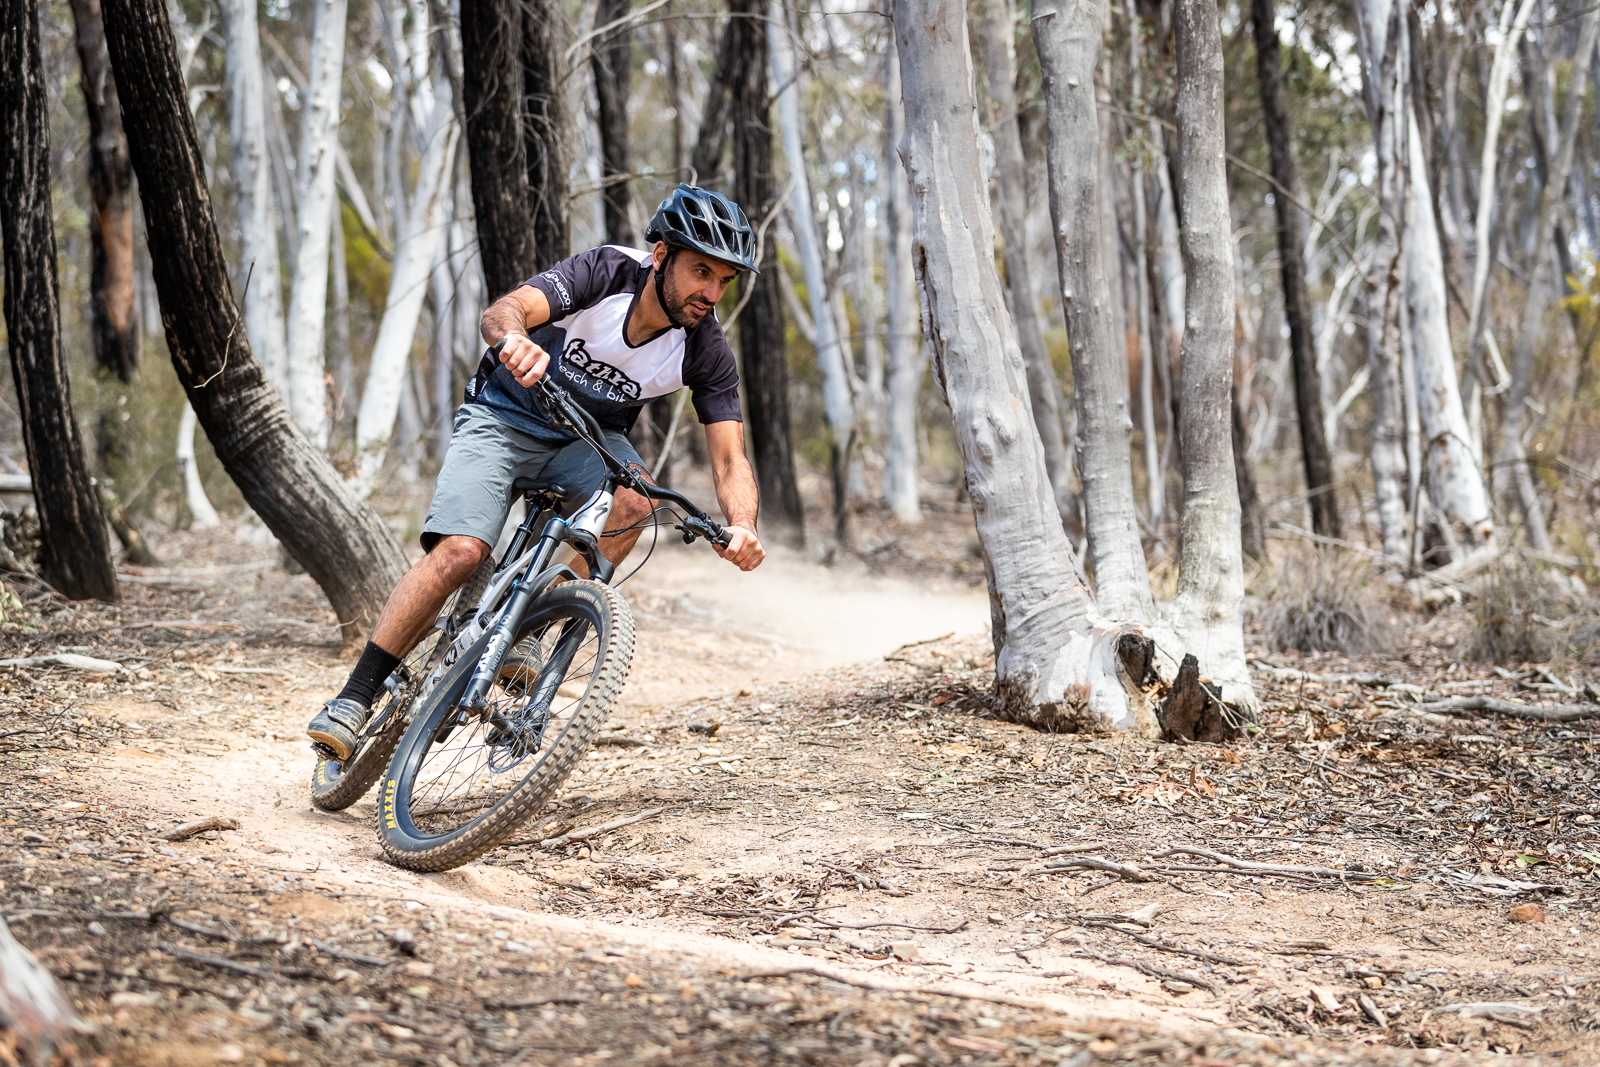
As you come into the corner, you want to have your focus on the entry point of the main turn rather than the setup turn. You’re aiming to get as high as possible into the main turn and focus less on the setup turn and effectively disregard the breaking point on the setup turn. As you brake late into the turn aim to “bounce” of the setup turn to get as high as possible into the main turn.
Step 2 – Brake late into the setup turn
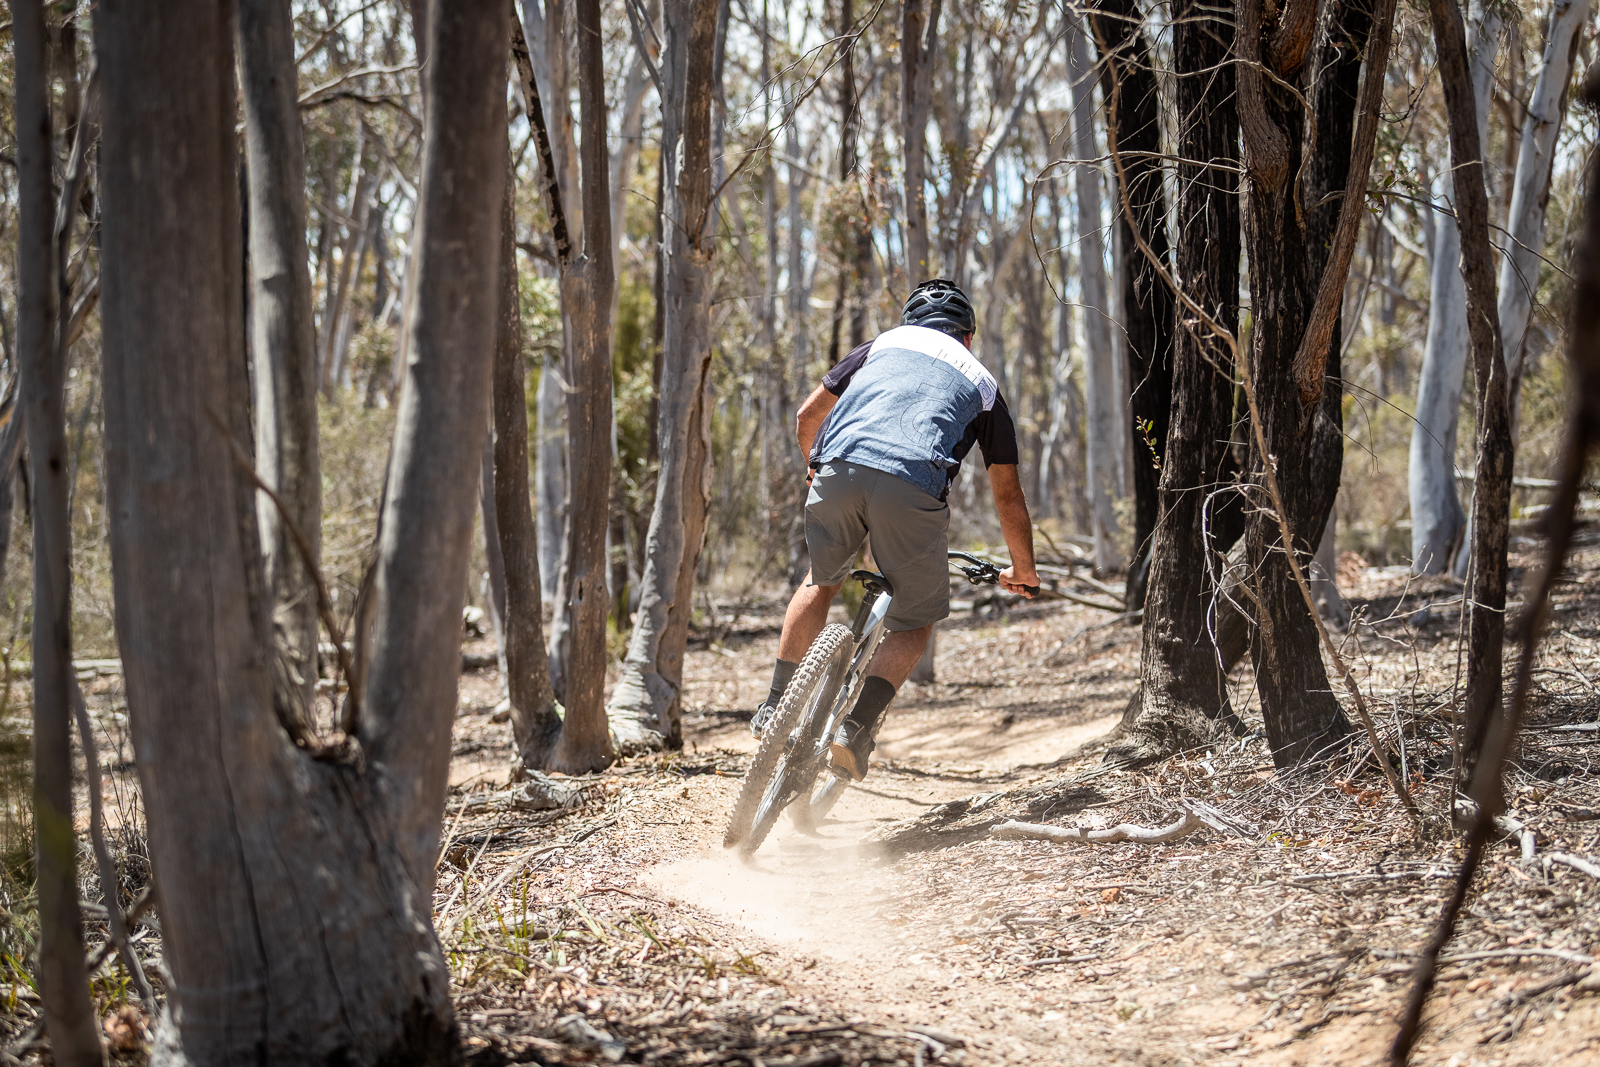
Focusing on the main turn means you’ll actually end up almost braking through the setup turn and you can use the setup turn as a means to scrub speed rather than execute your breaking early. At this point, what usually happens is your back end will tend to flick out and point you in the wrong direction so it’s really important not to over exaggerate the movement. Sure it looks cool throwing a Scandinavian flick into the turn but the reality is that the straighter your bike goes, the more efficient and faster you’ll get through the turn so aim to feather your breaking to get it just right.
Step 3 – Get high into the turn and get of the brakes early
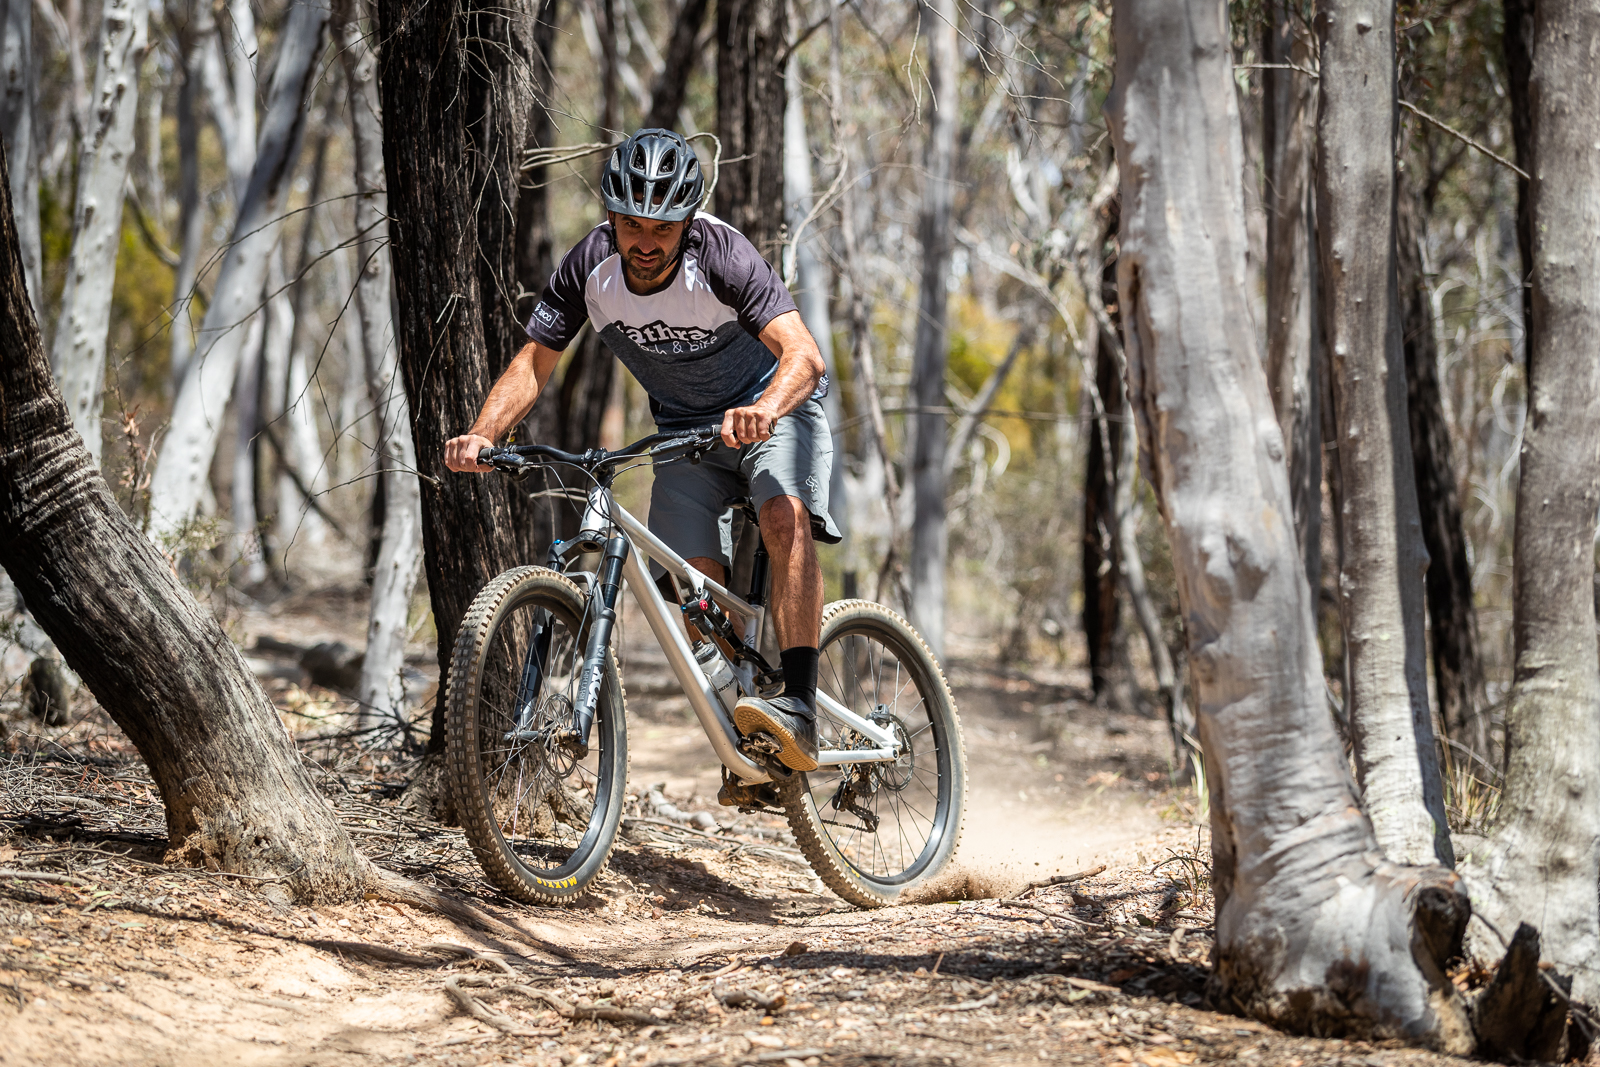
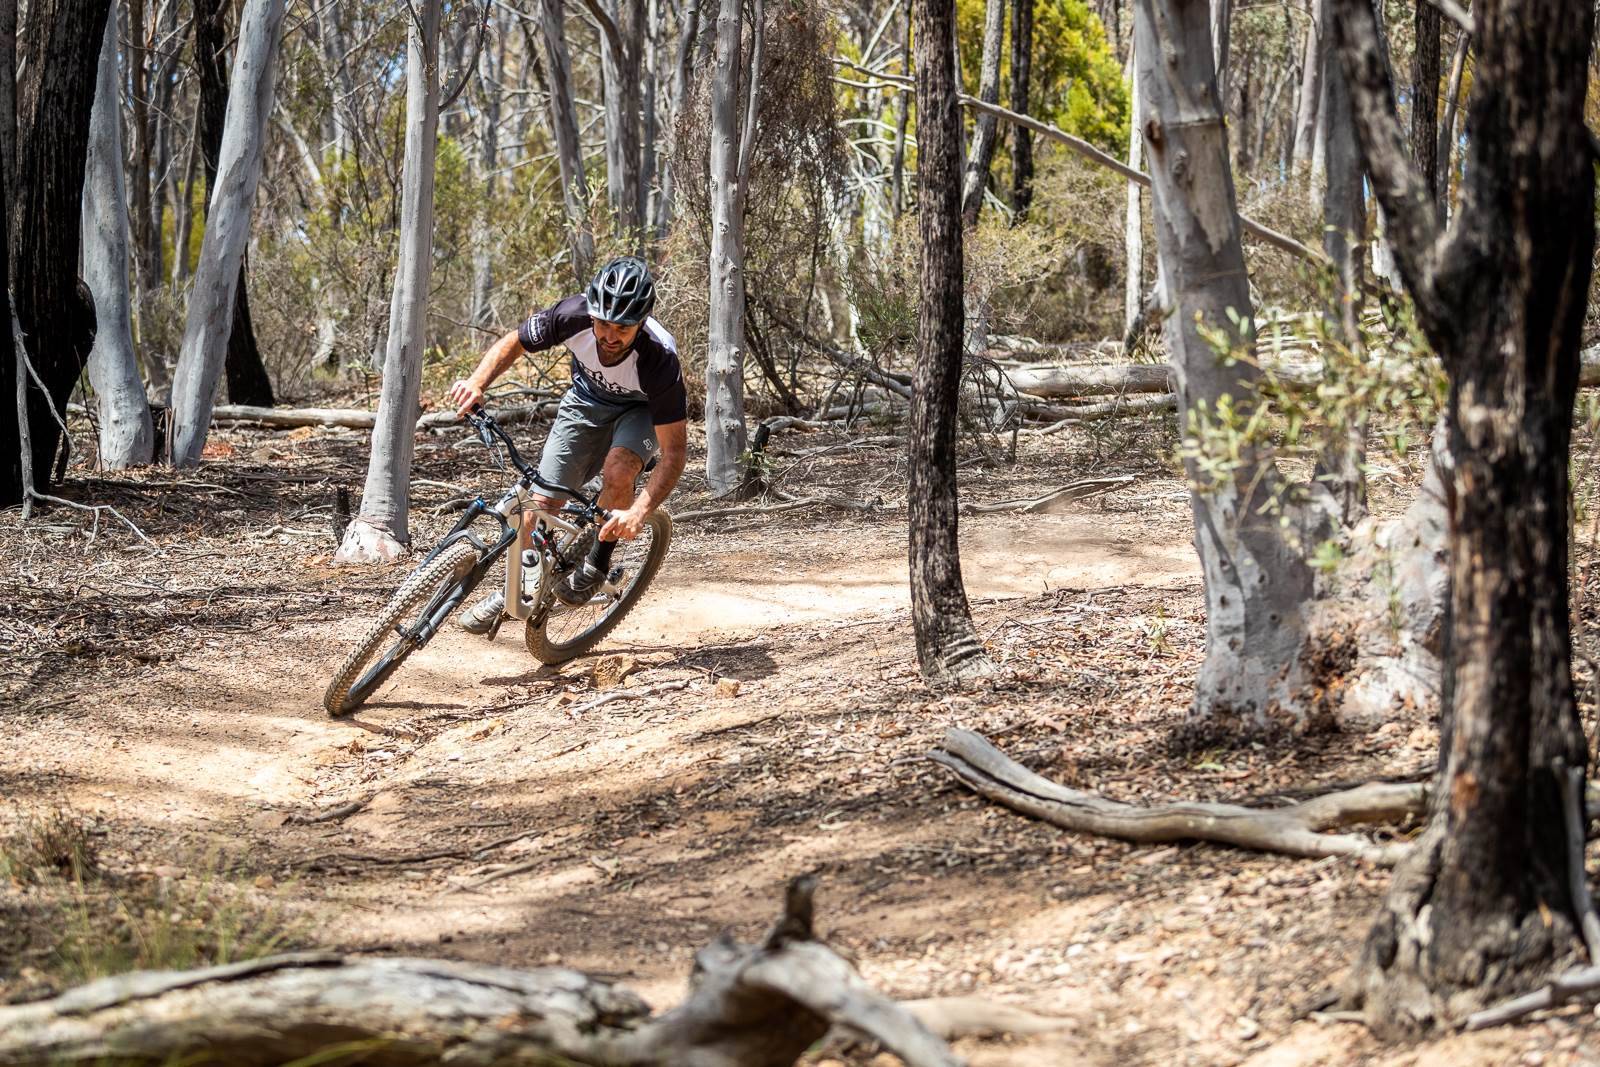
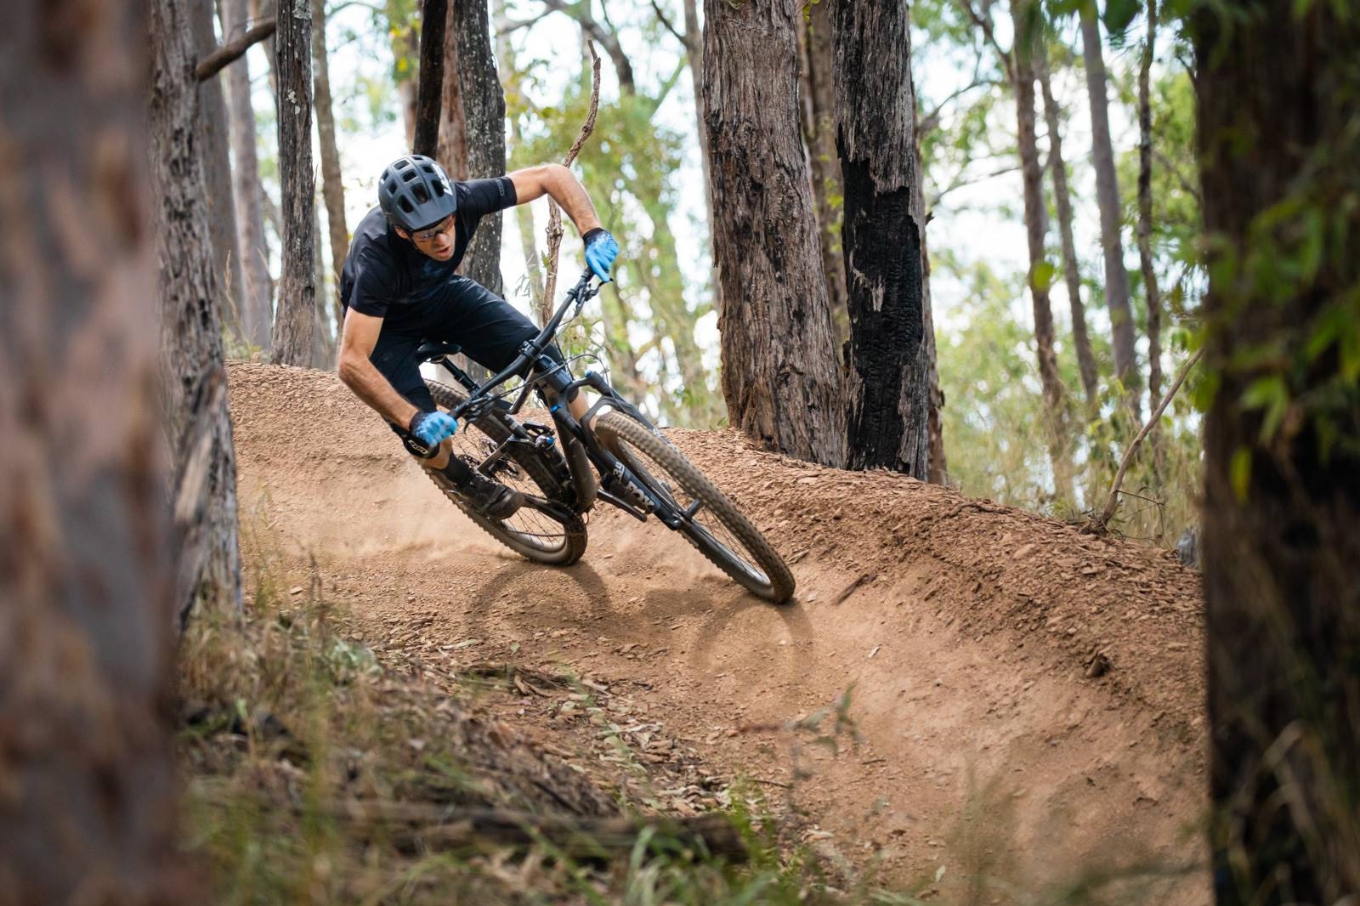
You can see here I’m aiming as high as possible into the main turn and making use of all the space possible on the trail to get set up. At this point I’m looking to get off the brakes a little which will help the bike straighten up and have the rear wheel follow the front wheel into the high line. At this point it’s also important to shift your weight towards the direction of the main turn and everything else should follow.
Step 4 – Spot the exit of the main turn as early as possible
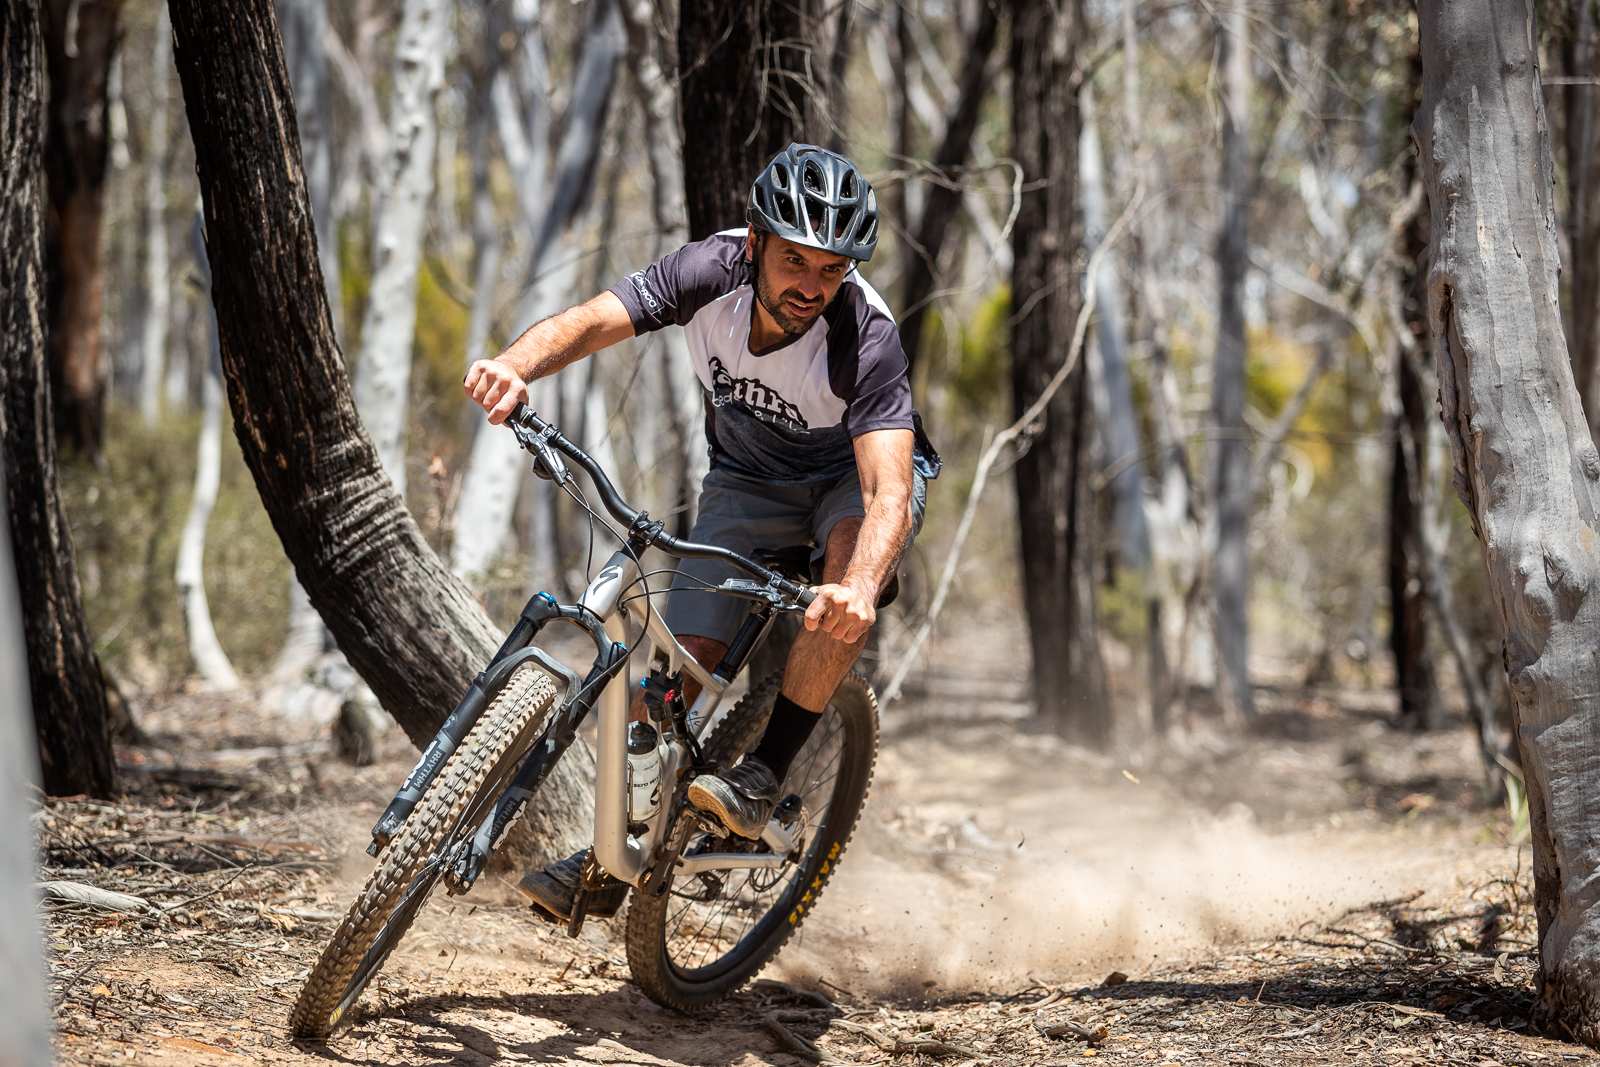
Focus on the exit of the turn rather than the entry. Nine times out of ten, your bike is going to go exactly where you look. If you focus on the exit of the turn, this is where you should end up! Look to get off the brakes into the main turn as early as possible as you would with any other turn to carry your speed through and keep your wheels rolling to get as much traction as possible.
Step 5 – Finish it off like you would any other turn
