Skills: Road Gaps and Step Downs
How to hit road gaps and step downs!
Words: Jared Rando Images: Nick Waygood
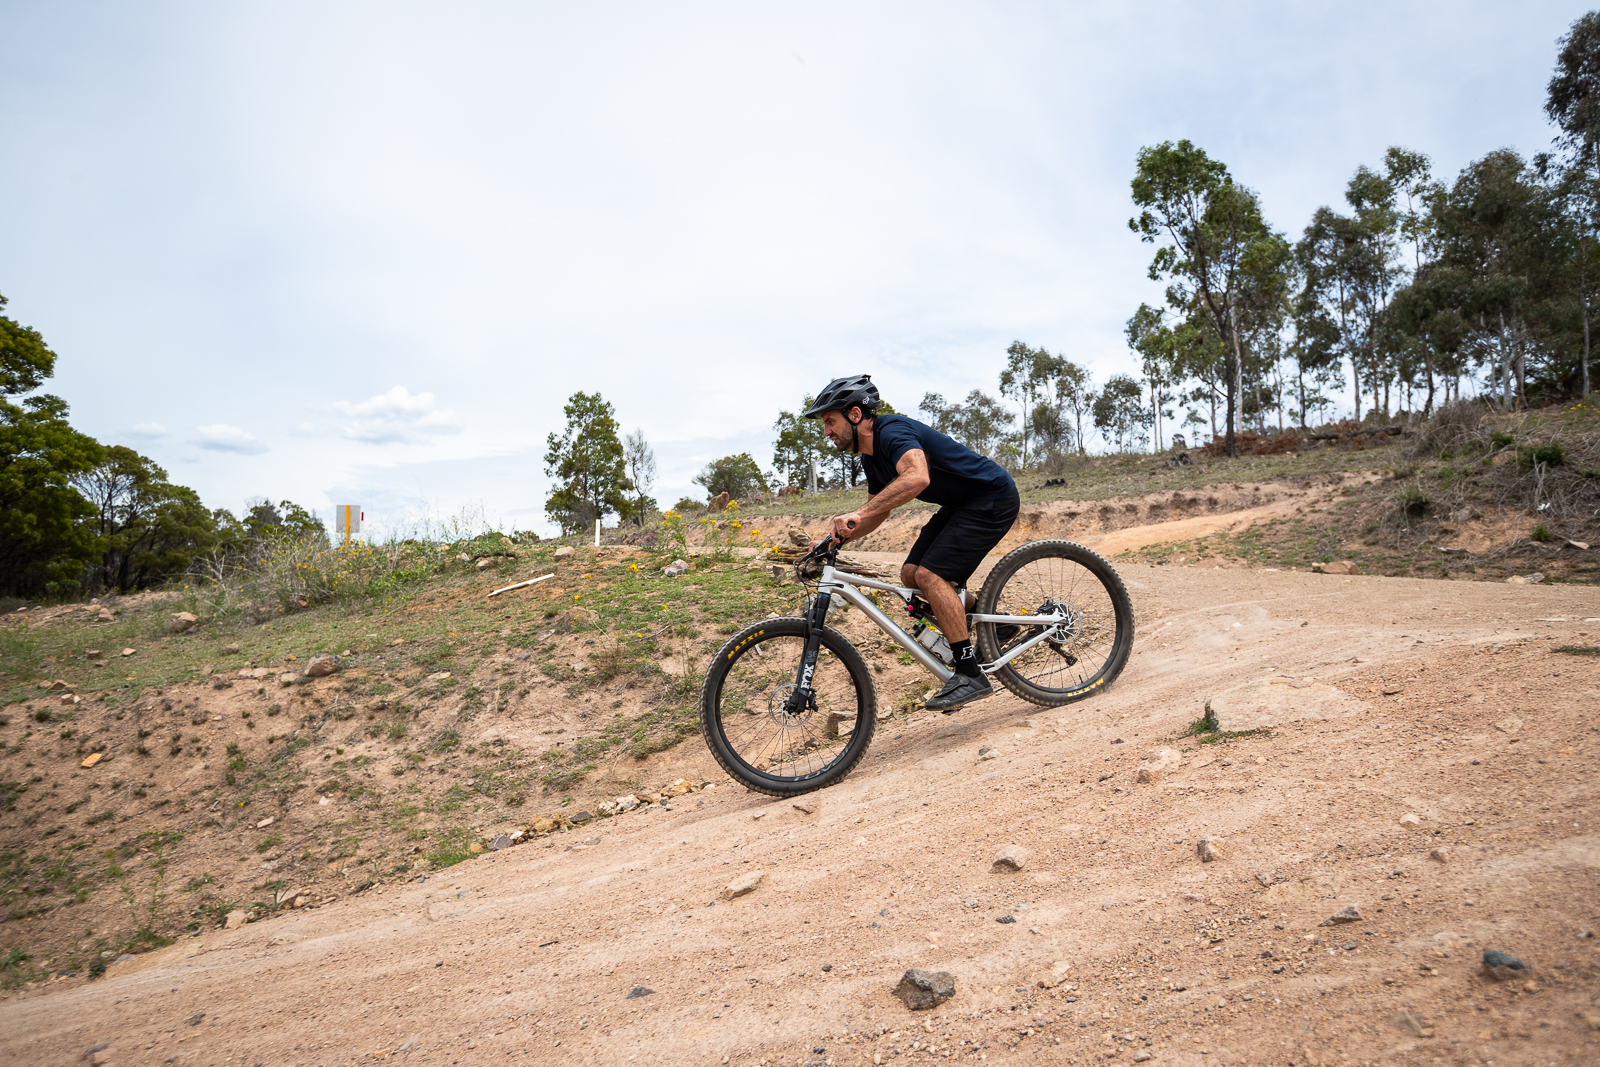
Road gaps and step downs are a surprisingly common feature on mountain bike trails. Not only as a feature, but also as a way to double up features which line up just right when heading down a trail. For big jumps, road gaps are probably the easiest build option as most of the work is already done – smooth out a landing, build a kicker, clear a run in and next thing you know its Rampage time at the local trails. They are common, but also can be pretty bloody dangerous if you come up short or go too far. The fact that you pick up speed as you drop makes it all that little bit shadier. Big road gaps are an advanced feature. Work your way up, conquer small to medium sized doubles and learn how to control your bike’s landing angle before you even think about attempting a sizeable gap. Here are some tips on how to get it done safely.
Step 1 – Spot your landing
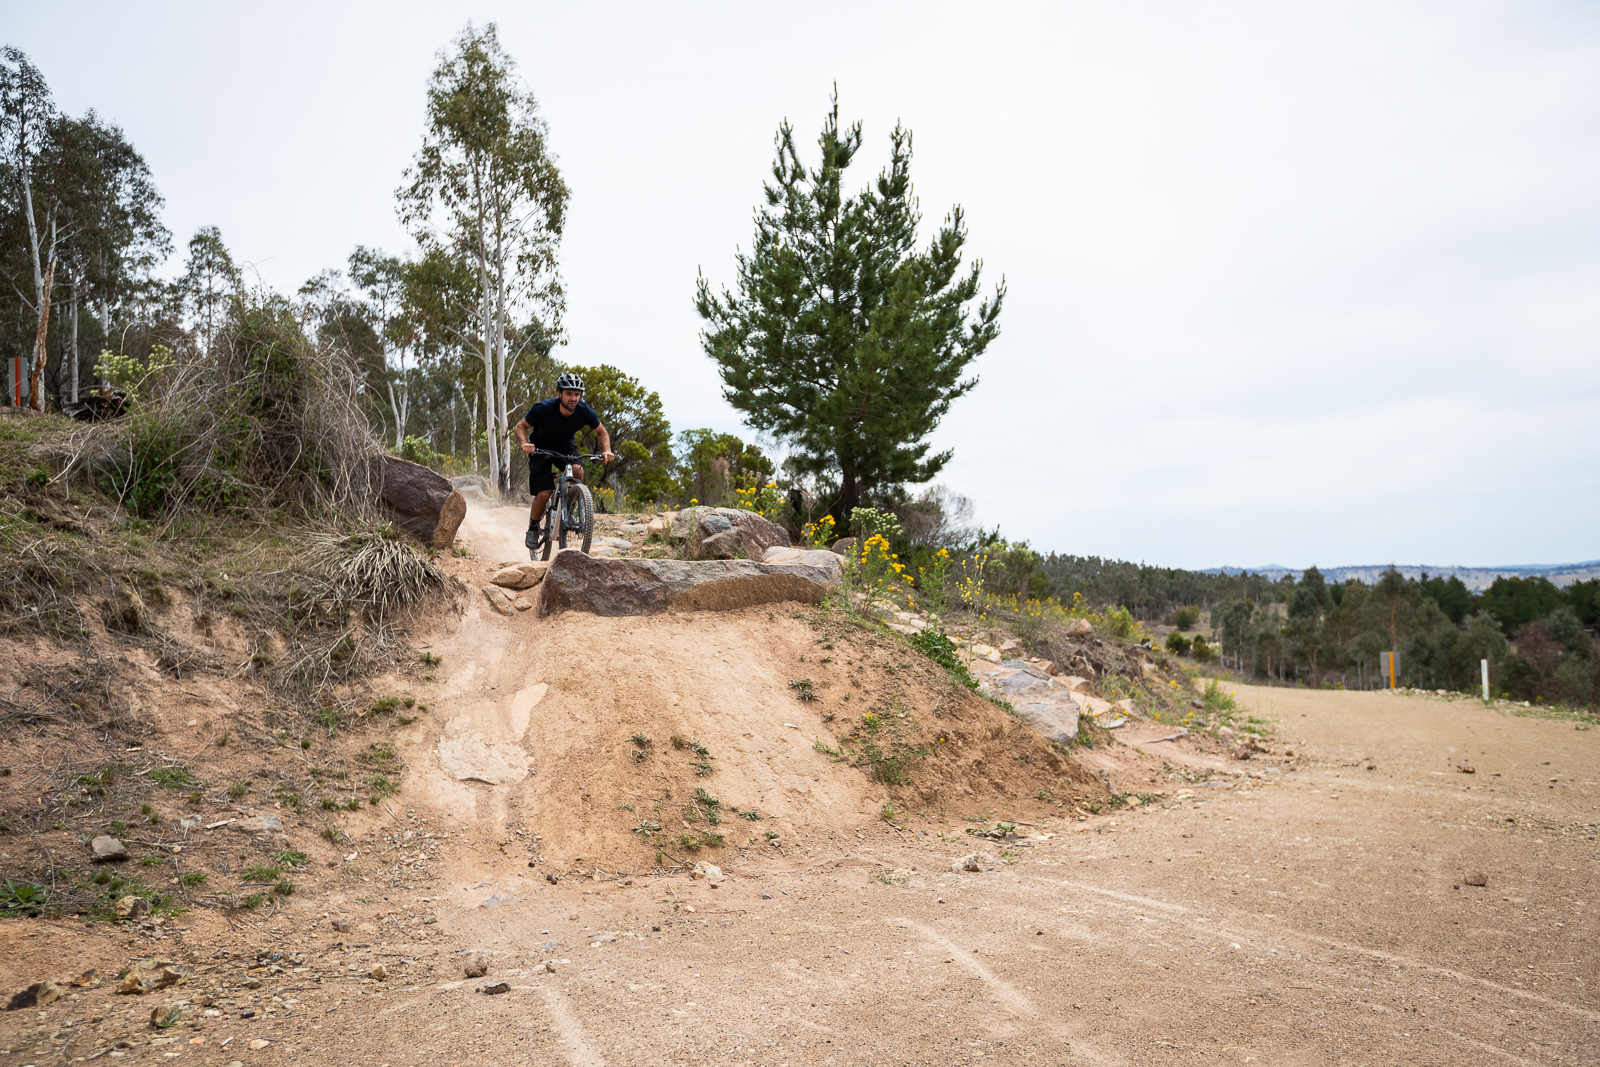
Keeping an eye on your landing is crucially important as you approach the lip. Most step down or road gap lips will be relatively mellow so the emphasis is definitely on spotting the landing so you know how much (or how little) you need to pull up to make the lip. I always visualise putting my back tyre just past the knuckle of the landing and my front wheel well over.
Step 2 – Front wheel up
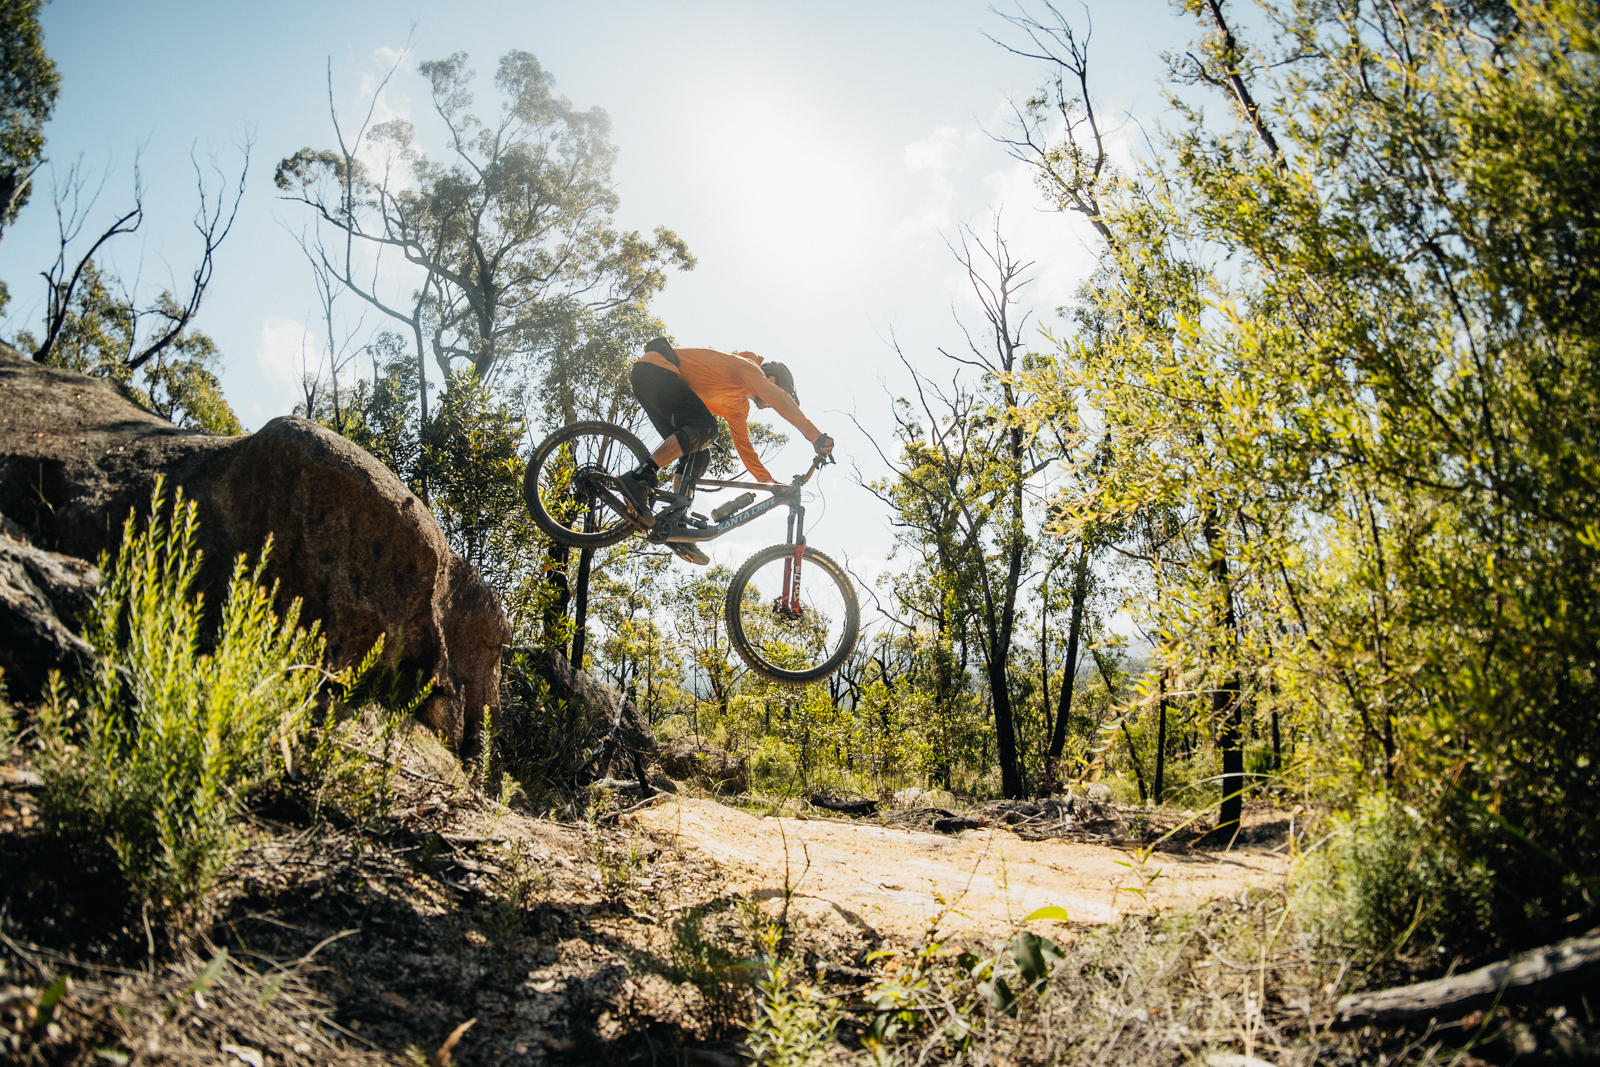
I definitely prefer to tackle longer gaps with a nose up approach off the lip, followed by a two wheeled landing which means you’ll need to bring your rear wheel up as you land. Taking off with your front wheel up means if you do come up short you’ll have a better chance of riding out unscathed. At this point I’m looking ahead at the landing and looking to bring my front wheel up and over the knuckle to get it just right. Practicing at different speeds on small gaps is a great way to learn to adjust how far to jump by either pulling up or pushing down if need be.

Step 3 – Stay smooth in the air
Try not to tense up in the air, just keep a focus on your landing and getting your wheels to touch down in the right spot. Cross winds are definitely dangerous on jumps like this as well. If I encounter a strong cross wind, I tend to “table” the bike into the wind a bit so that if I get hit by a gust it will blow the bike back to vertical rather than out from underneath me.

Step 4 – Nose it in for the landing
As you approach the landing you want to nose it in by lifting the rear wheel. Lifting the rear wheel rather than letting the front wheel drop gives you more control over the amplitude of your bike and allows you to make a more precise adjustment. It also allows you to keep your weight further back. One of the best examples you can watch of this is pro BMX racers staying low over jumps and placing the bike perfectly on the landing by lifting the rear wheel. It’s pretty impressive stuff and a great example of the right technique.
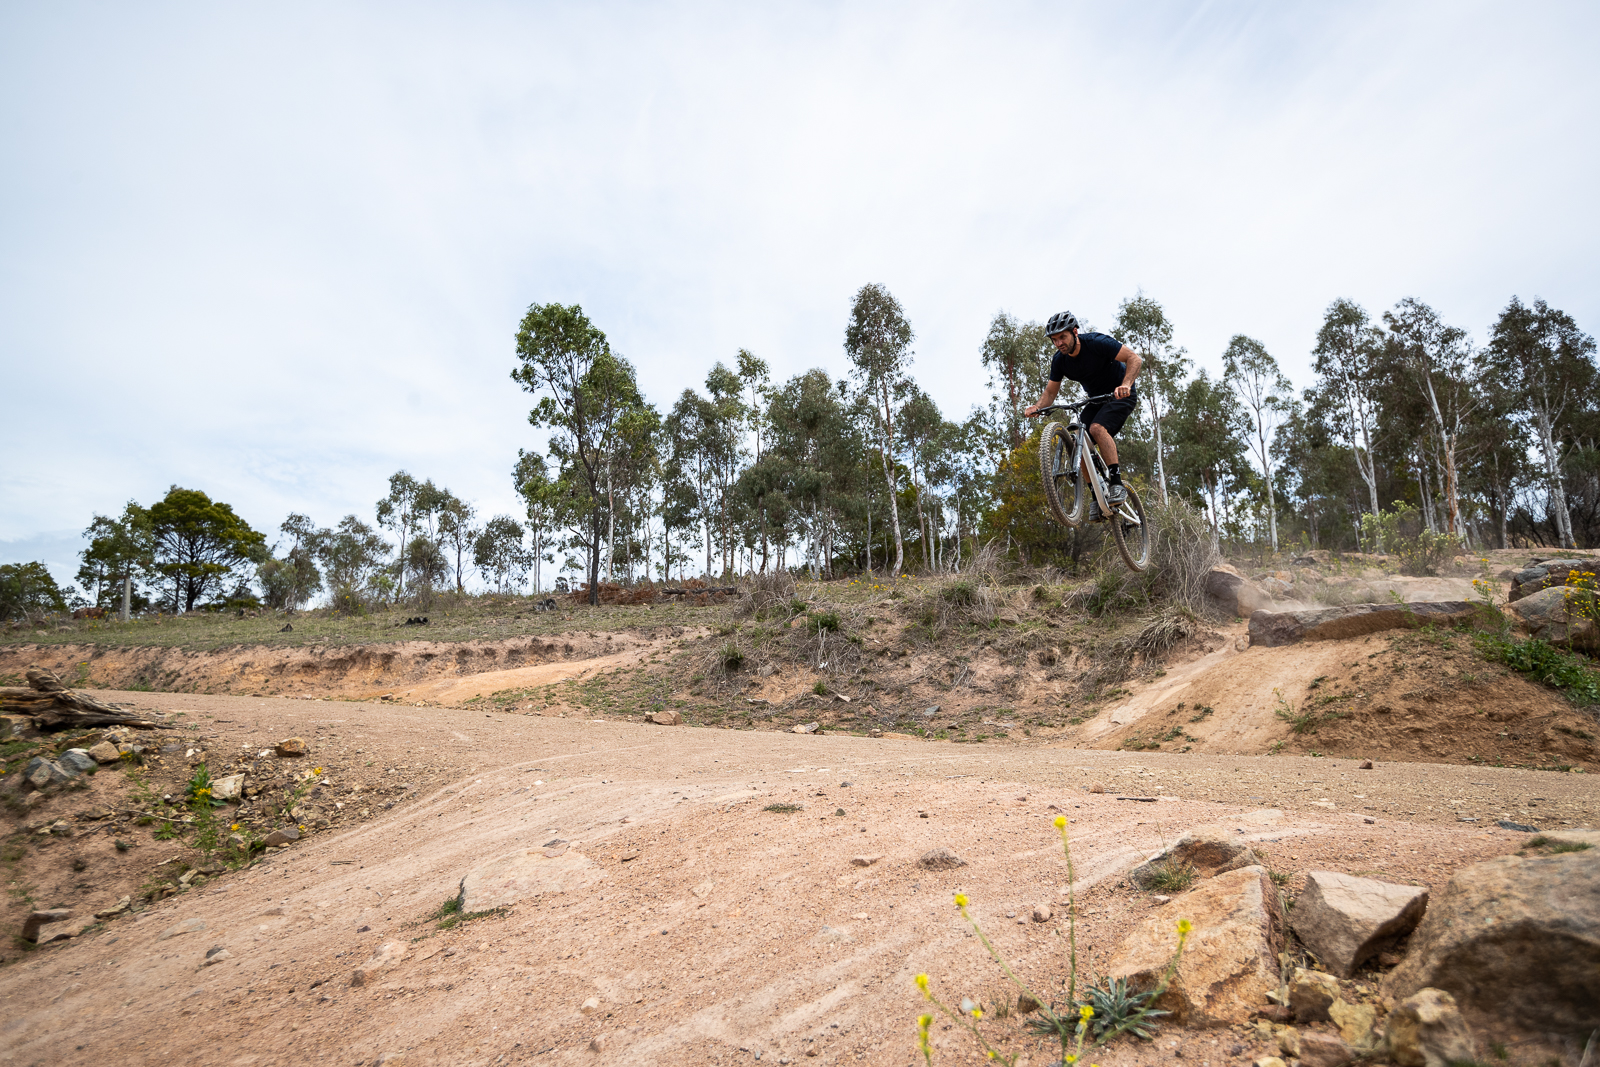
Step 5 – Aim to land gently
As you touch down, think about landing gently on the landing. Step downs can have pretty harsh landings – even if they are on the steeper side as you pick up a fair bit of momentum as you drop. I’ll aim for a two wheeled landing or a very slight rear wheel first landing on flatter or harsher landings and remember to always try to soak up the majority of the impact with your legs rather than your arms.