SKILLS: Pre Jumping 101
Here is why, how and when to pre jump out on the trails!
Words: Jared Rando Photos: Nick Waygood
Pre jumping is something pro level mountain bikers do all the time. Often the movements are so subtle and fluid they go unnoticed for the most part, but at other times the motion is blatantly obvious. The concept to pre jumping is simple – keep the bike on the ground as much as possible where you would normally be flying through the air and utilise the terrain to your advantage. When you are mountain biking, traction equals control and when you are off the ground, you have no traction.
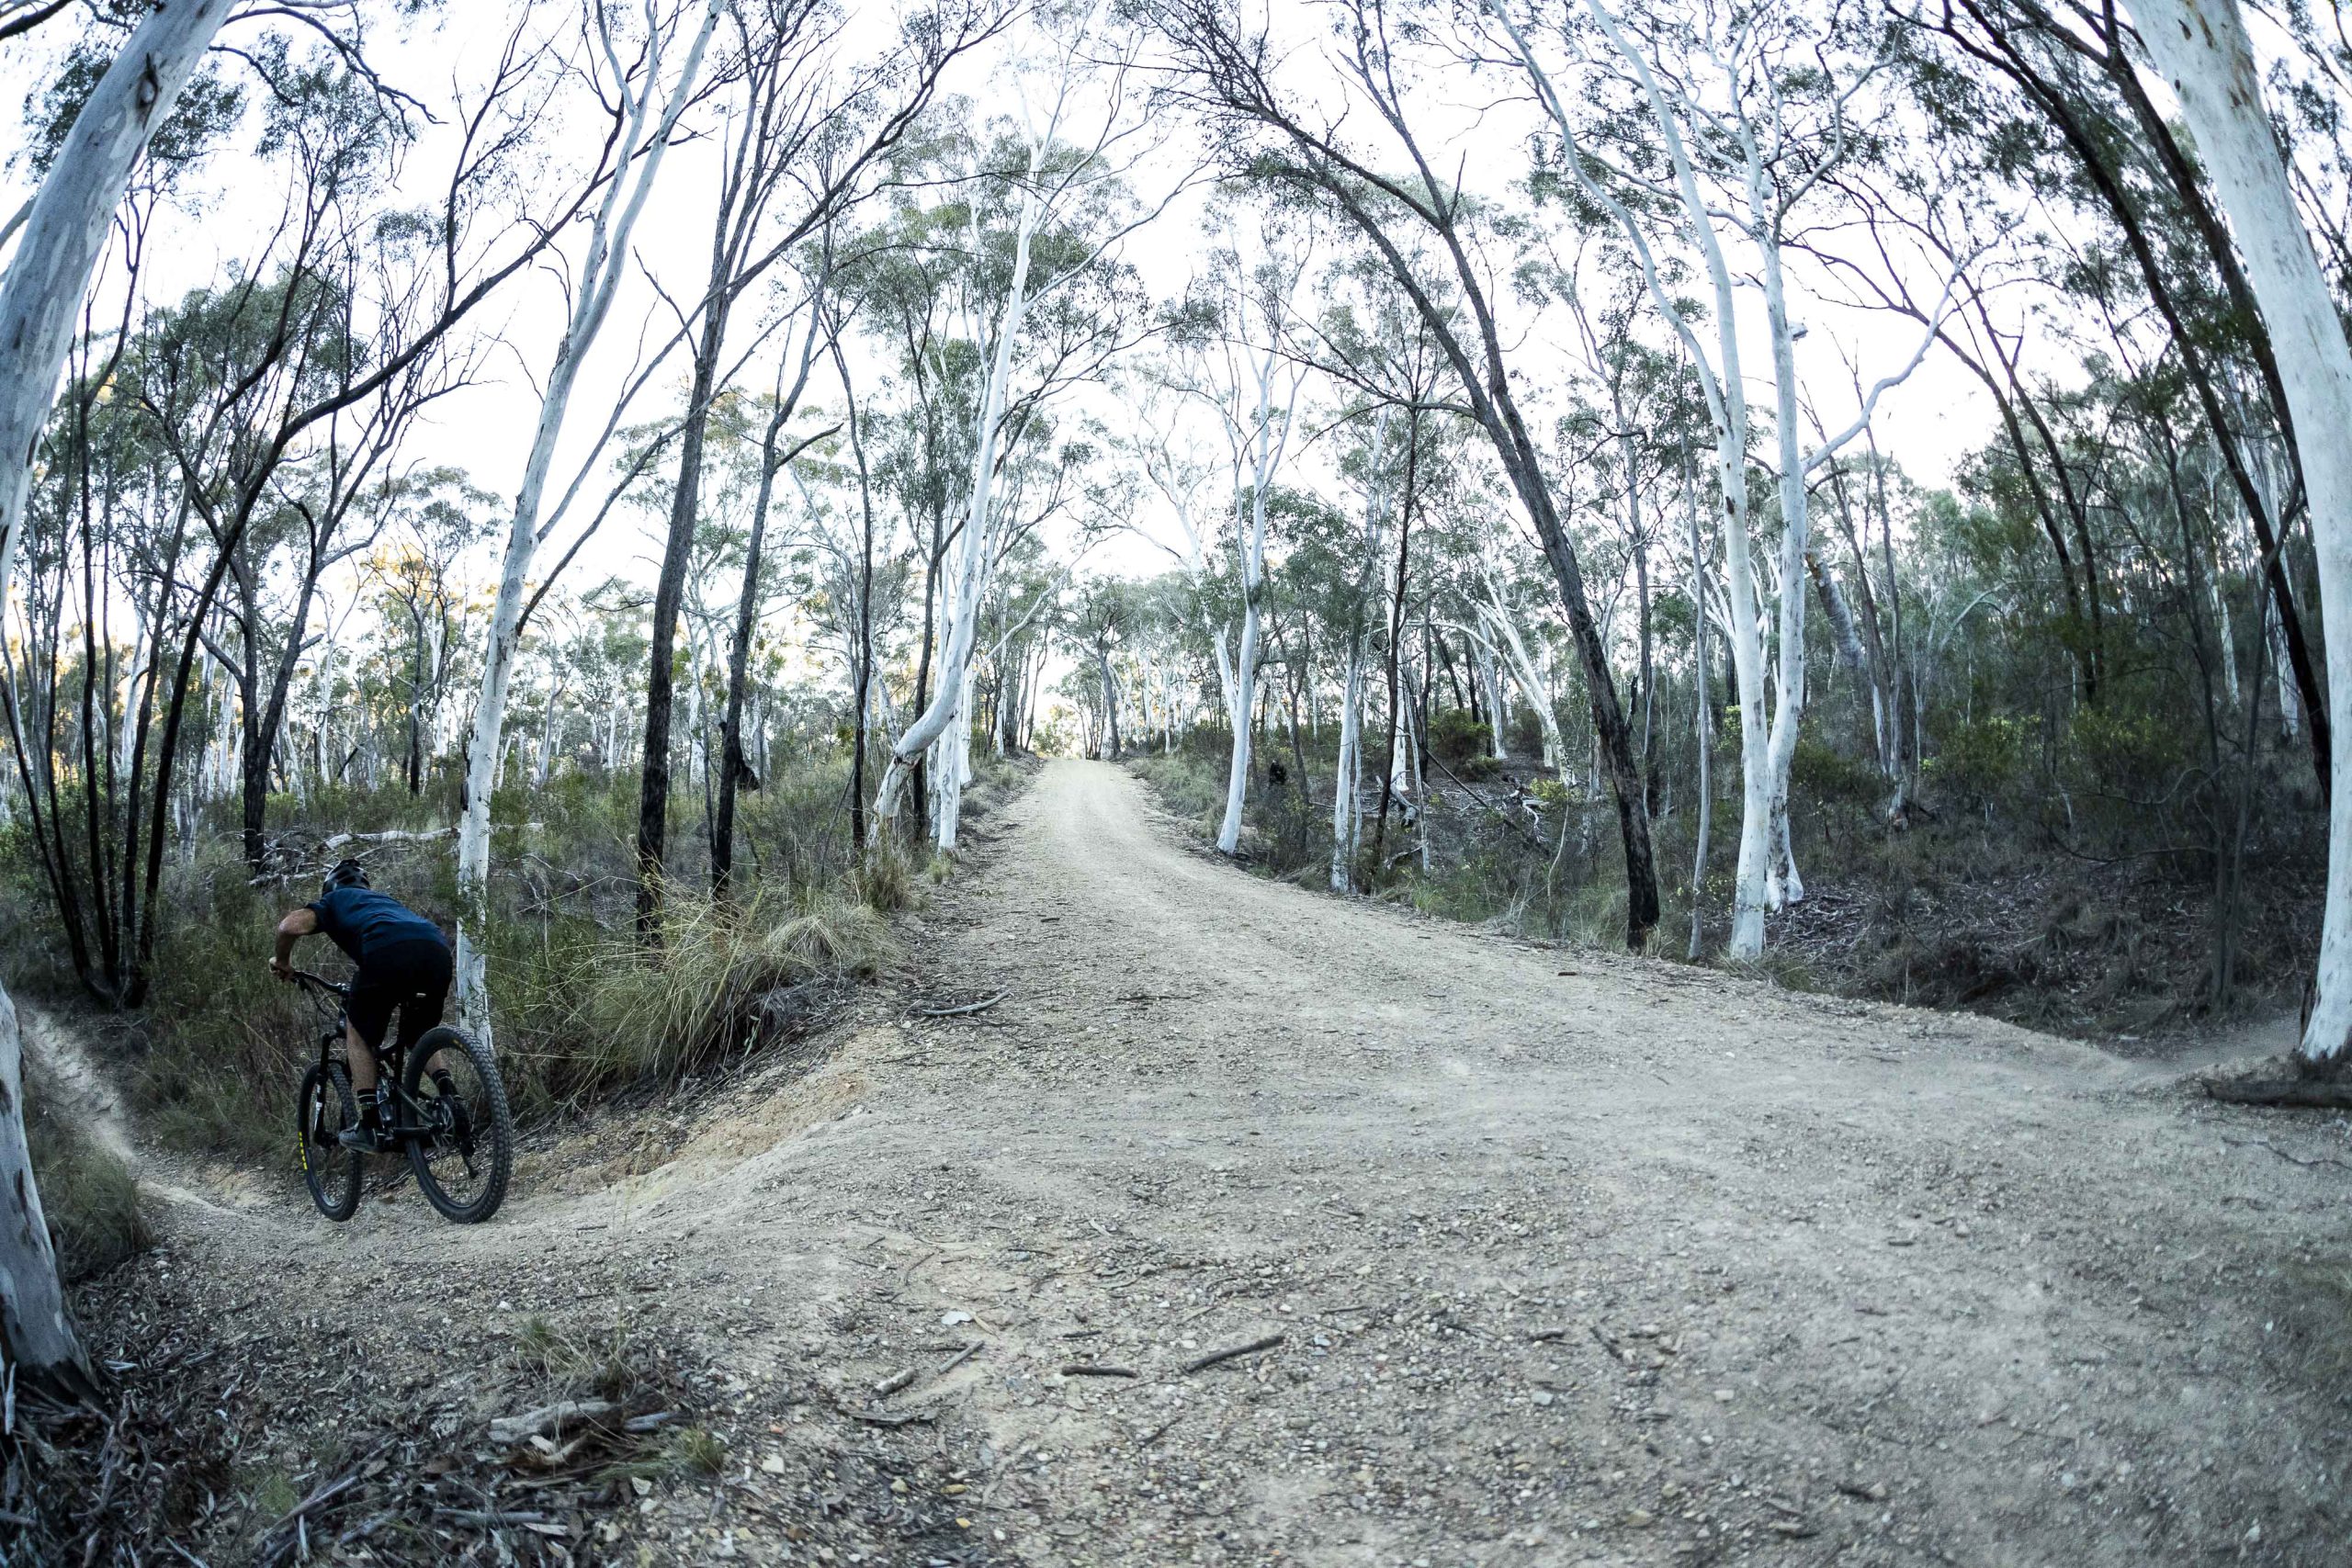
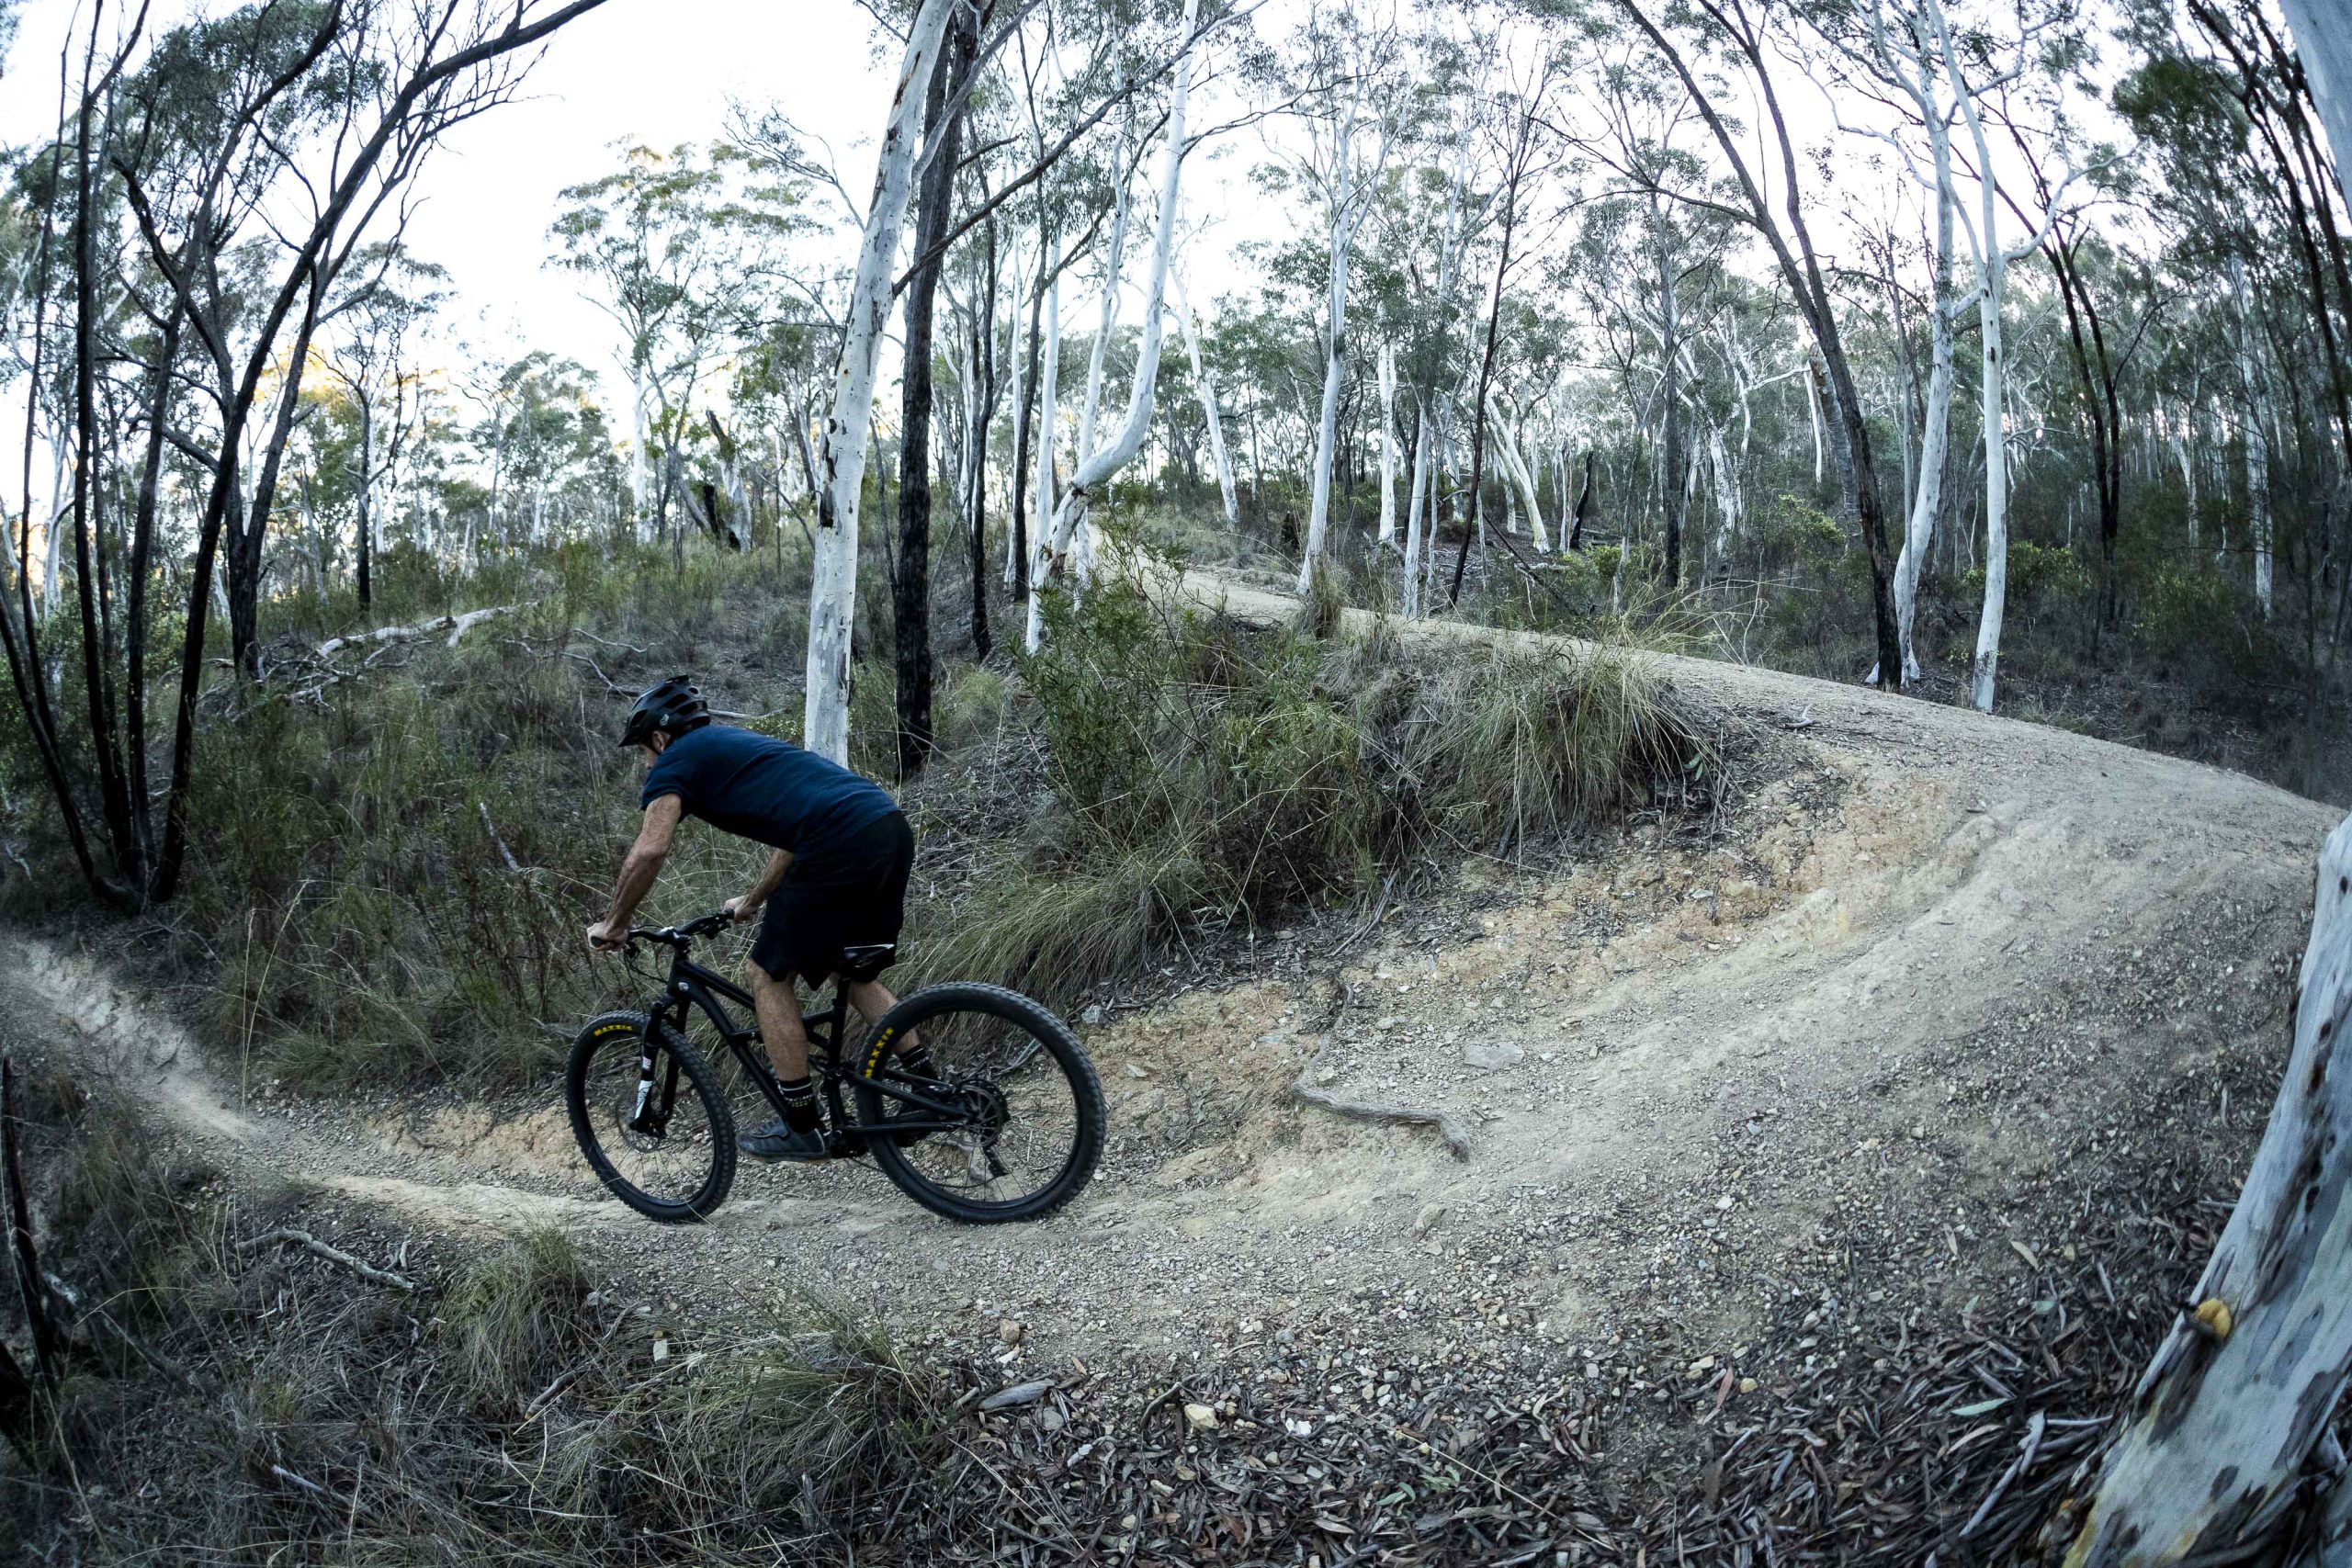
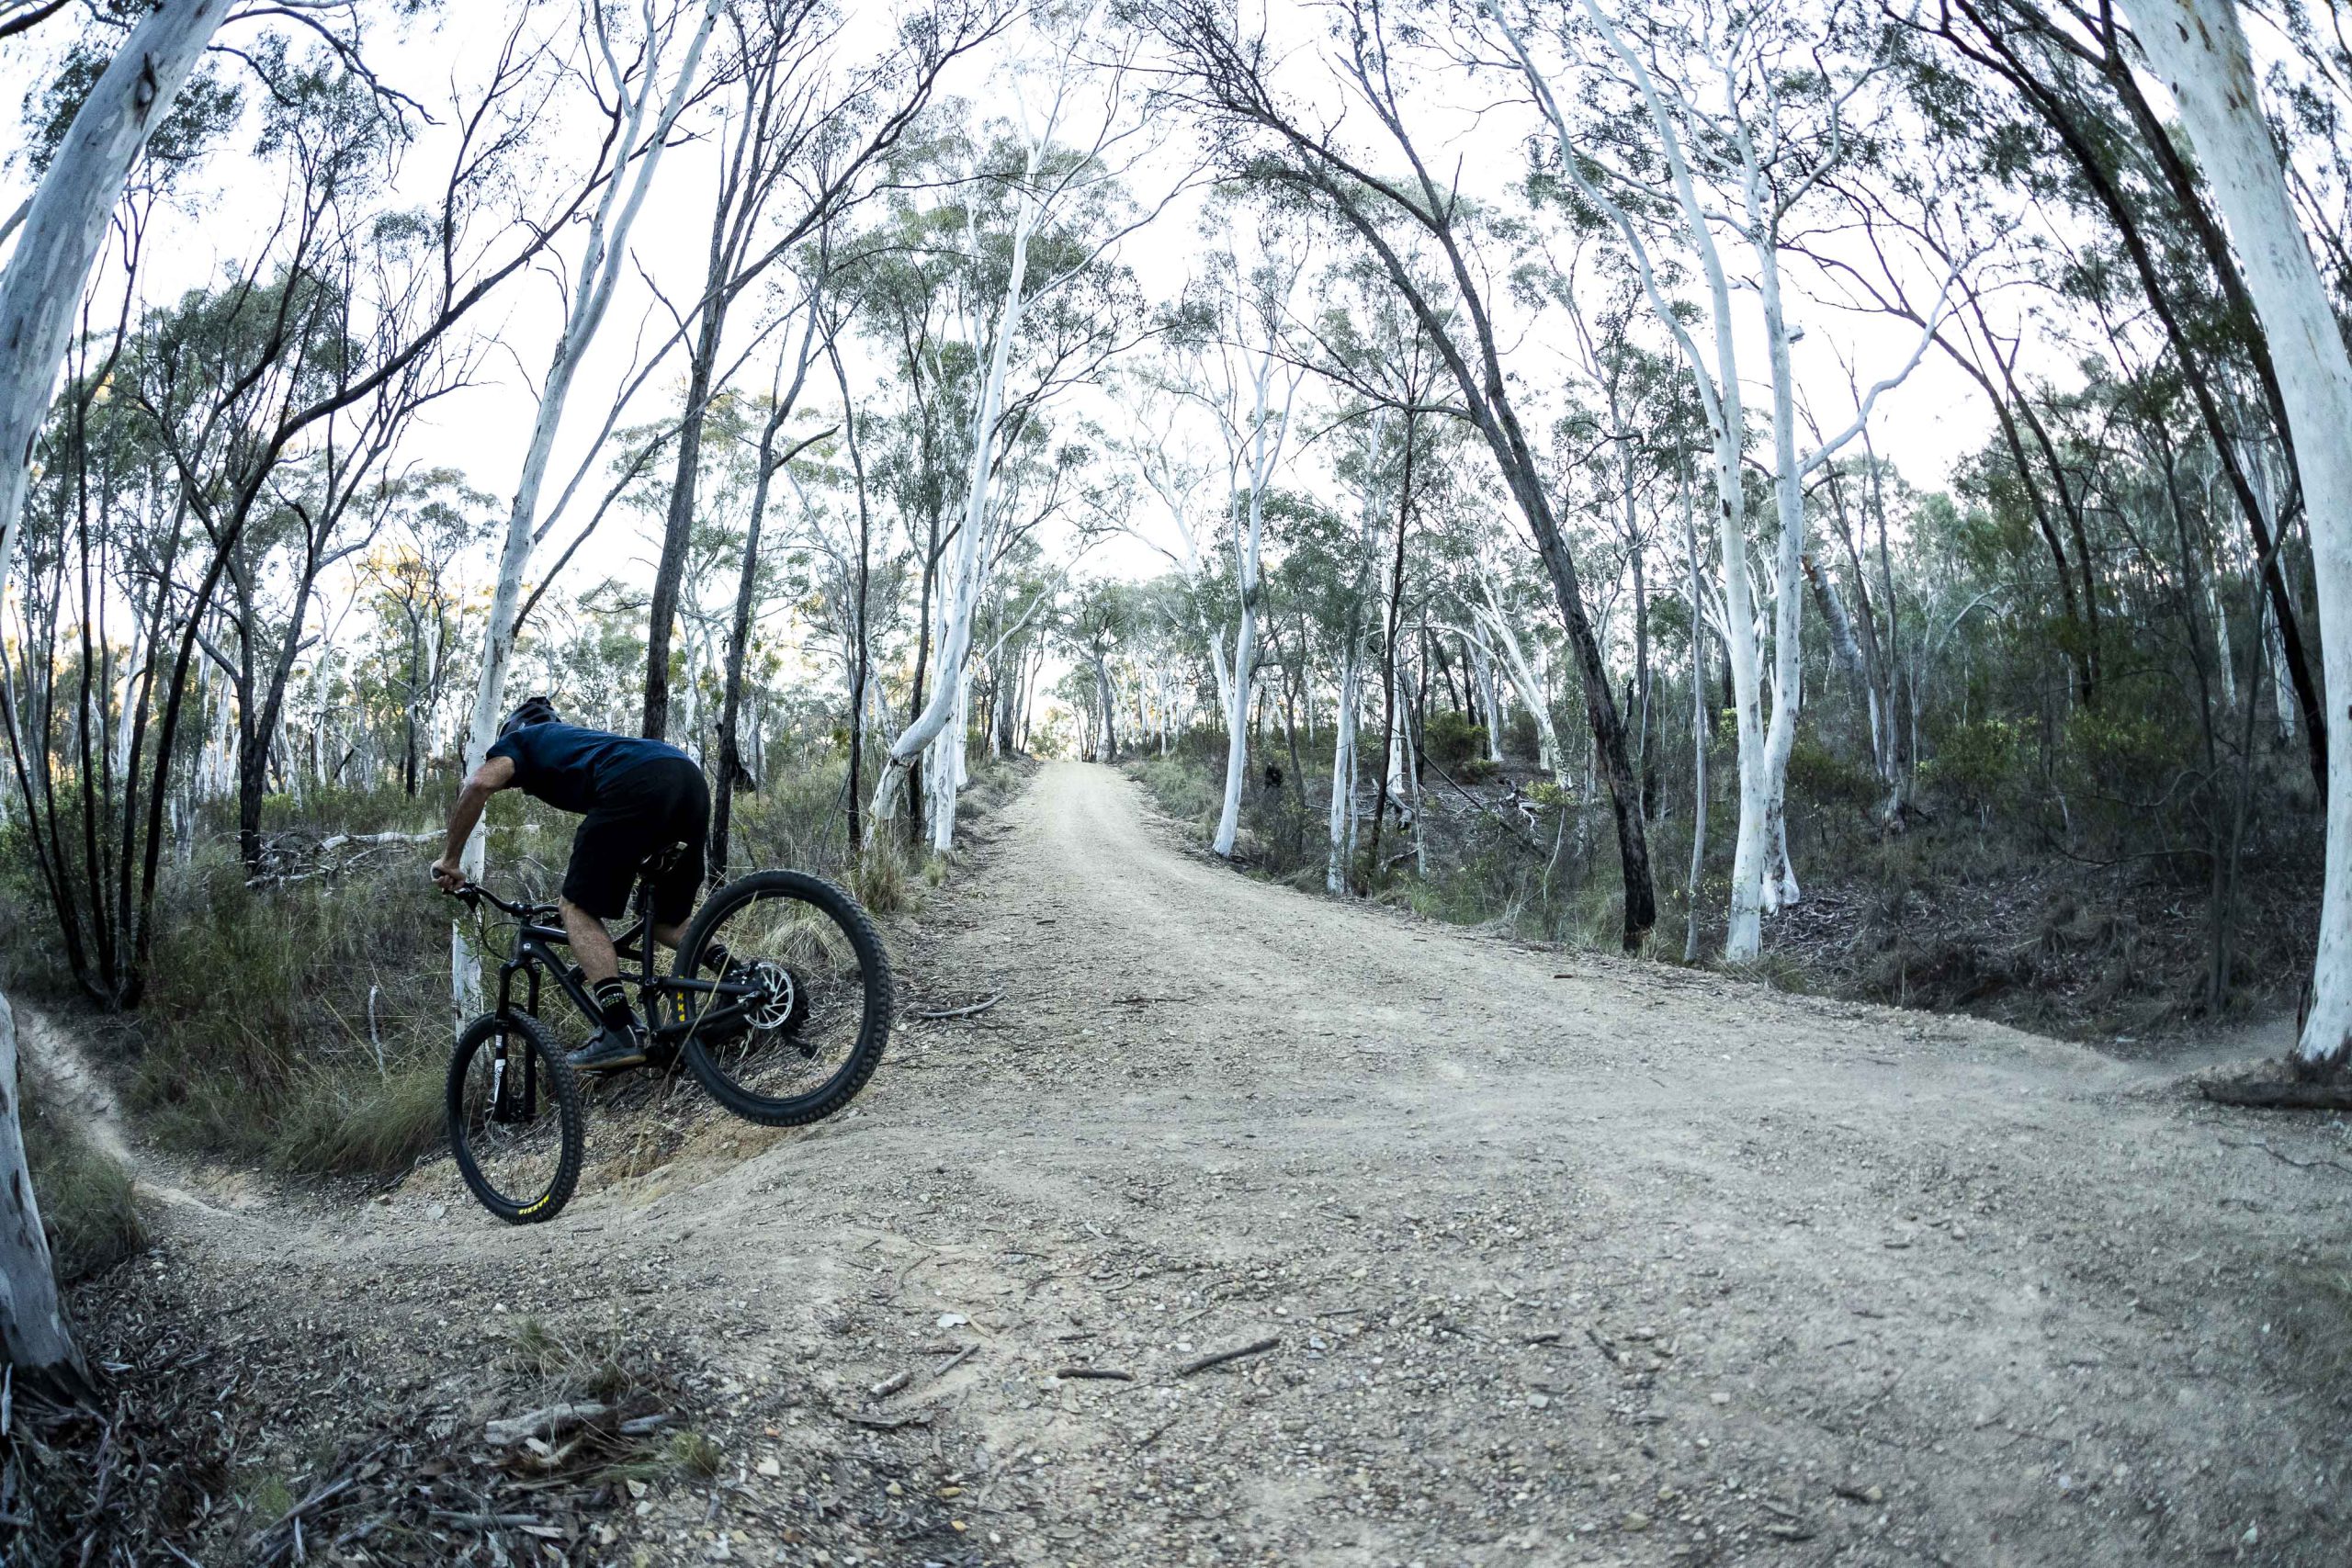
Pre jumping is a way to anticipate the terrain and use it to your advantage. In effect what it entails is a small jump (bunny hop) into a feature to get you planted on the ground sooner. It can be used on jumps, drops offs and basically any feature which has the potential to get you off the ground. When done right, it can also be used as a tool to generate speed from a feature which might otherwise slow you down or a feature you might have to slow down for (case in point being the backside of this fire road crossing). This is a great example of why pre-jumping is beneficial and when and how to do it.
Without pre jumping
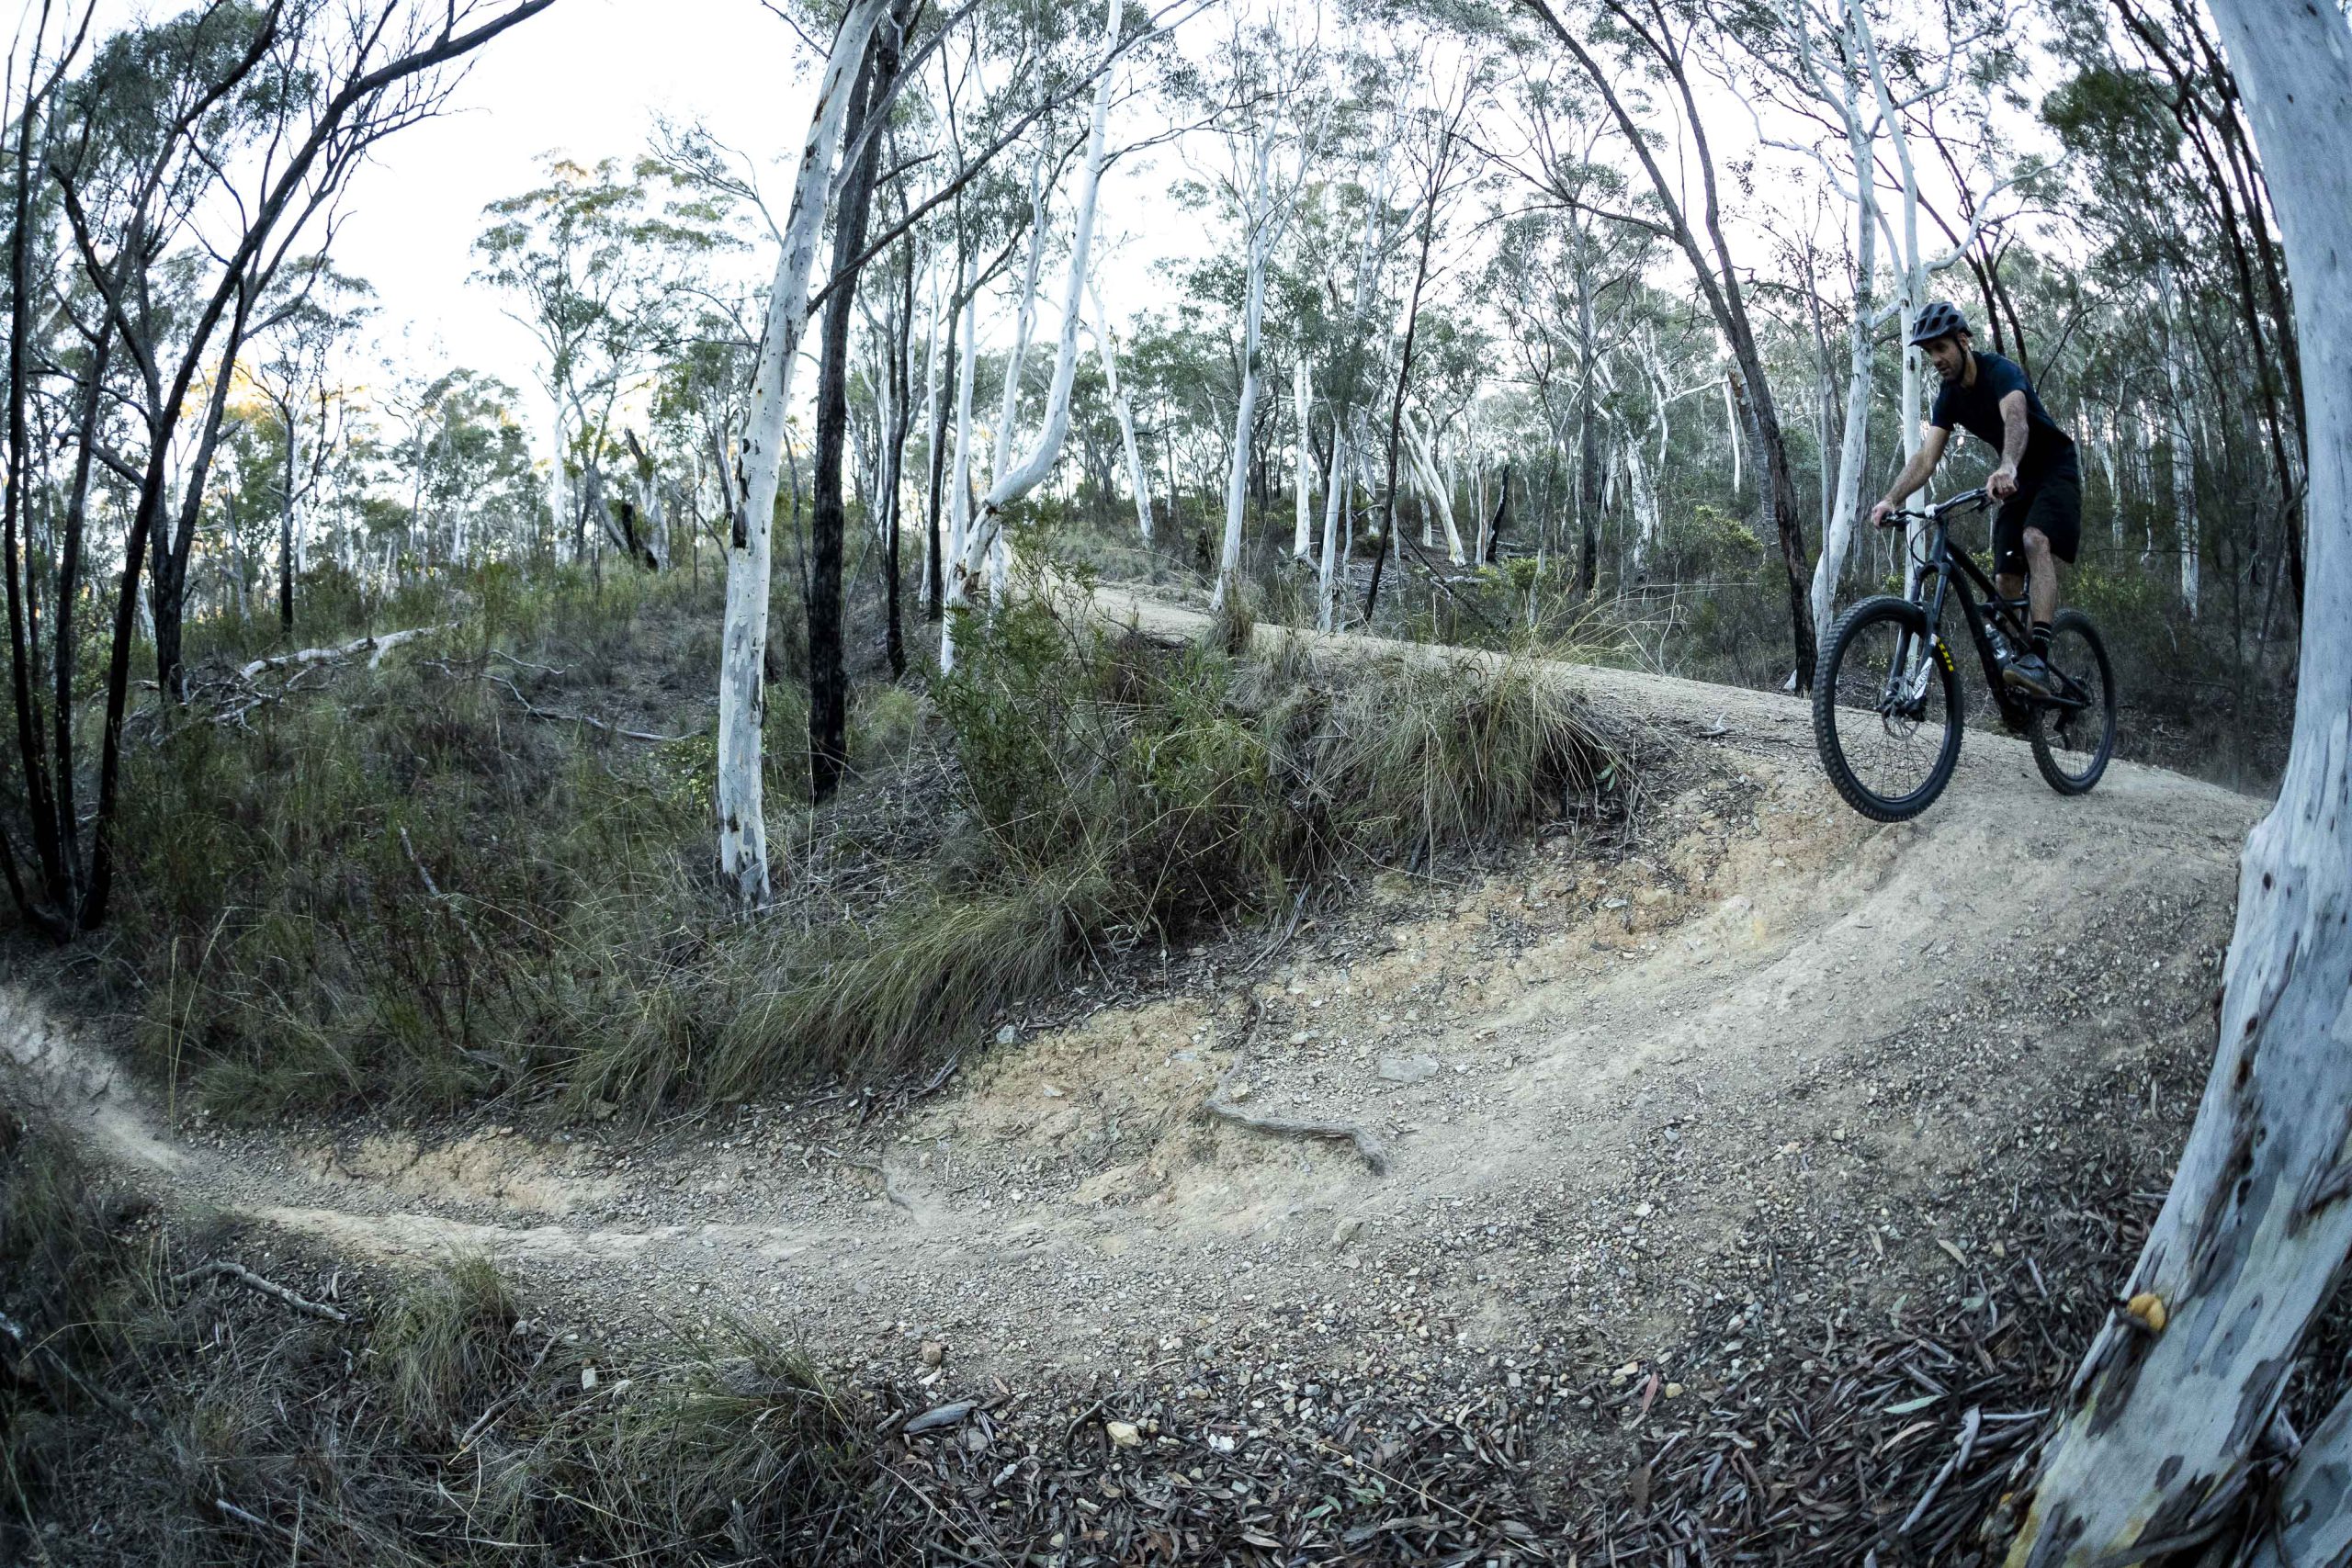
You can see with the below sequence, by simply flying off the edge of the fire road, I’m catching some air and landing a long way down into the trail. The faster I go, the further down I land. If I go too far, I’m going to land on the flat so I have really no option but to slow down or risk a harsh landing on the flat which isn’t a great idea on a narrow trail. I also lose speed through the landing. Fun, for sure, but not a great result.
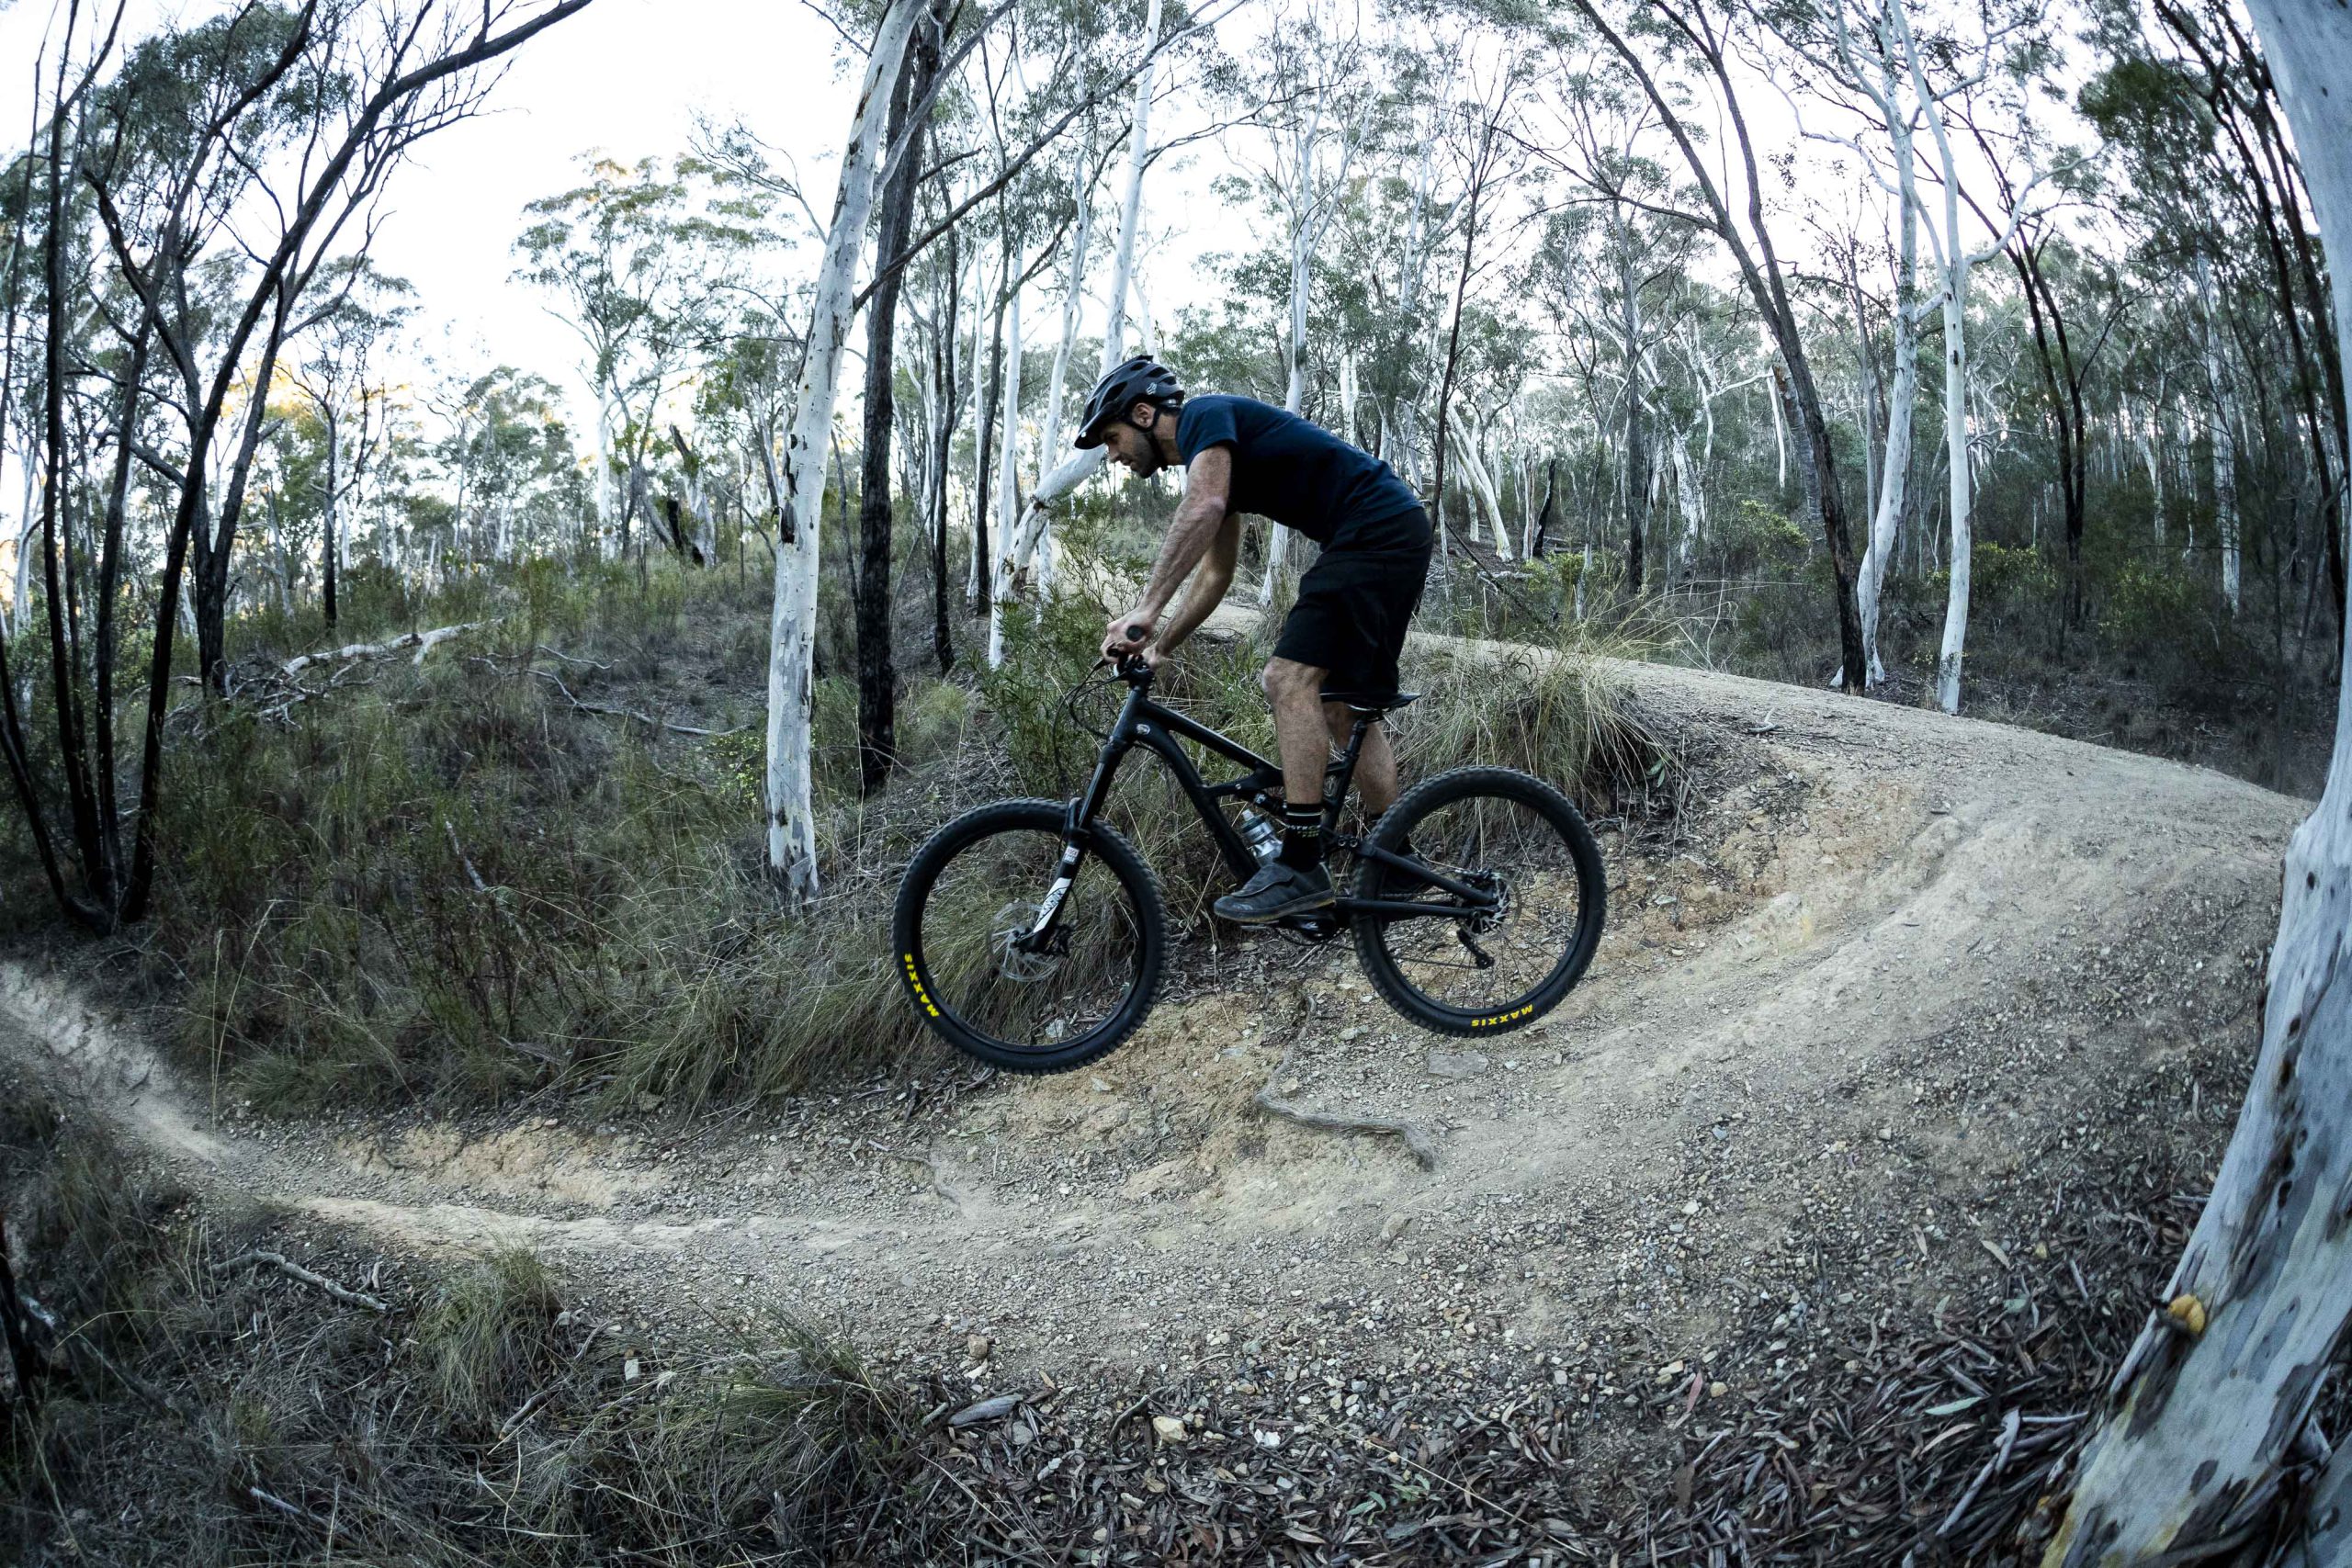
By pre jumping from the fire road my landing point is always the same at the edge of the fire road transition. The faster I go simply means the further back I have to pre jump into the transition. I don’t need to slow down and as a bonus, landing at the top of the transition allows me to utilise the transition to generate some “free speed” to carry down the trail. Here’s how to do it:
Step 1: Focus on the landing
The first thing you need to do is pick what you are aiming for. Here I am aiming for the transition just past the edge of the fire road. Pick it, focus on it and aim for it. Pre jumping requires a good amount of precision and the steeper the transition, the more precise you need to be.
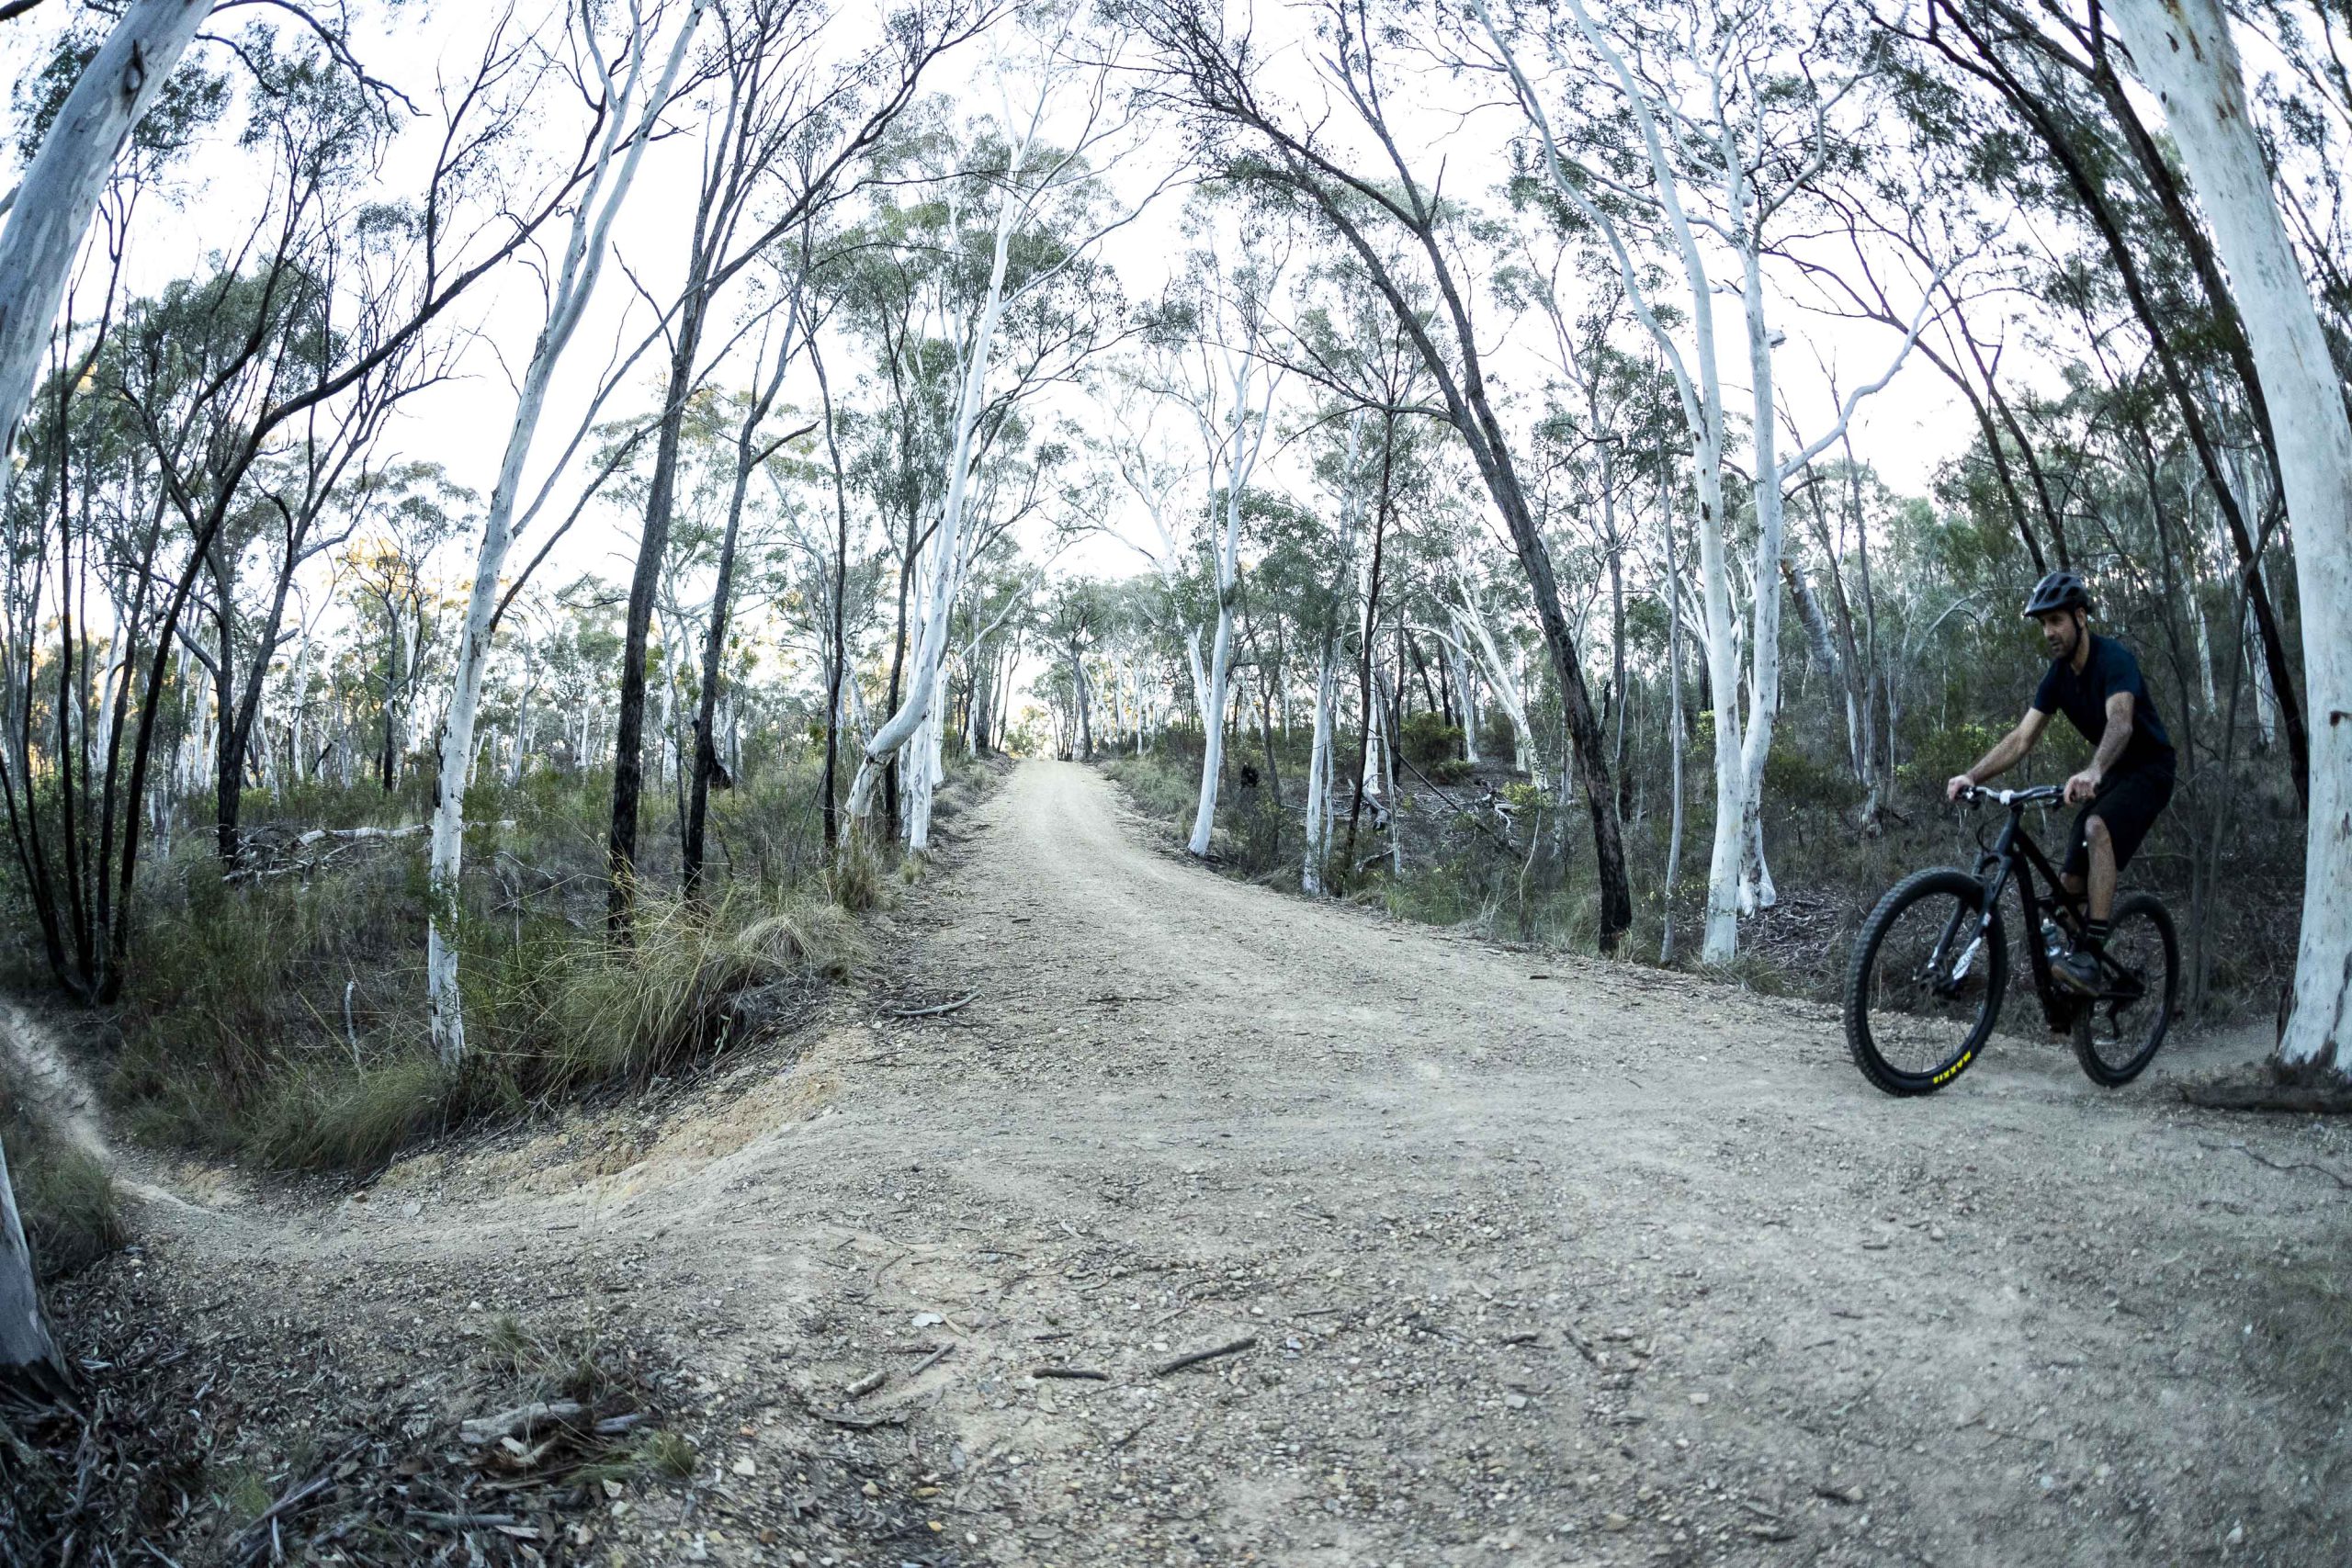
Step 2: Time it right
Once you have your focus point, the next thing you need to do is “jump” (more correctly, it’s a bunny hop) into the transition. With the bunny hop, aim to lead with your front wheel and follow with your rear. I tend to exaggerate the lifting of the front wheel as I feel it gives me a bit more control and adjustment if my timing is a little off. If I’m too early I hold it a little longer. If I’m too late I can push down earlier.
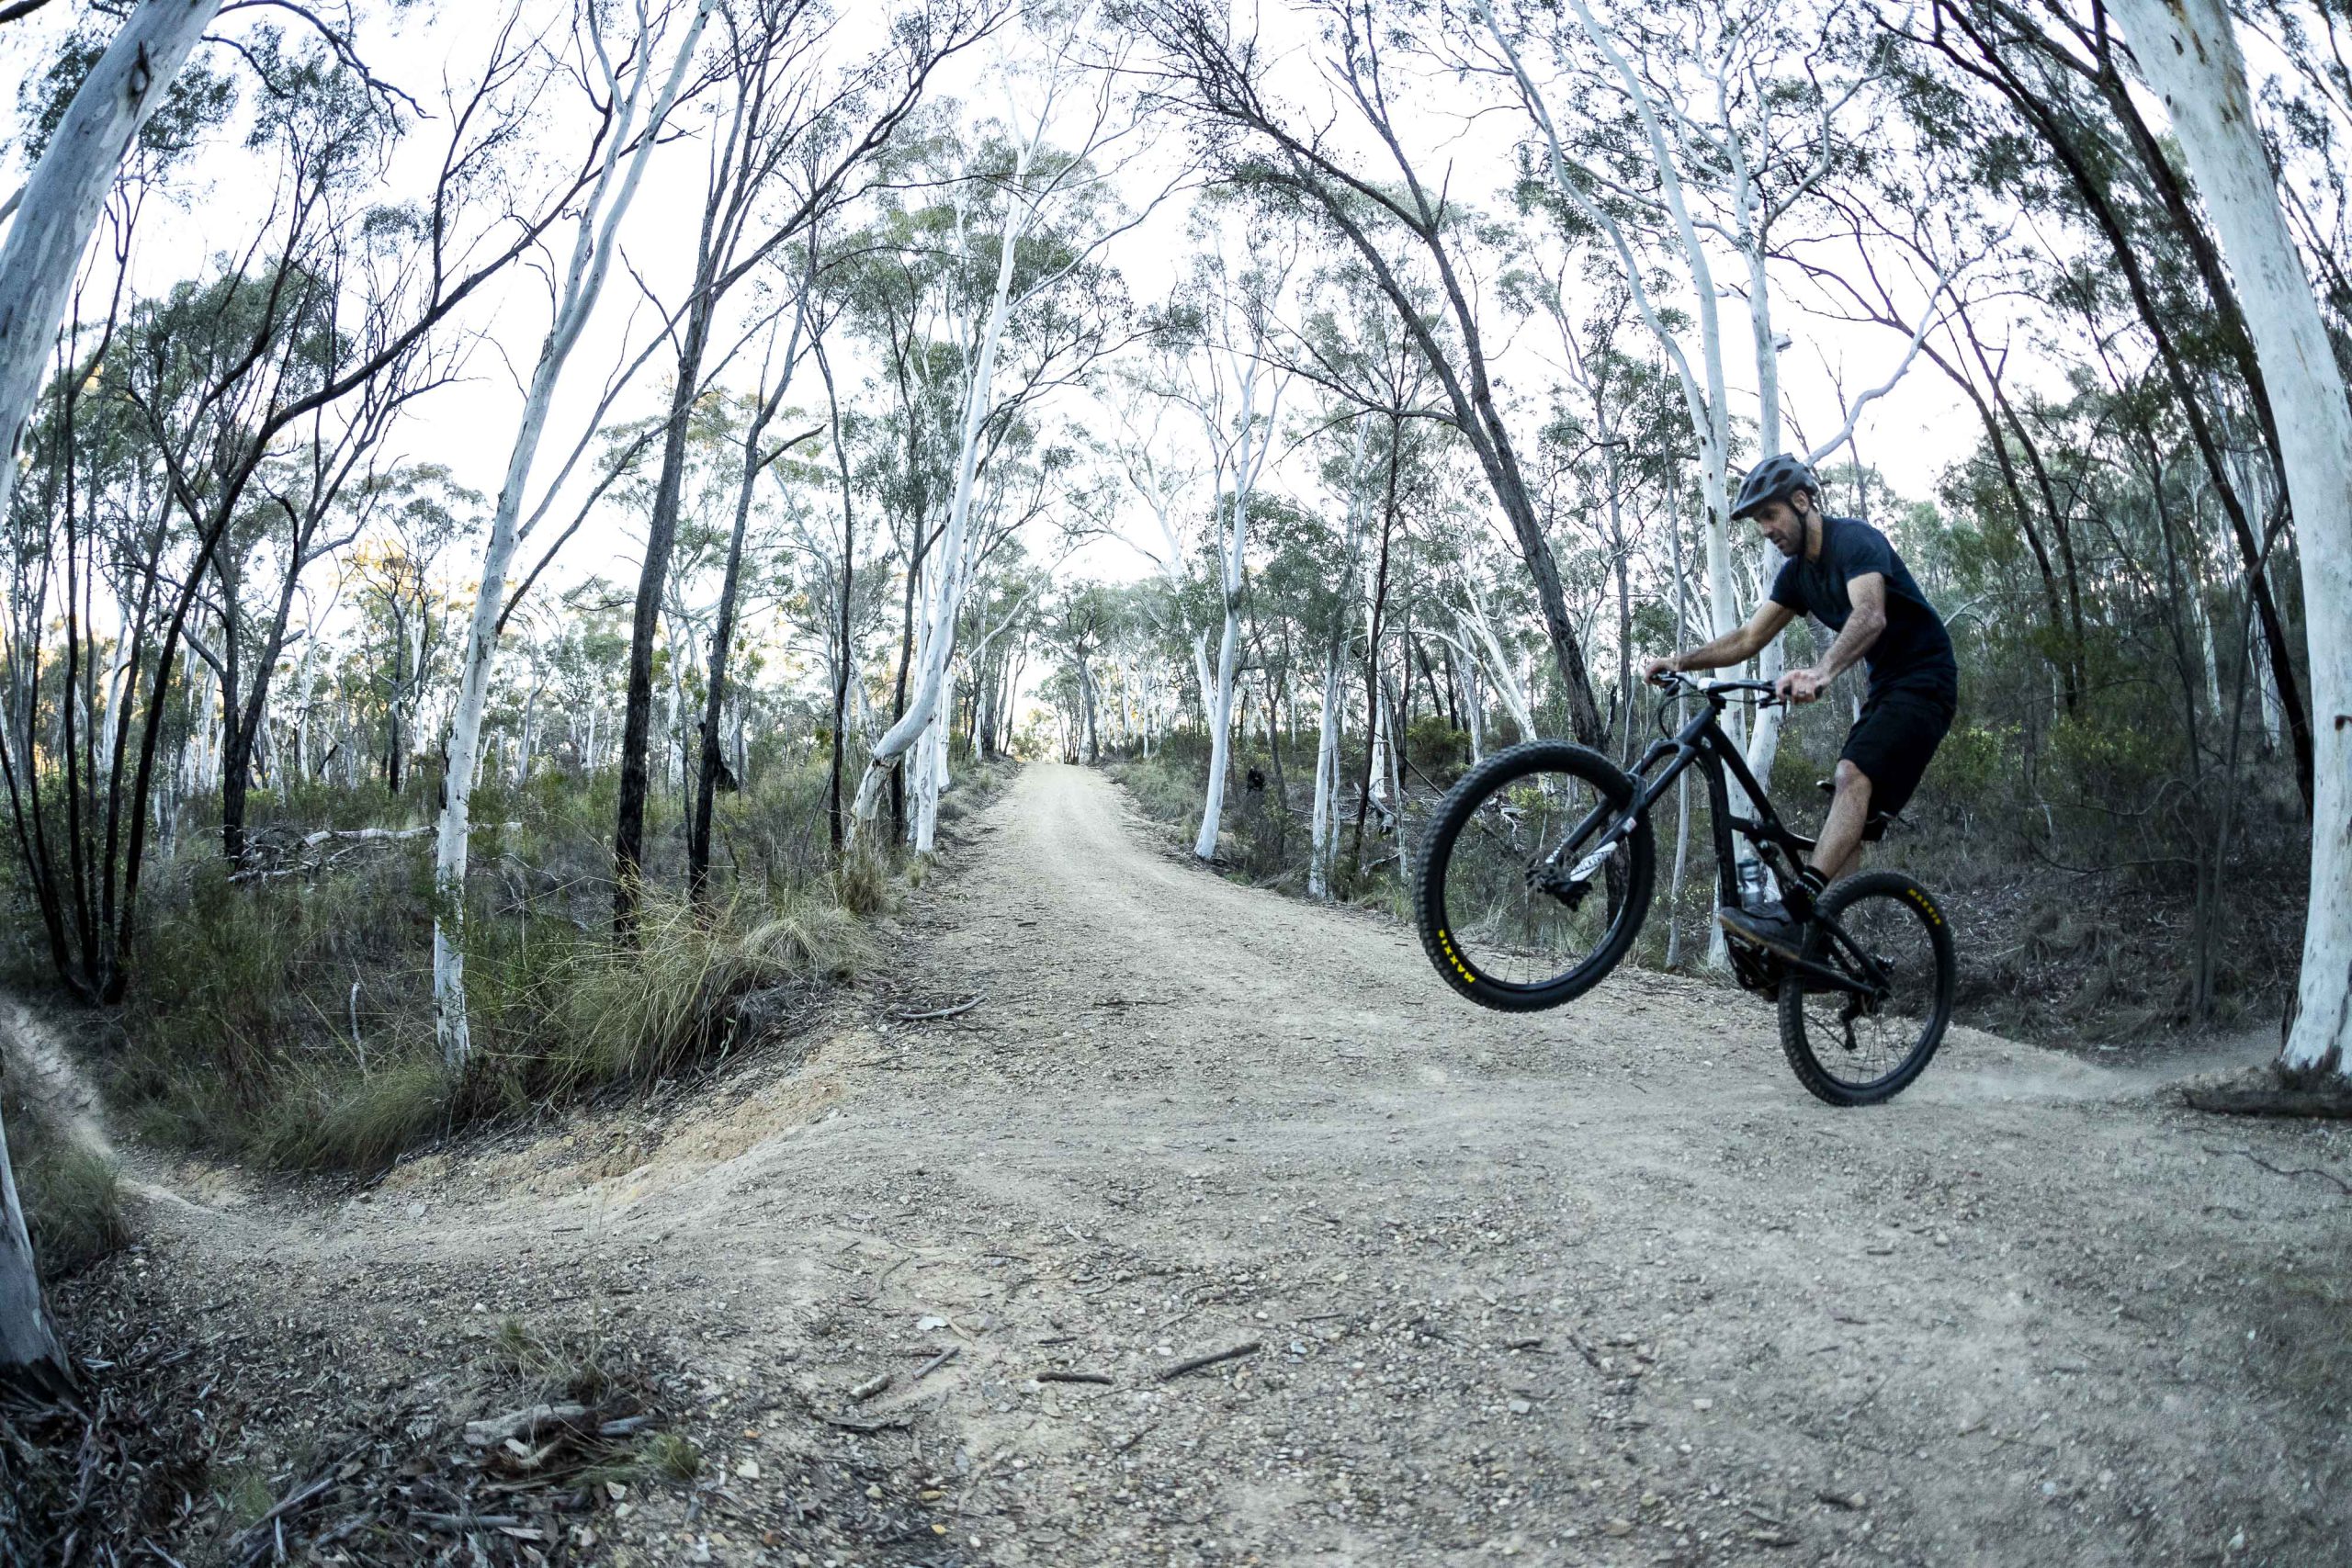
Step 3: Jump into the transition
Once you are airborne, the next focus point is your landing and you want to push down into the landing or transition. You also want to stay as low as possible although quite often you might need to go a little higher to get the angle right into a steeper transition. Aim to have your back wheel land just past the edge of the transition and once again, always lead with your front wheel, and follow with your rear.
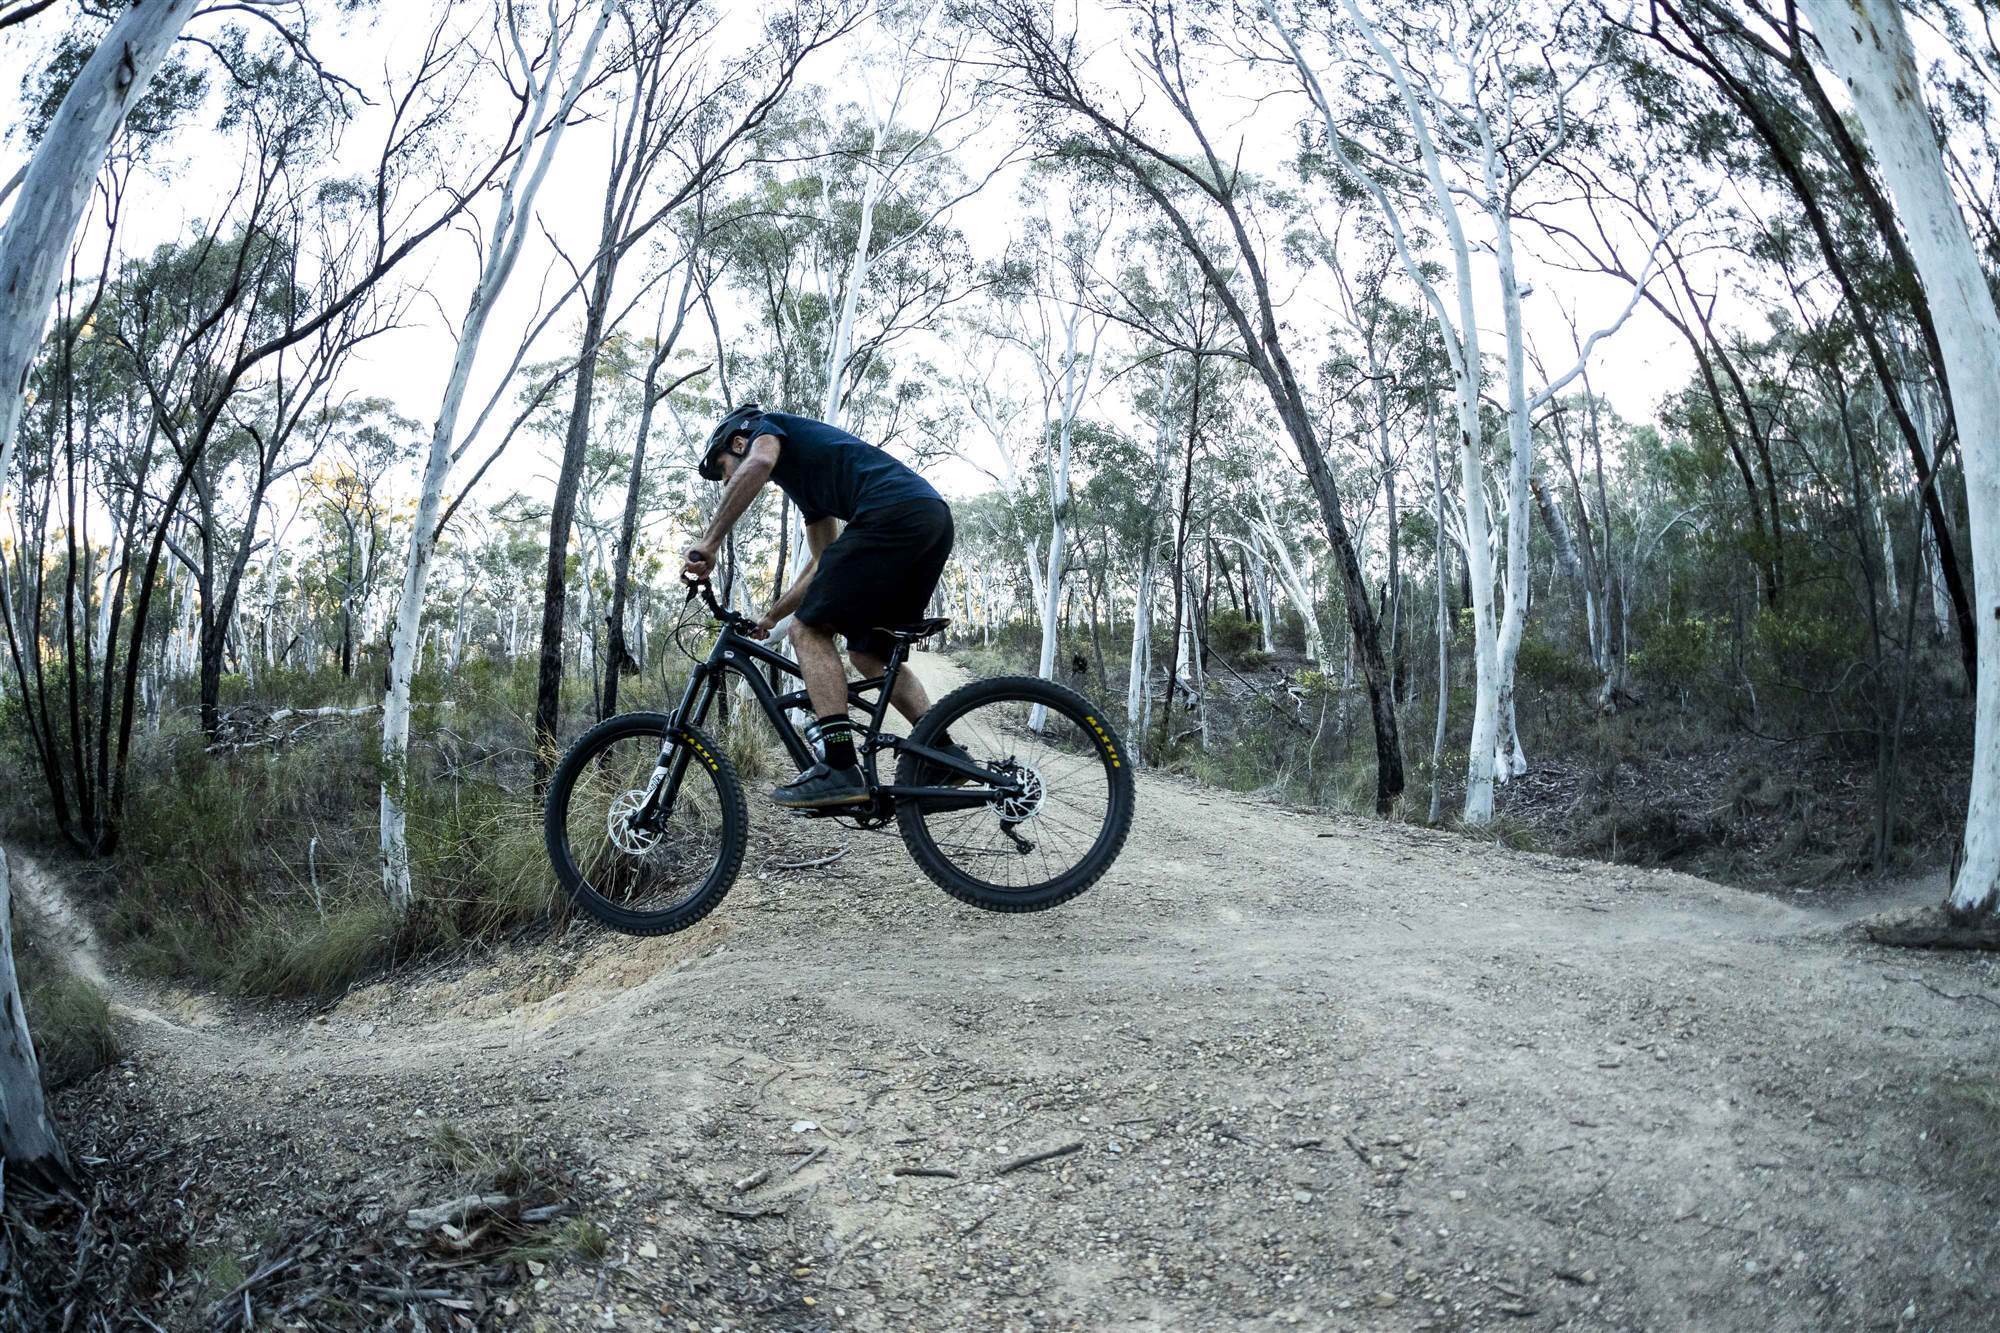
Step 4: Push down into the landing
As you hit the ground, you want to push down into the landing. If you don’t push the bike down, you might find yourself flying a little further than anticipated. The best way to visualise it is think about pumping down the backside of the transition. This gives you some extra speed and also gets you on the ground sooner. Lead with your front wheel and push down your rear wheel with your legs. Once both wheels are on the ground, centre your weight on the bike.
Step 5: Shift your weight back as you roll out
As you roll out, aim to shift your weight slightly back on the bike. This will give you a little extra stability by transferring the weight onto your legs and weighting both wheels more equally. If you end up to far over the front, you also run the risk of going over the bars if you happen to hook up on something. Keeping your weight back also helps generate a little more speed as the energy transferred through your legs helps you pump through the landing.
