How to Repair a Damaged Tubeless Tyre: Quick and Effective Methods
Learn step-by-step methods to repair a damaged tubeless tyre, from plugs to sewing.
Learn step-by-step methods to repair a damaged tubeless tyre, from plugs to sewing.
Rubber is an expensive and naturally sourced resource that is under increasing demand year on year. We love throwing on a fresh set of tyres for a race or the confidence-inspiring feel of a freshie up front in the dry dusty local trails while trying to stay upright. In the offseason or through the cooler, wetter months, I’ll happily run my tyres down as traction is less of an issue, particularly the rear, as it’s kind of fun to let the back slip about, and it’s a good way to gain confidence in the turns at a reduced speed.

As tyres wear down, their casing becomes less robust, unable to withstand general trail abrasion, and inevitably gets punctured or gashed. Here are some tips on how to repair a damaged tubeless tyre, particularly if it has a heap of life left and was prematurely taken out by a poorly taken line or surprise sniper rock.
READ: Trail and Enduro MTB Tyre Test – 24 tyres ridden and rated
The type of repair job required really depends on the size of the puncture: the larger or longer the hole, the more effort required to get that tyre to seal again.
Repair a damaged tubeless tyre: the plug or bacon strip.
Plugs and bacon strips are ideal for smaller holes and often able to be carried out trailside, sometimes even before the tyre becomes fully deflated and can save time re-inflating.
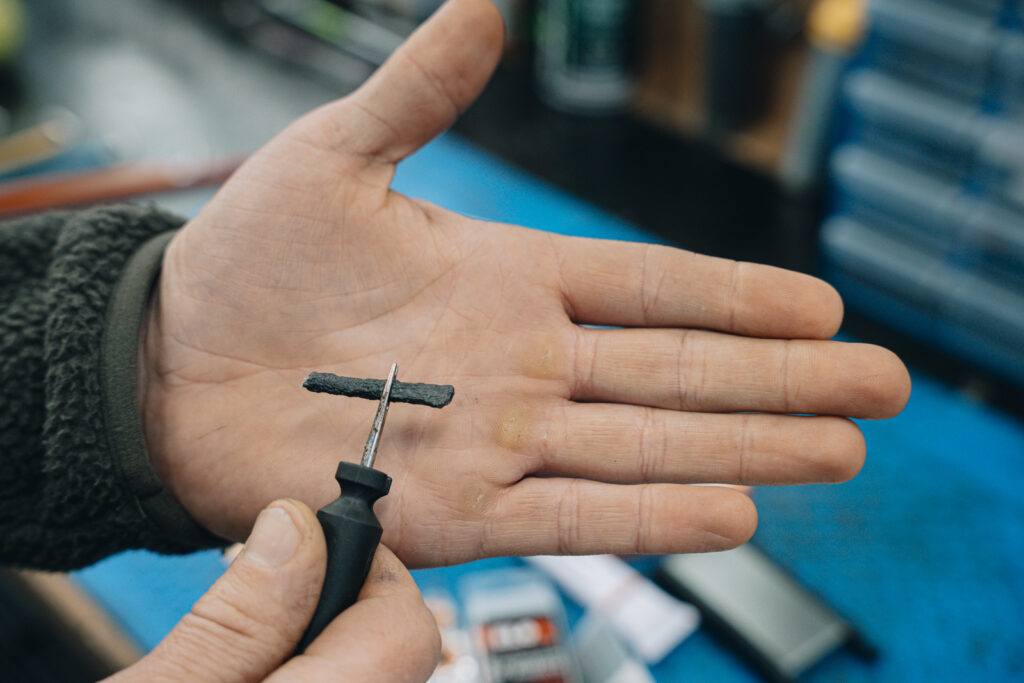
On the bike, I always have a plug and driver easily accessible: one in my fanny pack’s hip pocket and on my personal bike in the bar-end. Both are loaded and ready to go within seconds of hearing air escaping. While a clean and dirt-free hole in a tyre is usually easier to repair, plugs and bacon strips (made up of strands of fibre and sticky adhesive) will stick to pretty much anything.
Double them over and force them through the hole, leaving a small amount exposed externally. Lastly, trim the excess off flush with the surrounding knobs so it doesn’t rub on your fork or frame and pull out under braking or accelerating. I’ve had plugs survive in a set of old test tyres for years. Once in place, these can potentially see out the life of the tyre.
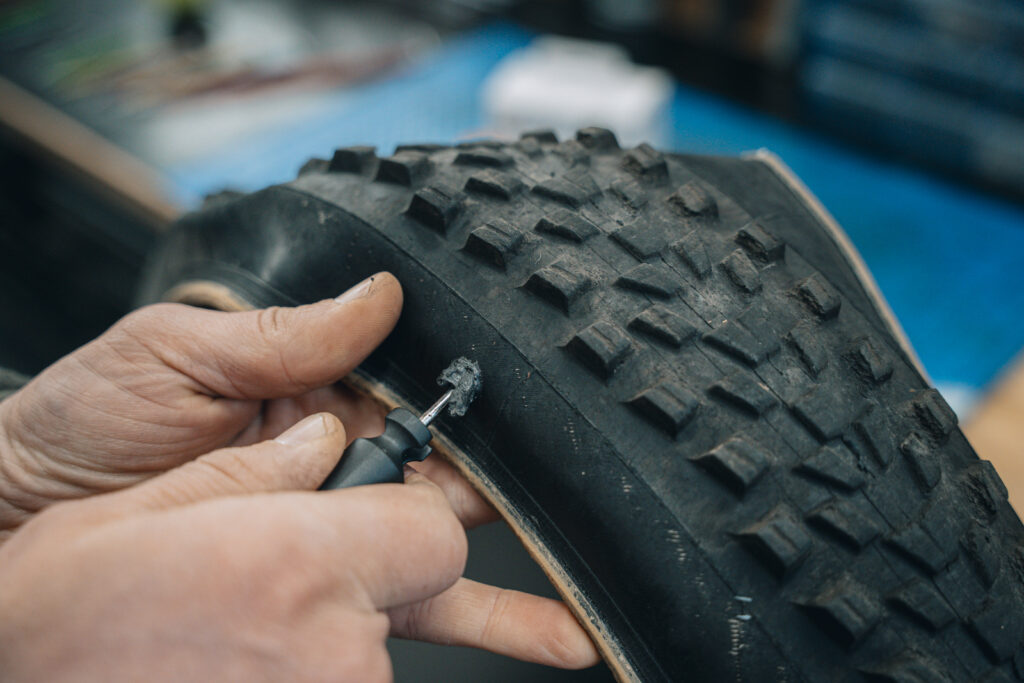
On the trail, bigger holes may require multiple strips to stop the leak. In a pinch, I’ve used a small bit of stick and 4 plugs. Once plugged, rotate to the bottom and let the remaining sealant in the tyre glue your creative masterpiece in place.
The Mushroom Plug
The Mushroom plug is a tubeless-specific tyre repair option that consists of a rubber mushroom-shaped plug that tapers at one end with a metal tip used to poke through the hole or slit in the tyre. You then grab hold of it with a pair of pliers and pull it taut, securing the hole.
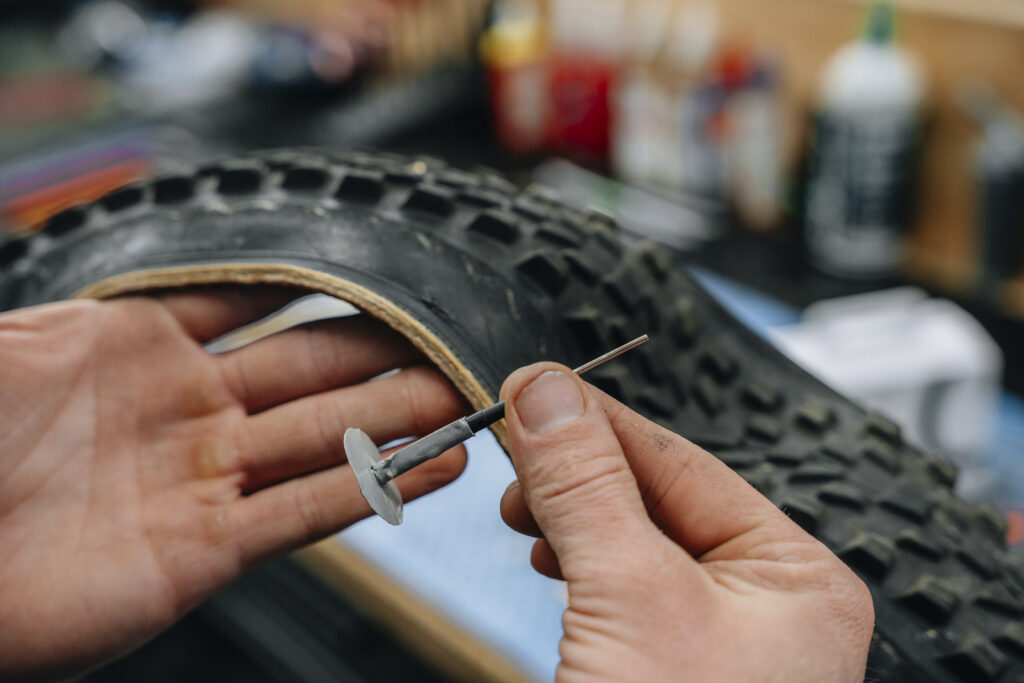
To use a mushroom plug, apply a liberal amount of rubber cement to the head and stalk and allow it to touch dry. While waiting for the cement to dry, clean/scrub the inside of the tyre at the point of repair, removing any old sealant or contaminants. A clean cloth and some isopropanol or brake cleaner can be a surefire way to ensure the plug sticks. Insert the metal tip through the hole of the tyre and pull firmly until the head of the mushroom plug is glued to the inside of the tyre. Give the plug a few minutes, then re-install and inflate the tyre, rotating the plug to the bottom again so the sealant can work its magic from the inside.
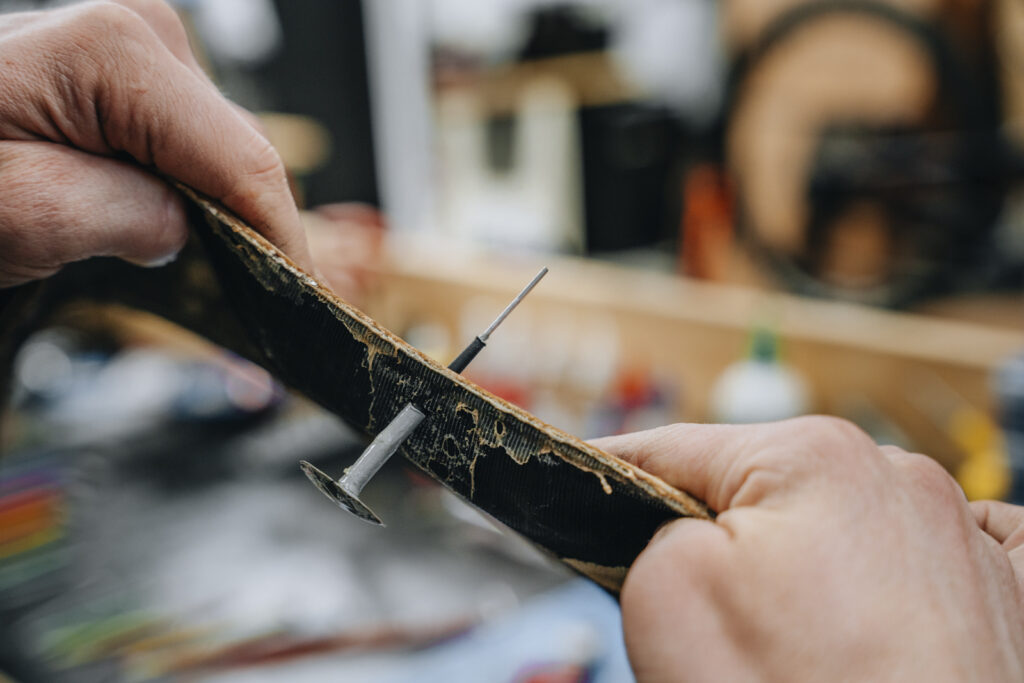
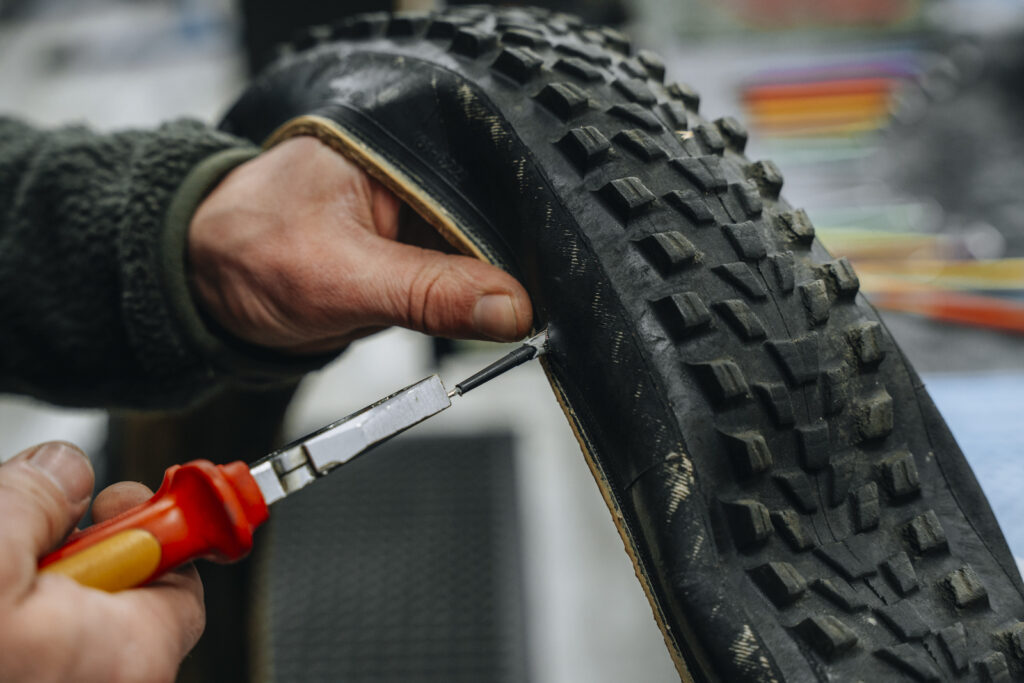
I keep a small and large mushroom in my trail kit for those big ride-ending flats. The air will almost always escape rapidly, and you might as well find a spot to sit and get it sorted, which is always better than a long walk.
Sewing the tyre
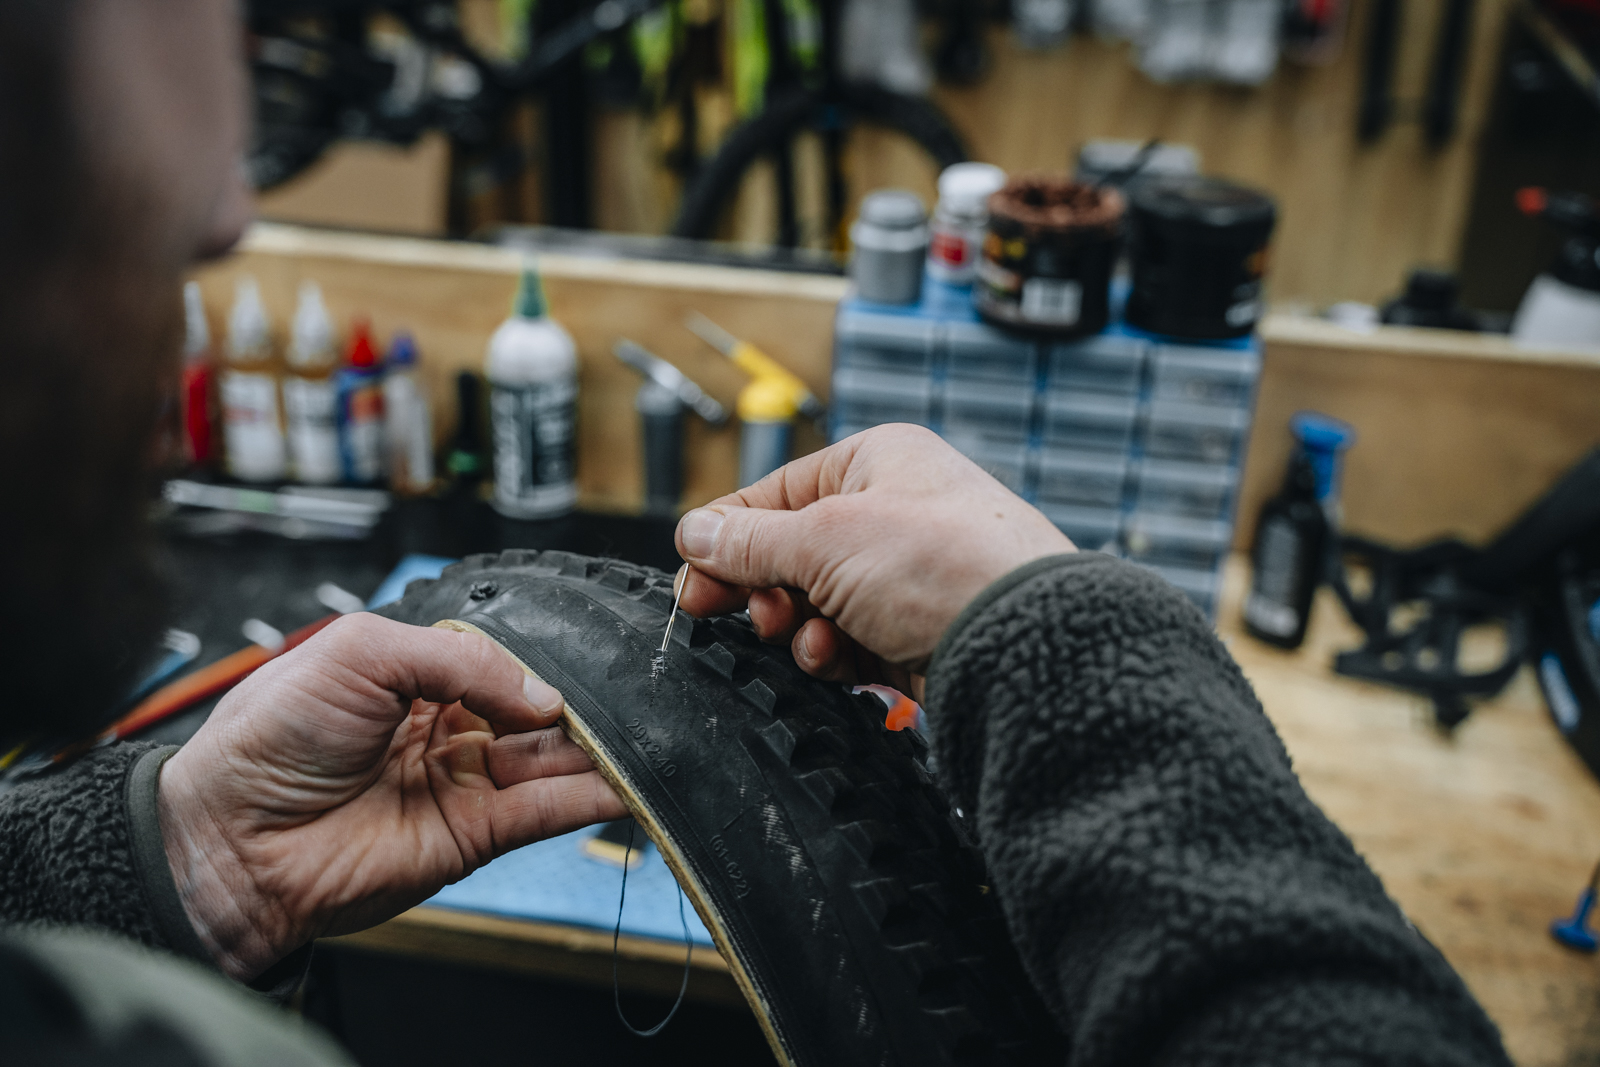
In extreme cases, a tyre’s casing can be cut by something sharp (like the rocks of my local, Stromlo) and become so badly damaged that the casing is cut right through. The only way to repair this is to sew it back together and patch it from the inside, making it airtight again. We would only recommend this if the tyre actually has life left in it, as it’s never going to be as strong or provide the same impact resistance in this area.
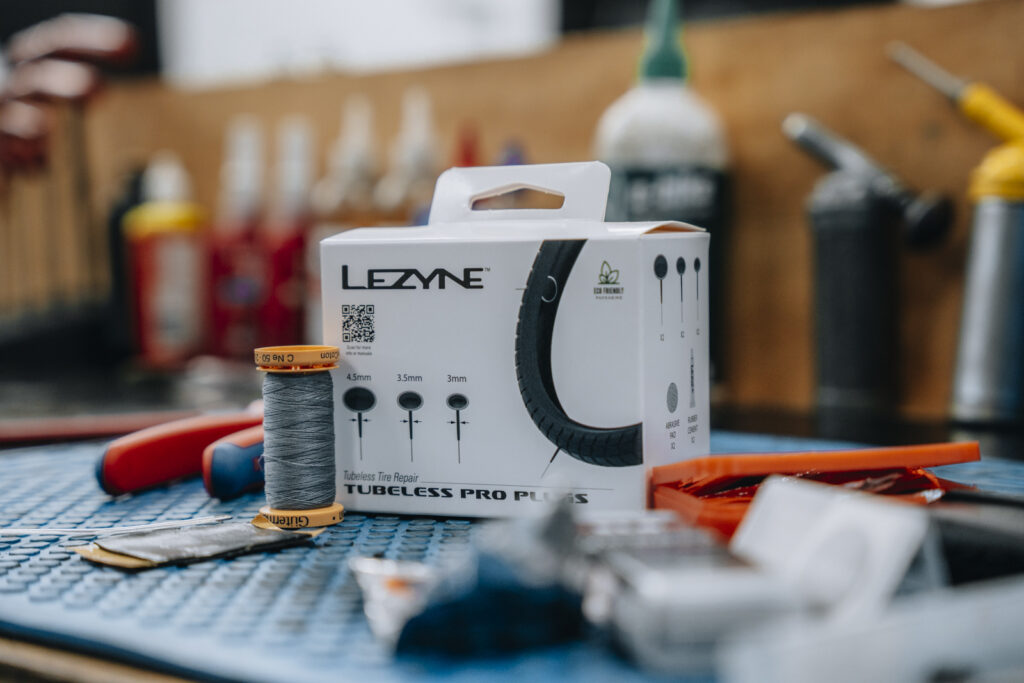
Thoroughly clean the area. Using a heavy-duty needle or tapestry needle (or whatever you can get your hands on), sew the opposing sides of the cut together, being sure not to over-tighten and bunch up the two layers. Firm enough to make them meet and not overlap. A thimble can be used to push the needle through if the casing is quite tough. Liberally apply rubber cement on the inside of the tyre and patch and let them touch dry. Apply the patch to the inside of the tyre and let it cure.
Re-install the tyre, and when inflated, rotate the sewn and patched area to the bottom so the sealant can seal any small pinholes (which should be covered by the patch) and get back onto the trails.

