How to Set Up Suspension On Your Mountain Bike
Words by Ryan Walsch | Photos by Jordan Riddle
Get your suspension dialled! Follow these step-by-step tips to improve your bike’s handling and make your rides feel smoother and more controlled.
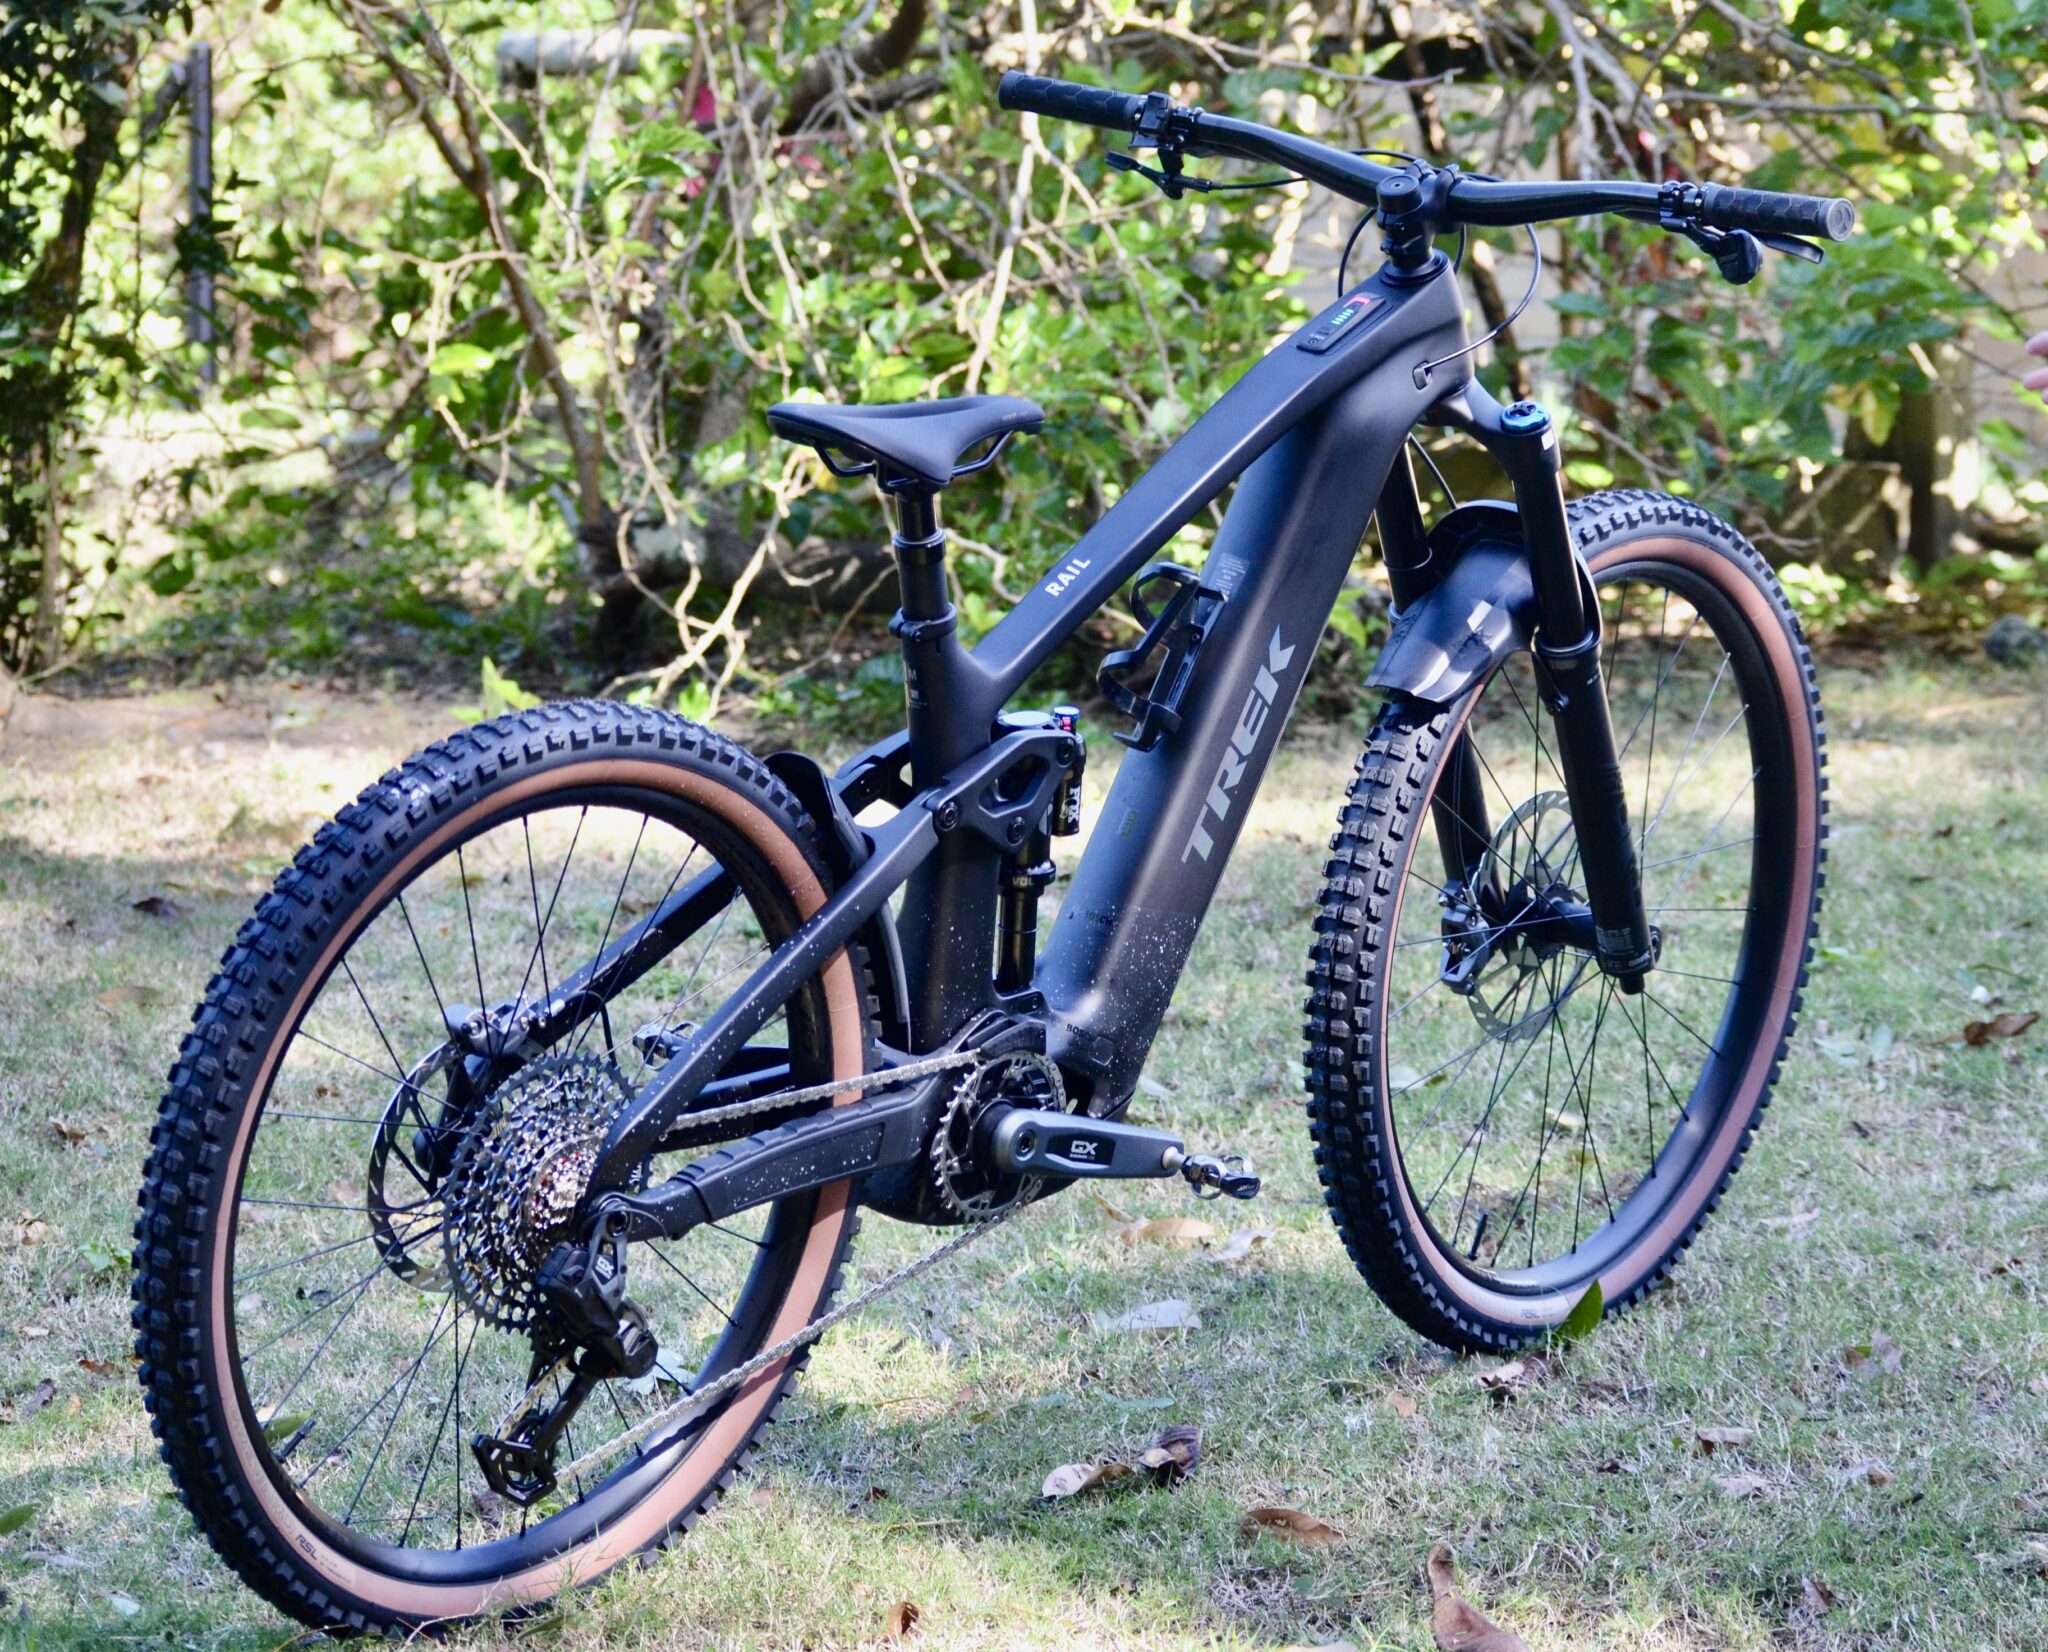
Does your dual suspension mountain bike feel balanced? Does your bike like to buck you when you jump or just have a mind of its own? Here are a few pointers to getting your suspension dialled in and feeling more balanced, it will help you jump, corner and maintain traction better keeping even pressure on both the front and rear tyres.
As a bike mechanic and a qualified skills instructor, I am often asked about how to set up suspension and how to jump on a mountain bike. The challenge when explaining either really depends on the rider’s body position on the bike. If either the rider’s body position or suspension are incorrect or unbalanced, the rider’s centre of mass will be biased to the front or rear of the bike and make jumping and other skills difficult or unsafe.

I see many mountain bikes come through my service centre with the rear shock far too soft and often far too slow. A bike with inadequate rear shock pressure will often understeer in a corner. With the rider’s centre of mass being over the rear wheel, the front tyre will have insufficient pressure on it to grip.
READ: Top 6 Essential Tools Every Mountain Biker Should Own
Furthermore, when jumping, the rear will compress more and subsequently buck the rider forward or over the bars which could be counteracted by slowing down the rebound but not addressing the route cause.
How to Check if Your Suspension is Balanced on your mountain bike
There are some super cool aids like RockShox’s Shockwiz that can help calibrate your suspension and collate data while riding in order to make setup suggestions through the app, which is super powerful but sometimes a bit overwhelming. Many stores will rent them out but if you want a simple low-fi approach, here is a simple one for you.

There are two very simple checks you can do at home with only a shock pump and some flatground or driveway. Firstly, ride along a fireroad or path, stand in the neutral position and stamp/press the bike down using the feet and hands. Drive the bike down into the ground and let it rise back up underneath you. What did you feel? Did one end compress more than the other? Did one end ramp up more than the other? Did one end return faster or slower than the other? Jot these notes down and move to the next step.
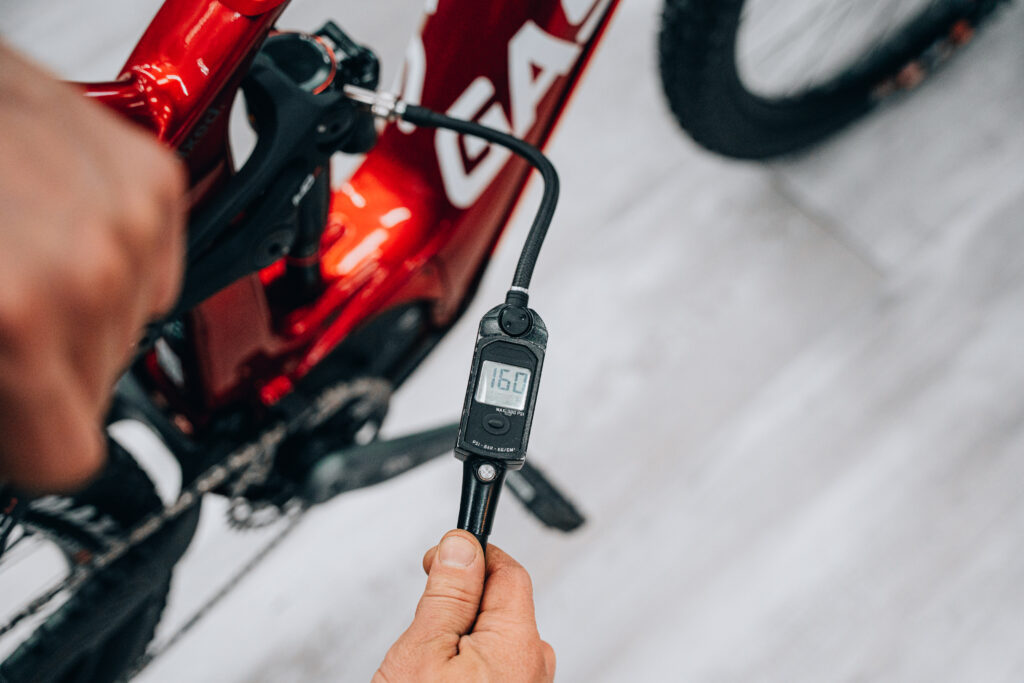

Get your shock pump out and check the sag of your rear shock first. Don’t use the manufacturers recommended pressure, refer to the bike brands suspension setup guide for recommended sag settings as each bike’s suspension design uses different leverage ratios. For example, my last two bikes used the exact same shock, brand, model, length and stroke. One required 225psi the other 148psi!
Let’s assume your sweet new duallie requires a recommended sag of 30% and 200psi for your weight, your shock is a 210mm x 55mm stroke, and when you sit on it and bounce up and down a few times, push the o-ring on the shock up and then carefully hop off the bike.
At 30% there should be 16.5mm of space between the seal head and the o-ring. If so, the brand’s recommendations are spot on, if not quite adjust accordingly remembering it’s a guide. Now that we have the rear sag set, let’s move onto setting the fork’s pressure and balancing it with the rear.
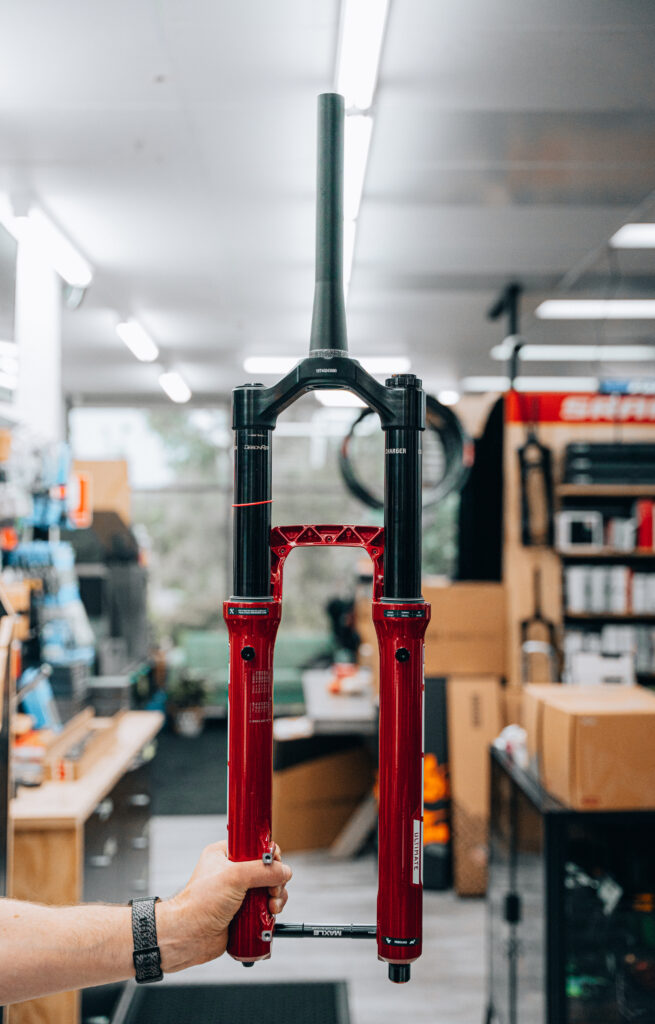
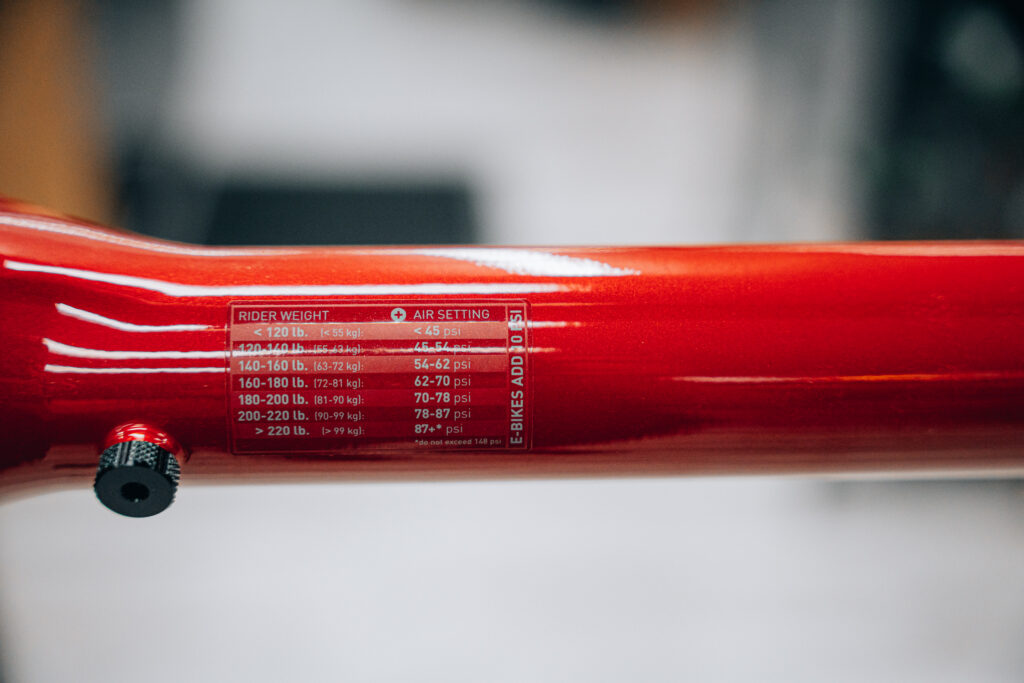
Checking a fork’s sag is extremely tricky and the slacker/longer the fork the more the forks bushings want to bind and resist when you are standing in the neutral position on top of it. The fork is designed to take impacts coming at it from front on, when you are stationary above it will tend to bind a bit making it quite tricky to do. Almost all forks have a suspension pressure guide on the back of the fork leg and unlike the shock, it’s quite accurate! Use it then try this simple method to check.
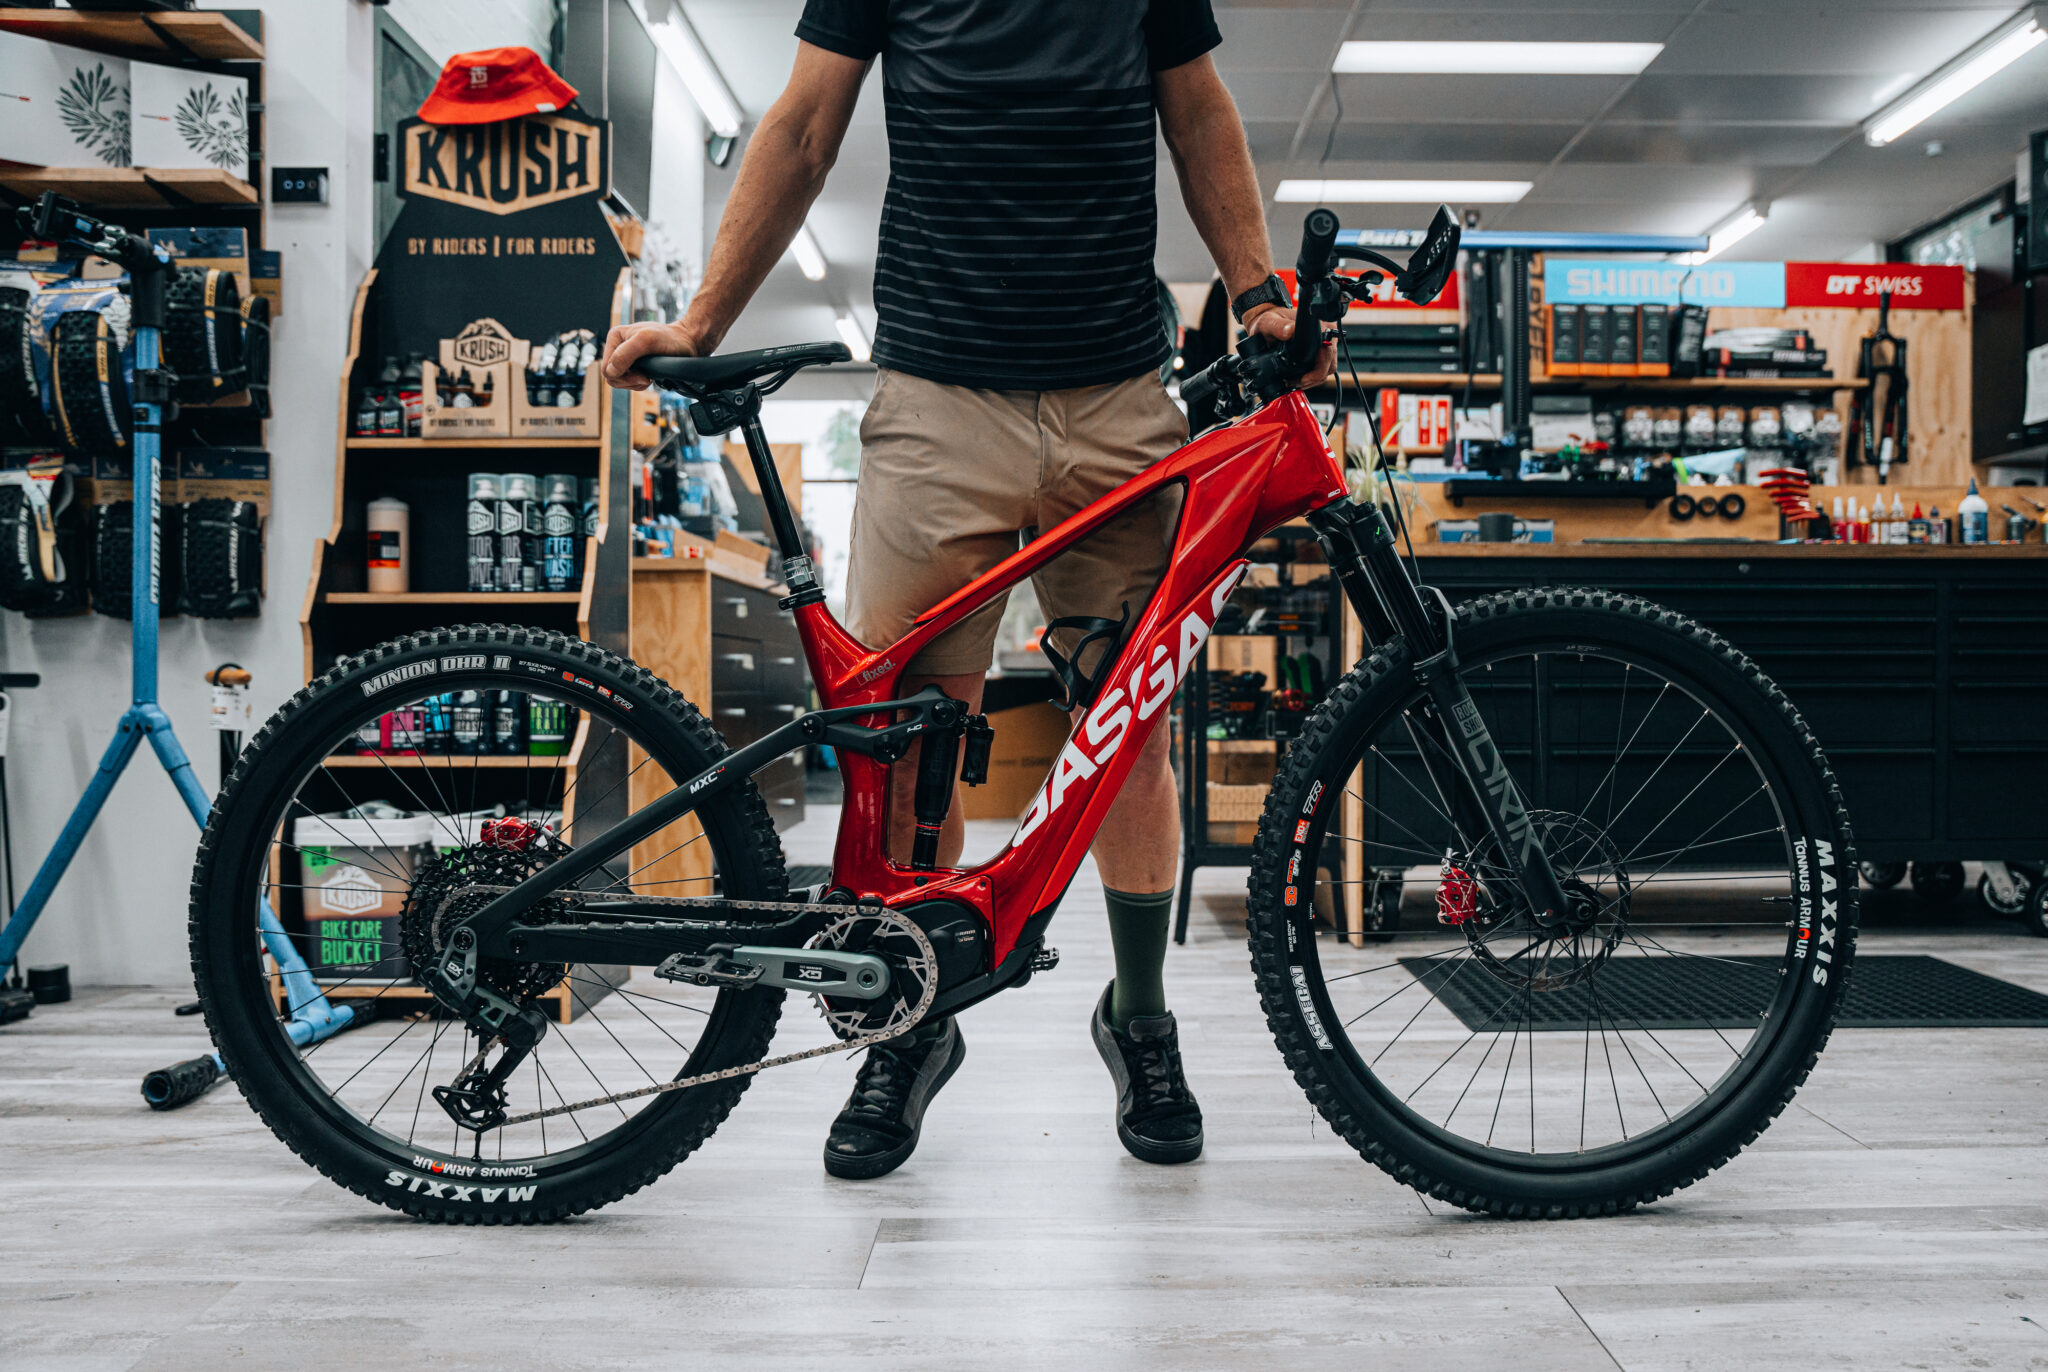
Drop the seat so it’s level with the bars. Place one hand on the back of the seat, place one hand on the front of the stem where it clamps the bar. Brace and centre yourself and push down until your feet want to leave the ground. Does one end want to compress more than the other? If so, which one? Increase or decrease the fork until it compresses at the same rate front and rear. When it feels balanced, take it for a spin, get into the neutral position and press down hard again, what did you feel?
The inner ear is extremely sensitive and even the slightest bias to front and rear will be felt, you can also look down and do a quick visual on how much the front and rear suspension are moving.
Lastly we want to set the rebound: too slow and the wheels will never return quick enough in time for the next bump, too fast and you will be bouncing around glancing off everything in your path like a pinball. You want your rebound to be as fast as possible without being springy. Fast but controlled, not like the rear suspension of a 30-year-old ute that’s soft and springing about after each bump. In, out and back to sag, no bouncing.
There you have it, a simple little exercise to get a balanced suspension setup. With a balanced bike, you will be able to corner and jump far easier and safer!