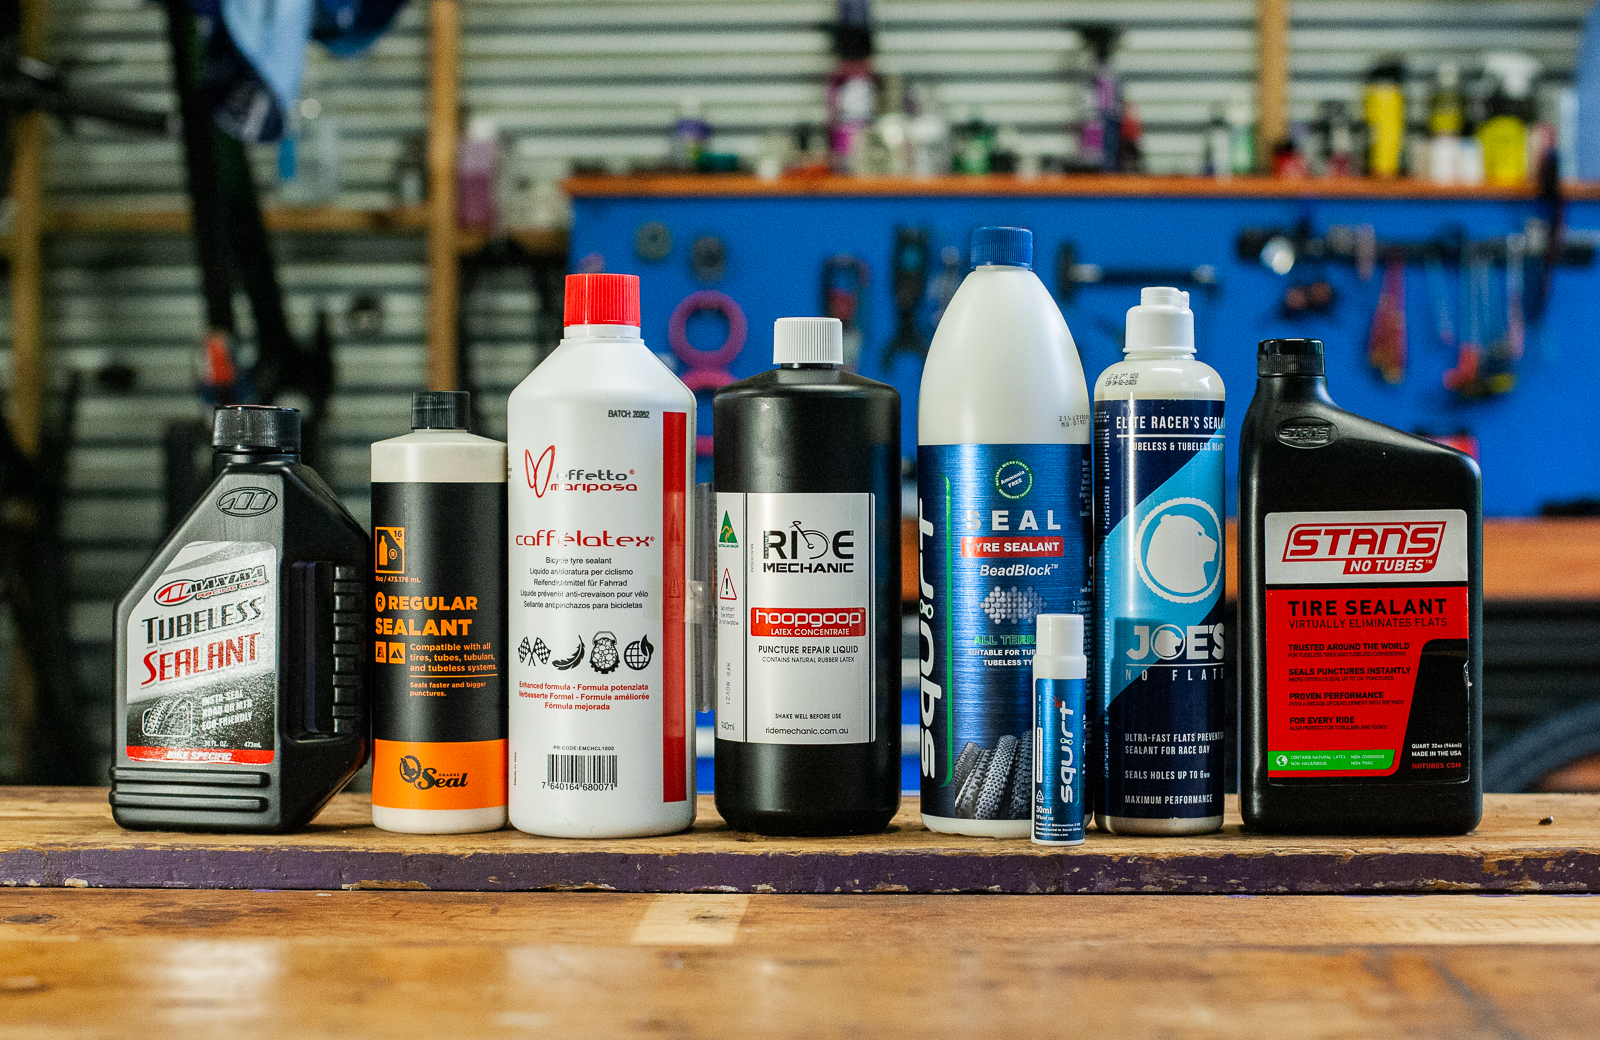
AMB tests 7 leading MTB tubeless tyre sealants
We test 7 leading tubeless sealants to see what seals a 3mm and 6mm hole after over a month of use.
Words and Photos: Mike Blewitt
But how much thought do you put into your tubeless tyre sealant, or the system as a whole? An airtight seal is at the heart of a good tubeless system, so quality tubeless tape and valves are a must have, along with tyres that have a tubeless ready bead and a casing suited to your riding style and trails. Beyond that, running the right tyre pressures will help avoid pinch flats and some cuts. Tyres have improved drastically in two decades, so the sealant tends to be there to assist with porous sidewalls, and to help for puncture repair.
UPDATED: Four more tubeless sealants tested!
Sealant works as the air rushed to a hole, with the polymers in the liquid slamming into each other at the hole and making a seal. This is why a larger hole is hard to seal, and a small repair can occur without you knowing. The liquid is typically reactive to an environment, so tubeless sealant doesn't last forever, either in your tyres or in a bottle on your shelf.
Testing sealants and not systems
I set out to test 7 sealants by using the same tyre on 7 wheels for a set period of time. Sealants were added to the 29×2.4” Pirelli Scorpion LITE Hard conditions tyre as per the manufacturer's recommendations. And then 36 days later after riding, hanging in a hot shed and general mountain bike use, the sealants were tested for the puncture repair performance. There were no punctures in the test period, kudos to Pirelli on their ProWall casing for that.
Test Procedure
Each tyre was inflated to 22psi, and then stabbed with a 3mm sharp tool near a transition edge block. They were ridden on a mixed surface of road, grass and dirt with a timer on. A time was recorded for when the puncture was sealed, and the pressure recorded.
The tyre was then inflated to 22psi again, without any more sealant, and a 6mm cut was put in near a transition block, but 180 degrees opposite the last puncture. They were ridden again, and timed to repair with the pressure noted. A Dynaplug kit was carried and used when the tyre was no longer conceivably rideable.
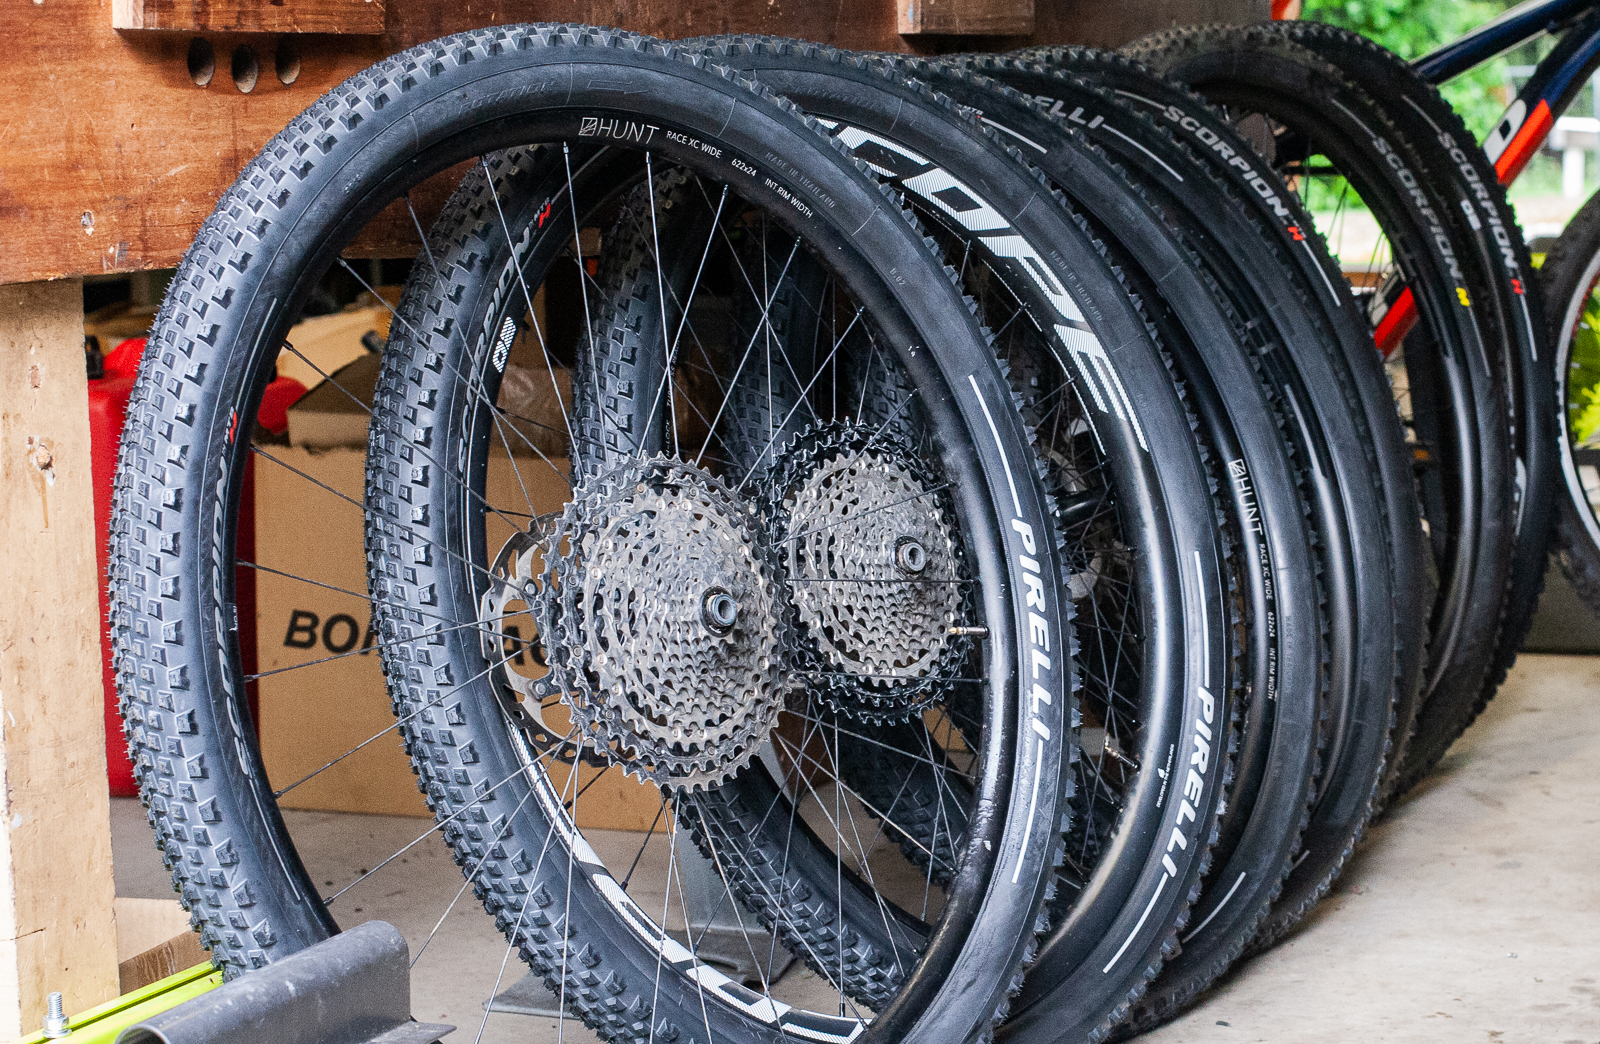
There are a lot of variables to control and this method controlled some of them. Time and temperature will have an impact on tyre sealant, and higher pressures will lose more air before sealing can occur. Take these findings as a single experience, as others experiences may vary. We will test any other sealants in the same manner in future product reviews.
Local input on a global product
Owen Matthews is the mountain biker behind Australian brand Ride Mechanic, and he spent a couple of years testing countless tubeless sealants before developing his own product, Ride Mechanic Hoop Goop. Based on seeing the strengths and failings of just about every sealant on the market, his advice is pretty informed.
“Always setup tubeless dry with no sealant and check for major leaks in the system. Fix them. Then if there are no major leaks add a small amount of Hoop Goop to line the inside surfaces, which builds an in situ thin inner tube. Remove excess liquid after a week of riding, using a sealant exchange kit.”
The idea here is that the sealant, Hoop Goop in this case, makes sure the system is sealed. But by removing it you don't have sealant in your tyre drying out.
“If the tyre deflates with a puncture, add some fresh Hoop Goop through the valve stem and keep riding. It should repair most holes. If it's not effective and the hole is too big (over 5mm) or the cut is on rim-bead area use a plug like the Stan's DART.”
Owen's advice is based on his main finding, which is that most sealants aren't that effective anymore after 4-6 weeks, compared to when they are new. Hence, his recommendation of using sealant to seal the system, then adding it when a puncture occurs, so it's the most effective. It's actually a very fast process!
“If you're racing, on the day before an event add fresh sealant. And then remove it after the race.”
“Apart from setup, a puncture and racing there is no need for any liquid in a tyre. As soon as you put it in the liquid will start degrading becomes less effective. Tubeless tyres are very good, with much better construction than non-tubeless. Often the reason people swear by tubeless is they do not get flats. And this has nothing to do with the liquid in tyre, it's because the current tyres are very, very good.”
AMB's 9 tips for tubeless tyre success
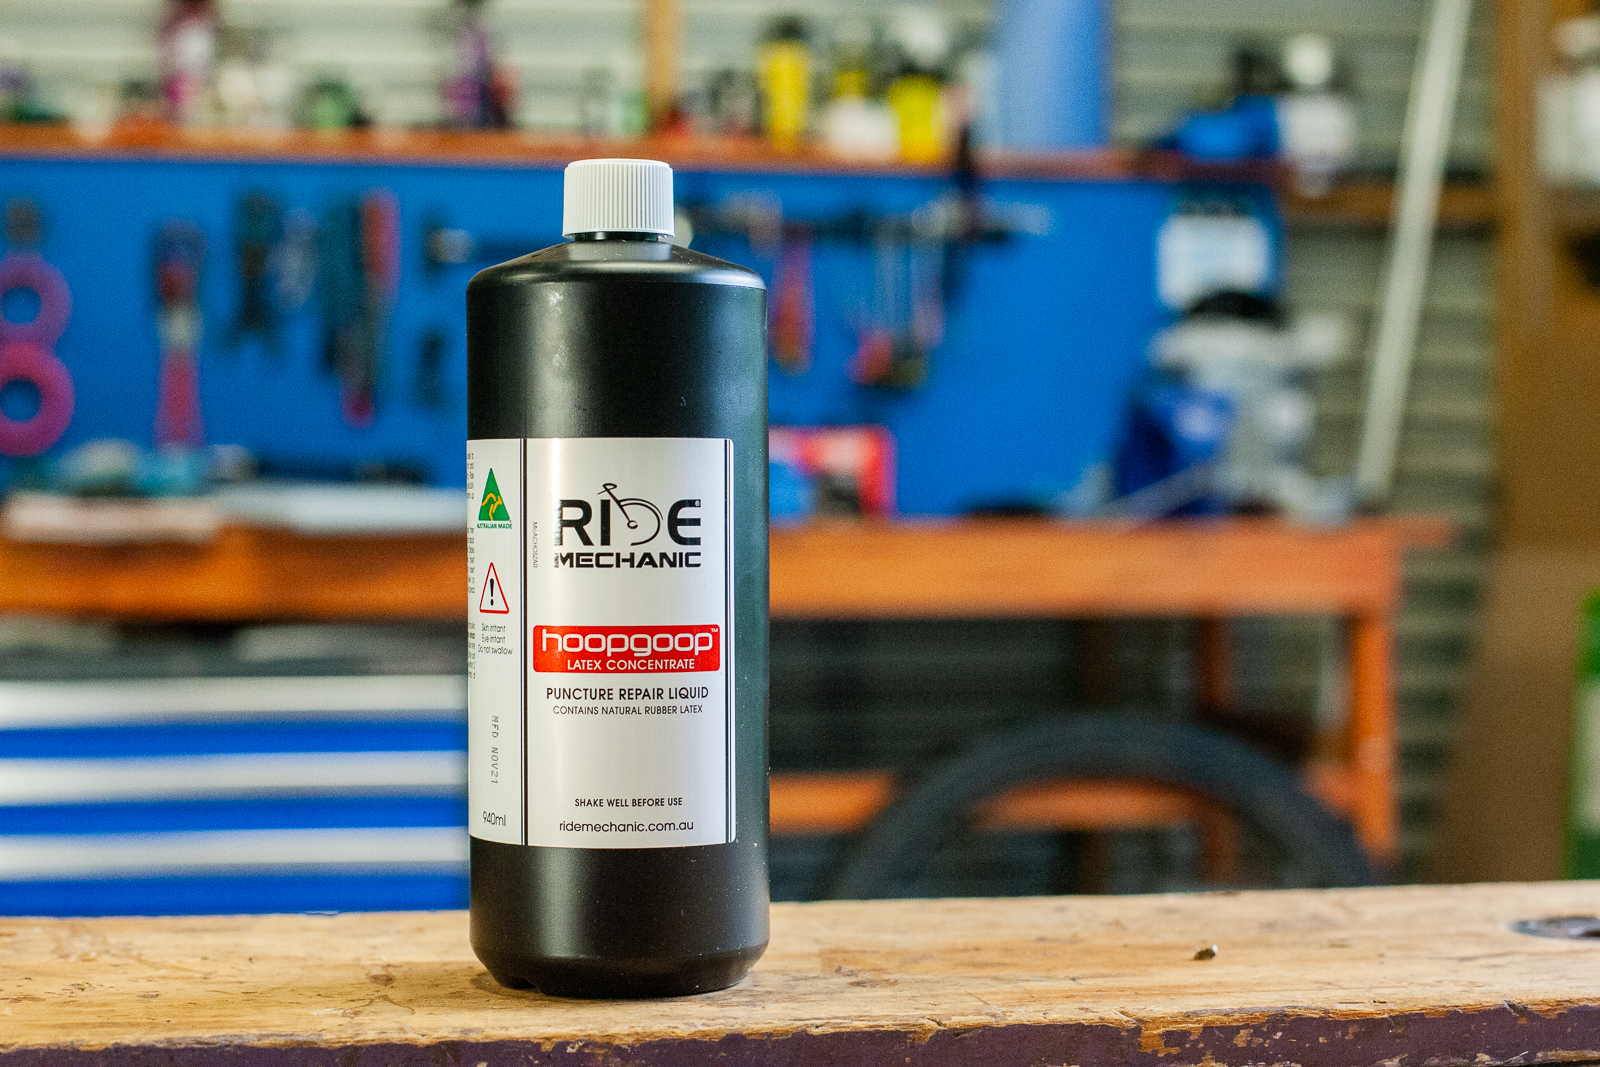
Product: Ride Mechanic Hoop Goop
From: ridemechanic.com.au
RRP: $19.95 for 235mL
Time to seal a 3mm hole: 2:38
Pressure lost: 4.5psi
Time to seal a 6mm hole: 5:14
Pressure lost: 4.7psi
AMB’s notes: Ride Mechanic Hoop Goop has been designed, tested and made in Australia. It’s aim is to seal punctures quickly, and even be used as a sealant to add when you have a puncture, to ensure it’s always fresh. This means a dry setup, with 60mL added through the valve stem if you puncture. It’s more efficient, and prevents sealant drying out in your tyre. Both of the punctures slowed their air release very quickly, with a full seal taking the noted time. This is represented in a fairly modest overall pressure loss. A Dynaplug or Stan’s DART would be a smart move for a larger hole for security (that goes for any larger puncture). After the two puncture repairs, about half of the 100mL required for the 2.4” tyres was left, with no signs of separation. Larger 940mL bottles are available, but the 235mL has been designed to be enough to set up two wheels, with none leftover to dry out on your workshop shelf. The 940mL bottles work out at about $6.30 per wheel, or even less if you choose the 60mL repair option.
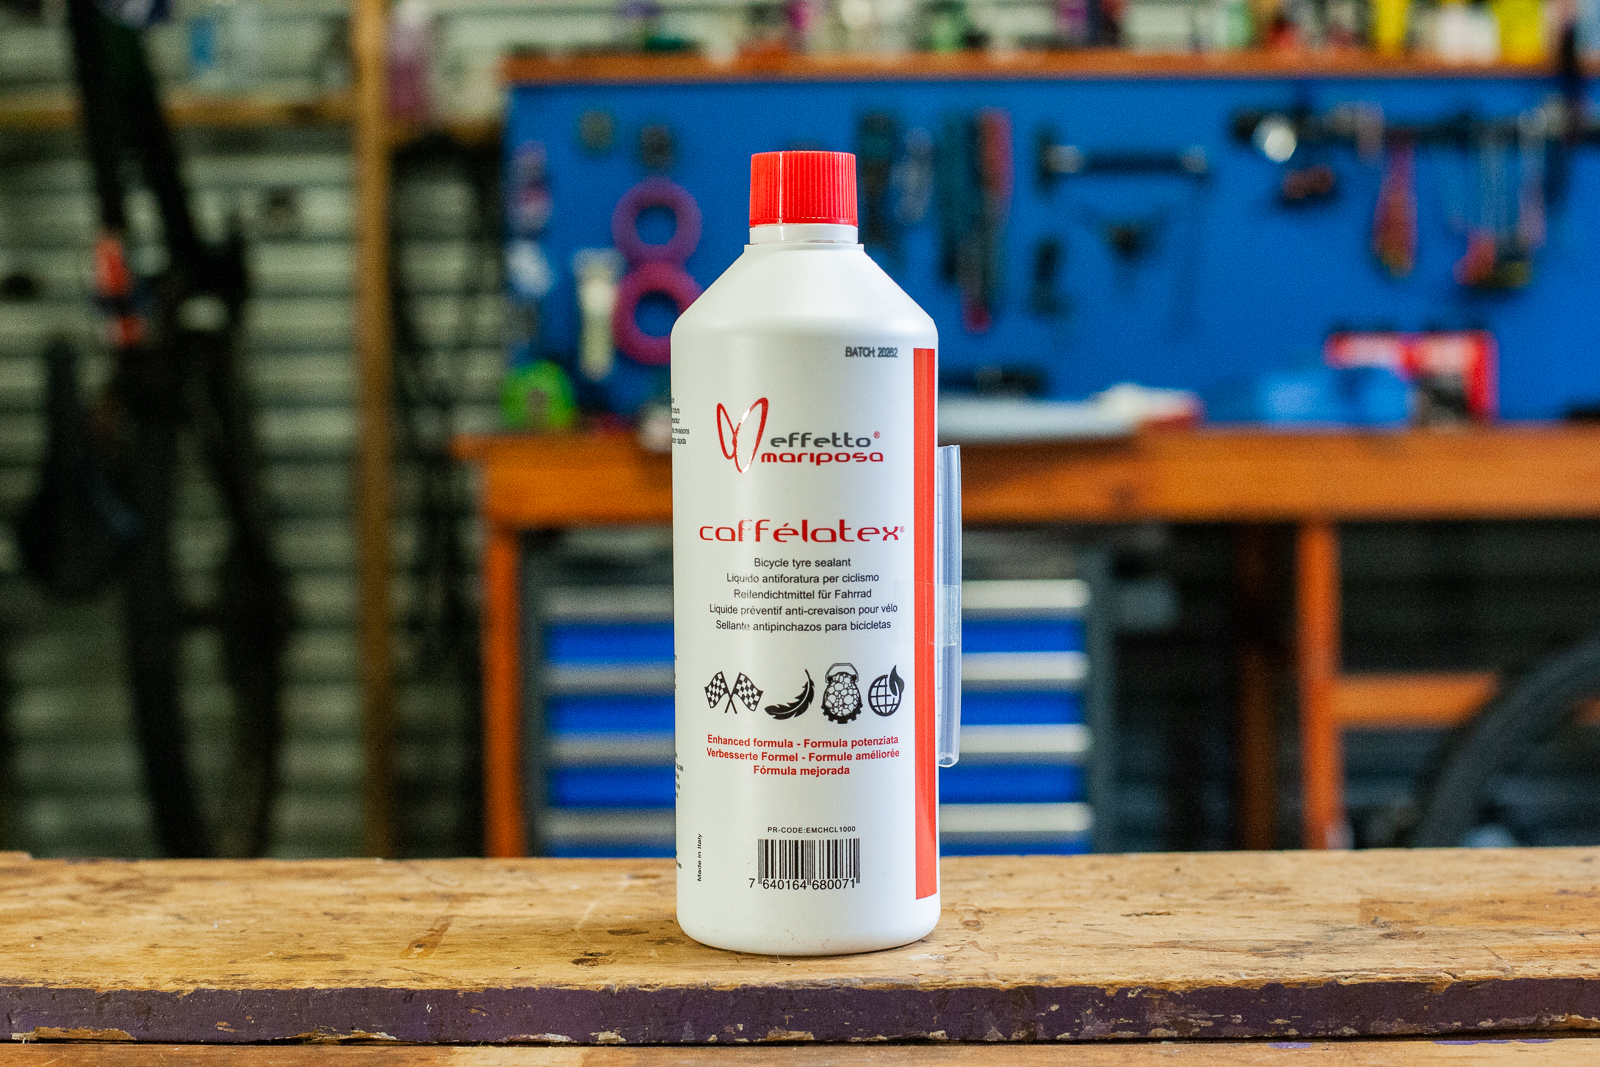
Product: Effetto Mariposa Caffe Latex
From: echelonsports.com.au
RRP: $49.95 for 1000mL
Time to seal a 3mm hole: 1:31
Pressure lost: 1.4psi
Time to seal a 6mm hole: 5:48
Pressure lost: 7.1psi
AMB’s notes: Effetto Mariposa’s Caffe Latex had the lowest volume requirement, needing just 85mL for the 2.4” tyres. This makes it a light and good value sealant to use, as each setup would cost about $4.50. The name is confusing, as it doesn’t actually contain natural latex, it uses a synthetic substitute – which is handy if you have a latex allergy. It’s quite a thin liquid, which helps it move around the tyre. It is said to foam up when in use in the tyre. It did seal a smaller hole really quickly, but the thinner solution seemed to struggle more with a larger puncture, hence the greater pressure loss. Barely a trickle of sealant was left after the two punctures, which is a downside of lower volume. The sealant had no signs of separation or drying out. You could run more, but using a plug for a larger puncture would be a smart move to keep you moving.
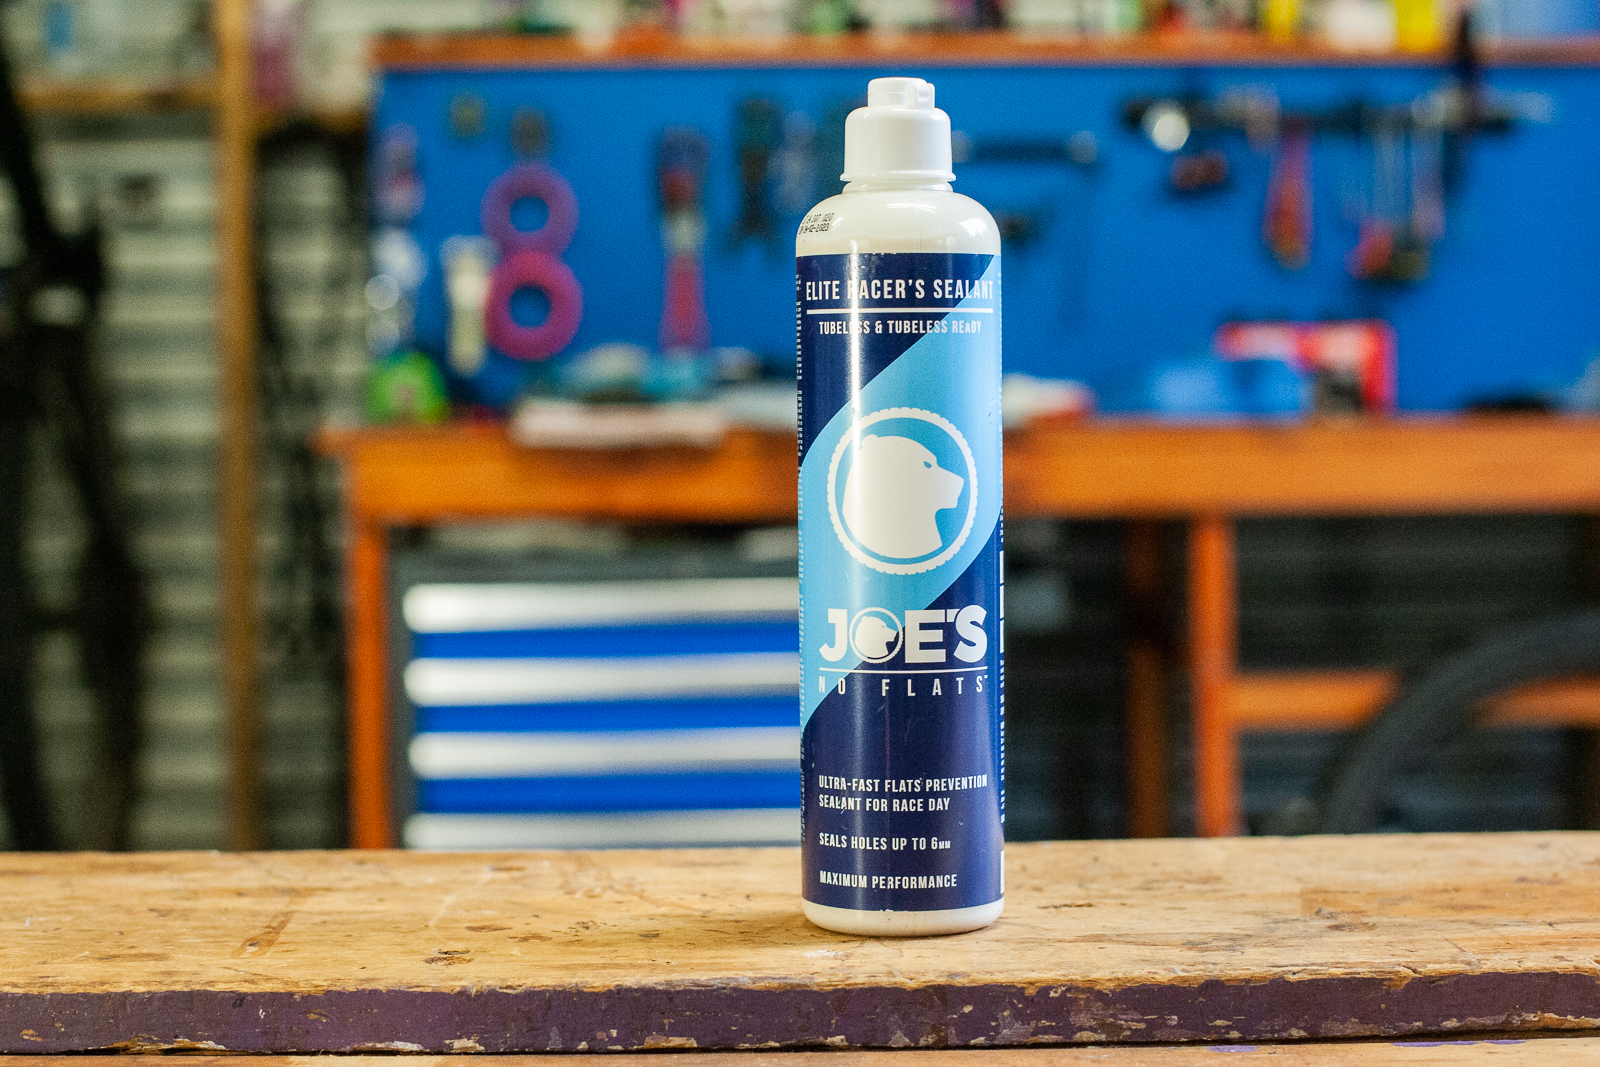
Product: Joe’s No Flats Elite Racer Sealant
From: KWTimports.com.au
RRP: $33.50 for 500mL
Time to seal a 3mm hole: 1:16
Pressure lost: 2.8psi
Time to seal a 6mm hole: 3:54
Pressure lost: 3.8psi
AMB’s notes: This product from Joe’s No Flats has extra latex, to provide faster sealing for racers. This is evident in the fast repair time for the smaller hole, and even for the modest pressure loss for the larger 6mm cut. Based on instructions, 100mL was needed for the 2.4” test tyres, making it $6.70 per setup. After both punctures, about half the sealant was left. While it appeared to be in good shape, the higher latex count did mean much of it had become a film on the inside of the tyre. This does help add a layer to the casing to help keep a super light tyre airtight – but can reduce the overall available volume of sealant. Given the higher amount of latex, this fast-sealing sealant is probably best suited to racers, as that product name suggests. Joe’s NoFlats even have a race day formula, to be put in tyres for the night before! Fast acting sealants are likely to dry out faster, so it is always worth replacing your sealant before a big event. Joe’s also have a regular sealant.
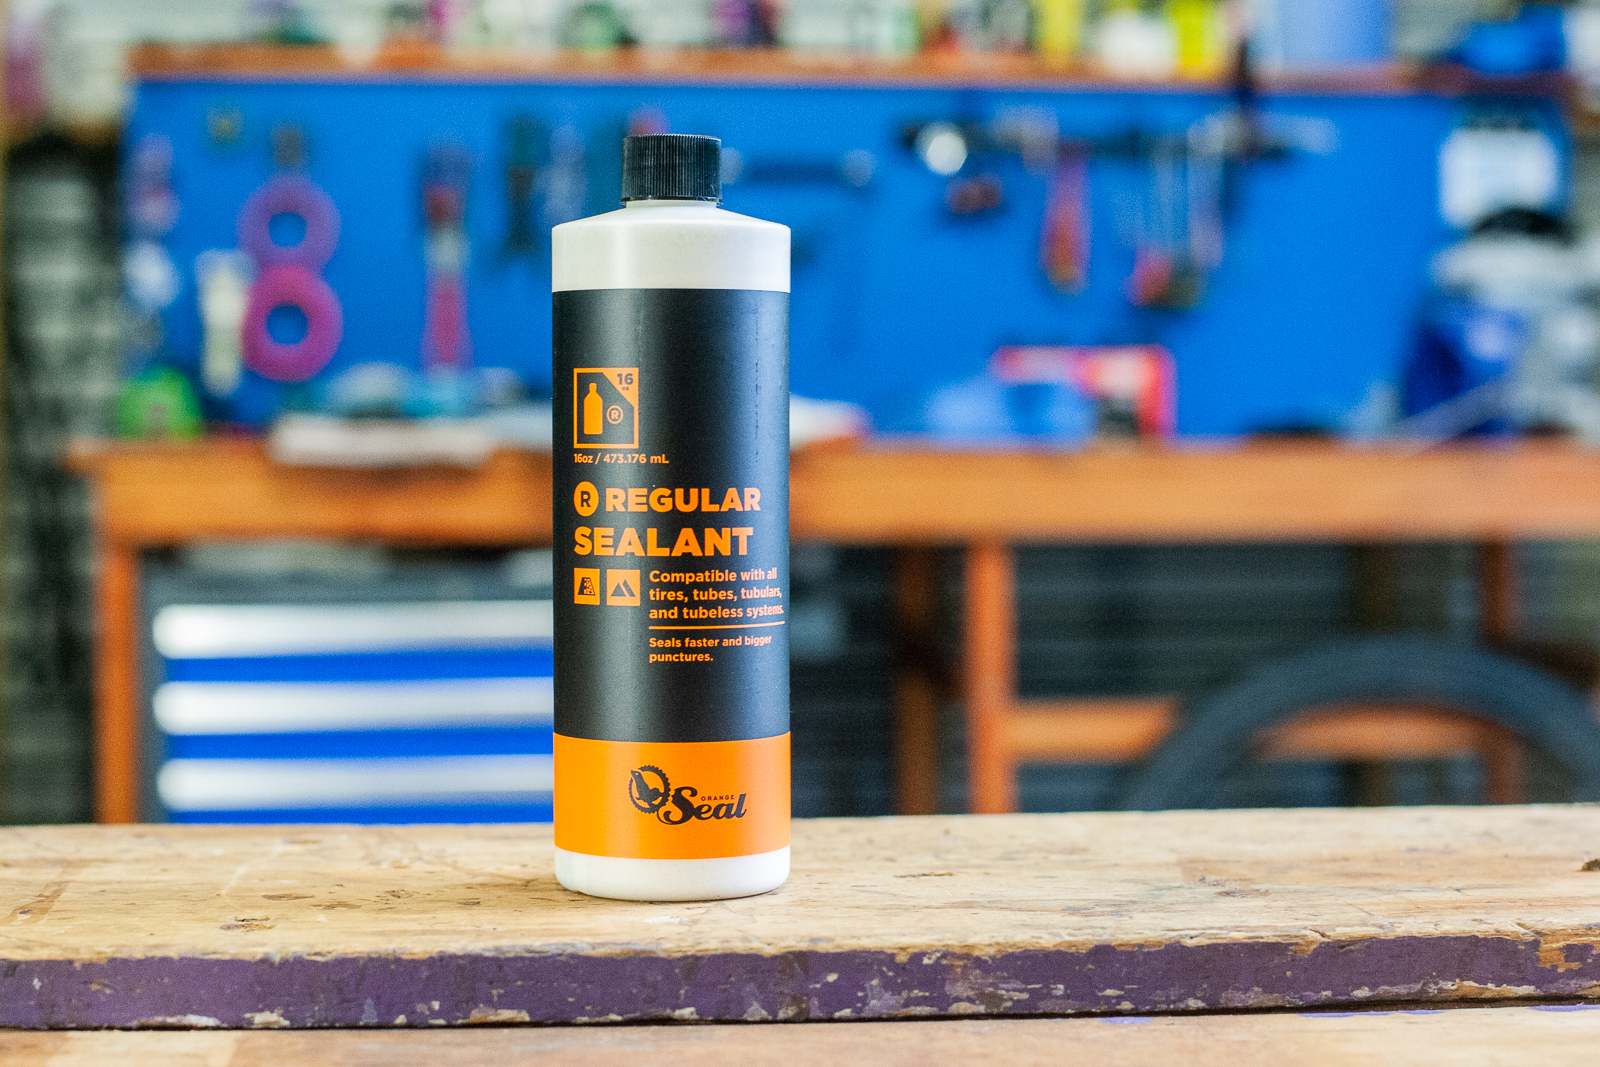
Product: Orange Seal Regular sealant
From: bikecorp.com.au
RRP: $35 for 475mL
Time to seal a 3mm hole: 1:02
Pressure lost: 2.1psi
Time to seal a 6mm hole: 1:31
Pressure lost: 3.2psi
AMB’s notes: Orange Seal Regular is a really popular sealant and the results prove why. It seals fast with minimal pressure loss and did so for both test punctures. Orange Seal claim the sealant has a life of 30-45 days which is really honest of them – this testing occurred at 36 days. With the bead off, the sealant quality was good, about half of the 100mL needed was there, but there was a lot of film on the tyre, and some balling up around the valve. The valve core was also getting clogged and I needed to replace it. At a cost of about $7.35 per tyre, it is clearly a very effective sealant. Orange Seal also sell their Endurance mix which is said to last 60-120 days and best suited to 3mm punctures more than larger 6mm. This is likely a better option for most of us as it provides a longer interval between sealant changes, and paired with a quality plug kit it should keep you out of trouble. But fresh Orange Seal Regular should appeal to those who want to ride hard, and for those racing against the clock or bar to bar.
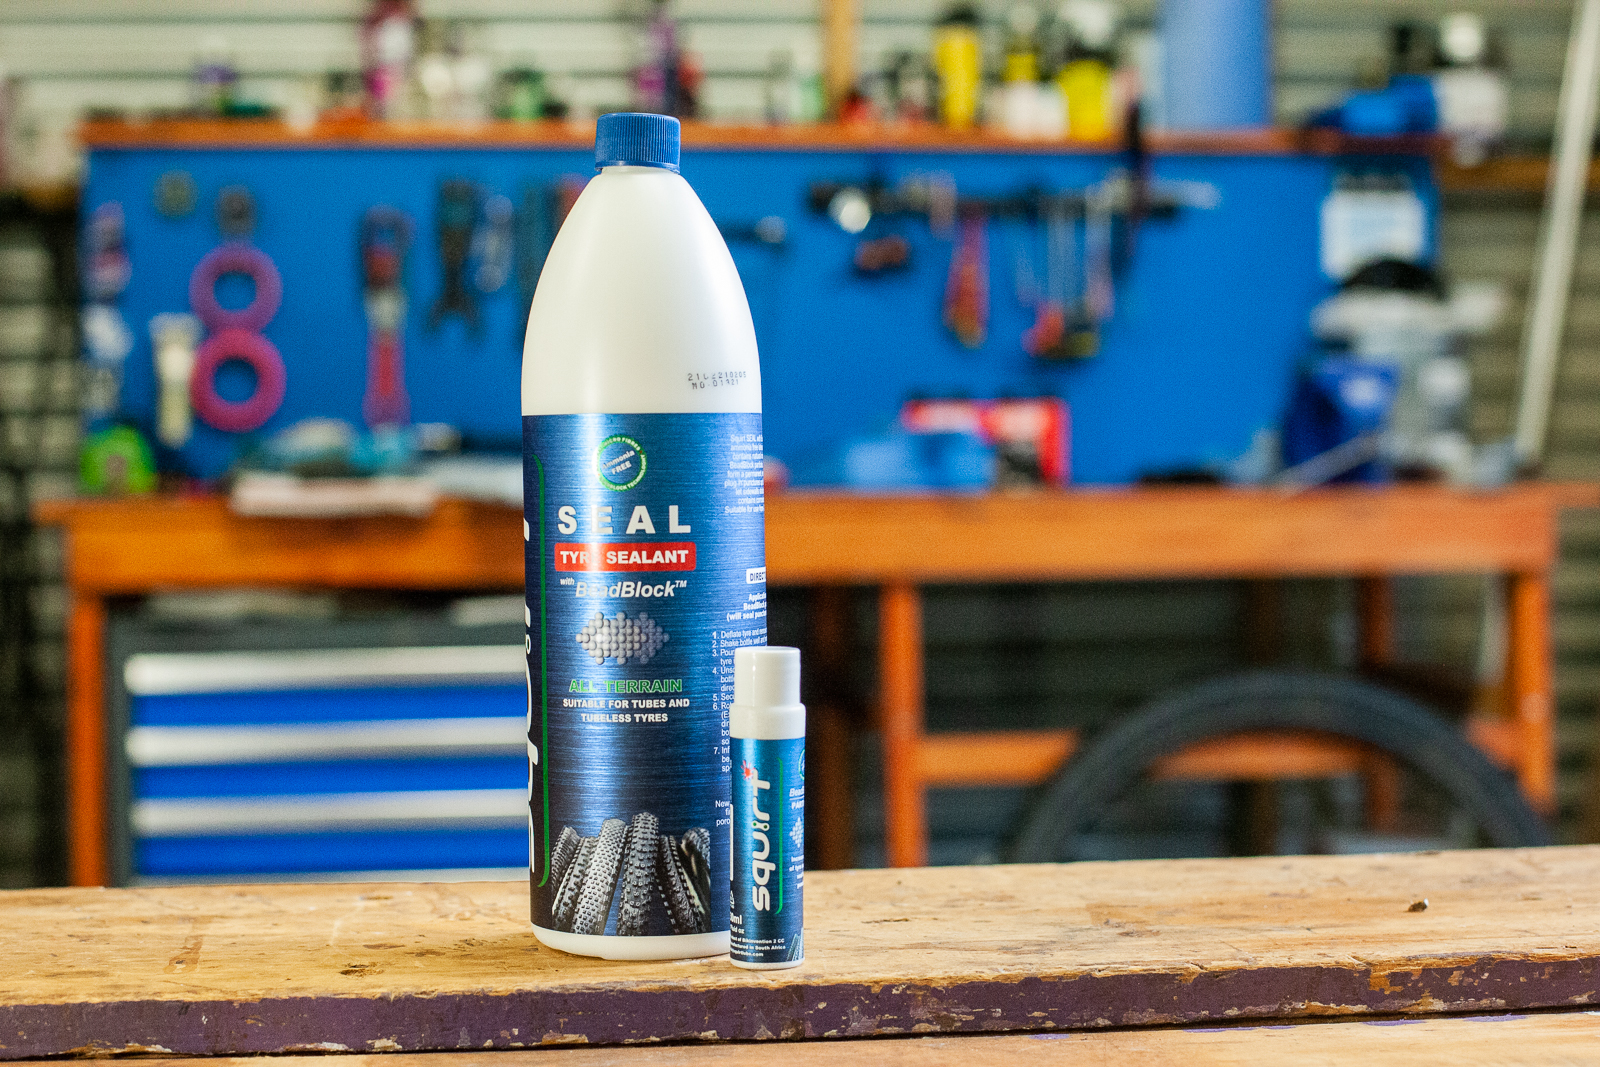
Product: Squirt Tyre Sealant with Beadblock
From: bikebox.com.au
RRP: $55.00 for 1000mL
Time to seal a 3mm hole: 0:58
Pressure lost: 1.2psi
Time to seal a 6mm hole: 4:18 – Dynaplug used as pressure was too low
Pressure lost: 10.9psi
AMB’s notes: Squirt’s tubeless sealant uses the Beadblock additive, which helps it seal smaller punctures faster, and seal bigger holes. To prevent the extra bits from settling in the base of the bottle and being useless, Squirt provide a separate container, and you add it with the sealant. 120ML was required for this test, so each setup is about $6.60 based on the 1L bottle. The results speak for themselves – to a point. This was a very fast repair on a 3mm hole, but the pressure loss was too much to keep riding for the 6mm cut, and a plug was used. The tyre did reinflate after this, but when opened up to check the sealant, there was barely a trickle left, with a lot of dried Beadblock on the casing. Despite 120mL in there, a lot may have been needed for the first puncture, and then the majority lost after the second. Still, it worked the fastest of all, and probably a match with Orange Seal and Stan’s considering margins for error in timing. This is a good value option, but one best partnered with a plug kit.
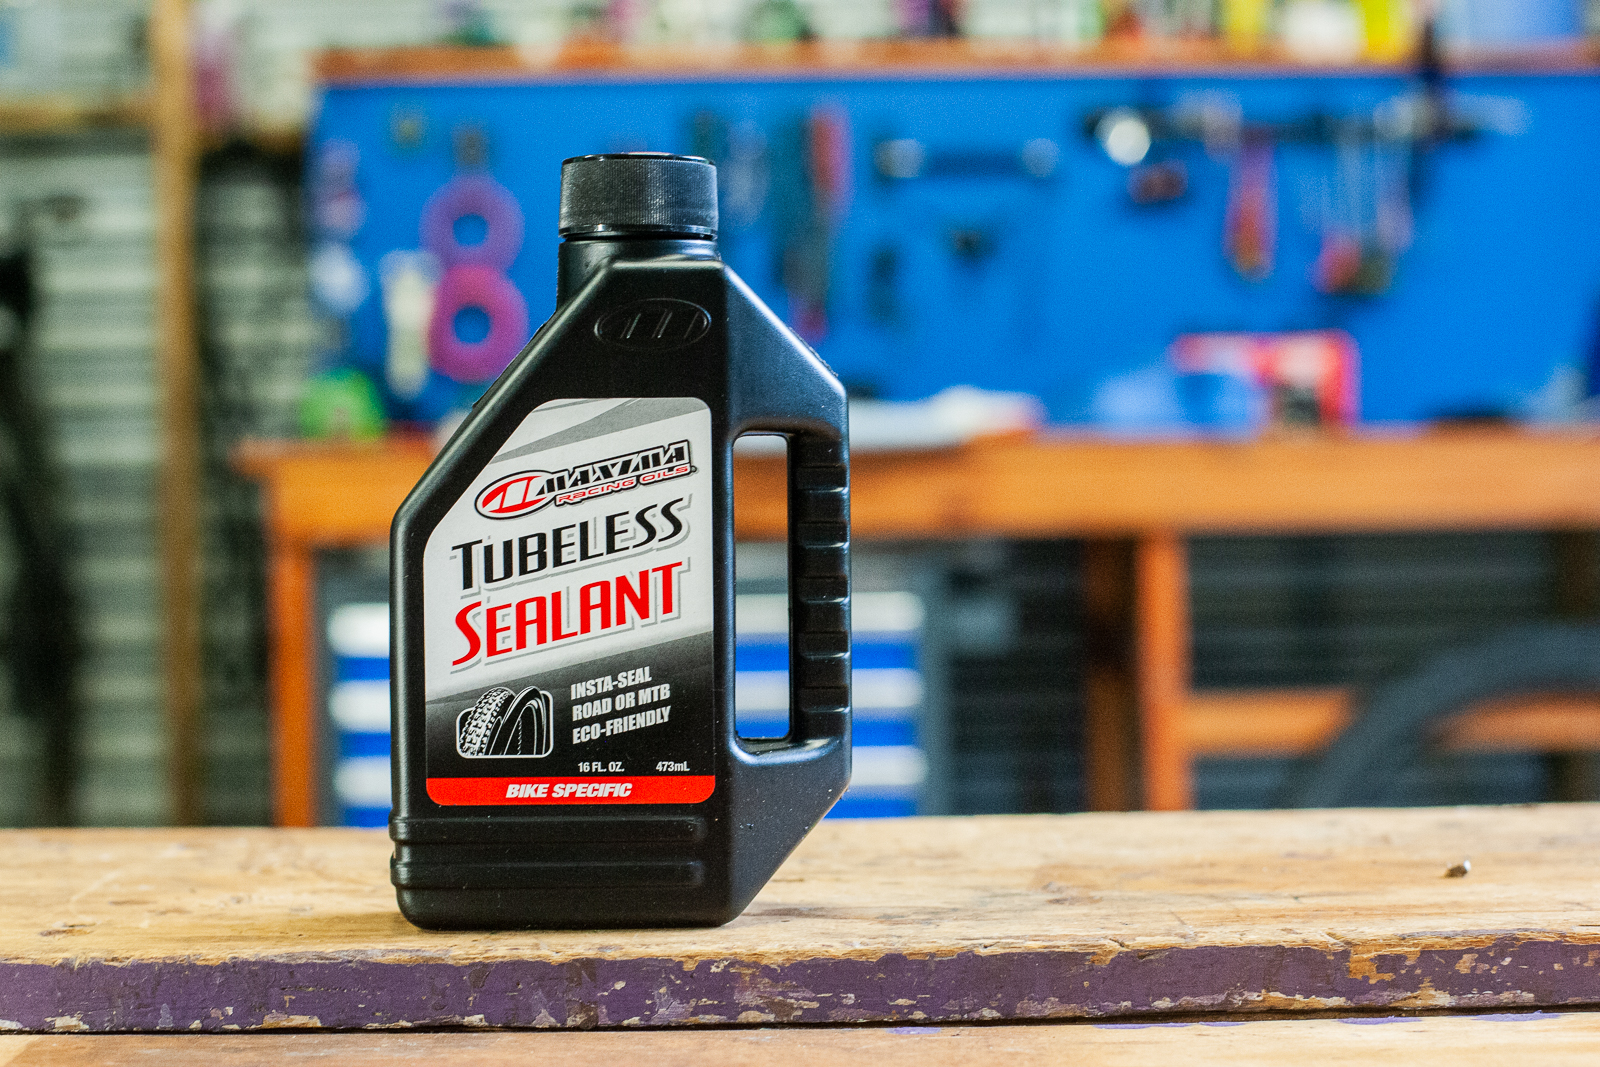
Product: Maxima Tubeless Sealant
From: lustyindustries.com
RRP: $39.99 for 473mL
Time to seal a 3mm hole: 3:25 – plugged due to pressure loss.
Pressure lost: 13psi
Time to seal a 6mm hole: FAIL – under 30 seconds to flat
Pressure lost: Complete
AMB’s notes: Maxima Tubeless Sealant needed 120mL of sealant for the 2.4” test tyre, which puts it at about $10 per wheel. The test results weren’t good, especially with Maxima’s claims of upto 6 months product life. I reinflated the tyre (with two plugs) the next day with fresh sealant and it was fine. I repeated the test, with fresh sealant, and the 3mm hole sealed in 1:04 with 2psi lost. After reinflation to 22psi, the 6mm cut dropped to 10psi in 3 minutes and would need a plug to seal completely, as at that pressure you’re not riding anymore. This is a good sealant and it works fast when fresh, but I think it may go off in Australian heat faster than Maxima expect. This procedure is far from conclusive on that front.
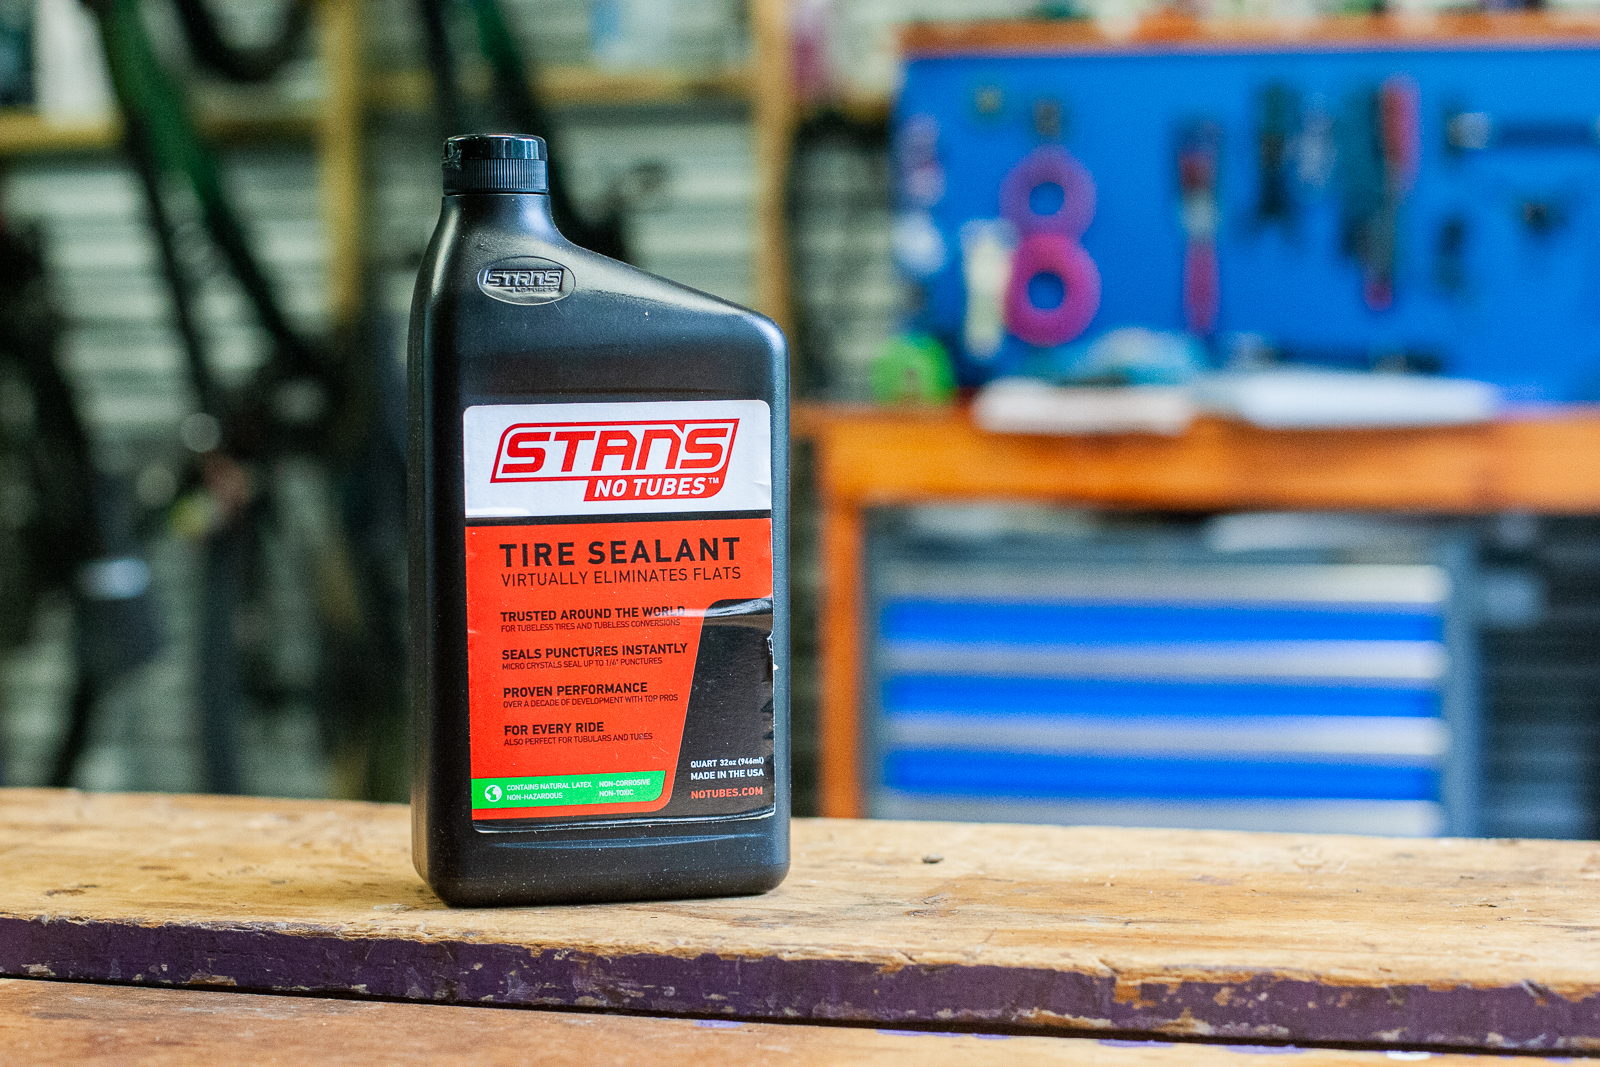
Product: Stan’s NoTubes Original
From: jetblackproducts.com
RRP: $39.99 for 473mL
Time to seal a 3mm hole: 1:07
Pressure lost: 2.3psi
Time to seal a 6mm hole: 1:25
Pressure lost: 8.2psi
AMB’s notes: Stan’s were the innovator for readily available tubeless sealant, and their main sealant mix is still really reliable, although they have a faster acting Race sealant that is said to reinforce the area of the puncture. Only 90mL was needed for the 2.4” tyre, so that makes each setup about $8, although larger bottles are available and pricing does vary. The puncture sealing performance was pretty incredible, but I would suggest using a plug kit for bigger holes. The rate of air loss with the 6mm cut was a clear indicator to pull over and plug it, and the NoTubes DART plugs actually have a chemical reaction with the sealant to make a strong repair. A lot of other thinner sealants like Stan’s, without added latex, had a similar rate of air loss, and the DART plug would be an ideal partner for a very fast and strong repair. Most of the sealant was gone given the rate of loss, but the sealant condition in the tyre was A1 with no signs of Stan’s monsters or separation.
Our take
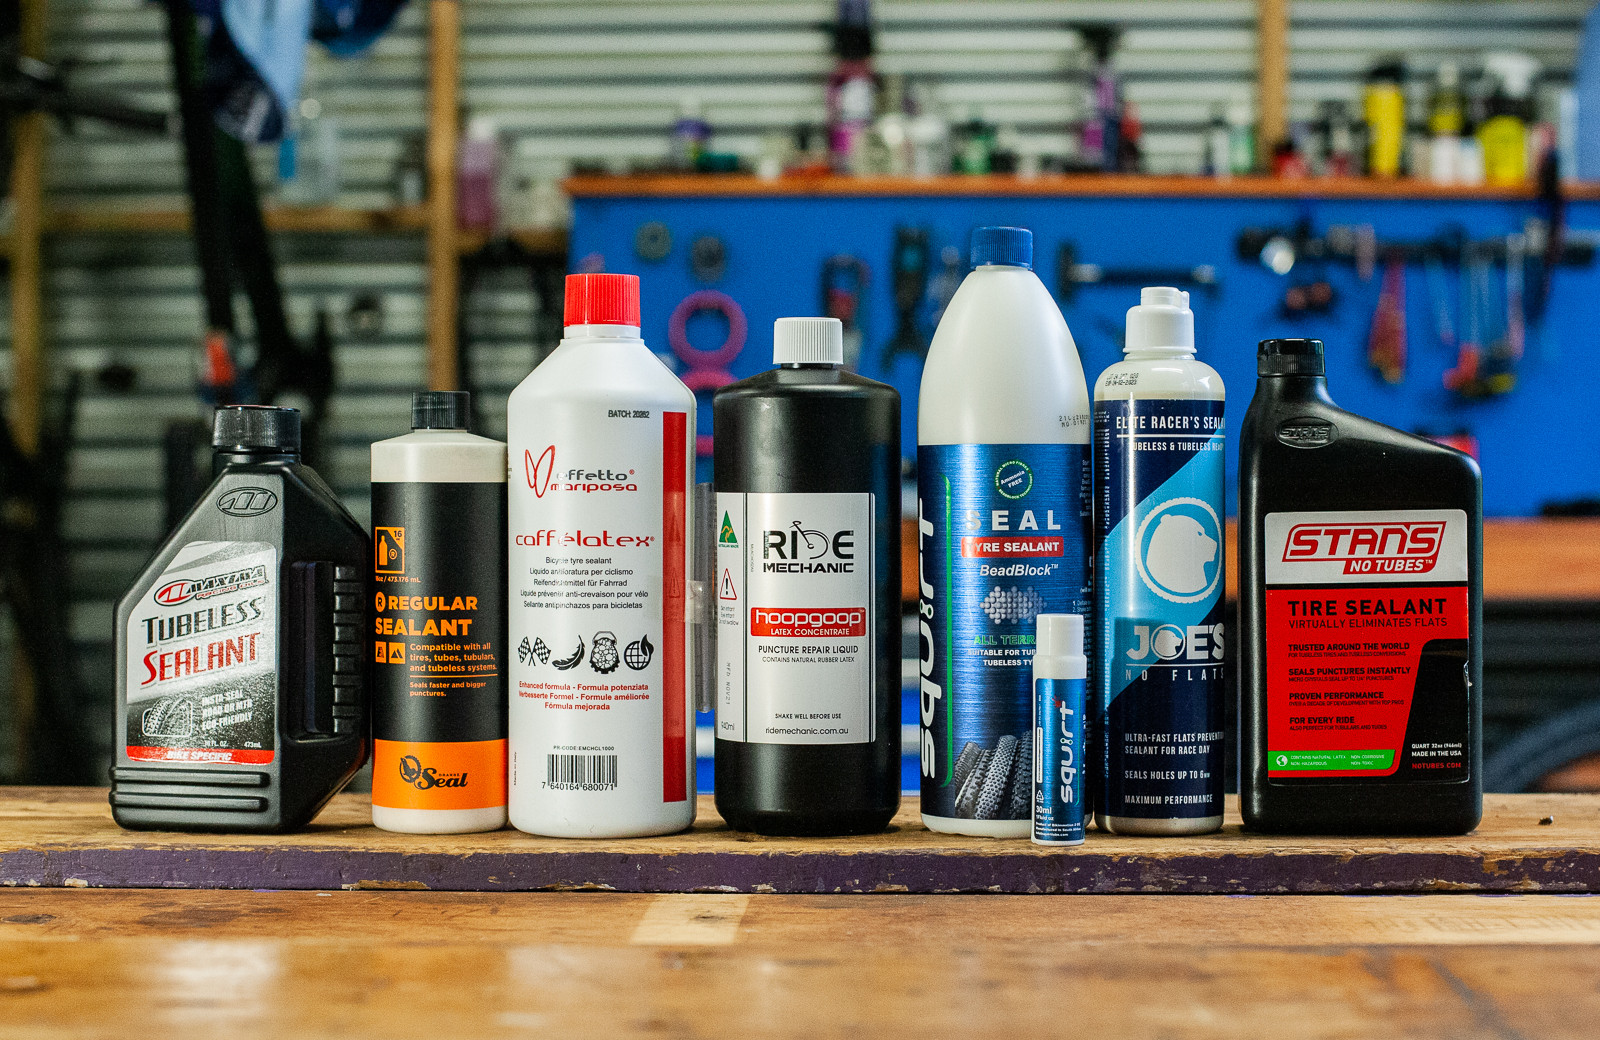
I have avoided running tubes since 2005, and while I’ve had frustrations with tubeless sealant, tyres, rim tapes and valves… things have changed a lot. If you think of the whole system, you are unlikely to be left frustrated by a tubeless tyre system. The key take away from this test is that sealants don’t last forever, and they are more effective sooner rather than later. Additionally, tubeless sealants have their limit, and realistically it’s with a hole to 3mm. Carry a plug kit and keep it at hand. While it might seem fussy, putting a plug in is far faster and easier than removing a wheel, a valve, and hoping your spare tube isn’t degraded.
Some of these sealants did perform better than others, but bear in mind this test was a one off, with limits based on the amount of equipment available. It would be easy to do your own tests on two sealants, one in each wheel, to see what served you best.

