AMB's guide to bike racks on your car
Here's a quick guide to where to put your bike when you hit the open road to head to new trails.
Travelling to ride new trails can be one of the best things about mountain biking. While the buzz of riding your local trails with speed and accuracy on dialled lines cannot be ignored – discovering new trails and meeting other riders is a huge part of mountain biking.
But getting our beloved bicycles to the trails safe and sound can sometimes be tricky – mostly if there's more than one or two of you in the car. Mountain biking is better with mates, right?
We've taken a look at bike bags you can use if you're travelling some really long distances – but what about for a trip up the coast or into the Australian Alps with your car? Should you put the bikes inside, on top, or on the back?
Here's a look at some options on where to load your bikes, and the pros and cons.
Don't forget to check that you're compliant with local road rules – here's a rundown for NSW, but do be sure to check rules for your own state.
Put your bikes up top
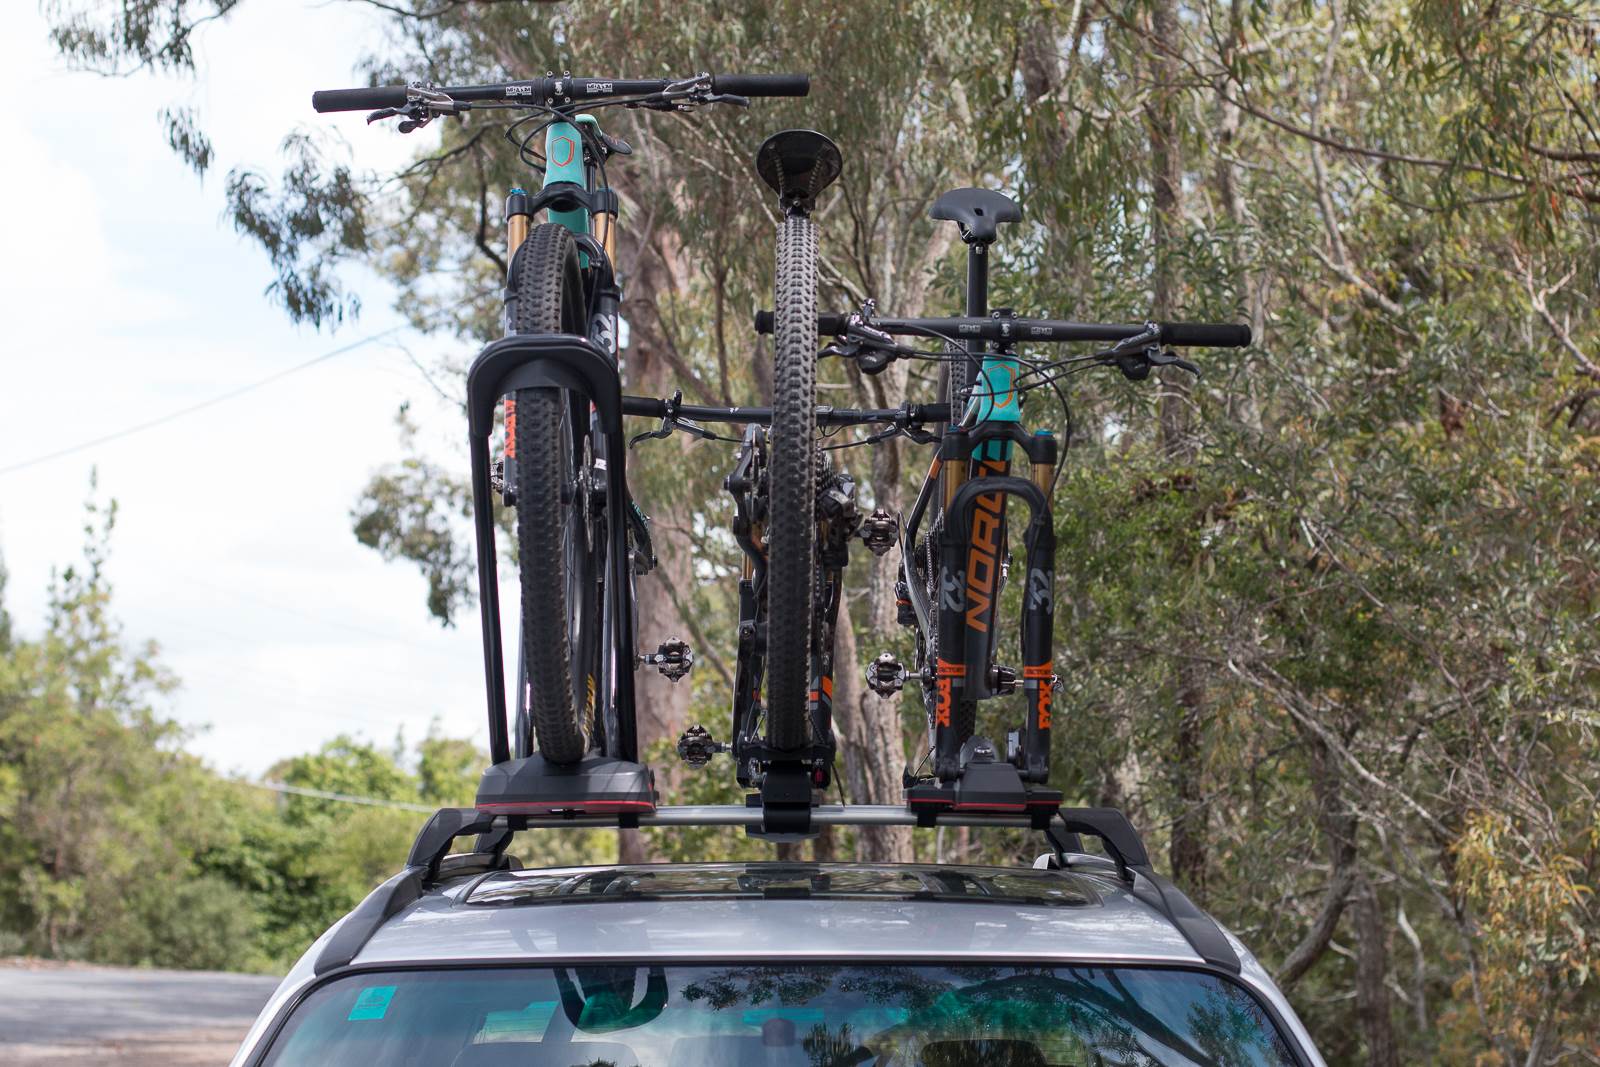
This is always the primo option – bikes up on the top of the car means you have the full use of the interior of your car and you can get into the boot easily too. You do need roof bars to attach the units to, and of course the rack units themselves. This does add up so it's a premium option. With everyone moving towards SUVs of different proportions, roof top carrying might also put your bikes quite literally out of reach.
Your options for roof-racks
The big discussion for putting your bikes on the roof is usually about whether you use a rack that clamps the fork, or one that keeps the front wheel on. Taking the front wheel off to clamp the fork is a rock solid option.
But depending on your bike, your mate's bikes, and the rack you choose axle compatibility can be an issue. Is it for a QR? 12mm axle? 15? 20? A Lefty?! Or is it Boost? It's a minefield.
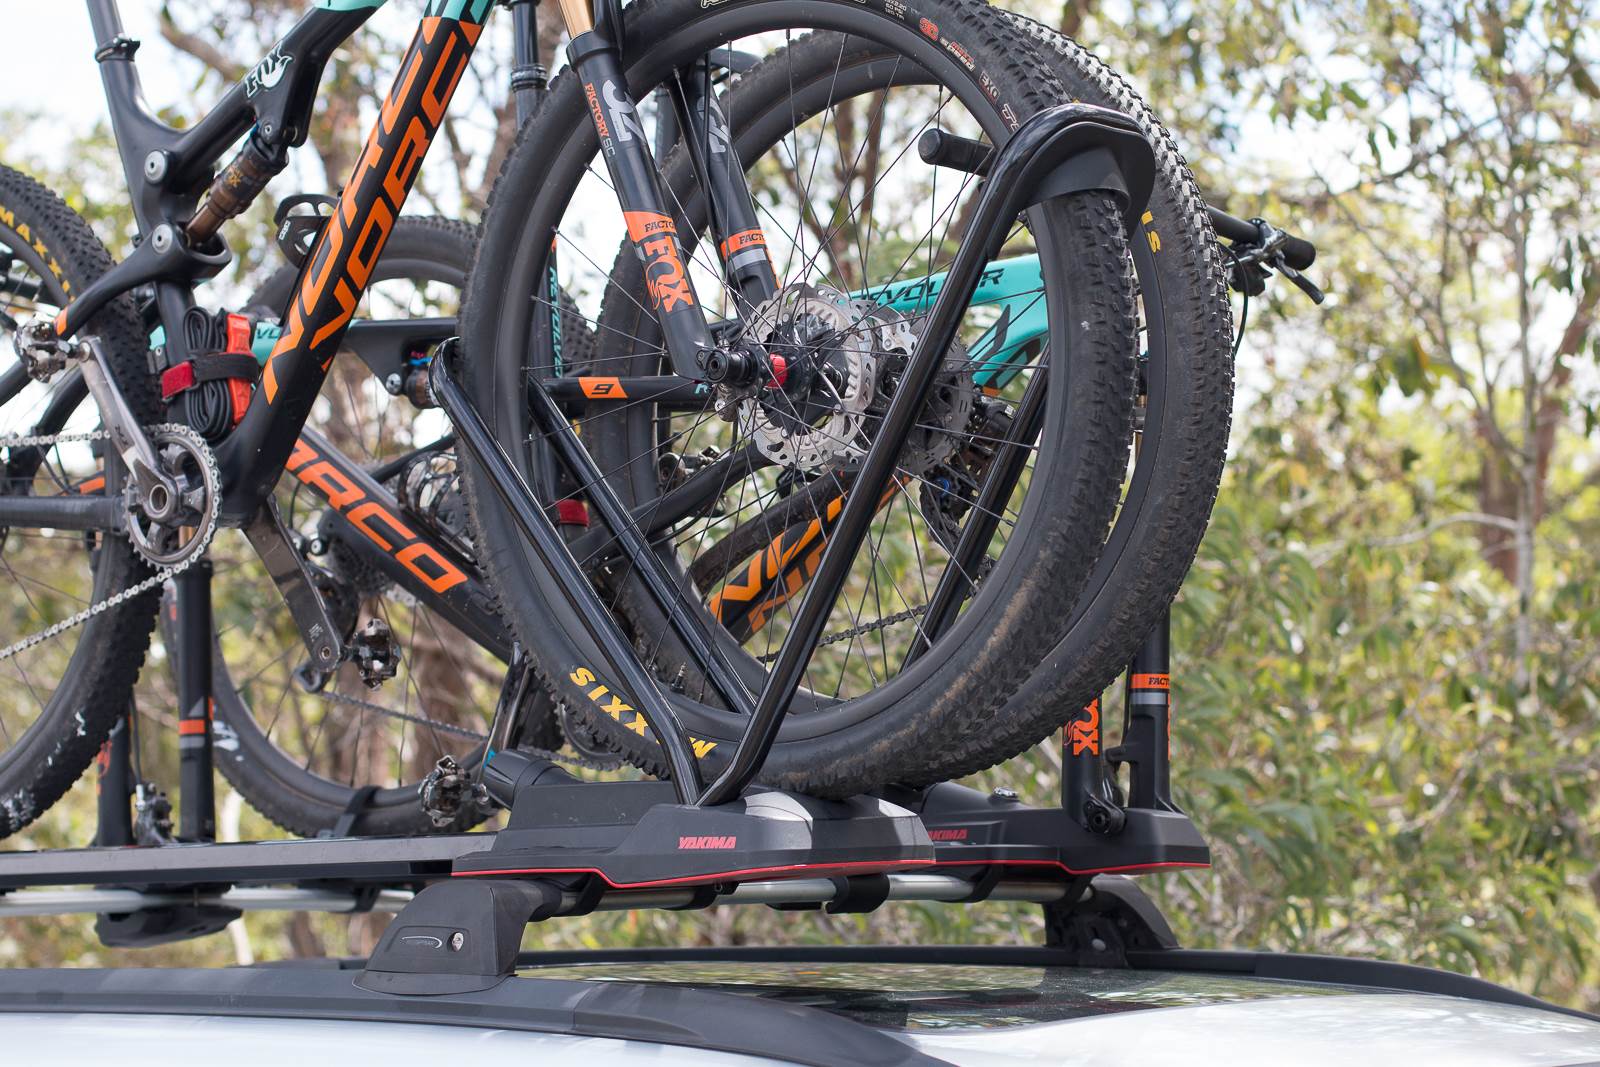
The new Yakima Highspeed neatly skirts all those problems, as the mount clamps down on the through-axle (or included false axle for forks that use a 9mm quick-release). You just dial up the tension and it locks in. Plus, the rack is torque limited so you can't break anything!
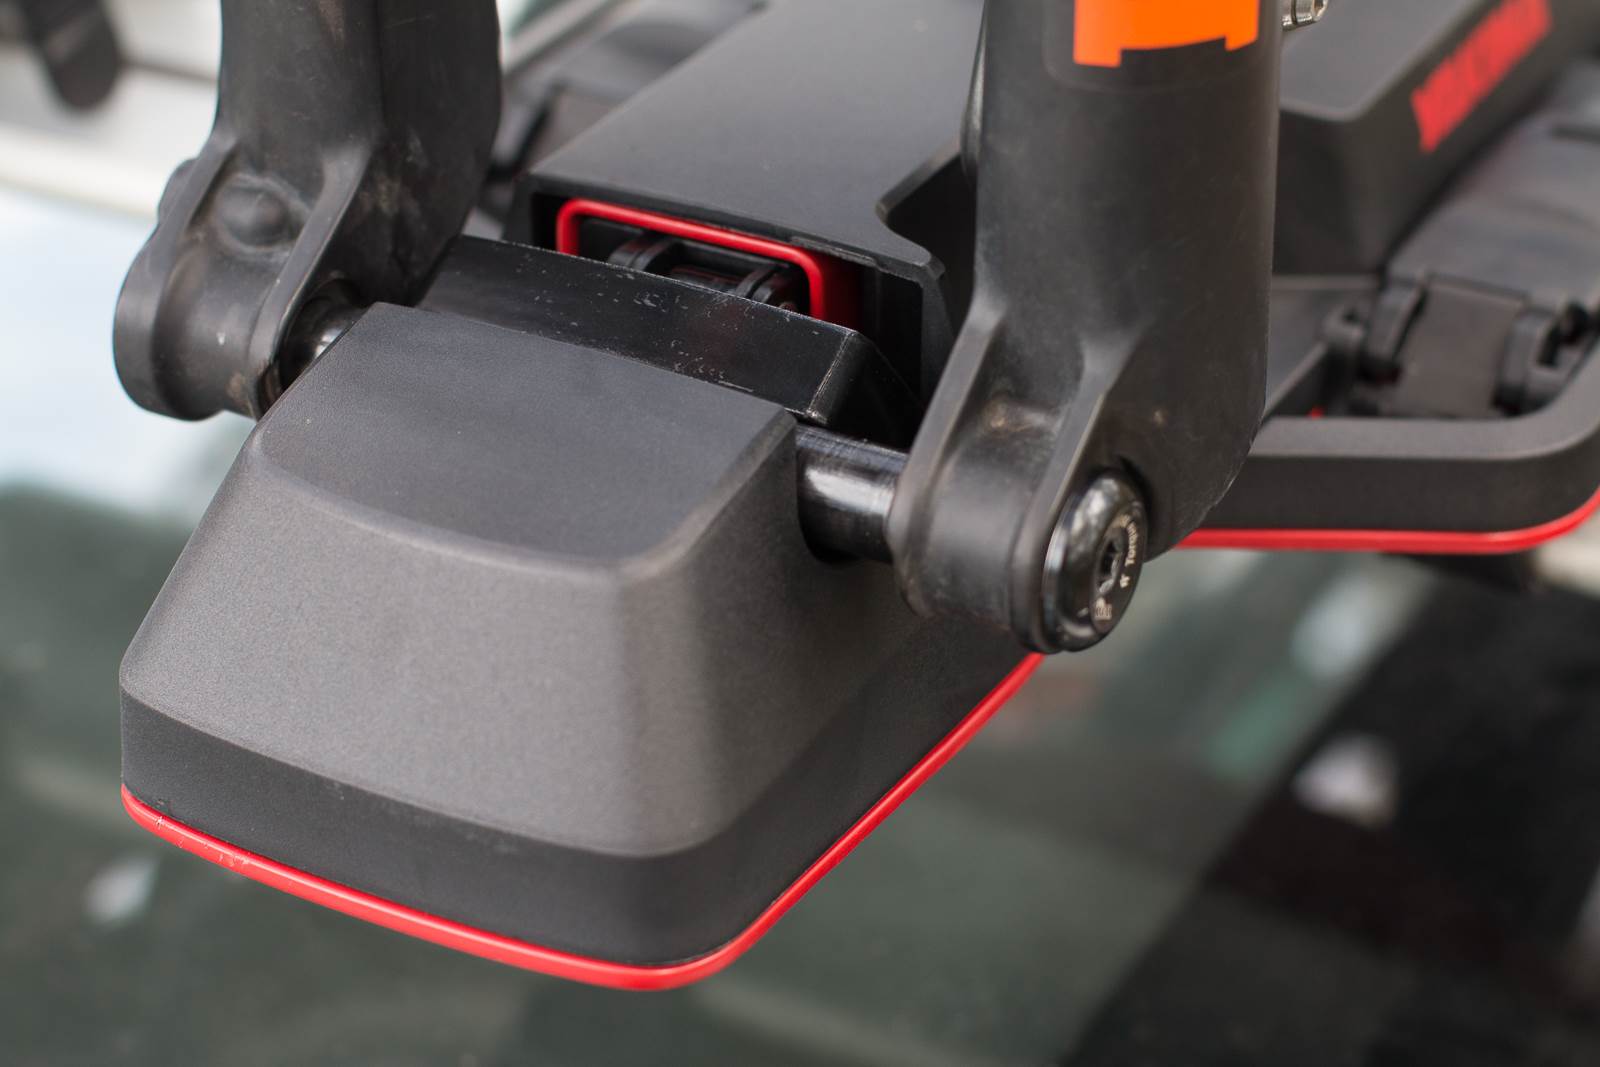
The rear secures your back wheel, and with two strap lengths it will accommodate anything from a skinny road bike wheel to a fat bike with 5" tyres. If that's your thing.
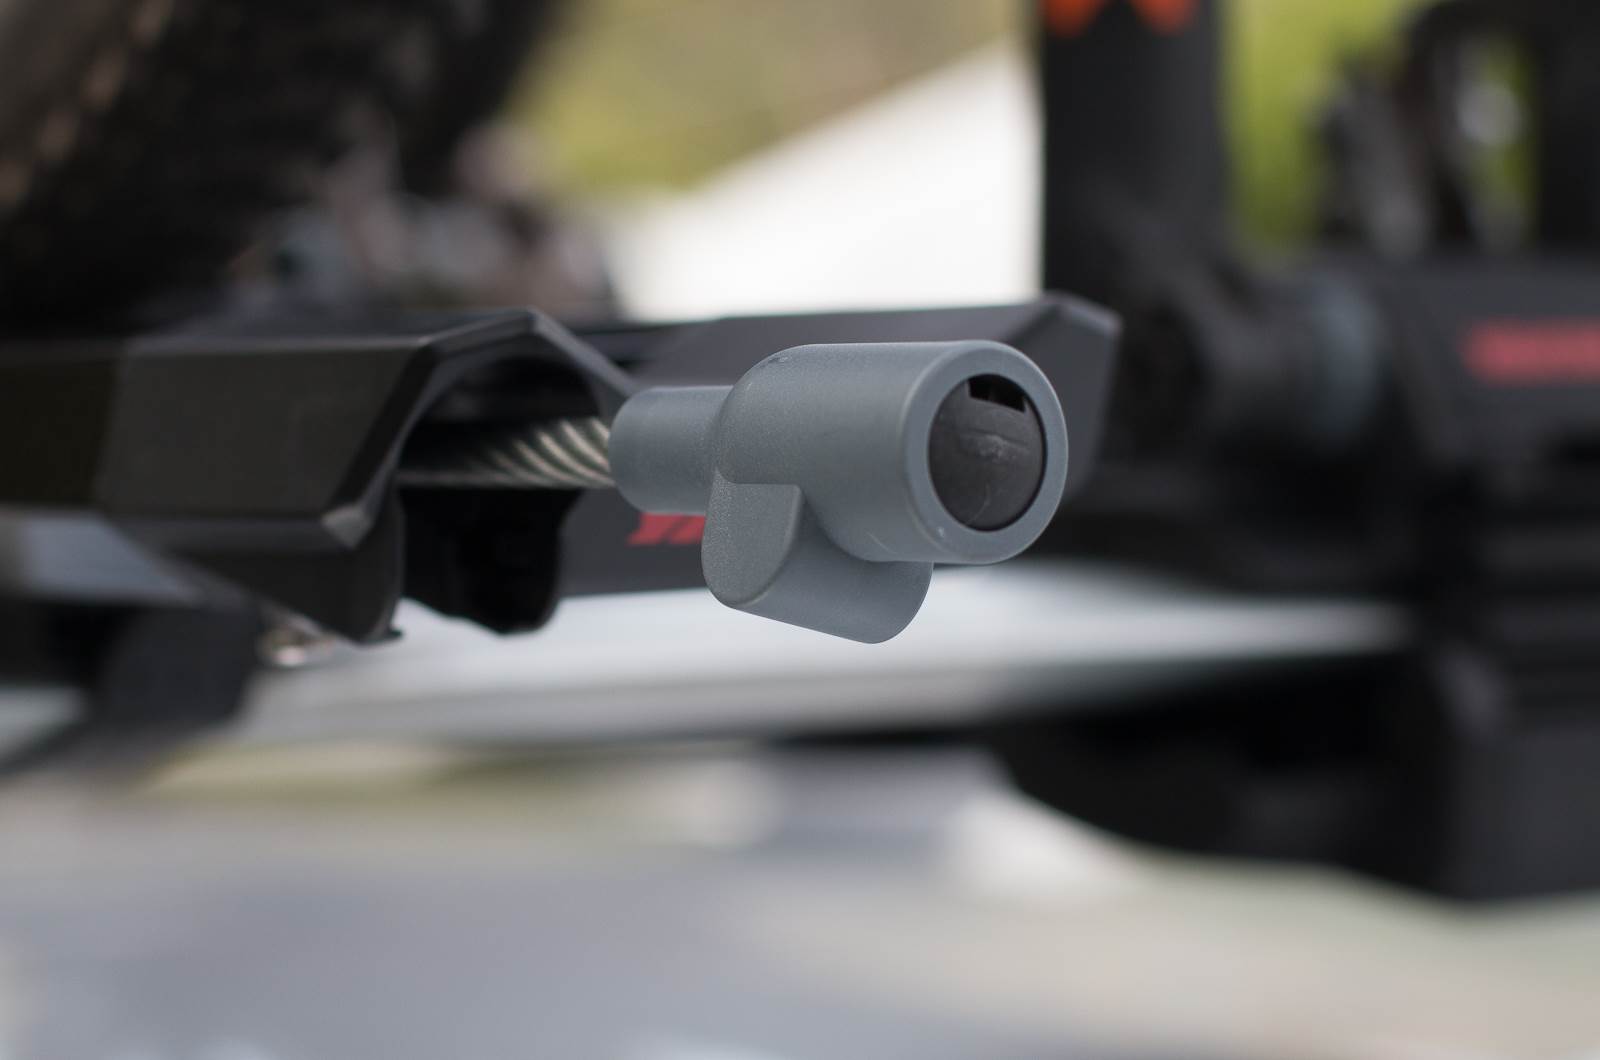
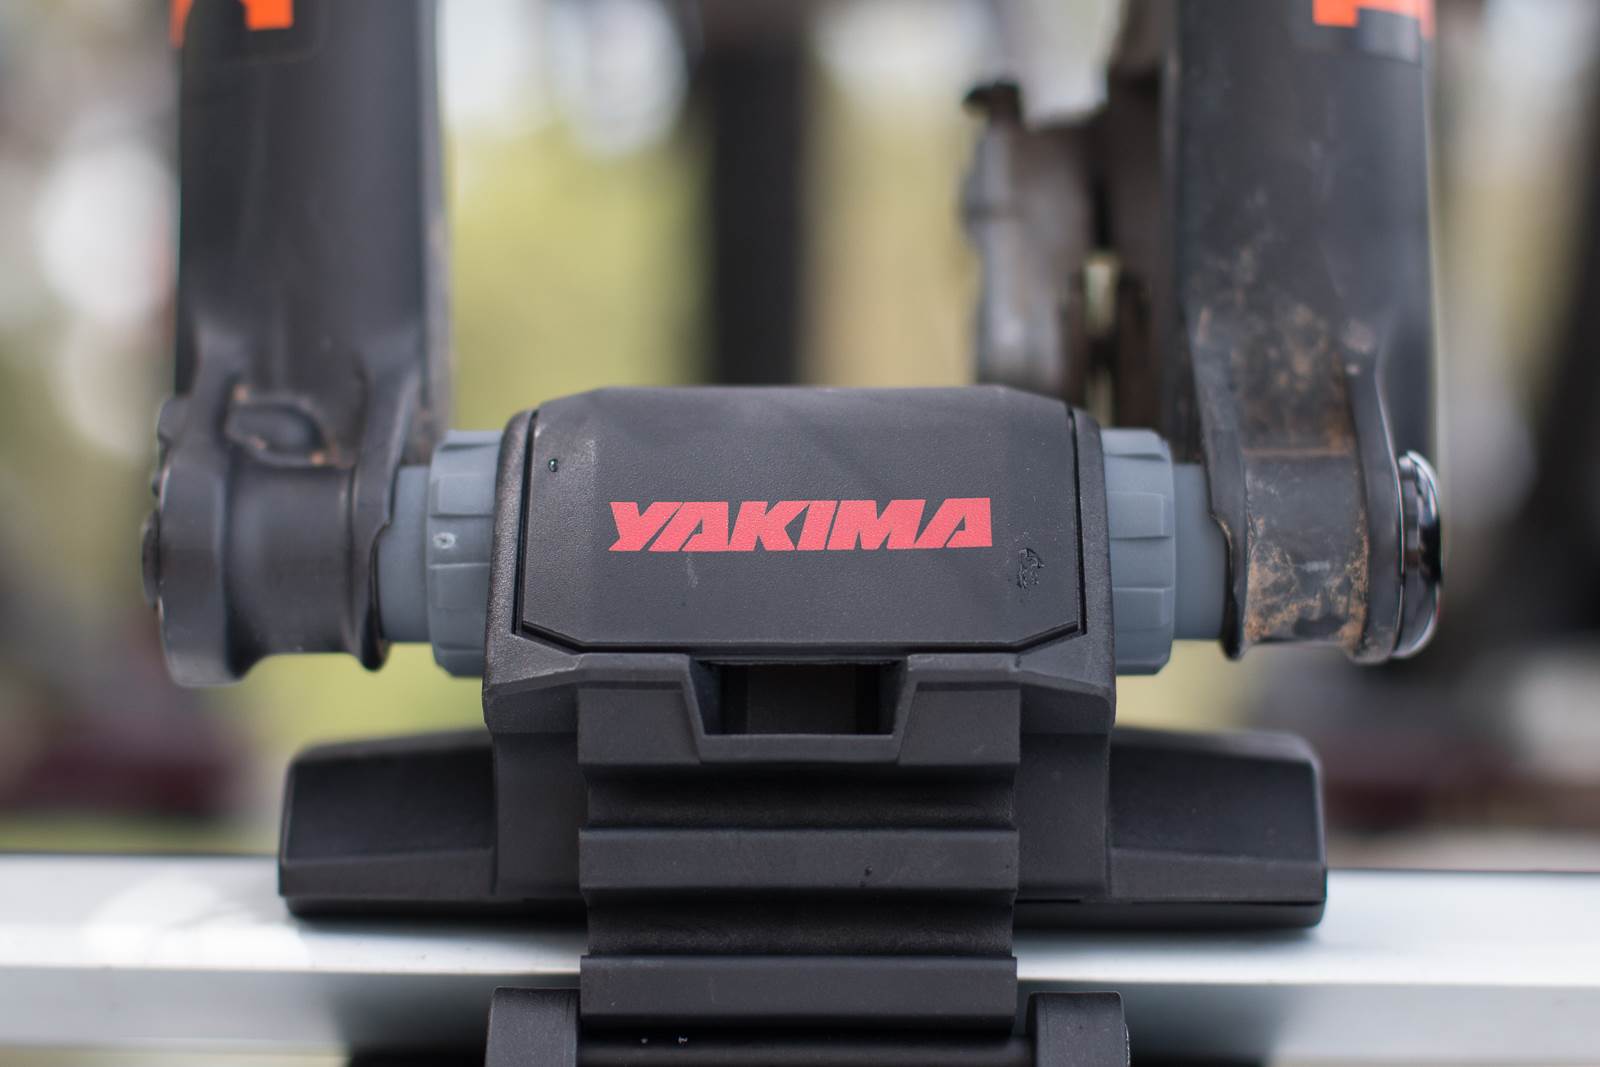
You might also look at the Yakima Forkchop – especially if it's not for frequent use. The Forkchop is just two pieces, one to clamp the fork, and one to clamp the rear wheel. With tool-free adaptors to suit just about any front axle standard, this is a great addition for when you have some extra bikes to haul, or just for infrequent use. The system takes about 3 or 4 minutes to put on your roof racks.
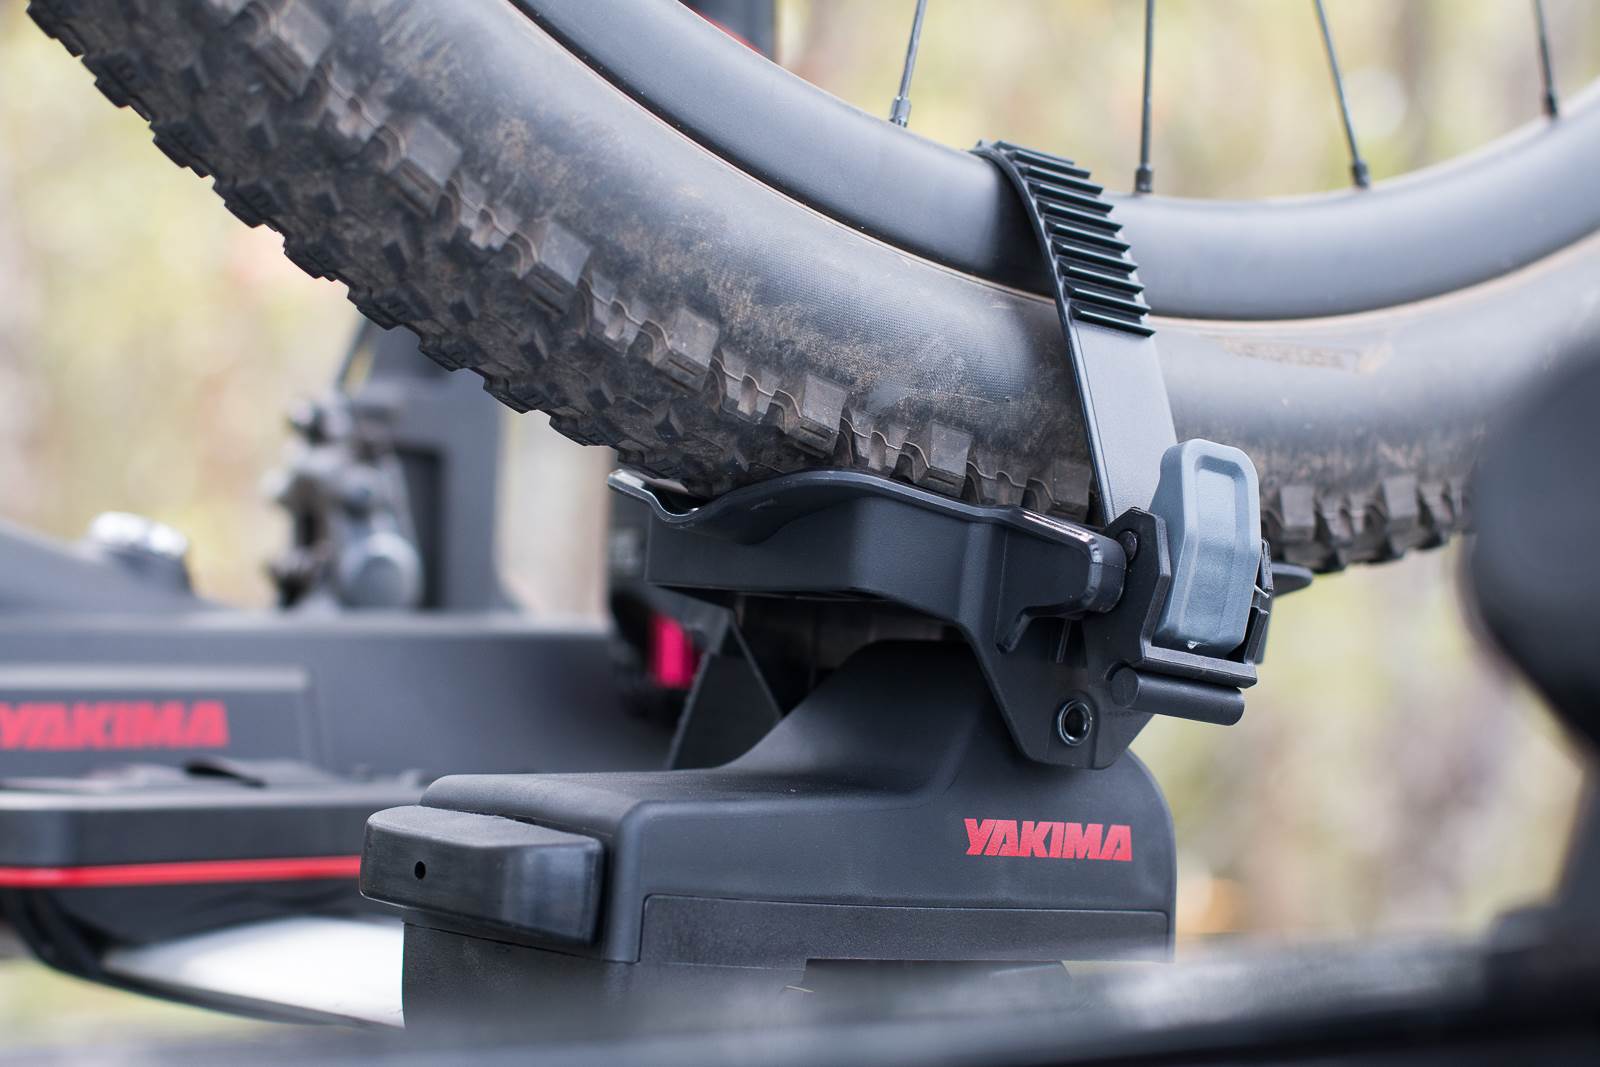
The rear cradle can adjust for wheelbase by mounting it forward or backwards, and with two strap sizes it will work for a road bike through to a fat bike.
What about your front wheel? Well that can go inside, but Yakima make a product called the Wheelhouse which is a little extra rack that can hold your front wheel.
Of course, leaving the front wheel on is often easier as it saves taking things off and putting them on, or forgetting wheels or through-axles. The Yakima HighRoad dials up a clamp onto your front wheel, so it doesn't clamp the frame which reduces any chance of any kind of damage.
The Thule ProRide 598 is an option from the Swedes, and it clamps down on the frame wheel, making it really versatile for a range of bikes with different wheel sizes.
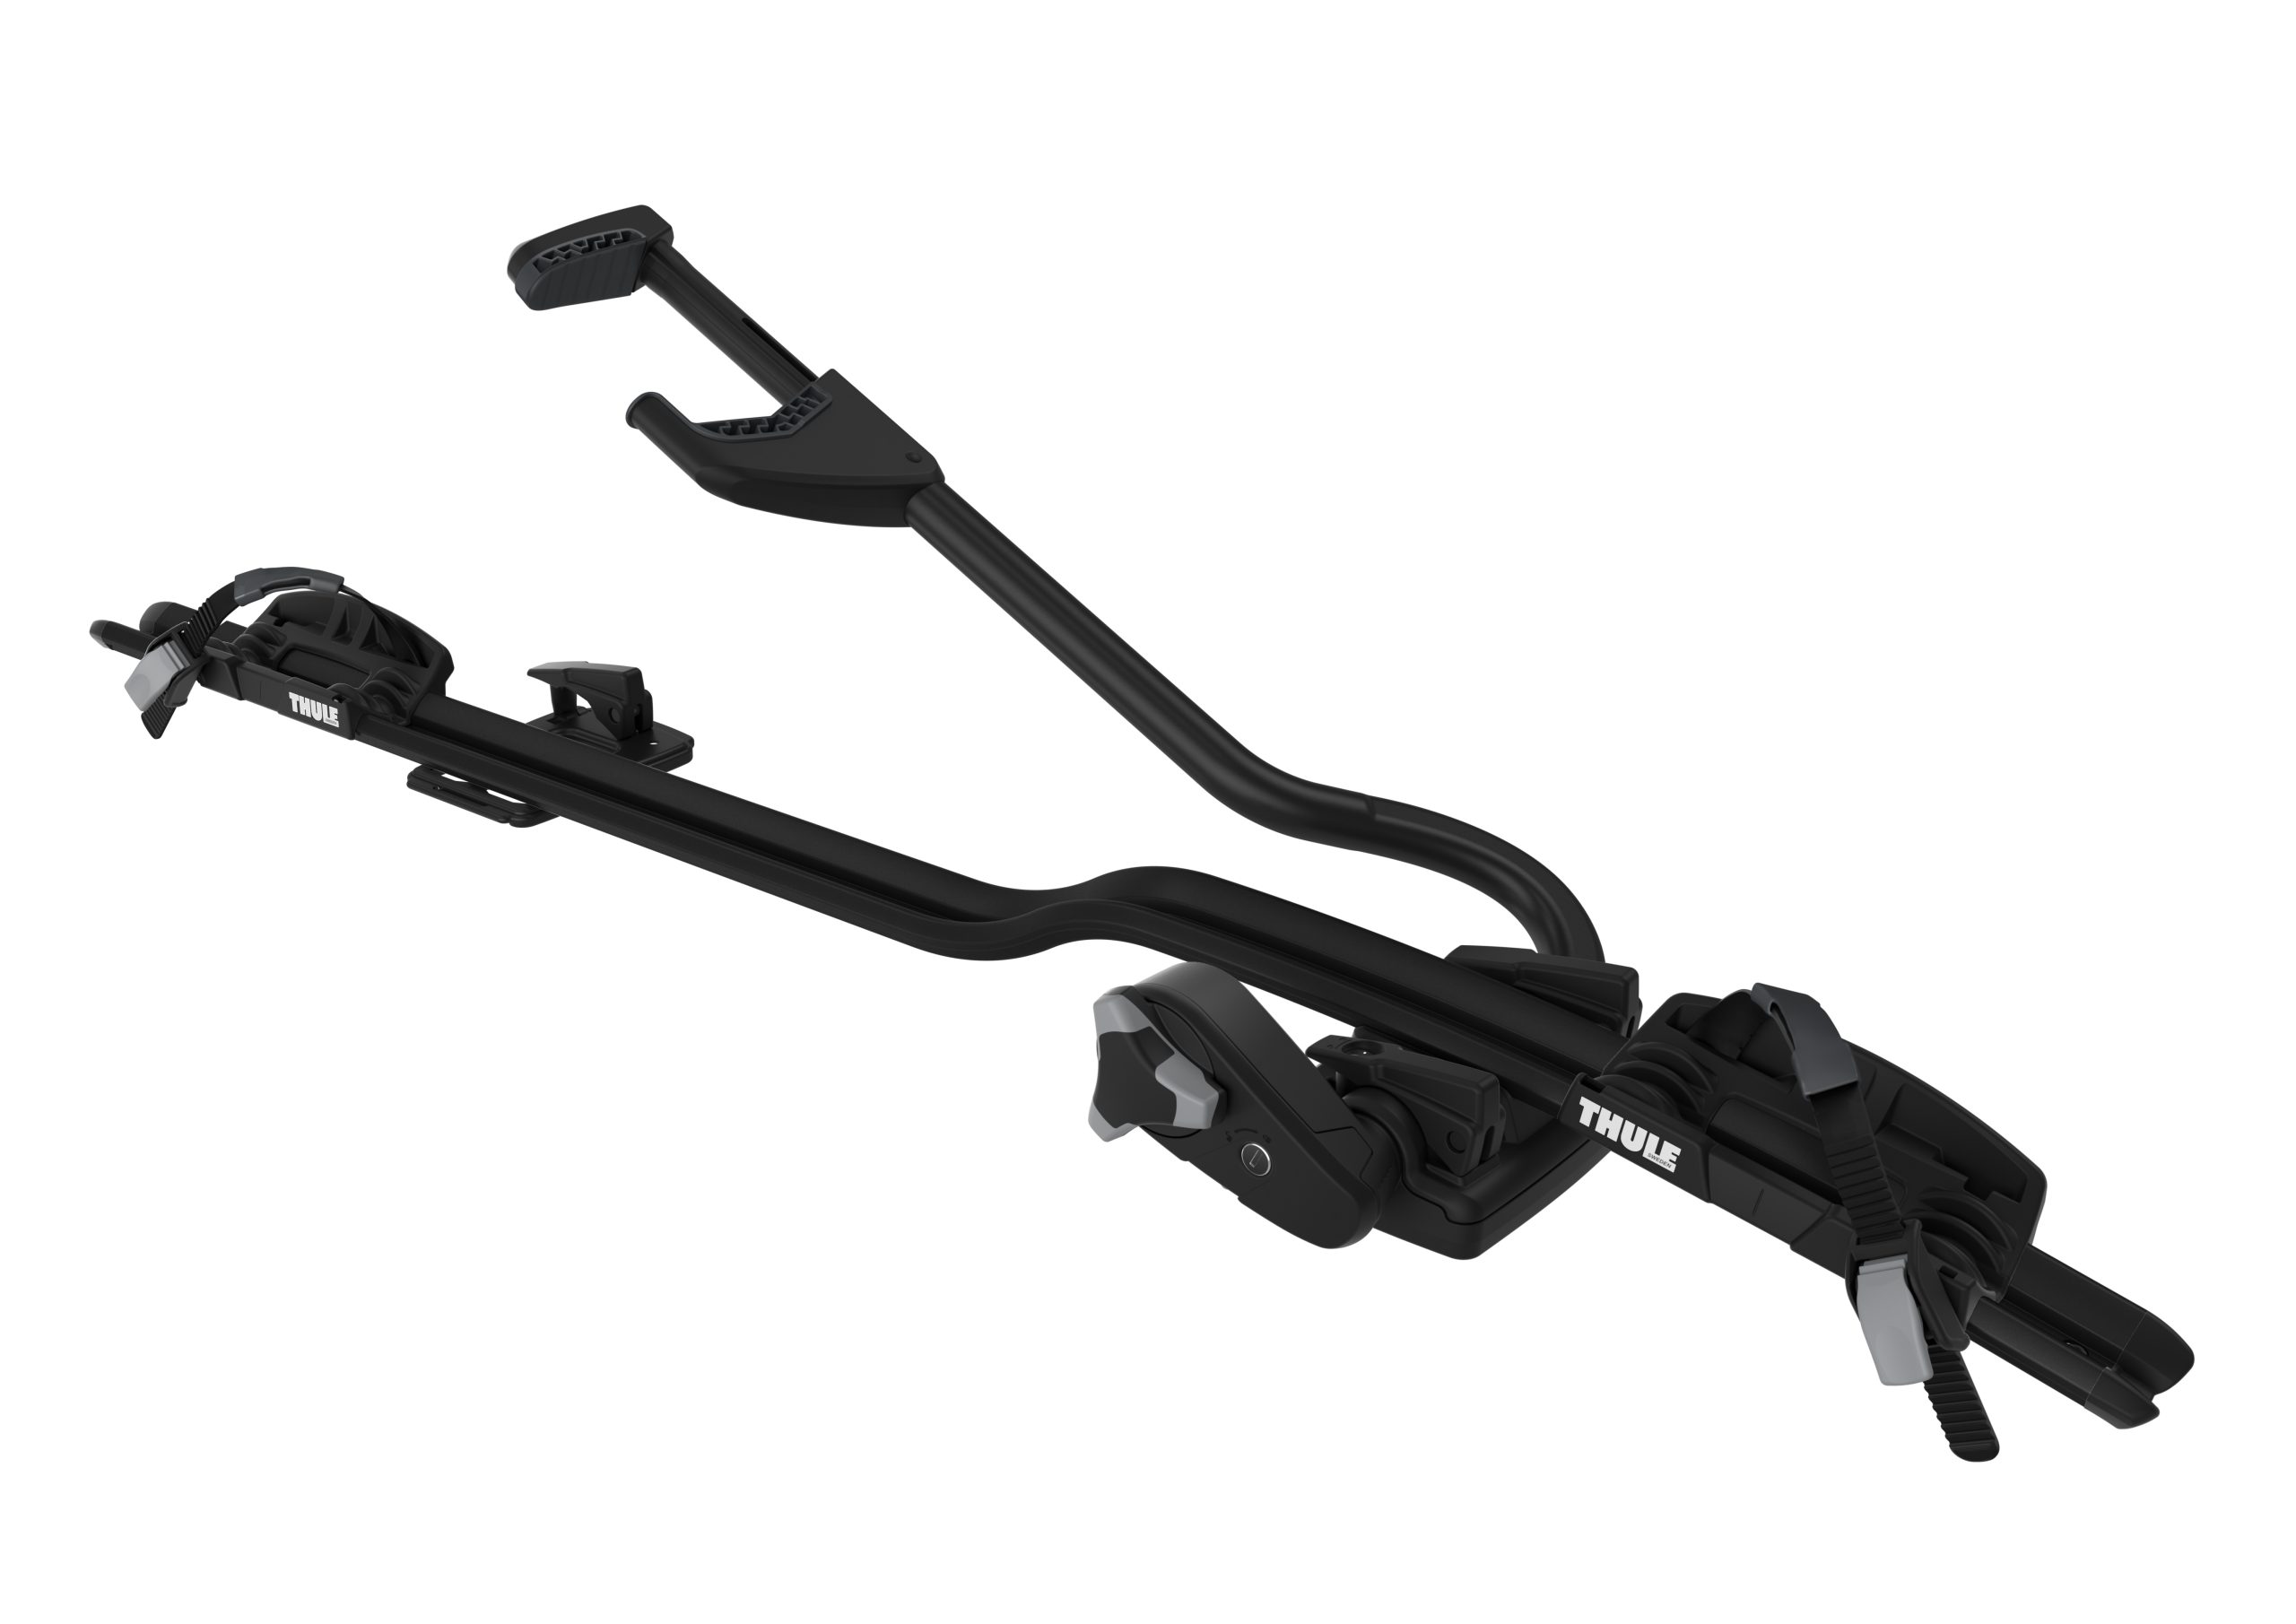
There are lots of options for roof racks, like the above but mostly you're looking at a rack which leaves your front wheel on, or where you have to remove it.
Pros:
– This is easy – you have all of the inside of your car to use
– No dirty bikes inside your car
– Still easy to reverse park
– You can lock the racks or lock them on.
Cons:
– Carports, low bridges, garages and drive through meals
– Any aero gains your car has are lost
– Bug collection on big drives
– Do you drive an SUV? How are you getting up there anyway?
– Not great for heavy bikes
We have also tested the Thule ProRide 598 and SeaSucker Mini Bomber rack.
Put your bikes on the back
This is a handy option for a lot of reasons. You don't add to the height of your car, which is great for parking and any low bridges – or low anything. It also means less heavy lifting, especially if you're looking at an eMTB.
The constraints here are whether you have a hitch mount, a towball – or neither. Thankfully there are options.
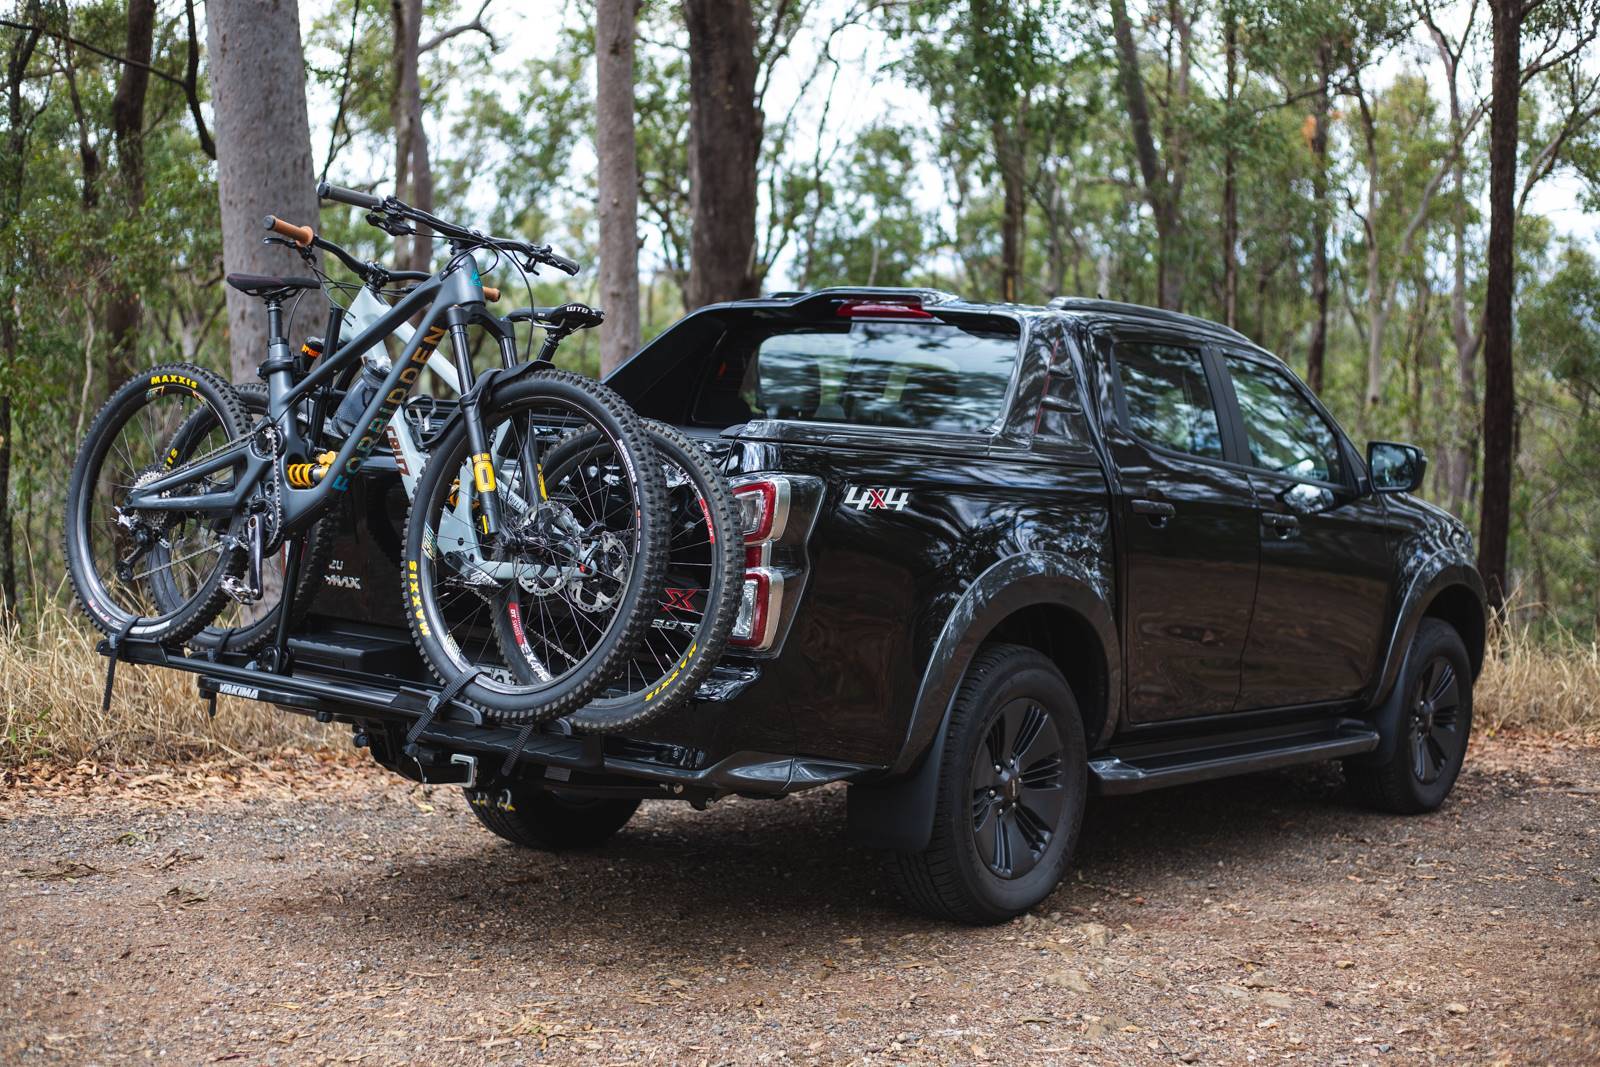
We have used a number of hitch mounted racks, including the sturdy Yakima Dr Tray and tested it out, this is a super adaptable hitch mount rack.
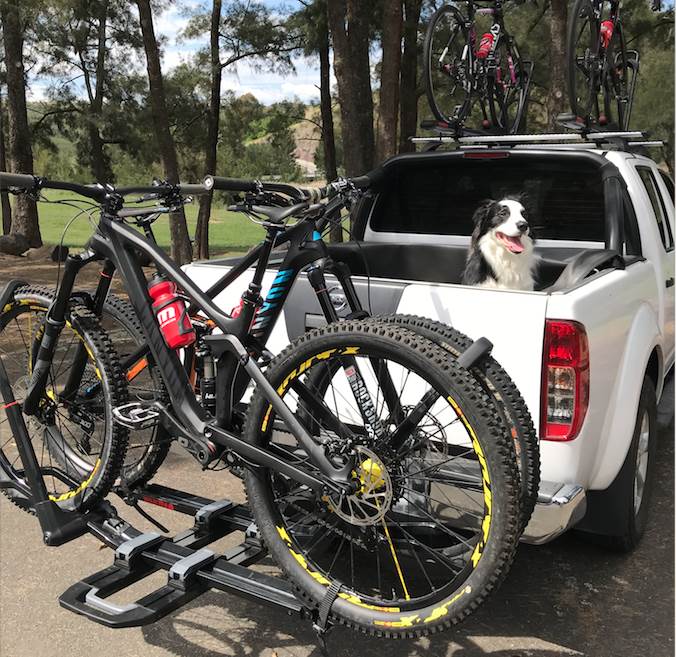
This is a premium rack, but being able to slide the beds to suit bikes makes a huge difference, especially with the variety of wheel sizes, frame lengths and of course the sizes of bikes. The rack also folds up and is pretty compact to store when not in use.
Vertical bike racks are also common, and we have tested the Yakima HangOver 6 bike rack.
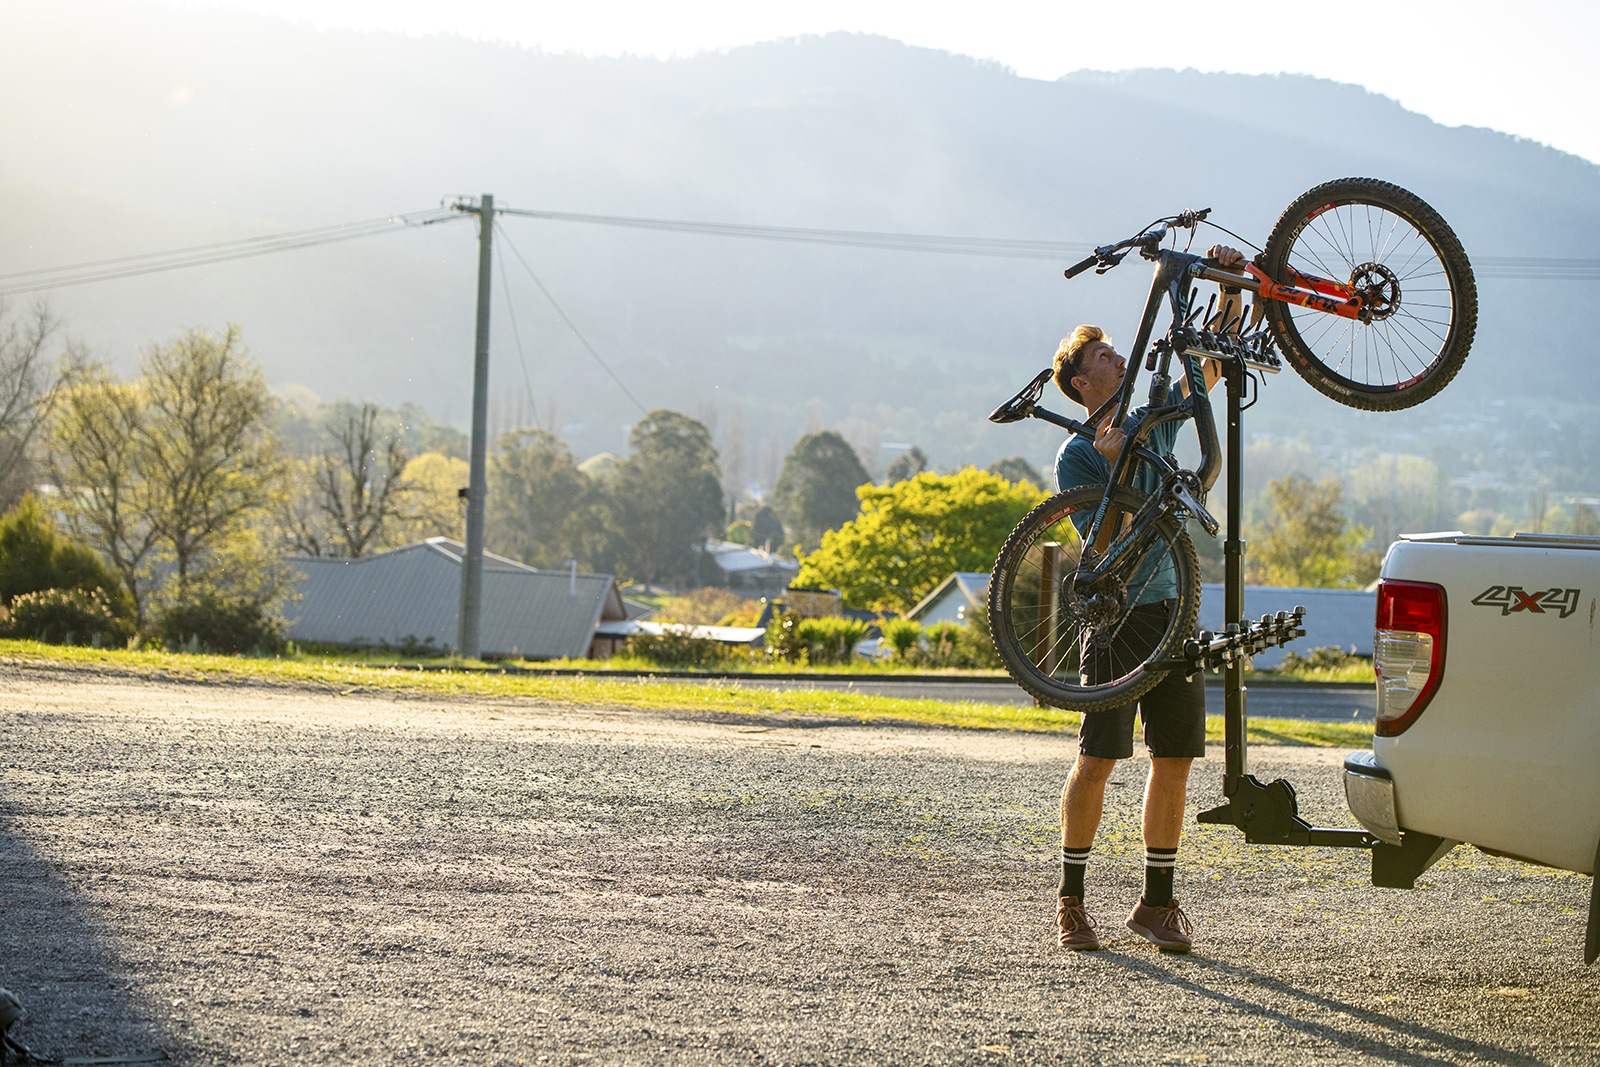
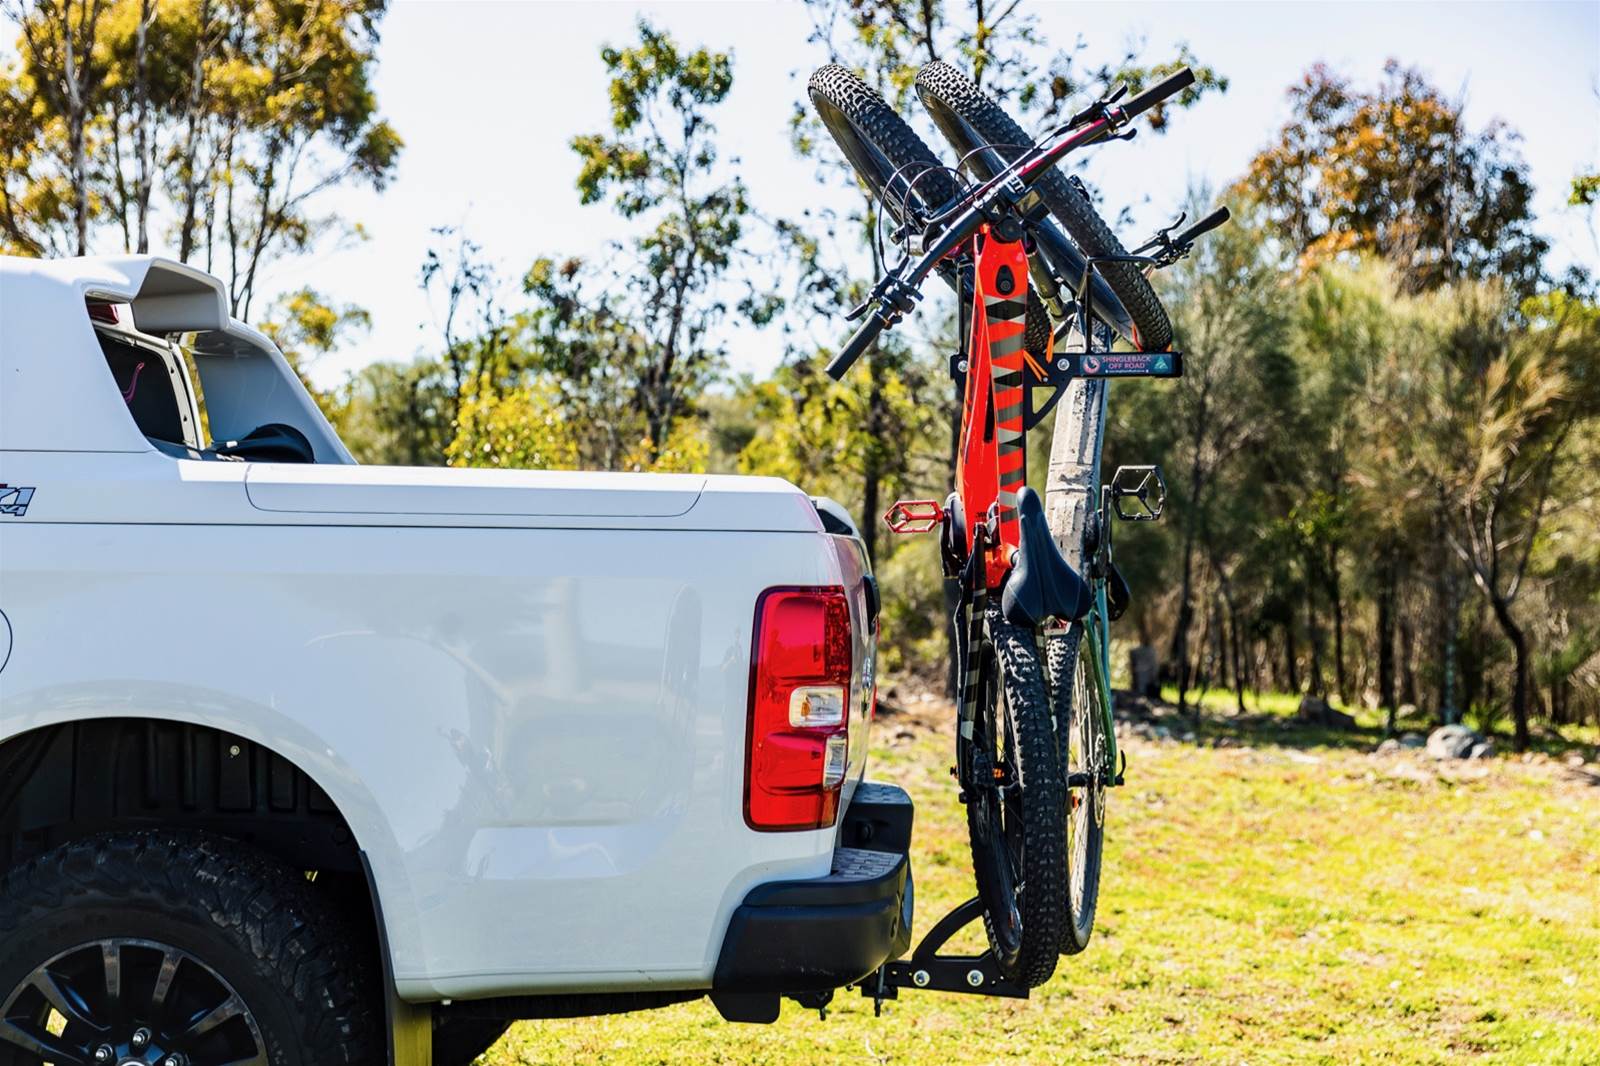
The Shingleback Vertical Bike Rack is another very popular vertical rack, and one that we tested previously. With options to take 5 or 6 bikes this rack is perfect for trips with lots of mates – or just lots of bikes! They start at $1299.
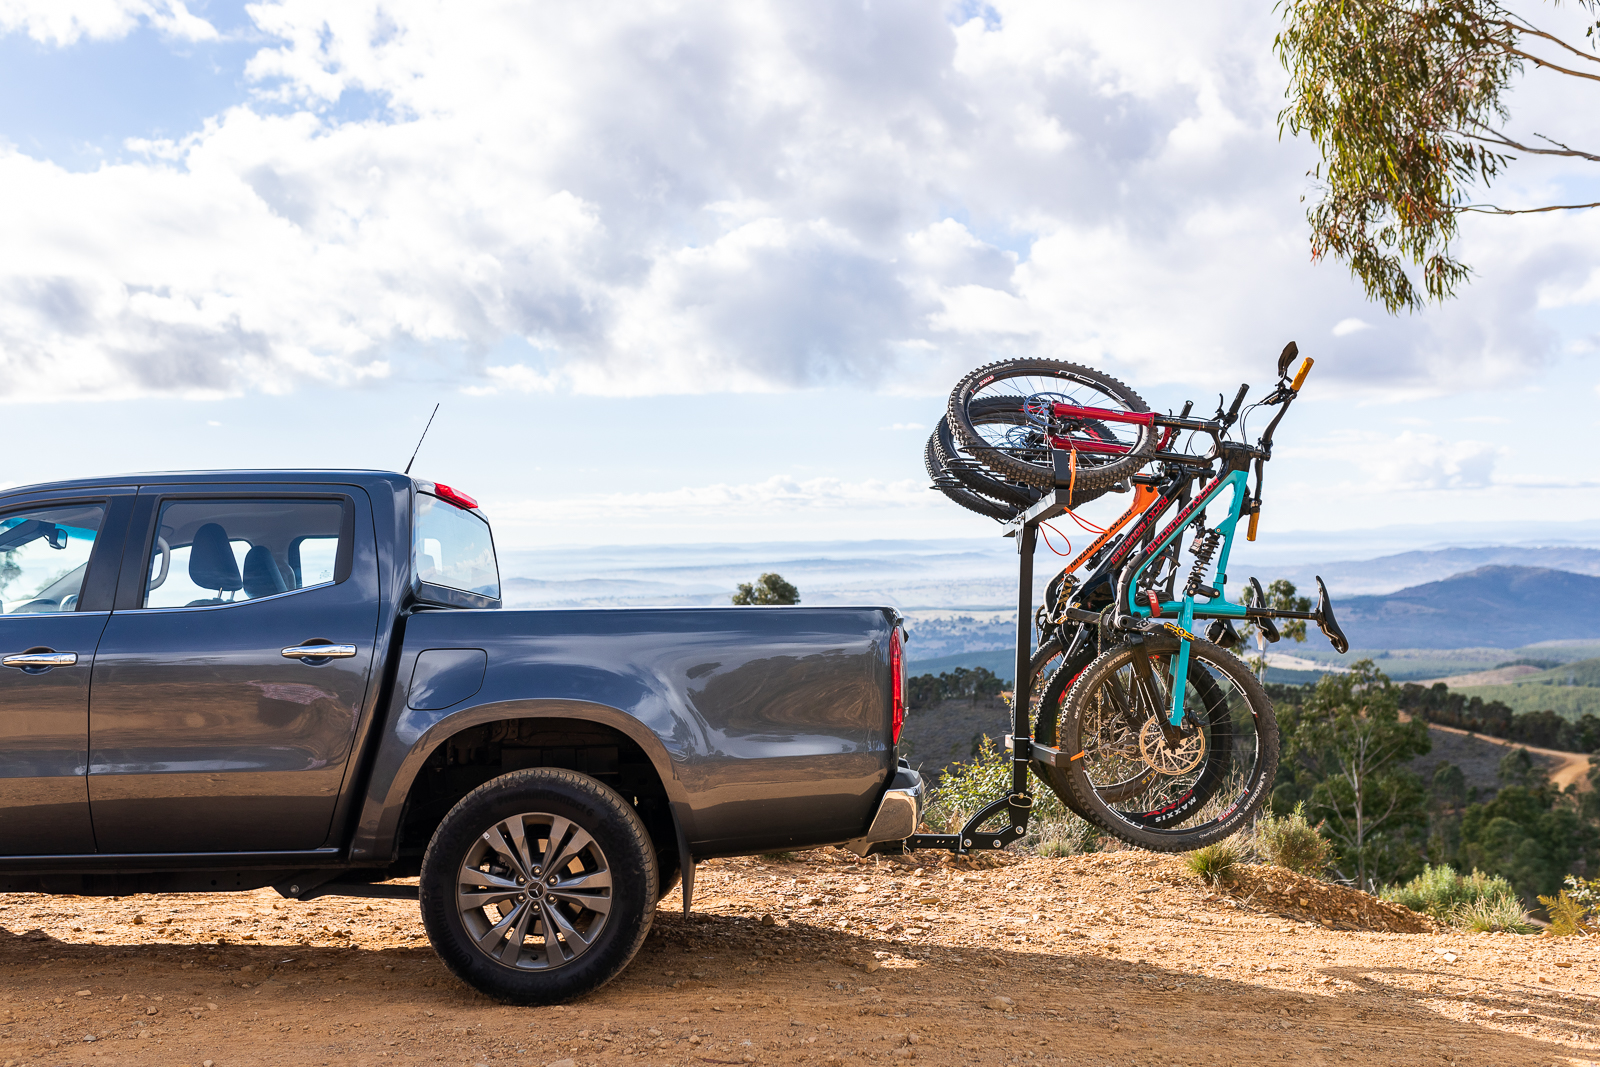
Shingleback have recently added the 2B90 rack to their range, it still runs vertically, but it's rated to carry to bikes up to 30kg each, and it lowers down for loading. Carrying the bikes horizontal to the rear bumper also takes up way less room. You can get the details here. It sells for $1090.
There are also towball mounted options, like the Thule Velo Compact. We used one for a visit to Tropical North Queensland, and as it mounts onto a towball it was easy to fit. It also had lights built in, and a place for a number plate. This keeps you legal, and it's an important point to remember for almost every state. Your number plate needs to be visible, as doe your lights and indicators. The Thule Euroway G2 is also well worth a look.
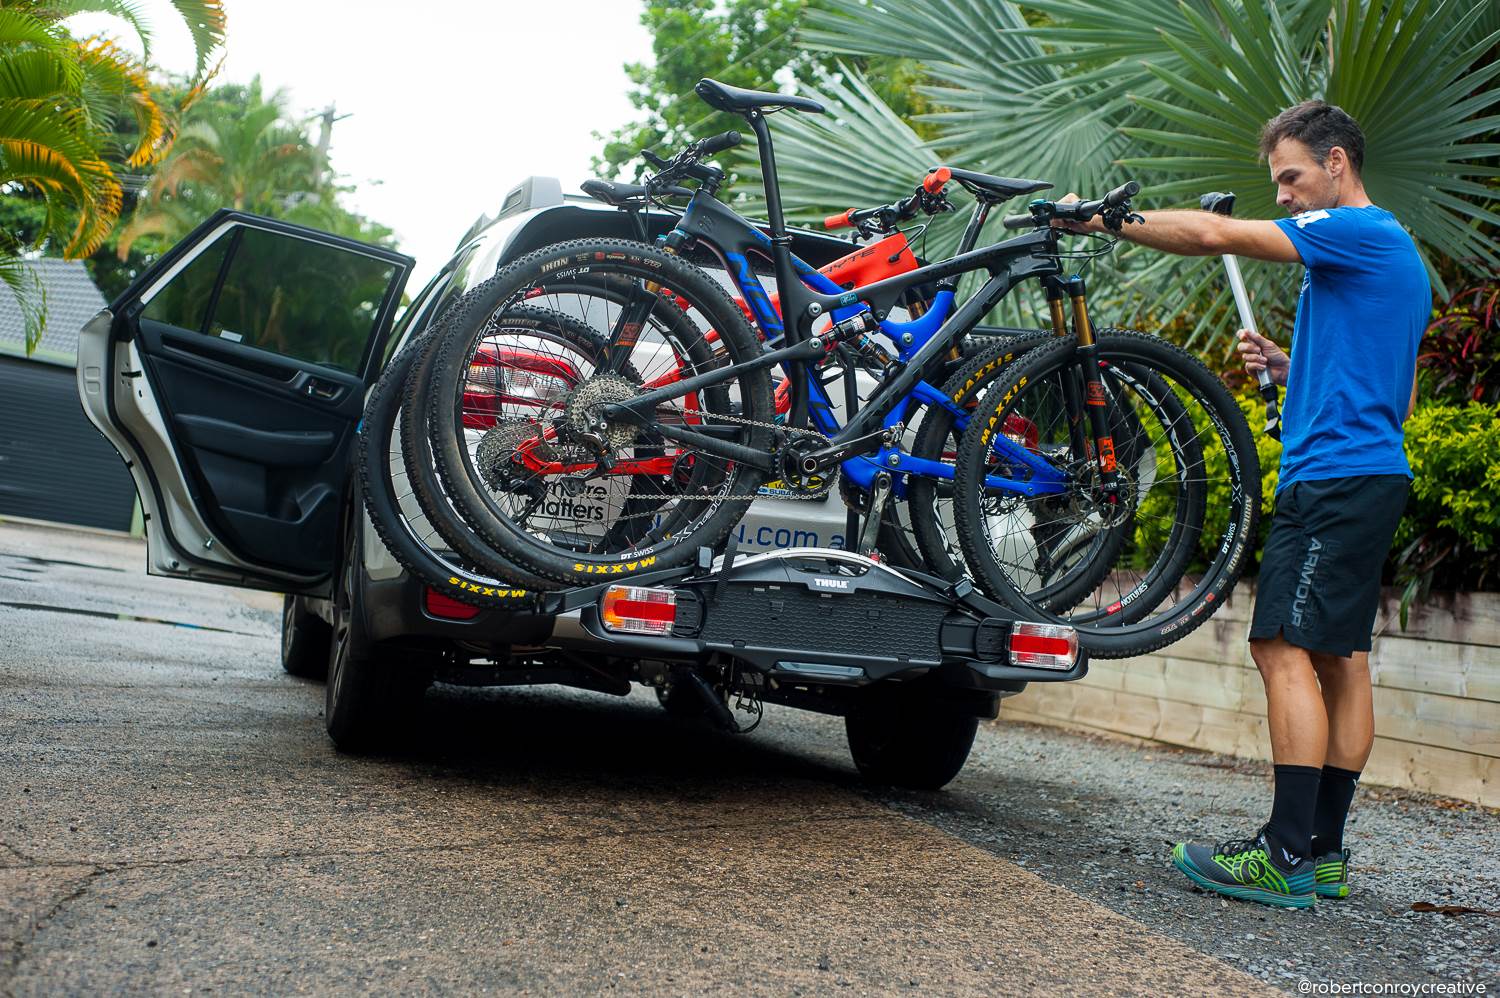
The Thule EasyFold XT 3 can take 3 bikes with a 60kg total load, so feel free to put a couple of eMTBs on there. At about $1599 it's not cheap, but it is sturdy and has a light board and plate holder all ready to go. This rack clamps the frames and wheels, so there is a little bit of tetris to get the frame clamps just right. They are torque limited so you're not about to crush a carbon frame. Get more details direct from Thule.
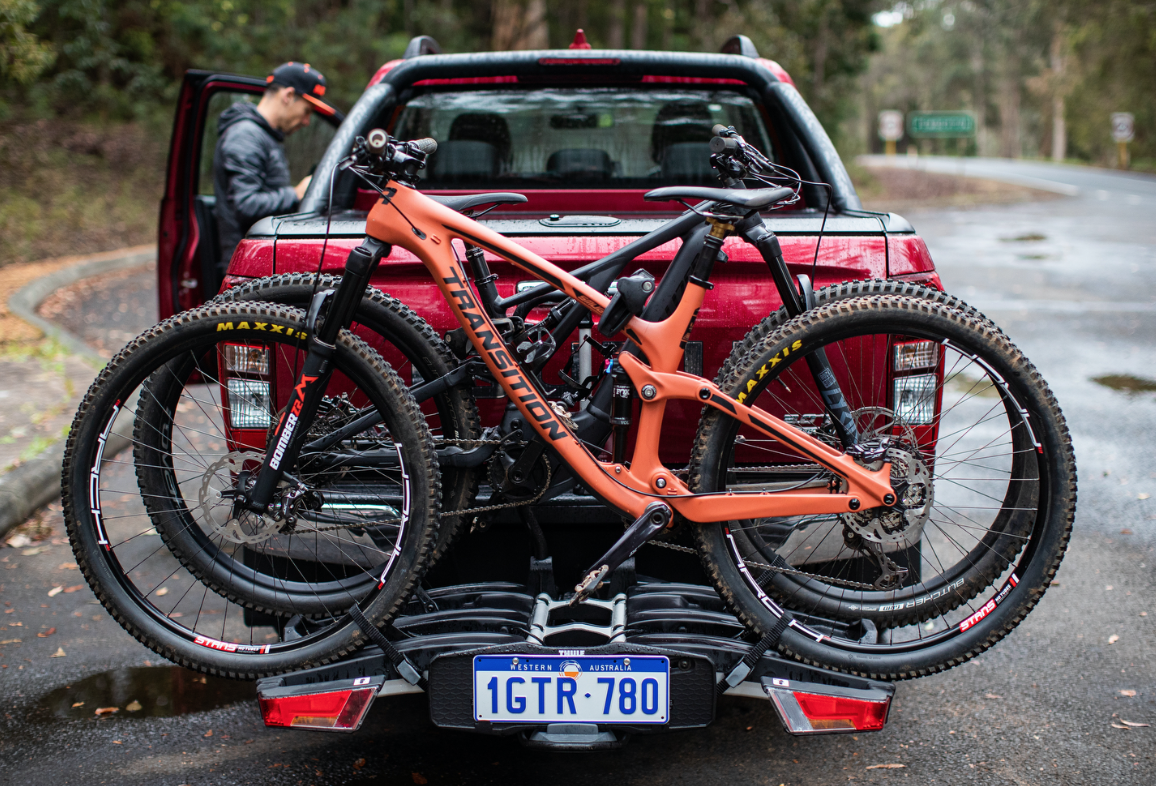
Thule have also let us test the T2 Pro XT bike rack. It is super solild, and you can add an adaptor so you can carry 4 bikes on the car as well. Our review is here, but the rack can carry two bikes at 27kg each, and it sells for $1099. If you prefer a rack that clamps wheels and not frames, you'll really like this option from Thule.
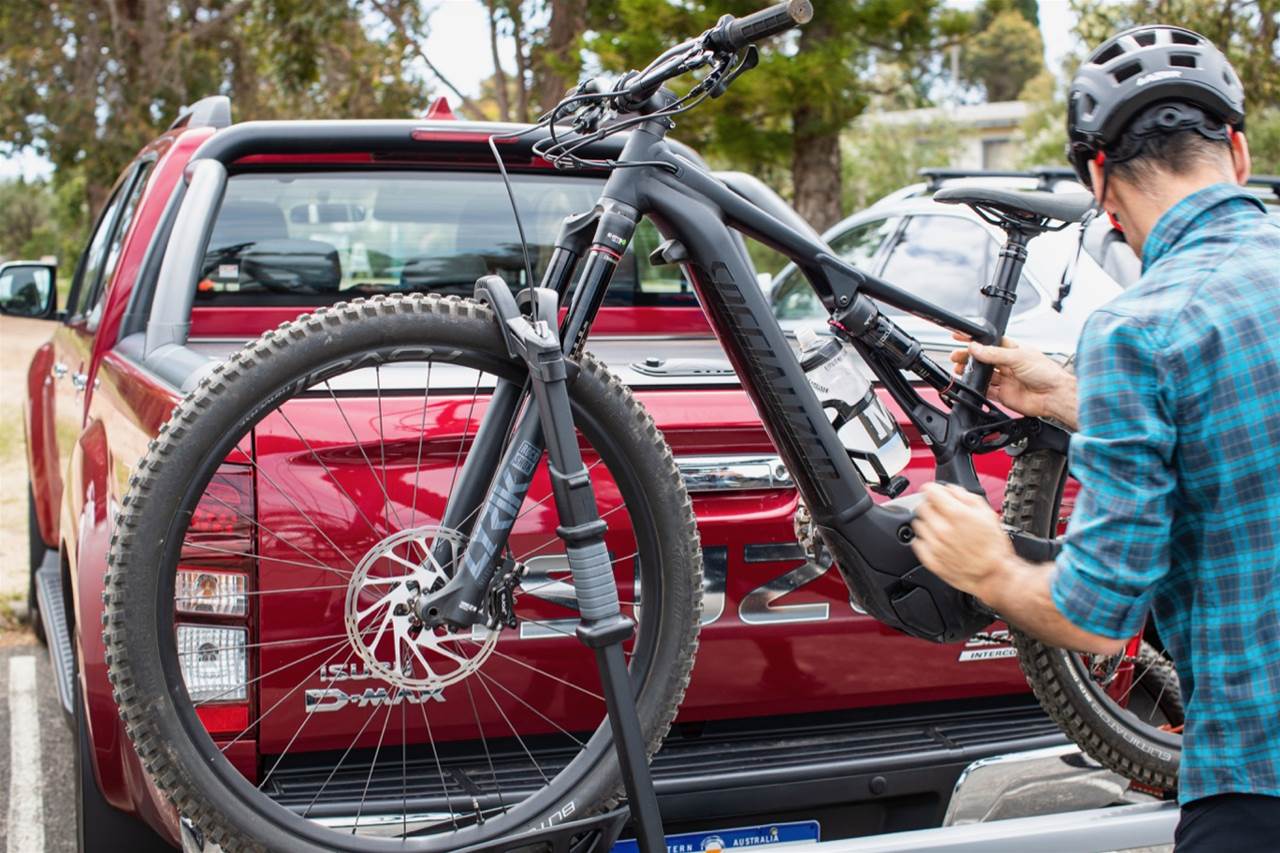
The EziGrip E-Bike rack is another bike rack that is just about ready to go right out of the box. We recently reviewd the rack, and at $770 with a 60kg load capacity, light board and plate holder we were throughly impressed with the value and performance of this rack.
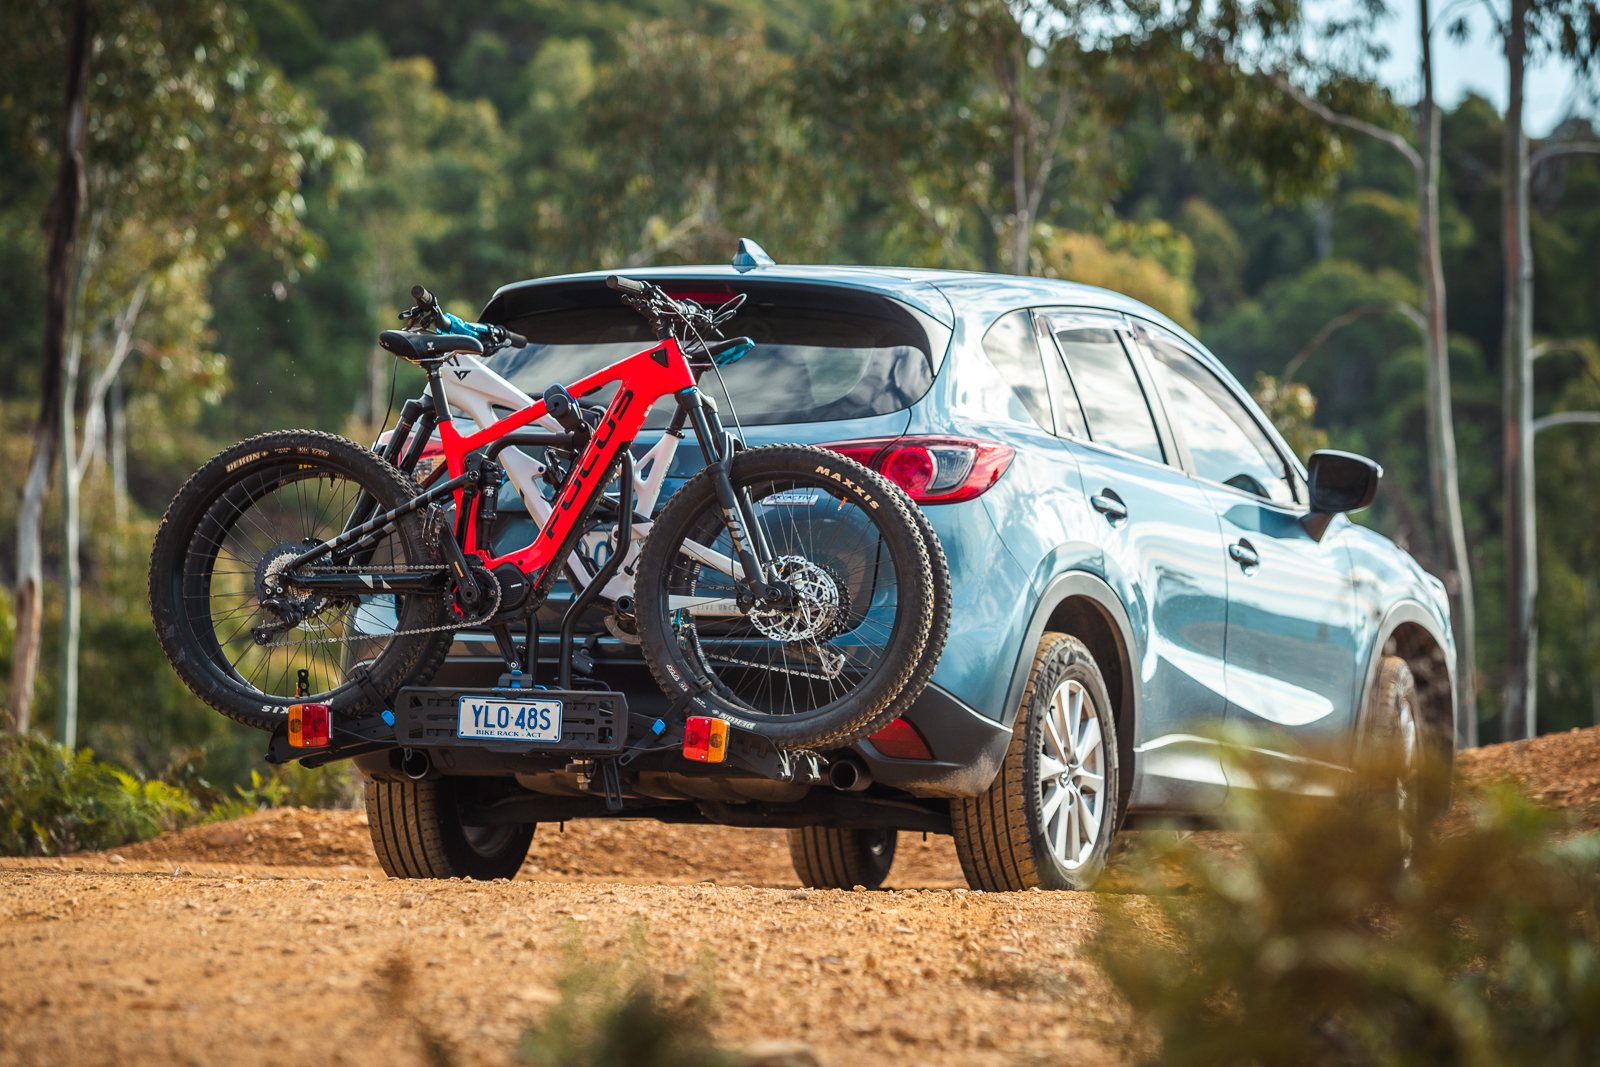
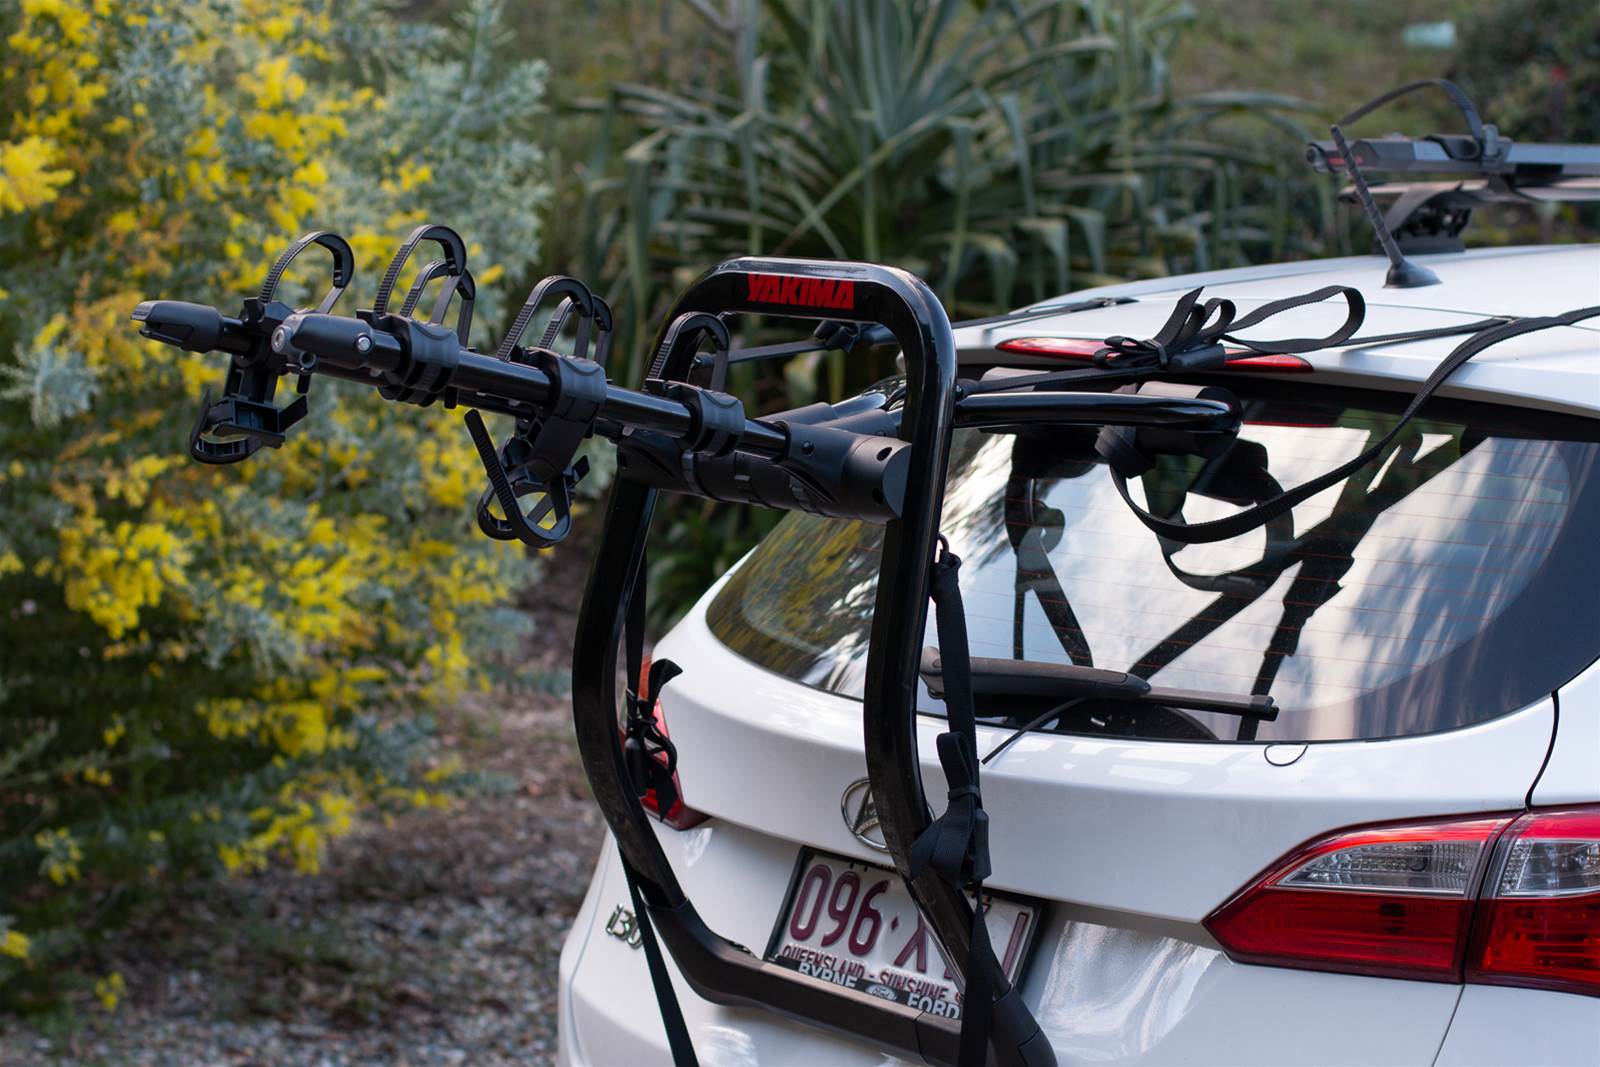
If you don't have a tow ball or hitch mount option, there are countless racks that strap onto the car. Some strap on and have a tray to support the wheelbase, others have 2 or 3 cradles for top tubes. The real caution here is make sure the design works for your bike. We reviewed the Yakima King Joe Pro and loved it, but it does depend on your frame design as to how well it will work. The other question is – did you secure it properly? That's a hard one to get out of your mind.
Yakima also have the FullBack and HalfBack – we did a comparison in 2020. These racks come in 2 and 3 bike models, with or without a locking function (that's the main Full vs Half difference). With racks starting at $359 for the HalfBack 2, they are a well designed rack that fits your car really securely, and holds your bike safely as well. They can just be a little more fussy to set up.
Pros:
– No risk of damagin bikes on low hanging trees, roofs, bridges or awnings.
– Aero and fuel efficient on long trips
– Easy to put on, and brands like Thule have options that support e-MTB weights
– Typically cheaper than most roof options
– No need to understand every axle standard
Cons:
– "Sorry, did you want to get something out of the boot?"
– Reversing into things
– They can demand certain Tetris skills
– Not all racks work with all bikes
– You have to factor in a light/number plate board in most states
We have also tested the near bombproof KUAT NV – check out our review.
Put your bikes in your ute tray
This is a popular choice as it's easy and cheap. You might just throw a blanket over the tray and call it good. But a few brands make products to make it a little smoother.
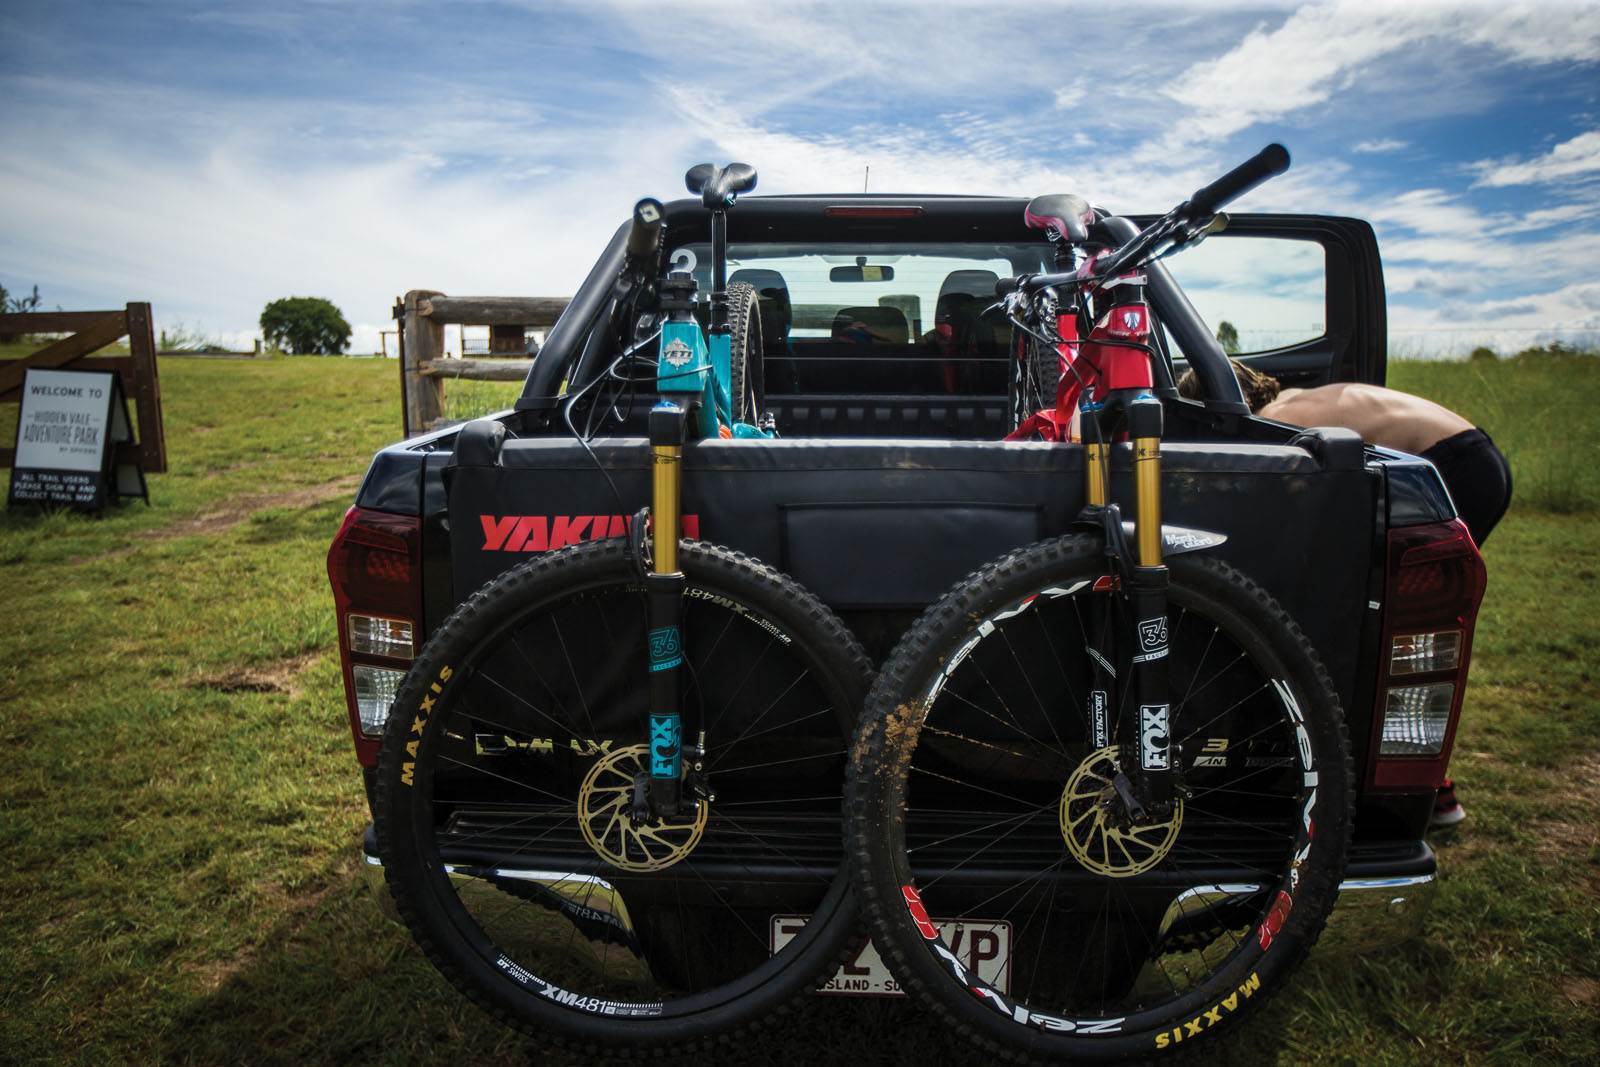
We have used the Yakima CrashPad a number of times. It fits well and has a strong construction. A blanket or picnic rug can slide around, and take your bike with it. The CrashPad stays put but it doesn't hold the bikes down. You need to be careful of bumpy roads, and even dirty bikes. It's easy to scrape off all the paint from your fork legs and down tube if you put bikes in without wiping those areas down. The grit acts like sandpaper.
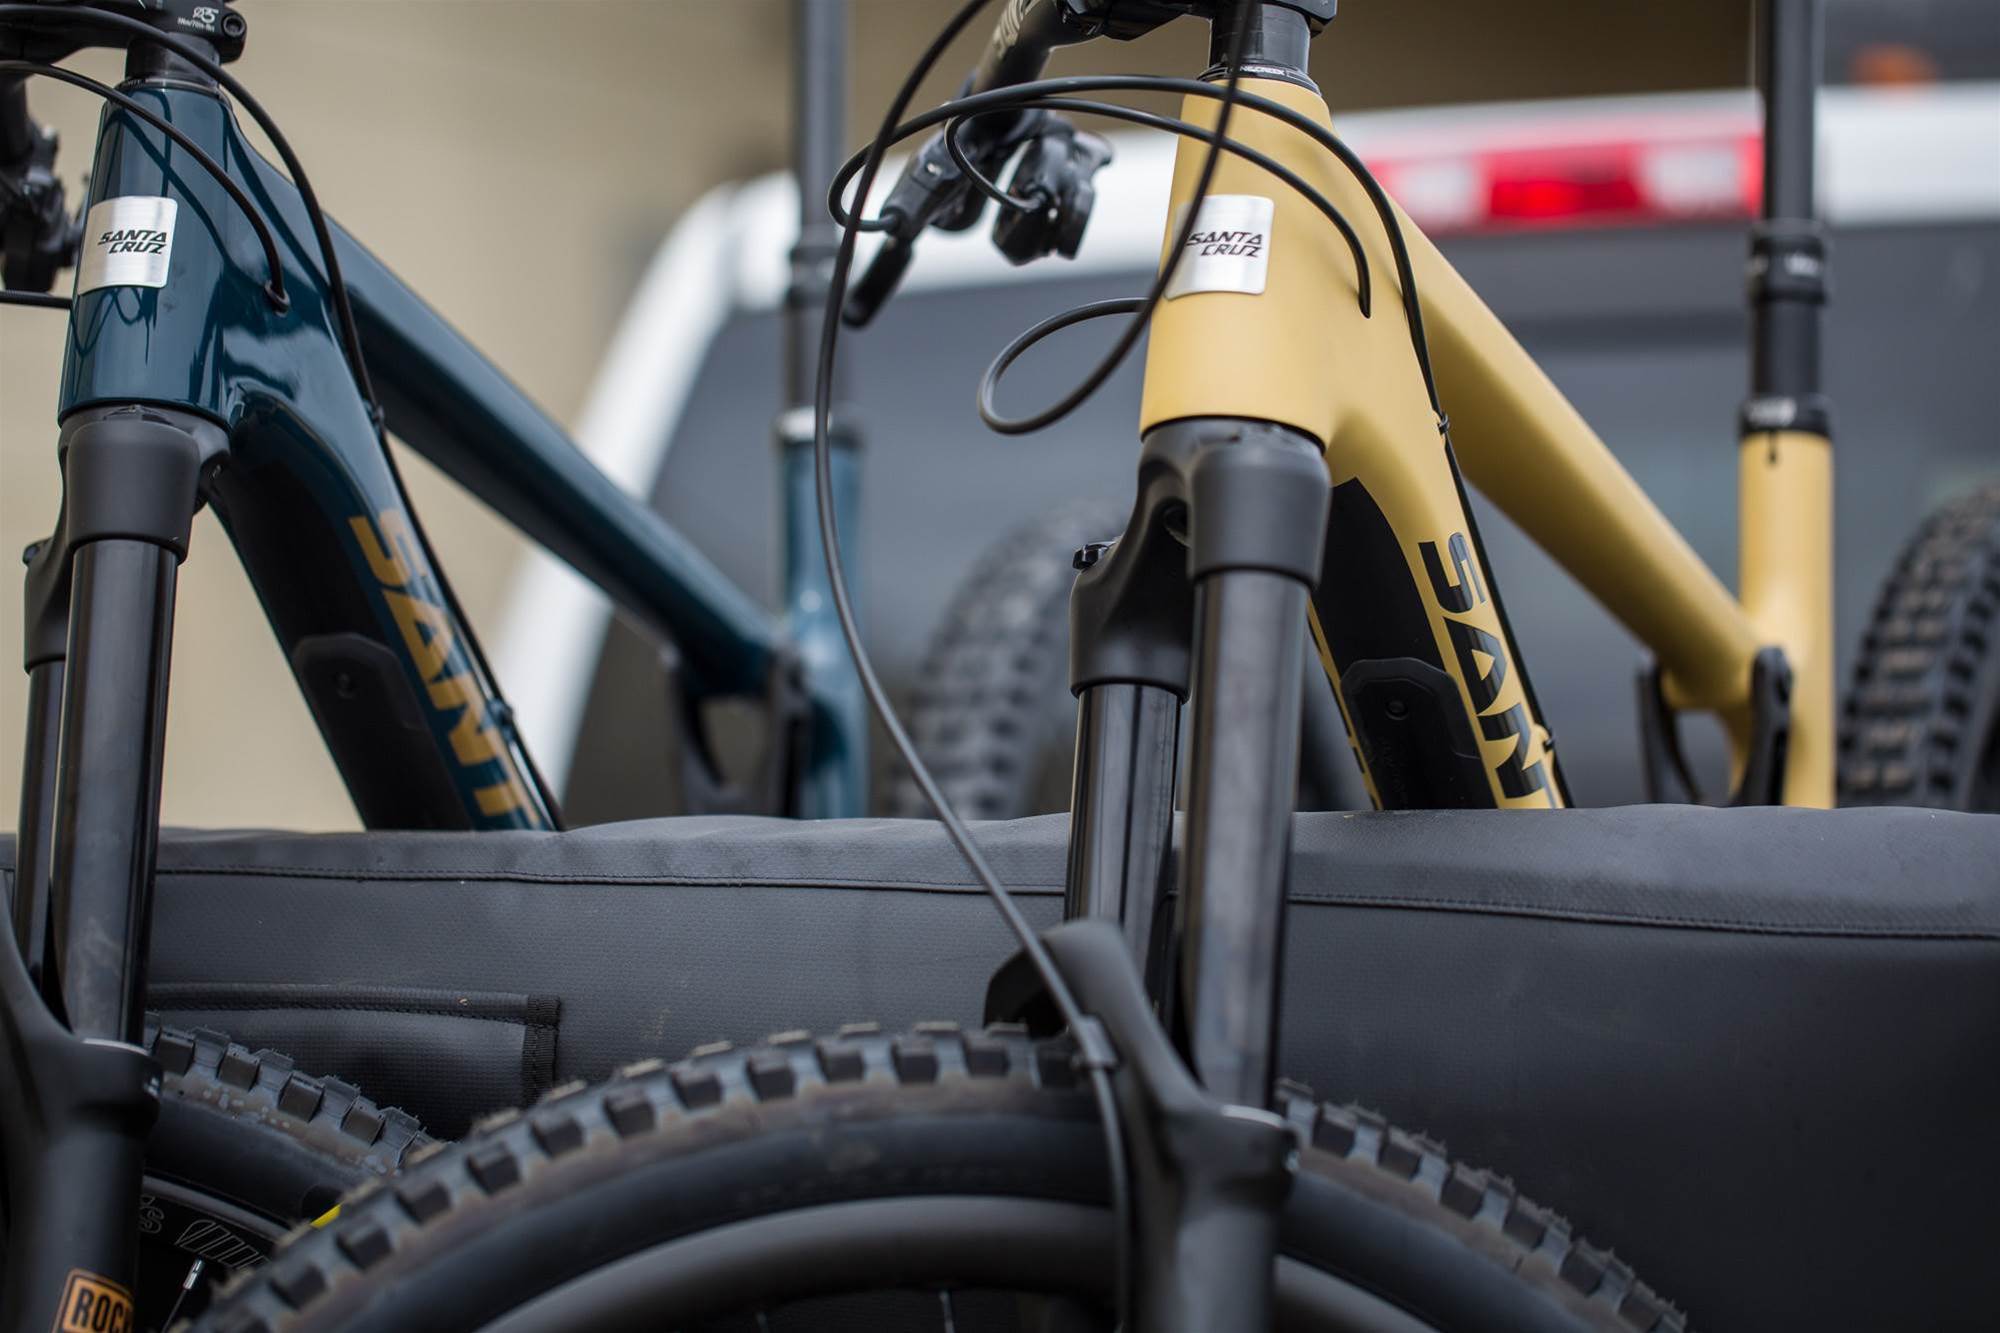
You could also look at a try based secure mount. We tested the Yakima BikerBar, which you can add mounts to for the right front axle. It is super solid, but works best in a long tray, unless you're happy to have the tailgate down. We'd love to play with something like the BeddyJo, another option from Yakima.
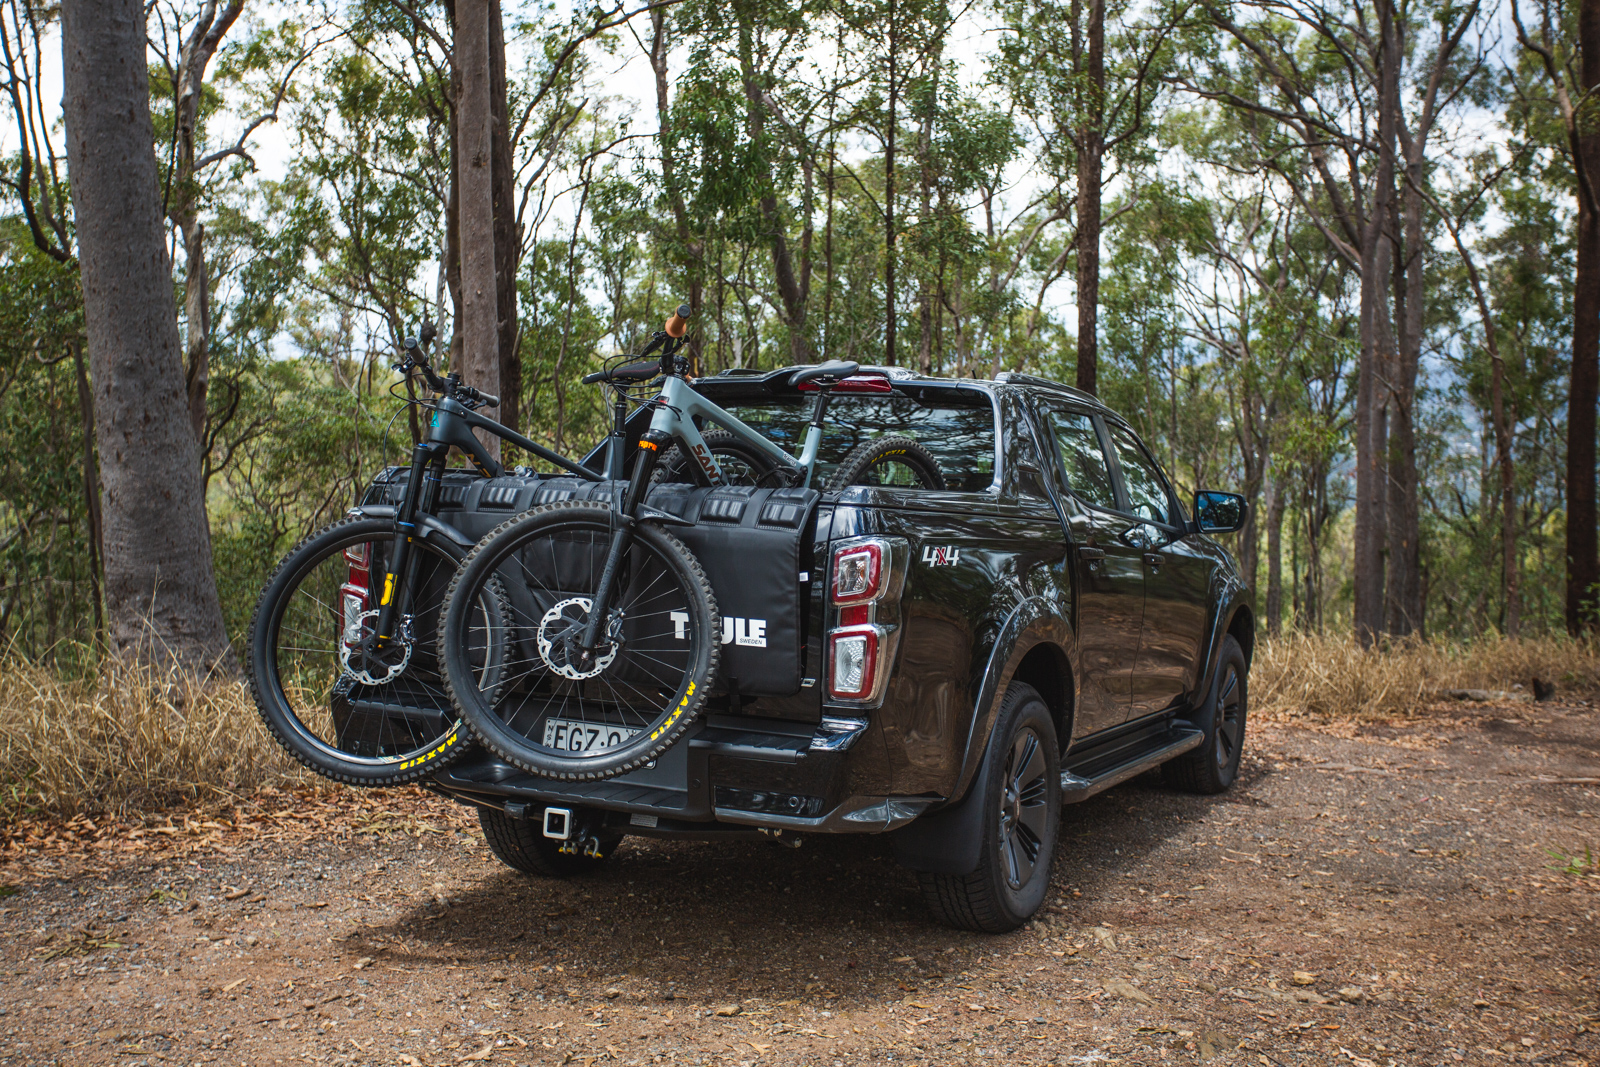
Thule make the GateMate PRO which can carry a whopping 7 bikes! It is really solidly padded, and has a flap to access your tray handle, and let your reverse camera still do its job. It sells for $299.
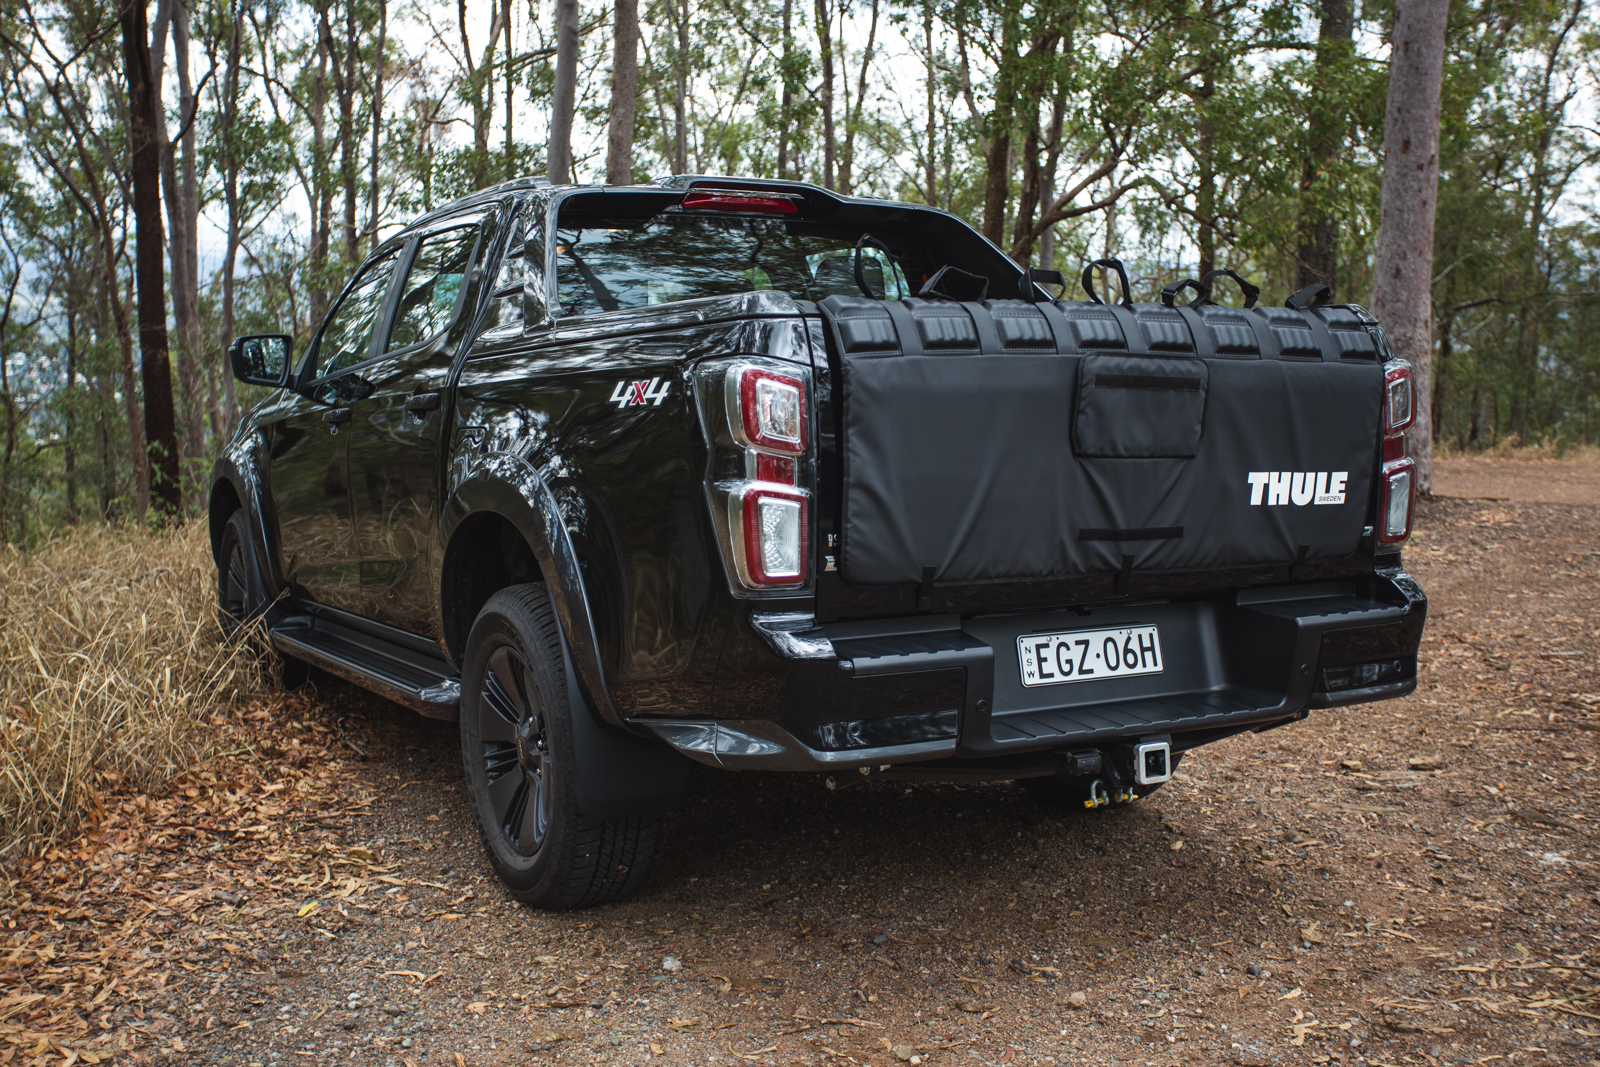
The Dakine Pick Up Pad comes in two sizes, and the model we tested fitted an Isuzu Dmax perfectly, while also letting us fit upto 5 bikes!
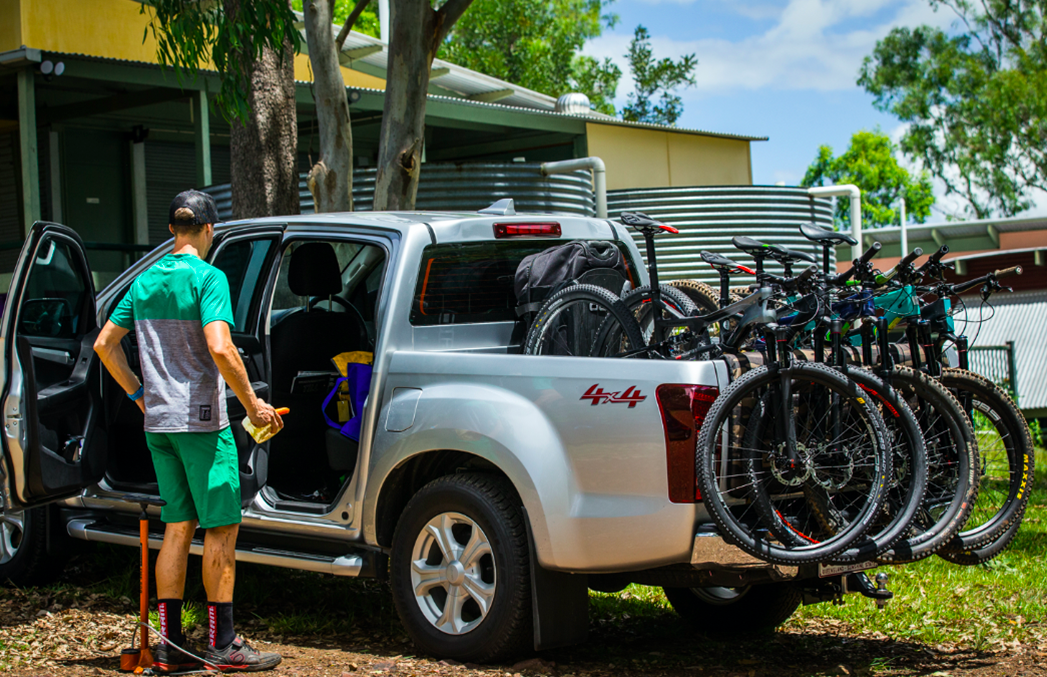
With any tail gate pad, it is worth wiping your frame and fork down if you want to reduce the chances of rub marks from trail grime. It's called shuttle rash by many, and in the long run it does get pretty bad.
Pros
– These options are usually really cheap. Maybe even free if you use an old blanket
– There's a reason why this is a common choice for shuttling
– Packed well, you can fit 4 or 5 bikes in the back of a ute – and upto 7!
– If it's got a fork and downtube – it fits.
Cons
– Security on long trips isn't so good unless you have a big lock
– Is the bike attached or can it bounce out?
– The risk of damage is significant
In the back
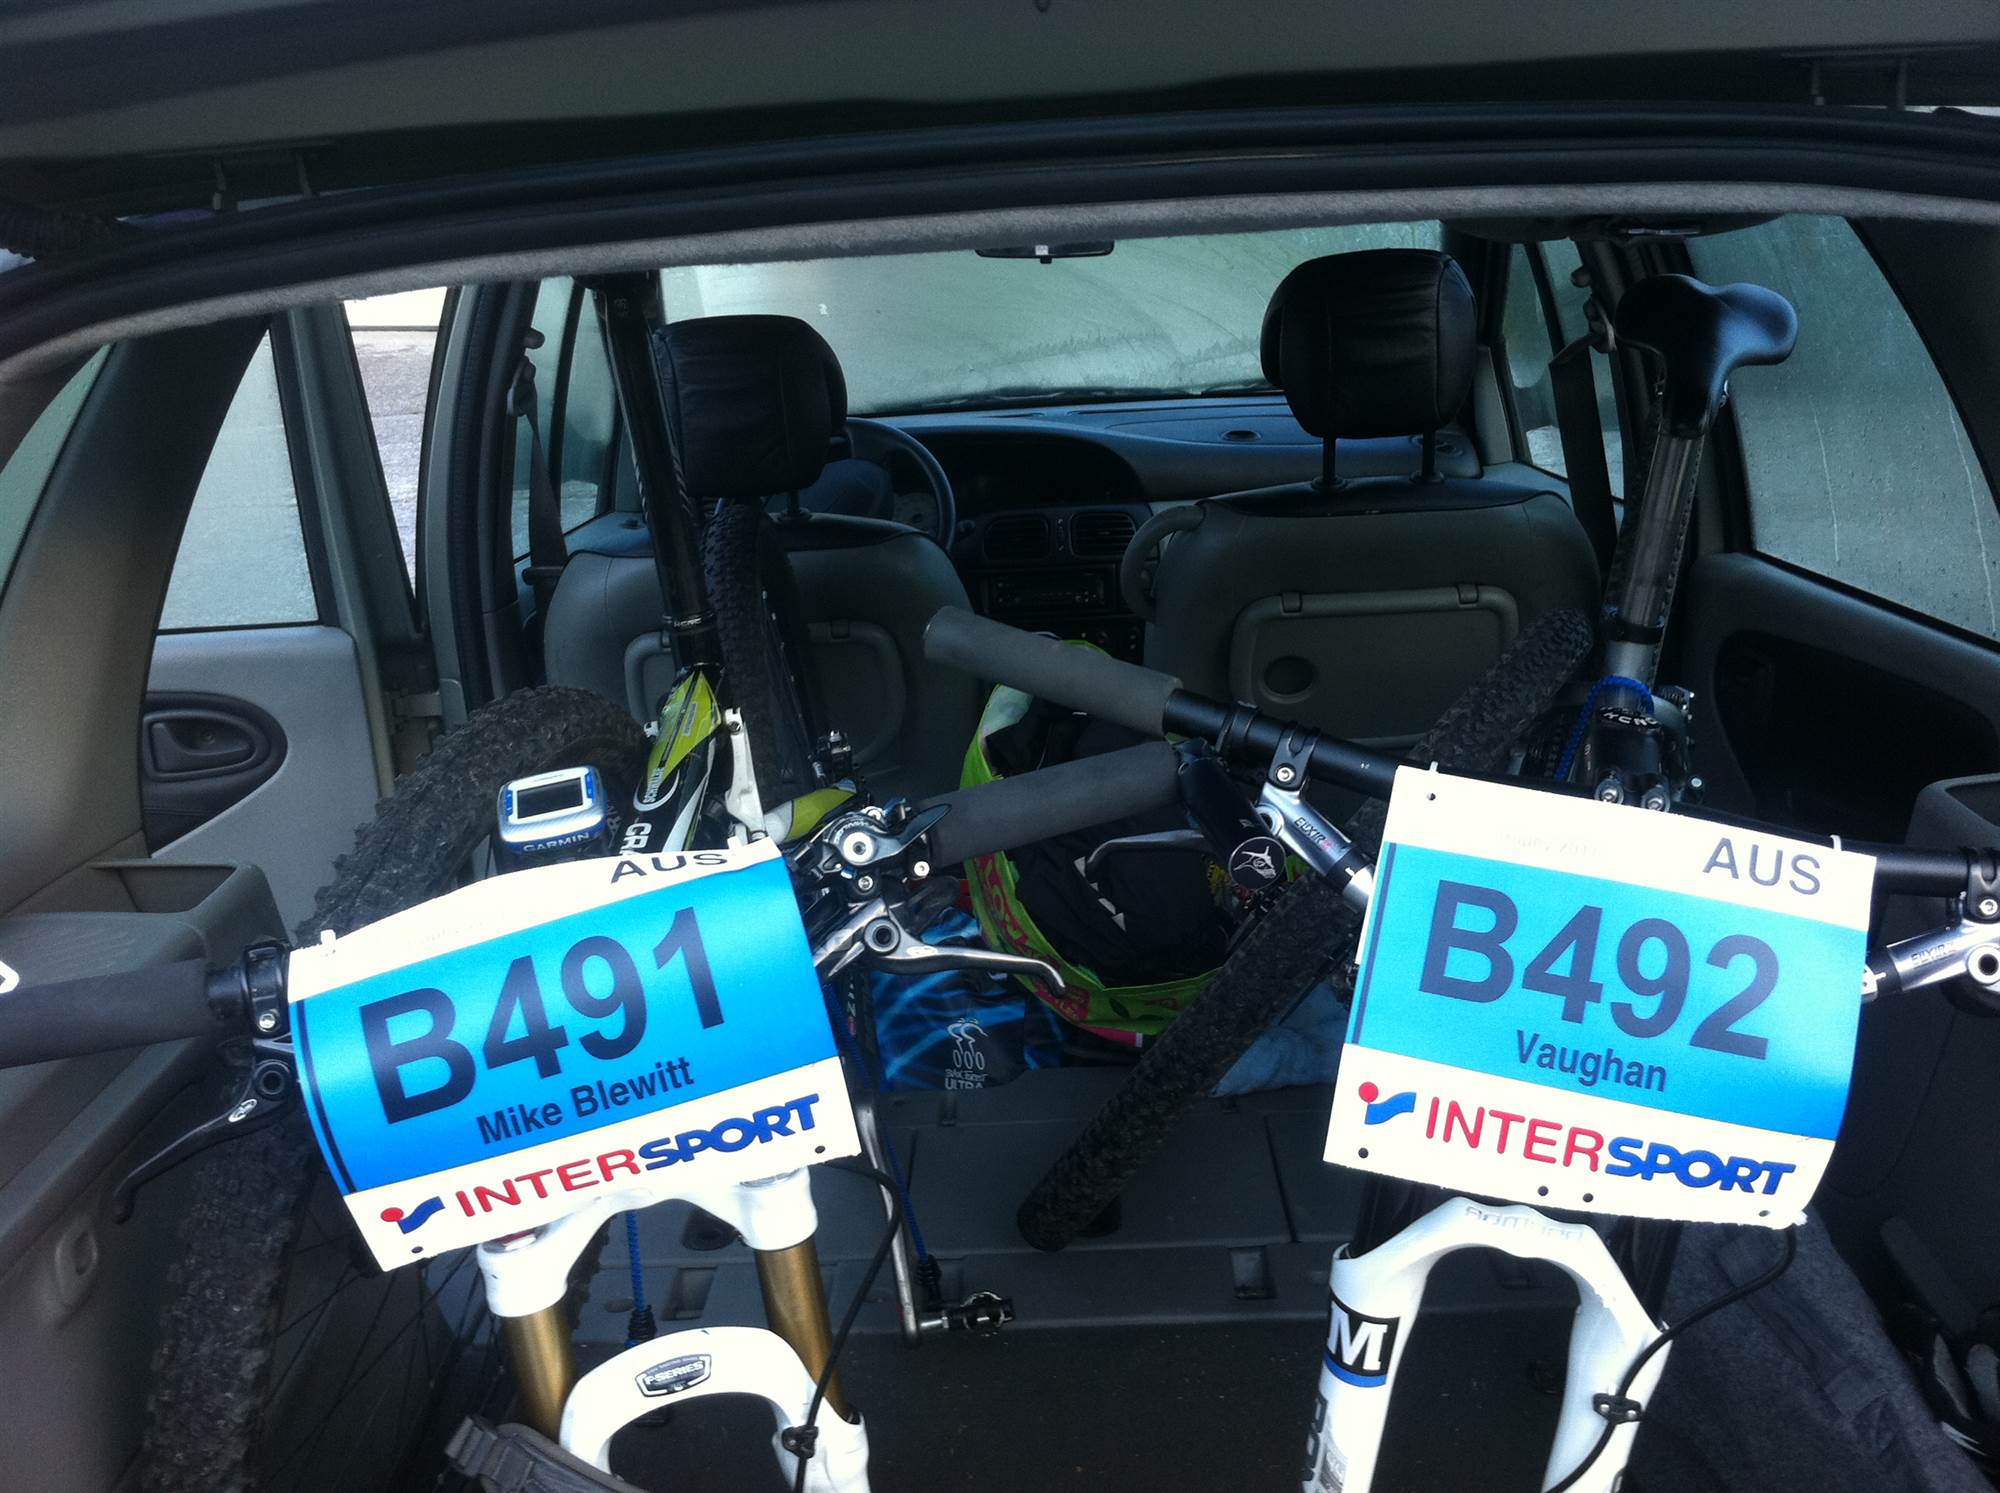
Putting your bikes in the back of the car is the value choice. There is no added drag with the associated increased fuel consumption. Bikes stay safe when you stop for food. You don't have to pay for a rack or a roof setup. But you do need to have a van, wagon or hatchback to make it work. And if there are more than two of you it gets tricky.
How to make it all work
You still need to be pretty good at Tetris to make it work, unless the car is massive. Use some padding like old towels or foam camping mats between the bikes. You might need to push dropper posts down and remove front, if not rear wheels too. Chock the brake calipers with the travel chocks, or a 20c piece or some cardboard works as well. Make sure you don't have pedals crushing downtubes, and rotors aren't being bent. Treat your rear derailleur very gently too!
Pros:
– This is as cheap as it gets
– It's pretty quick, and secure
– highly cost effective for fuel consumption
Cons:
– Mountain bikes get dirty and that comes into your car
– Very limited capacity for mates and their bikes
– Potential damage from one bike to the other: rotors, frames etc
– Did you put all the wheels in? And the through-axles?
There are plenty more options, but hopefully this gives you some ideas on how you want to transport your bike. If you're taking it places a lot, a rack that's easy to use will be a good investment. If it's a once off trip – maybe a simpler rack that takes a little more time to setp is a good choice. If you're not sure – ask your local bike shop or rack specialist.

