FIRST LOOK: 76 Projects No Clog Hi Flow Tubeless Valves
Tired of tubeless valves clogging up? 76 Projects reckon they have the solution.
There are a number of stories of woe around tubeless tyres. From tyres that won't seal, beads that won't hold, sealants that don't work, and sealants that work so well your valves get clogged and ruined. Sometimes, it seems like nothing is easy when running tubeless tyres. I don't think that's true, and put 9 tubeless tips together in summer.
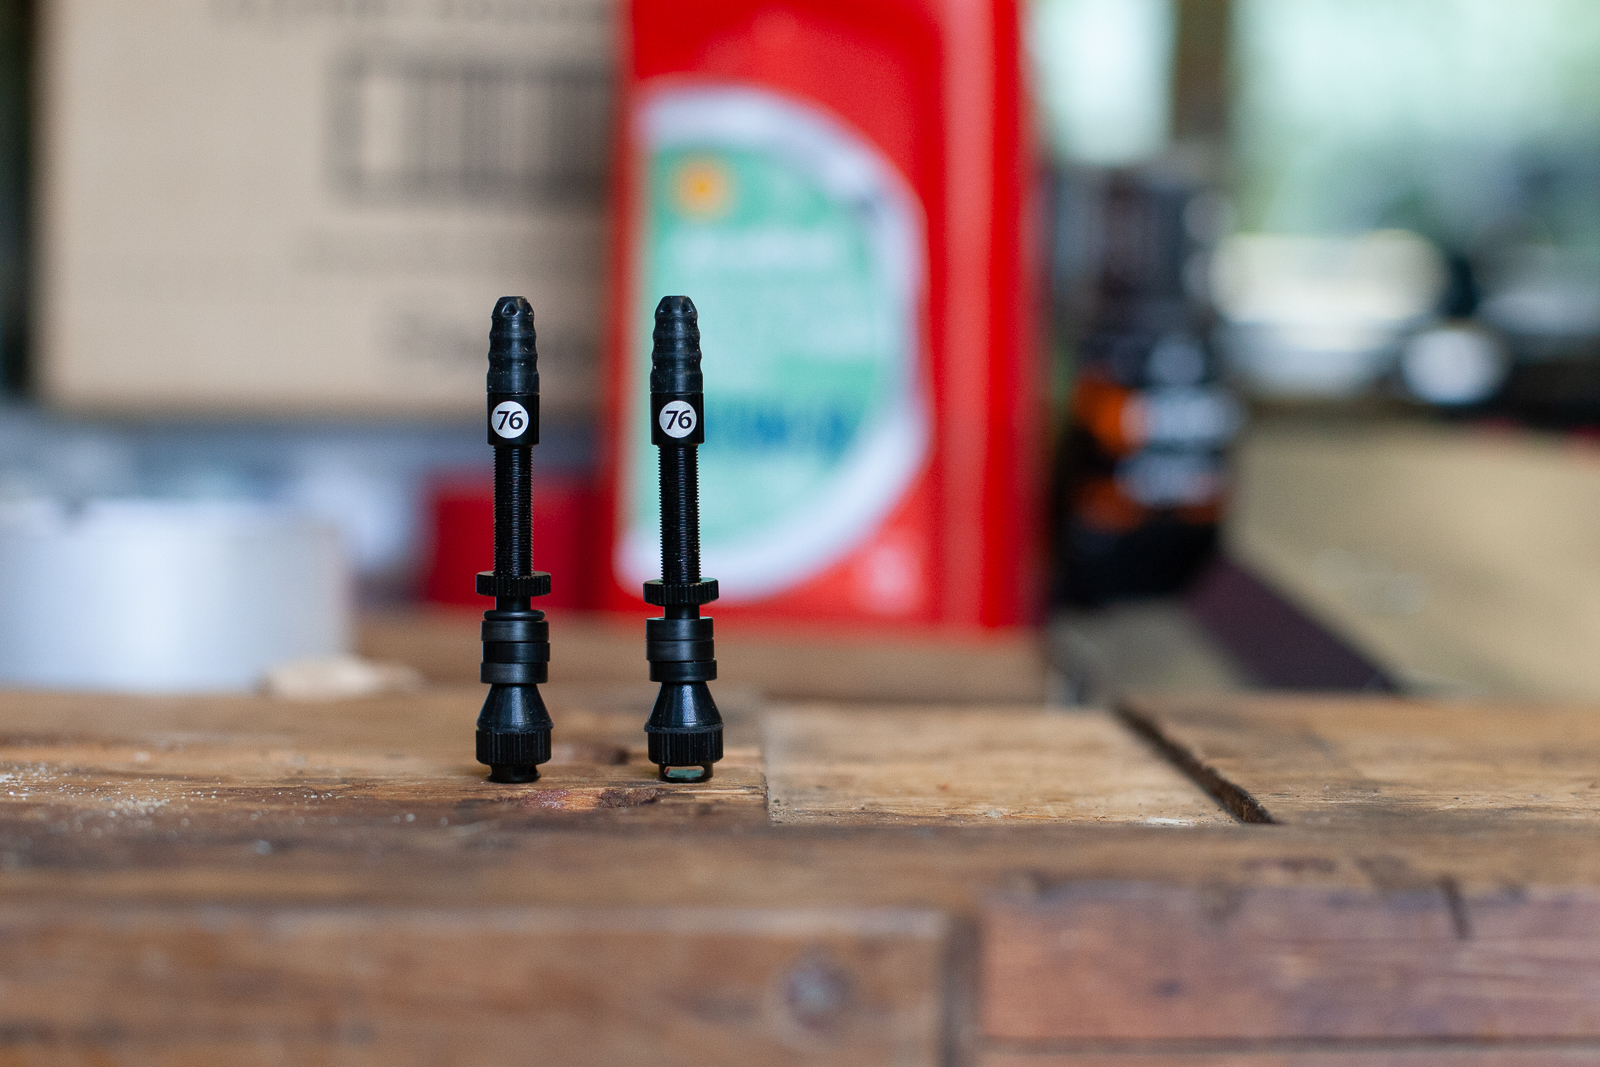
Some products make things easier, and 76 Projects have a knack for making products that fit in a niche, like their spares solutions we have tested previously. In this case, they have made an alloy tubeless valve that is completely rebuildable, with a claim of offering over 4x the air flow of a regular presta valve. As such, they claim it is clog free!
A closer look
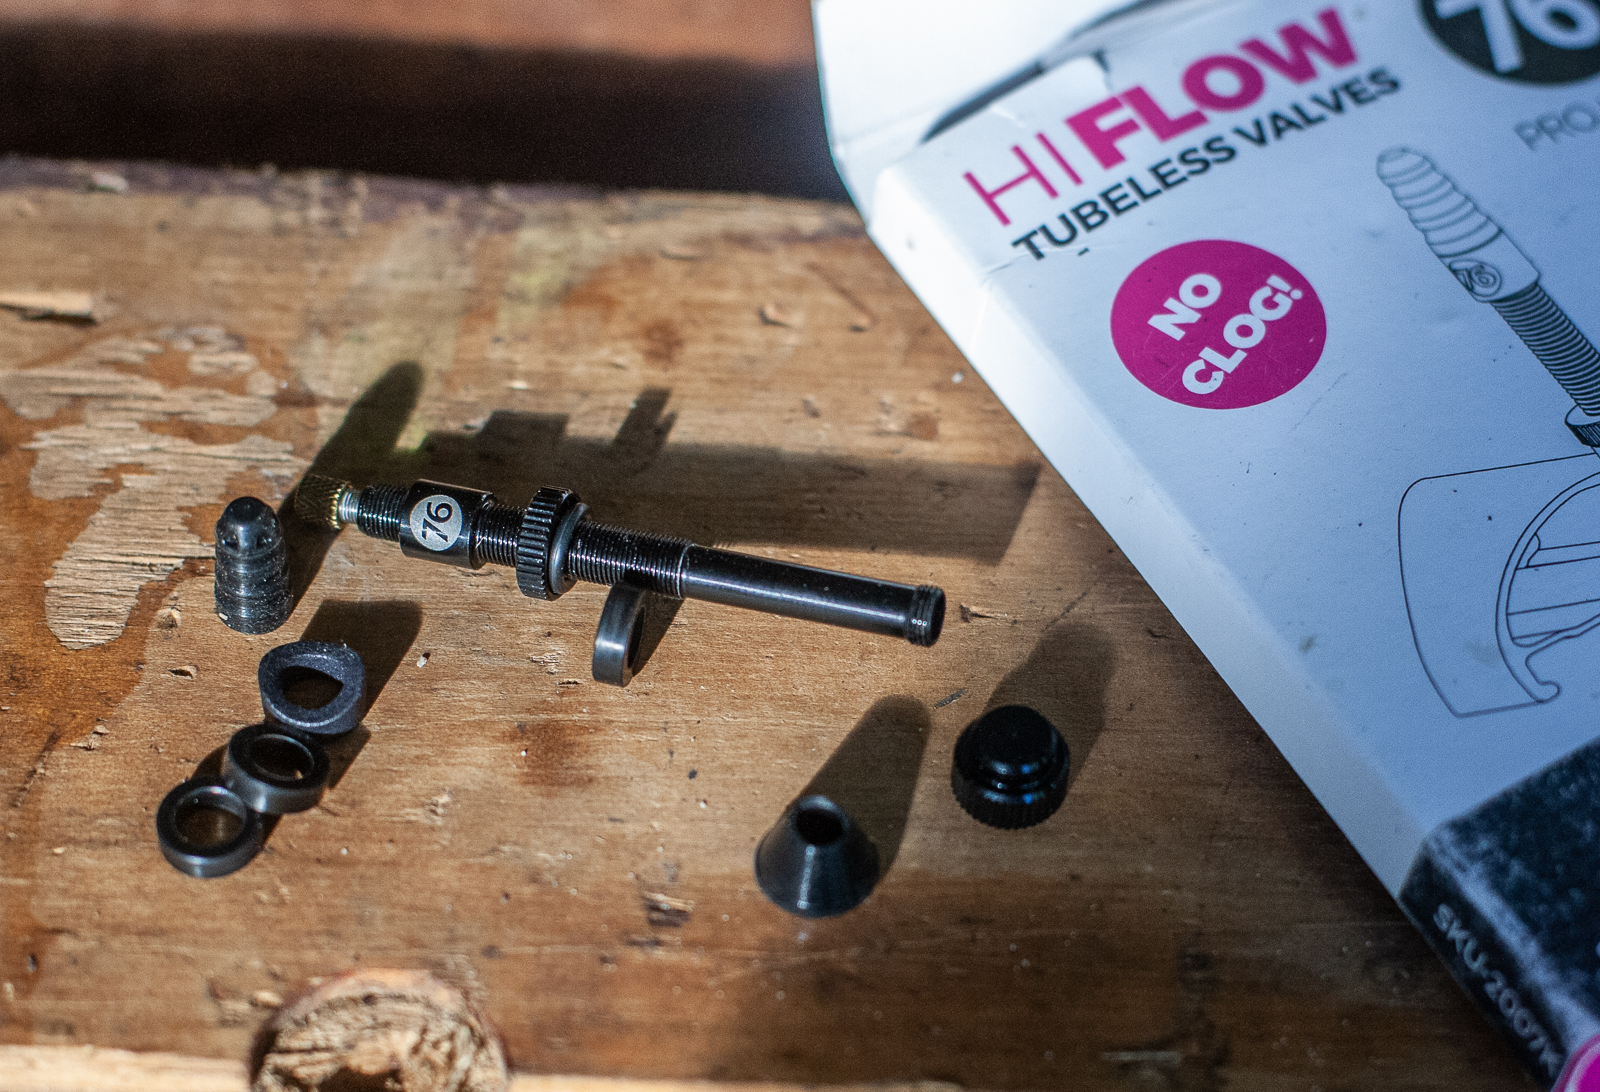
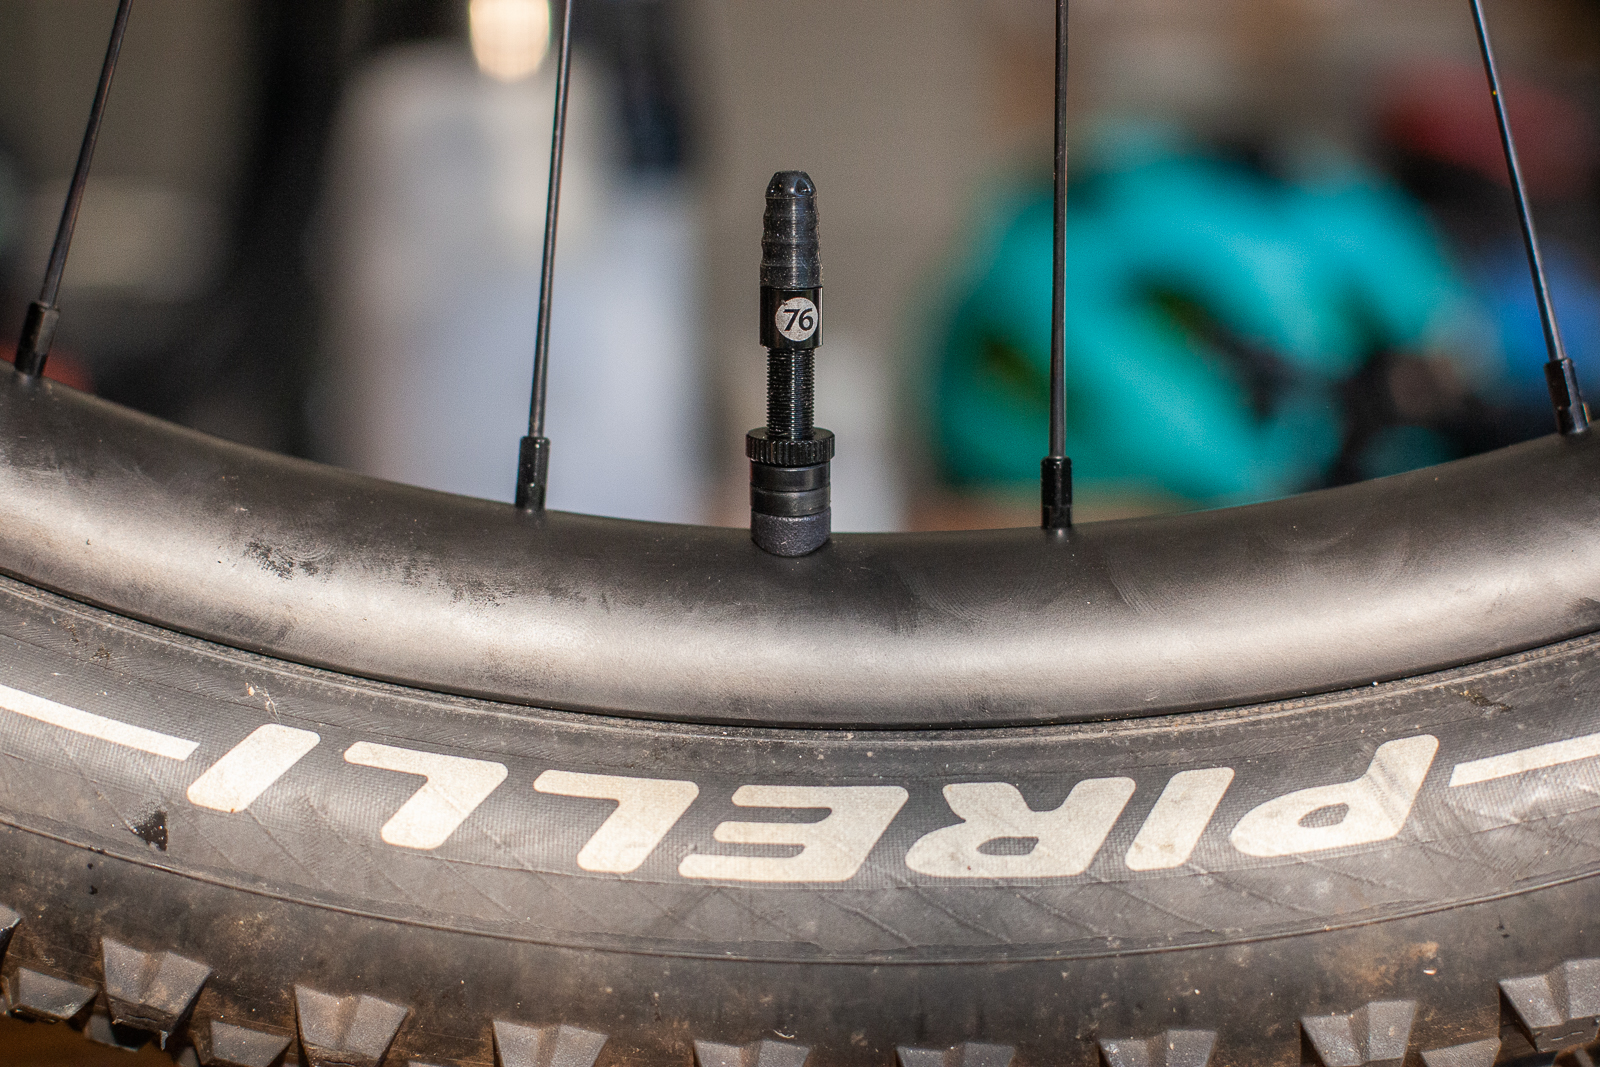
The 76 Projects Hi Flow valves are a little different. Their whole barrel is essentially the valve core, with the brass part under the rubber push on valve cap being screwed up (and off if you're not careful) acting to close the large inner. The valve stems come in different lengths to suit rim depth, and the valve gets fitted from the outside, pushing through to have the conical rubber end pushed on and the end screwed on.
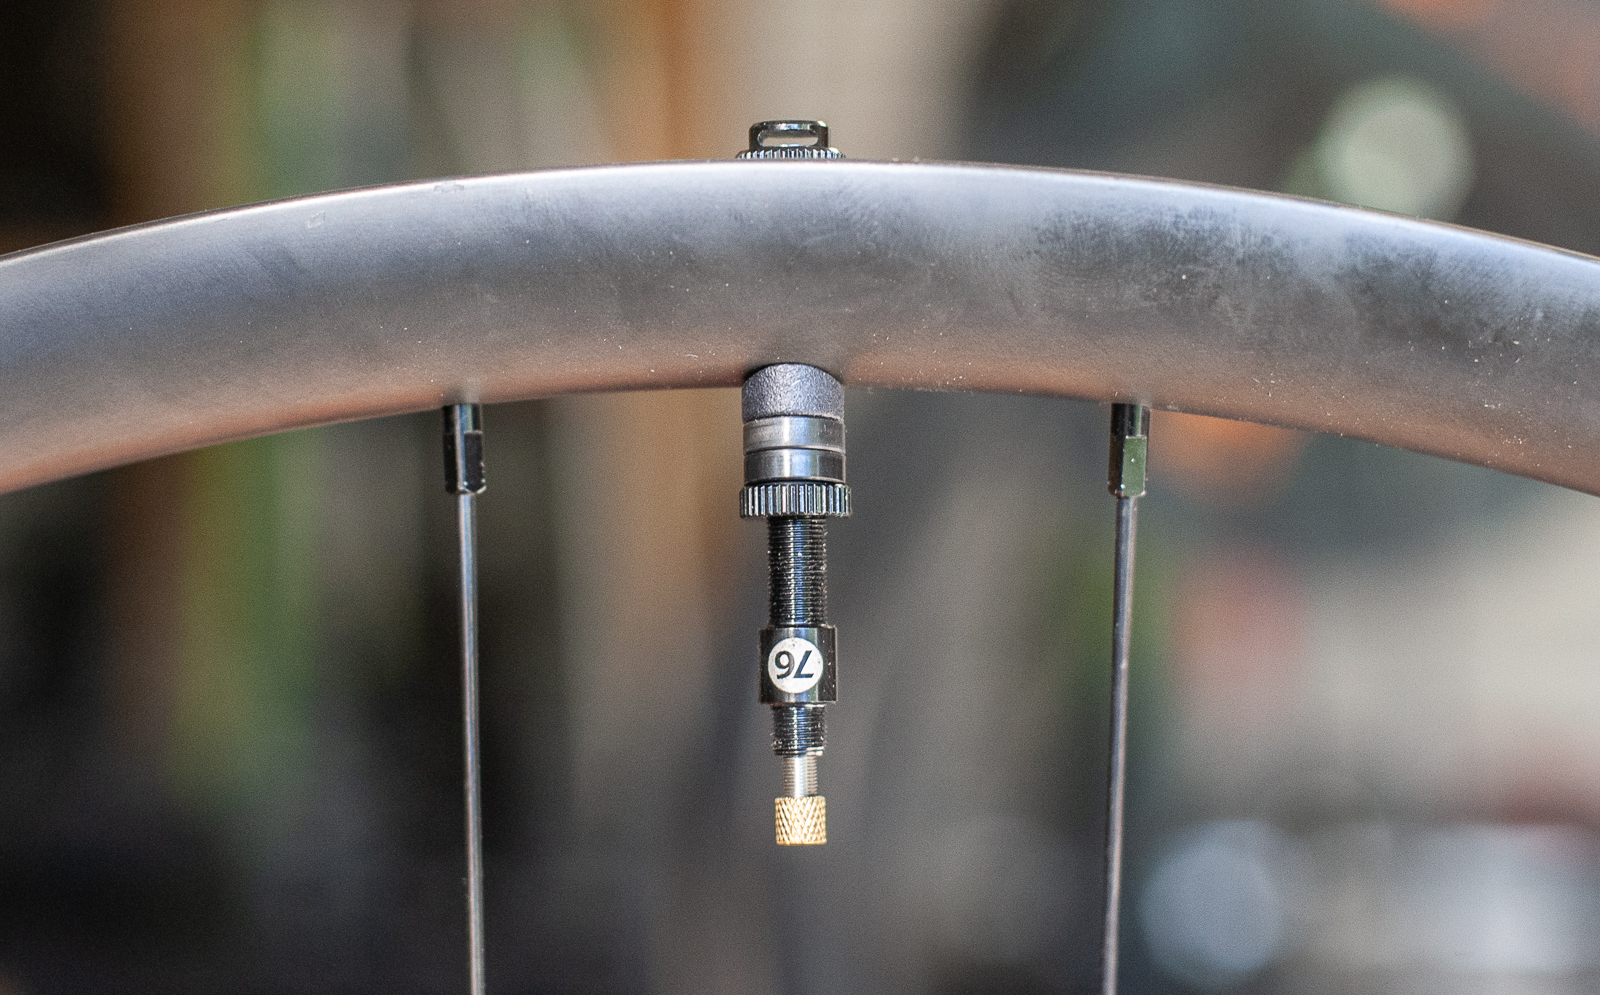
The inside end is a bit like those found on valves for inserts, as it lets the air expel sideways, so a tyre liner won't occlude the hole. You use an external washer to push down on the spacers (including a curved one suitable for some rims) to put pressure on the conical rubber.
Setting it all up
I took the time to fit some new rim tape, and then created a suitable hole. You'd do well to have a small round file to clean up the hole in the rim tape. If like me, you push something through from the rim bed, you'll find you push the busted up tape back up when you push the valve through from the hub side.
I fitted one valve with the curved spacer to sit flush against the rim, but given it is an asymmetrical rim it sits a bit off centre and the valve sits out from the rim. This is sub-optimal. The chances of the valve catching on something when riding are pretty minimal, as it's on the same plane as the spokes. Then again, plenty of my spokes are scratched up.
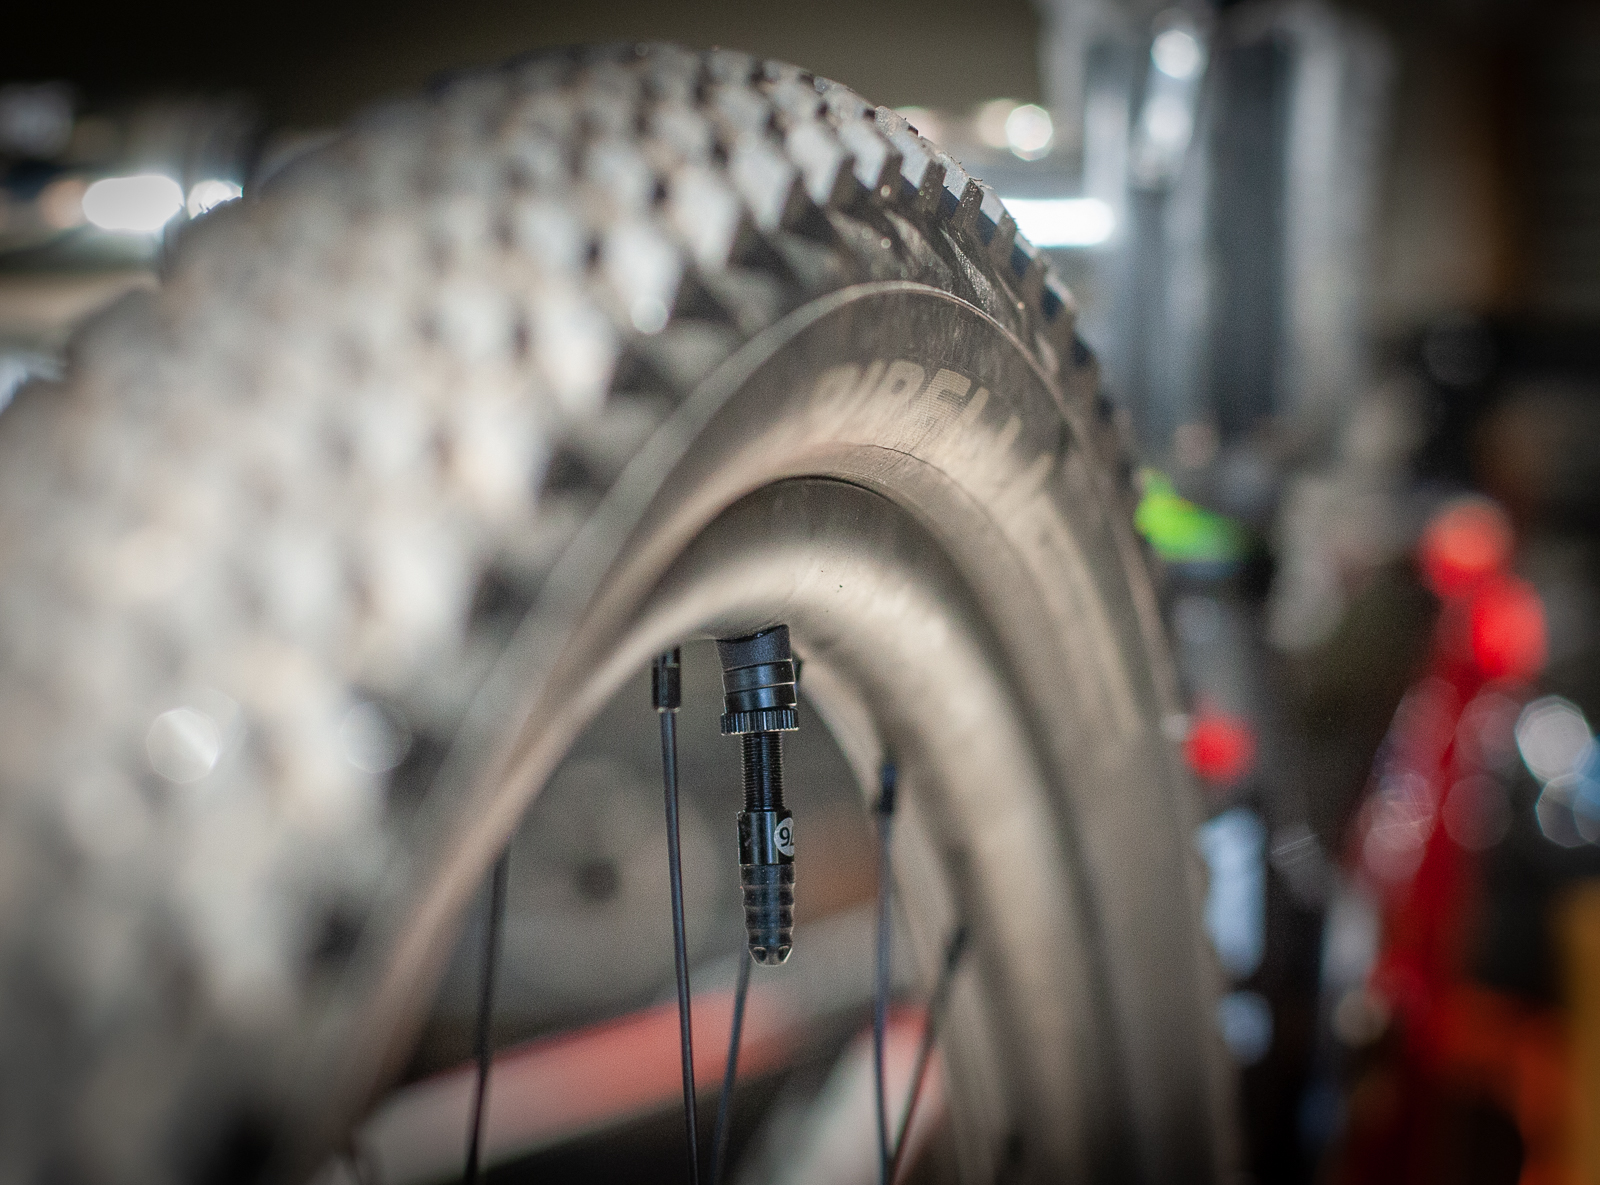
For the other wheel, I used just the flat washers. The spacers don't make the seal, the seal happens at the rim tape with the conical rubber washer. If you have sealant (or air) leaking on the exterior valve hole, air is escaping the rim tape, and that's the problem you need to be solving.
Over summer I tested 7 popular tubeless sealants – it's worth a look as one sealant is not like another. For example, Orange Seal works really fast and on small and big cuts – but it did clog a valve during the 5 week test period. As such, that was the sealant I used when setting these valves up.
For inflation, I used the Beto Surge Floor Pump. It lets you charge the main chamber and release the air so you end up with more of a rapid shot to help seal the bead. Three charges got the bead popping into place on one wheel, and I reached for my regular track pump for the other. On this pump, I can normally seat a tyre using the high volume setting. I take the valve core out if it's not working. I wasn't able to get enough air into the Hi Flow valves with this pump, so I had to use the Beto pump. I would have expected the Hi Flow valves to work with a regular mountain bike track pump more successfully.
What now?
Wait and see! I'll let the Orange Seal sealant do its job of sealing holes, and see if it clogs the valves over a 6 week period. At that point I can pull the valve apart, and see how easy it is to rebuild them.
At just udner $60, I'd like them to be rebuildable easily, and clog far less. Valves are quickly becoming consumable, as rubber deteriorates on the conical ends, or alloy gets stripped out from aggressive valve core removal and fitting. While $10 more, the Elk Ti valves had great airflow and are made from Ti… and they're still doing solid work.
RRP: $56.95
From: bspokevelo
