How to adjust travel on a Rockshox Pike
The mechanical minds of Summit Cycles lead you through how to adjust the travel on your Rockshox Pike.
Words: Joe Dodd Photos: Chris Herron
Tool list:
- Hammer
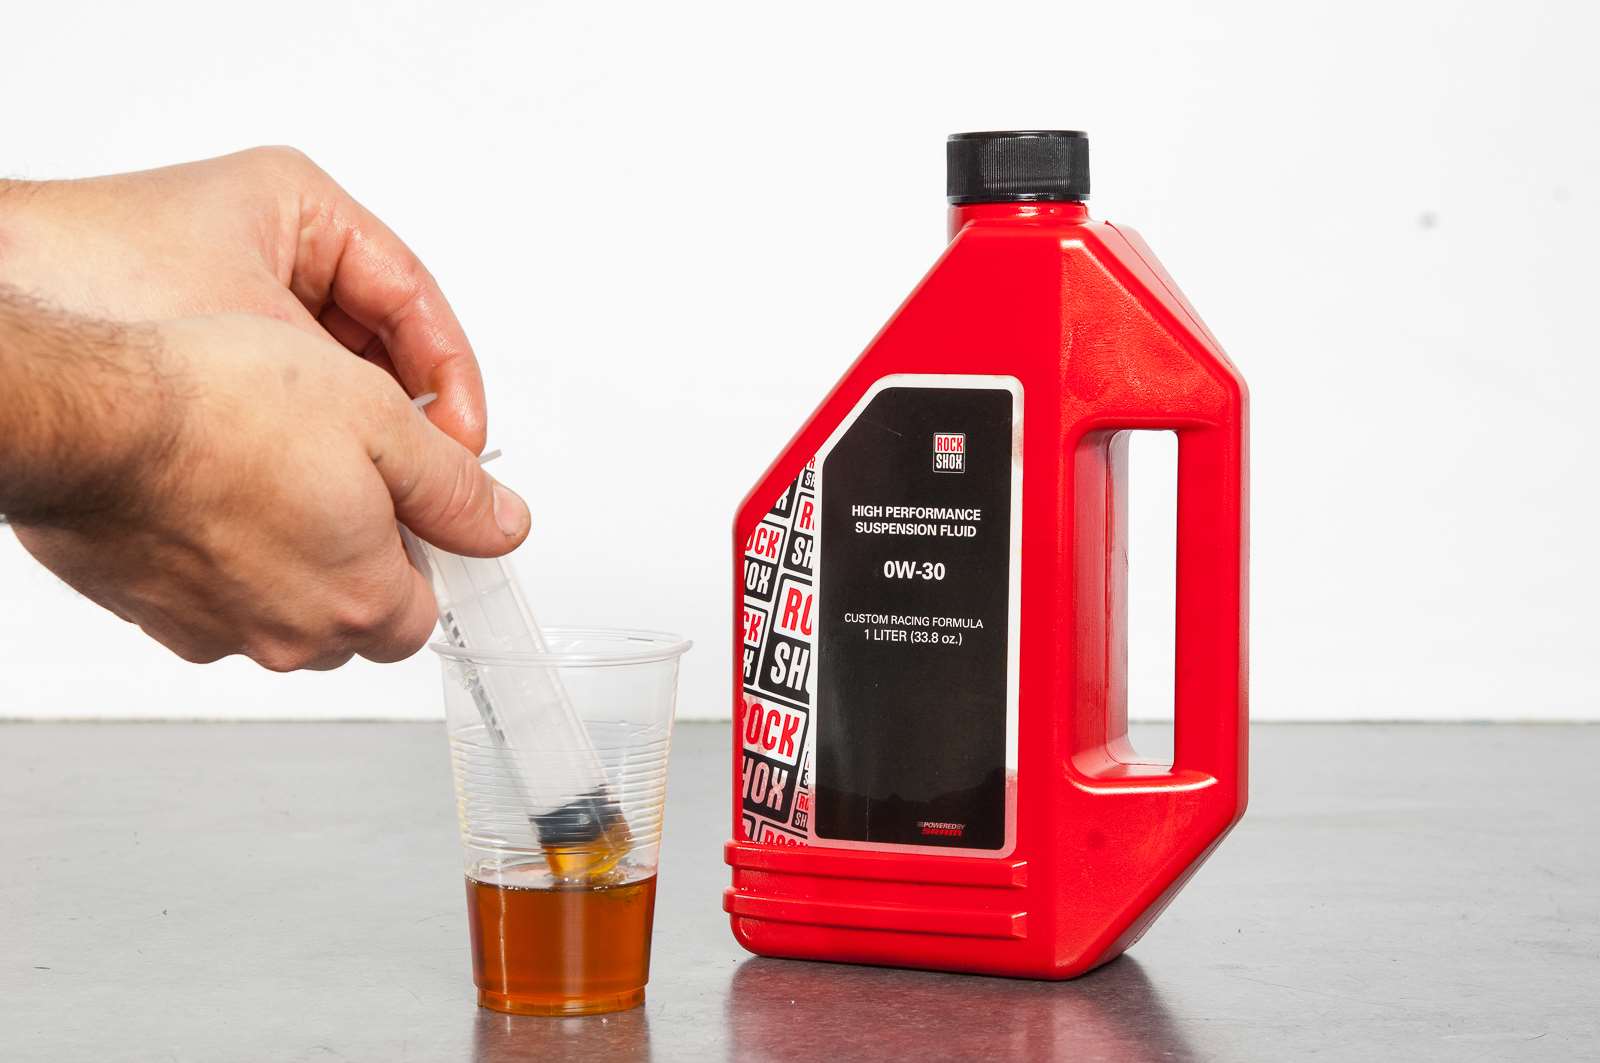
- 0-w30 rock shox oil
- Slick honey
- torque wrench
- valve core remover
- 24mm socket
- 5mm allen key
- 2.5mm allen key
- Circlip pliers
- Shock pump
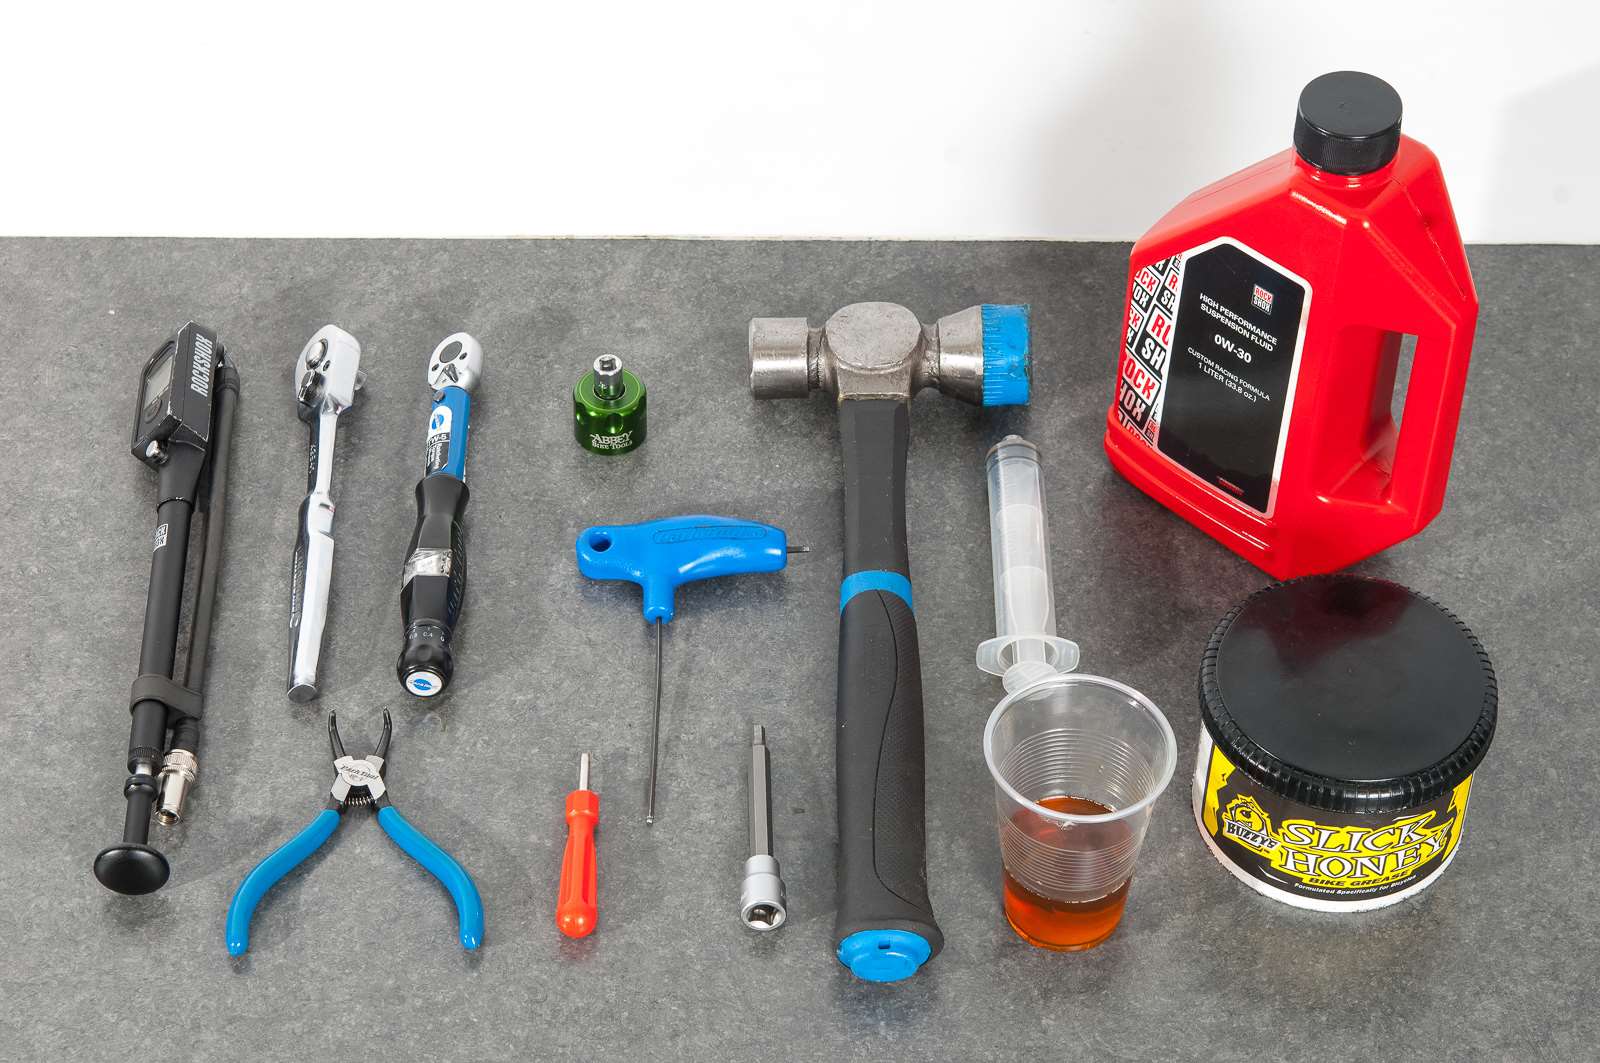
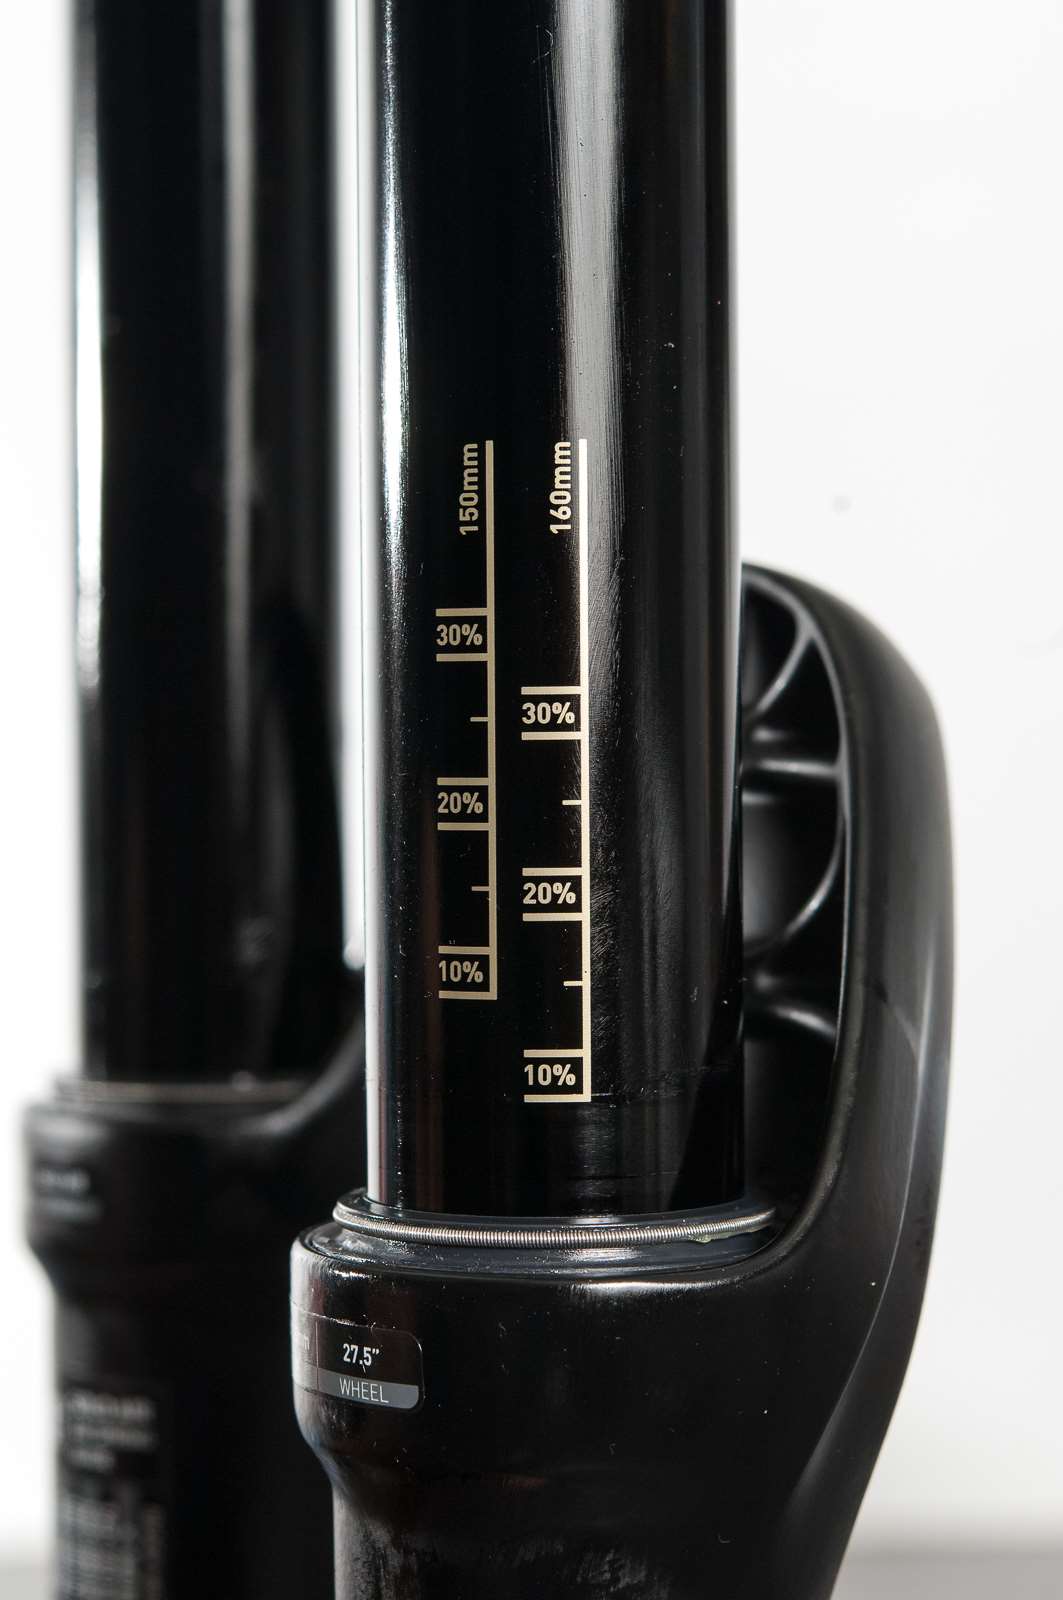
This issue we are going to talk you though how to adjust the travel on your RockShox Pike solo air. Currently this fork is set at 160mm, we are going to drop it down to 150mm.
STEP ONE
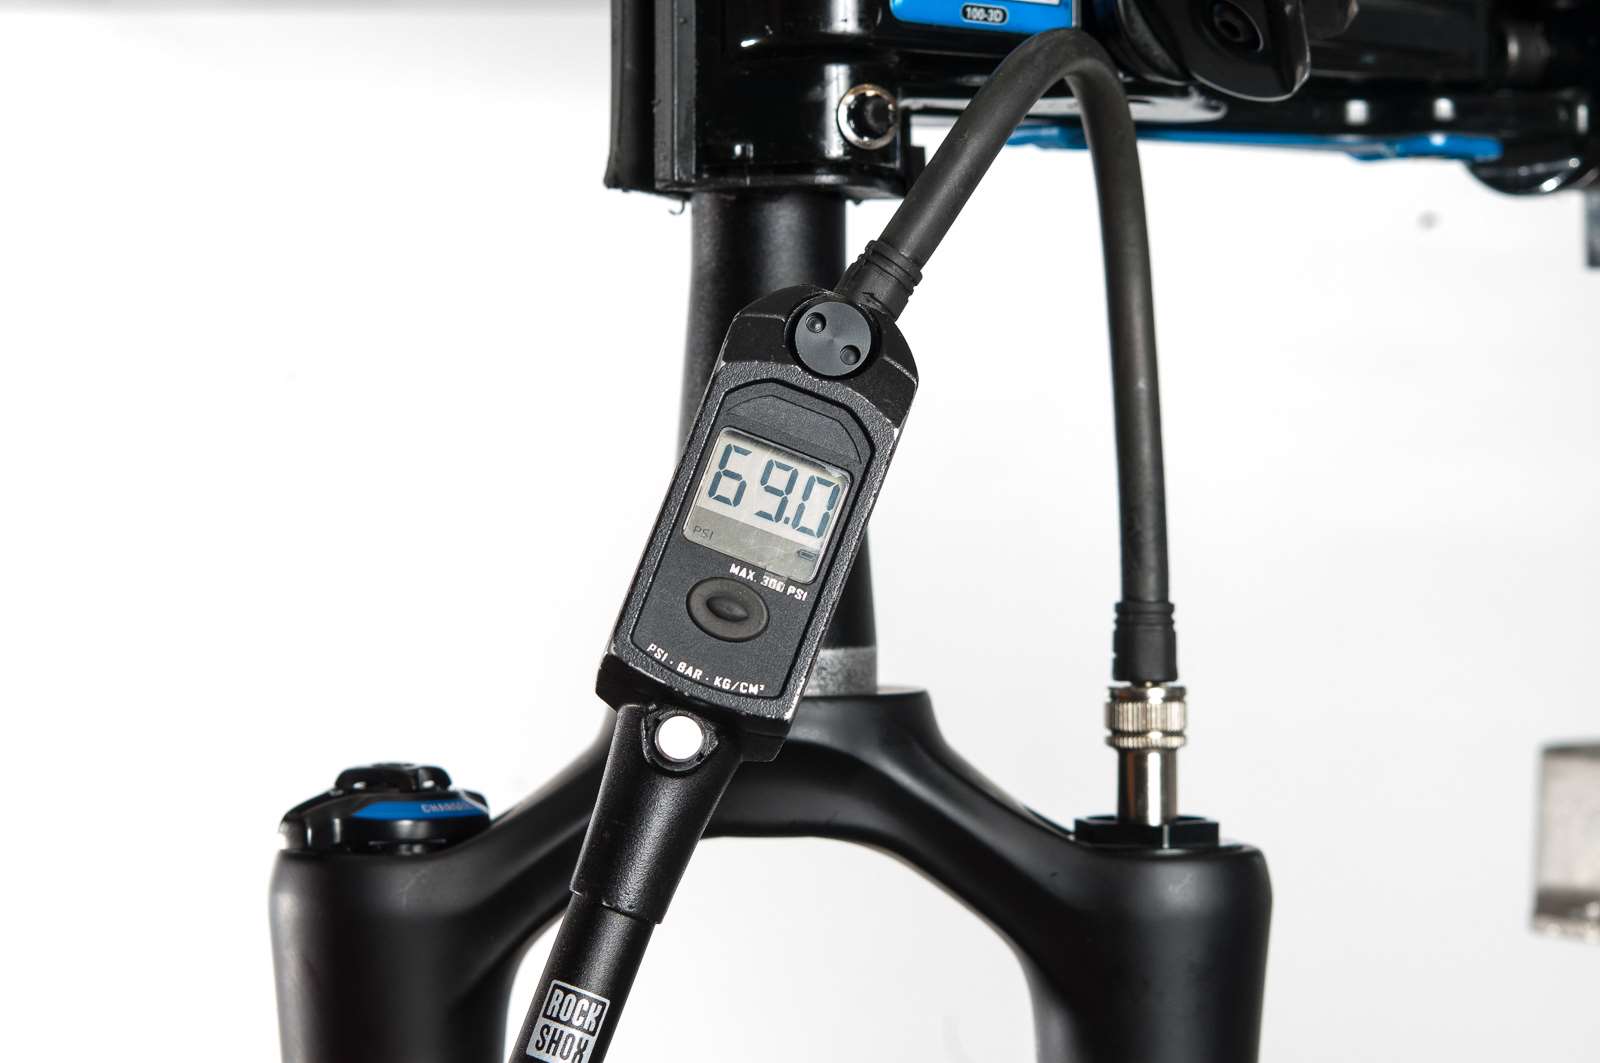
I always take the pressure reading of a fork before I let all the air out. This means I can pump it back up to that same pressure and not have to worry about setting sag up again.
Next I remove the valve core. This makes sure that there is zero pressure in the fork.
STEP TWO
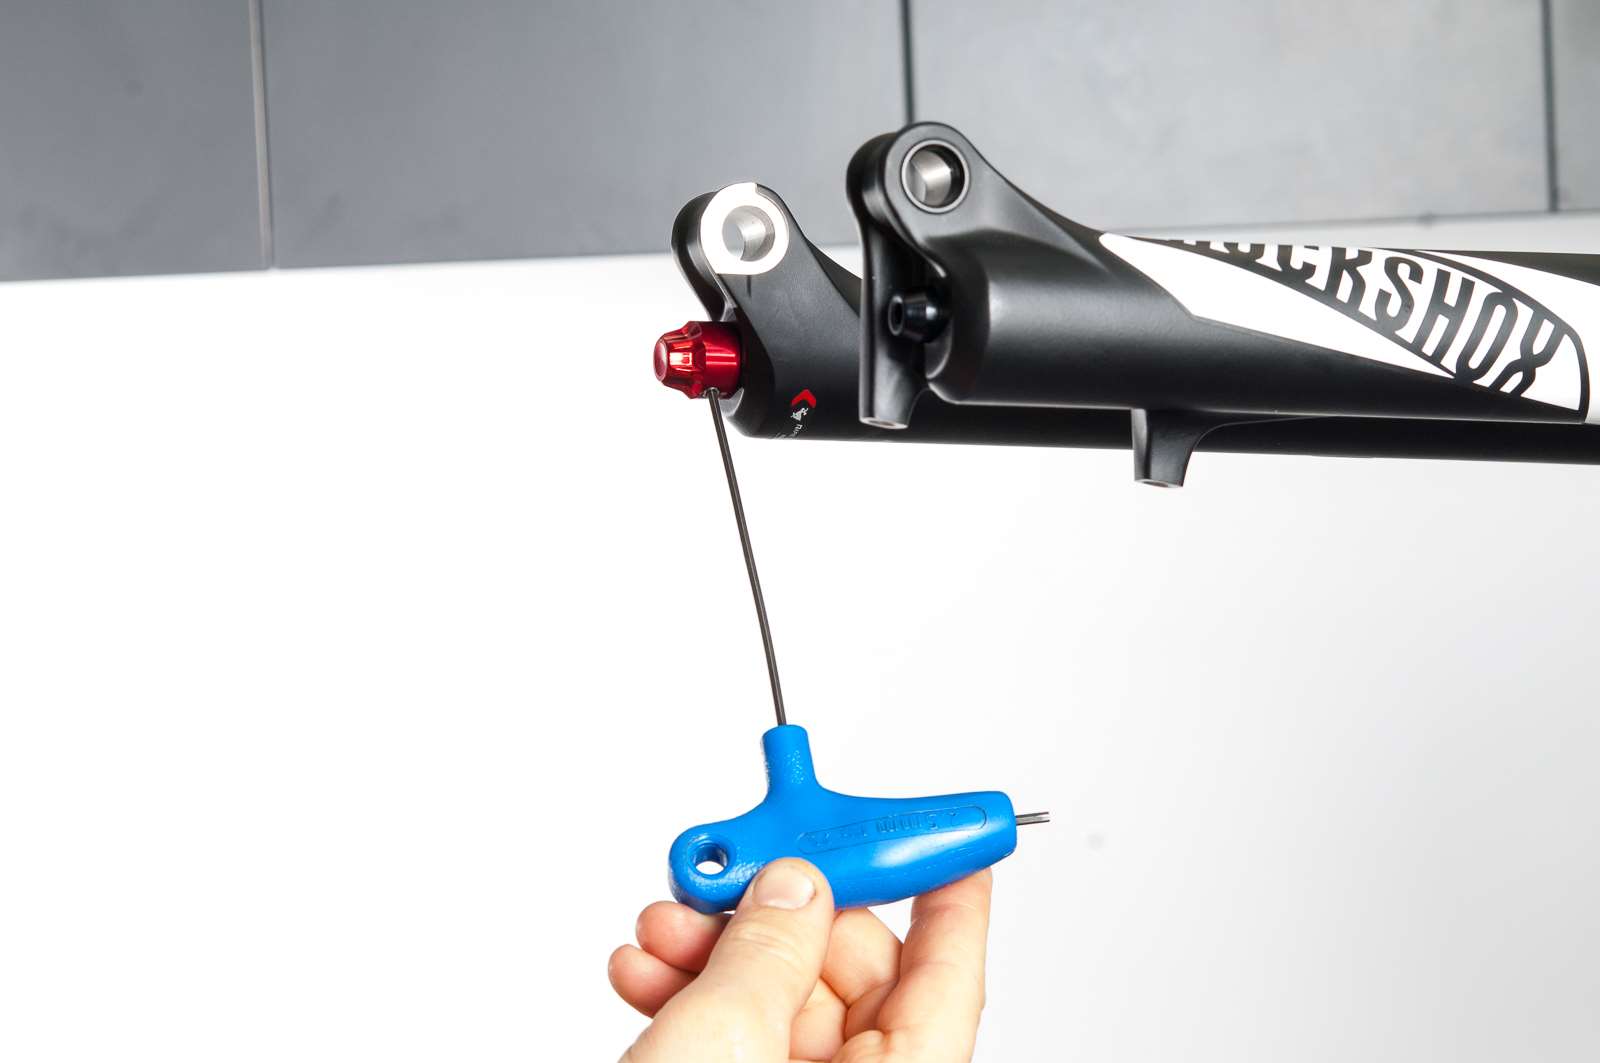
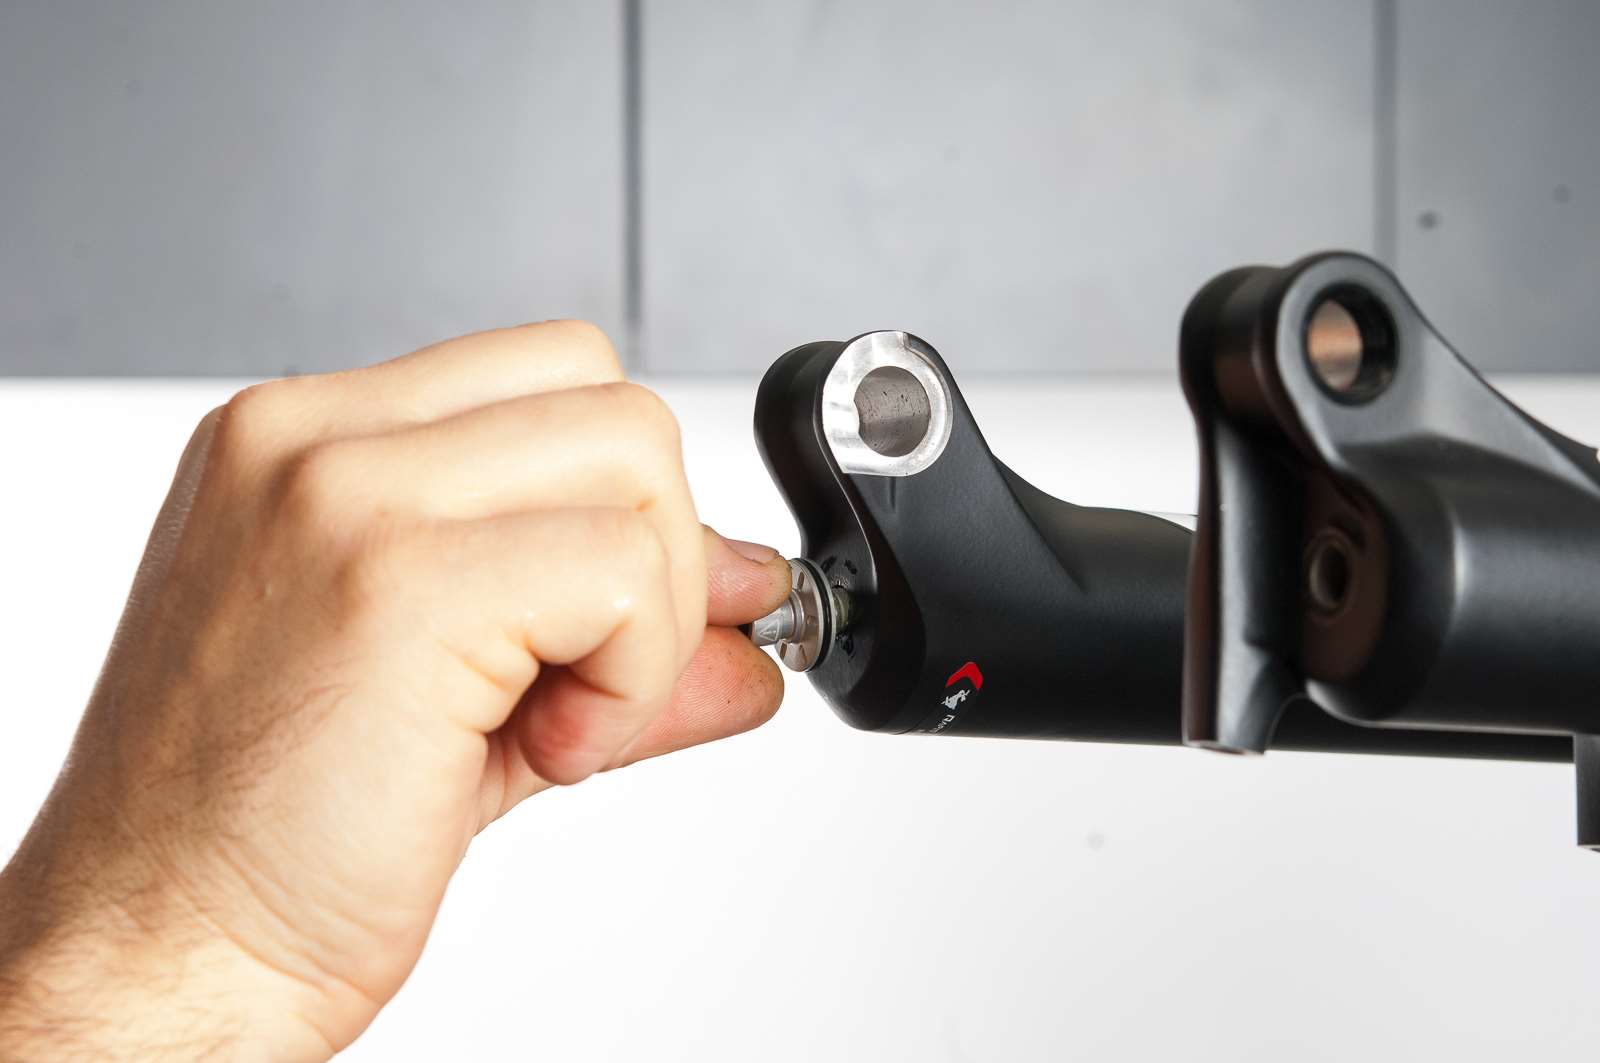
Now flip the fork horizontally and remove the rebound adjuster with a 2.5mm allen key.
STEP THREE
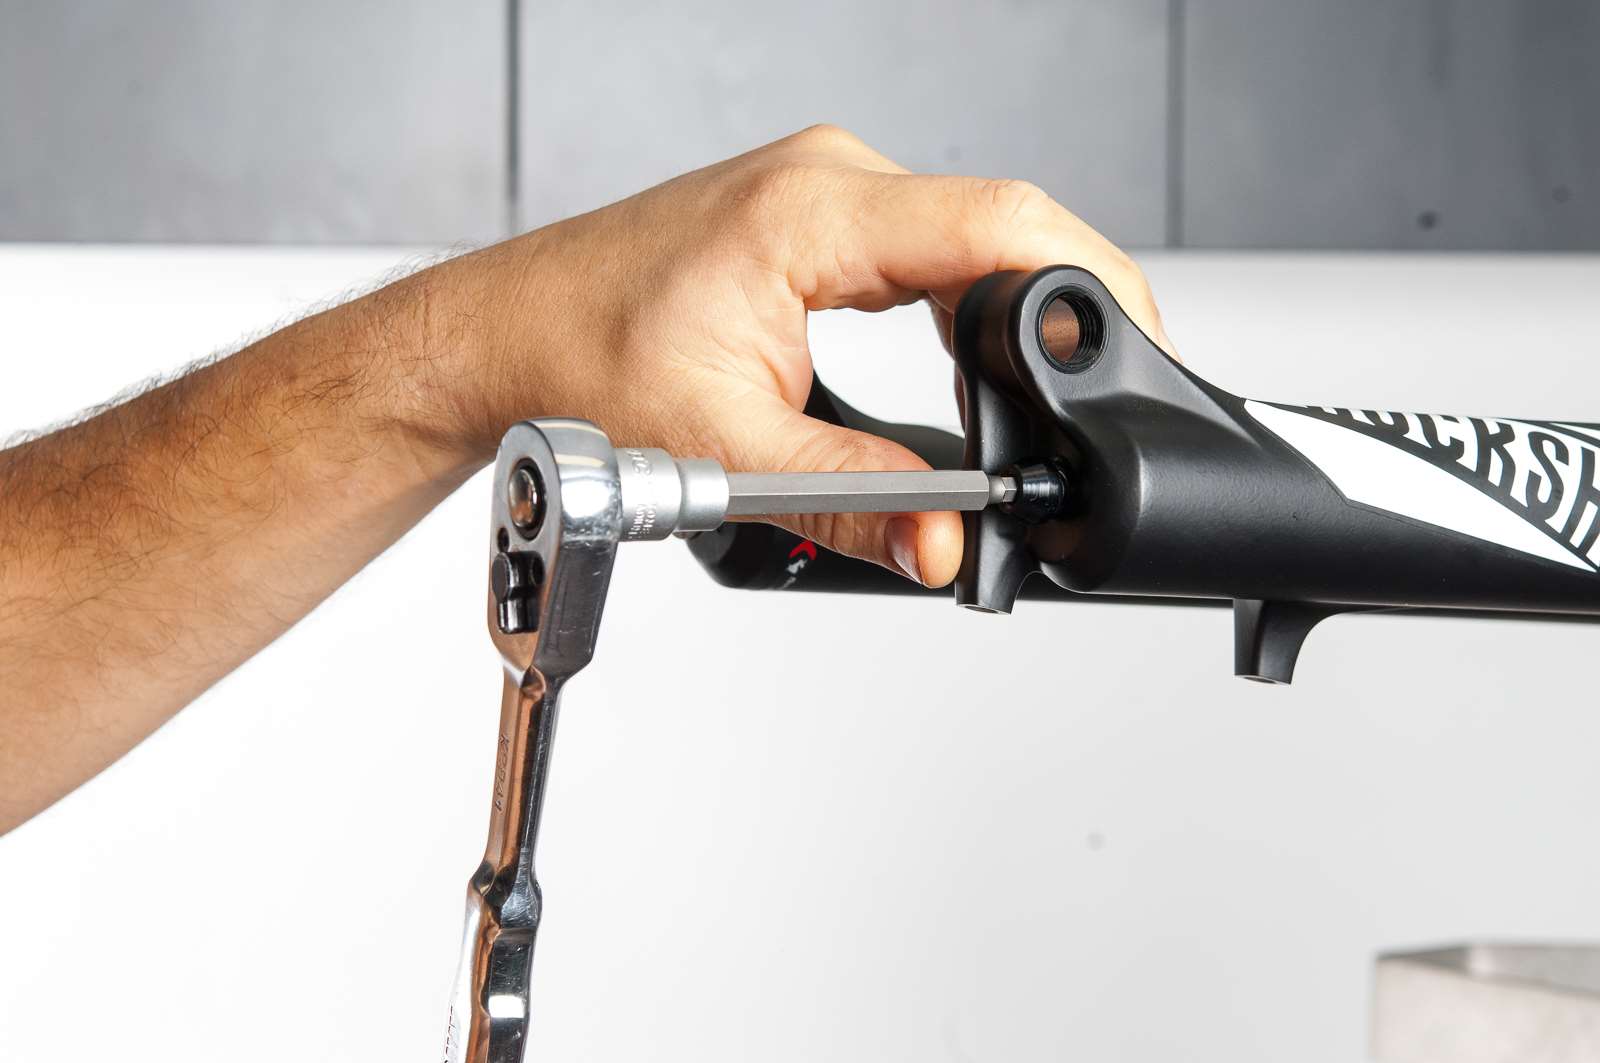
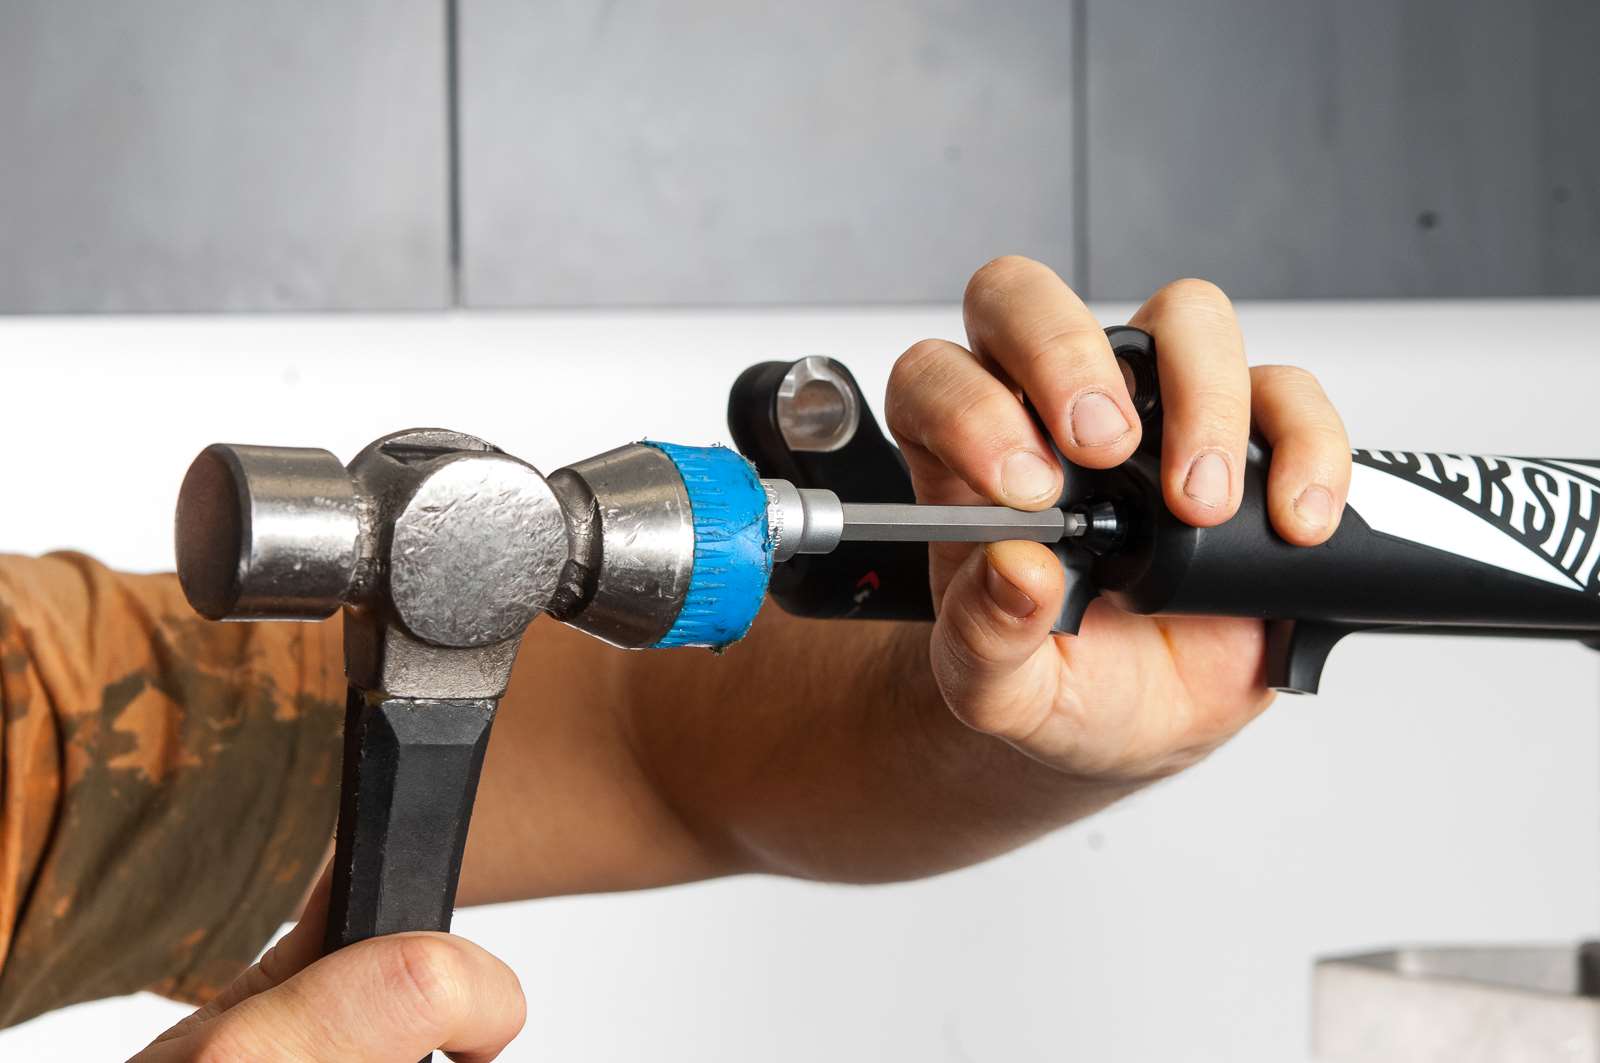
Take your 5mm allen key and undo the bottom bolts 2 turns. This will leave a small gap between the lowers and the underside of the bolt.
STEP FOUR
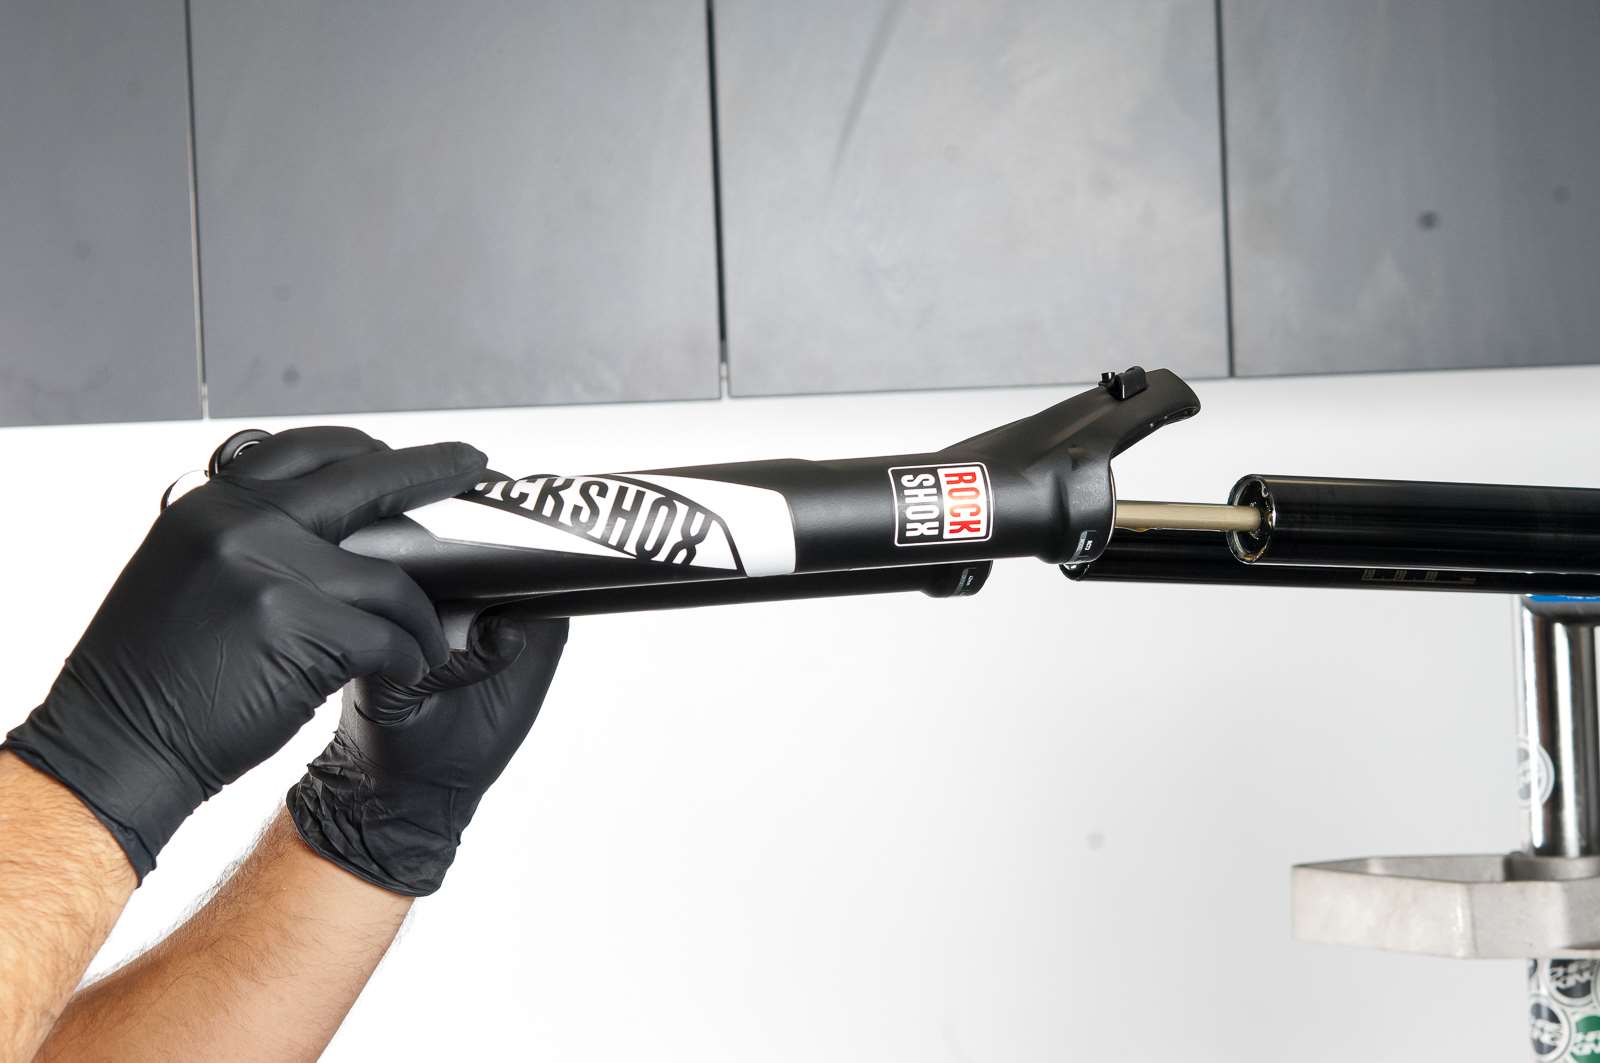
Next with your allen key still in the bolt gently tap the bolt to release the lowers. Slide off the lowers.
STEP FIVE
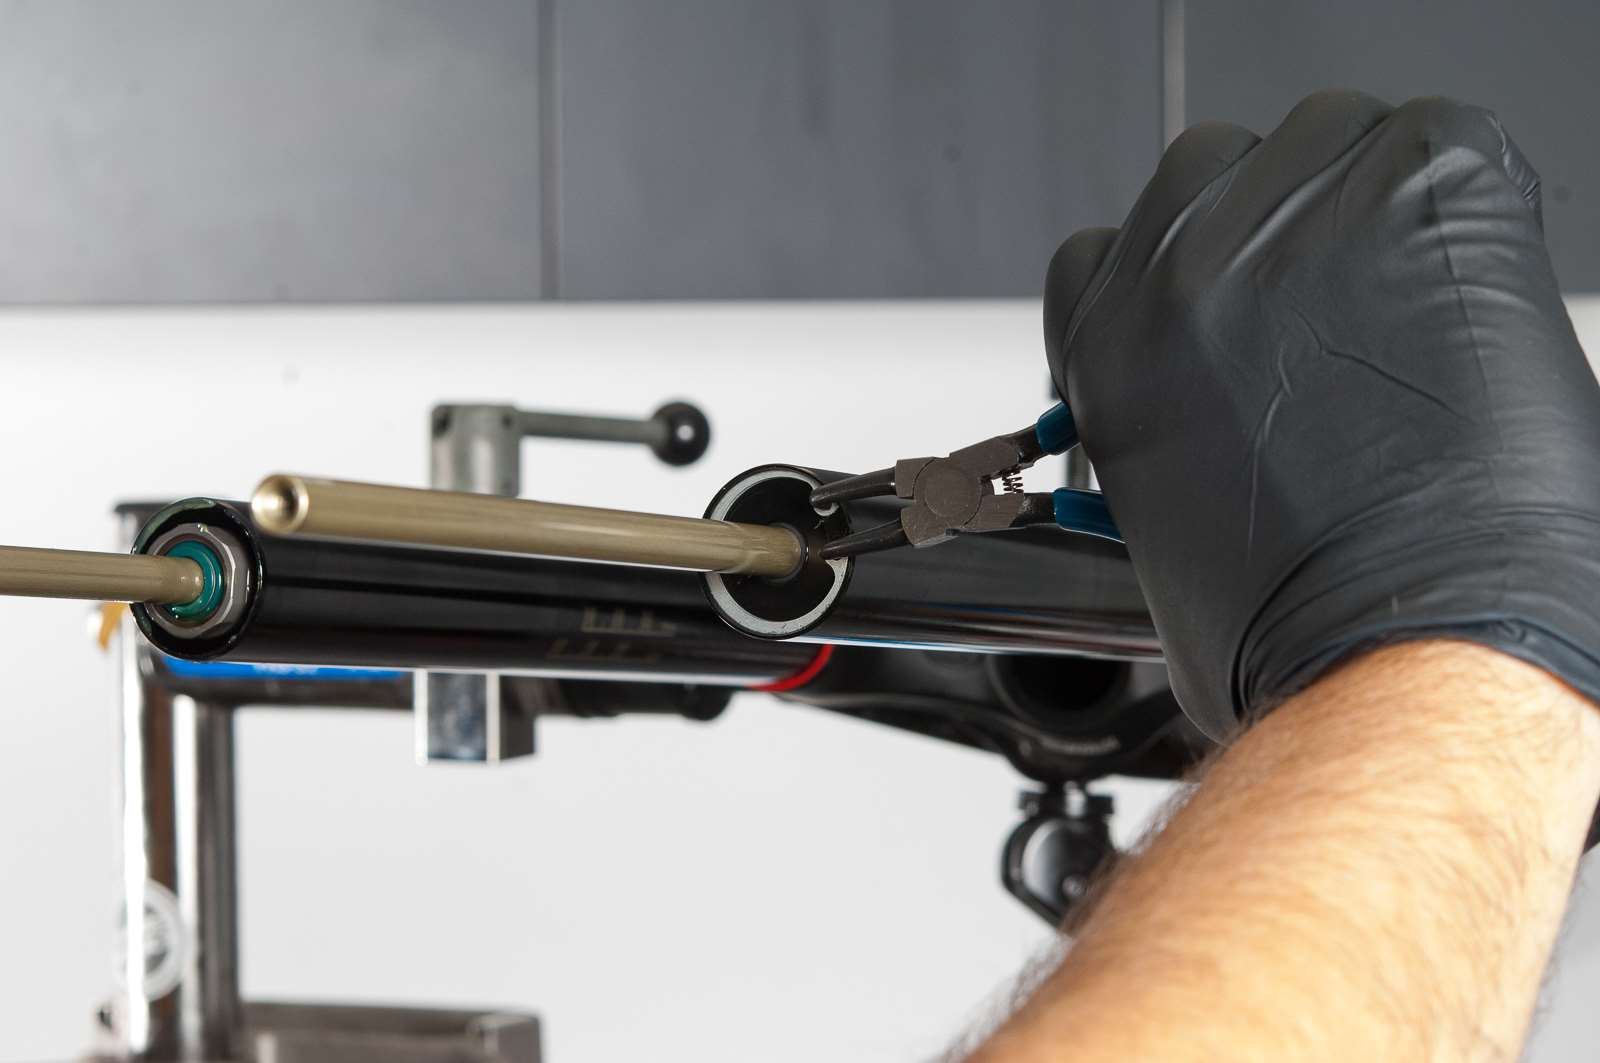
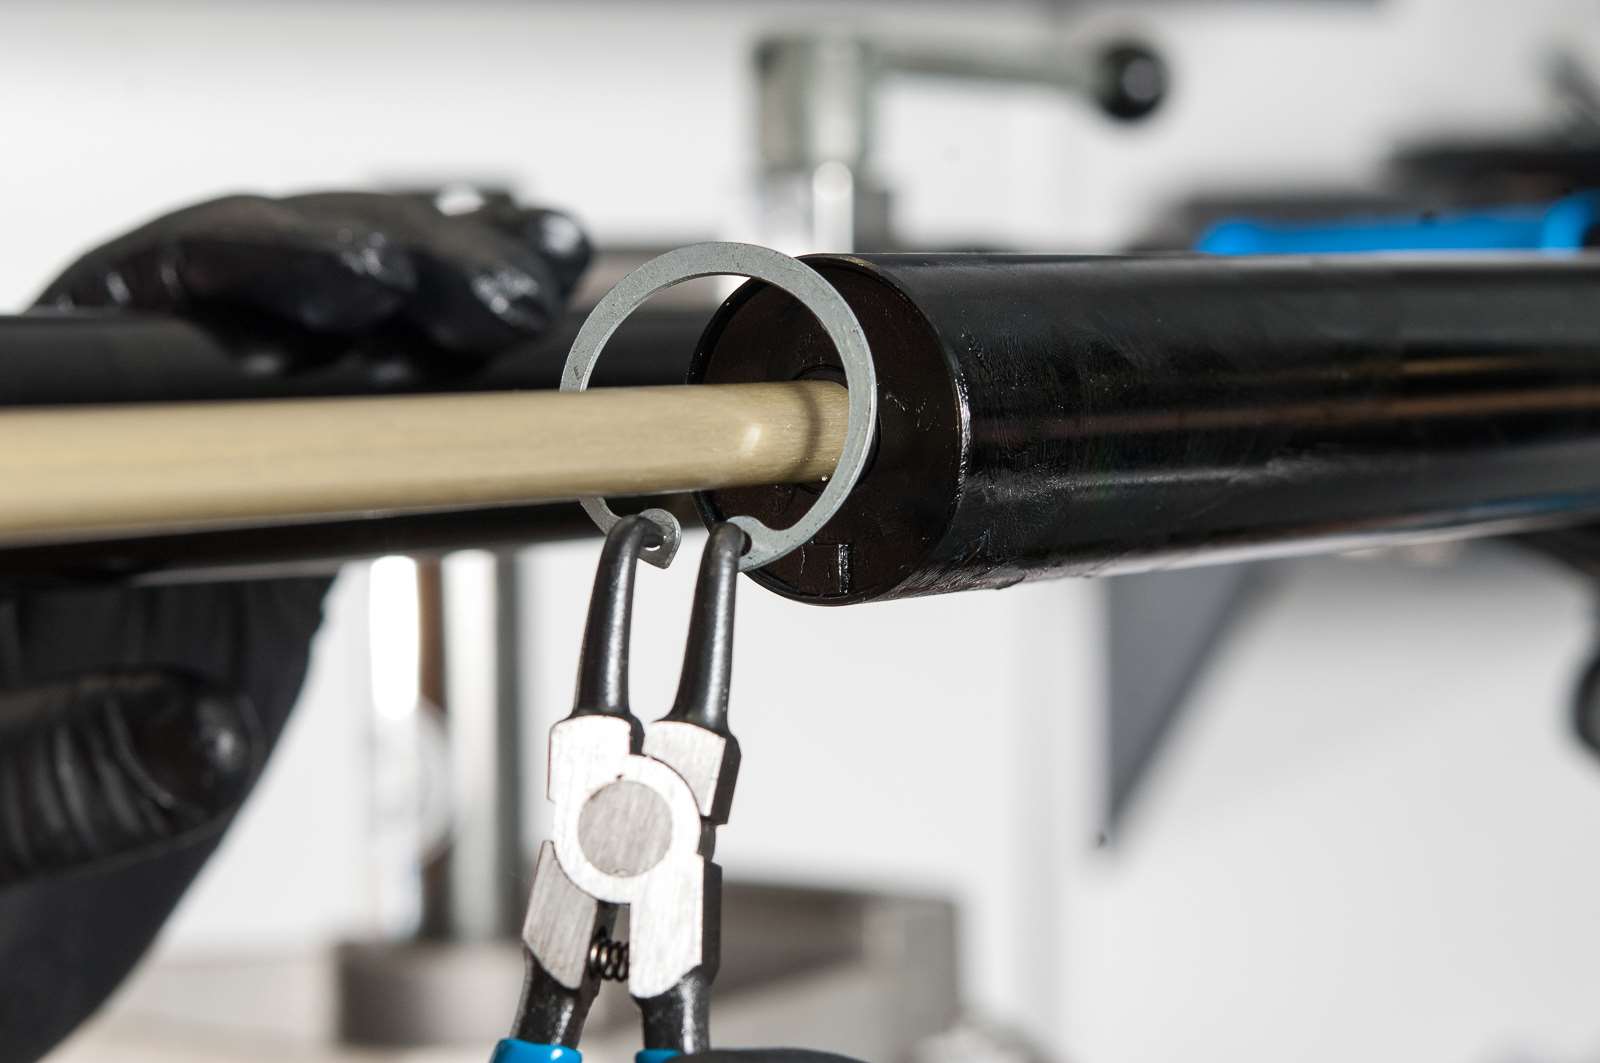
On the one side you will see the bottom of the damper and the other you will see a circlip. This clip holds the airshaft in place. This airshaft will need to be switched out in order to change the travel of the fork. Remove the clip with your pliers. This can be a little fiddly.
STEP SIX
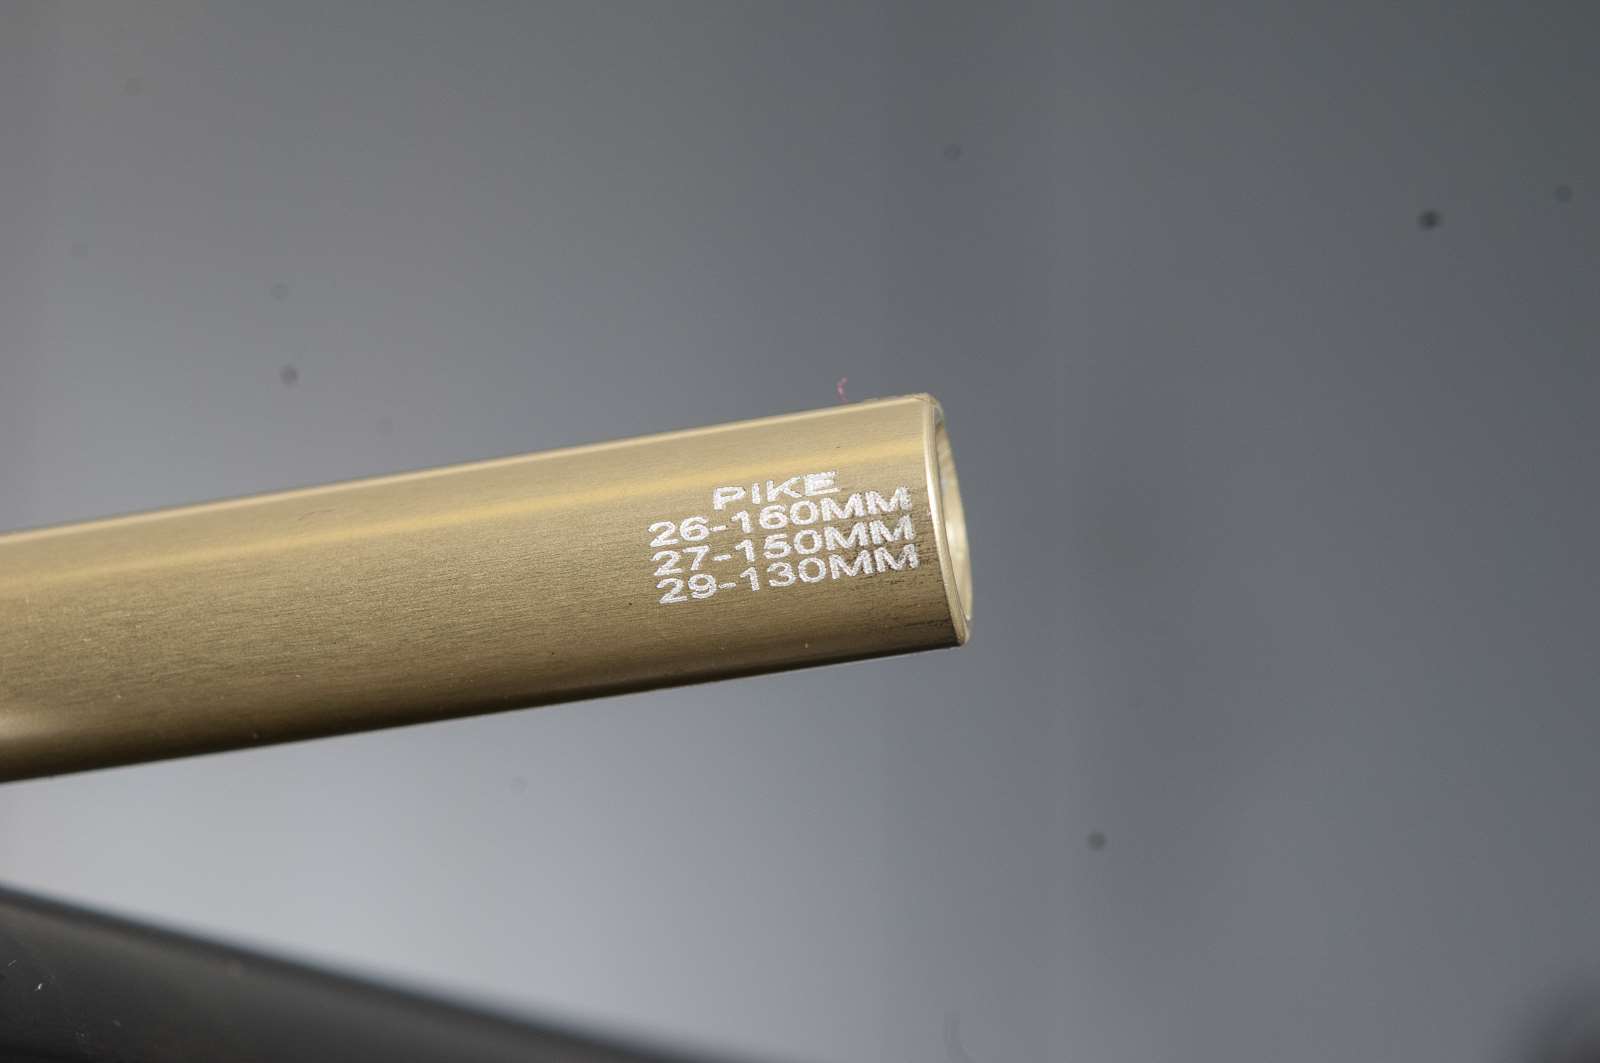
On the bottom of all of RockShox airshafts they will have the lengths marked on them. This fork is a 27.5 fork so is marked 150mm, which is what we want to drop the fork to.
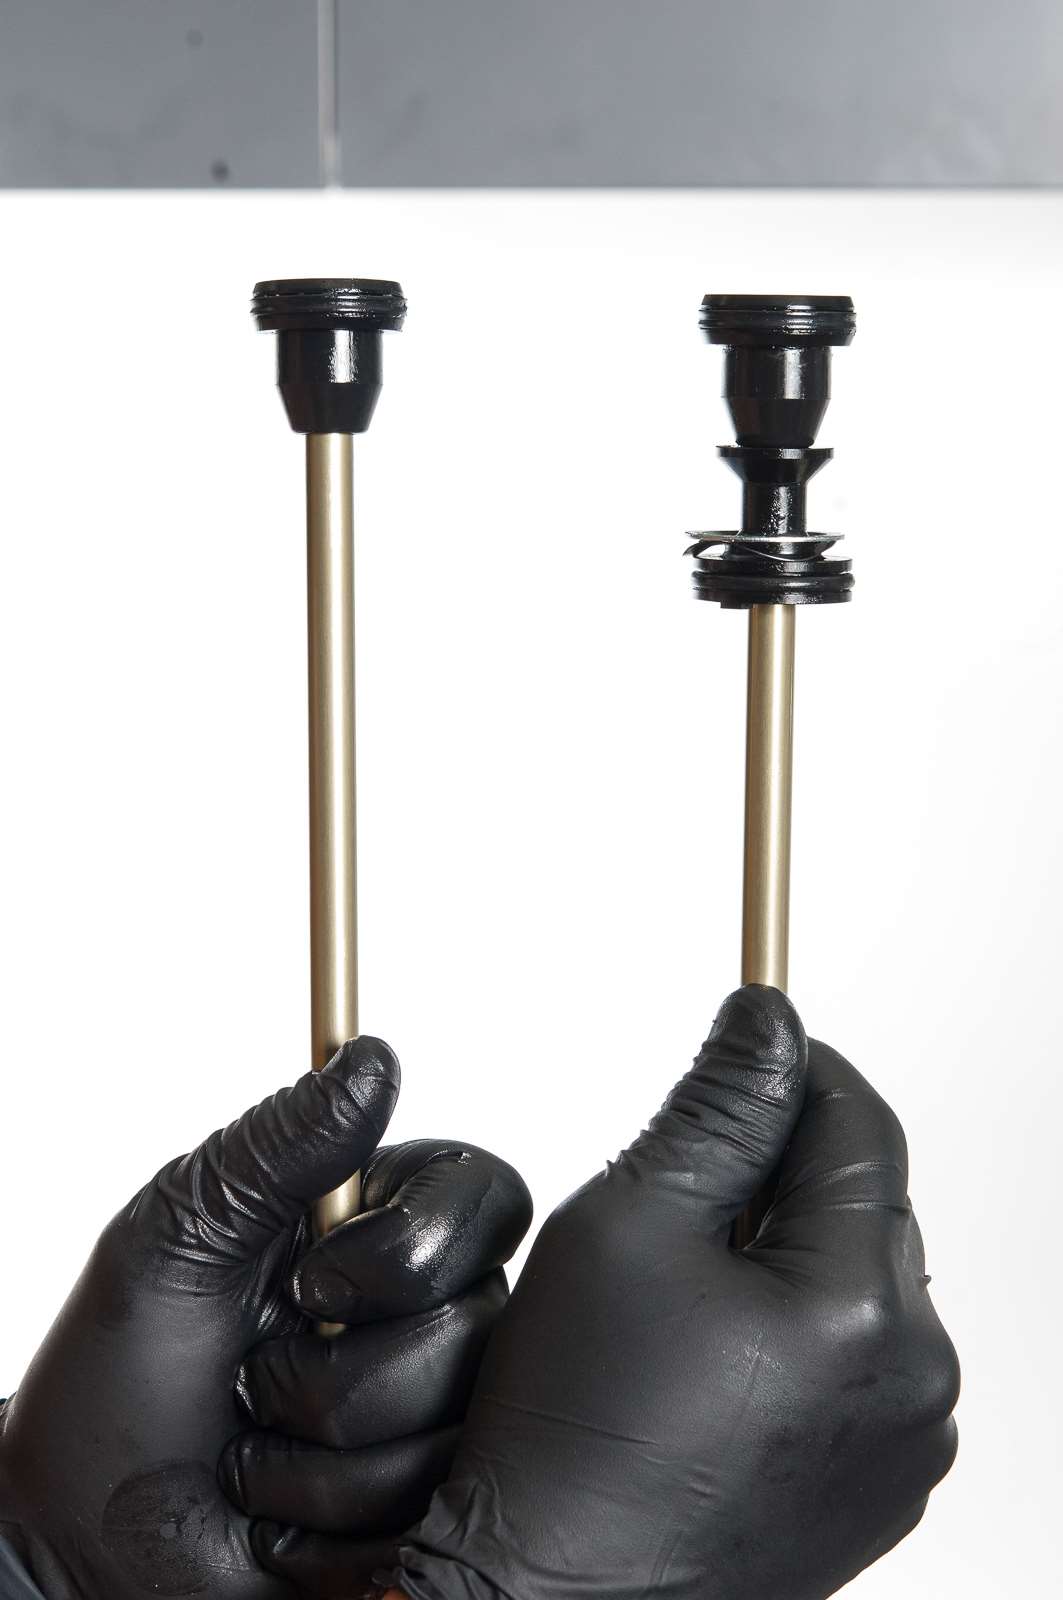
Swap the lower parts of the shaft over to the new shaft. Using Slick Honey, lightly grease the shaft before you slide the parts on.

STEP EIGHT
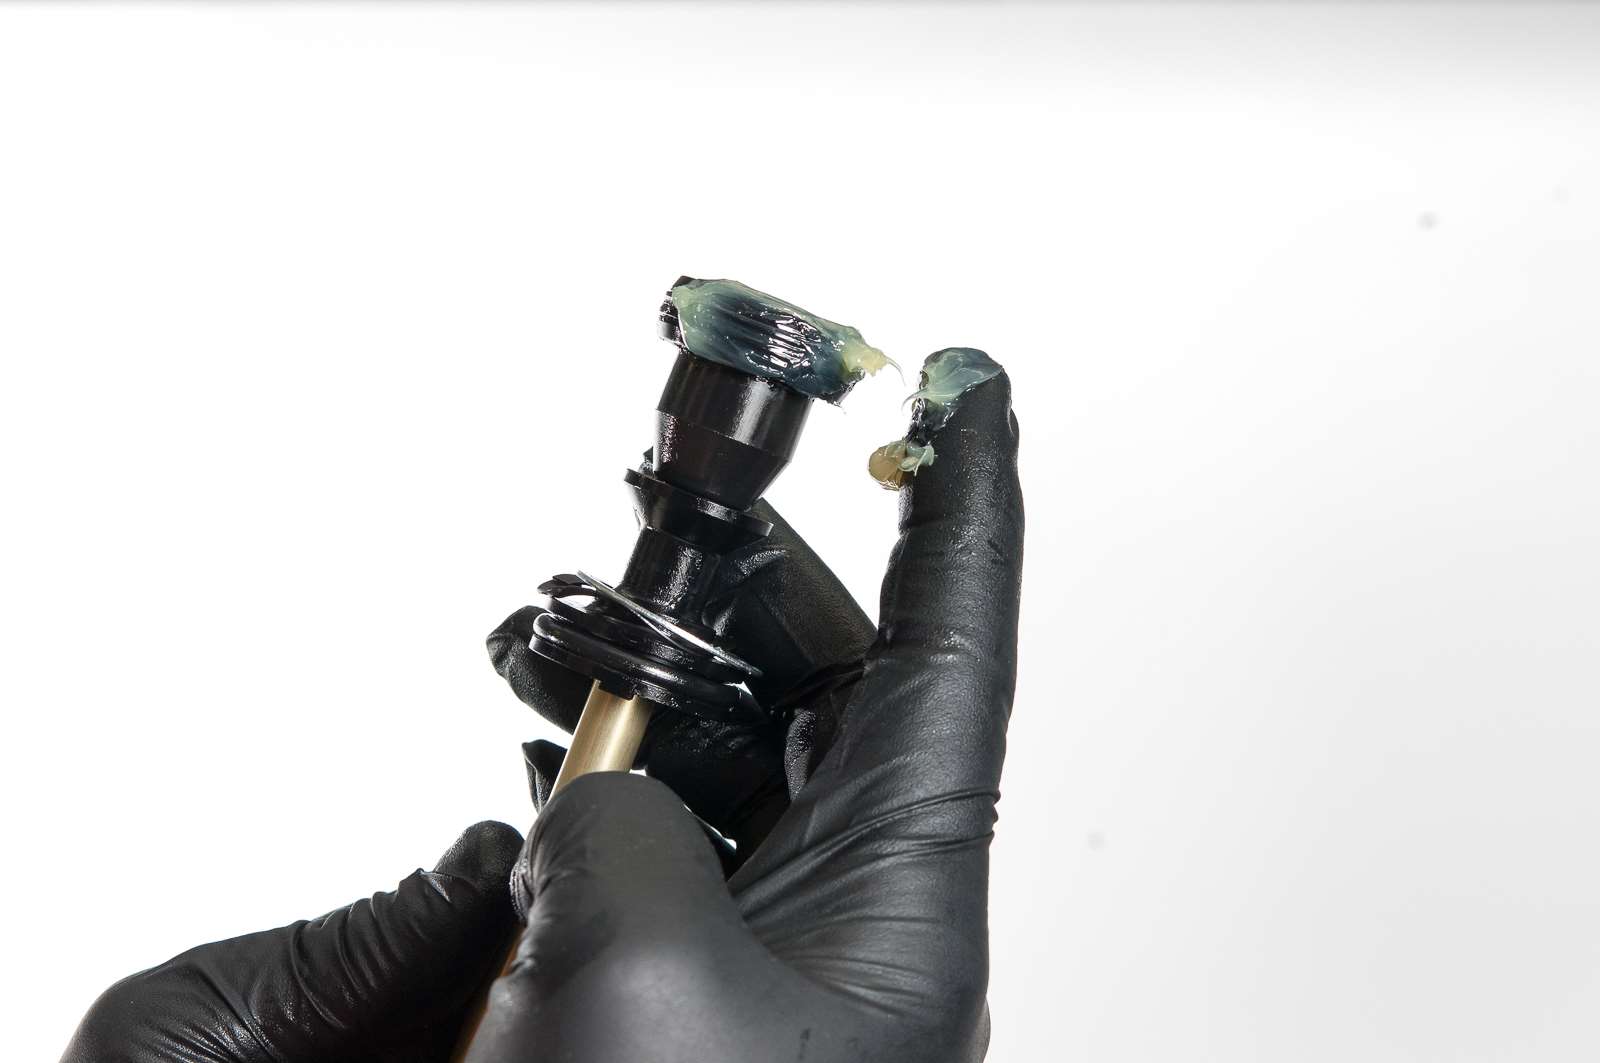
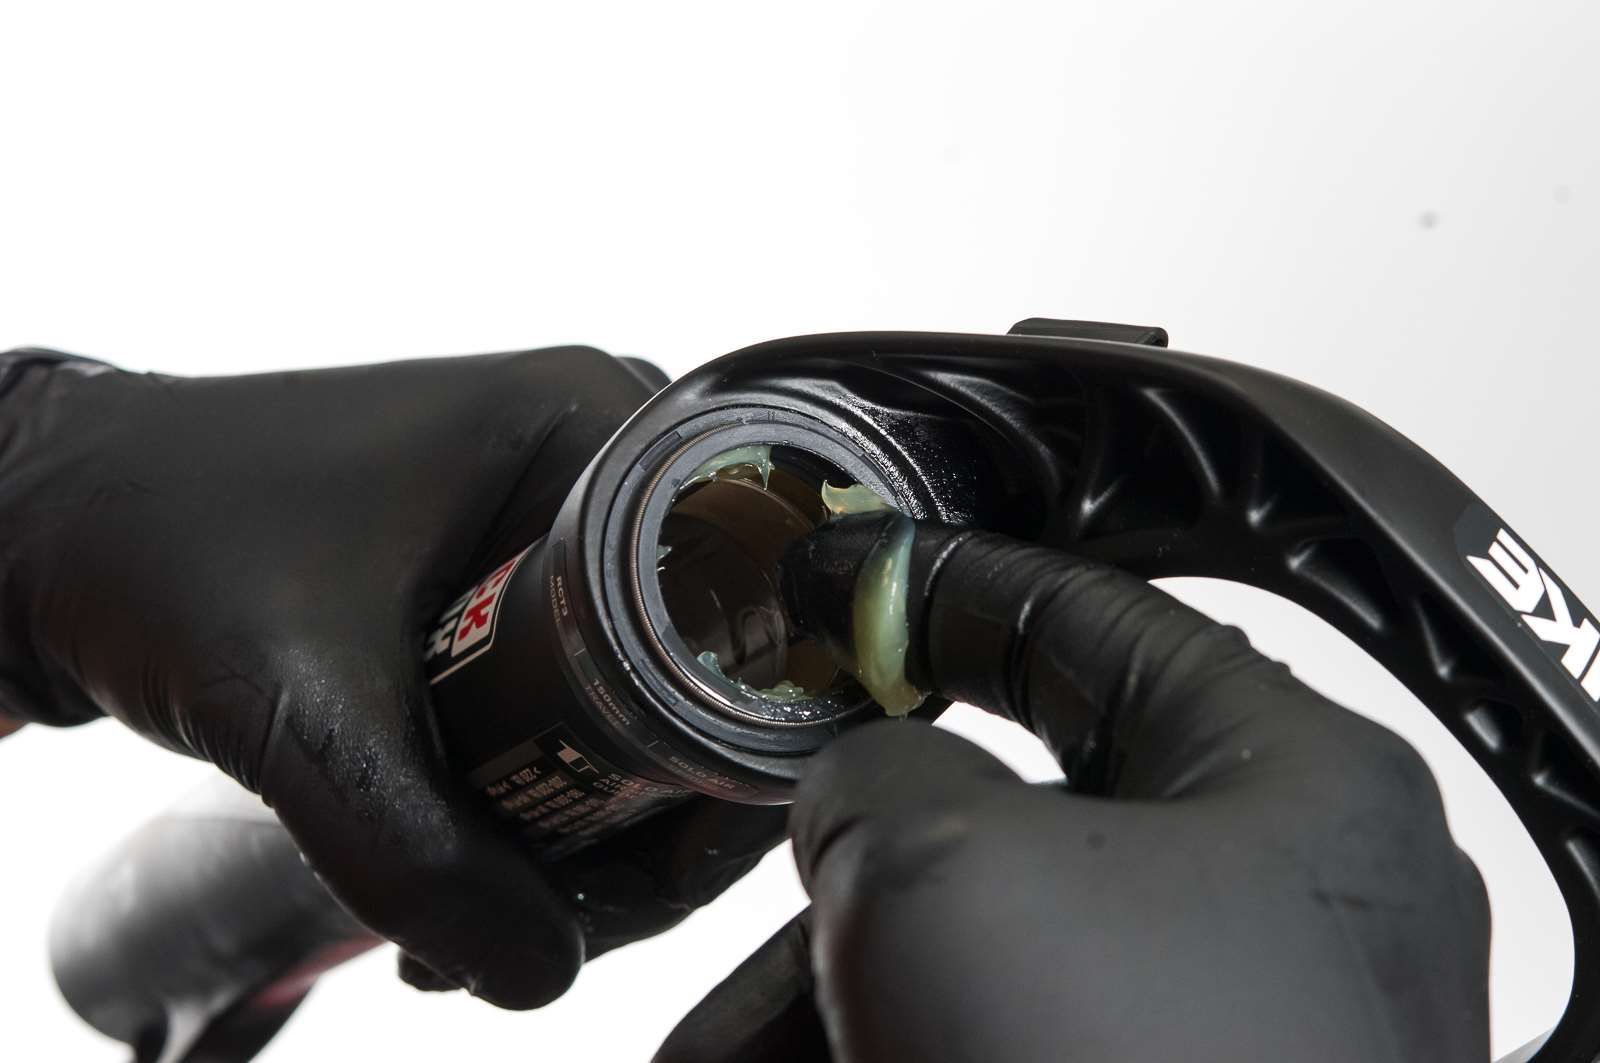
Lightly cover the top seal with Slick Honey too.
STEP NINE
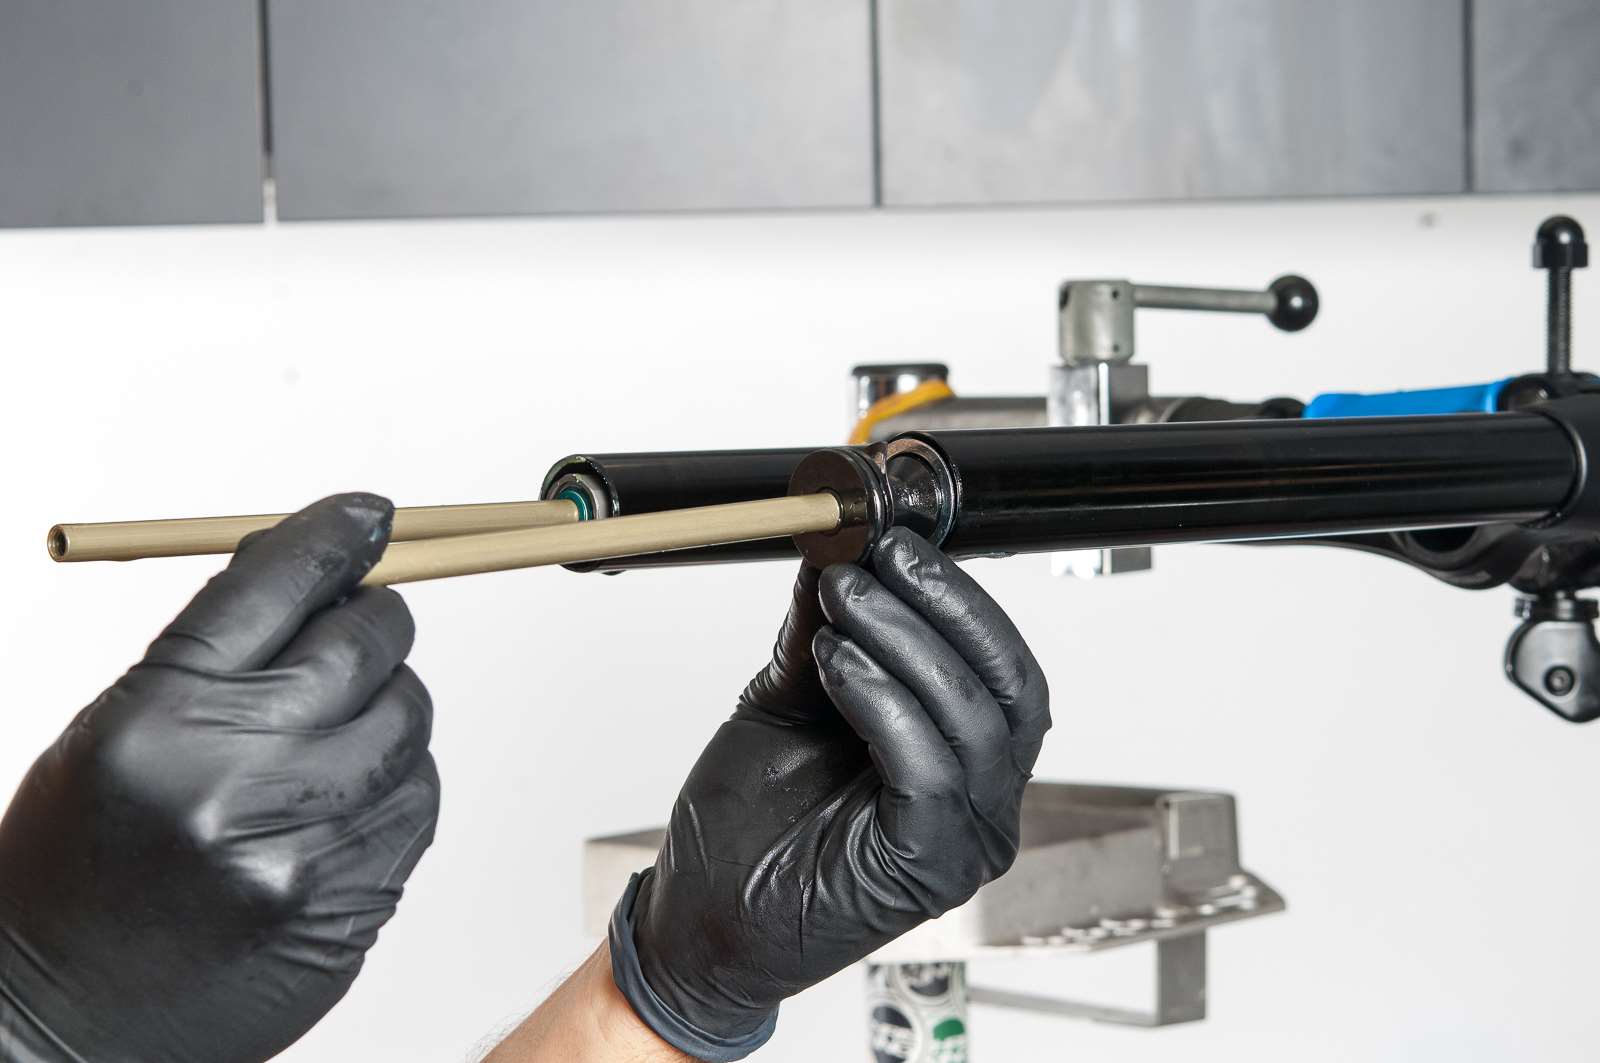
Pop the airshaft back into the fork and replace the circlip making sure the clip is firmly in place. You should always make sure that the sharp edged side of the clip is facing outwards.
STEP TEN
Now is a good time to replace the dust seals if they haven’t been done for a while. As this fork is new, I will lightly grease the seals with Slick Honey and slide them back on 1/2 way.
STEP ELEVEN
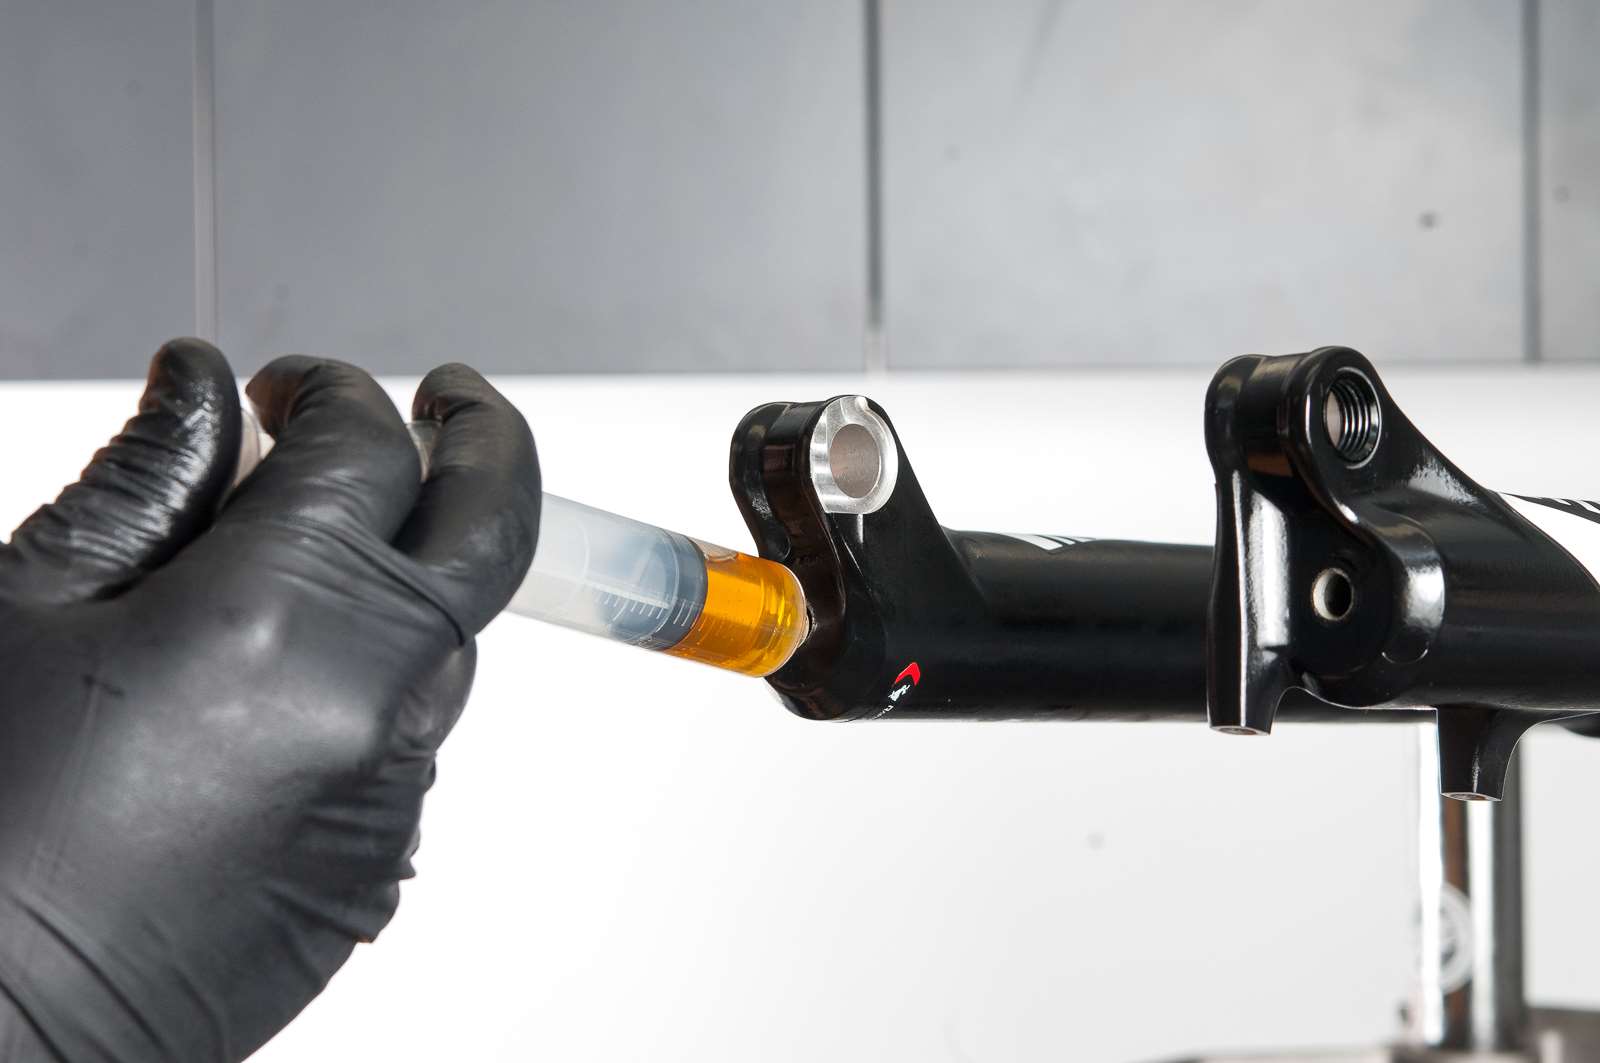
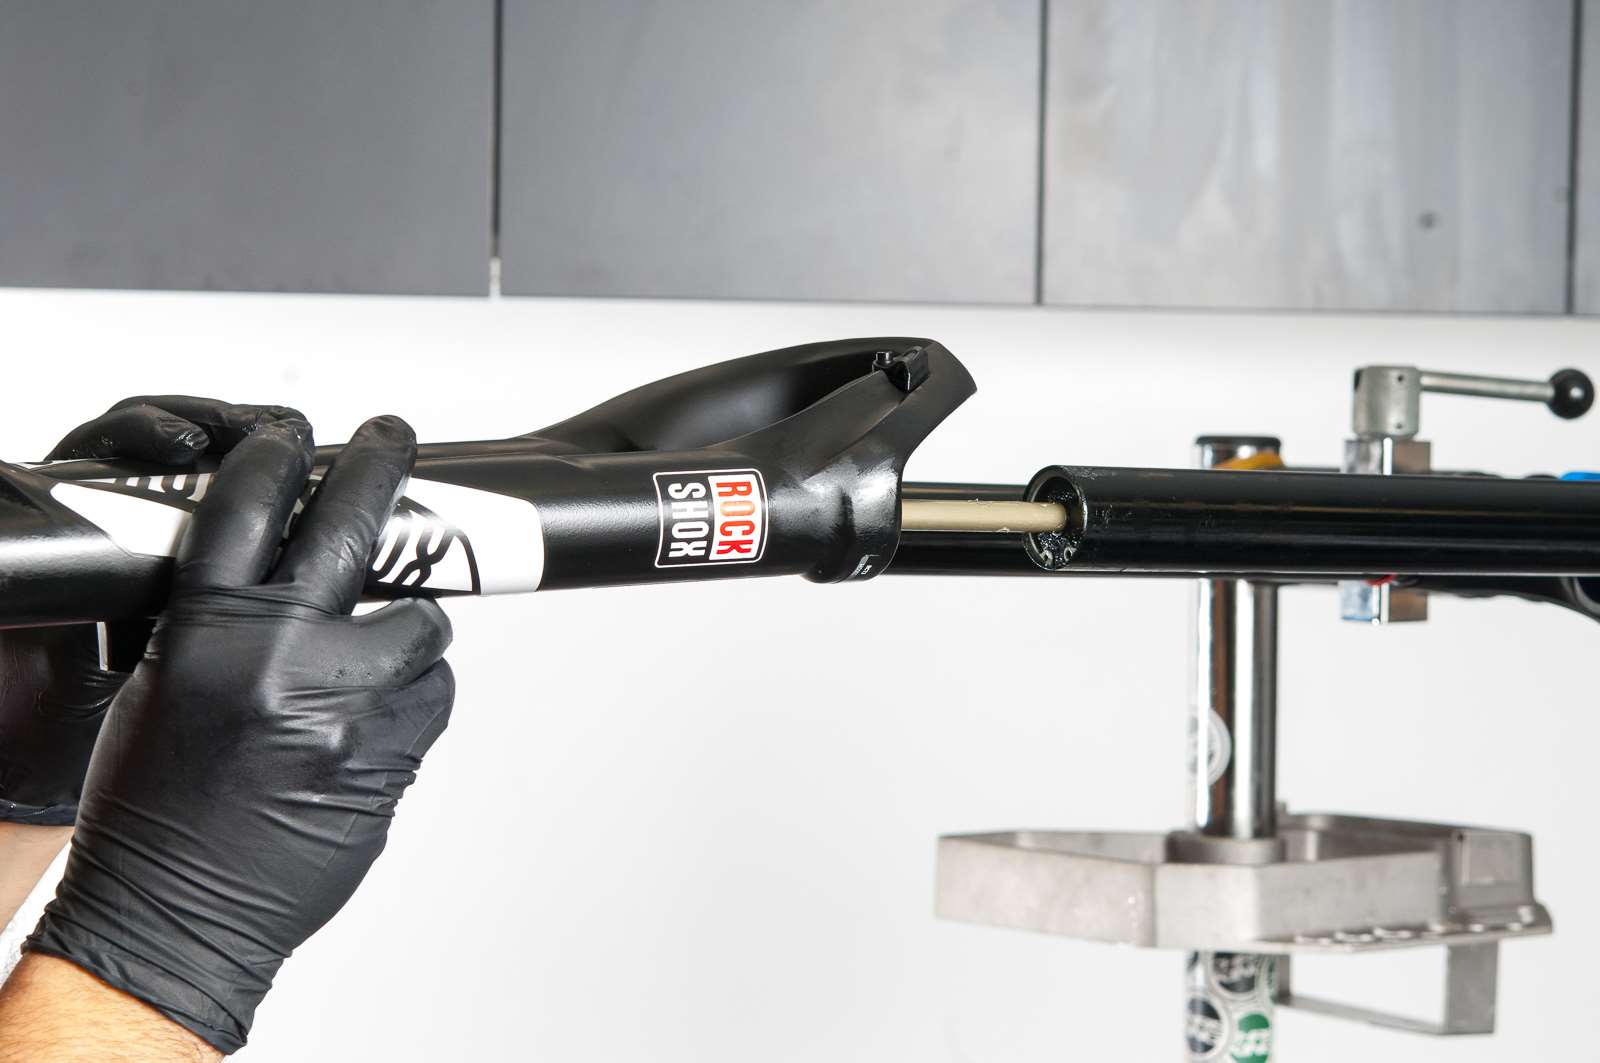
Drop 10cc of RockShox 0-W30 oil into the bottom of each leg and slide the lowers on fully.
STEP TWELVE
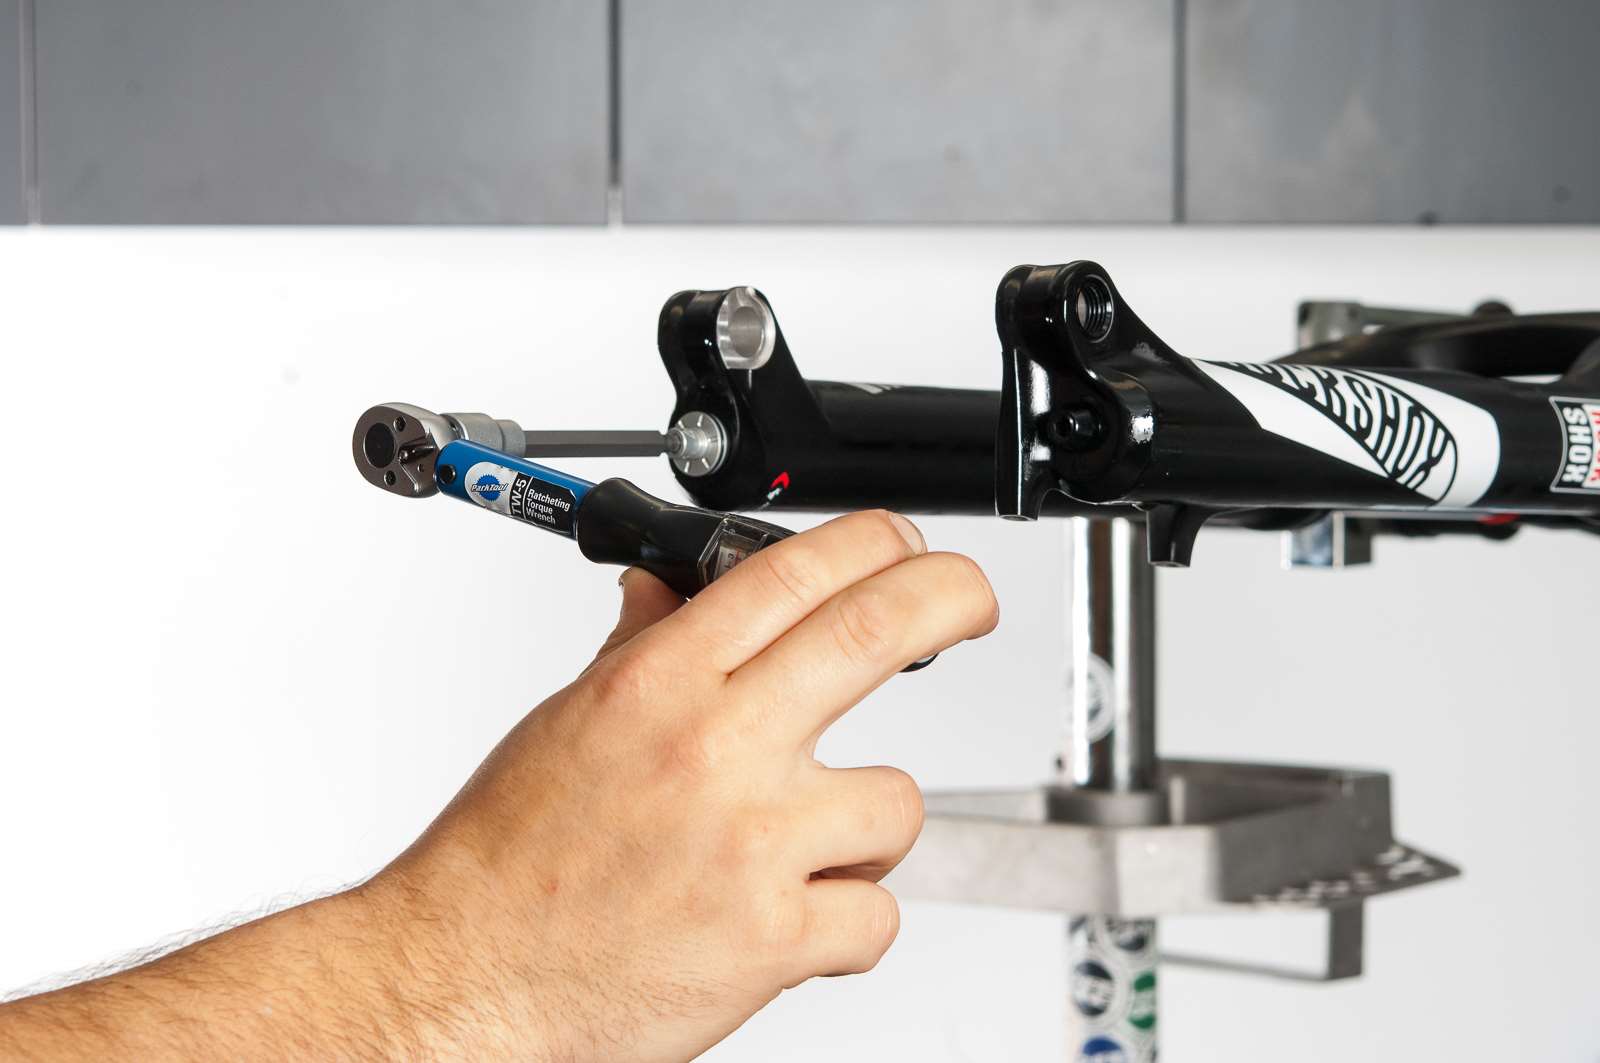
Screw the bolts back in and torque to 7.3nm. Pop the rebound adjuster on.
STEP THIRTEEN
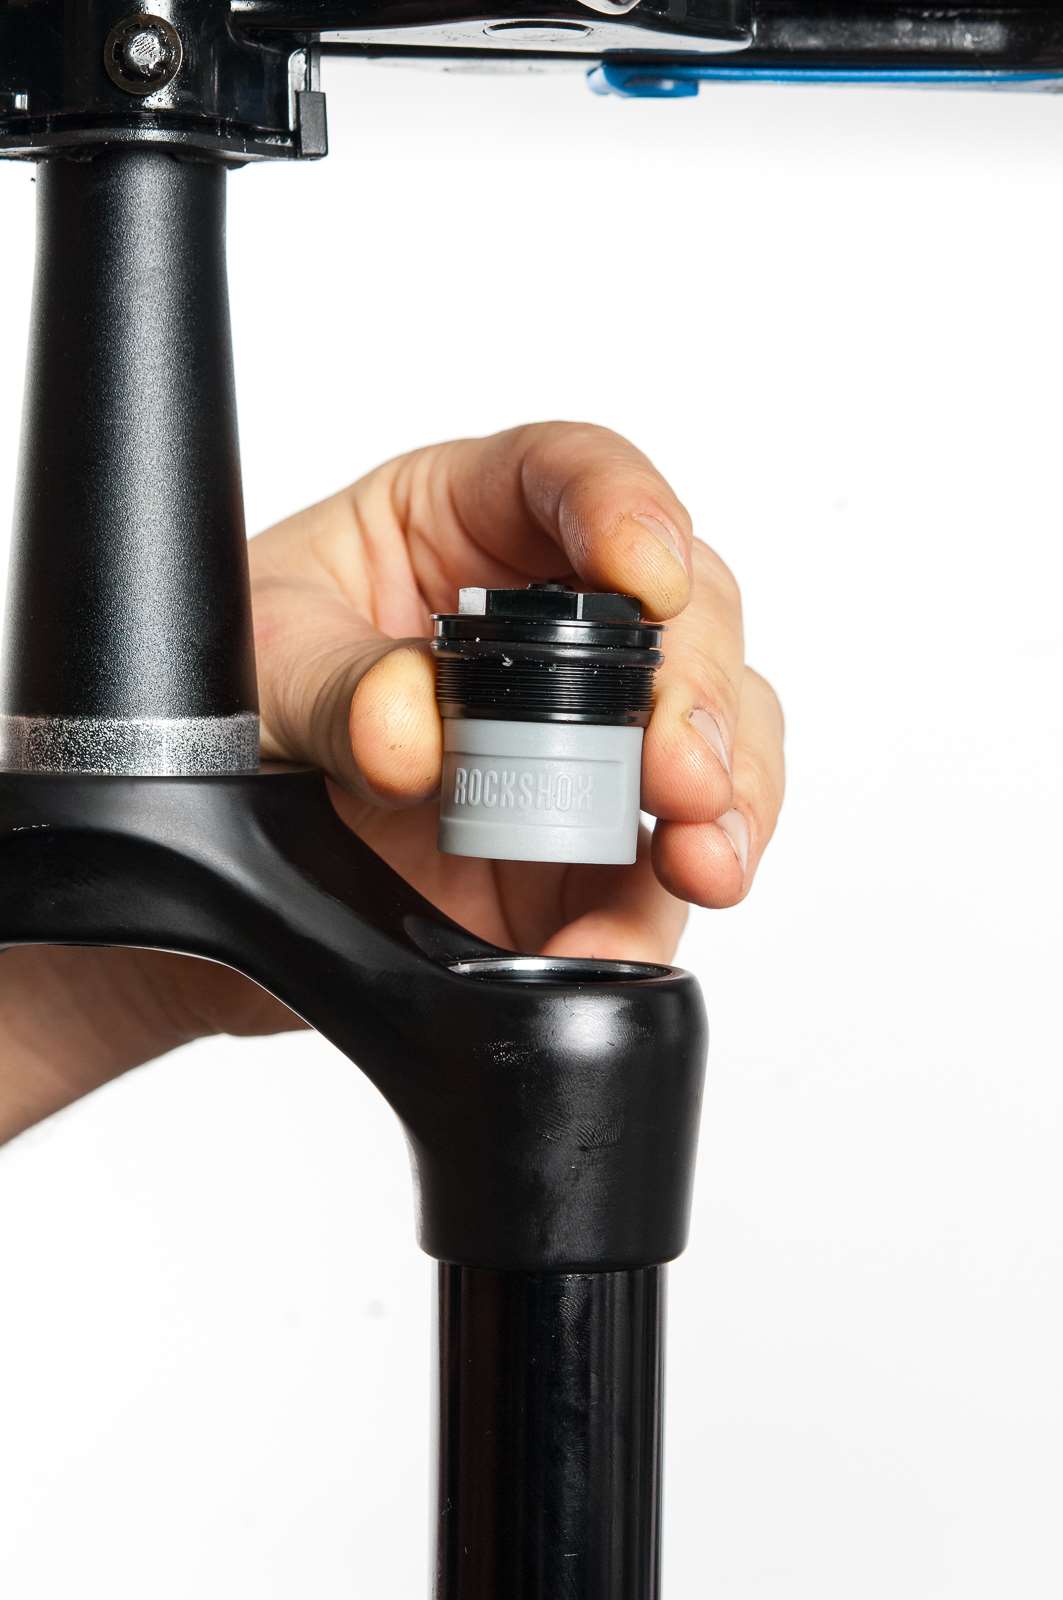
As you have adjusted the travel of the fork, you may need to adjust the volume spacers in the fork. RockShox have a chart online with the factory settings of volume spacers according to the amount of travel your fork now has. Adjust accordingly.
STEP FOURTEEN
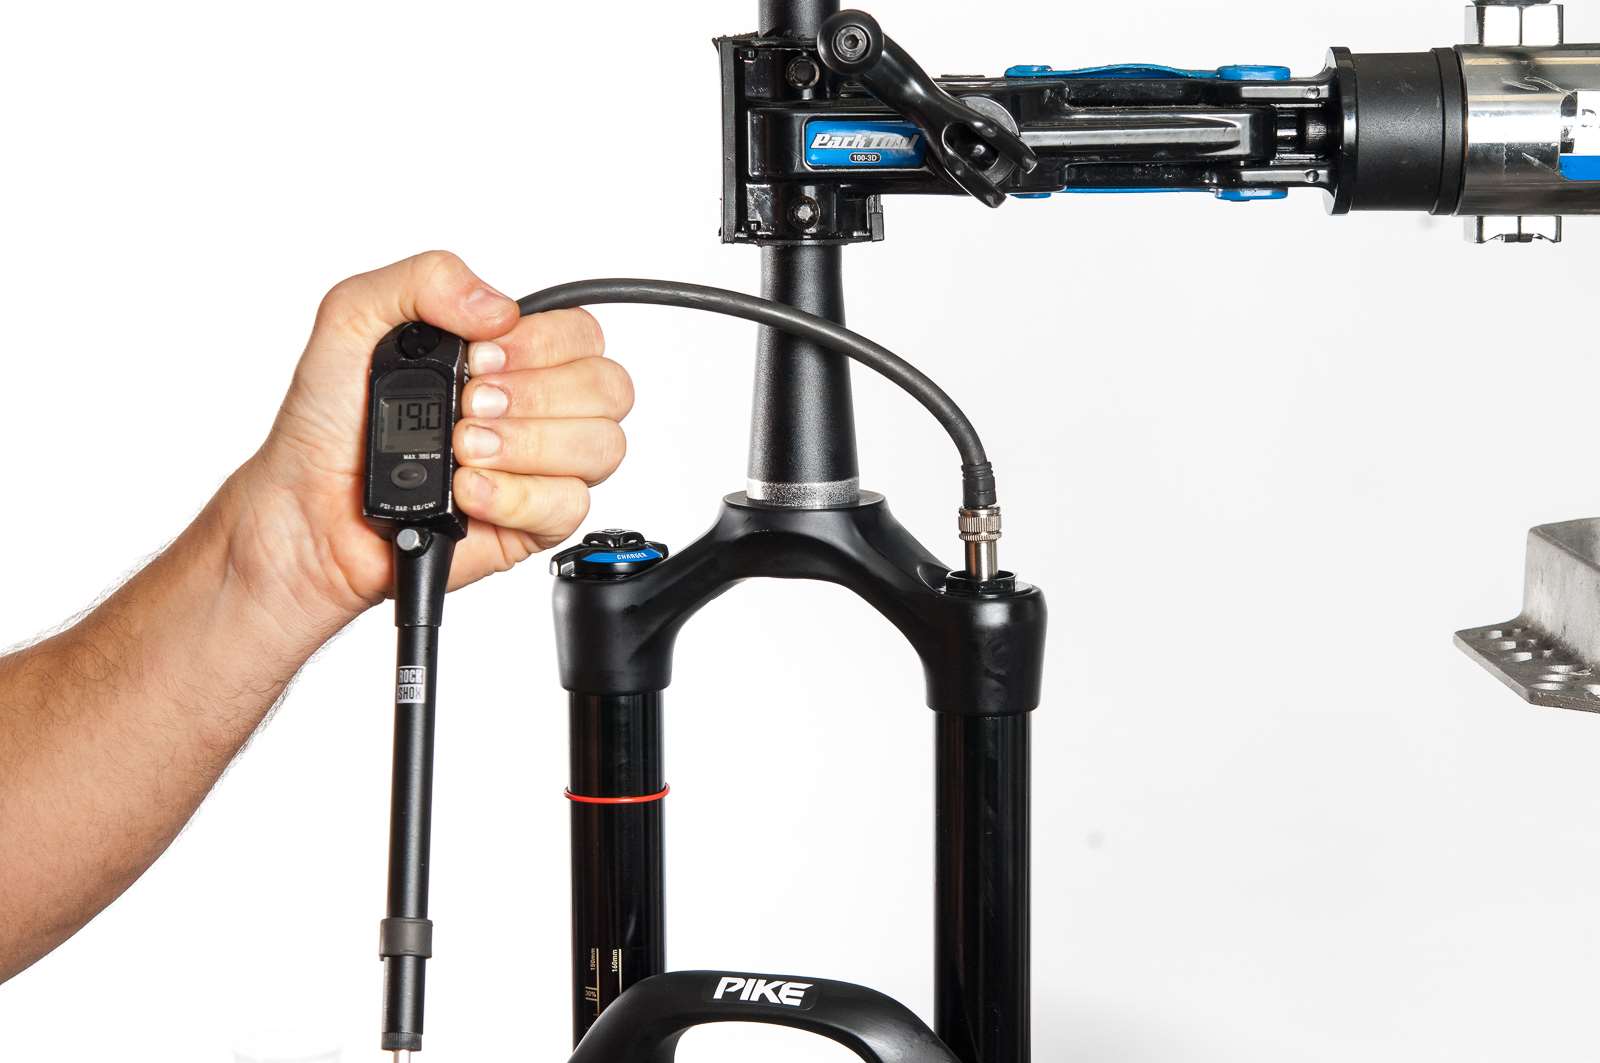
Put your valve back into your top cap and Inflate the fork back up to your usual pressure.


