How to bleed your SRAM Guides
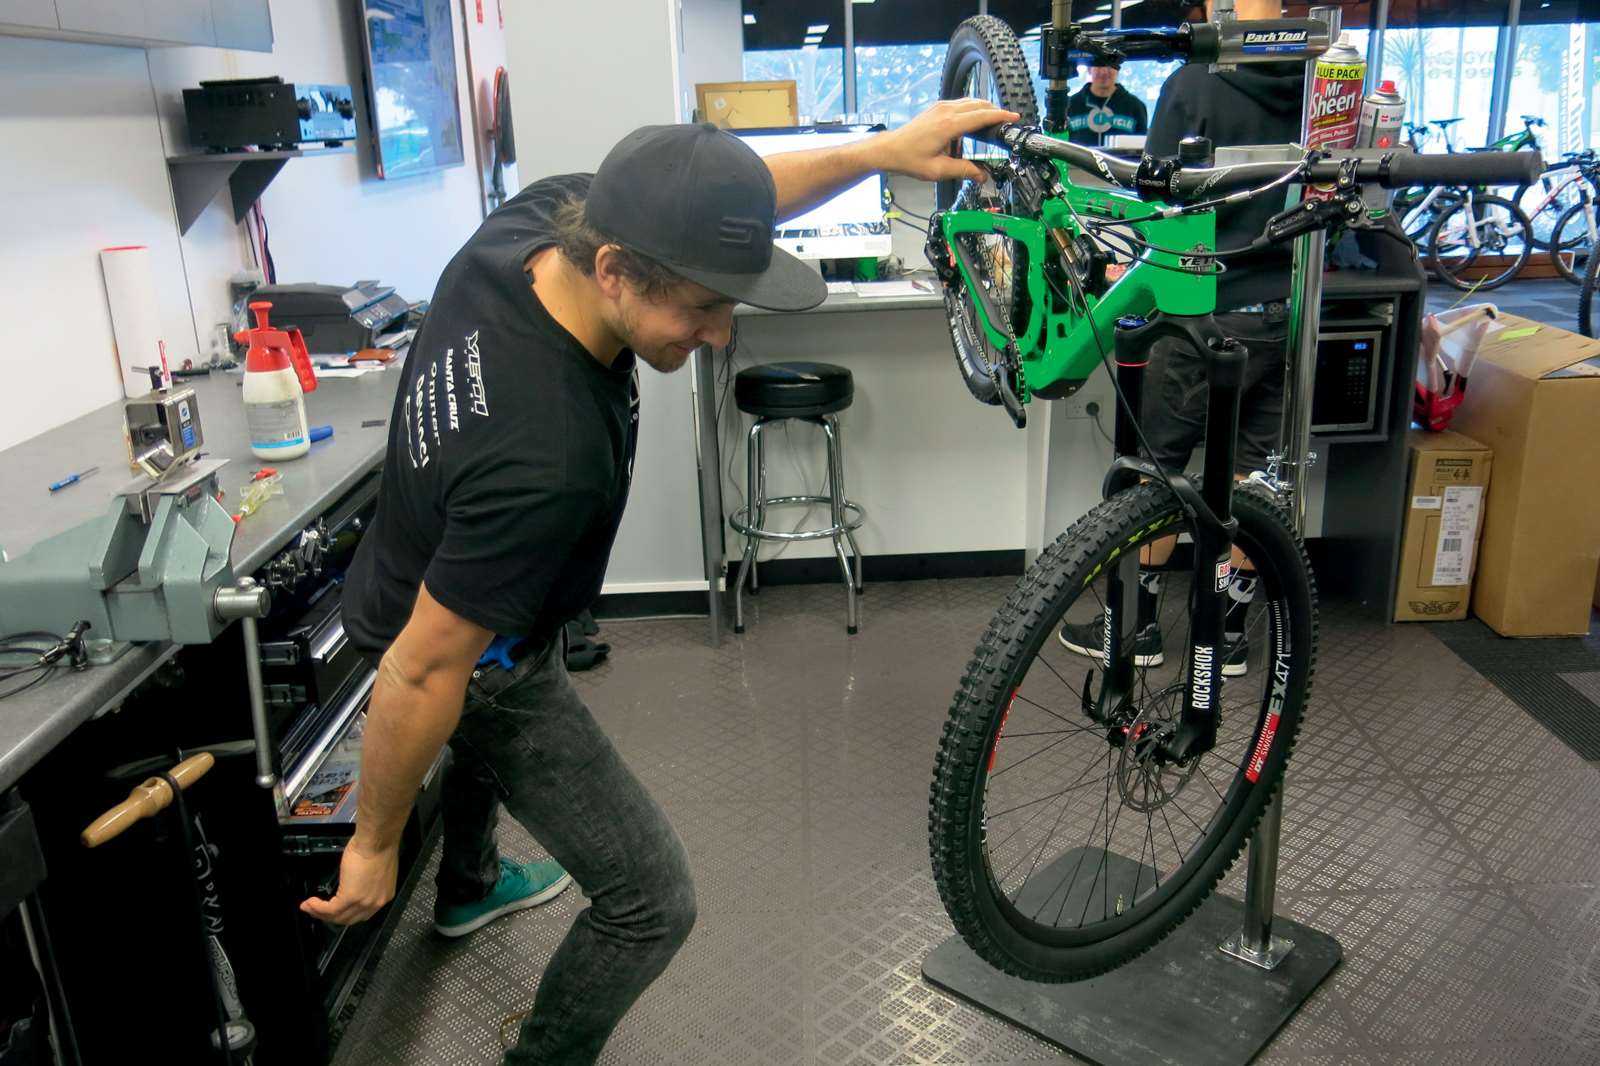
Being new to the market, it seems appropriate to do a how-to on the new SRAM Guide brakes. They’re new, work brilliantly and I’m sure you’ll see a lot of them on new bikes, or they might be a brake upgrade down the track.
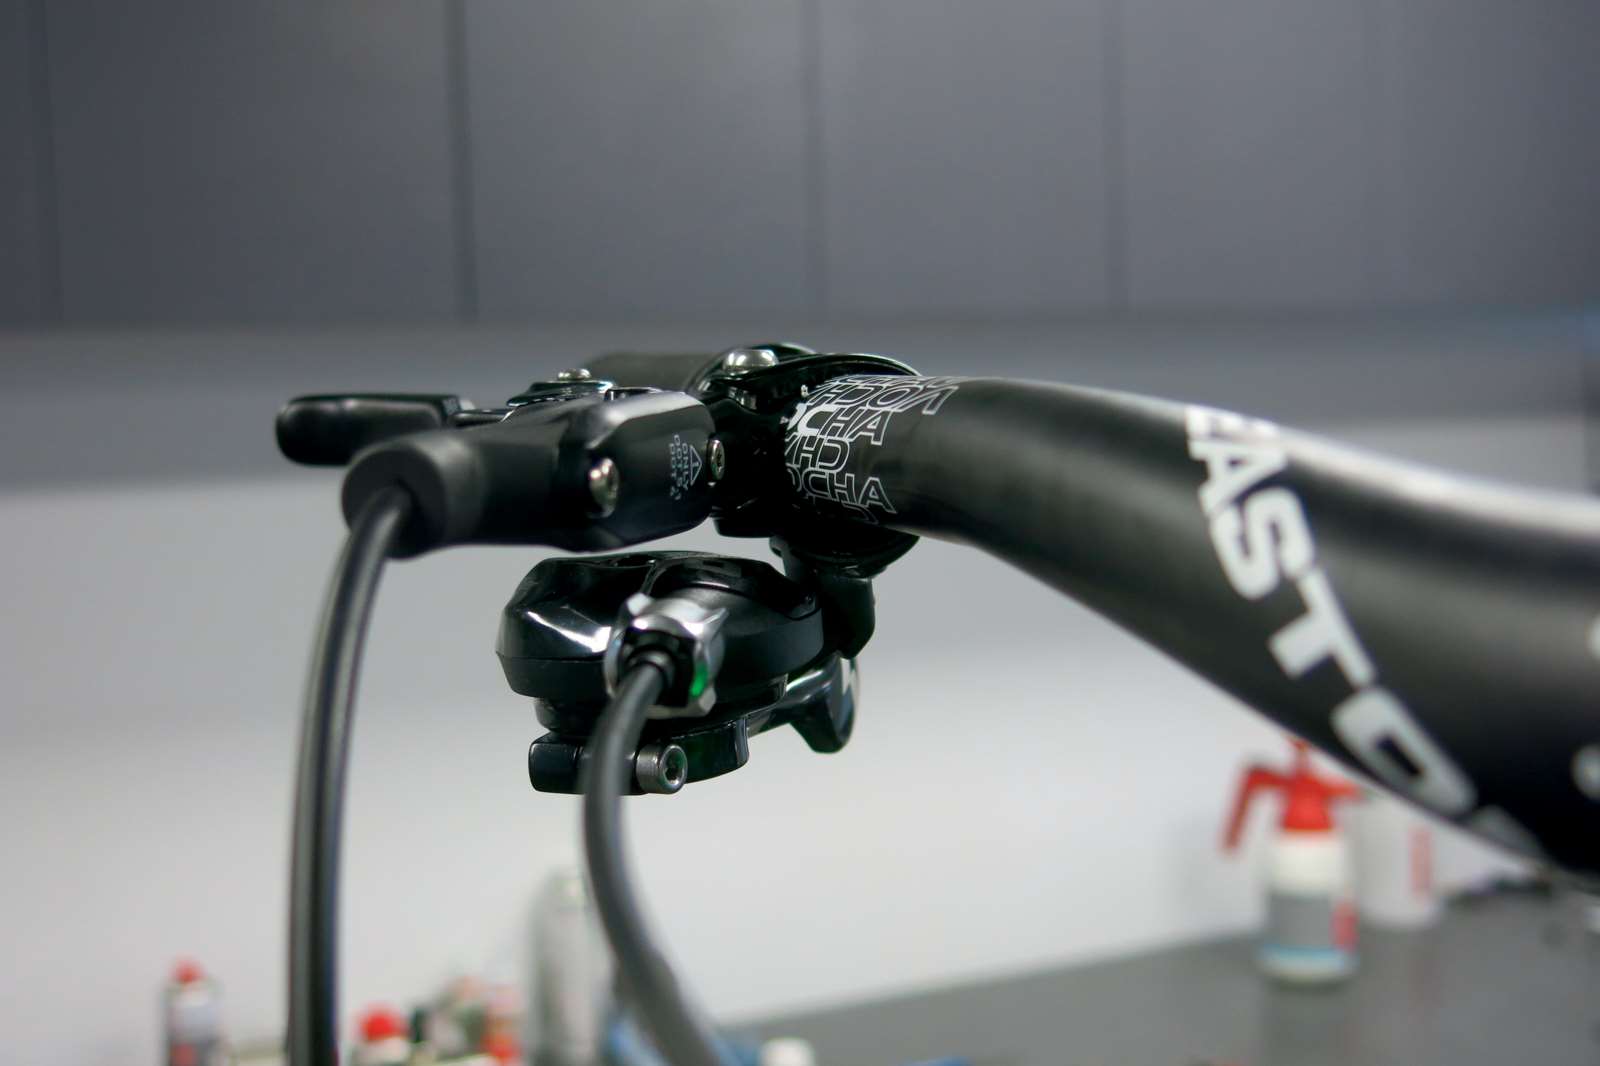
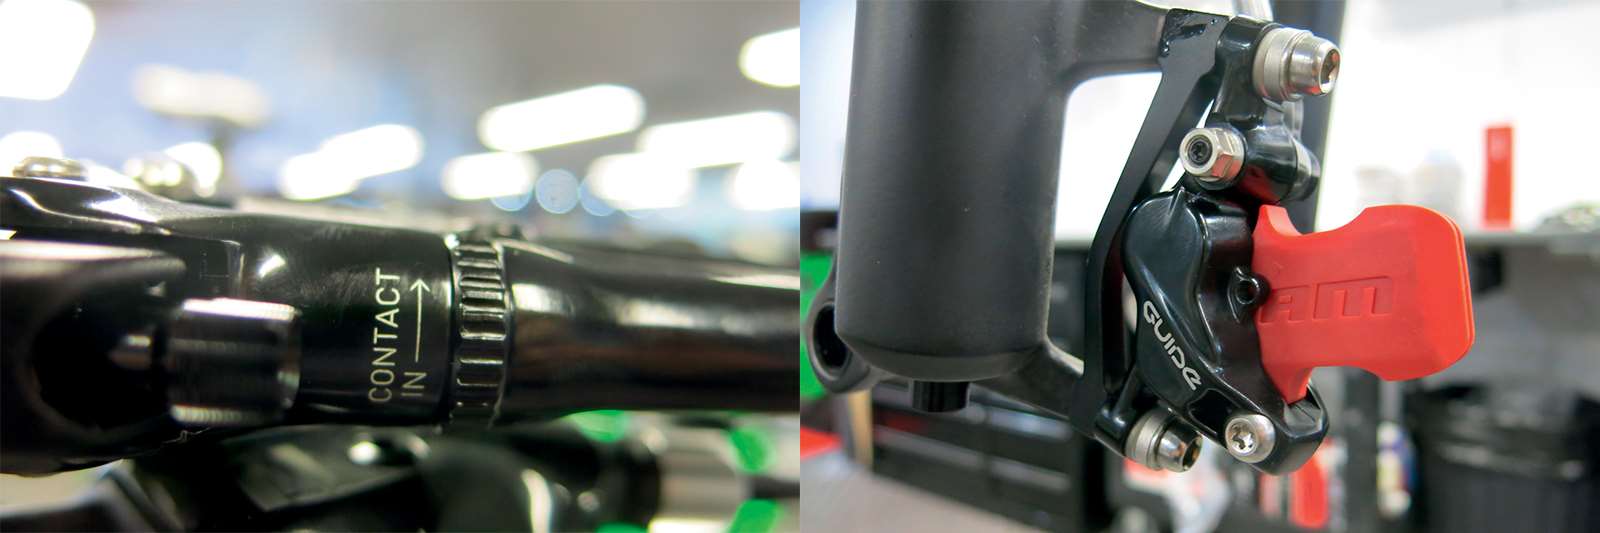
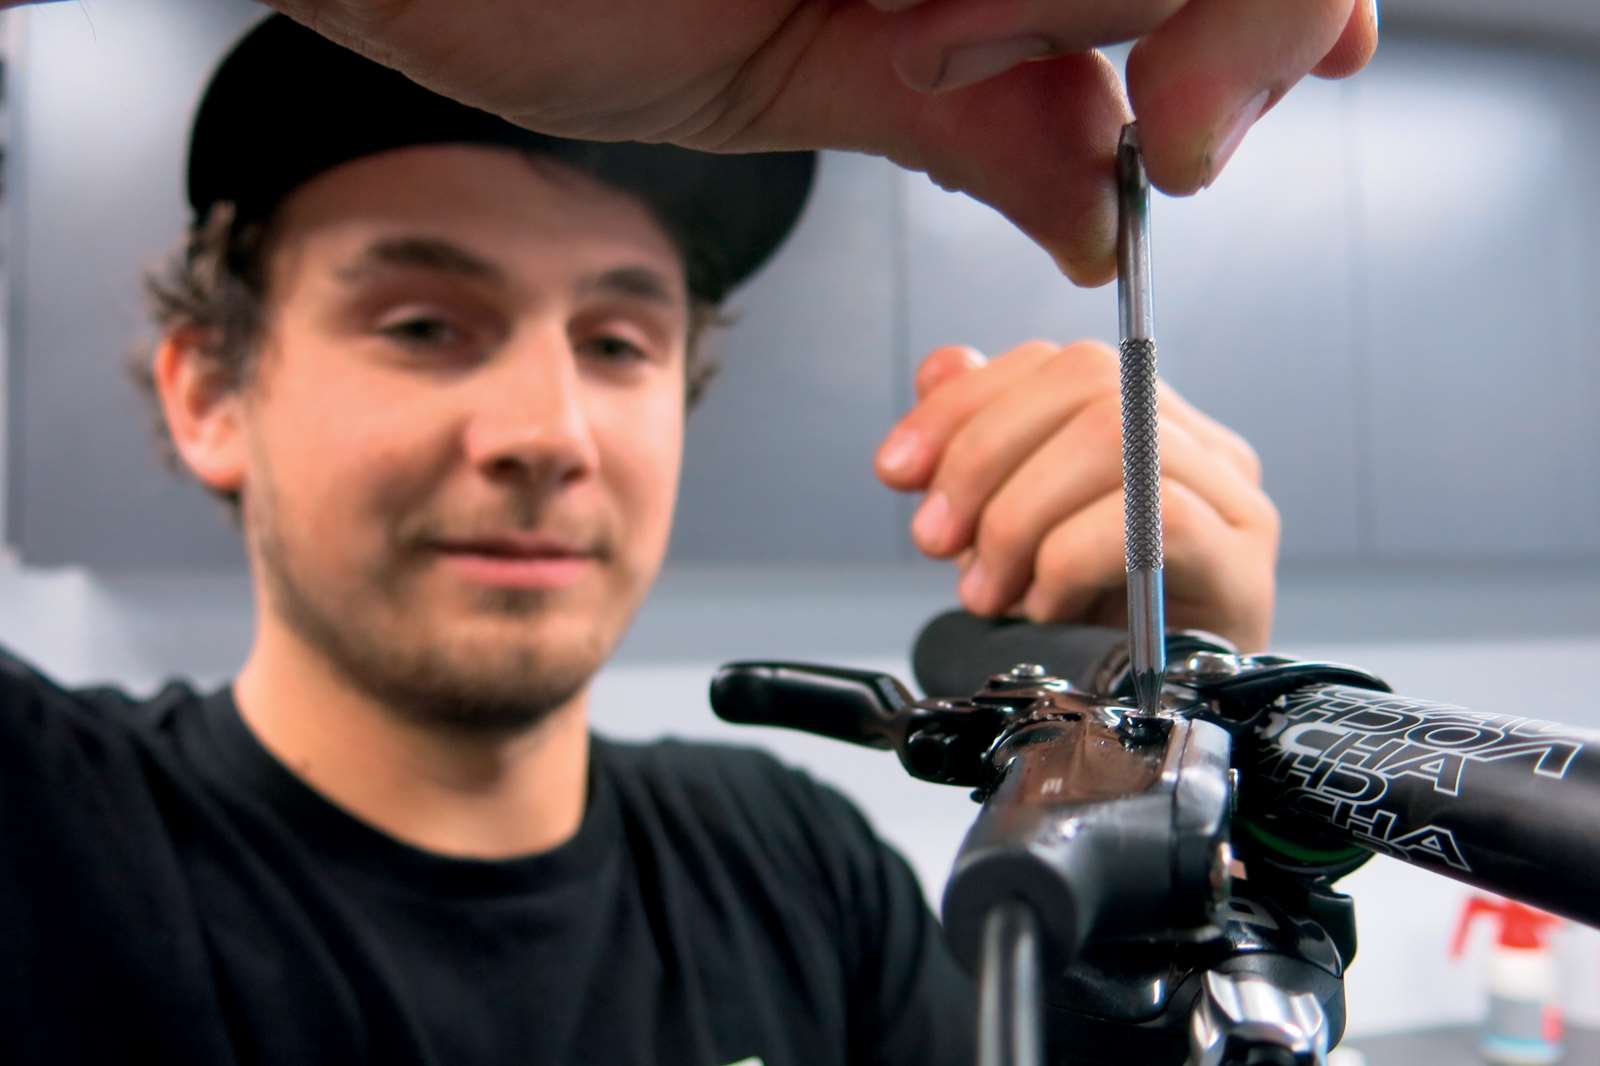
STEP ONE
Your first step is to wind the pad adjuster in. This will open up the reservoir in the lever body to hold the most fluid during the bleed process. Always make sure that the caliper is lower than the lever as you would with any normal brake bleed. Loosen the lever and move it so the bleed port on the lever is level, facing upwards. Remove your brake pads and use the chock to keep the pistons in place. This will make sure there is no chance your pads will become contaminated.
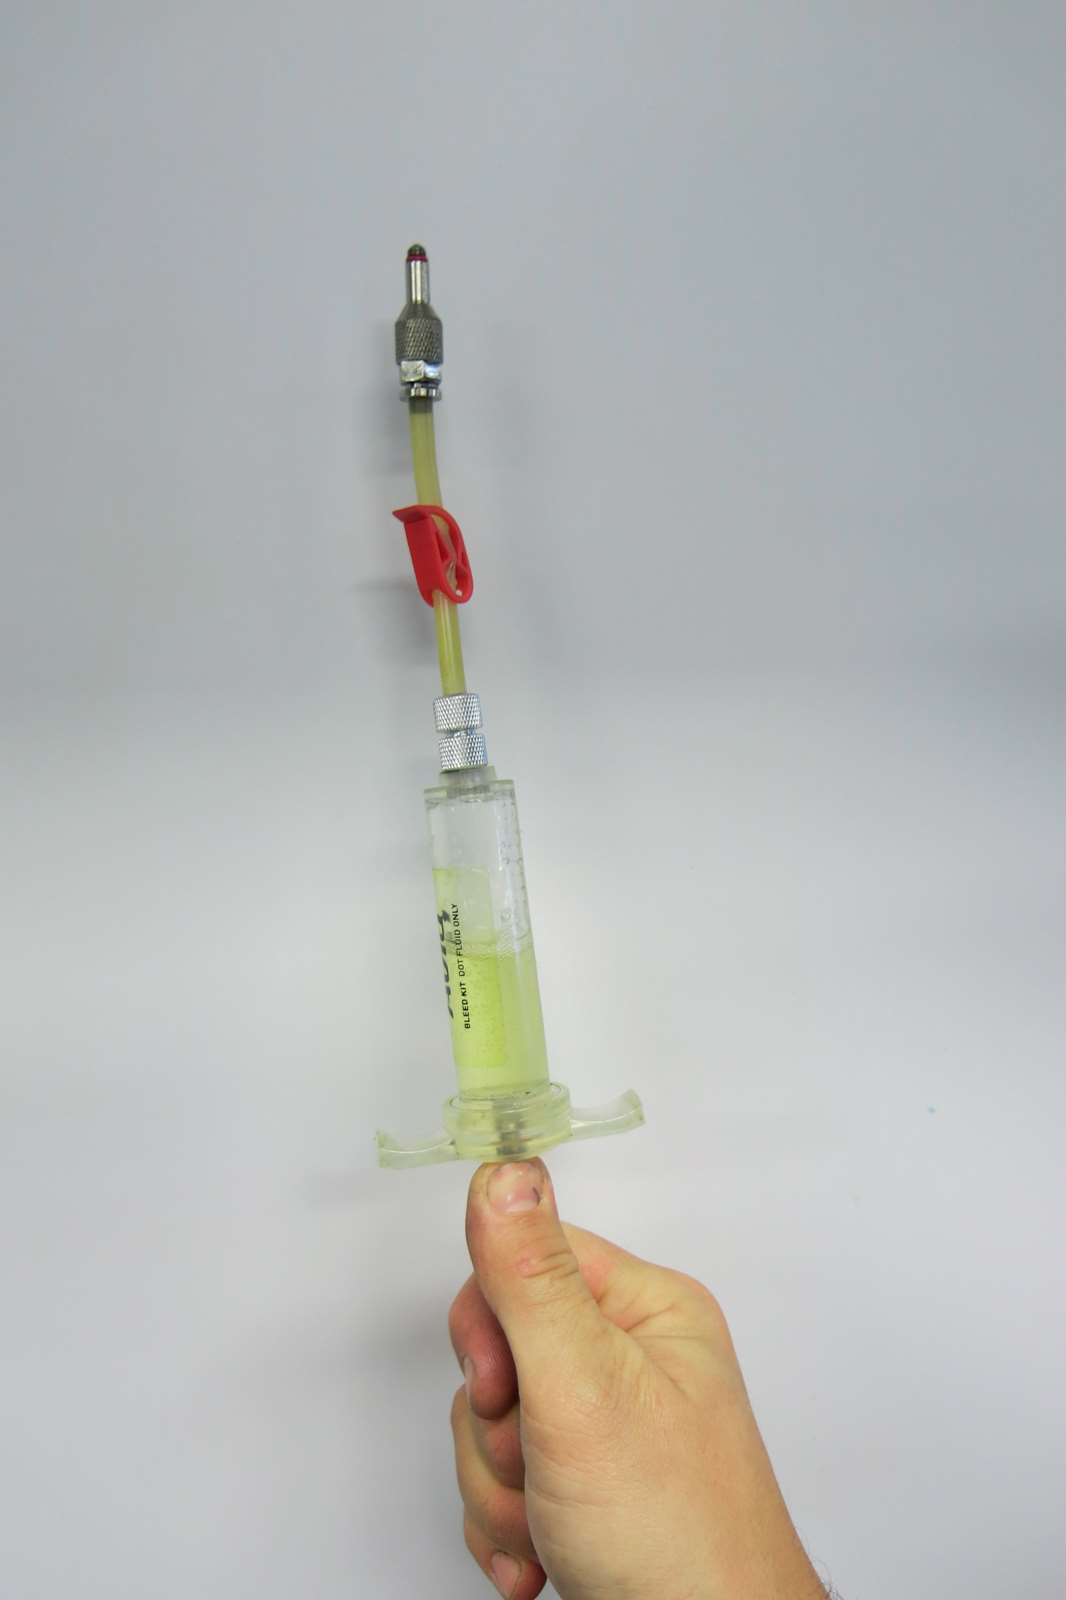
STEP TWO
Using DOT fluid, fill your syringes. I usually fill one to 2/3rd full and the other to 1/4. Remember to replace your DOT fluid regularly. DOT fluid has a tendency to draw in moisture when stored for a long time. Don’t use your 3 year old bottle of fluid as you’ll be wasting your time. Once you have filled the syringes, if you lock off the hose with clamp and pull on the syringe, this will help pull out and smaller parts of air in the fluid.

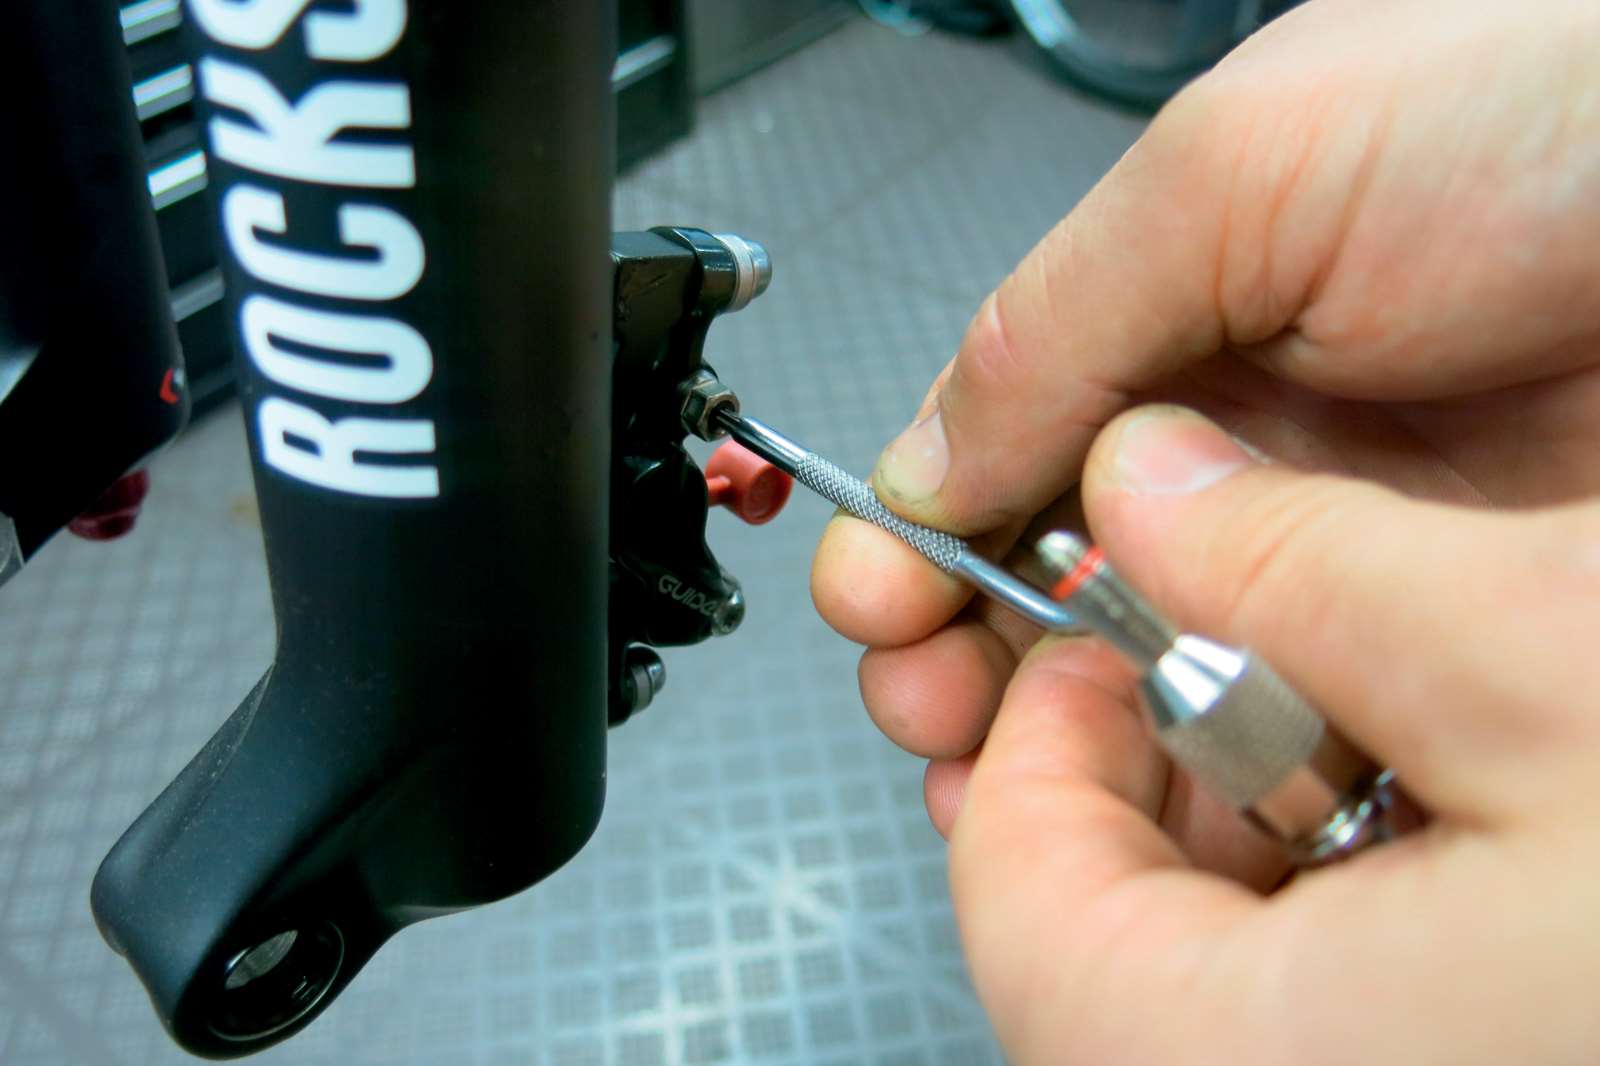
STEP THREE
Start at the caliper with the 2/3 filled syringe. Undo the bleed screw with your torq key and screw in the first syringe. Do the same at the lever end. Cycle the fluid through the system a few times.

STEP FOUR
After 3-4 cycles it’s time to bleed the caliper. Push most of the fluid to the caliper end. Clamp the hose at the lever end and pull the lever on and hold it in place with your elastic band. Now at the caliper end push and pull on the syringe until you see no bubbles in the line.
STEP FIVE
Once this is complete undo the elastic band, but be careful not to let go of the lever. Slowly push fluid through the system whilst slowly releasing the lever. You’ll feel the pressure in the lever as you push it through. Undo the hose clamp. Push the majority of the fluid through to the lever end and clamp it shut. Now remove the syringe from the caliper and seal up with the bleed screw.
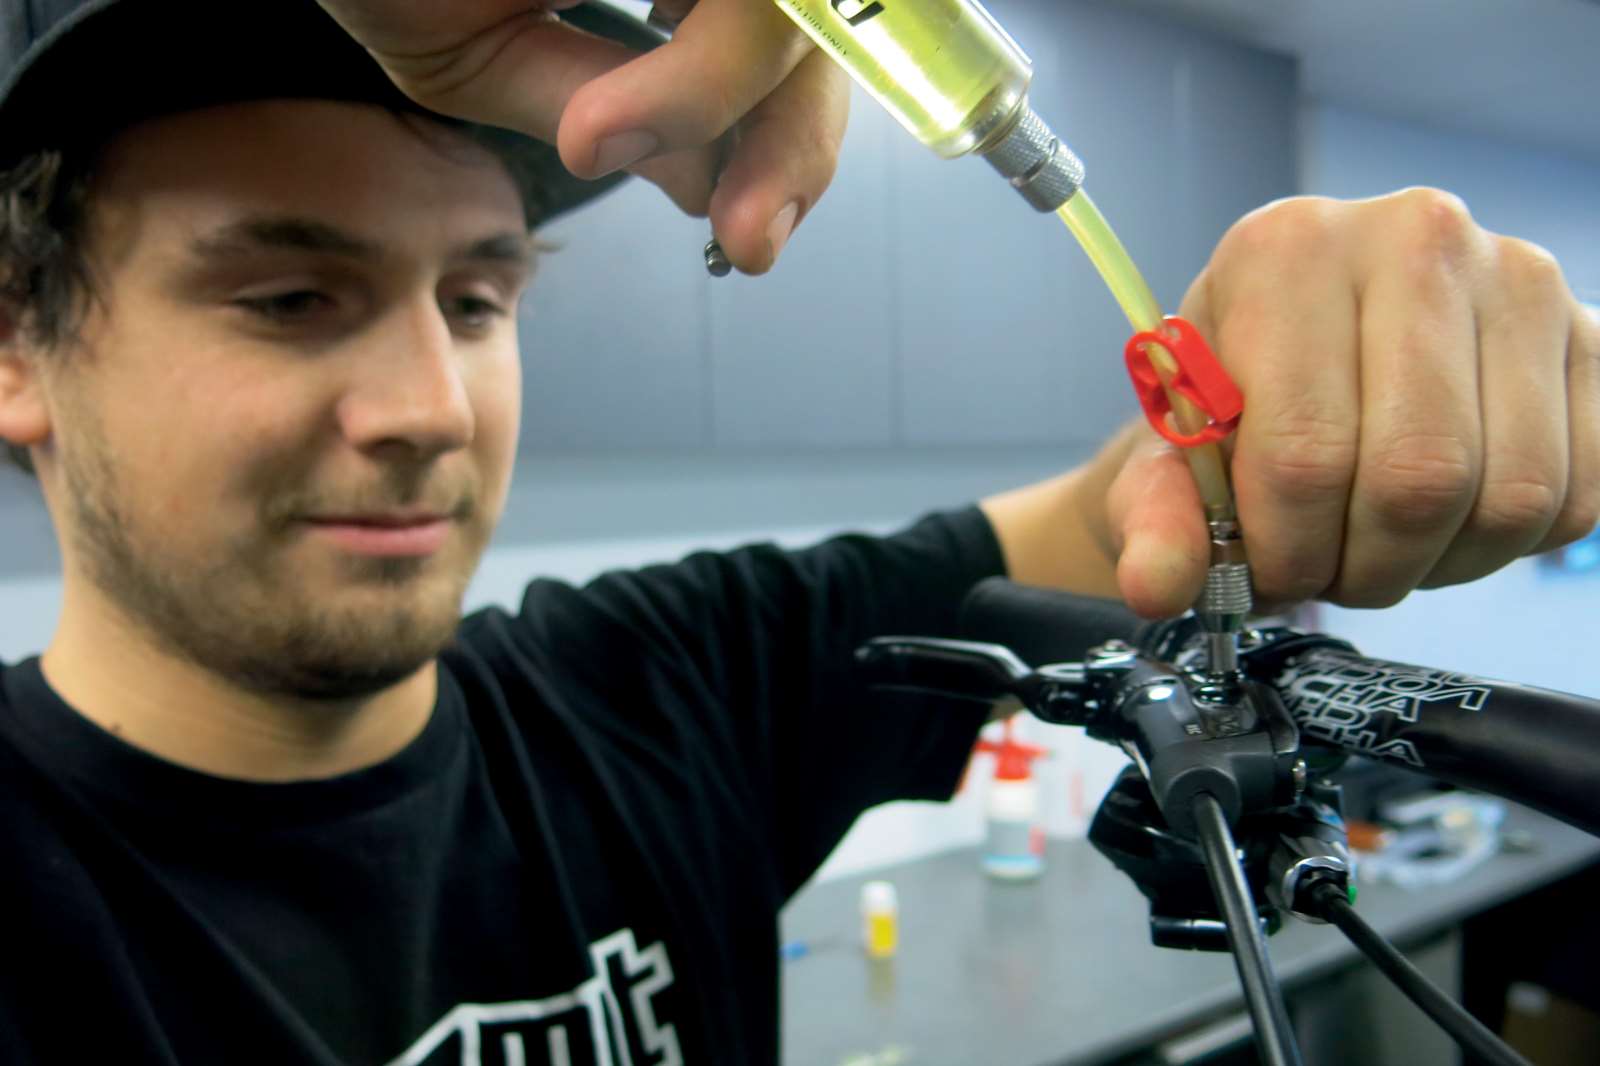
STEP SIX
Do exactly the same with the lever as you did with the caliper. A few flicks on the lever can also help dislodge and tiny air bubbles. Remove the syringe and seal with the bleed screw.
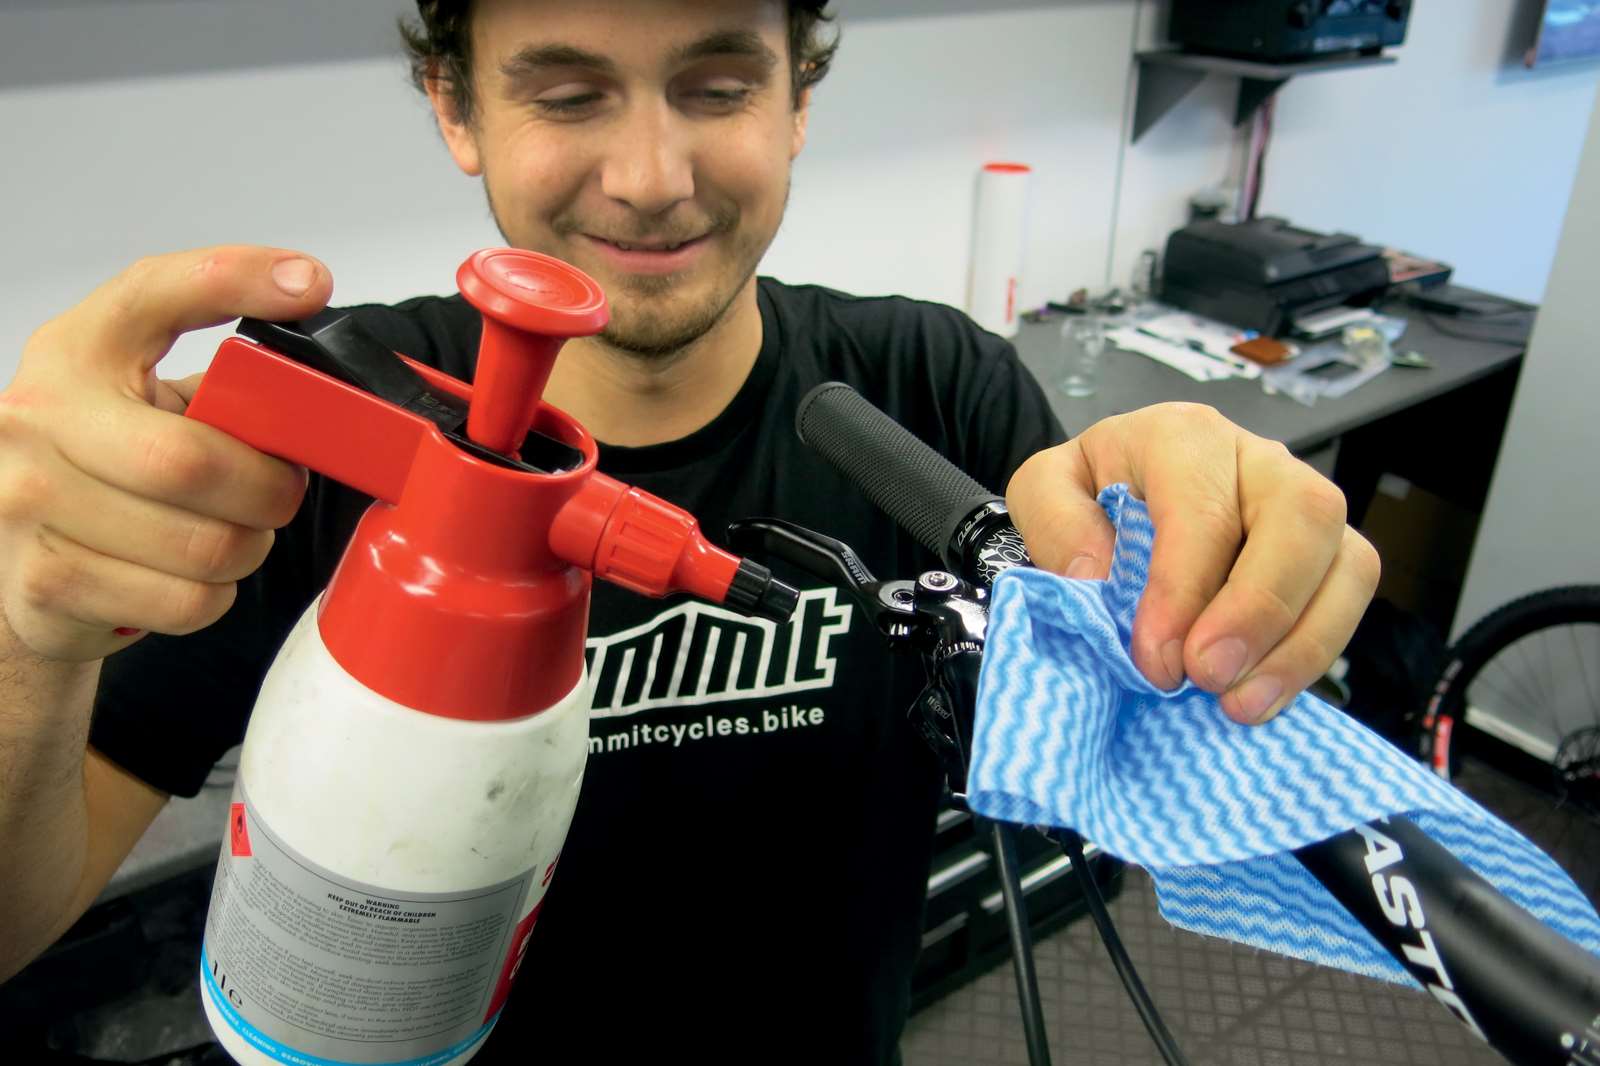
STEP SEVEN
Time to clean up. Spray the caliper and lever with brake cleaner and wipe clean. This will remove and spillages or dirt from the brakes. Pop the pads back in, adjust the caliper position and your ready to get riding!