How to build your own wheels in fourteen steps
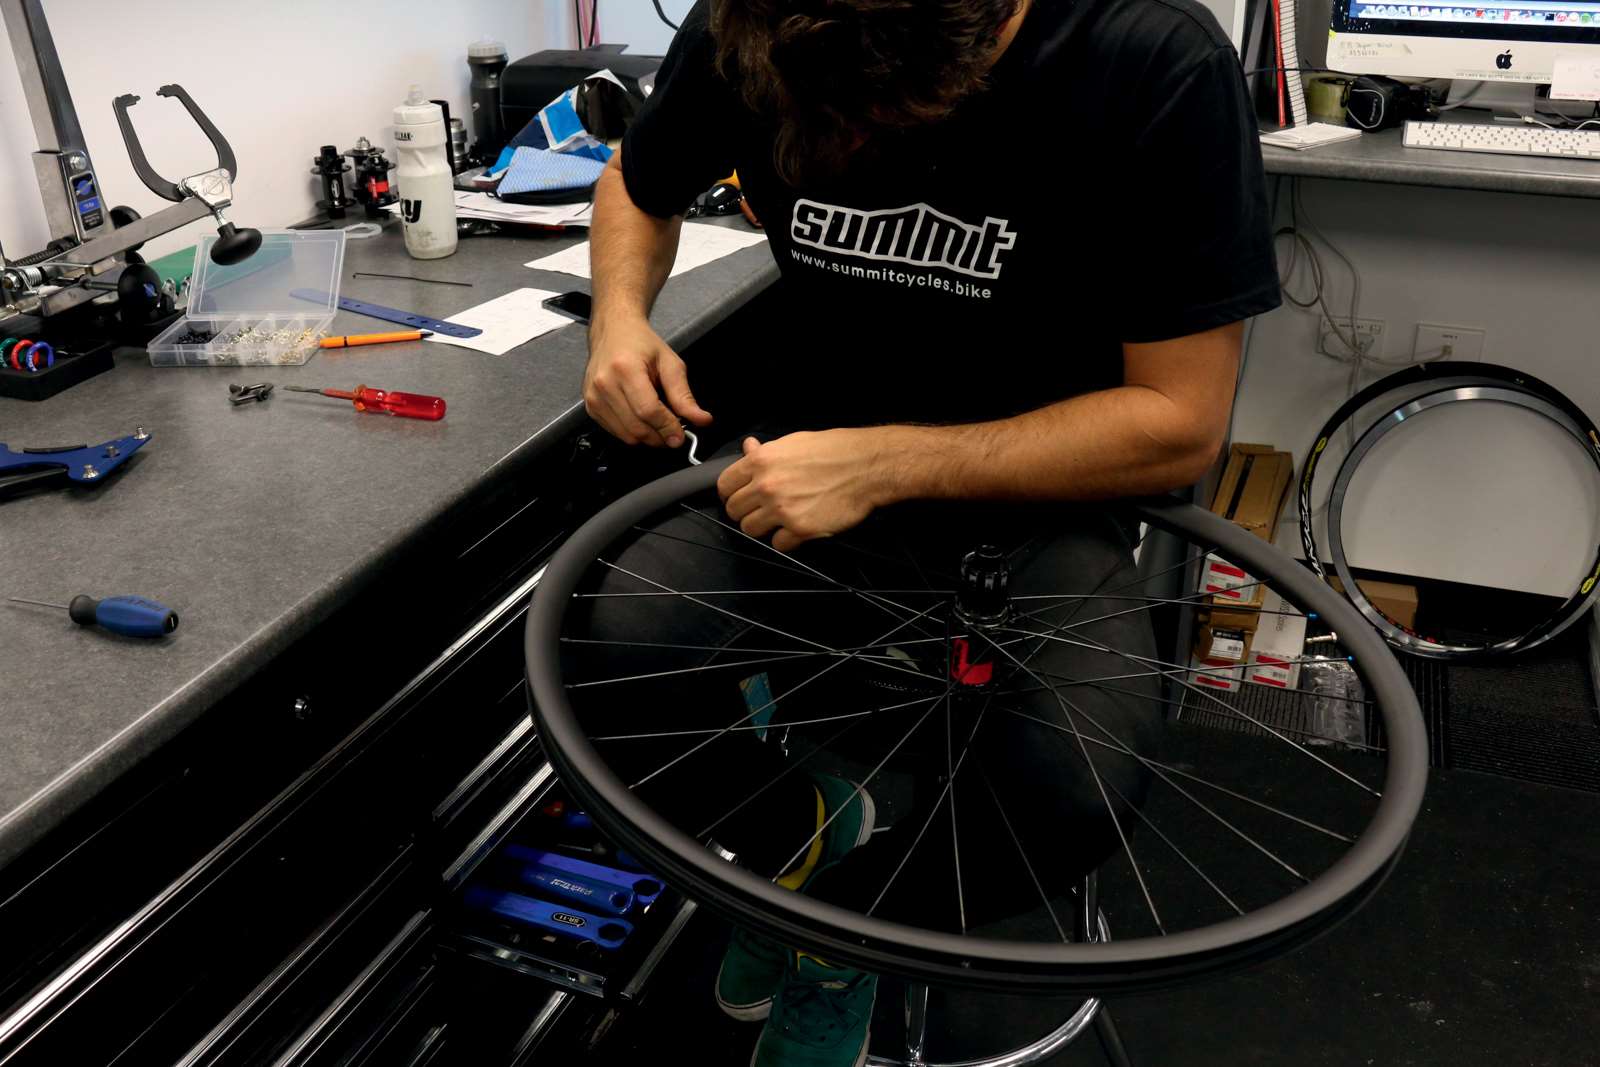
This is a very simple ‘how-to’ on building a wheel. It’s a simple task, but takes patience to do it well. The process has been split into two. Here’s the first of two parts – choosing your spokes and getting your wheel laced up.
STEP ONE
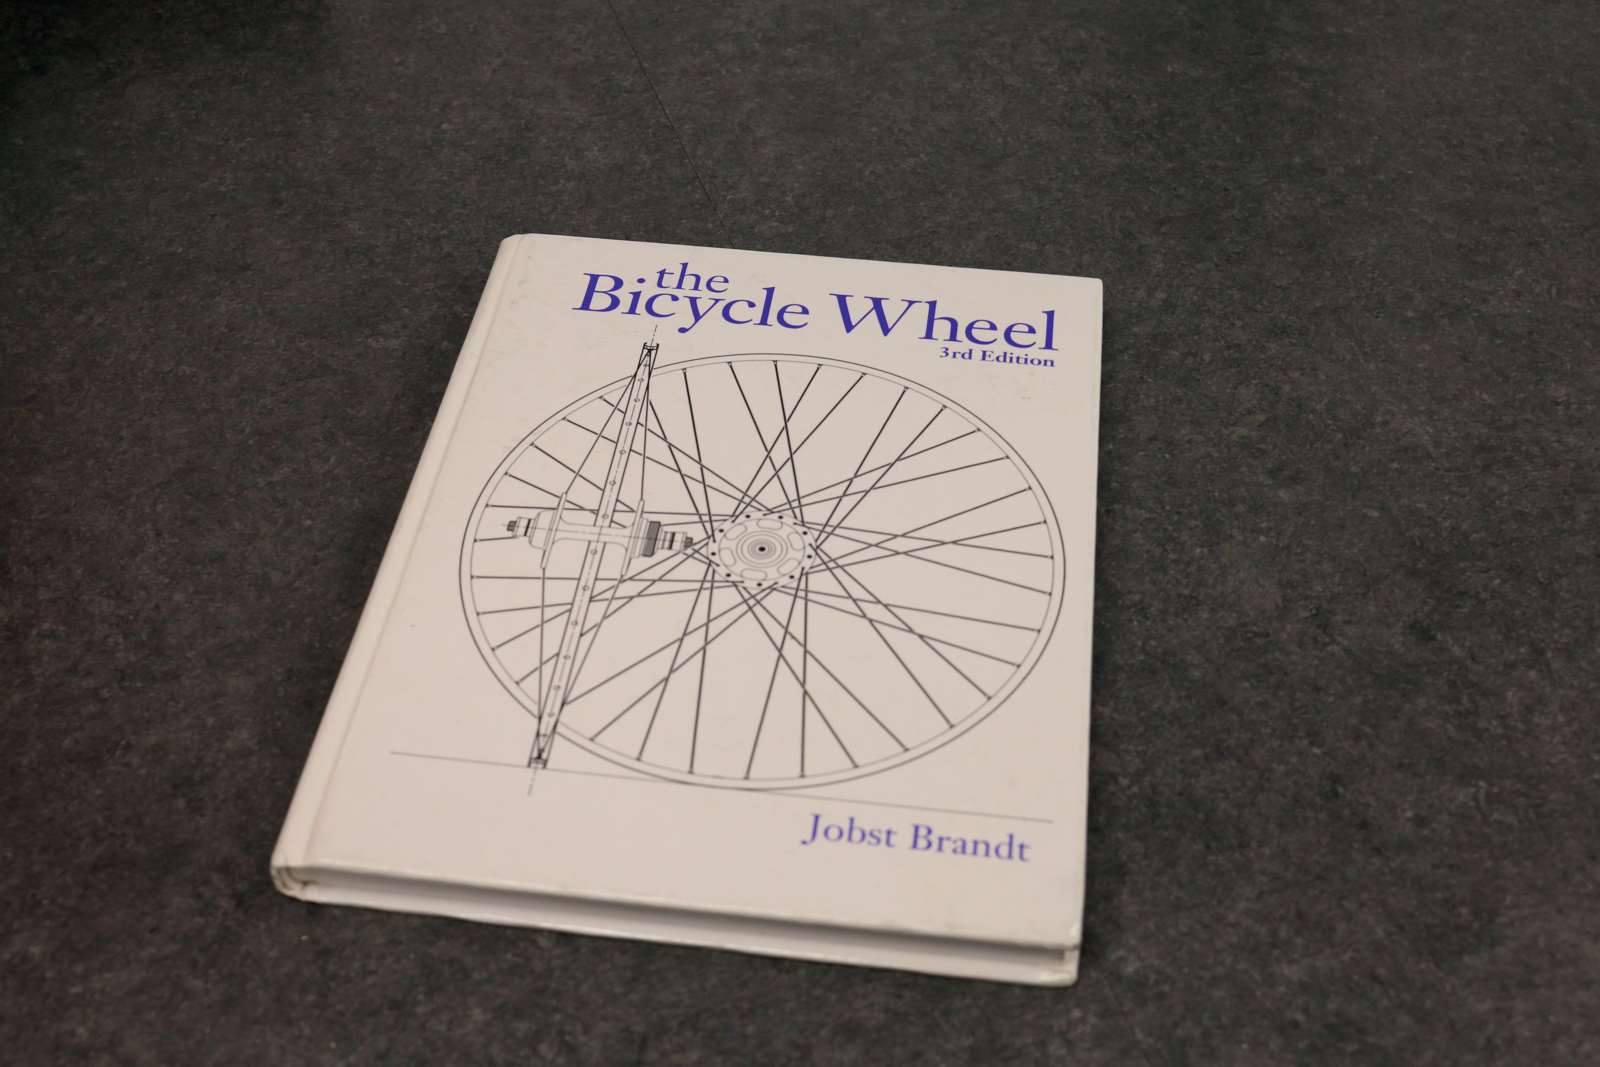
First and foremost I would highly recommend you practice this on a cheap/old wheel, not your new set of carbon race wheels! Make sure you have a few hours to spare, and a peaceful spot where you won’t get interrupted. I would also say you need a good set of hands on mechanical skill and patience. Your first few builds will be slow and at times frustrating whist you get the hang of it. This how-to will touch on the basics, and I would definitely recommend you read ‘The Bicycle Wheel’ by Jobst Brandt if you plan to build on a regular basis or decide to take things seriously. Anyone can lace and build a wheel, but it takes time to learn how to build one that will last.
STEP TWO
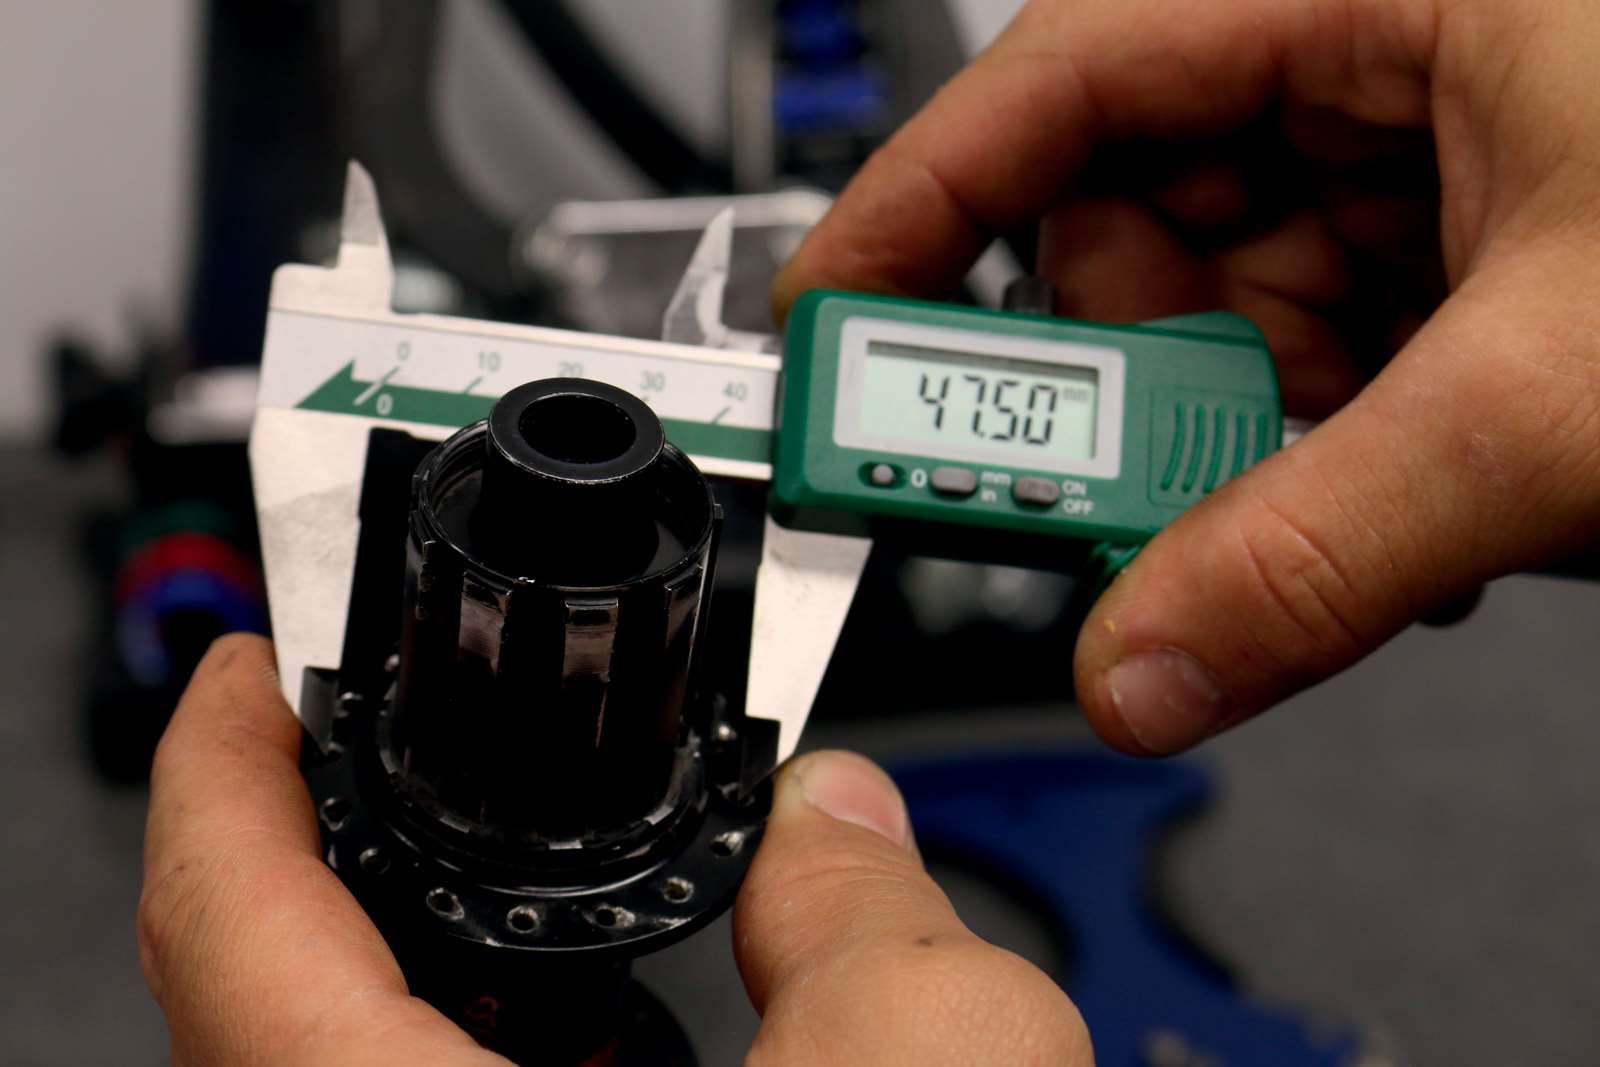
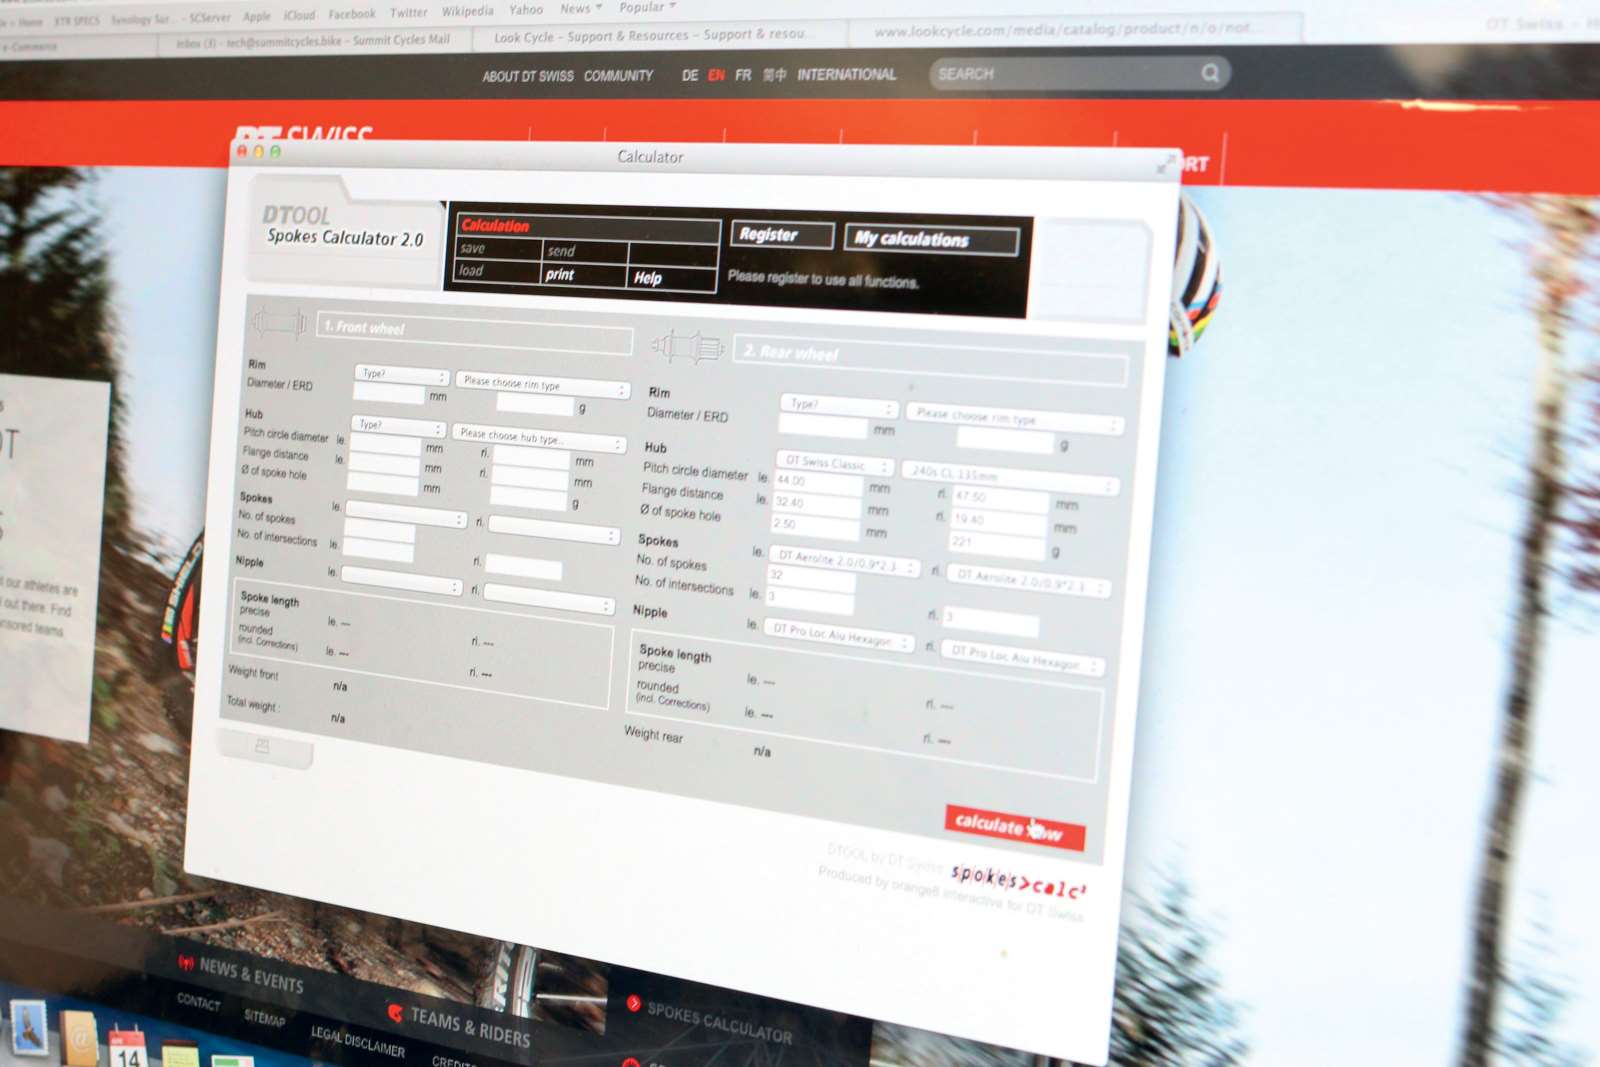
This is one of the most important steps. There are a few different spoke calculators online. My favourite is the DT Swiss calculator. It is simple and easy to use. Most calculators will require you to know the flange diameter and the centre of the hub to the centre of the flange. This varies from hub to hub. Most measurement can be found in the manufactures instructions.
STEP THREE
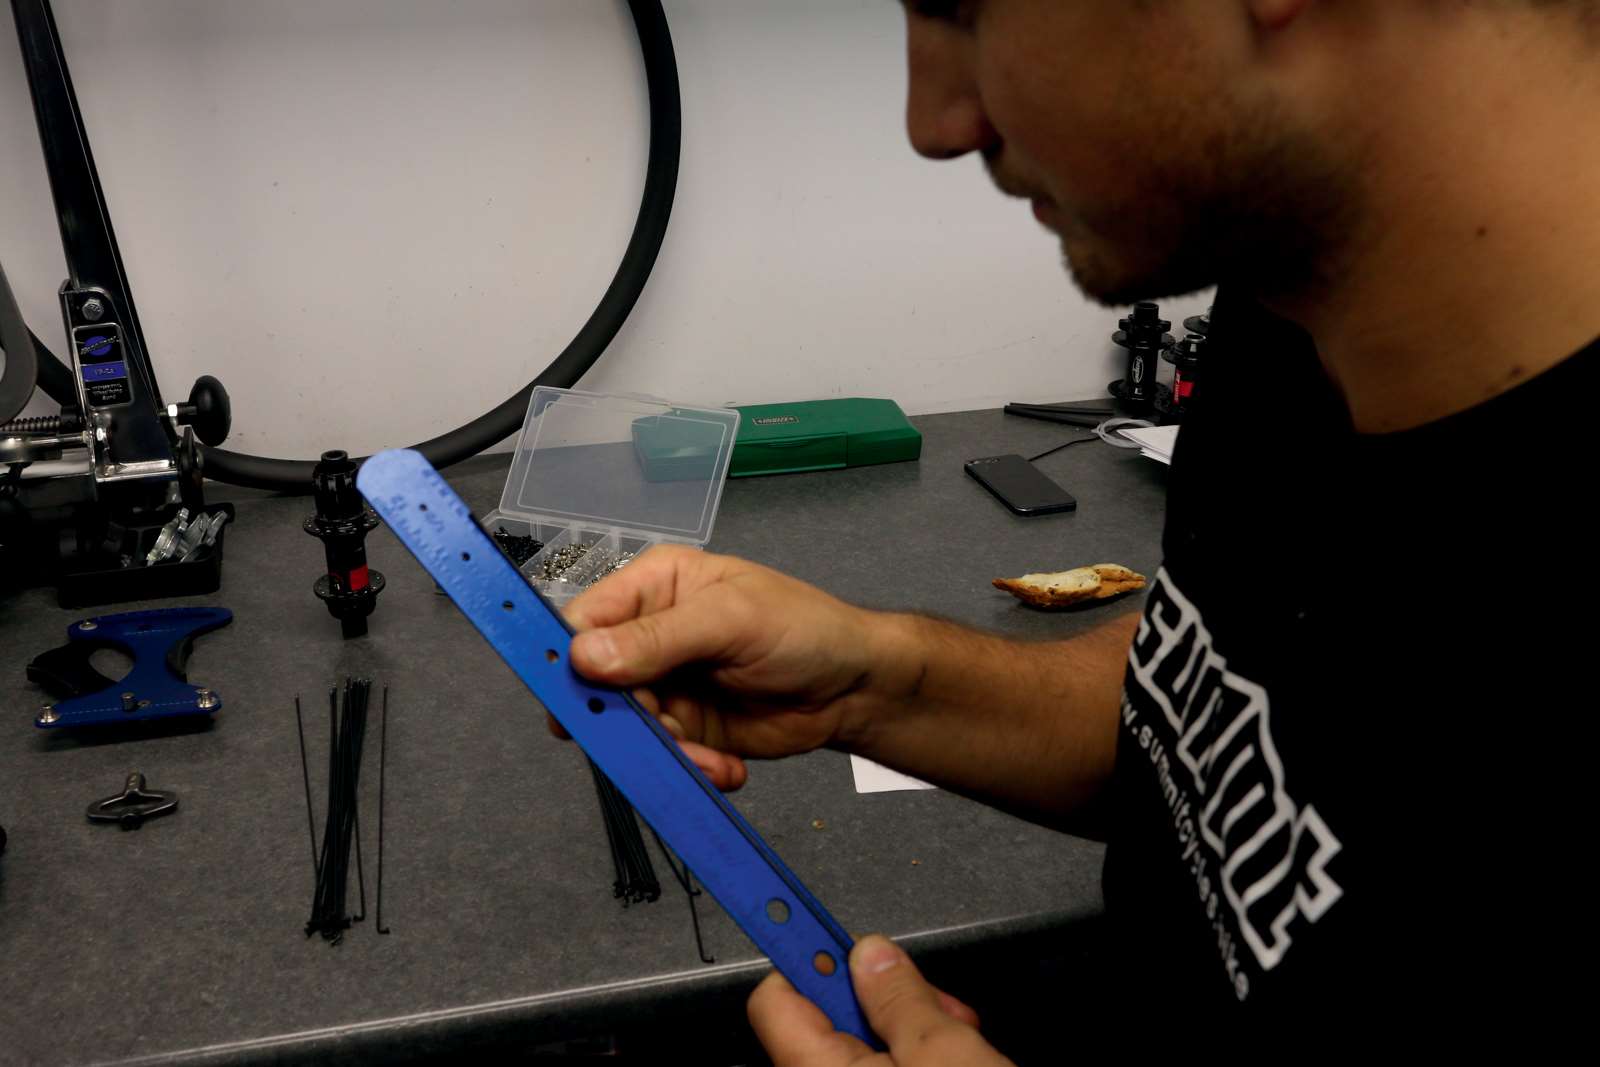
Once you have worked out the correct spoke length, purchased your spokes, its time to get started. Always measure spokes before you start building. It only takes one spoke to be misplaced in the wrong pile to mess up a whole build. I always lay out spokes and nipples clearly labelled to prevent mistakes.
STEP FOUR
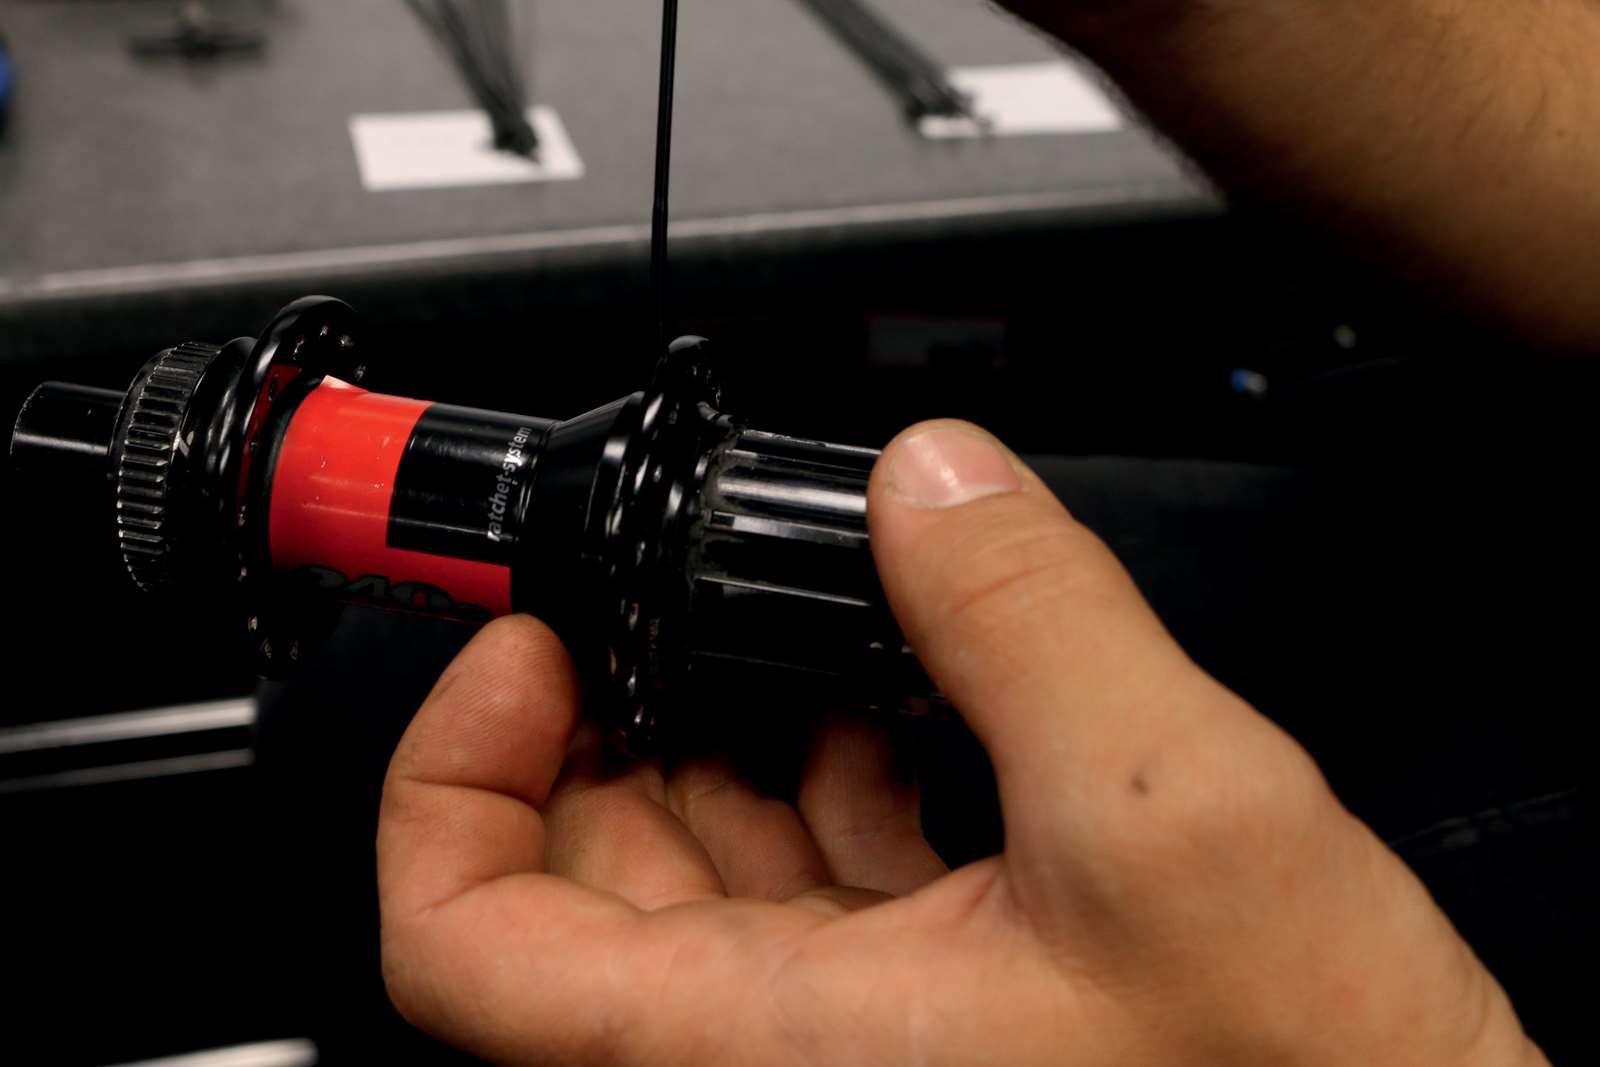
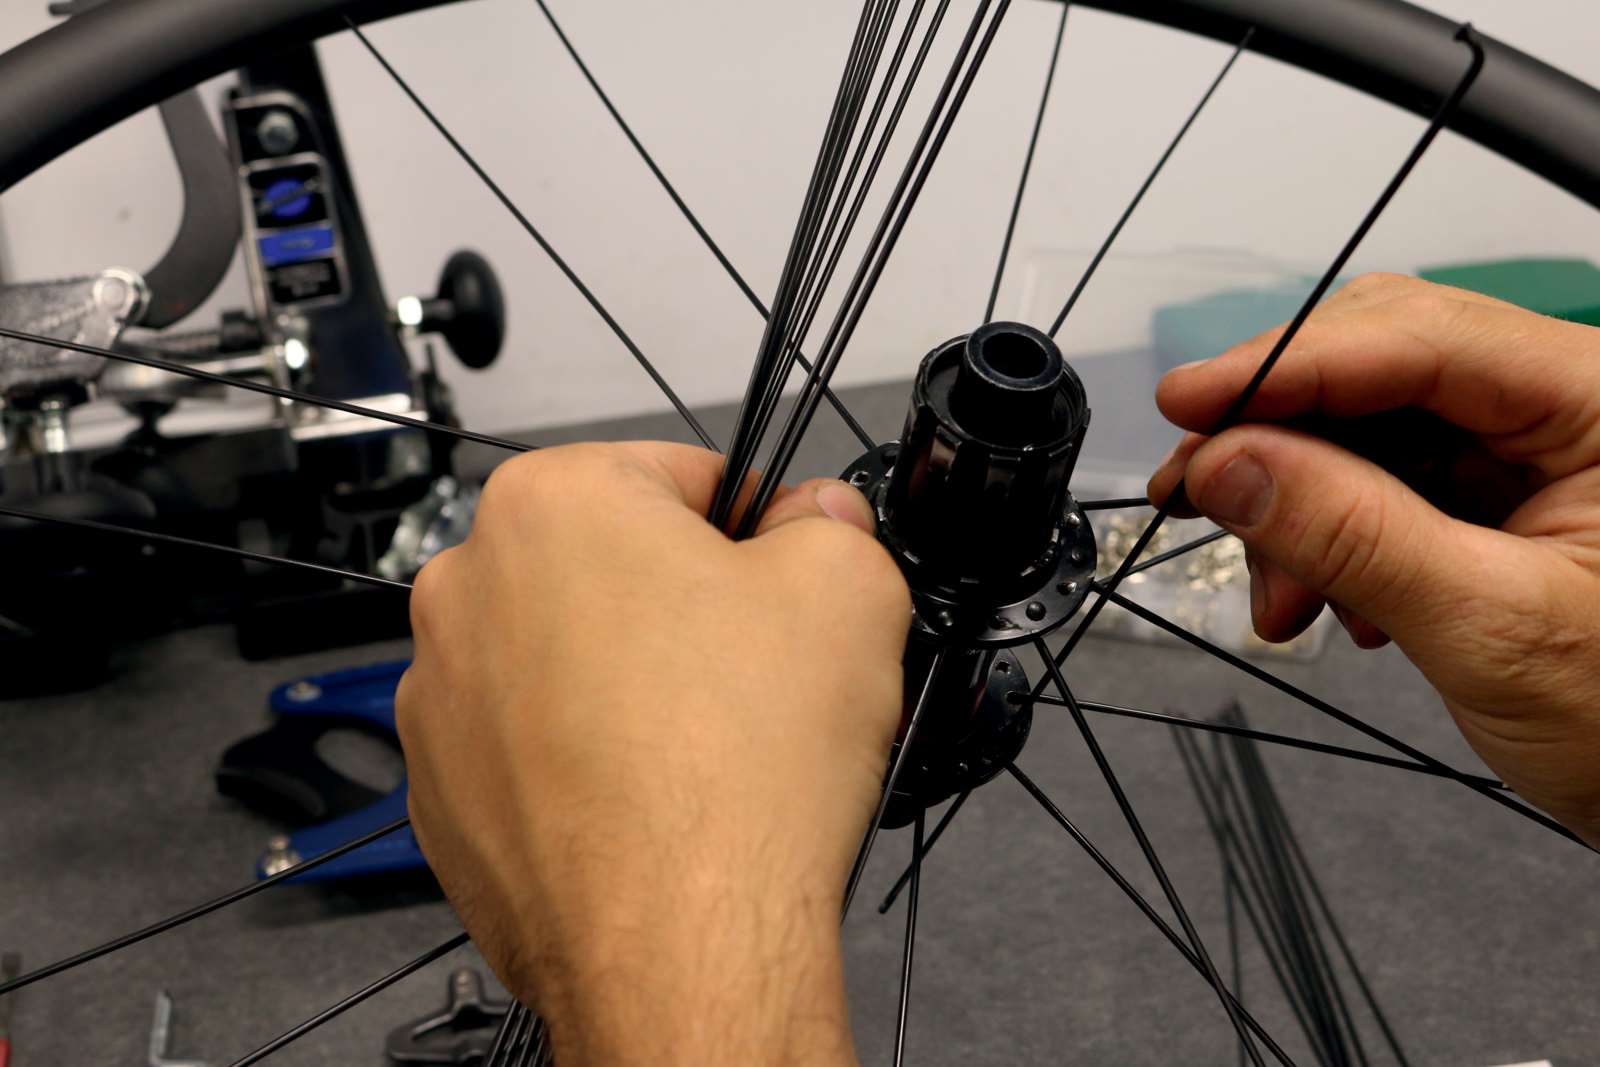
Your first spoke is important. Start by putting you first spoke towards the inside of the hub. This spoke has to go to the left hand side of the valve hole (looking from the drive side). Pop the rest of the inside spokes into the hub and lace them into the rim every 4th hole.
STEP FIVE
Now turn the wheel over and drop the other side’s inner spokes into the hubs spoke hole making sure that it is to the right of the opposing side. Lace the spoke into the rim on the right hand side of the first set of spoke you laced (looking from the non-drive side).
STEP SIX
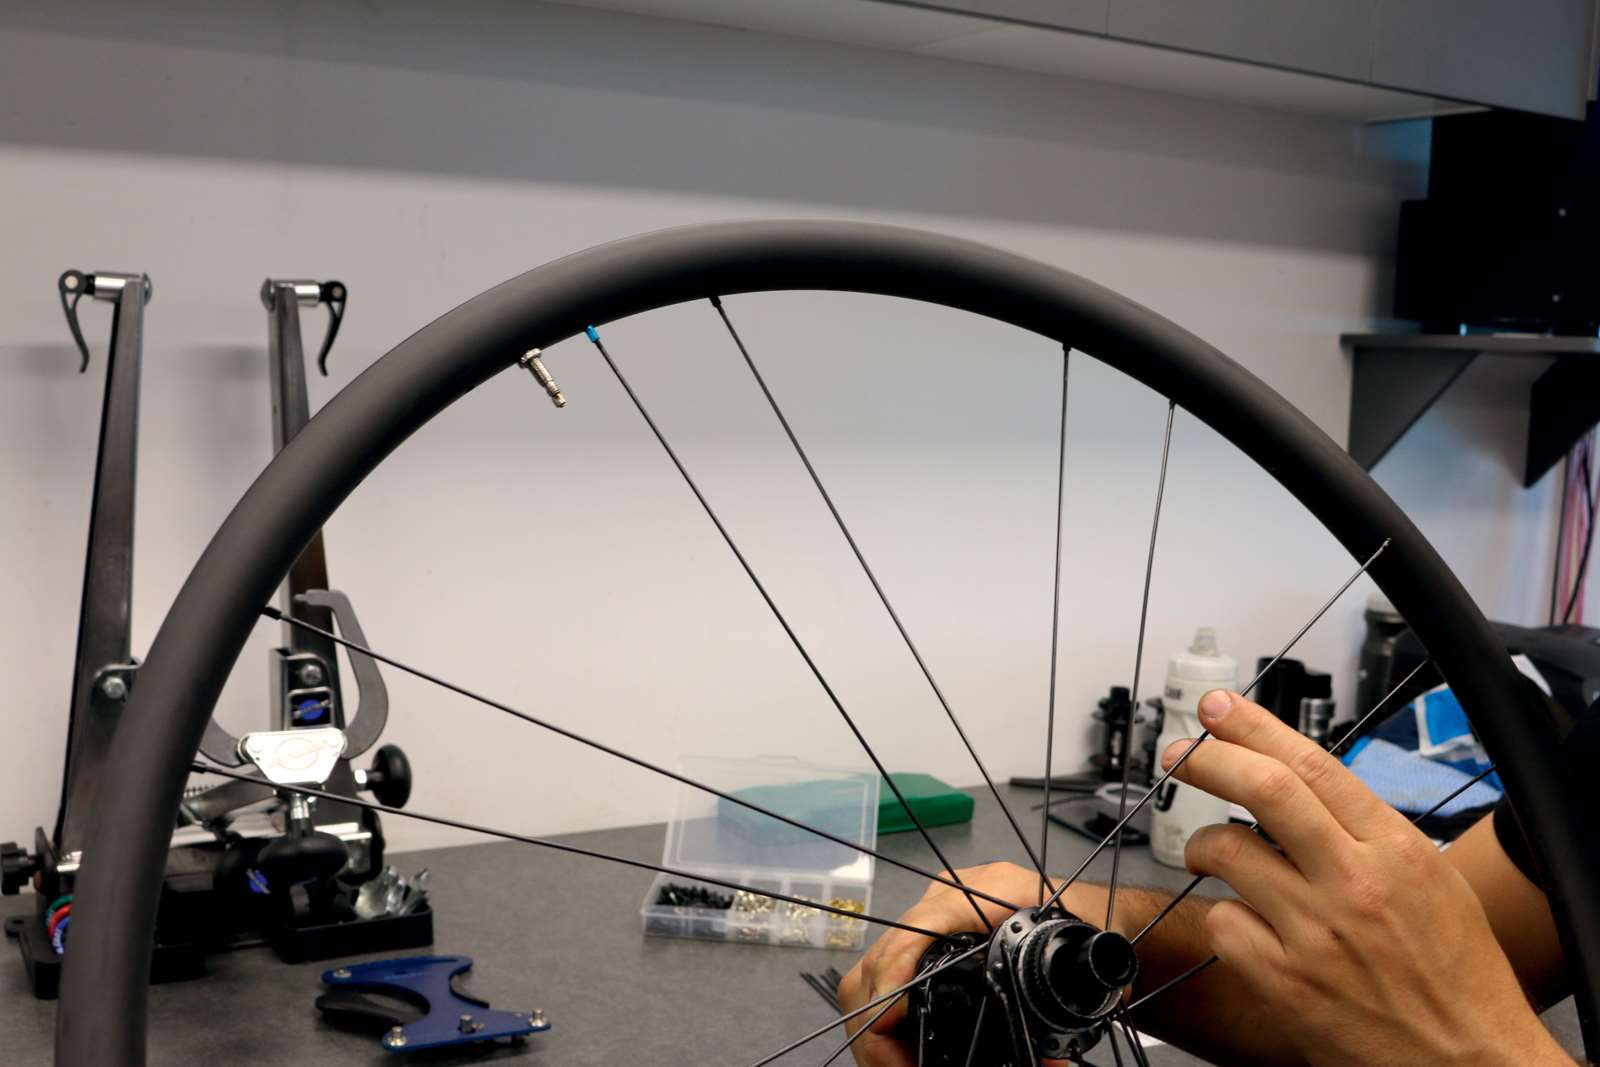
Now drop the outer spokes into one of the sides of the hub. The next step is also very important. You first need to find the valve hole. You now need to hold the rim in place and rotate the hub away from the valve hole. This will cause the spokes to rest in the position you can see in the photo.
STEP SEVEN
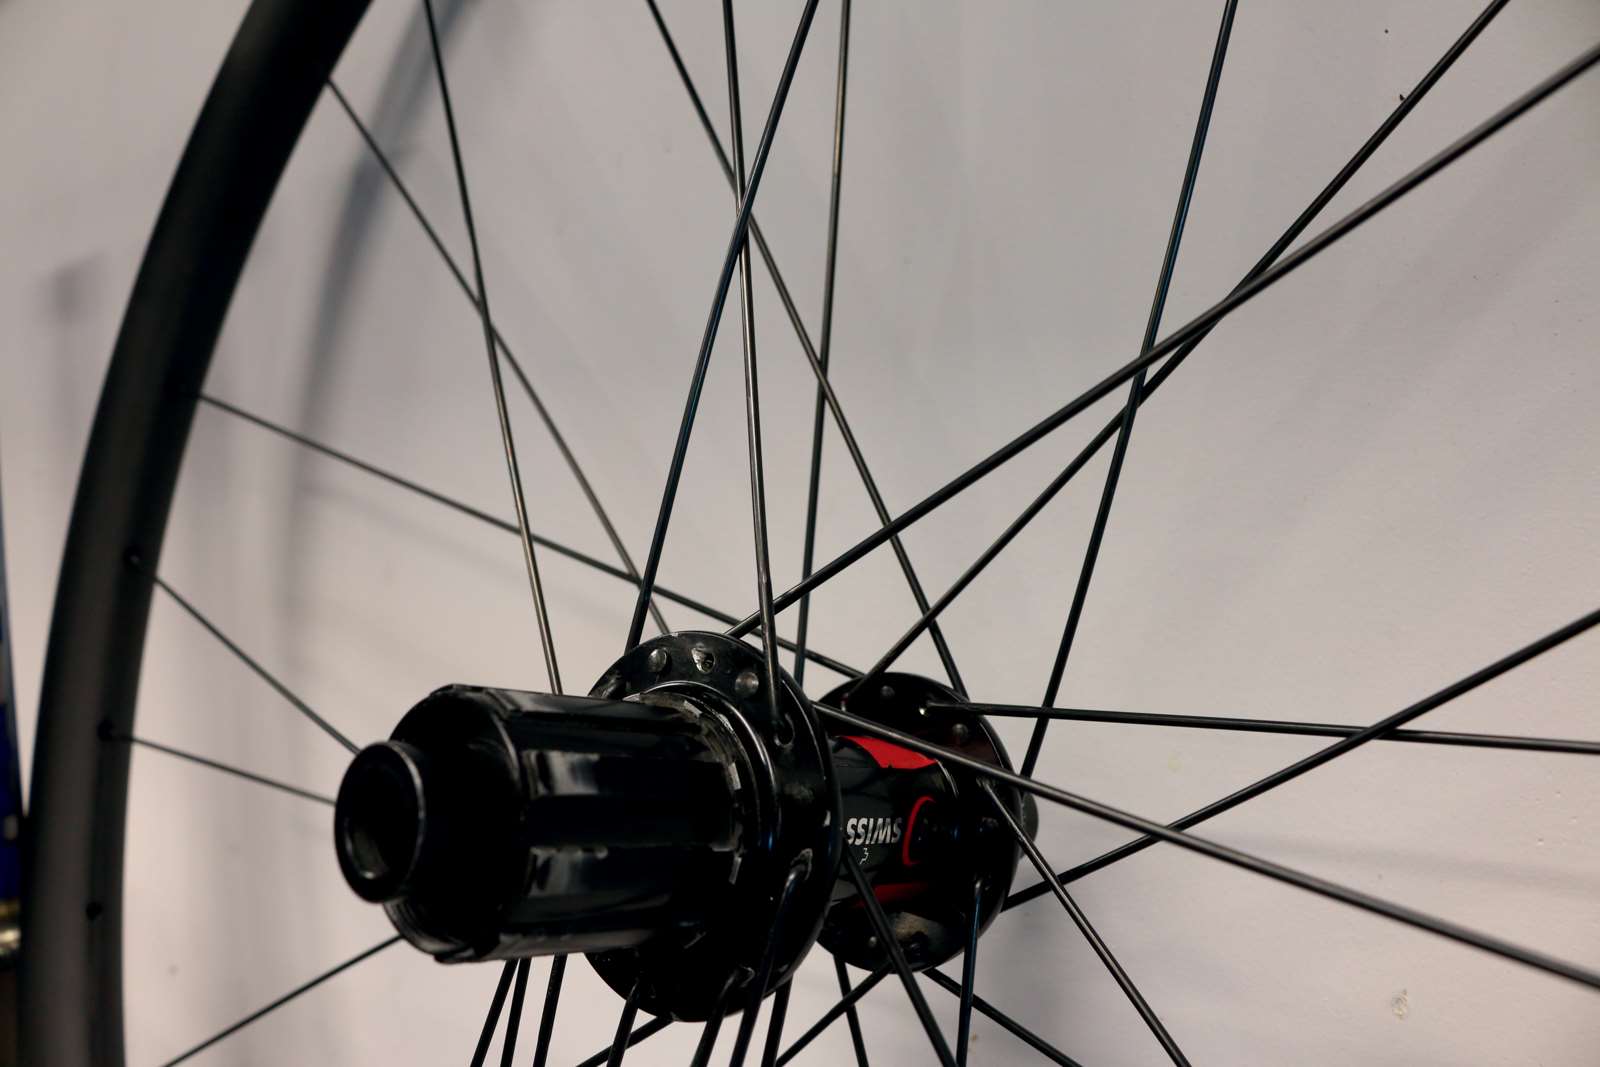
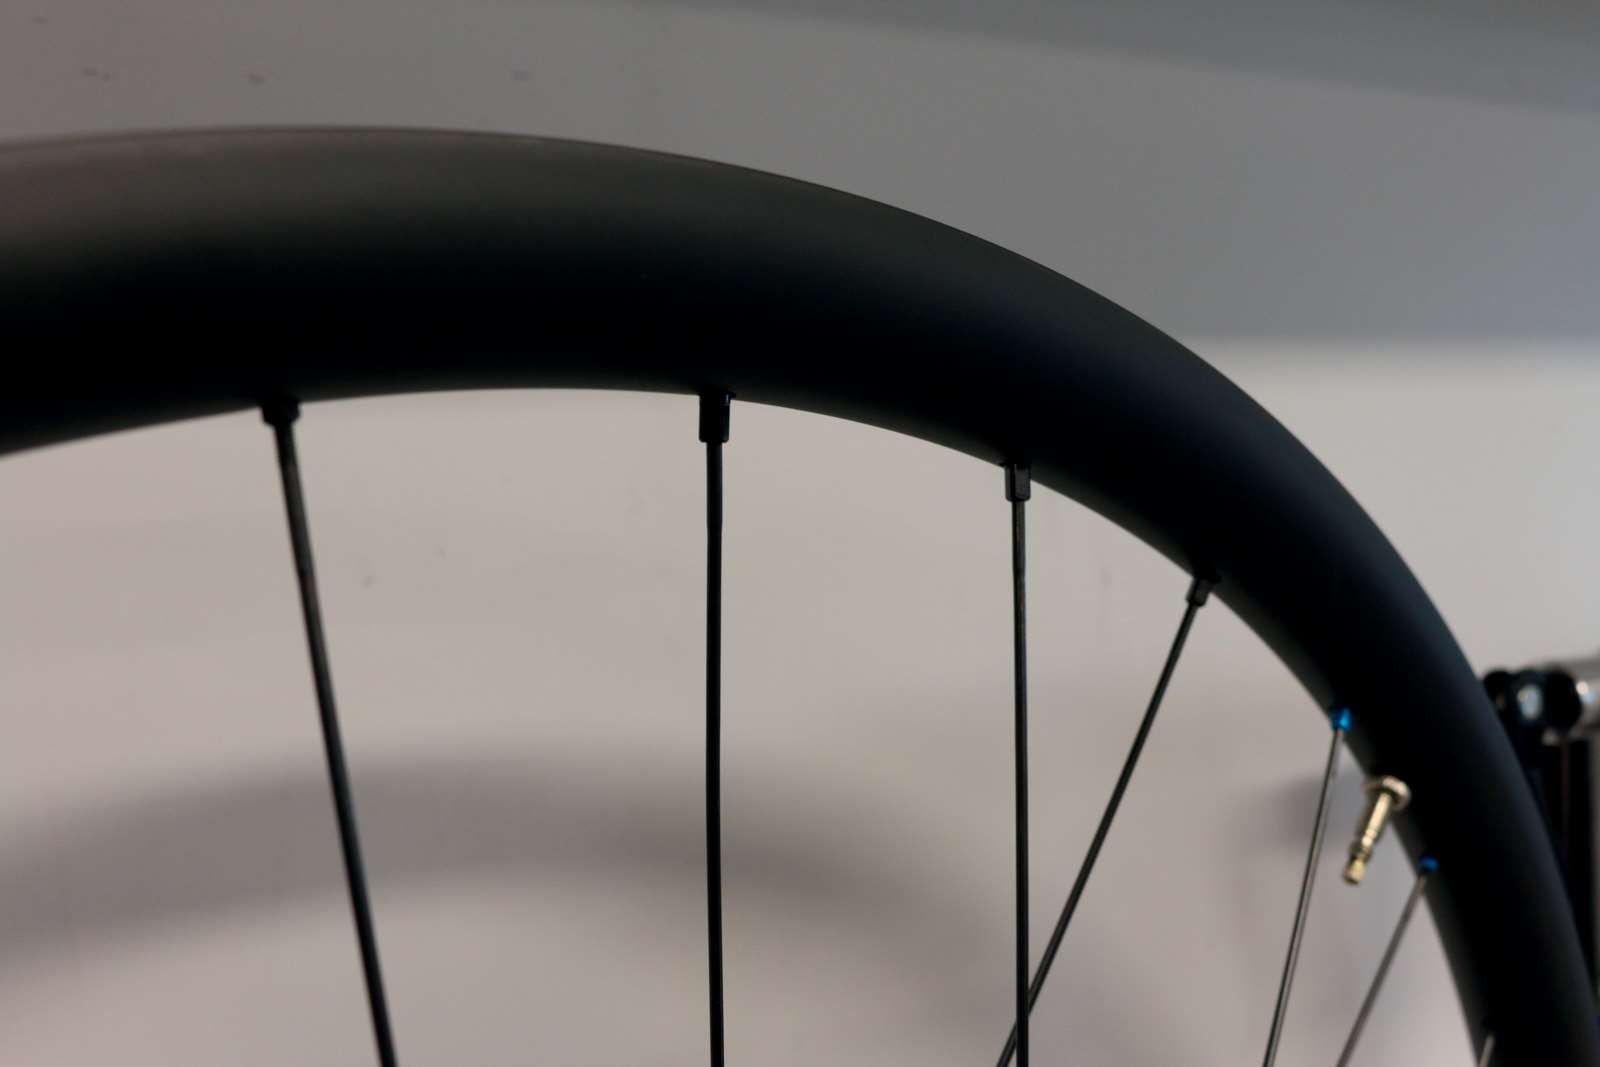
Now with your outer spokes we need to thread through the inner spokes depending on how many ‘cross’ you have decided to build your wheel. This wheel is a 3 cross, which means it crosses 3 spokes. You need to cross the spoke over the first 2 spokes, then pop it under the 3rd. no matter how many/little crosses you use, you always go over, then under the last spoke. Once you have done your under and over, pop the spoke into the rim (this usually requires your nipple guide). You need the spokes to be alternate in the rim. One hole is right hand side the next is left hand side.
STEP EIGHT
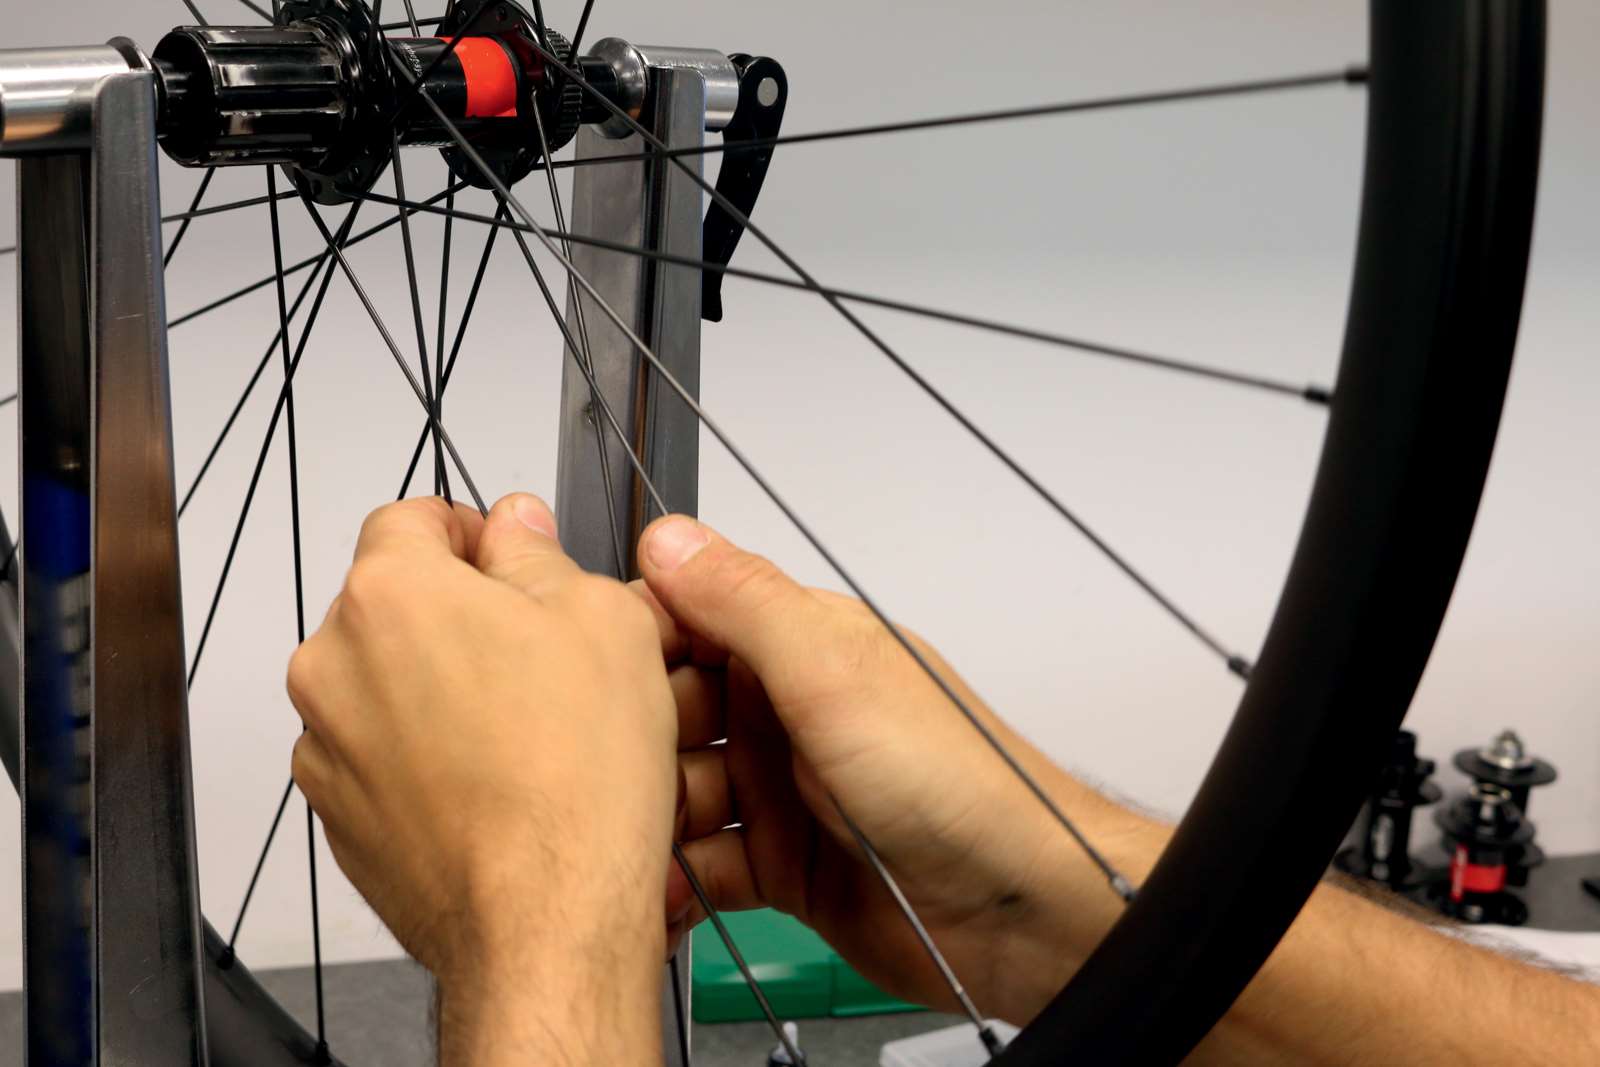
Once you have finished both sides it’s time to start tensioning. Using your nipple driver wind the nipples up until you just cover the threads of the spoke. The more time you spend making sure this is equal, the more even the tension will be and true your wheel will turn out. This is also a good time to notice if your spokes are too short. By the time you have covered all the threads on each spoke, the wheel should still be fairly slack. If you struggle to wind the nipples up using your nipple driver, your spokes are too short. If this is the case, back to step 2!
STEP NINE
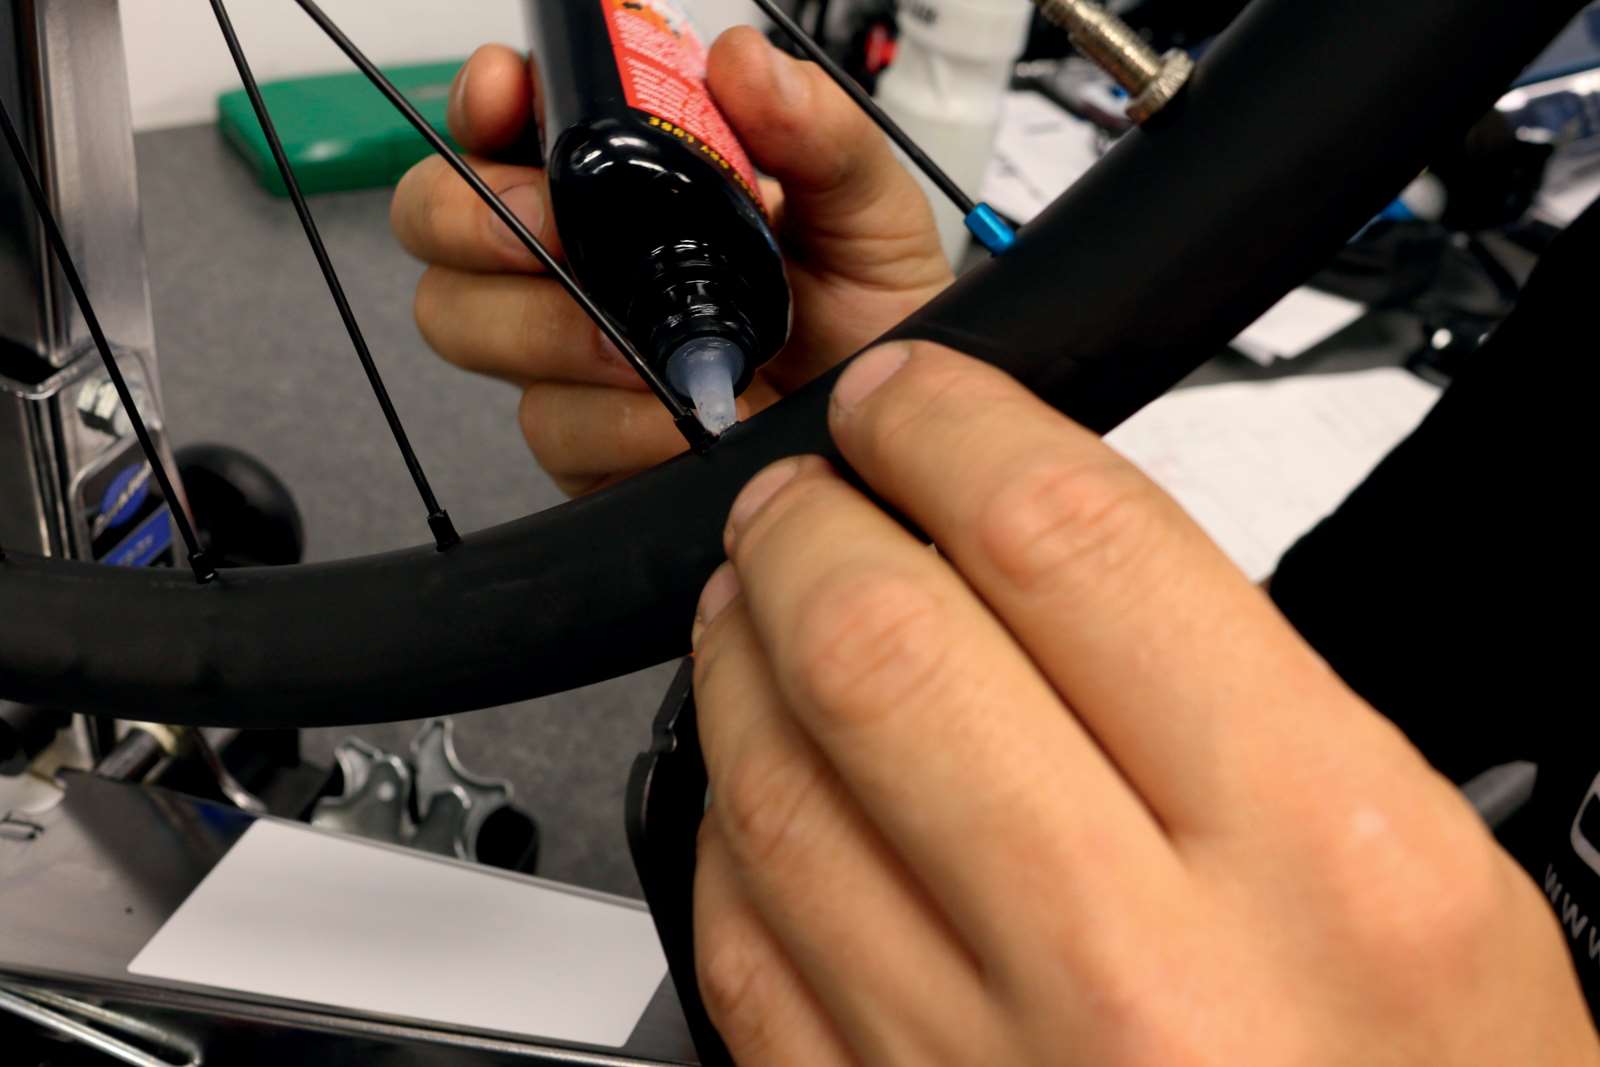
You should by now have a perfectly laced wheel and be into the first step of tensioning. Now is a good time to lube the nipple and rim interface. You probably have some dry chain lube sat in your toolbox; this should be sufficient for your first time. Drop a tiny amount into the gap between the rim and nipple. Don’t drown the wheel in lube, just a small amount is ok. There are many different theories and types of lube to use when building wheels. This will depend on a few varibles epically when it comes to carbon and certain nipples. Check any listed advice from the rim brand or spoke/nipple brand that you’re using.
STEP TEN
Once you have lubed your nipple interface it’s time to put a bit more tension onto the wheel. Start on one side and put a full turn onto all the nipples evenly, now switch and do the same to the other side. Continue until you have reasonable tension on the wheel. As the spokes get tighter lessen the amount you turn each nipple. f a turn still affects the wheel a fair bit.

STEP ELEVEN
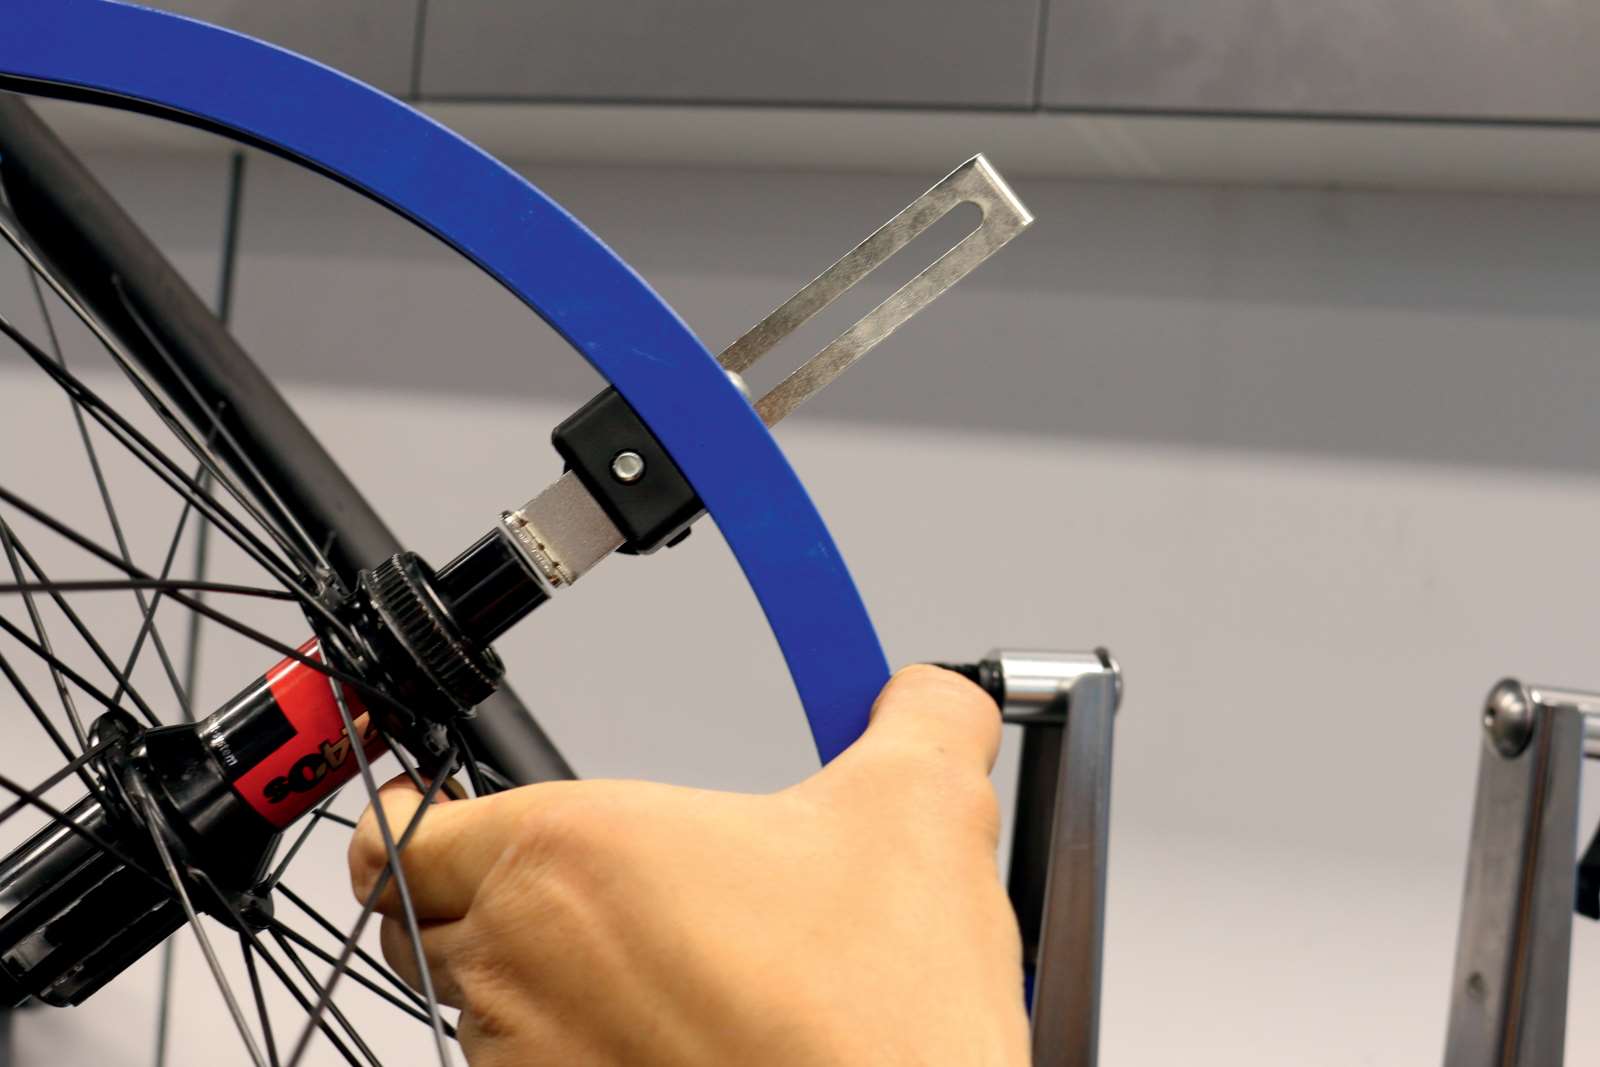
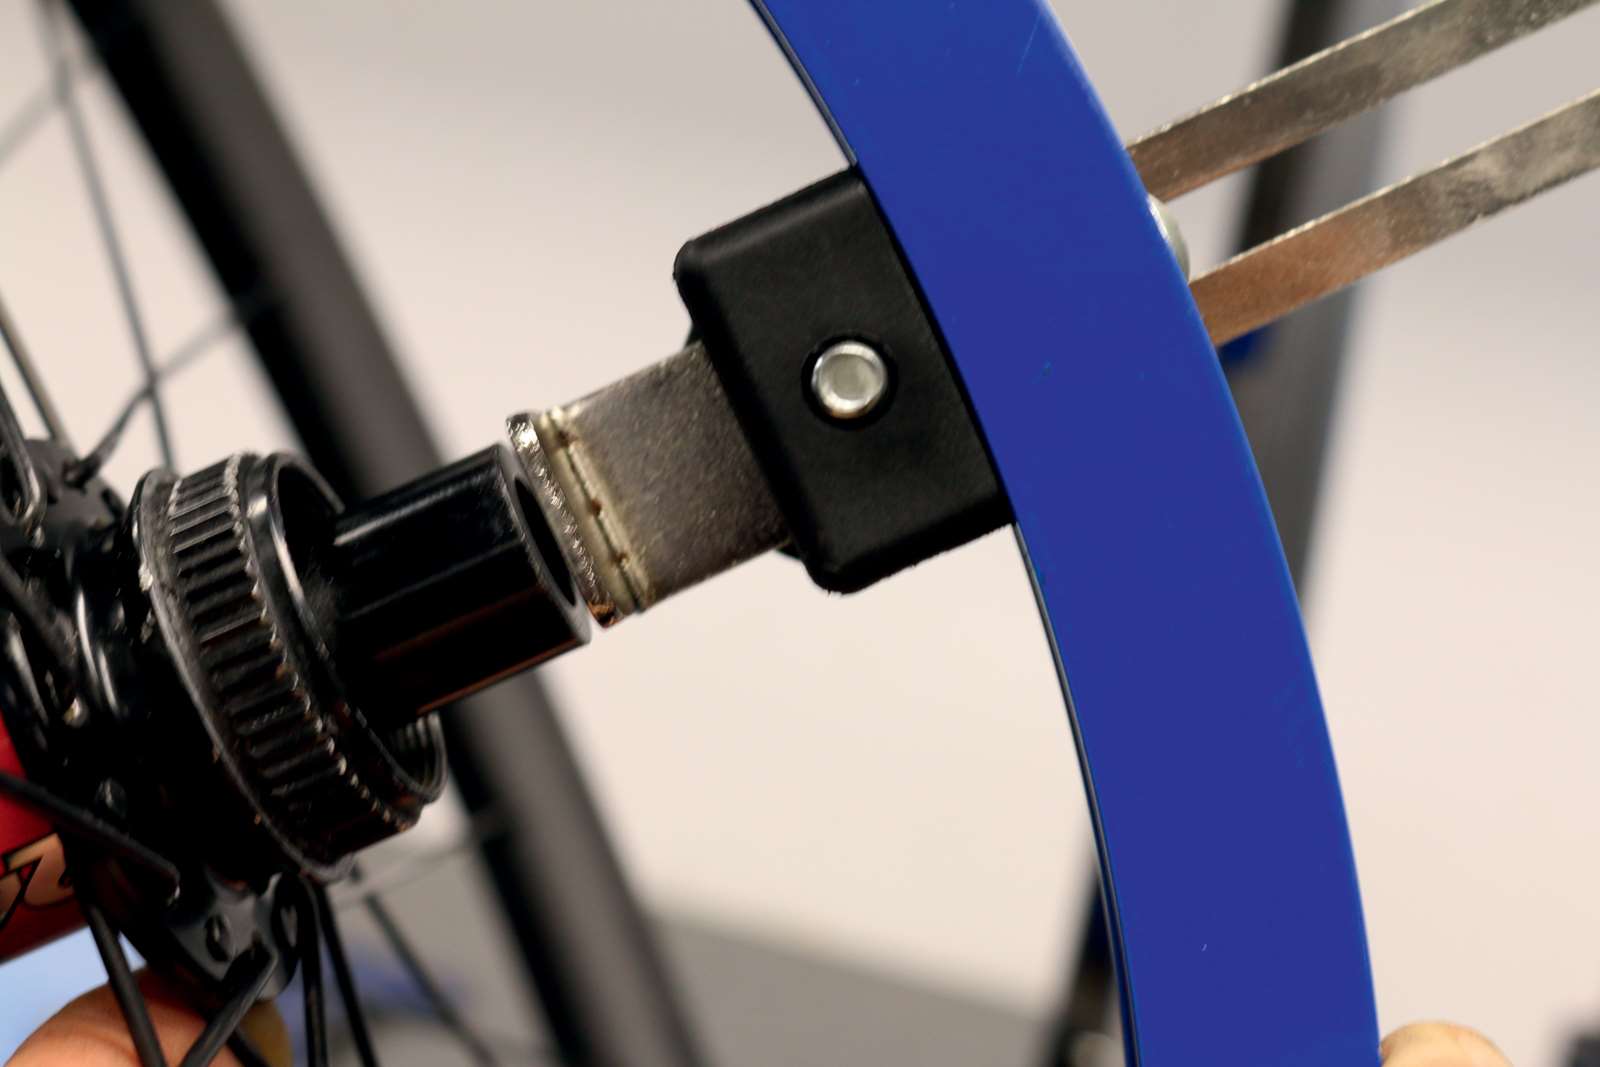
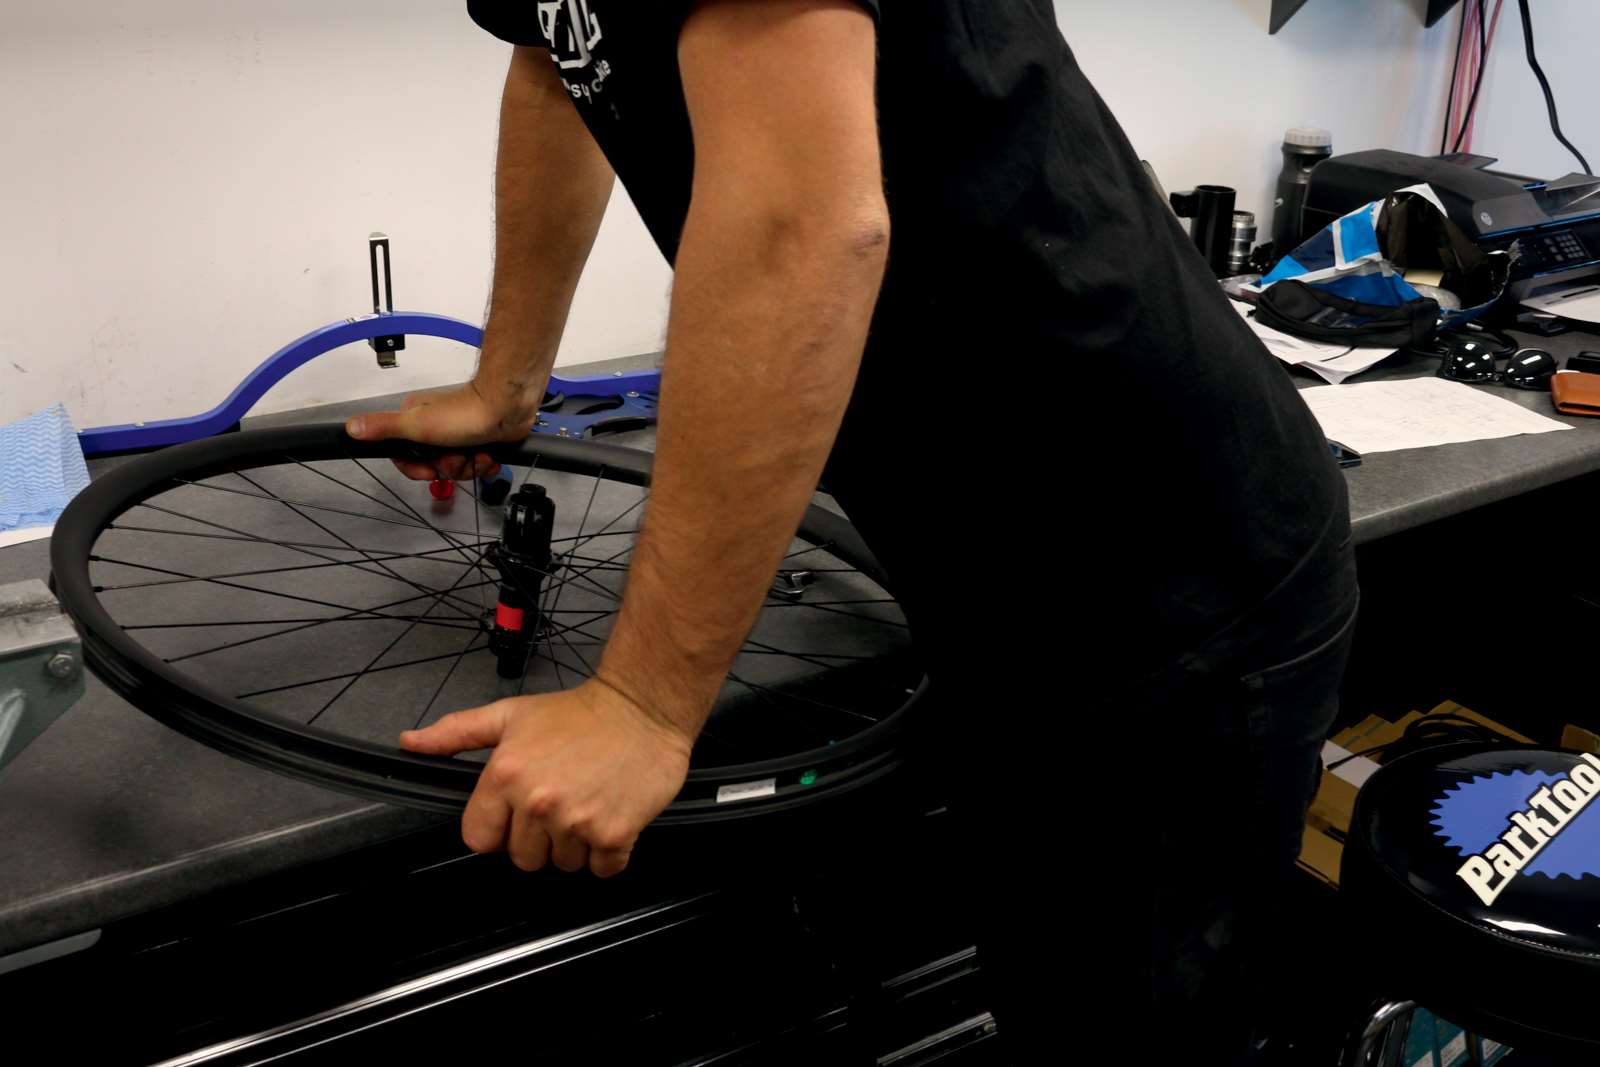
You must take into consideration the dish* of the wheel. Check this using your wheel-dishing tool. You can use a guide on your frame/fork as a cheat. After this first round of tensioning it’s a good idea to stress the wheel. This is done by put the wheel on the floor and pushing the rim towards the floor. You will hear spokes ping. Work your way around the wheel. This is a very important step (middle right). This makes sure all the spokes are in the correct position, and undoes any winding up the spoke might have acquired during the tensioning process. Do this to both sides.
*Dish- Making sure the rim is in the middle of the hub when completed.
STEP TWELVE
The first time you ever true a wheel, you will get frustrated! It is basically a balancing act. What you aim to achieve is a perfectly straight wheel with perfectly balanced tension around the entire wheel. If the wheel runs to the right, tighten the spokes on the left, and vice versa. To get hops out, you either have to loosen spokes or tighten over the spread of the hop. This is something I would recommend you practice on an old wheel. Have an experiment with different amounts of turns on a spoke and see what the effect is. This will require a lot of practice. Remember to keep checking the dish and stress the wheel after a few adjustments.
STEP THIRTEEN
Tension is important. To get this spot on you will really need a spoke tension metre. Chances are you don’t have one at home, so comparing to a wheel that’s in good shape would be a good starting point. Tension isn’t just one size fits all. It varies from build to build depending on the rider and what components are used. This would be a good thing to get checked over by your local wheel builder after your first build. One of the biggest keys to building a good wheel is to have even tension. This will produce a long lasting, strong build. Again, check the recommended tension for the components you’re using.
STEP FOURTEEN
It’s always good to check you wheel is true and tight after the first few rides. Chances are if this is your first build, you will lose a bit of tension and the wheel will come out of true.
I hope this gives you a good starting point to try building your first wheel. This is a very simple, back to basics guide. There is a reason why people can write books on wheel building, it’s not as simple as it looks, and there are 100s of different ways and theories to get it done. I’ve only touched on a few of them, but it should be enough to get you going in the right direction.
Words: Joe Dodd Images: Mike Blewitt

