How to do cutties
The cuttie, looks cool but also makes you a better rider…learn how here!
Words: Jared Rando Photos: Nick Waygood
Call them what you will – I have heard countless names over the years, but for me a cuttie is a cuttie and the term ‘cuttie’ is the preferred Australian slang, so cuttie it is. The first I heard of a cuttie was about 20 years ago from legendary DH racer Johnny Waddell and, since discovering what it entails, I still reckon I do at least 10 every ride because damn they are fun.
What is it? Well there are lots of reasons to have the skill of performing a cuttie, but for me it’s about being able to generate a good, sharp slide of the rear wheel whilst simultaneously digging deep for as much traction as you can get. The skill crosses over hugely into short, sharp and fast cornering, quick direction changes and of course, spraying dirt through turns at will, arguably the most popular aspect of it these days!
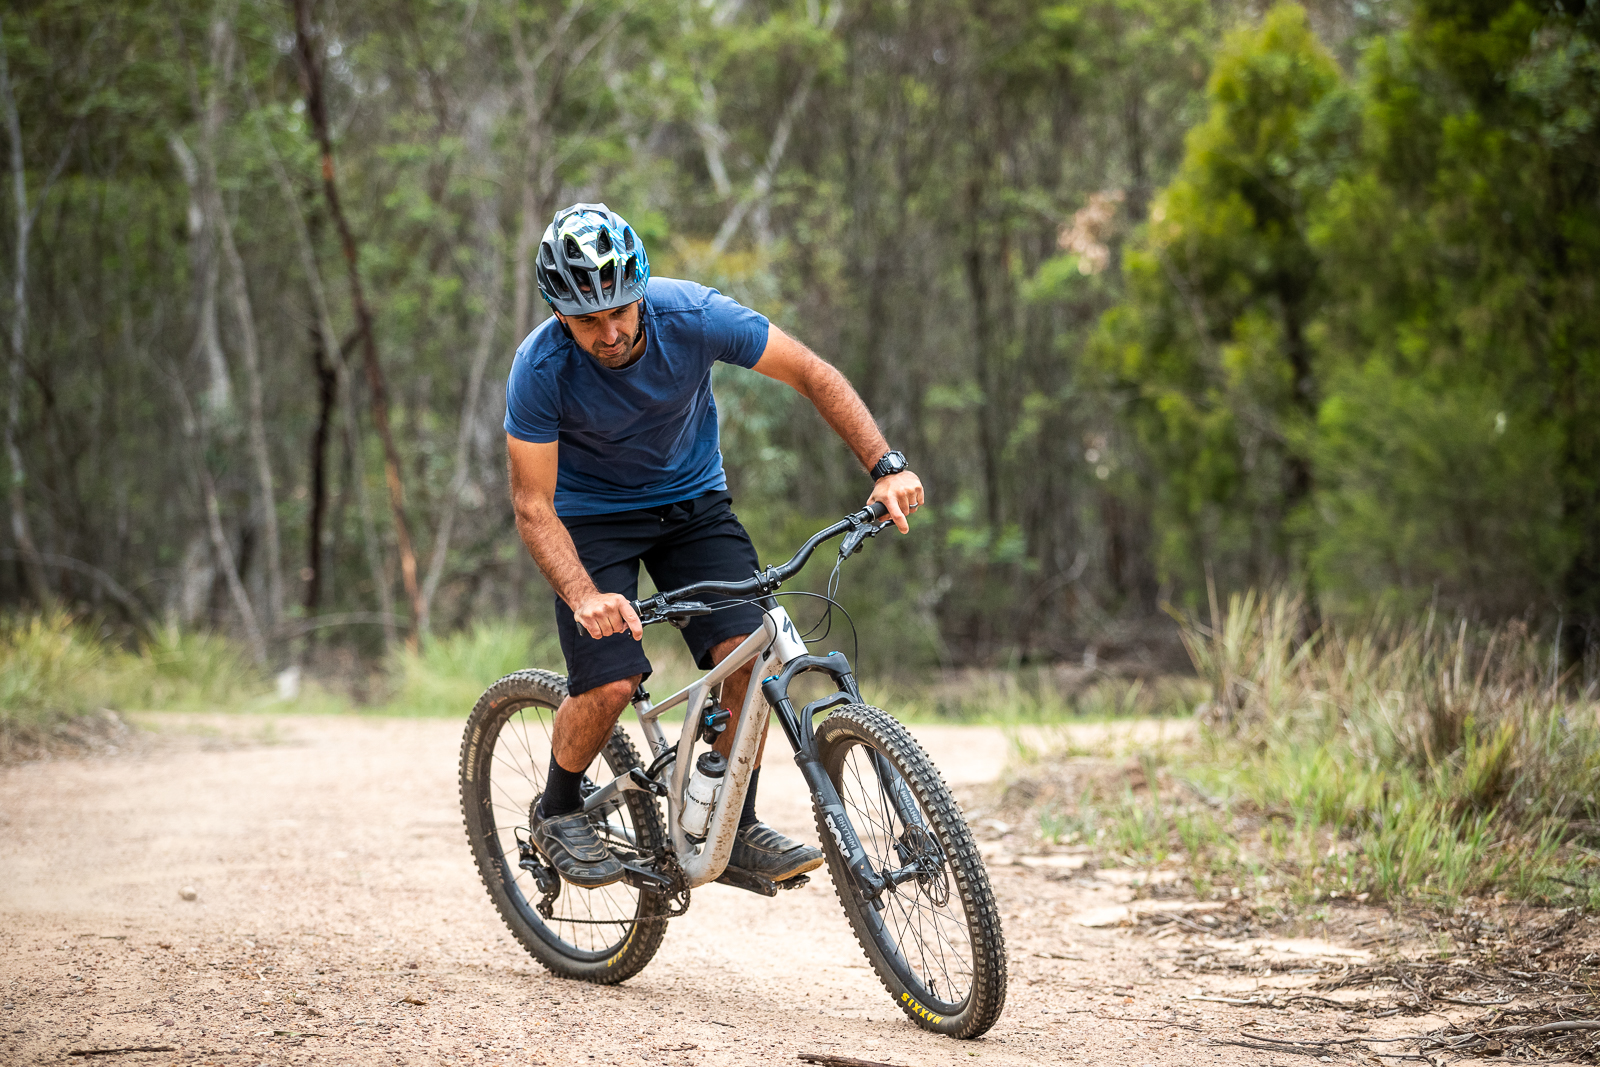
When learning cutties, make sure you try it on different surfaces in different directions, and try to have something to turn around like a rock, stick or a point on a bank and link up consecutive turns to get the most bang for your buck. You’ll always favour turning to one direction as well so learning both ways is really important to cross the skill over onto the trail. And perhaps the most important part – keep going on the same track until ruts are formed and you can’t keep going. The more you get into the flow of it, the easier it is. Here’s how to do it.
Step 1 – Pick your mark
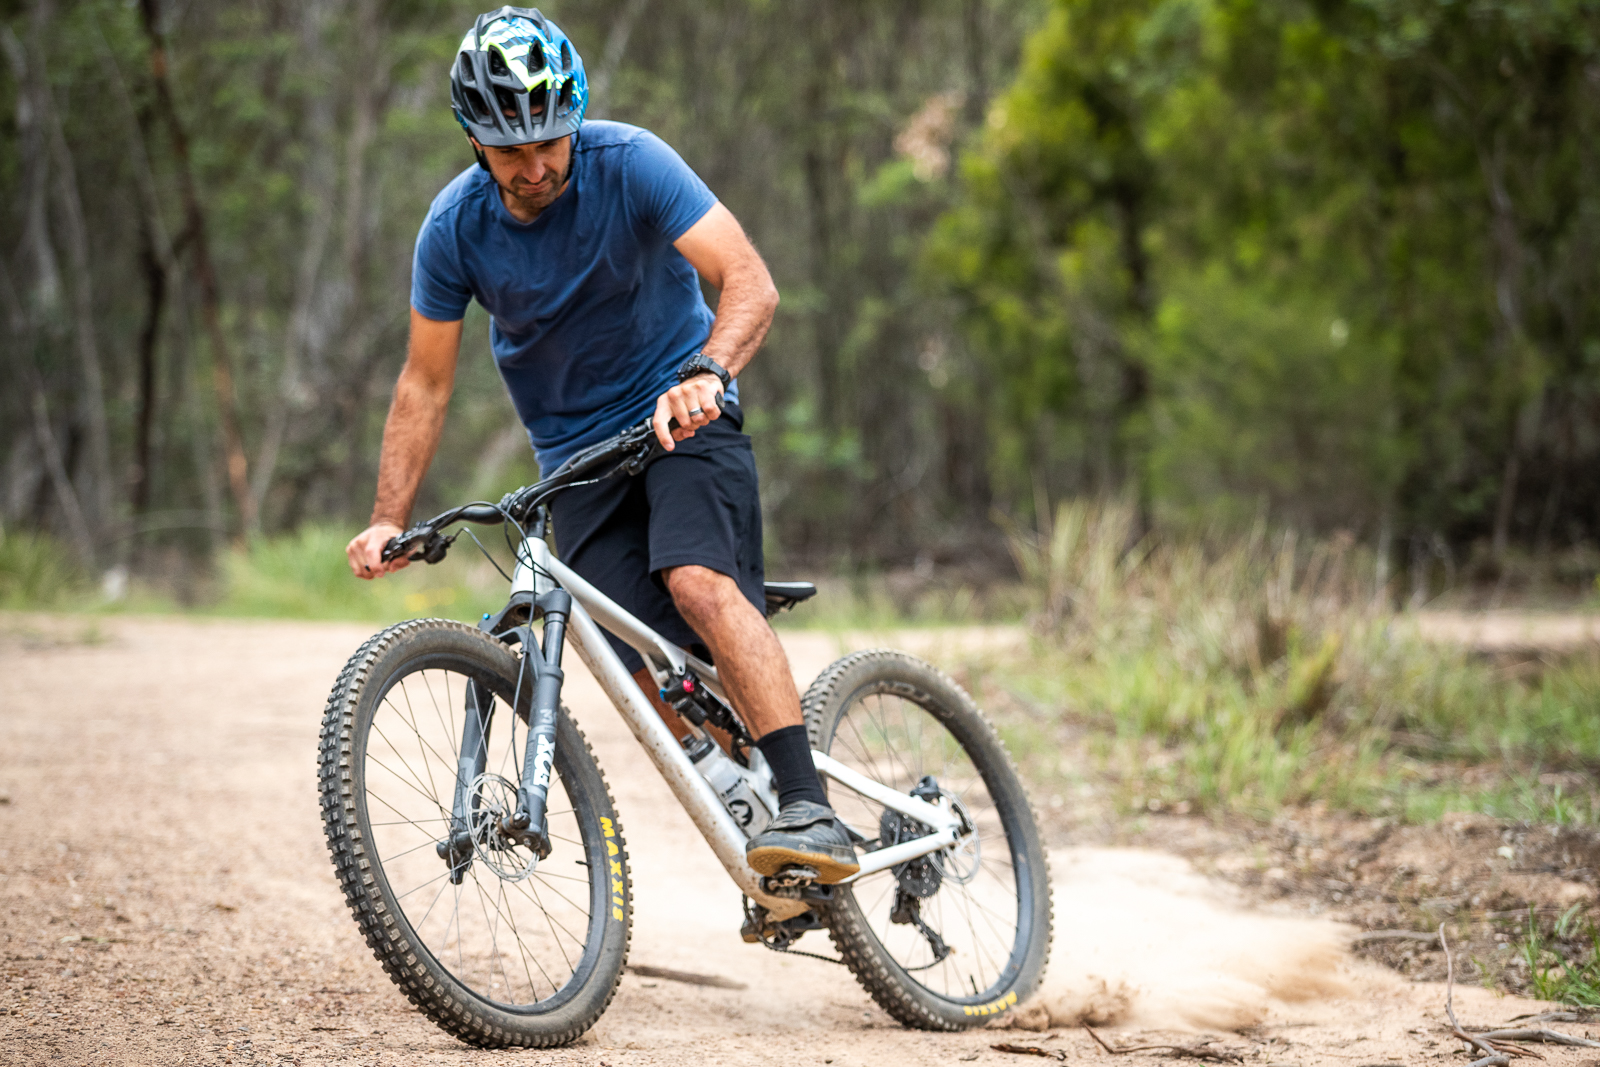
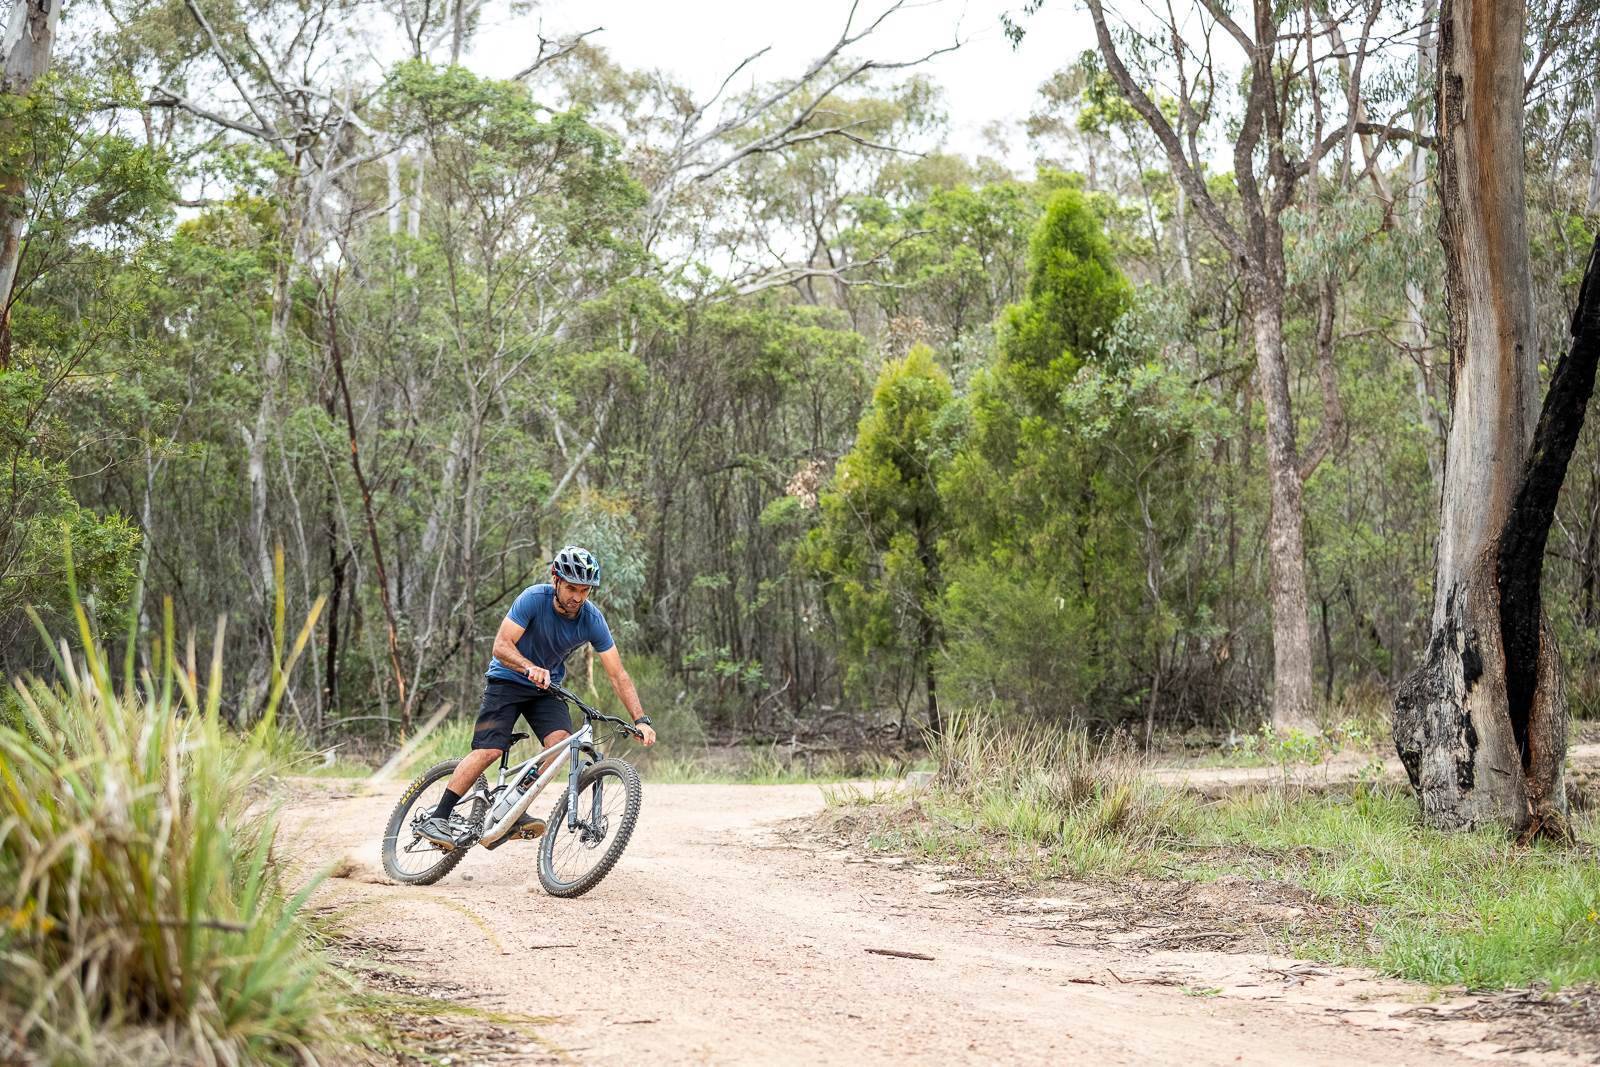
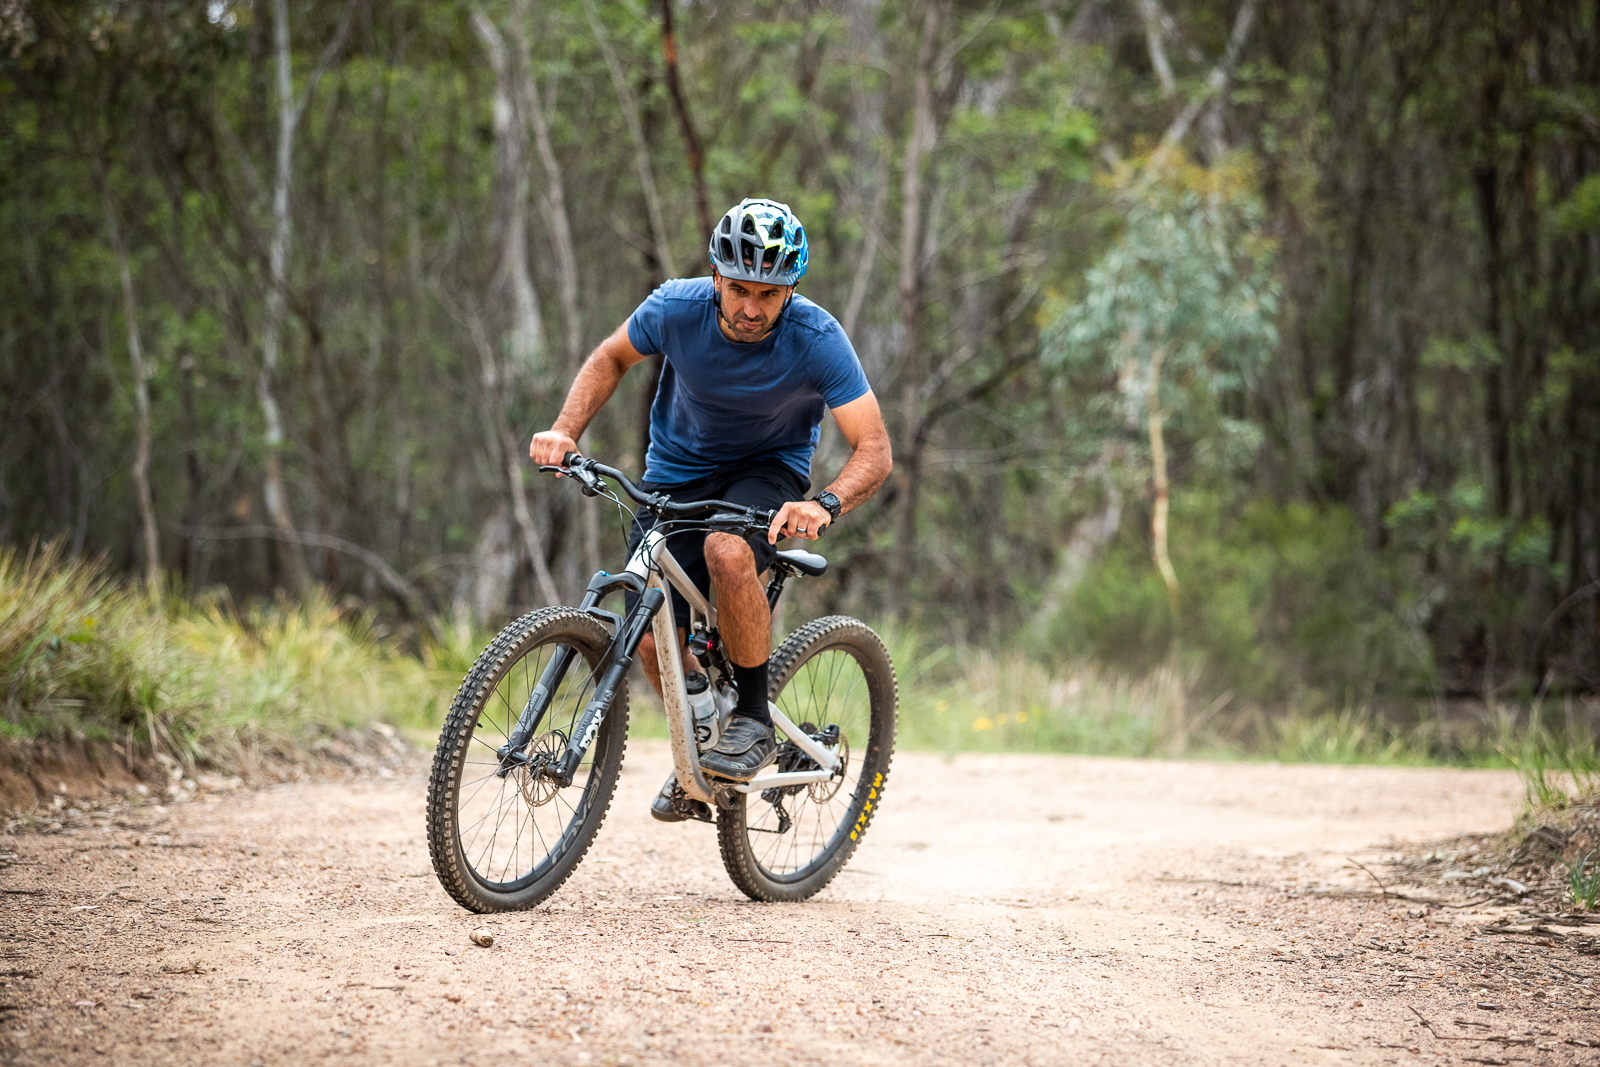
Here I’m using a rock and a stick to mark my ‘track’. Coming in, I’m looking to weight the bike evenly and pre load the suspension as I push into the turn while pushing my rear wheel out and around the rock. The sliding part of the cuttie comes as your rear suspension unloads as you exit the turn, causing the wheel to slide as it loses traction.
Step 2 – Start your turn and load your suspension
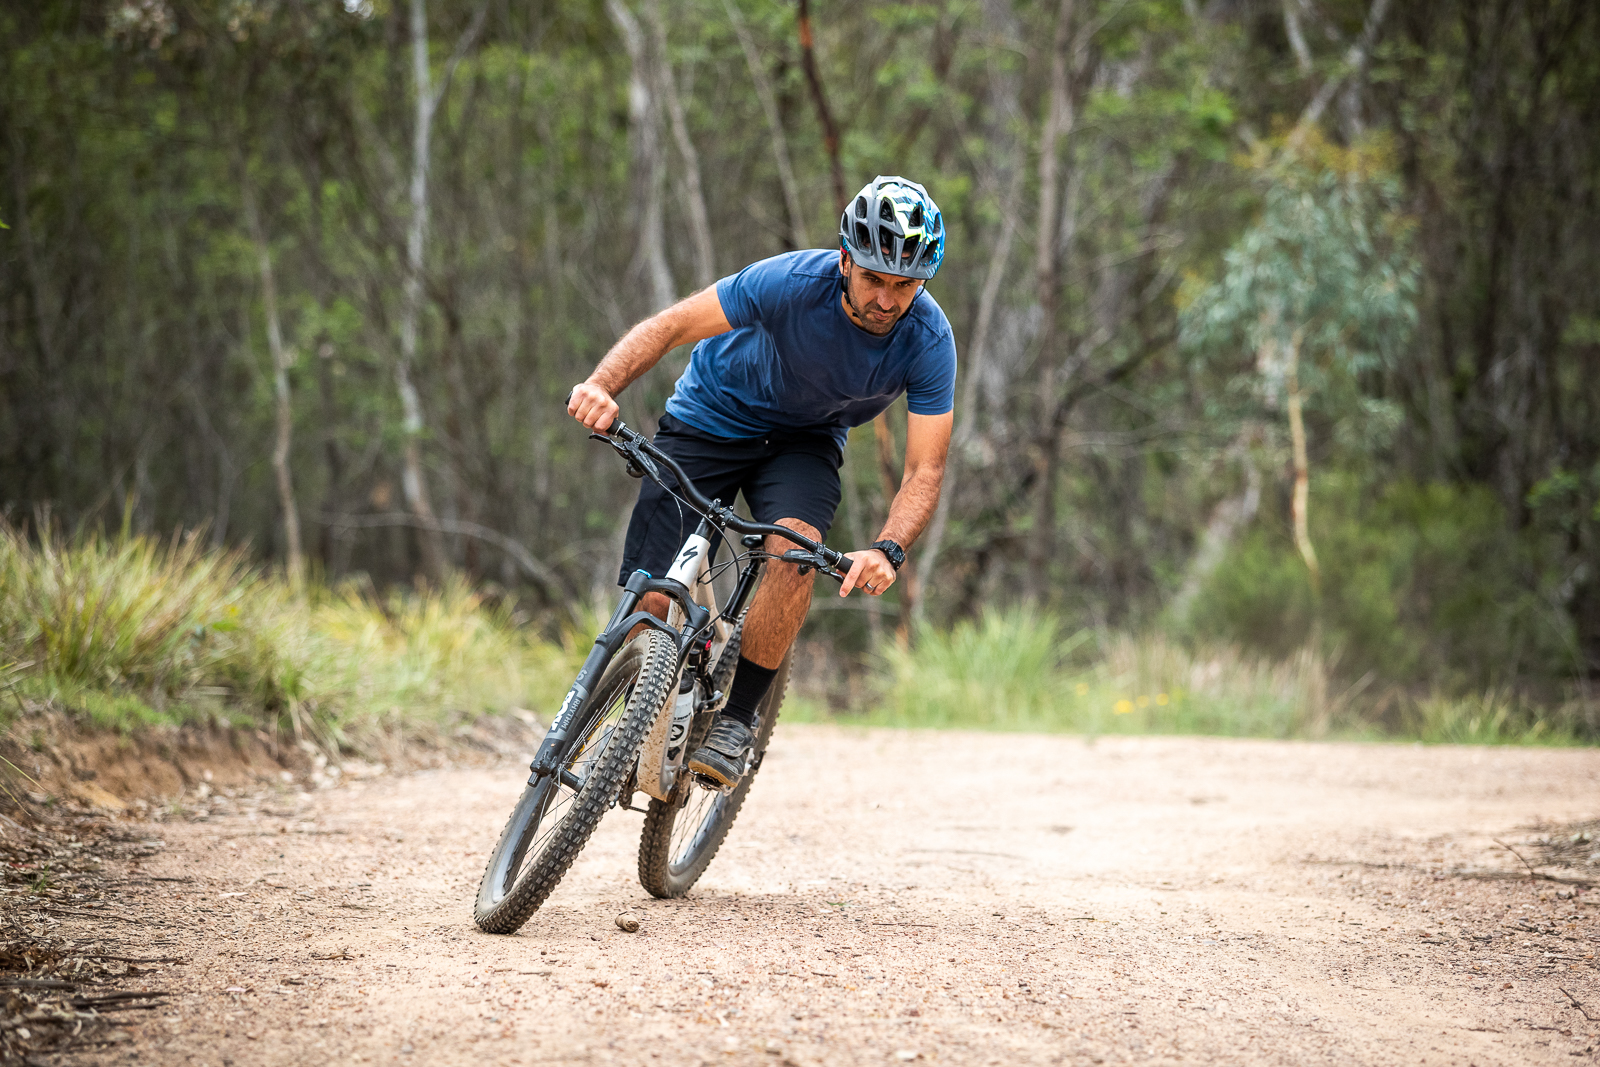
This is probably the hardest part. Perhaps the best way to explain it is to simultaneously turn around your mark while pushing deep into the rear wheel. Weighting the rear wheel will give you plenty of traction to get around the turn. At this point your shifting your weight more towards the rear of the bike for the rear wheel to hook up and your suspension to compress and dig deep into the turn.
Step 3 – Push your wheel out using your legs and hips
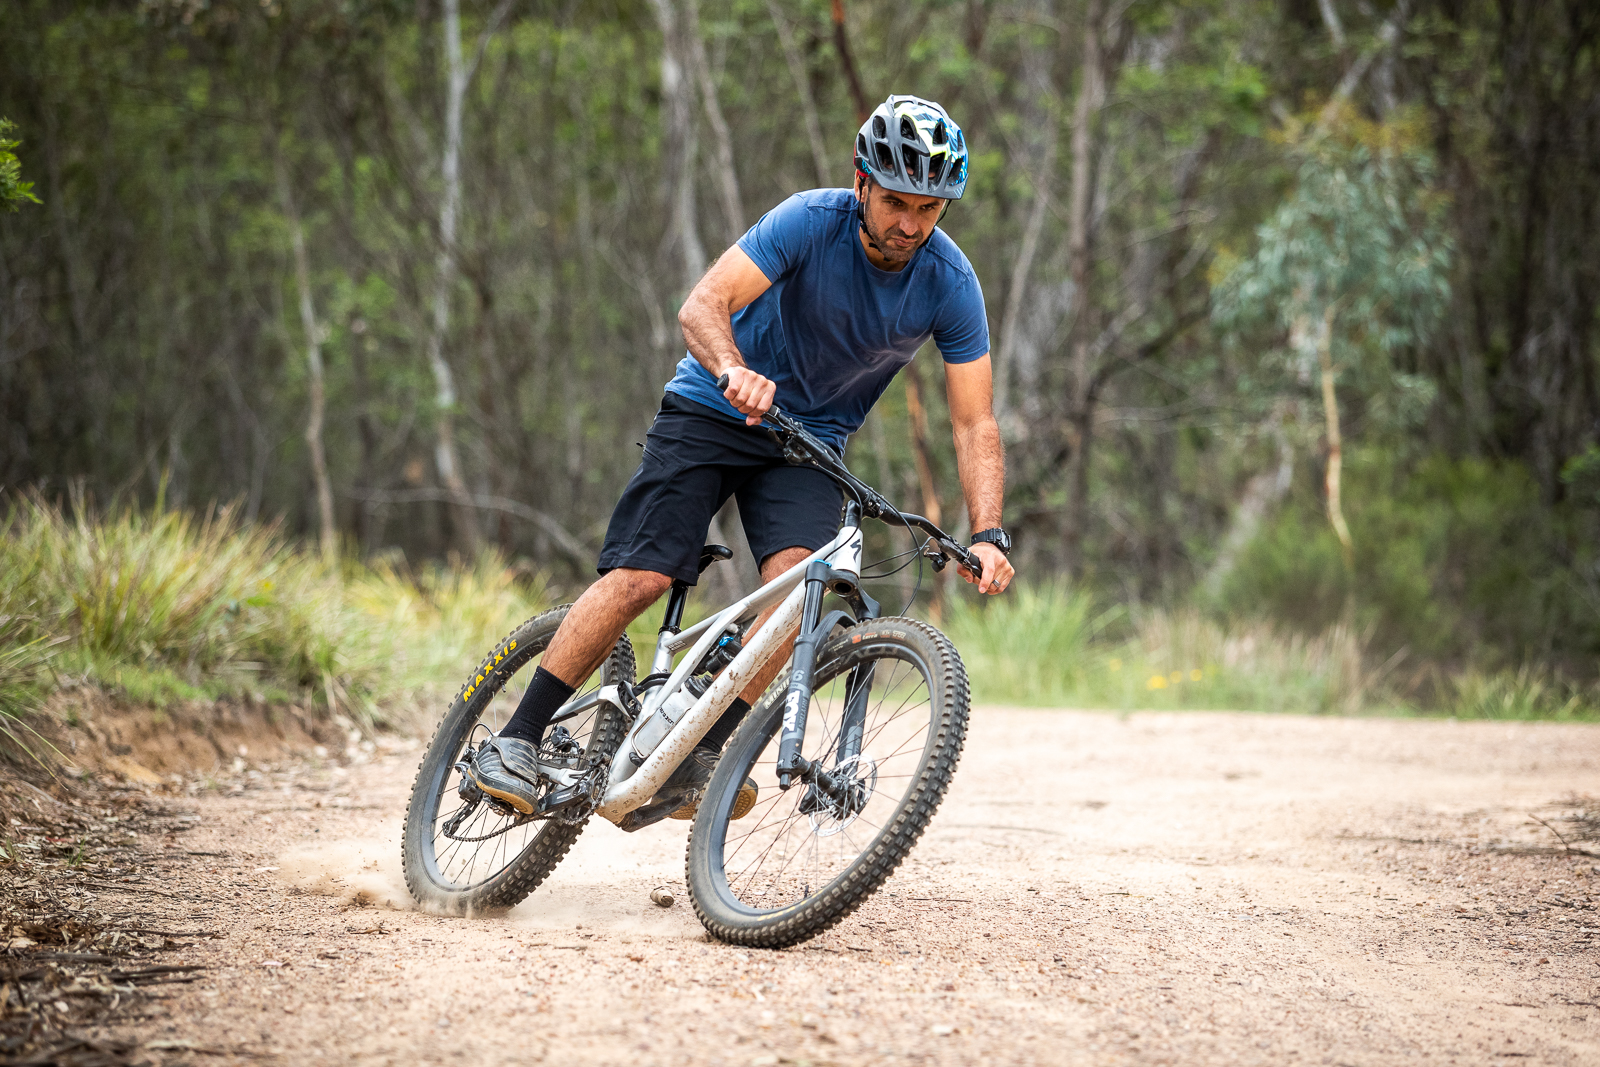
As you come around the turn, you can push out the rear wheel using the lower half of your body. This will get a bit of a slide happening as your suspension decompresses and it will also get your bike pointing a bit further around the turn to help set up for the next turn (or spray maximum dirt).
Considerate mountain biking
Are your trails dry as a bone and already degraded? If you’re not about to put your hand up for a trail work day – this isn’t the time or place to practice your cutties.
Step 4 – Pop out of the turn
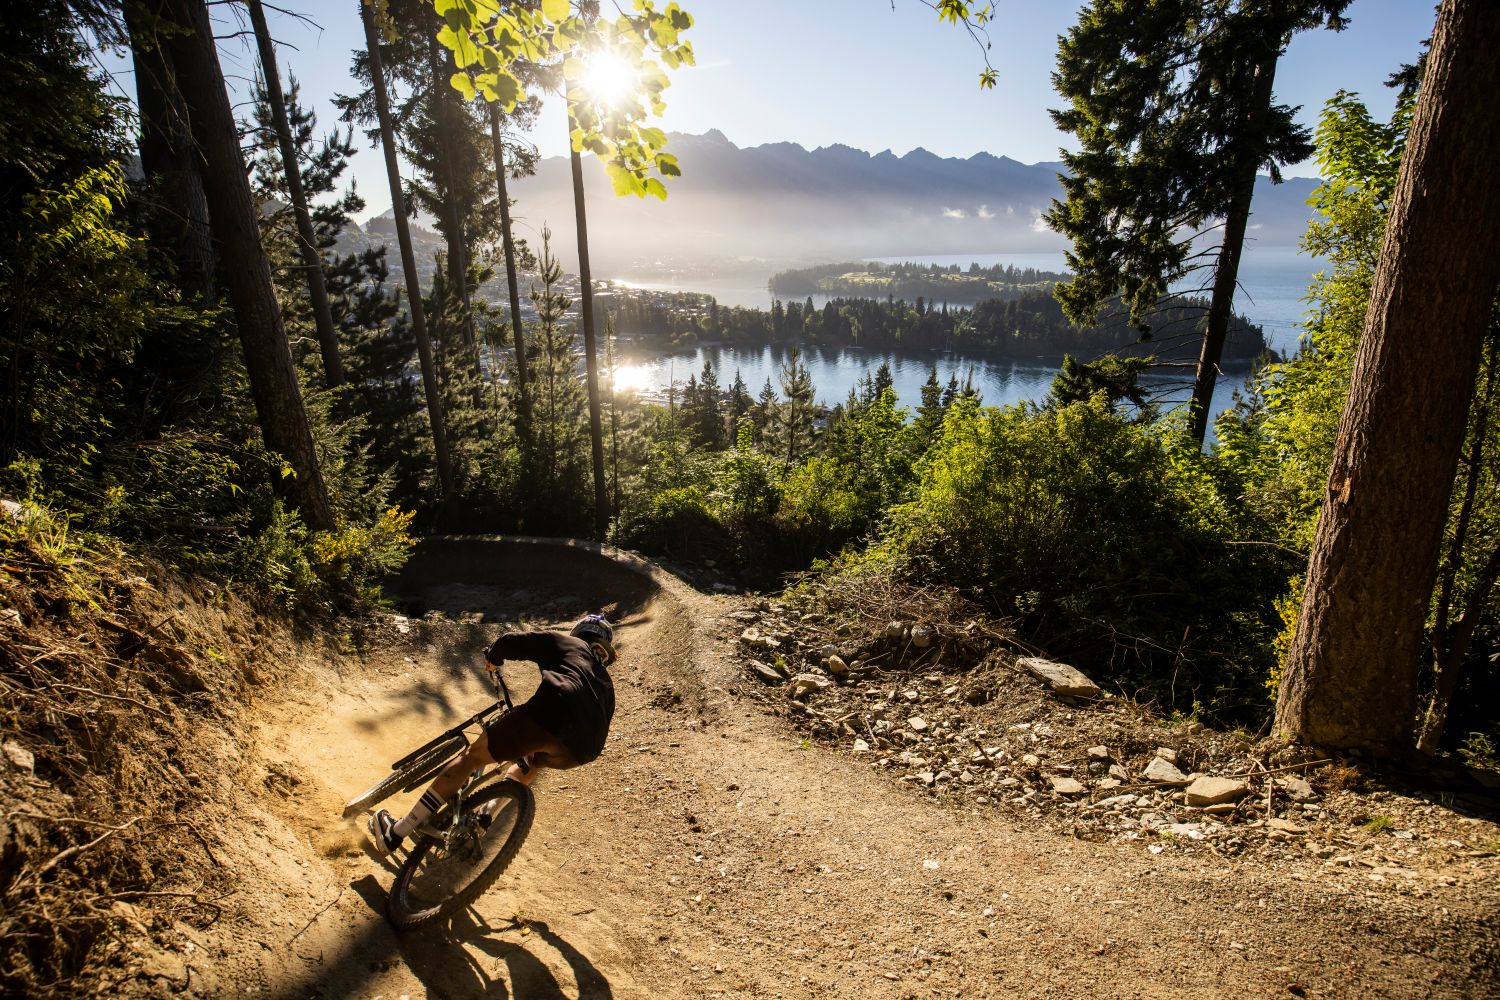
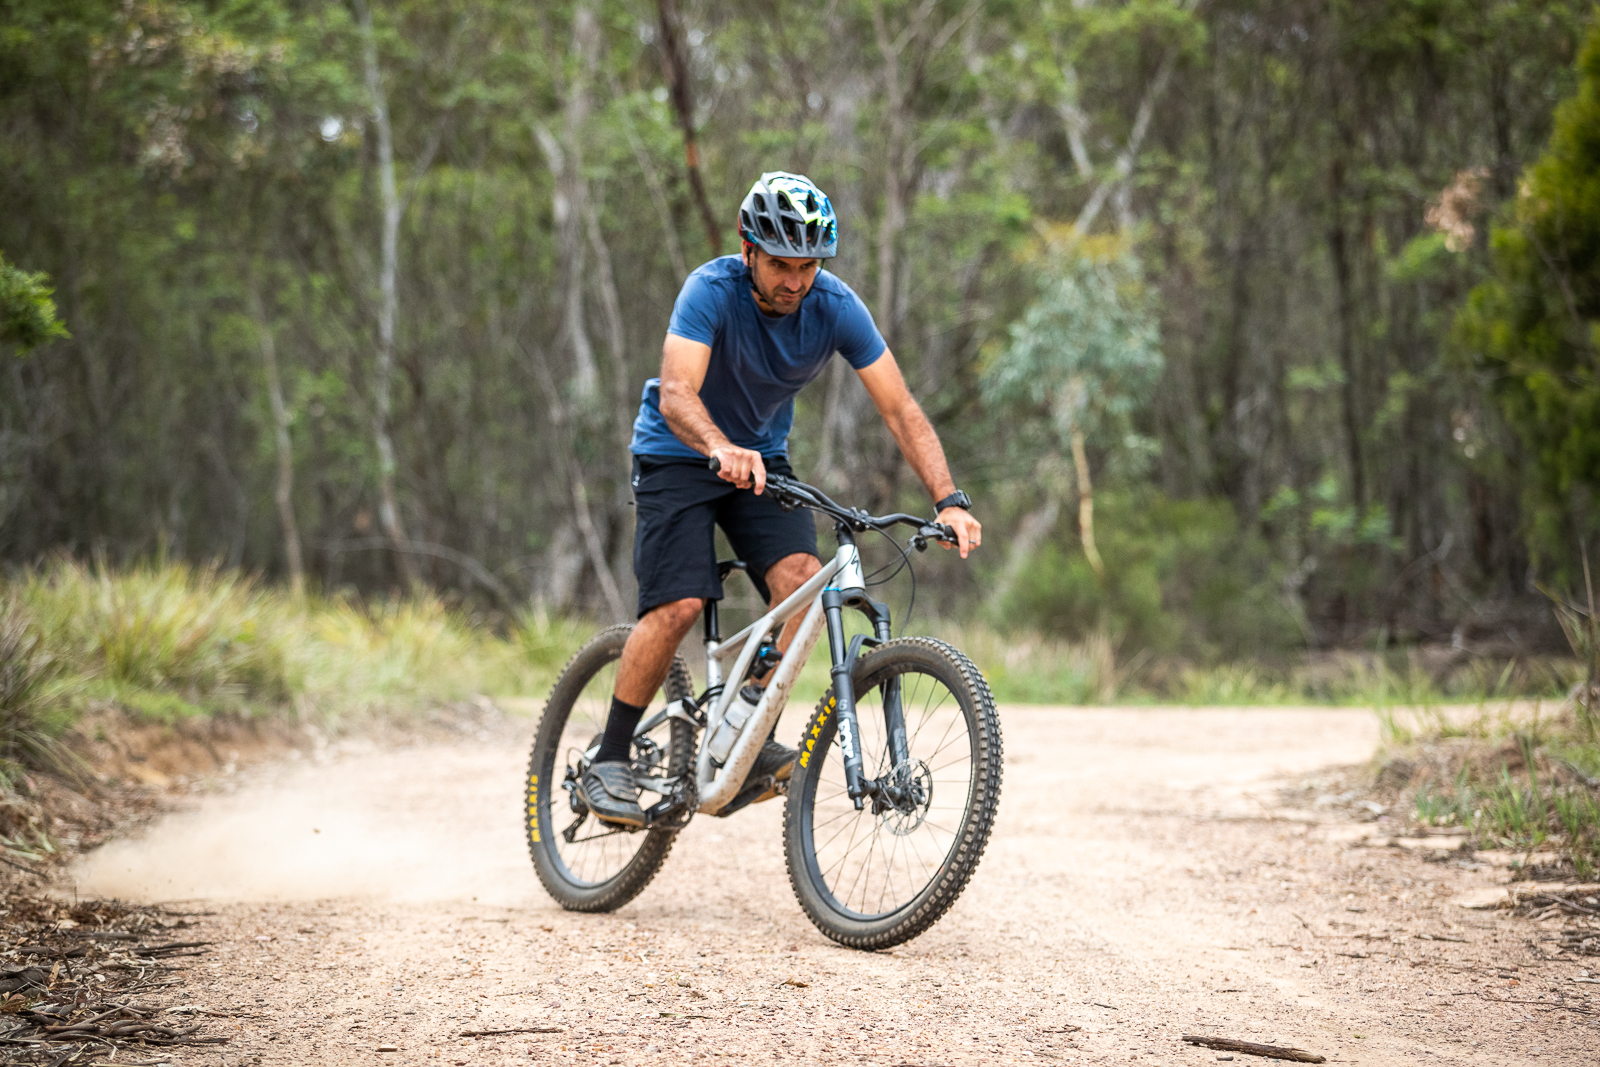
If you get it right, you’ll almost feel as though you ‘pop’ up and out of the turn as the suspension unloads. If you are heading into another turn, take the opportunity to pick your next mark and repeat the process the other direction. The harder you compress, the more you’ll pop out so you’ll really feel the effect on a bank, berm or rut.
Step 5 – Do it again the other way
Repeat the process the other direction if you want to get your flow happening. The more turns you set up in a row the quicker you’ll learn and remember to try different grades, speeds and surfaces until you find your sweet spot. Starting out though I’d recommend a relatively low speed on a flat, slightly grippy surface. Remember to keep your cranks mostly level throughout the process and to turn with your legs.
