How to fact check your bike fit
If you're not comfortable on your bike, maybe it's time to look at your bike fit. Here are a few tips at where to start - before seeking professional advice.
Have you got the new bike you've been dreaming of, but something just doesn't feel quite right? Maybe you read all the reviews, did your homework and built the best bike, but you just can't get comfortable or have some pain when riding. Don't worry, you're not alone. There's a reason many top bike shops specialise in bike fitting, and why select physiotherapists can also assist with your bike fit and injury management. They're not here to sell snake oil – it really is important to get it right for your comfort, well-being – and enjoyment of your time off-road.
The basics of bike fit
We aren't here to guide you through your bike fit – you'll be best to find a local professional for that. But here are some of the basics to get right. If you are going to make any changes, record your current set up and the changes you make. You don't need much, just a notepad and a pen, plus a ruler and tape measure should do it. Be accurate and note all the changes, this way you won't be stuck trying to undo changes blind.
Bike size
There has been a move to reach based sizing from many brands, including Specialized and Merida, and that makes a lot of sense for mountain biking where a dropper post with a lot of drop will easily allow you a good height for pedalling and plenty of room to get loosey goosey when you drop the saddle. The reach will impact how long the bike is from the saddle to the bars, as well as the wheelbase. Go too short and you will feel cramped, and likely slouch on the bike. Go too long and you'll be stretched, with a front wheel that pushes through corners and wanders around.
Seat height
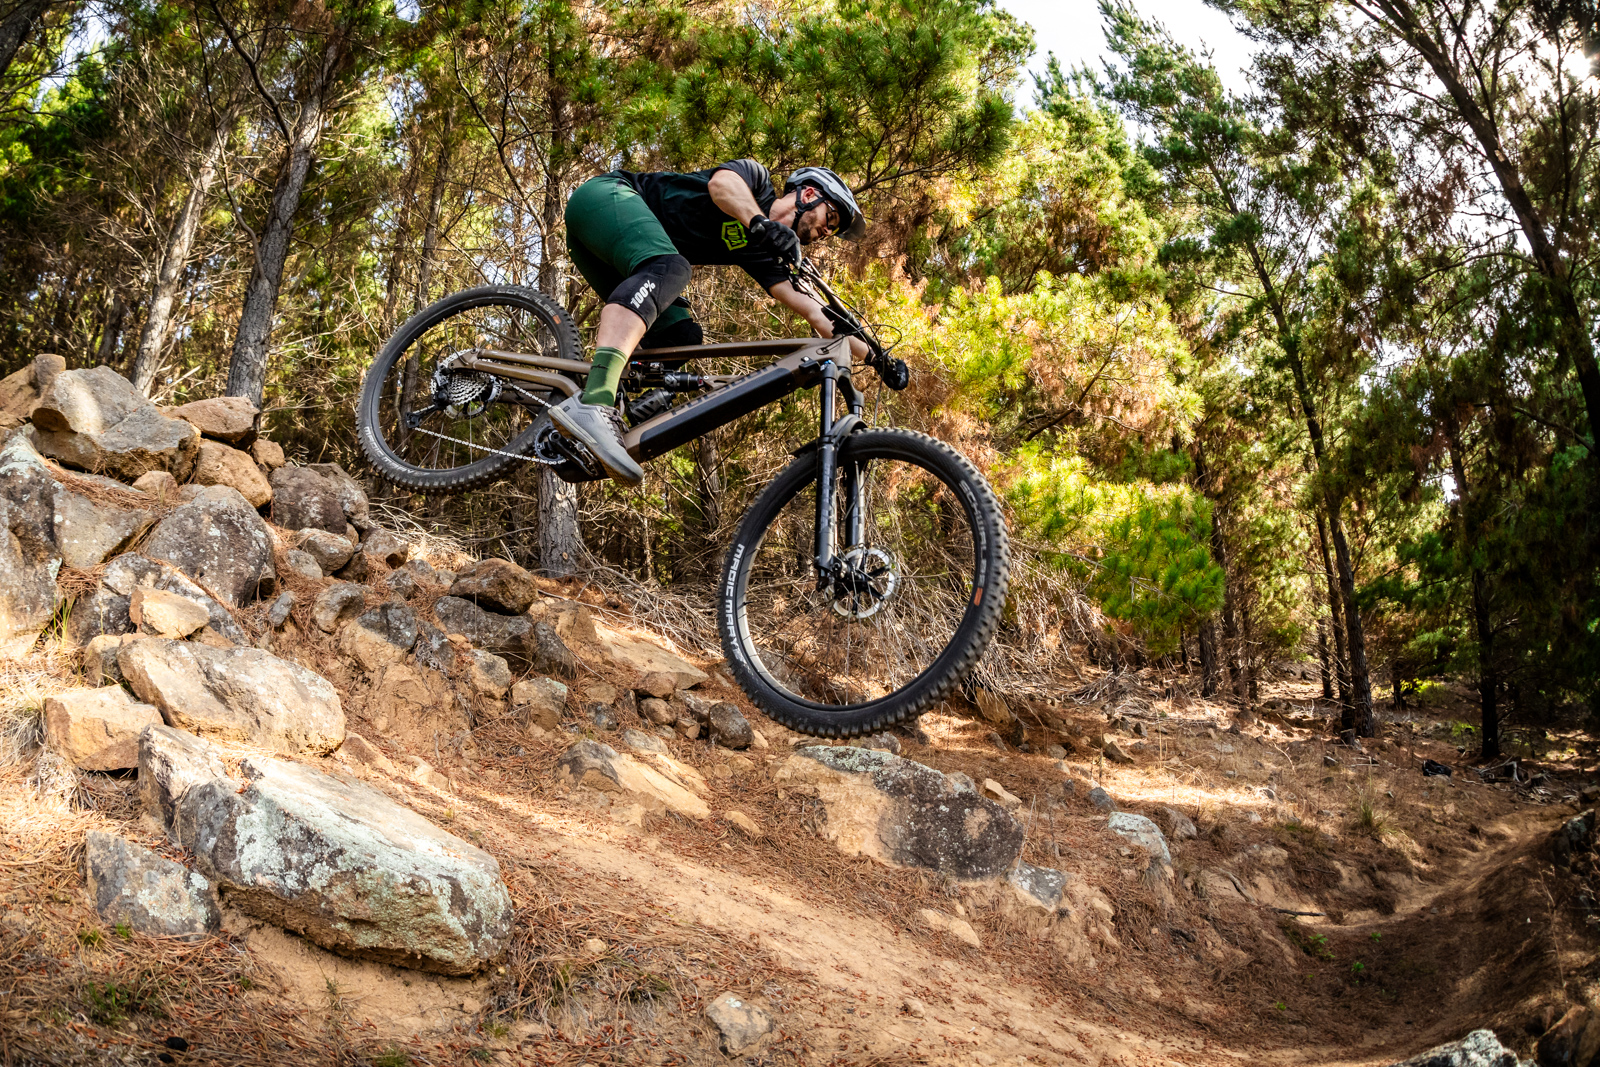
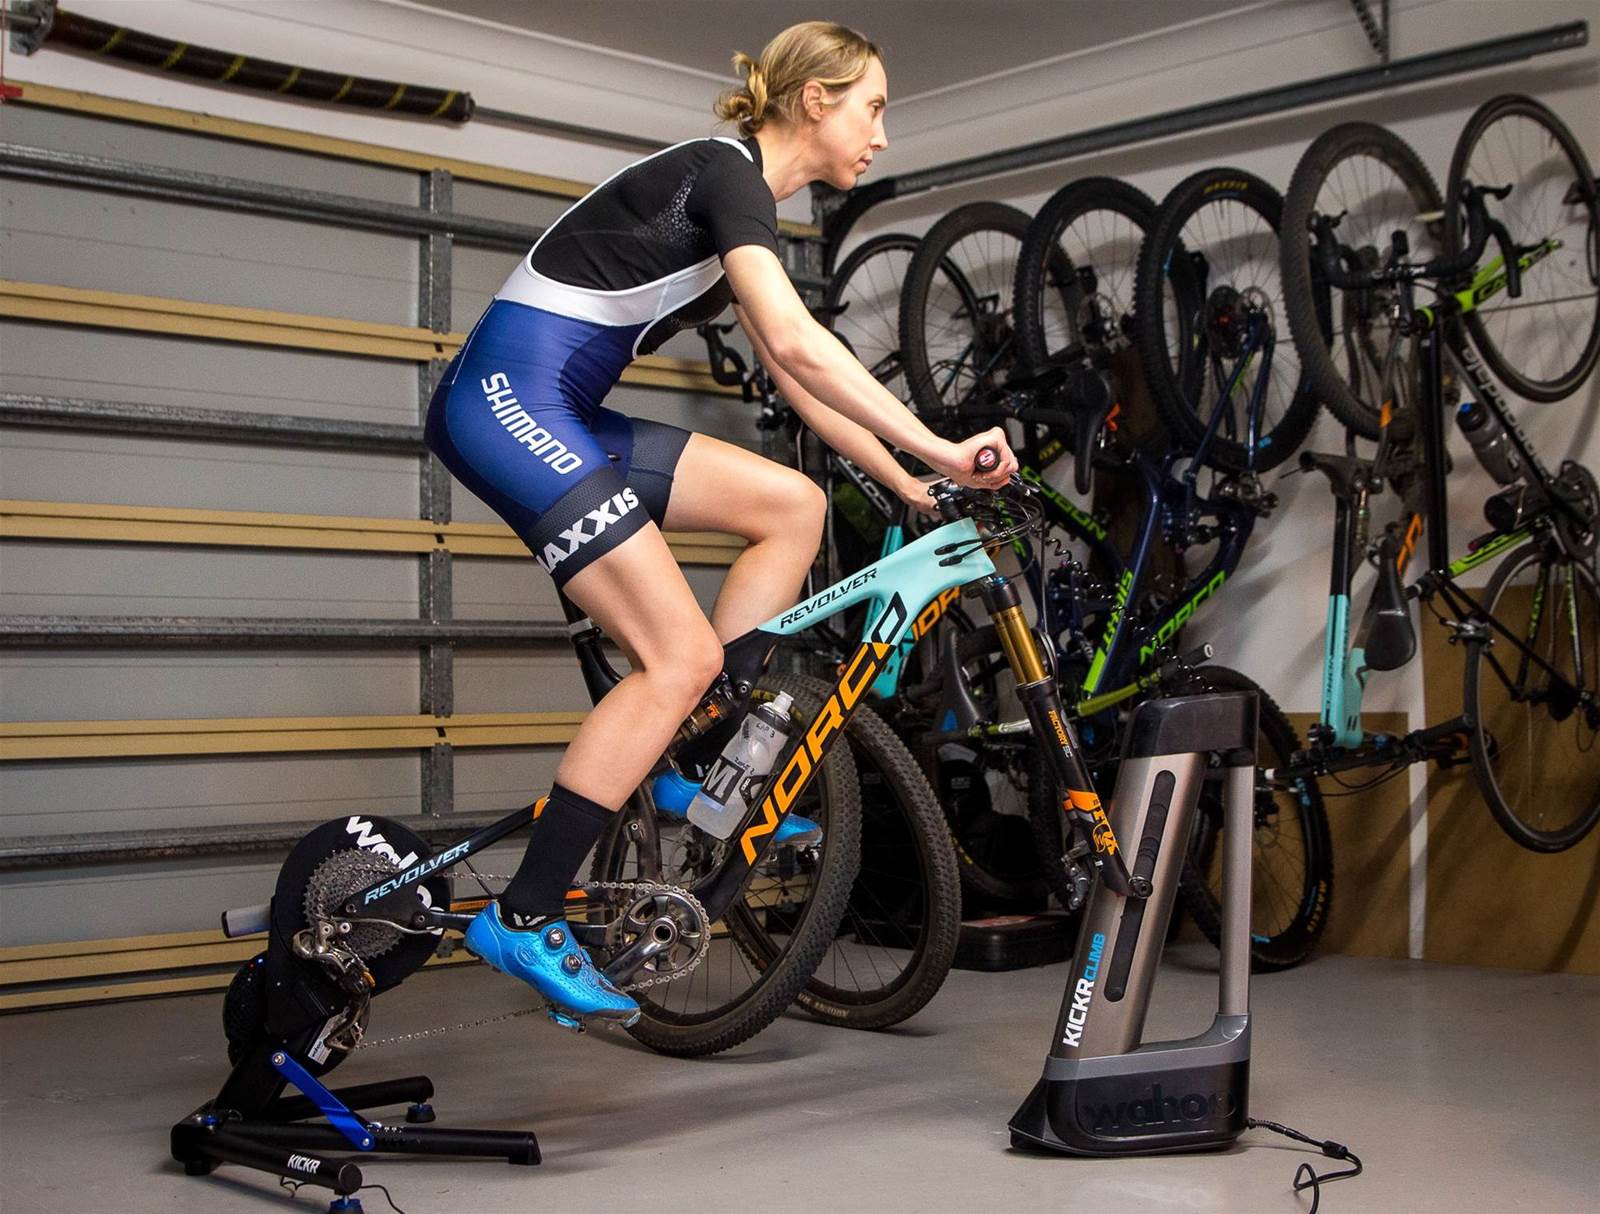
Save for a downhill bike – this still matters. For efficient and comfortable pedalling you want to find the optimum saddle height. You can measure your inseam and multiply it by 0.883 to get a measurement. But you can also do it on the bike. I find the right saddle height isn't at full leg extension, but allows me to scrape my heel through the bottom of the pedal stroke. Another rule of thumb is placing your heel on the pedal, you should be at full extension. But if your hips are rocking when pedalling, drop the saddle a couple of millimetres. Having your saddle too high or low can lead to back pain, knee pain, hip pain and muscular imbalances. It pays to get it right!
Seat position
You've got markings on your saddle for a reason, it's to help get the position forwards and backwards just right. And same for the angle, there's options so you can get it set up just for you. This one is trickier to master at home, and a bike fitter will measure your setback based on where your knee sits over the pedals. Most modern mountain bikes have very steep seat angles, and the idea is it keeps you centred on the bike when pedalling, helping to keep a modern bike with longer reach and a slacker head angle riding well when pointing back up hill.
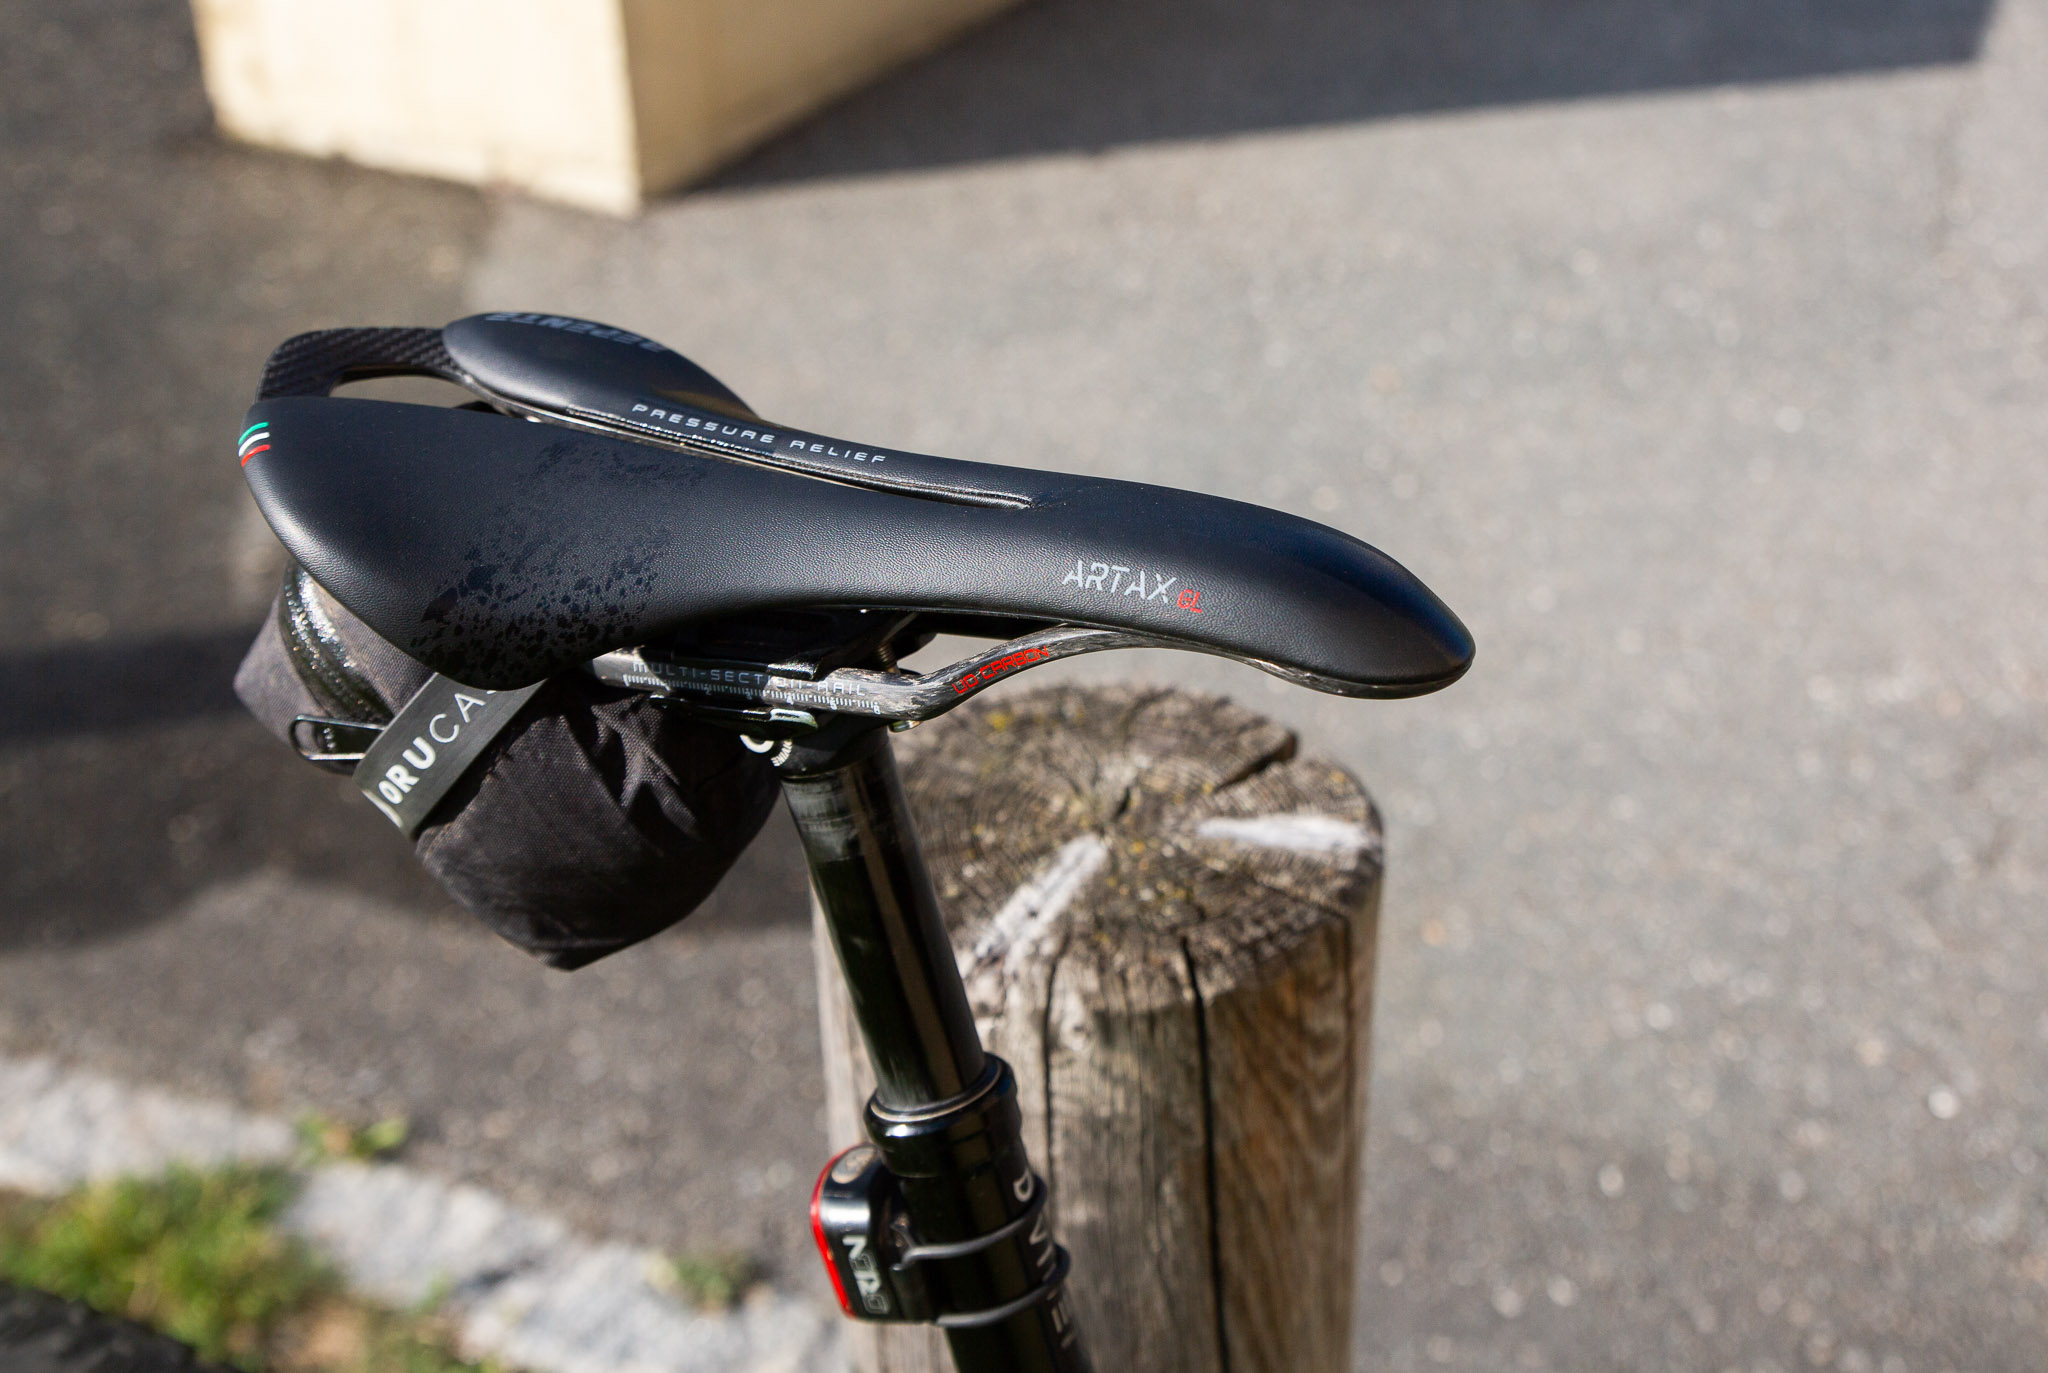
If you're playing at home, start centred and flat, and try tiny (1mm) movements from there. It'll feel like a mile. If you've come to dirt from road – welcome! But don't expect to run the same setback, you will likely want to be a little more forward.
Bar width
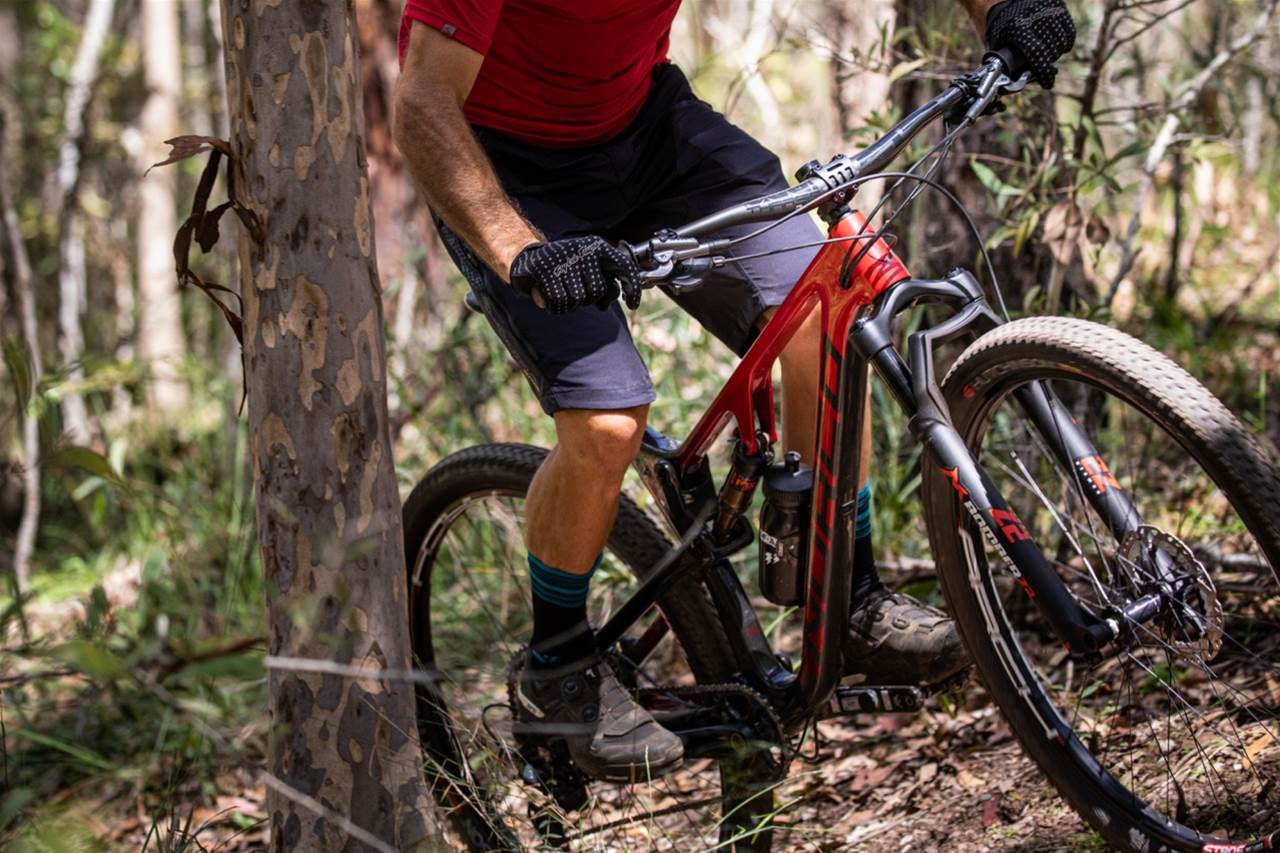
We all know wider is better, right? Well that's true, to a point. Most bikes now come with suitably wide handlebars for mountain biking. Wider bars go hand in hand with shorter stems, but there is not one width to rule them all. While many stock bars will come as wide as 820mm, a lot of riders find 740-760mm is the sweet spot. A simple check of what works for you is doing a push up, and have a friend measure the distance between your hands. Try a little wider and narrower, and you'll figure out the sweet spot where you feel the strongest.
Bar height
Lower is faster, and higher is faster, depending who you follow on Instagram. The height of your handlebars has a lot to do with the riding you do, the size of your bike, bottom bracket drop, head tube height, and flexibility. The rule here is simple – don't be ruled by fashion. If you want to run a high stack like Jack Moir, maybe see if you're a similar height first? Similarly, if you want to slam that stem like Anton Cooper, consult your tape measure first to see if you're more than 165cm tall. Given most mountain bikes have a few spacers above and below the stem, it is simple to try small changes without going all in. Lower will help for traction on the front wheel, but higher may assist a stable pedalling position, poor flexibility, and a more confident stance in steep chutes and at high speed.
While you may be able to make small adjustments yourself, if in doubt contact a reputable bikeshop, or ask them for a suggestion of who you could see for a professional bike fit.
What about contact points?
You have five contact points with your bike, and it pays to get them right. From your grips, to your saddle and pedals. Each one is a two part deal though. Grips go with gloves (or not), saddles go with padded bike shorts, and pedals go with shoes – and their inner soles.
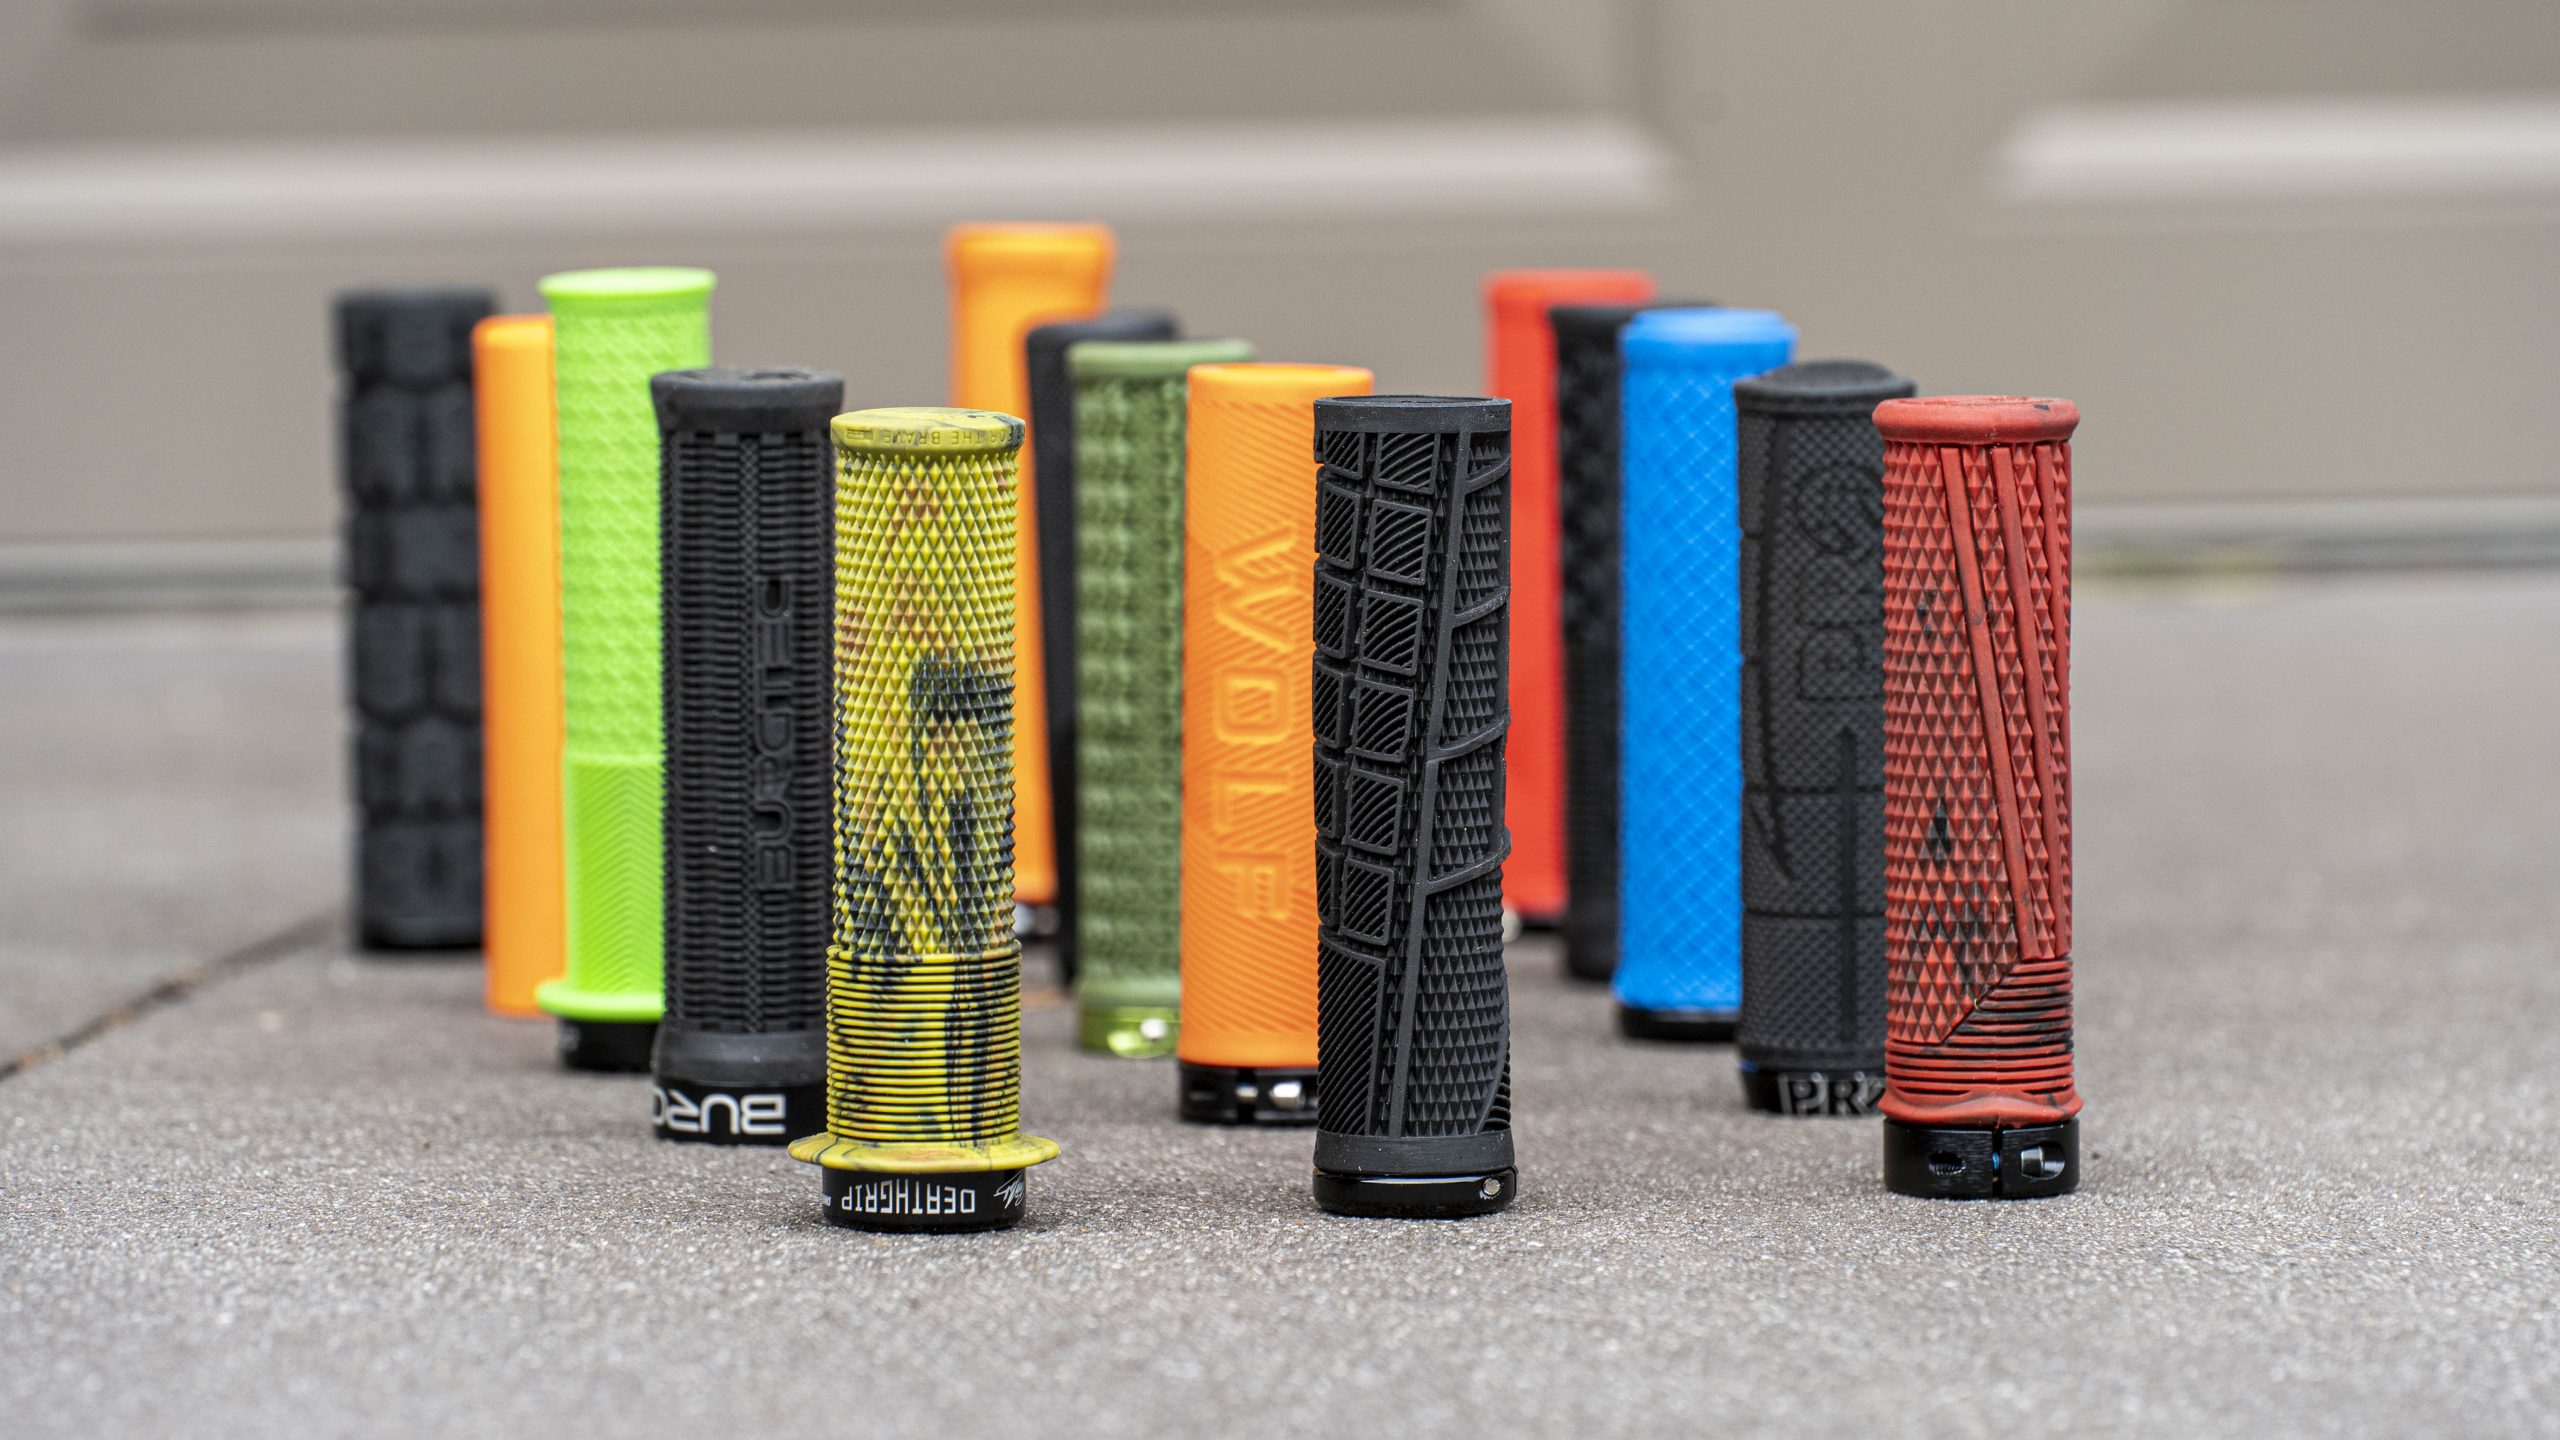
The right grip will impact comfort and control via density, diameter and grip pattern, and gloves add a huge safety element and a bonus in wet, muddy or sweaty weather. Check out our grips group test in this issue for some of the popular models. They're so easy to try out, and relatively affordable as well.
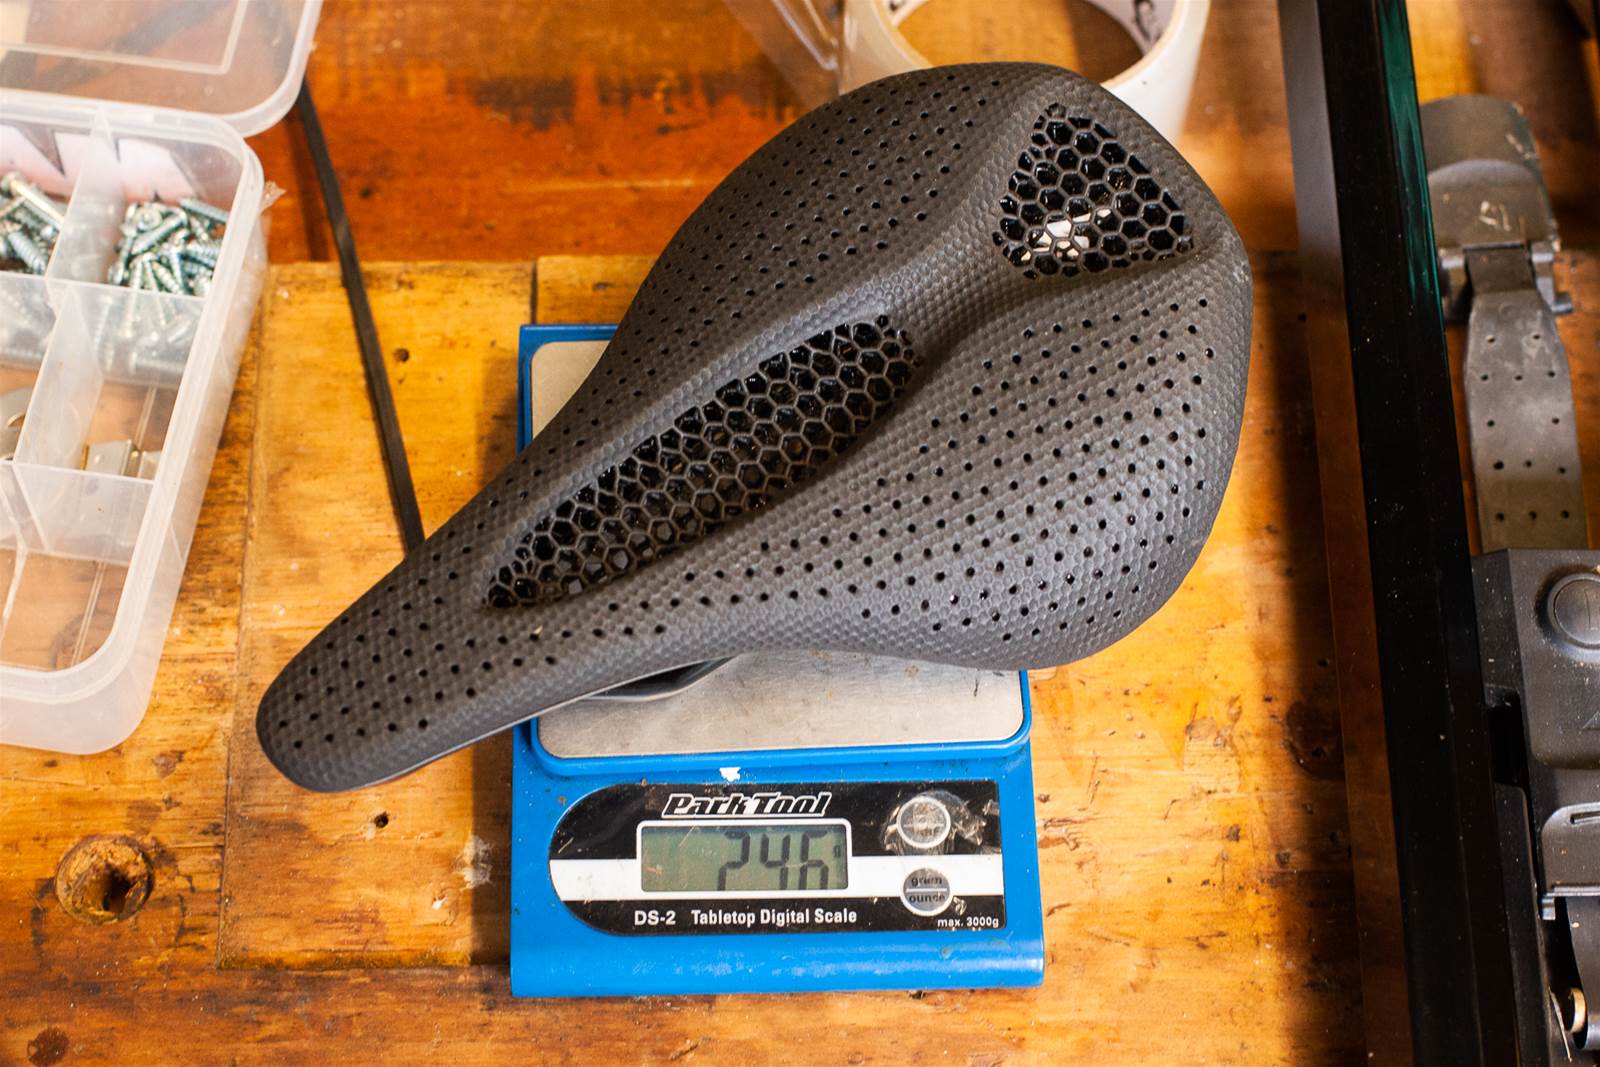
Saddles can be a minefield, as what is comfortable for some won't be for others. Most riders find that thje more they pedal, the narrower they want. Brands like Specialized, Repente, Sqlab, Fizik, PRO and more have different widths and even different shapes to suit the position you ride. That is, how upright or how low. Many dealers have test saddles you can put a deposit on to try before you buy. Have a poorly fitted bike will also impact saddle comfort, so speak to a reputable bike dealer about help if you're not happy with your setup.
Pedals and shoes can be a forgotten element for fit and control. But our legs are the strongets part of our body, and not just for pedalling. Weight shifts, loading the pedals, dropping your heels – it all involves strength through your legs, so you want the contact point to be spot on. While the shoe and pedal interface is a big decision point, be it flat pedals, small clipless pedals or larger clipless pedals – what about what's going on inside the shoe? Brands like Specialized have offered different innersoles for decades, to match the arch support needs of different feet. Giro, Fox, Shimano and other shoe manufacturers also have additional arch inserts with some of their shoe models. But there is nothing like going fully custom, as Georgina von Marburg recently did.
Custom innersoles for mountain biking
Words and photos: Georgina von Marburg
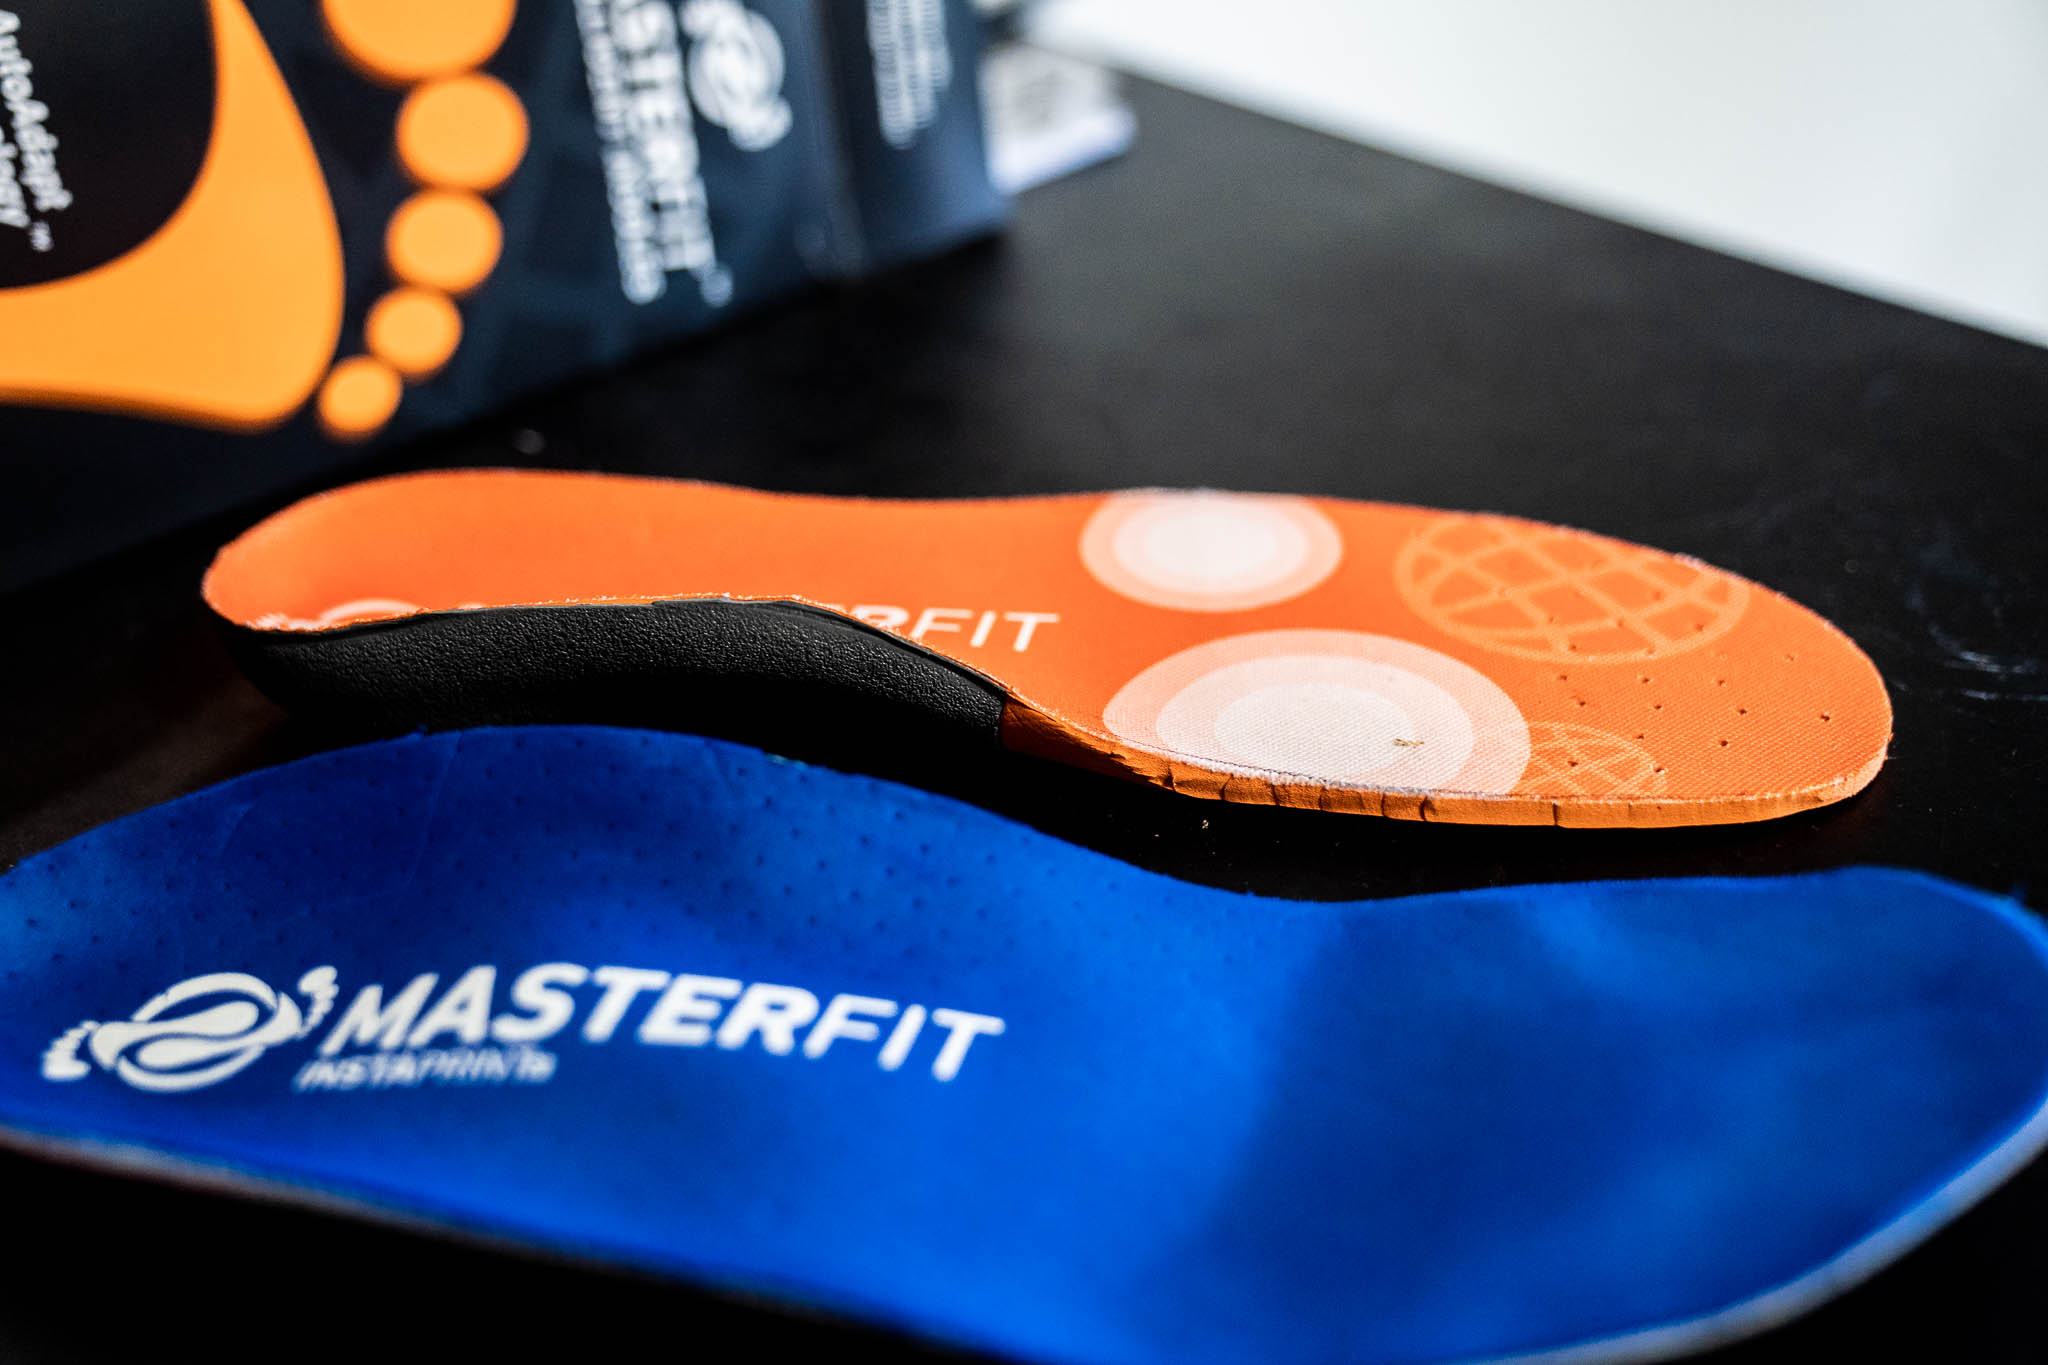
Masterfit are a custom footbed company, distributed by Vertigo Sports in Australia. AS a long-time sceptic of custom innersoles for riding, I was invited to the “Masterfit University” seminars with the promise of creating my own custom inner soles (also commonly known as orthotics); I expected dry powerpoint presentations, but was delivered something entirely different.
Who is Masterfit?
Masterfit sell custom and ‘drop-in’ (i.e. non-custom) footbeds and the moulding tools to go along with it. You will have seen them via the likes of Specialized’s Body Geometry footbeds. I attended a seminar led by their senior bootfitter, Charlie Bradley, to teach retailers how to use the tools and provide the right fit. The more clinical side of the seminar was led by Dr. Ned Buckley, a renowned podiatric surgeon from Perth, who has also been a boot fitting instructor with Masterfit for ten years.
The Masterfit program is bigger in the ski industry than the cycling industry because skiers take their boot fitting more seriously. This is for obvious reasons, as the majority of a skier’s control over their skis comes through their incredibly stiff and tight boots. If there is any movement or pressure points, the entire experience is compromised, so custom fits are essential.
But as Charlie assured me, cyclists should be just as concerned about their feet as skiers are. “Before you even think about cleat positioning, cyclists should be ensuring their footbeds are adequately supportive.” In fact, skiing and cycling have very similar biomechanical movements and range of motion. Without going into an anatomical deep dive, both skiers and cyclists revolve around the sagittal plane (fore and aft movements, think: chewing the stem or swinging off the back) and the frontal plane (side to side movements, think: tipping a bike into a corner). And both skiers and cyclists are, unlike many other sports, rigid in their feet’s range of motion; while pedaling, our feet are generally in a fixed position.
As Dr. Buckley explained, a cyclist foot will commonly “splay” with impact, meaning your feet compresses and spreads with every pedal stroke – hence needing support to increase output efficiency. Proper support can also prevent injuries further up your legs.
The Process
The first step in the Masterfit process is to measure the foot and test its flexibility. They measured the height of my ankle, which, on the average foot, is the same as the length of the foot. Mine fell right in this demographic, meaning I had a regular volume foot.
The next step was to measure my ankle’s joint flexion, simply by pulling my toes towards my shin while keeping my heal planted. Apparently like many young cyclists, I have incredibly flexible ankles, meaning they can form an acute angle as they flex towards my leg. In the context of skiing, this is why I typically need a stiffer boot to prevent my highly capable ankles from “crushing” into the front of the boot and placing too my pressure on my quads.
In terms of cycling, the ankle joint flexion doesn’t present too many issues as we don’t wear calf-high boots. But the ankle arch test is incredibly important. This test essentially measures how much the arch height changes while flexing your big toe. “The more flexible the arch, the more support it needs from a footbed… The rigid foot is fairly stable but lacks the shock-absorbing capability of a flexible arch. The rigid foot needs a more cushioned, pliable footbed construction to provide some needed shock absorption.”
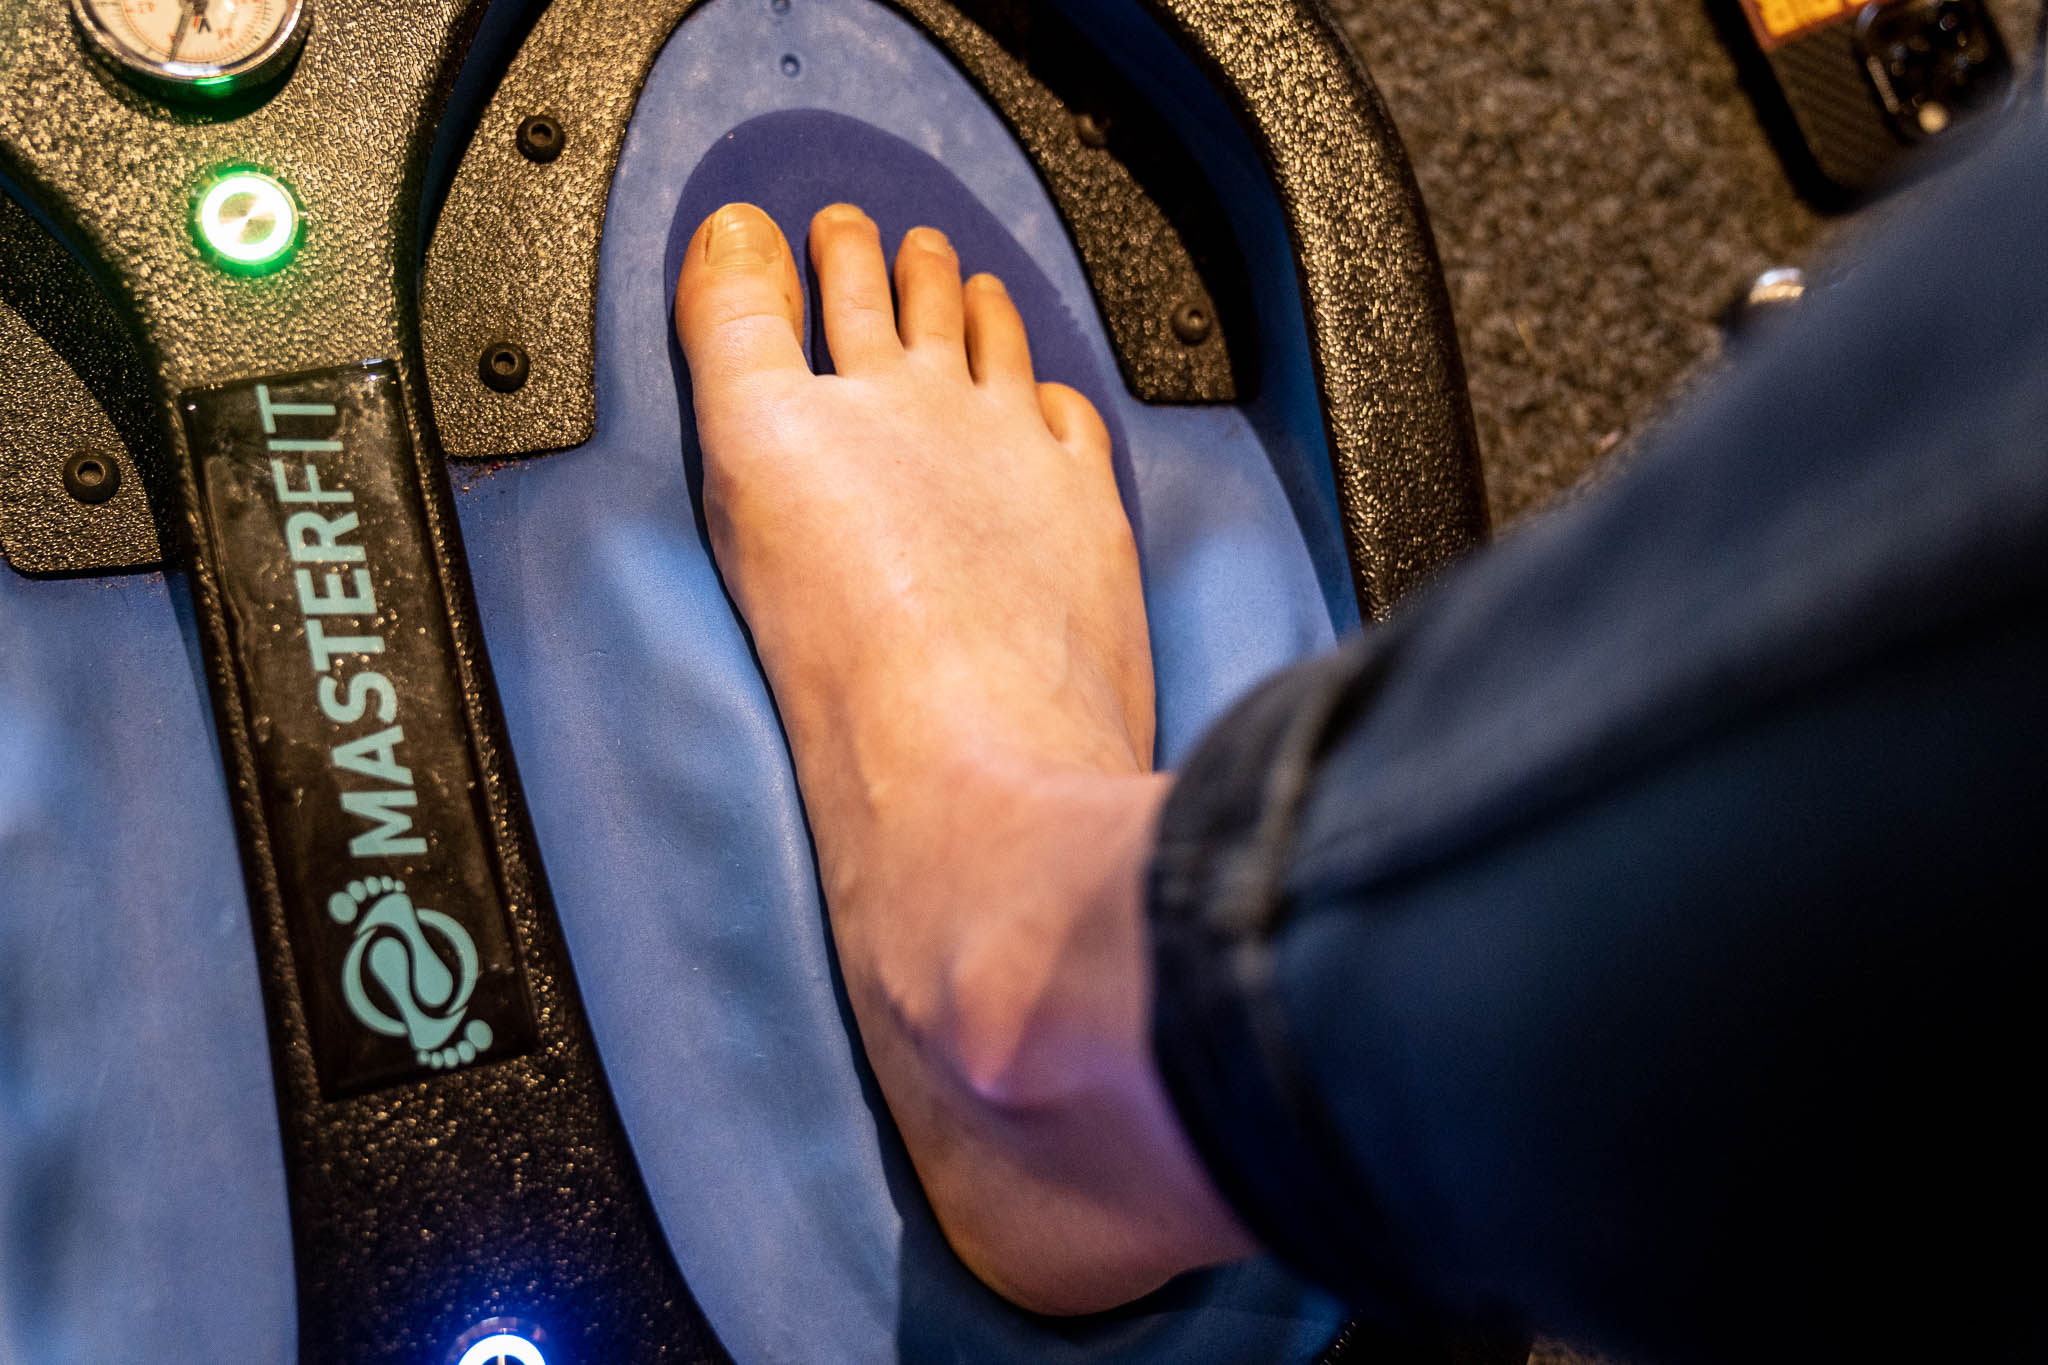
My arch fell into the highly flexible category, not the rigid. As such, I needed some serious support to prevent my feet from “splaying” with every pedal stroke. The next step was the actual moulding process, which involved placing my feet on the Masterfit AirVac moulding machine. We put some particular pressure through my toes to create an imprint for them as well, as many cyclists utilise their toes in a “clawing” effect through the pedal stroke. Once a sufficient imprint was made, the correctly sized footbed was heated and inserted into the mould.
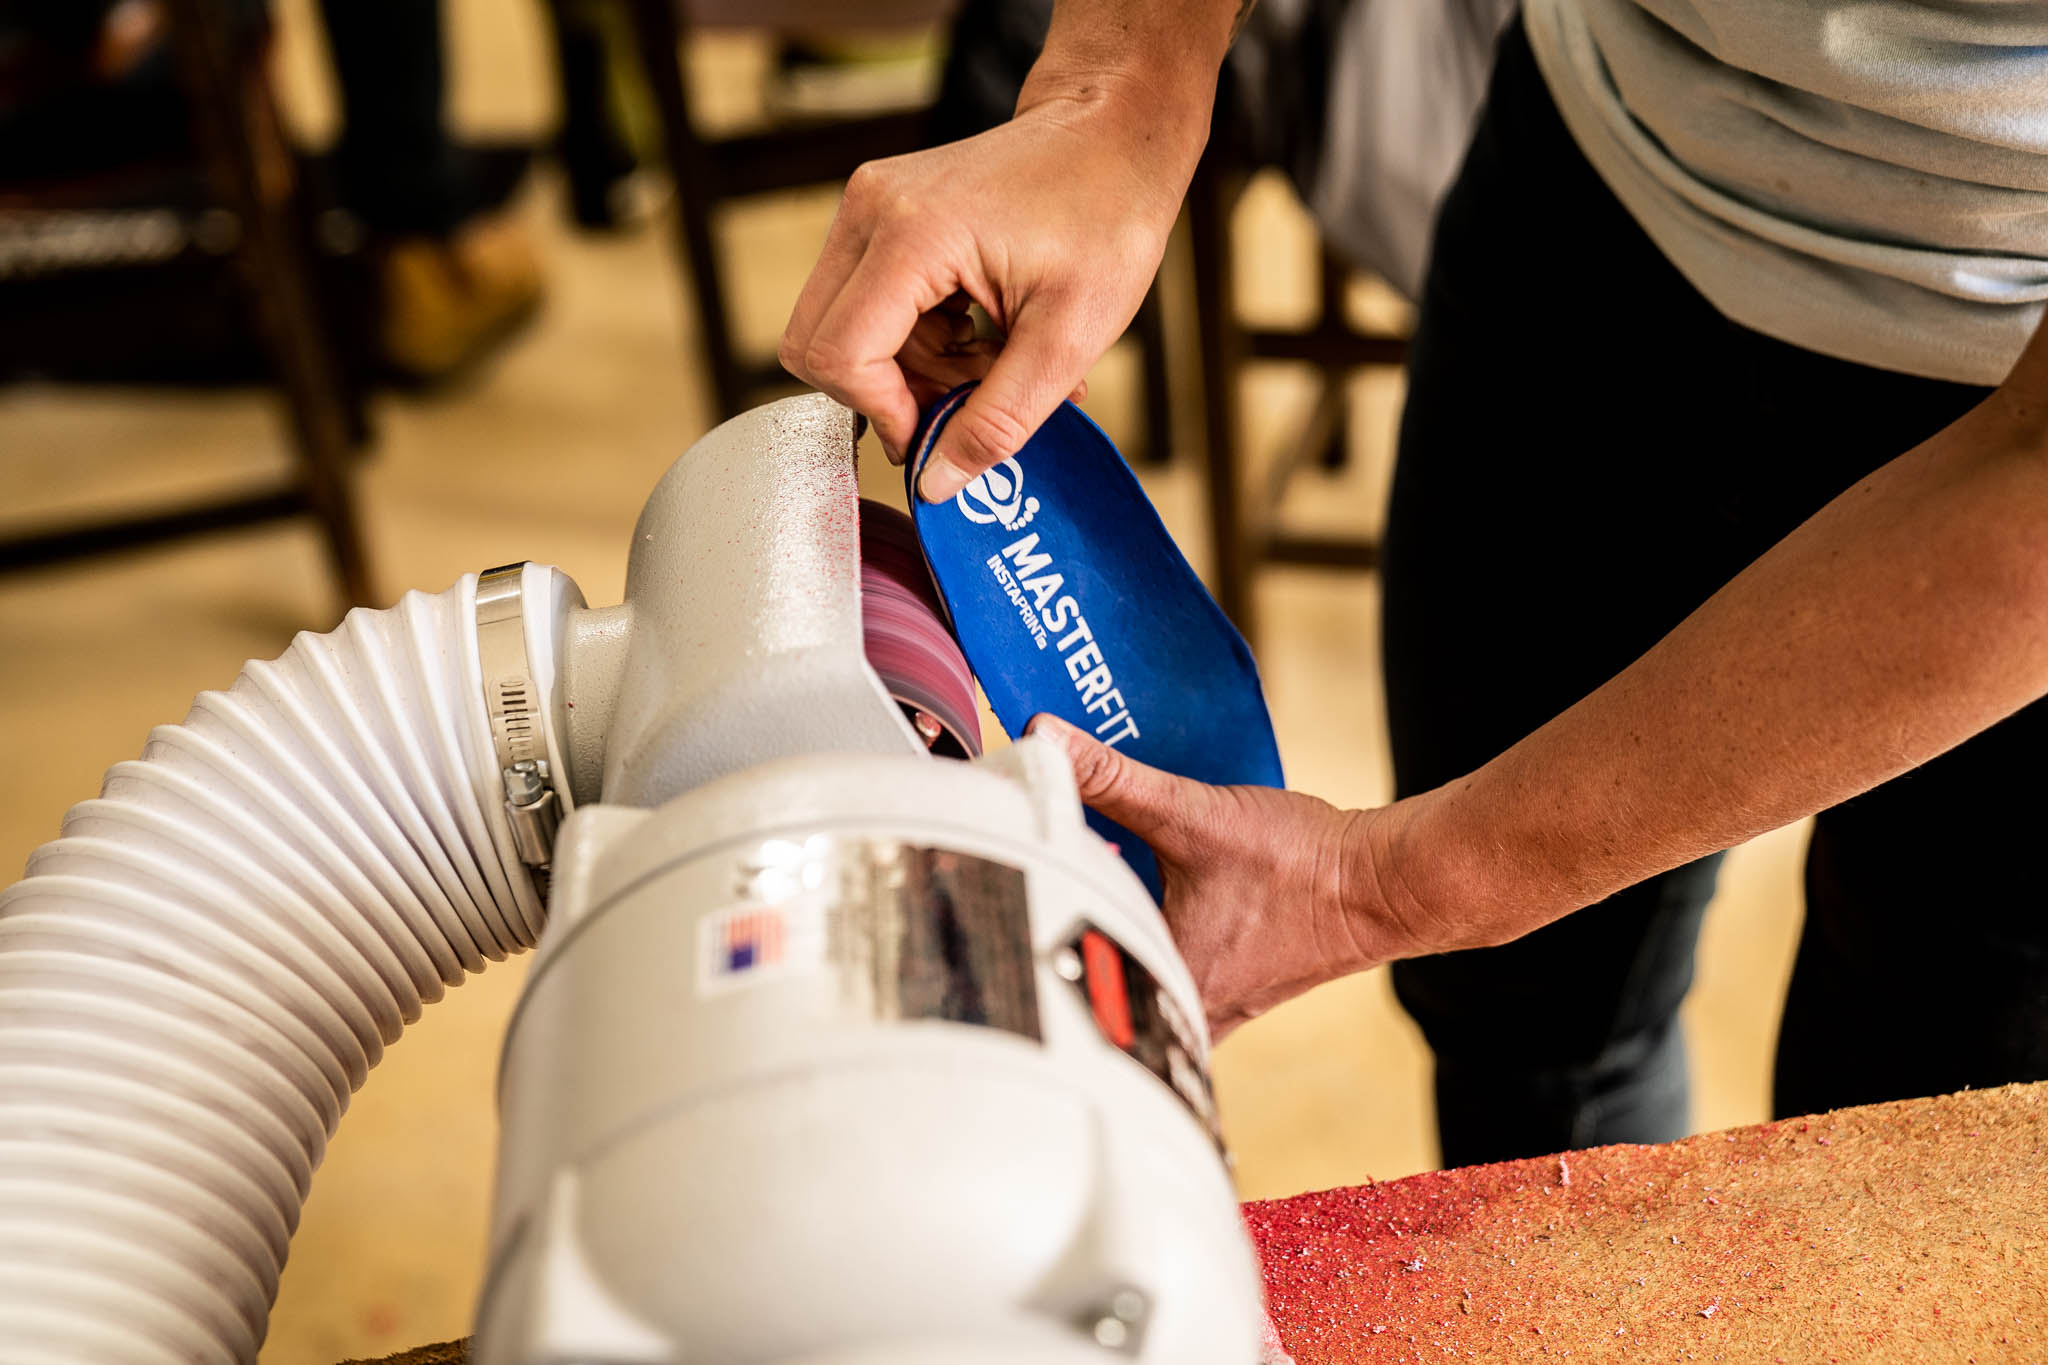
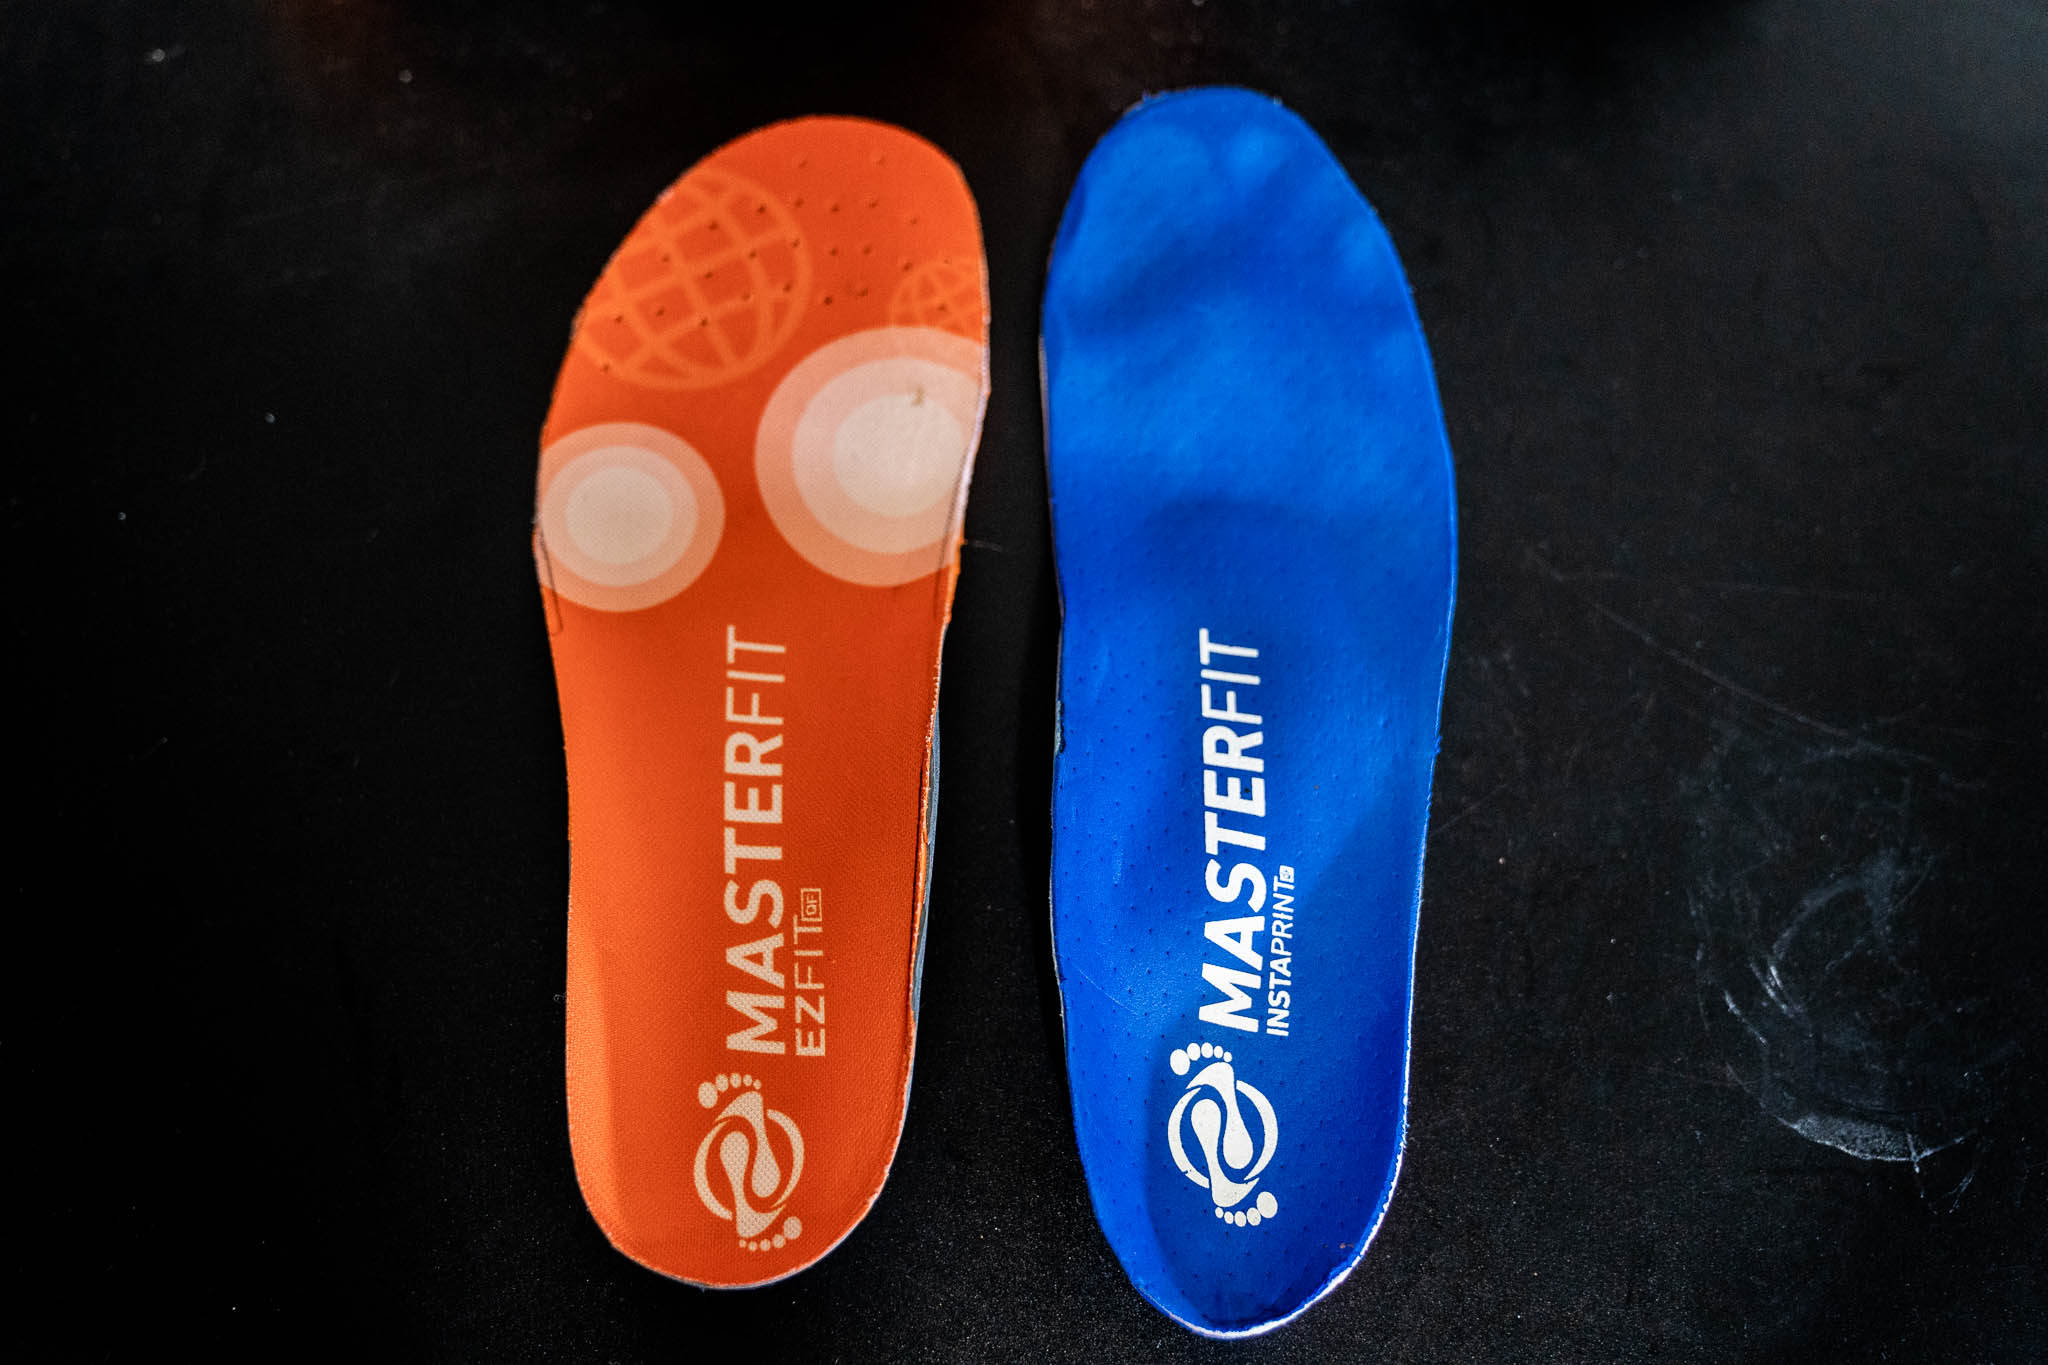
Once the footbed had cooled, it was time to grind down the edges in order to fit my specific shoes. This is the most time consuming part of the process and you want to measure twice, grind once. I was also given a pair of non-custom Drop-Ins from Masterfit. The custom orthotics are significantly more expensive than the off-the-shelf Drop-Ins. Expect to pay anywhere between $200 – $800 for custom inner soles, depending where you go.
Testing custom orthotics
My first in my new orthotics was a 120km road ride with 1500m of climbing and virtually no stops. While acknowledging the power of placebo, I can honestly say I was blown away by the comfort of these footbeds on the first ride and the last. While I’ve never had acute foot or knee issues while road riding, I do experience the very common sensations of cold feet and a burning in the ball of my foot during long (3hr+) rides. I had learned to mentally set aside these discomforts and believed mild pain in the foot was to be expected and “normal.”
As soon as I slipped on my road shoes with the new custom footbeds, I felt “locked in.” The shoes were noticeably tighter than usual (but not uncomfortably tight), and my heel and toes were nicely planted in their own little moulds. It’s an incredibly satisfying feeling, and it only got better as I started to pedal. I never realised just how much my feet were shifting and spreading until I used custom footbeds. The difference in the feel of my pedal stroke was incredible, and while I don’t have the technology to measure my efficiency, I wouldn’t be surprised if it increased with the custom footbeds.
Despite the very cold start to the first ride and lack of merino socks or toe warmers, I didn’t experience any numb toes. I was amazed, and I could only attribute this to improved circulation around the feet due to the custom footbeds. I also failed to experience any burning in the ball of my foot, even in the latter hours of the ride, which was likely due to the metatarsal support in the footbed.
On the dirt
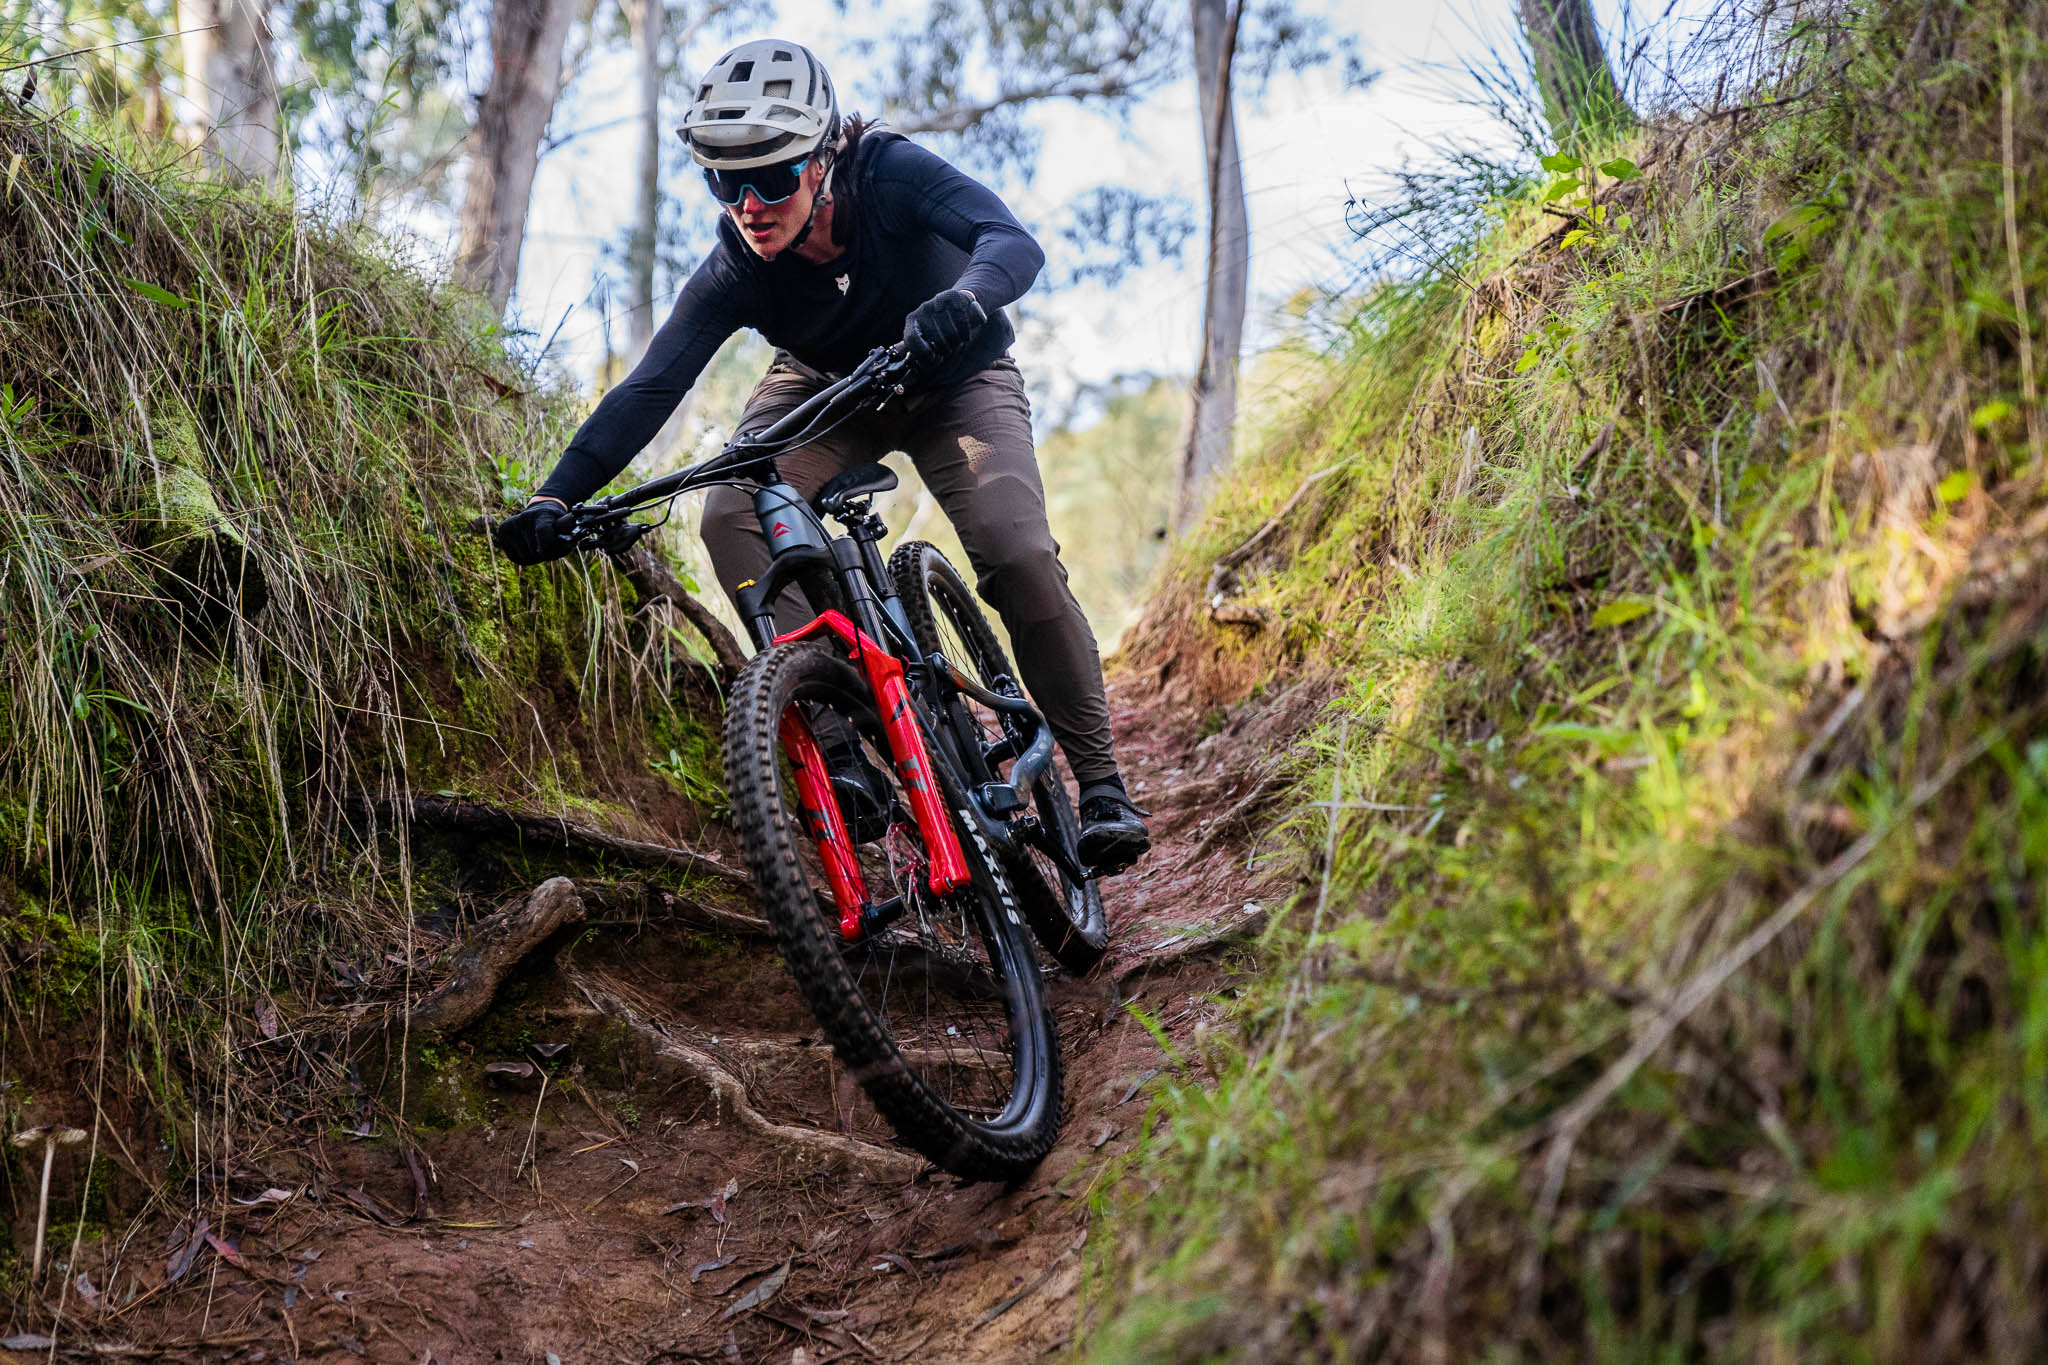
A common issue I’ve had throughout gravity racing – especially at places such as Maydena and Thredbo – is sore feet. Long descents where my heel is planted towards the ground for extended periods of time have often caused the ball of my feet to become extremely sore. It’s not a great feeling when you’re trying to maintain composure but all you’re thinking about is the next opportunity to rest your feet! So I was hoping the new Masterfit footbeds could assist. And of course, they did. First trying the custom footbed, I was amazed at how much more control I gained through my feet. Not only were they hurting less down long and steep descents, but they were better connecting me to the pedals. The grooves throughout the footbed including the toes meant my foot was planted within the shoe, and every conscious movement was directly inputted into the bike. Mountain bikers put so much force through their hips, legs, feet, and subsequently pedals to control the bike, especially through corners; so it makes sense to have a precise connection between your shoes and pedal.
Custom v Drop-Ins
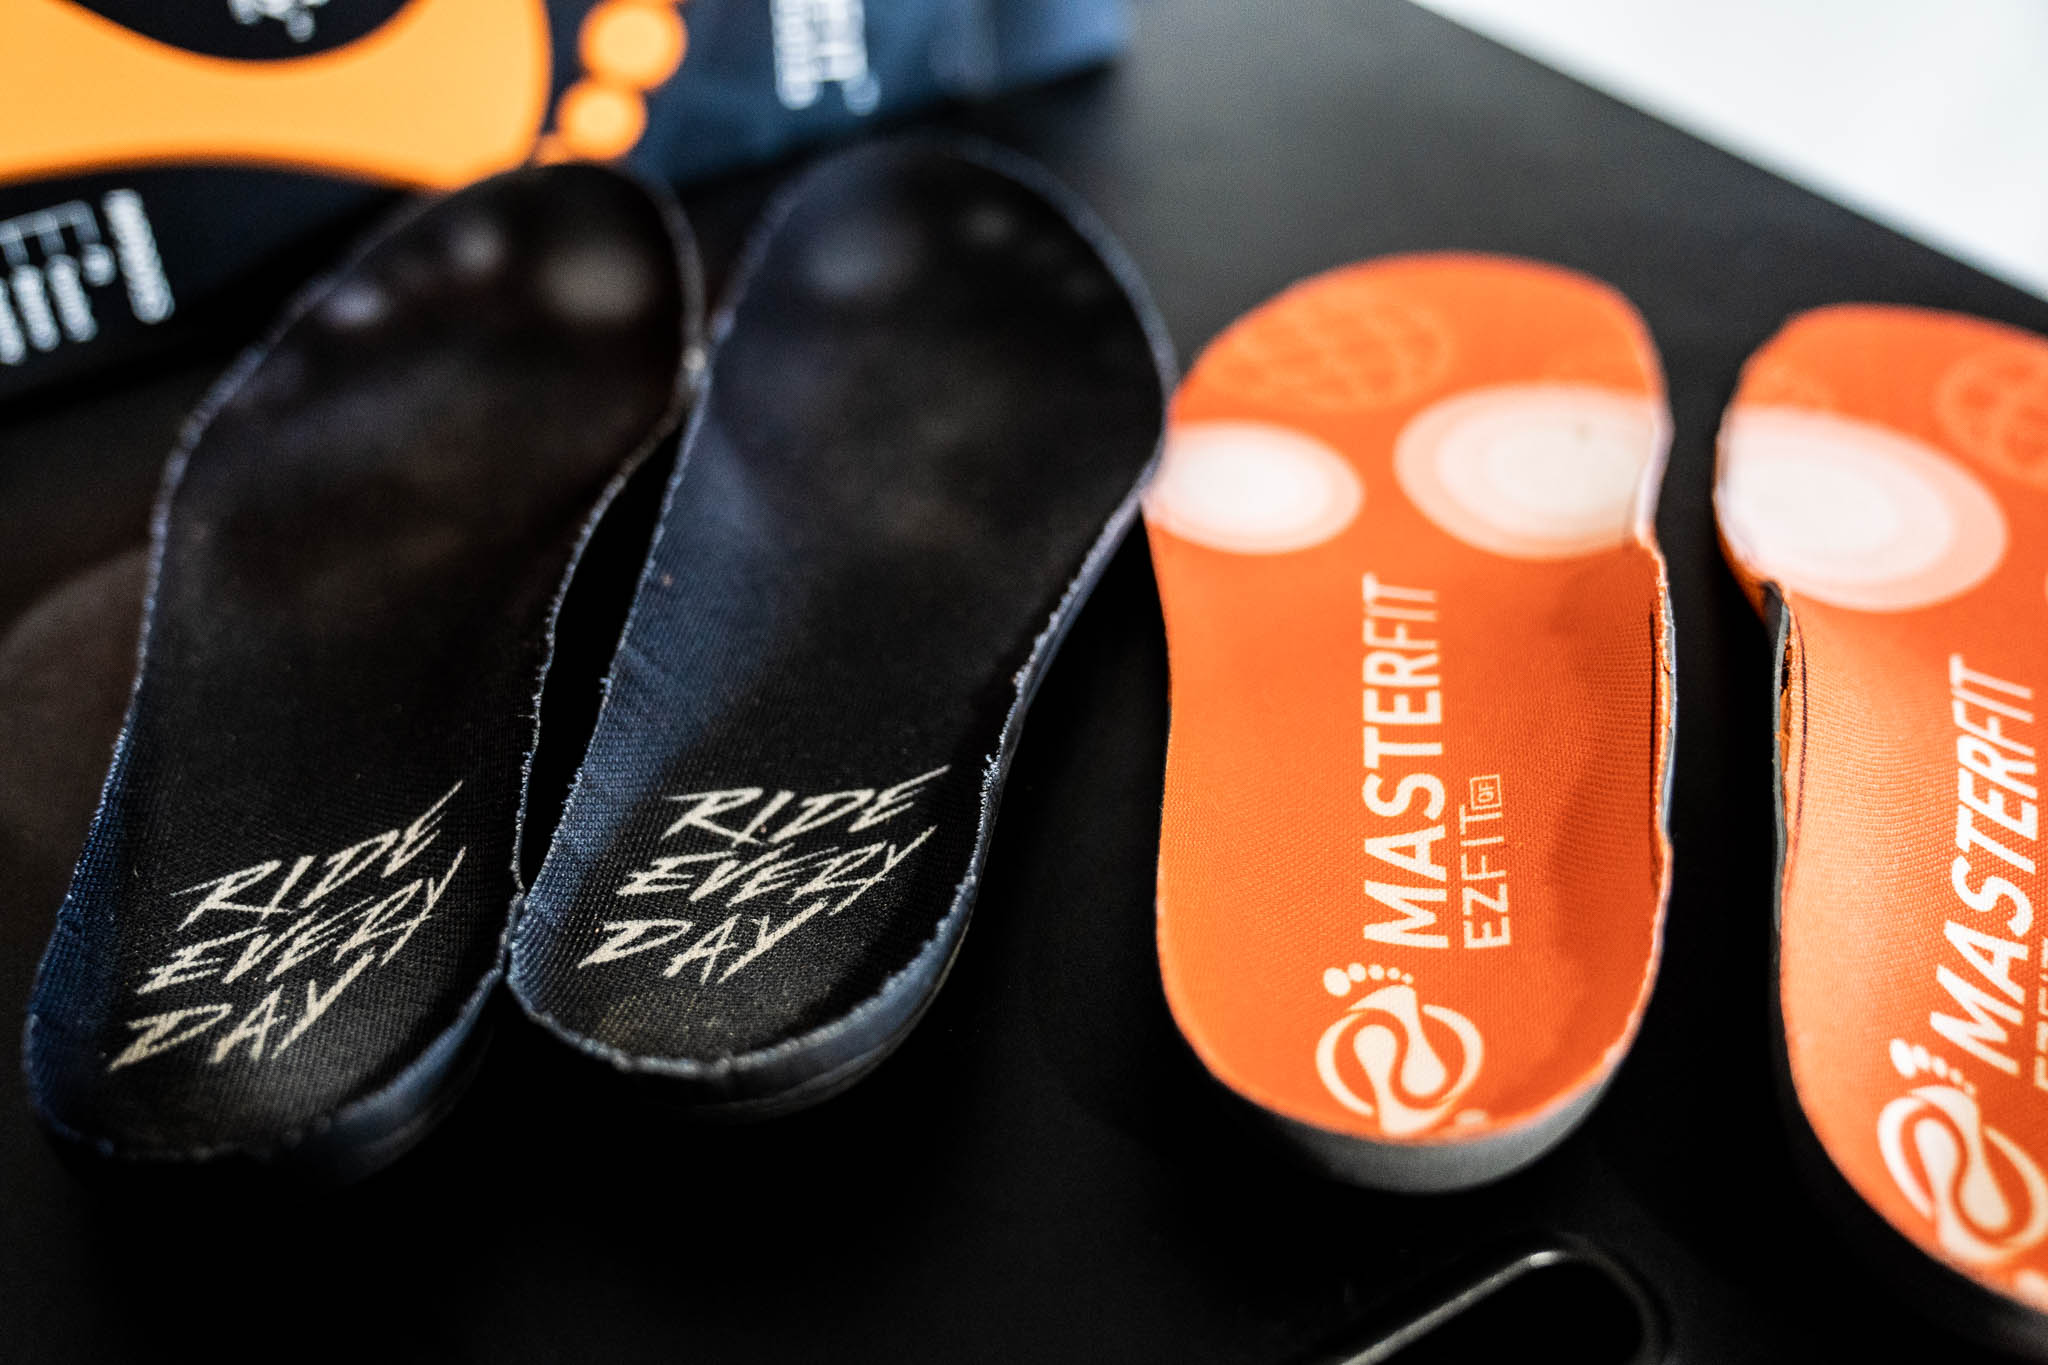
After testing the custom footbeds in my mountain bike shoes, I next tested the off-the-shelf drop-ins from Masterfit. These are quite a popular and quick buy, needing little customisation besides trimming down the sides to suit your shoe’s shape. They’re also far less expensive than a custom footbed as well, requiring minimal specialist knowledge. While they didn’t offer the same precise support as the custom footbeds, they were still a significant improvement over my original shoe inner soles (which are no more than a thin sheet of foam). The drop-ins didn’t deliver the same control over my pedals afforded by the customs, but they were still incredibly comfortable over long rides and descents. So if you don’t fancy spending hundreds on custom footbeds, look into some drop-ins.
Our take
My time with custom footbeds products has been a huge success for my feet. There are profound benefits to be found in custom footbeds which stretch far beyond general comfort. I was sceptical about there being much to gain, but after experiencing the Masterfit footbeds for myself, I cannot believe every cyclist doesn’t own a pair. If you're looking for a performance upgrade and a way to sidestep injury, custom innersoles should be hifg on the list for any gravel, XC, marathon or road rider. For most mountain bikers you'll get great improvements from a drop-in set of footbeds, and the value call of full custom will be up to you.
