Welcome to the long lost world of jibbing! The fufanu is an old school BMX trick from way back which essentially involves a rear wheel stall to a hop-180 (or as close as you can get) out. Normally you’d see it on a mini ramp coping or elevated ledge from some sort of lip, but in the MTB dirt realm it’s a fun move to get accustomed with on steeper dirt banks and jump lips.
Personally, I love a quick fufanu when checking out a jump lip to turn around quickly in a narrow space to get back up the hill or sometimes it’s just fun to do when I see a steep bank. Once you have it mastered its super fun and a great exercise in bike handling.
READ: How to do a no hander
It’s definitely a more advanced move and best learned on a dirt jumper hardtail or similar with the seat way down and on flat pedals as you’ll be jumping off quite a bit as you learn. My background with the fufanu started over 20 years ago ripping around skate parks and the streets on a hardtail, but it’s still something I love to do on the trail bike any time I get out and the opportunity arises.
The fufanu is definitely a move which takes a while to master and you’ll spend more time off the bike than on it as you learn, but remember practice makes perfect! If you have a dirt jumper rig or even a BMX to start out that’s definitely the way to go before you transition to what we’d consider a mountain bike in this day and age.
READ: How to do nose wheelies
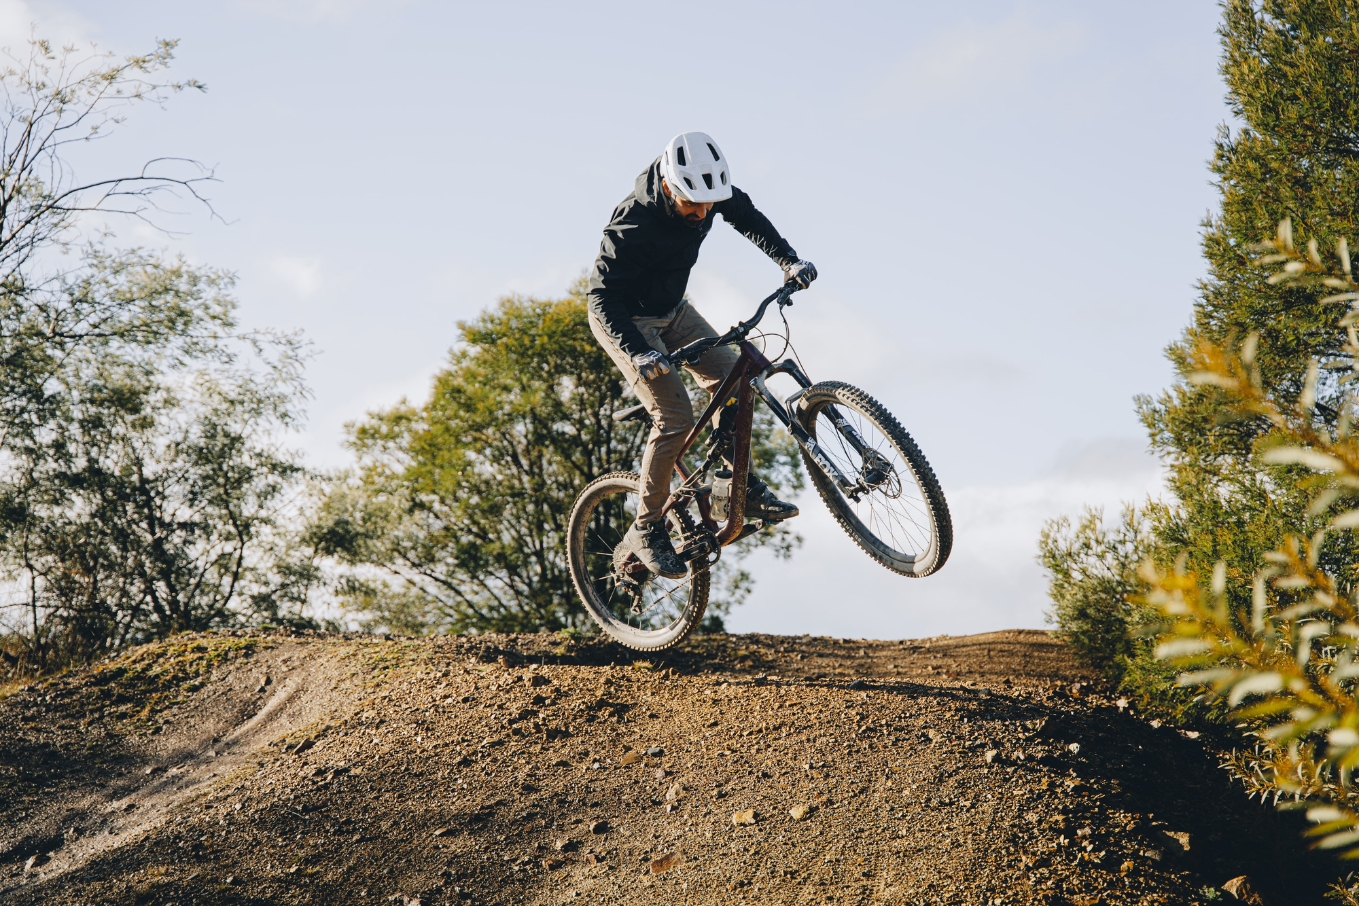
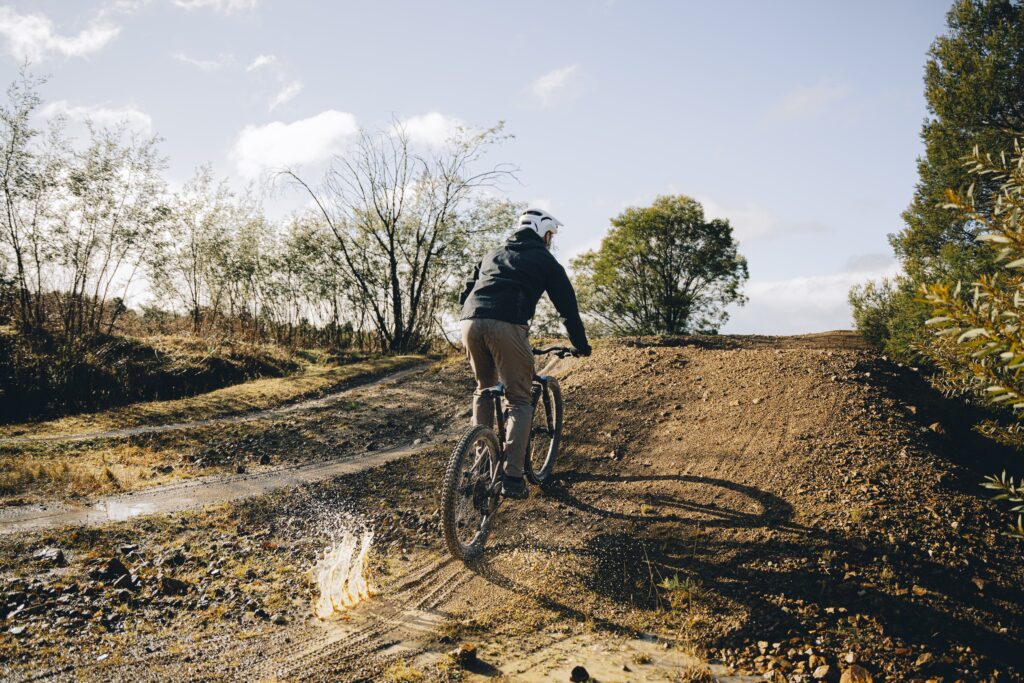
For the young crew out there (or young at heart), here’s some tips to give it a go and have some fun. Start out on a mellow dirt bank like you see here to begin with, and progress to steeper settings from there. Here’s how to get it done.
Step 1 – Spot your landing with pinpoint accuracy
As you roll up to the lip, coping or whatever it is you’re aiming for, you need to pick your landing spot with absolute accuracy. There are two reasons for this – this first is to make sure you don’t slip out if it’s something like a ledge or coping, and the other is for balance. I find that the more I focus on the spot, the easier it is to balance when the rear wheel hit’s it.
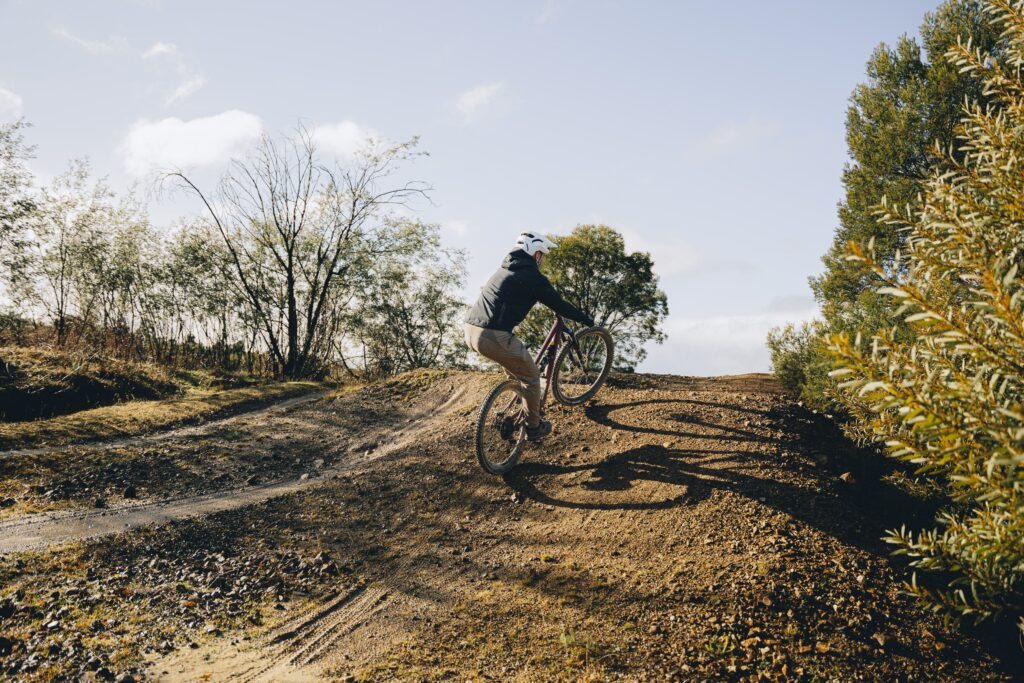
Step 2 – Get your weight back and keep it back
This is perhaps the most unnatural feeling of this move, but as you go up and begin to hop onto your chosen spot, you need to get your weight back and keep it back. This means arms and legs extended and your backside hanging out way back beyond the balance point to help bring your bike back. Your bike needs to follow your body and if your body goes over the balance point of the “stall” point you will have no chance at all of getting it back.
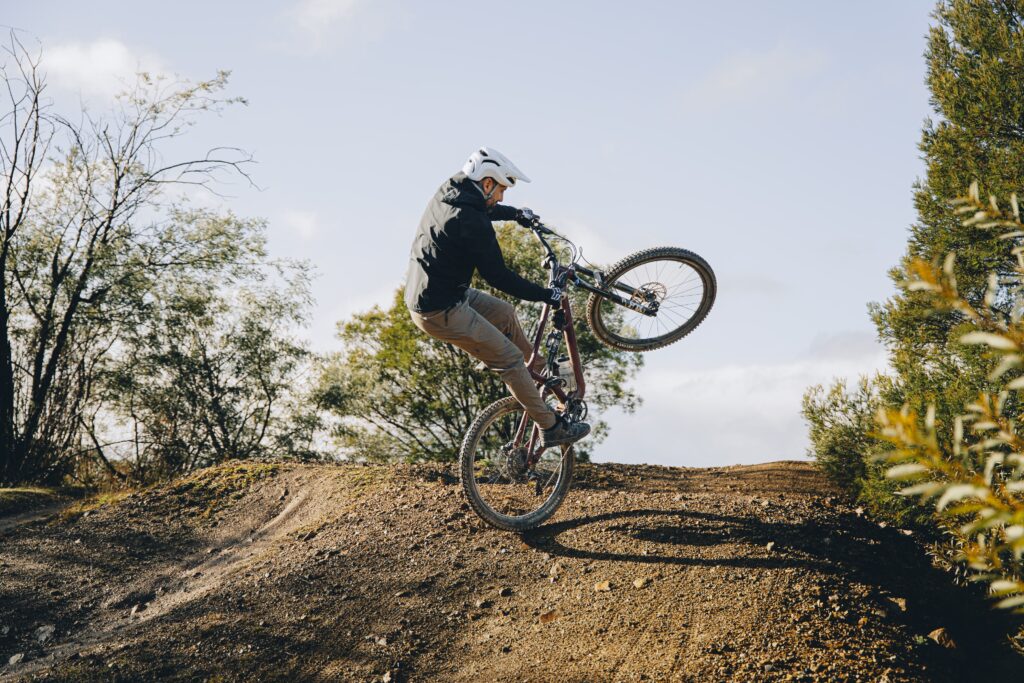
Step 3 – Turn your bars and hips on the stall
As you hit the “stall” point, you immediately want to turn your bars and hips back towards the way you came from. Getting the bike to do what’s effectively a 180 in the air once you hop back in takes a whole bunch of effort and leading with your hips and front wheel is the key here. The sooner you can do this the better and as you pause on the stall you should already be looking back down.
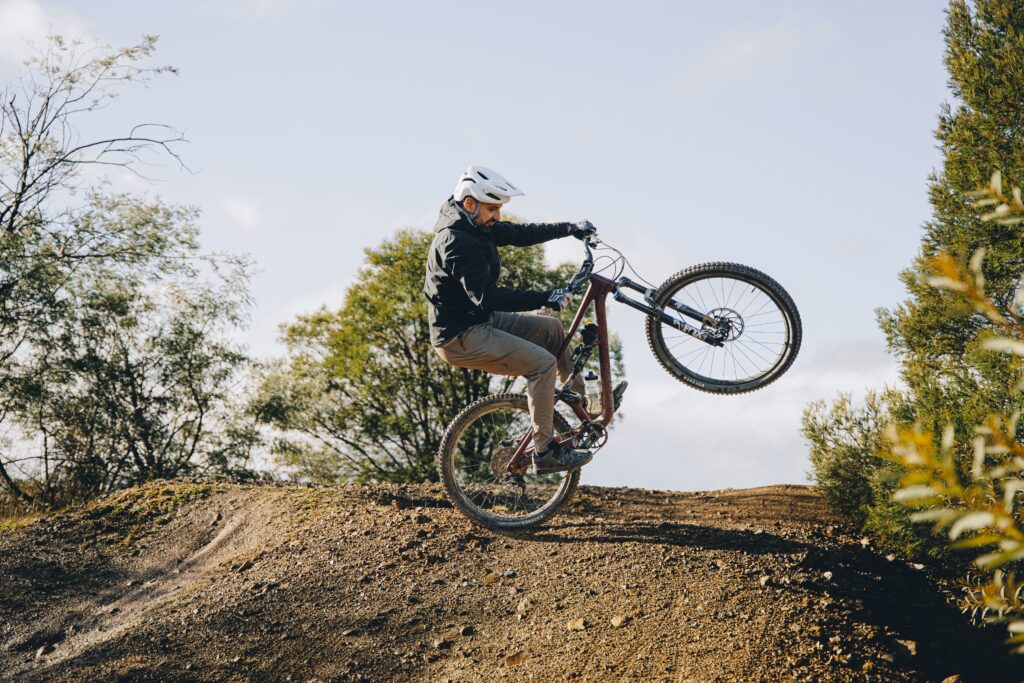
Step 4 – Use your legs to push out
As you hit the top and begin to pivot, you’ll need to squat into the stall so you can use your legs to pop out. You’re aiming to actually get the bike airborne to complete the 180 out. The momentum from your legs hips and bars being turned will get you there. From this point it’s all about an explosive pop and twist to get back down going the right way.
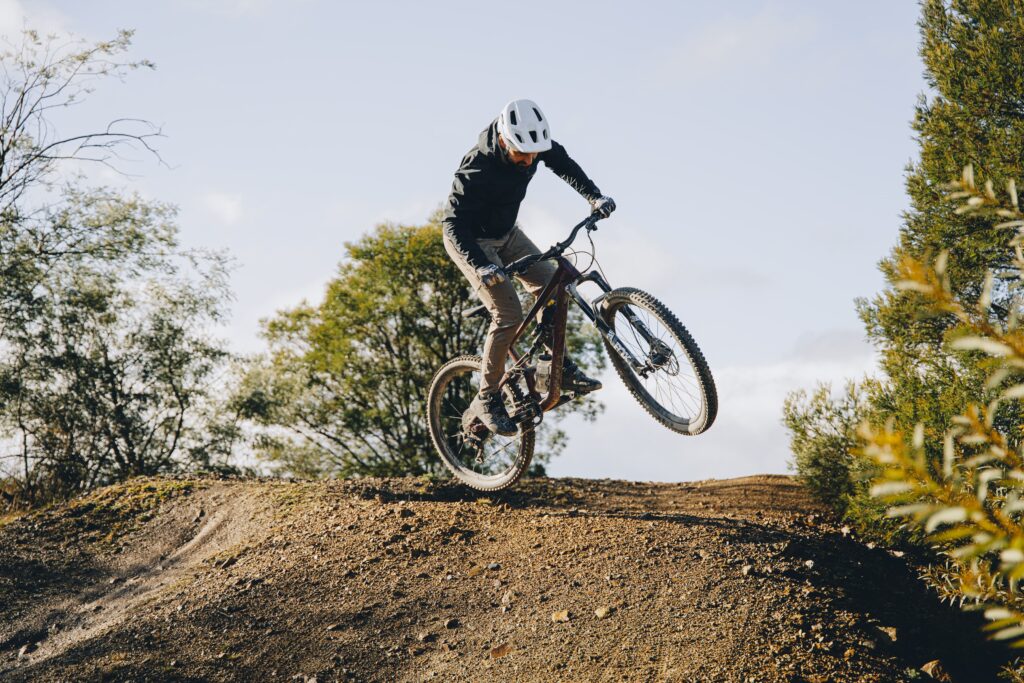
Step 5 – Pop and twist
Once you’re all loaded up, you’ll want to pop up and twist out. Effectively you’re looking to complete a mini 180 in the air to get you heading the right way out. This is where you really need to put in a huge combined effort with your head, arms, hips and legs to get the bike around in a short time. The more you pop, the easier it is and the harder you look back, the more your body and bike will follow.

Step 6 – Keep your wheel and head turned on landing
As you hit the ground, keep your wheel and head turned back as you touch down. While I’ve talked about doing a 180 throughout this piece, the reality is that getting a true 180 is a bloody hard task and quite often you’ll come up short (like I have here!). Keeping your wheel turned and head back down will help whip the bike around so you can roll out. From thereon it’s all about practice! The steeper the bank, the easier it becomes, as it helps throw you back down the bank so don’t be afraid to progress to steeper banks as you begin to feel comfortable as this will ultimately help you out in mastering the fufanu.

