How to rebuild a Rockshox Reverb
How to perform a RockShox Reverb service. This will be a bit more in depth than just a lever bleed. It shouldn’t be forgotten that hydraulic dropper posts need servicing too, just like hydraulic brakes and suspension
STEP ONE
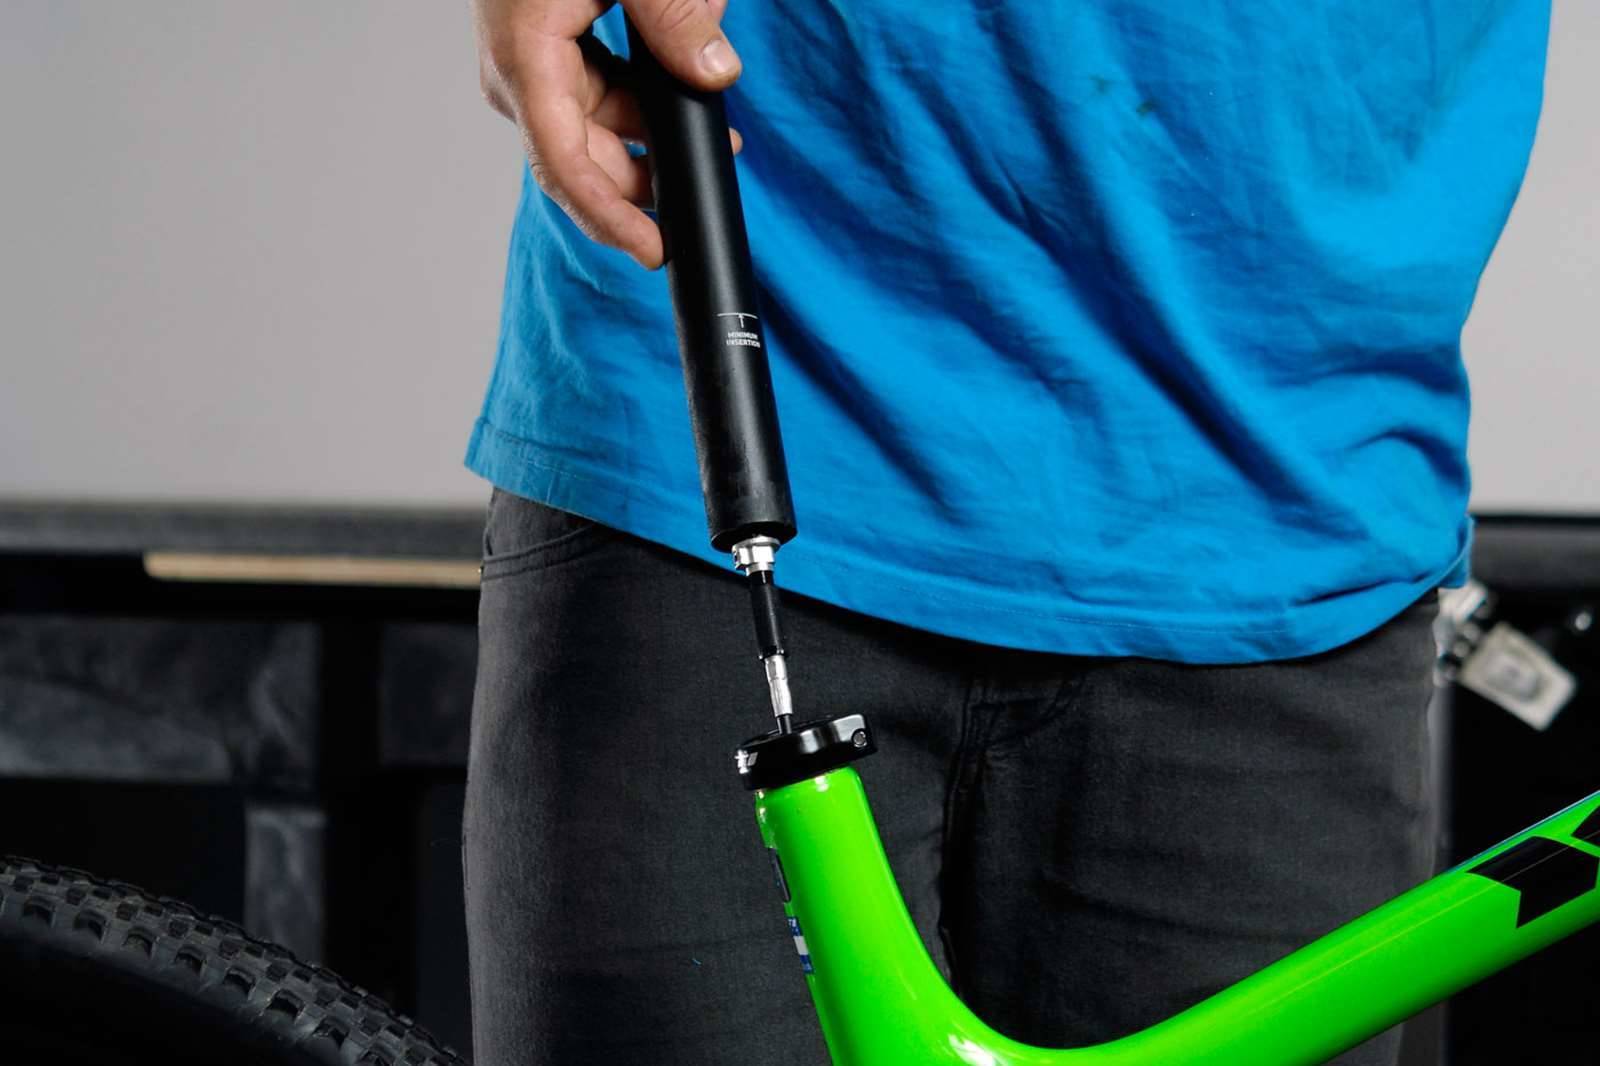
Remove the seat post from your bike. To do this you will have to undo the seat clamp and feed the hose through the frame. You may need to cut and zip ties or undo cable guides in order to do this. Once you have enough hose fed through to expose the bottom of the seat post you can undo the connectamajig. This is done using a 9mm and a 6mm spanner. Undo this nice and gently as it shouldn’t be done up that tight.

STEP TWO
Remove the saddle from the post. Don’t forget to mark your saddle position for when you’re rebuilding the post.
STEP THREE
Undo the air cap with a 9mm socket and let all of the air out.
STEP FOUR
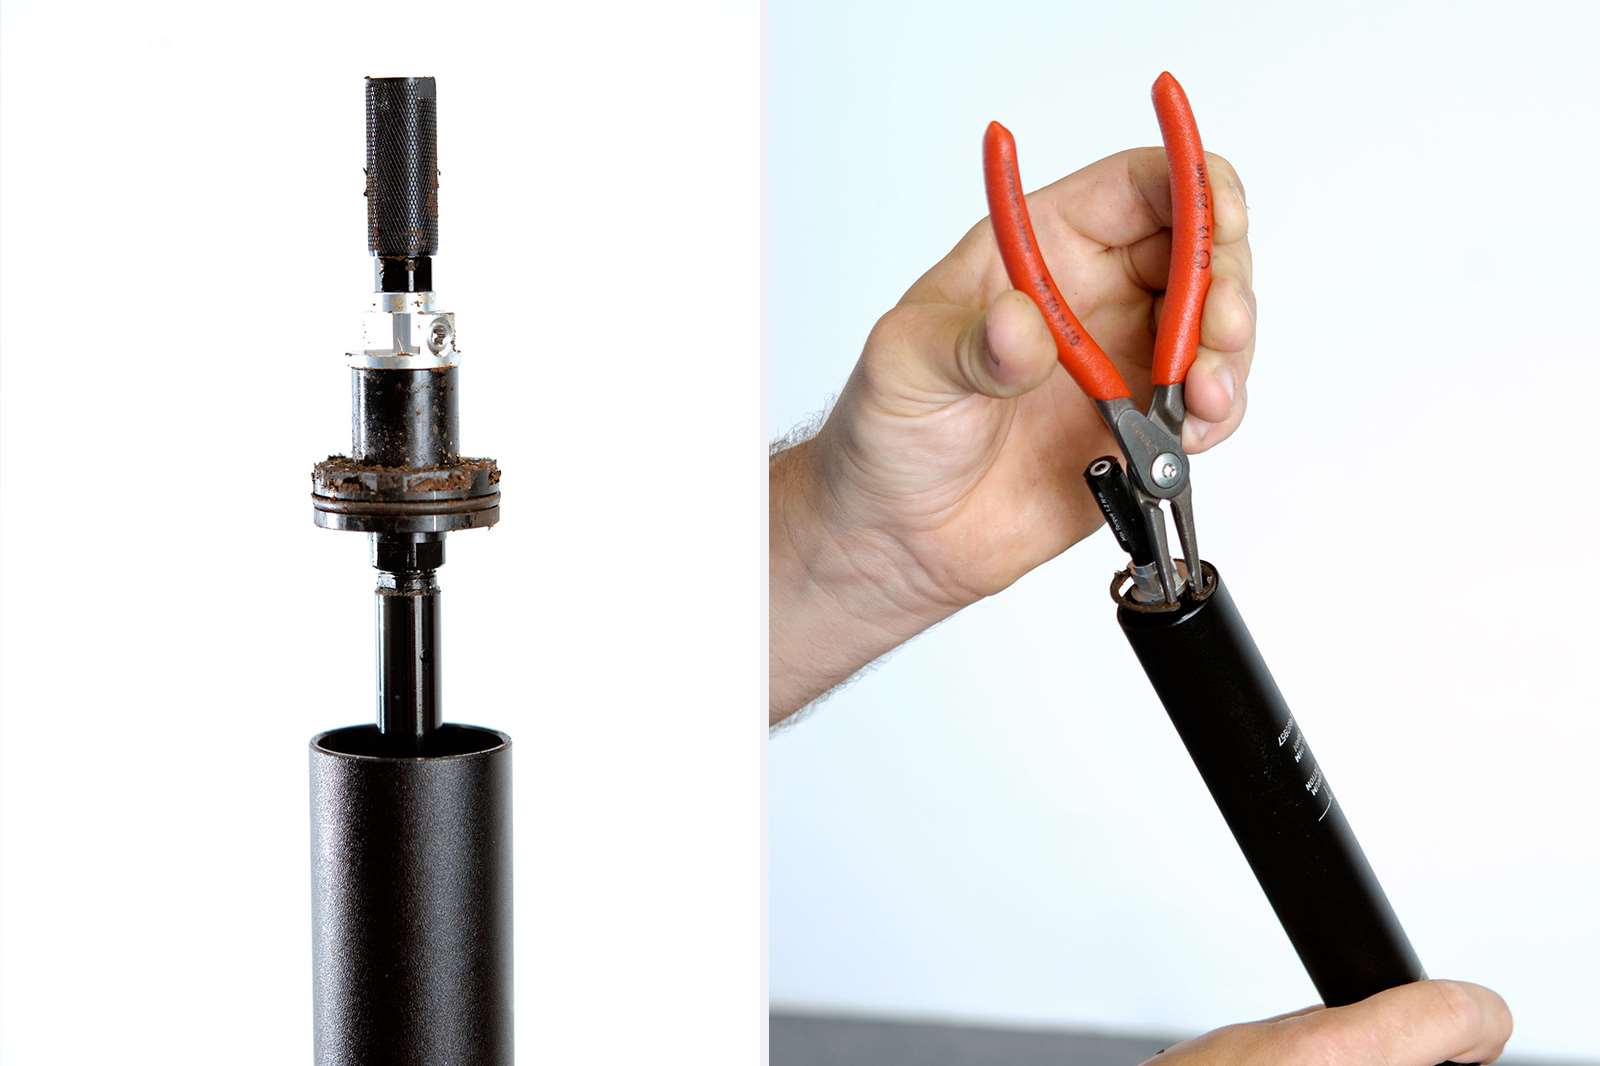
Now look at the bottom of the post and you will see a circlip. Grab your circlip pliers and carefully undo the clip. This will allow you to slide the outer sleeve down exposing the seal head. You will probably notice how dirty your post is now.
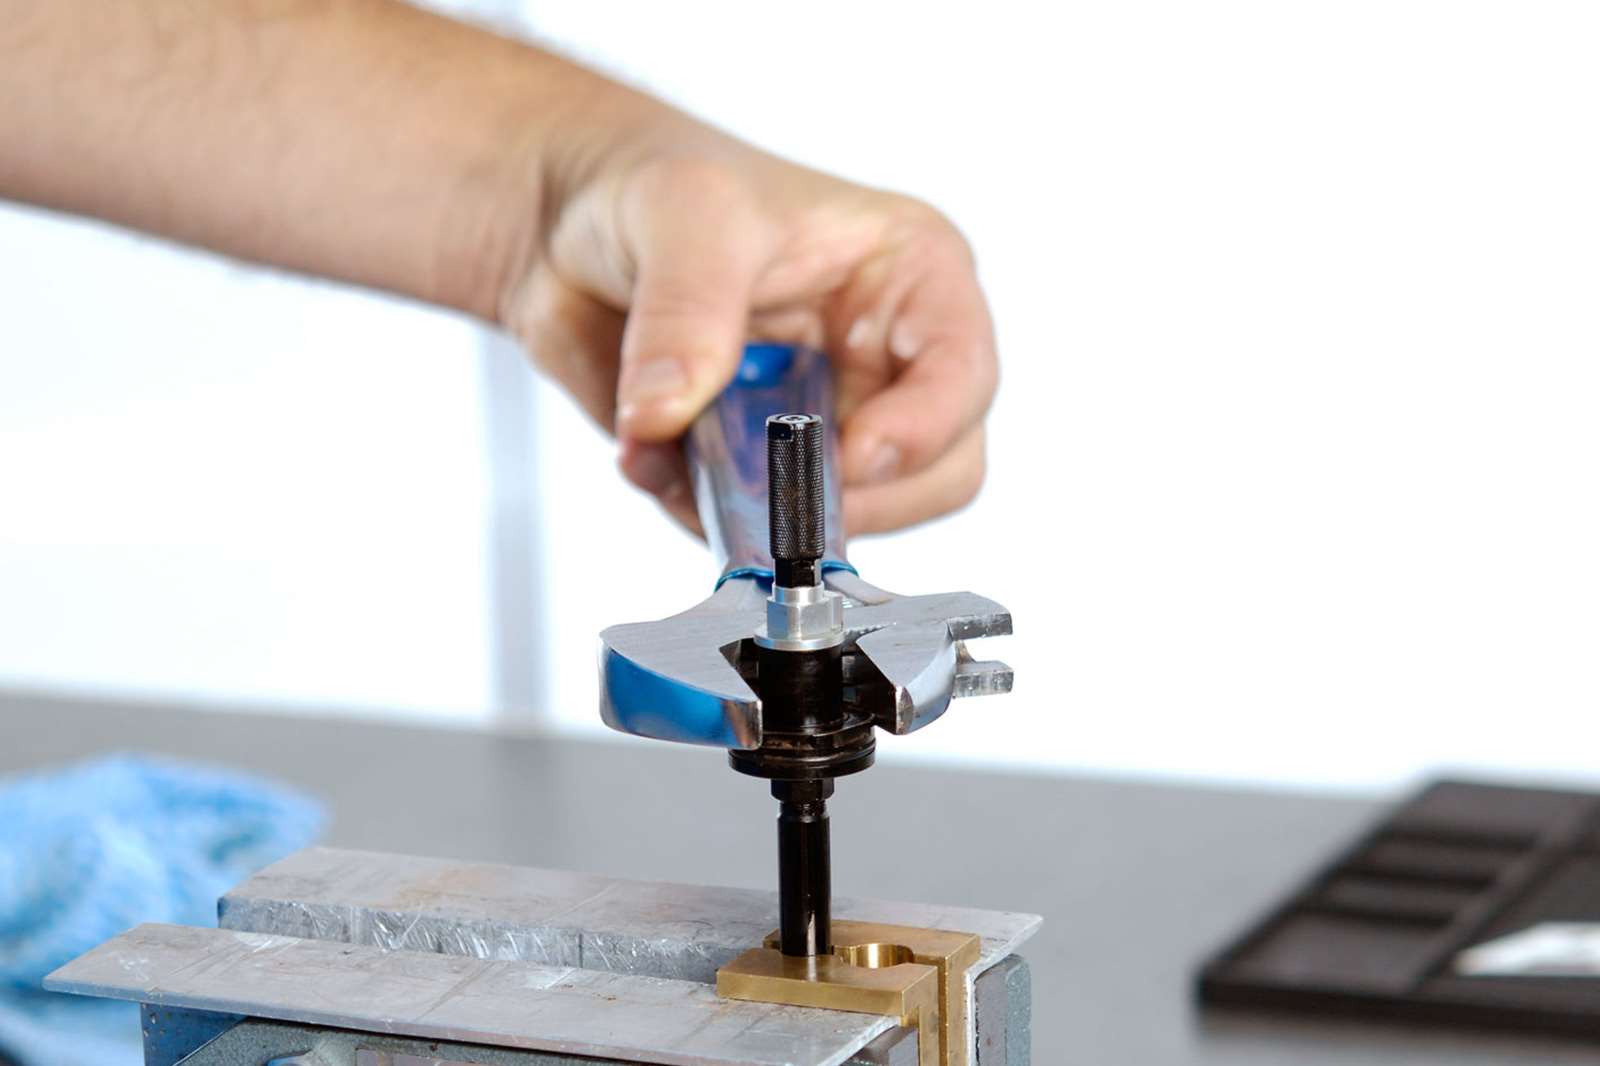
STEP FIVE
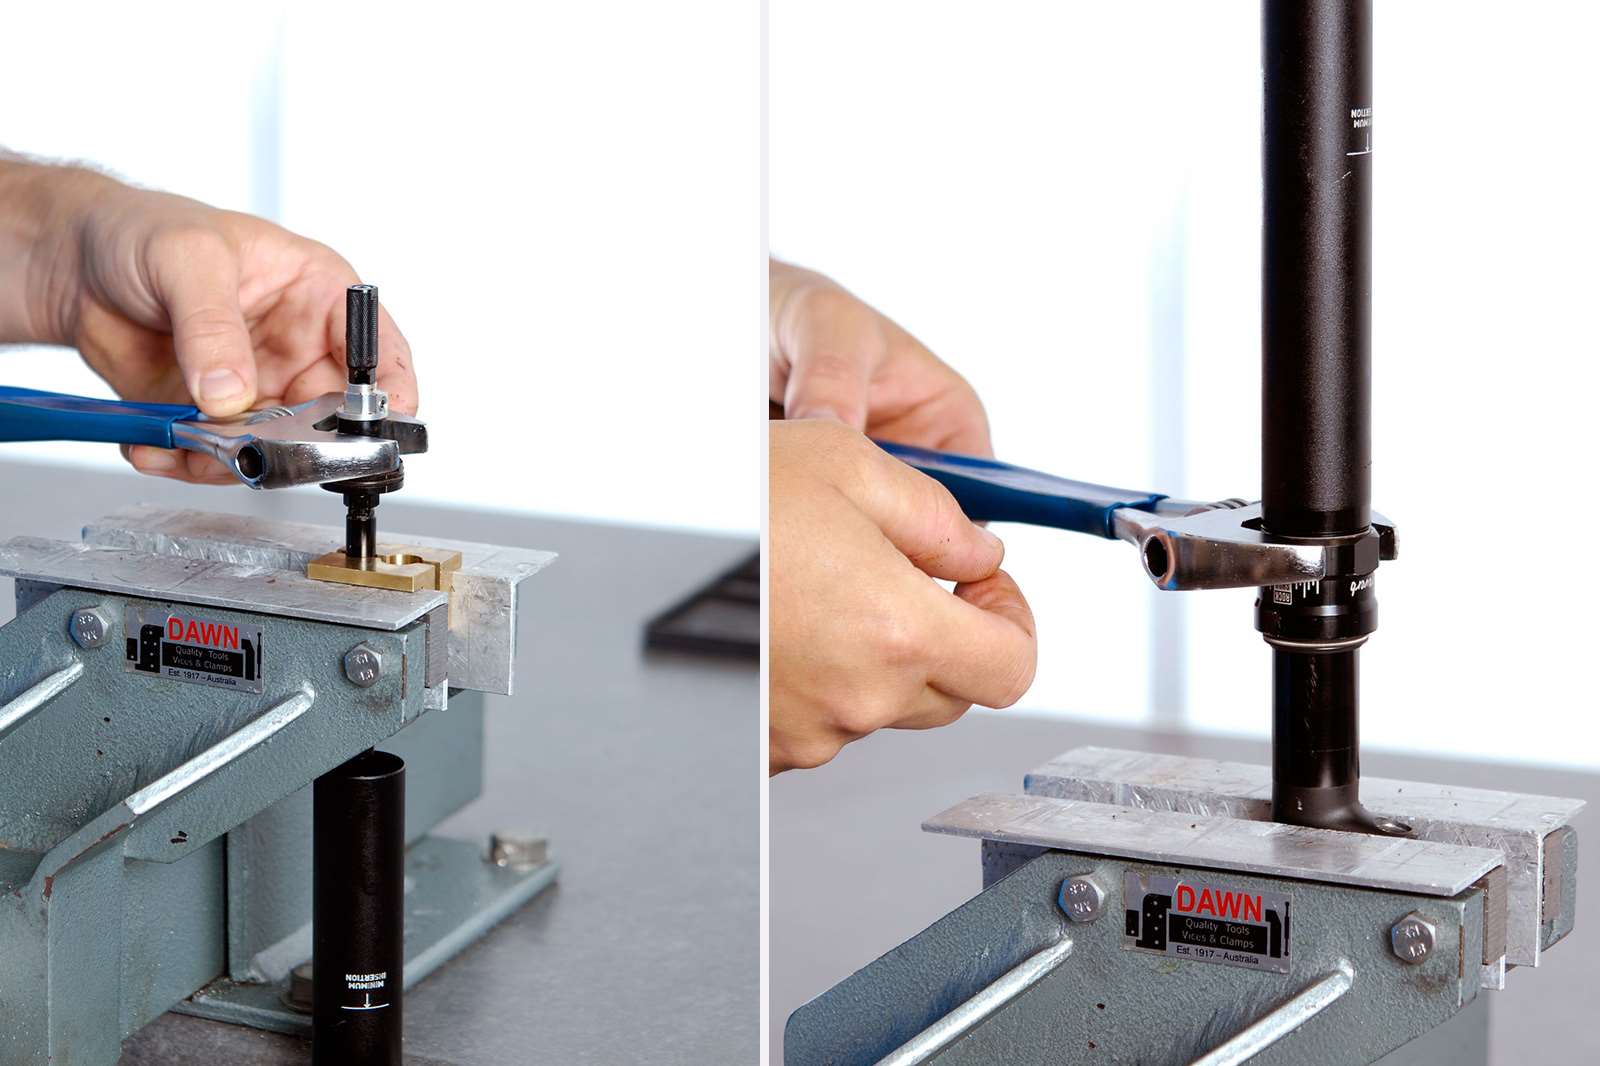
Next step is to pop a pair of suitable sized shaft clamps around the inner shaft. As pictured and carefully undo the seal head. Be careful here. You don’t want to move the inner shaft up or down or knock it. If you do the post will have to be fully rebuilt. Keep the post upright from now on.
 STEP SIX
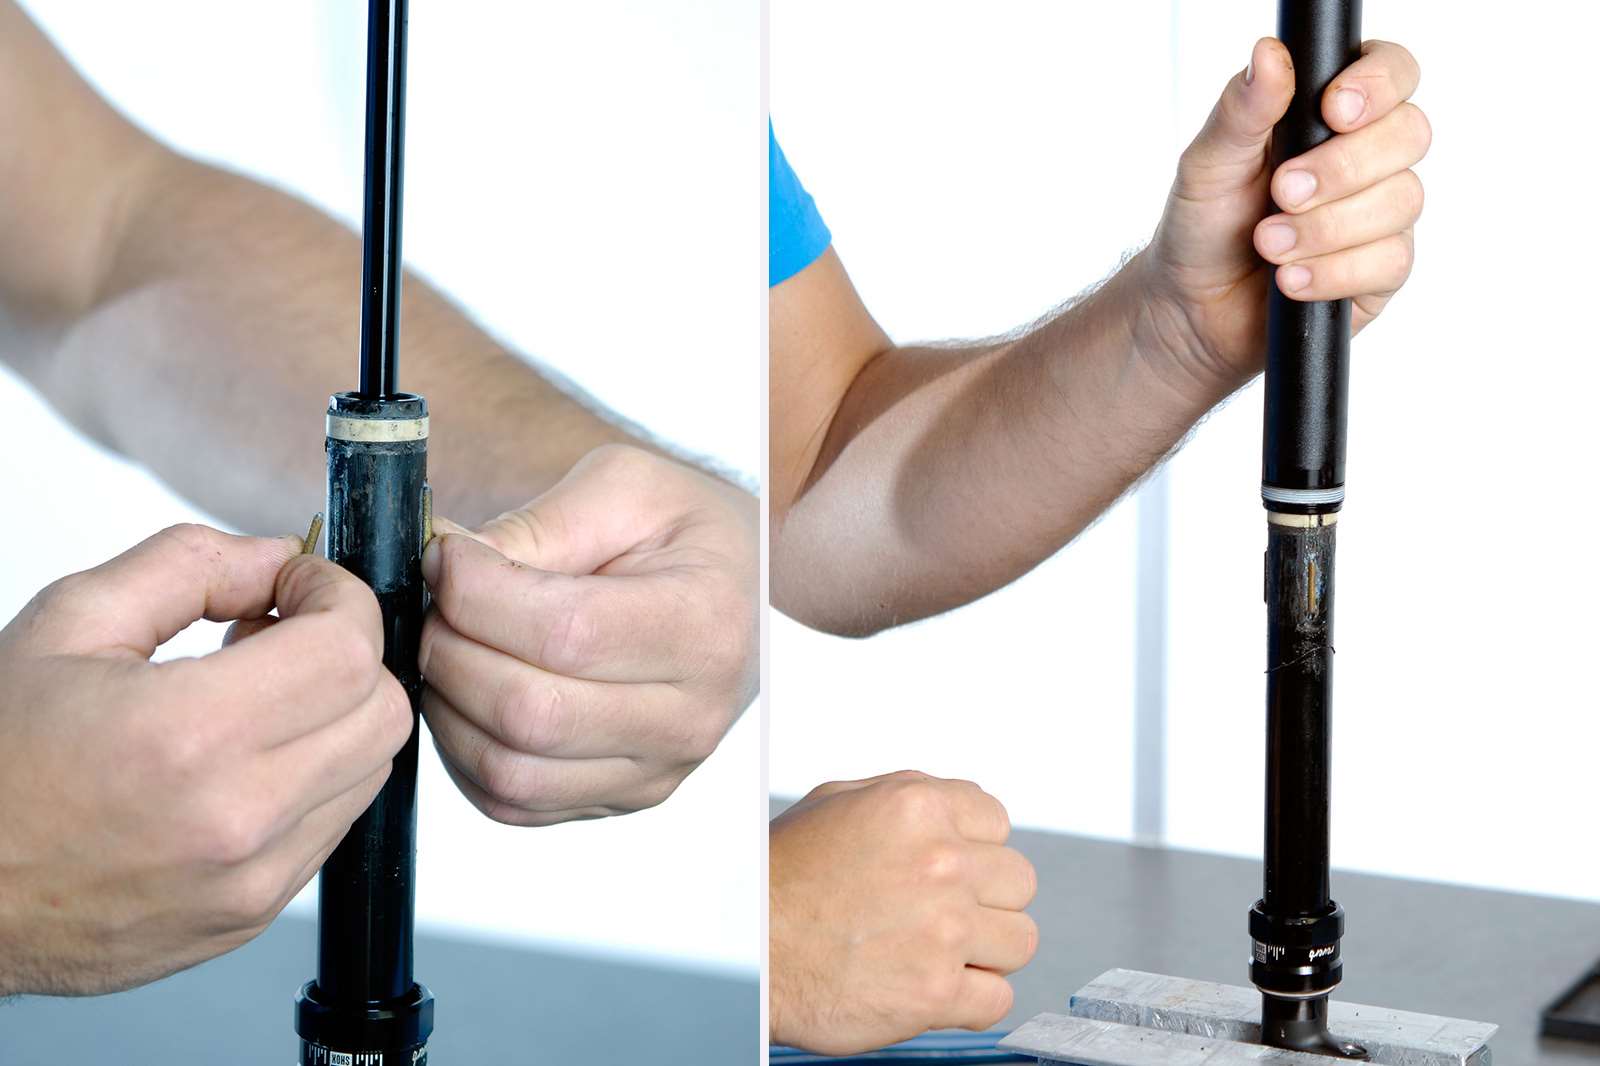
Undo the top cap and you will be able slide the outer sleeve off exposing a set of brass bushings. Remove these and clean the post and outer sleeve.
STEP SEVEN
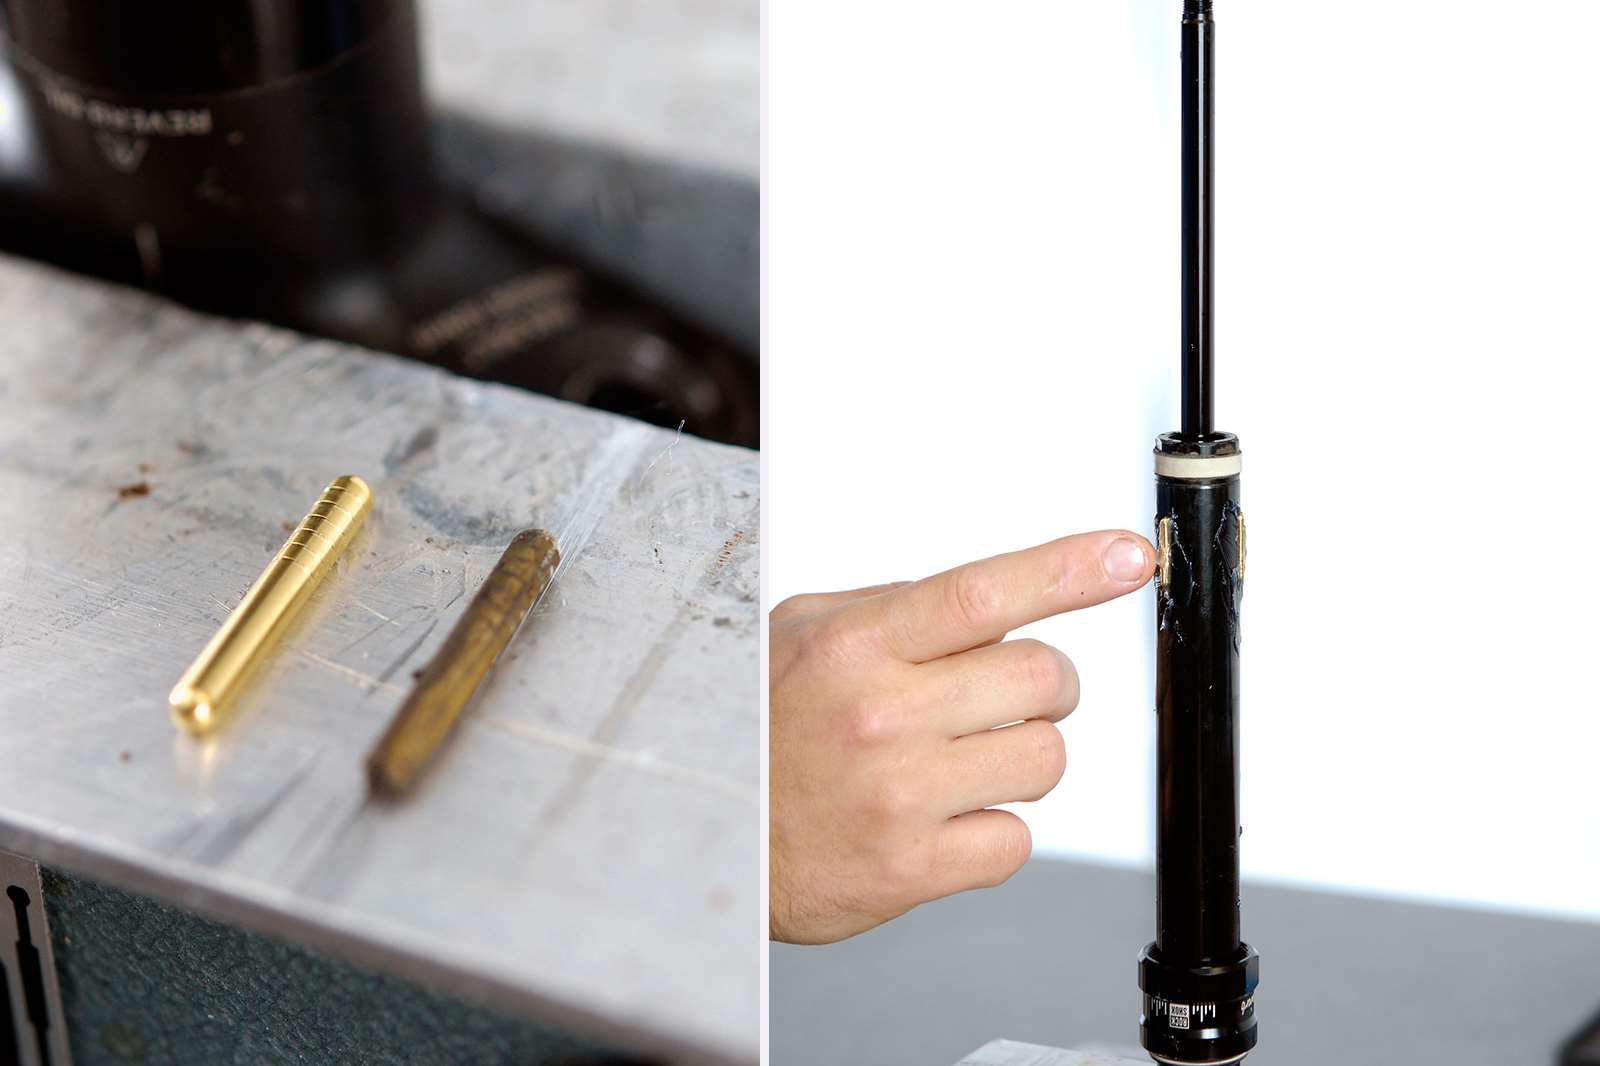
Out of you complete service kit for your post you will find a number of packets of these with different numbers on them. The numbers correlate to the number of lines on the brass bush. This post had 6 in it. Rub a thin coating of slick honey over the bushings and the grooves that they sit in. The grease should hold the bushings in place. You may need to replace any other worn bushings that you can see on the seal head.

STEP EIGHT
Slide the outer sleeve onto the post. There is only one way you can do this, so check out the grooves in the over sleeve before you attempt to slide it back on. Replace the seal and foam ring that are around the inner shaft.
STEP NINE
Pop the seal head back in gently and tightened to 5.7-7.9 NM. Slide the outer tube up and replace the circlip.

STEP TEN
You can now do up the top cap to 27-29 NM. when this is all done you can put air back into the post. You need to put 250psi back into it. Replace the air cap and your post is ready to go back into your bike. Hopefully running smoother and cleaner than before.