How to set up SRAM Eagle
Hopefully someone was kind to you or you were kind to yourself and now you have a SRAM Eagle group set. If you were that lucky, we’re going to talk you through how to install it.
We won’t give a rundown of how to build your bike from scratch, but more the vital information about what to swap over and how to set up if you are upgrading from a SRAM 1×11 build to 1×12.
Words: Joe Dodd
Photo: Chris Herron
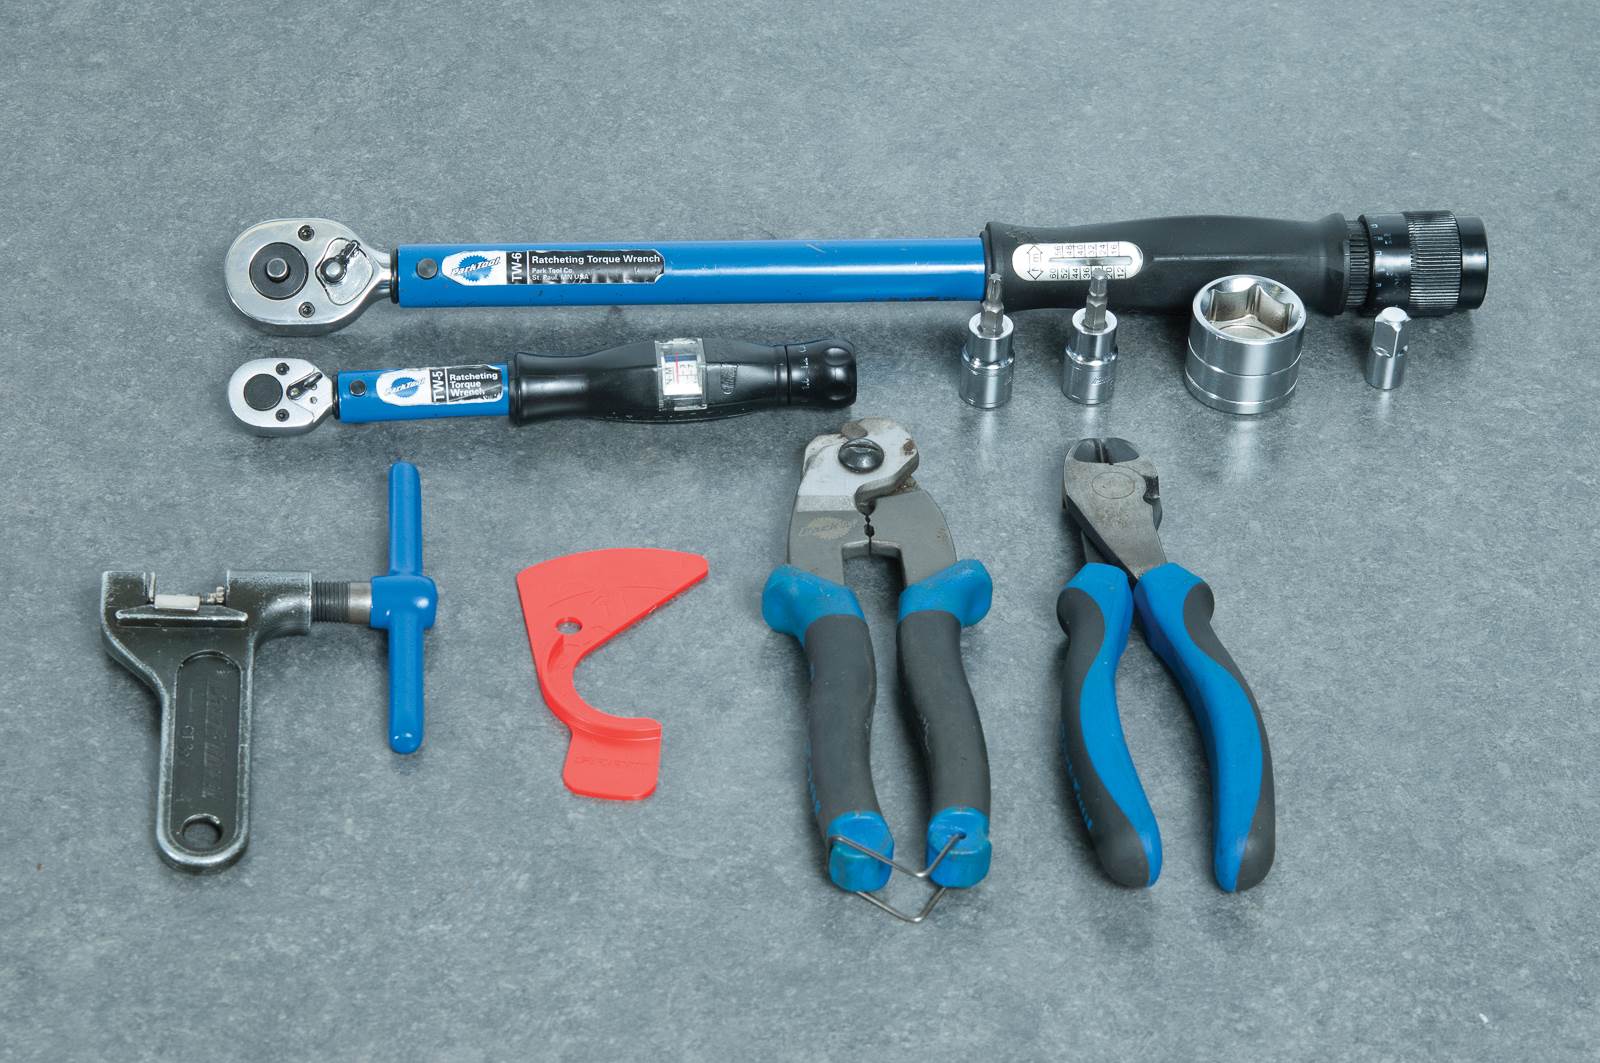 YOU WILL NEED
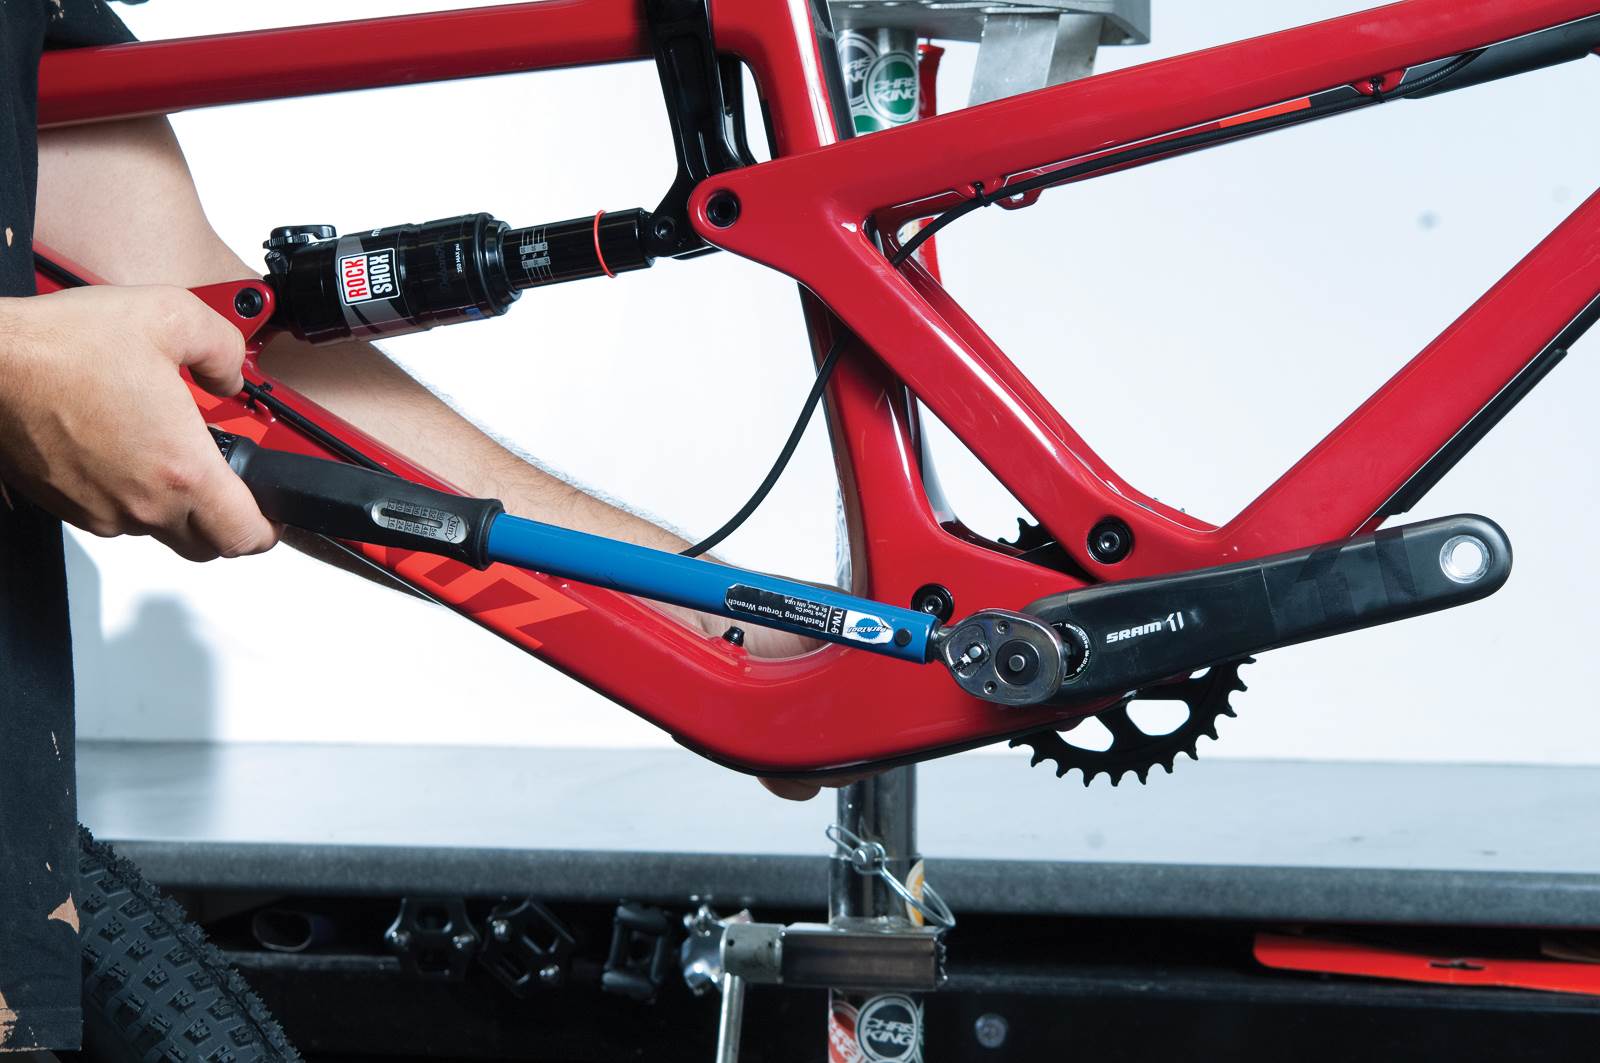
STEP ONE
We’ll start with the crank set. As Eagle was designed as a group, we recommend you use the whole kit (no aftermarket chain rings). Pop the crank set into whatever BB style cranks you have. Here we have a GXP set. Tighten the crank bolt to the relevant torque marked on the crank bolt.
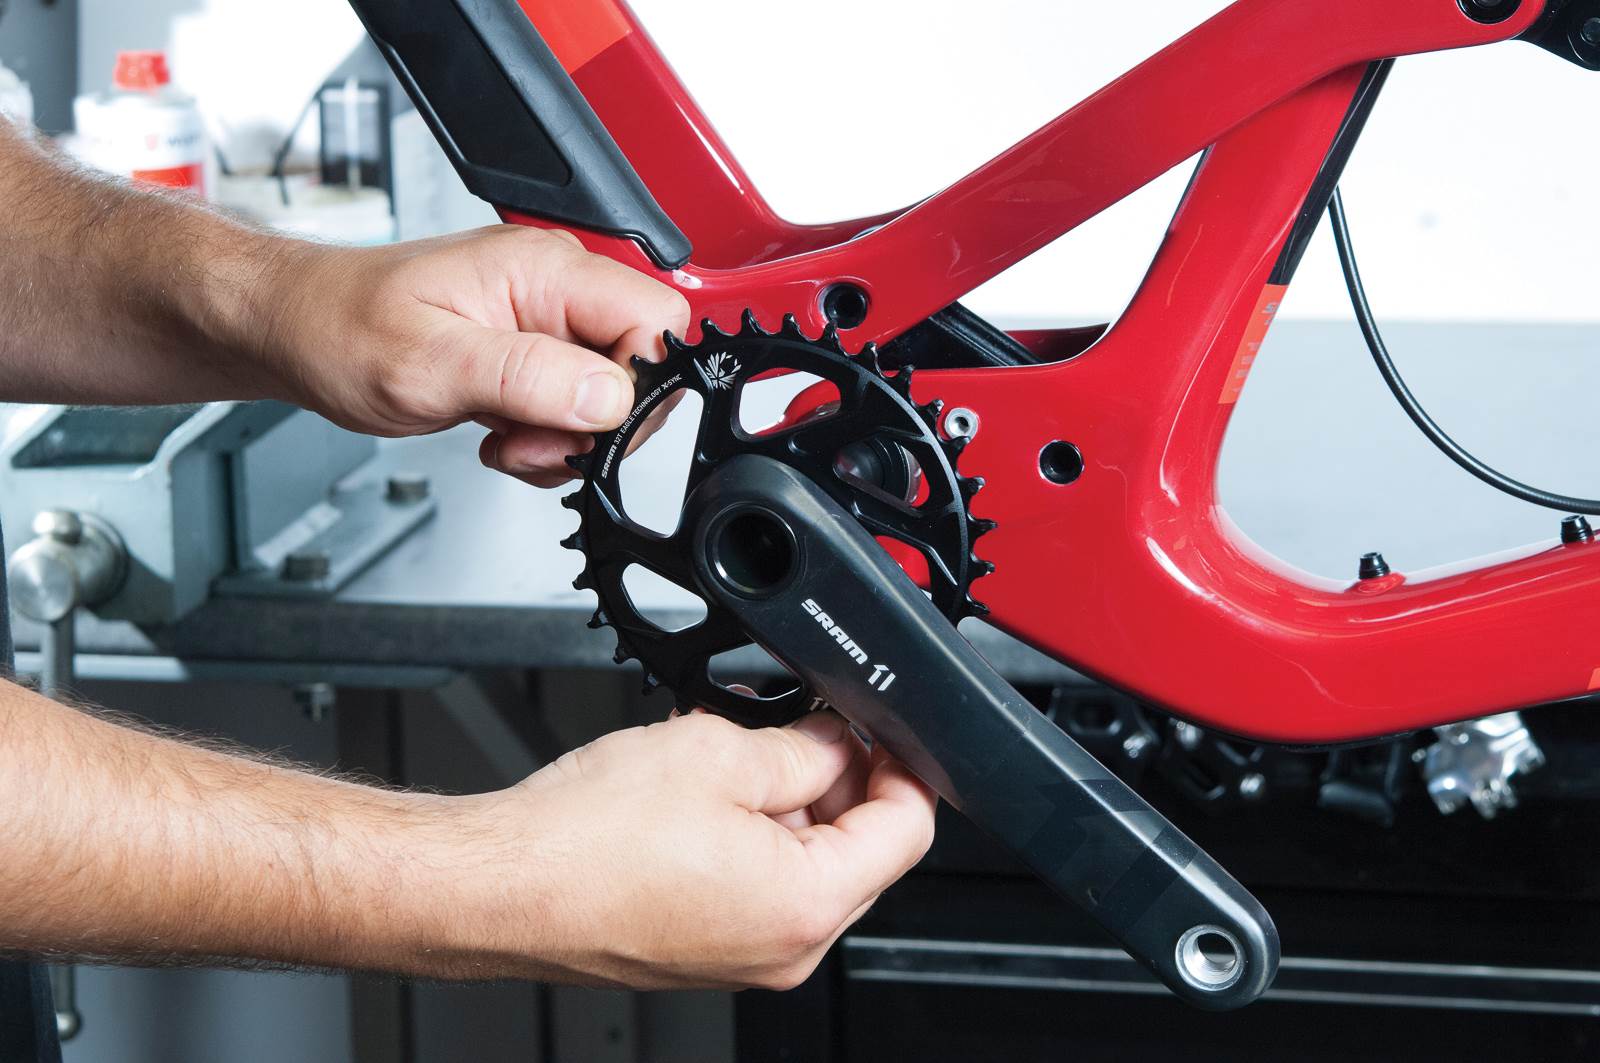
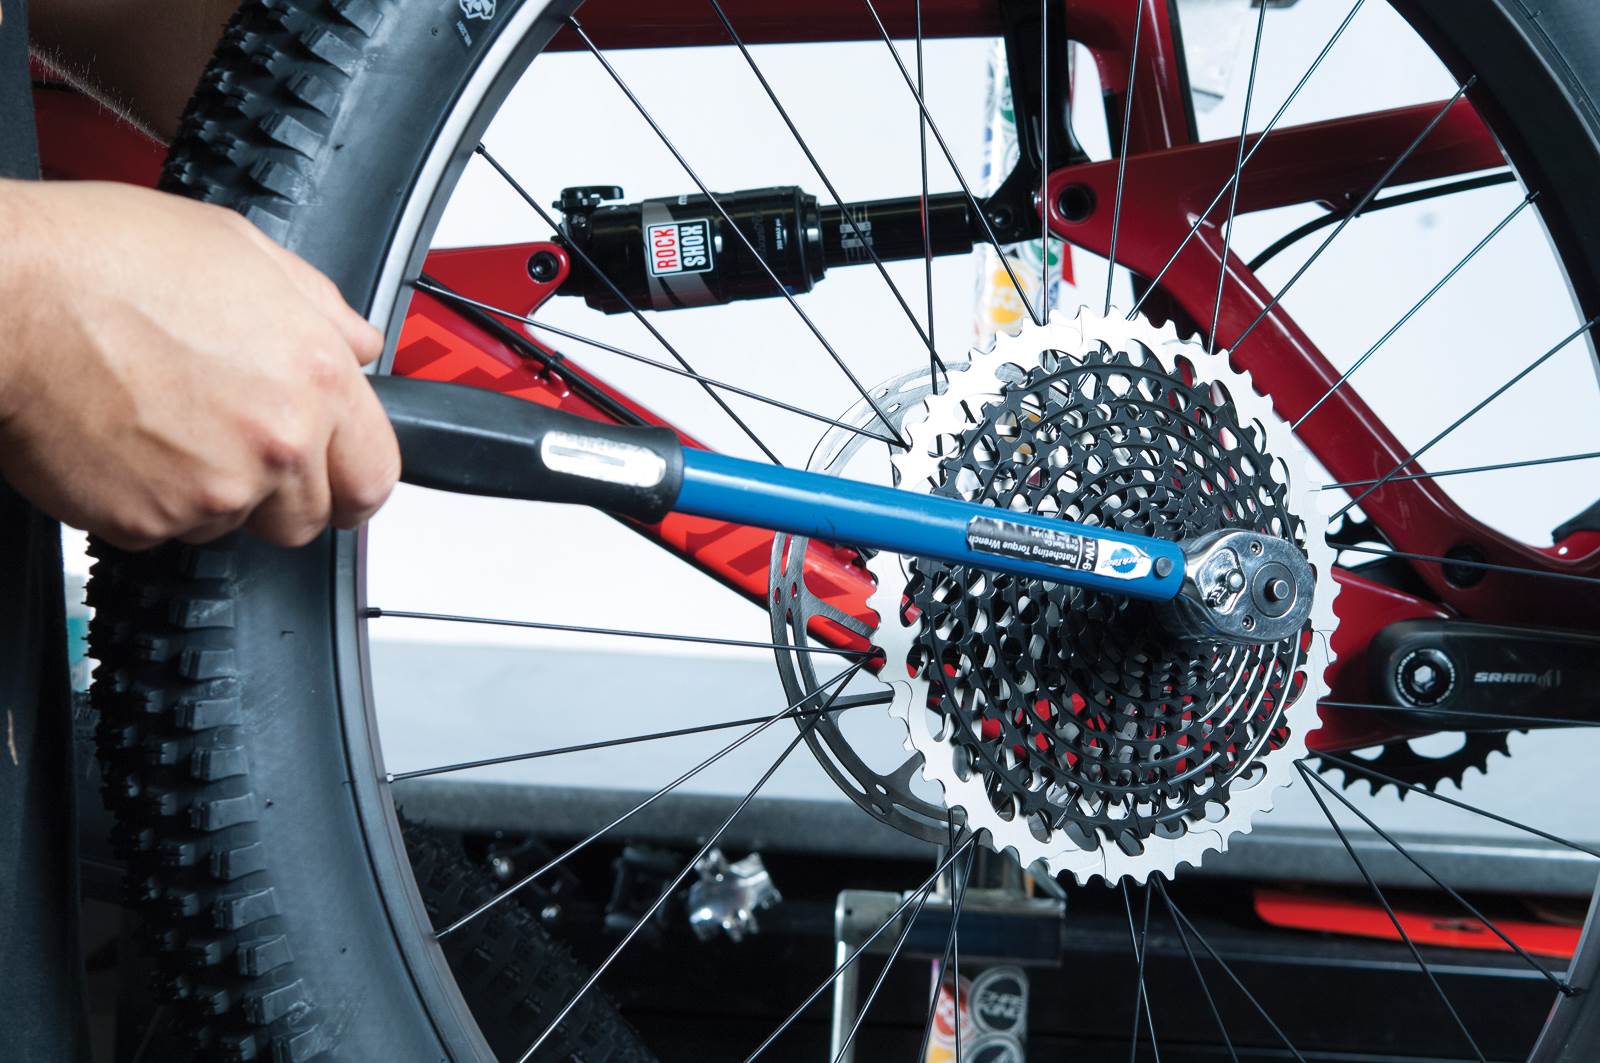
STEP TWO
Next we have to install the cassette. Start by greasing the free hub body. Slide the cassette on and tighten to 40nm.
STEP THREE
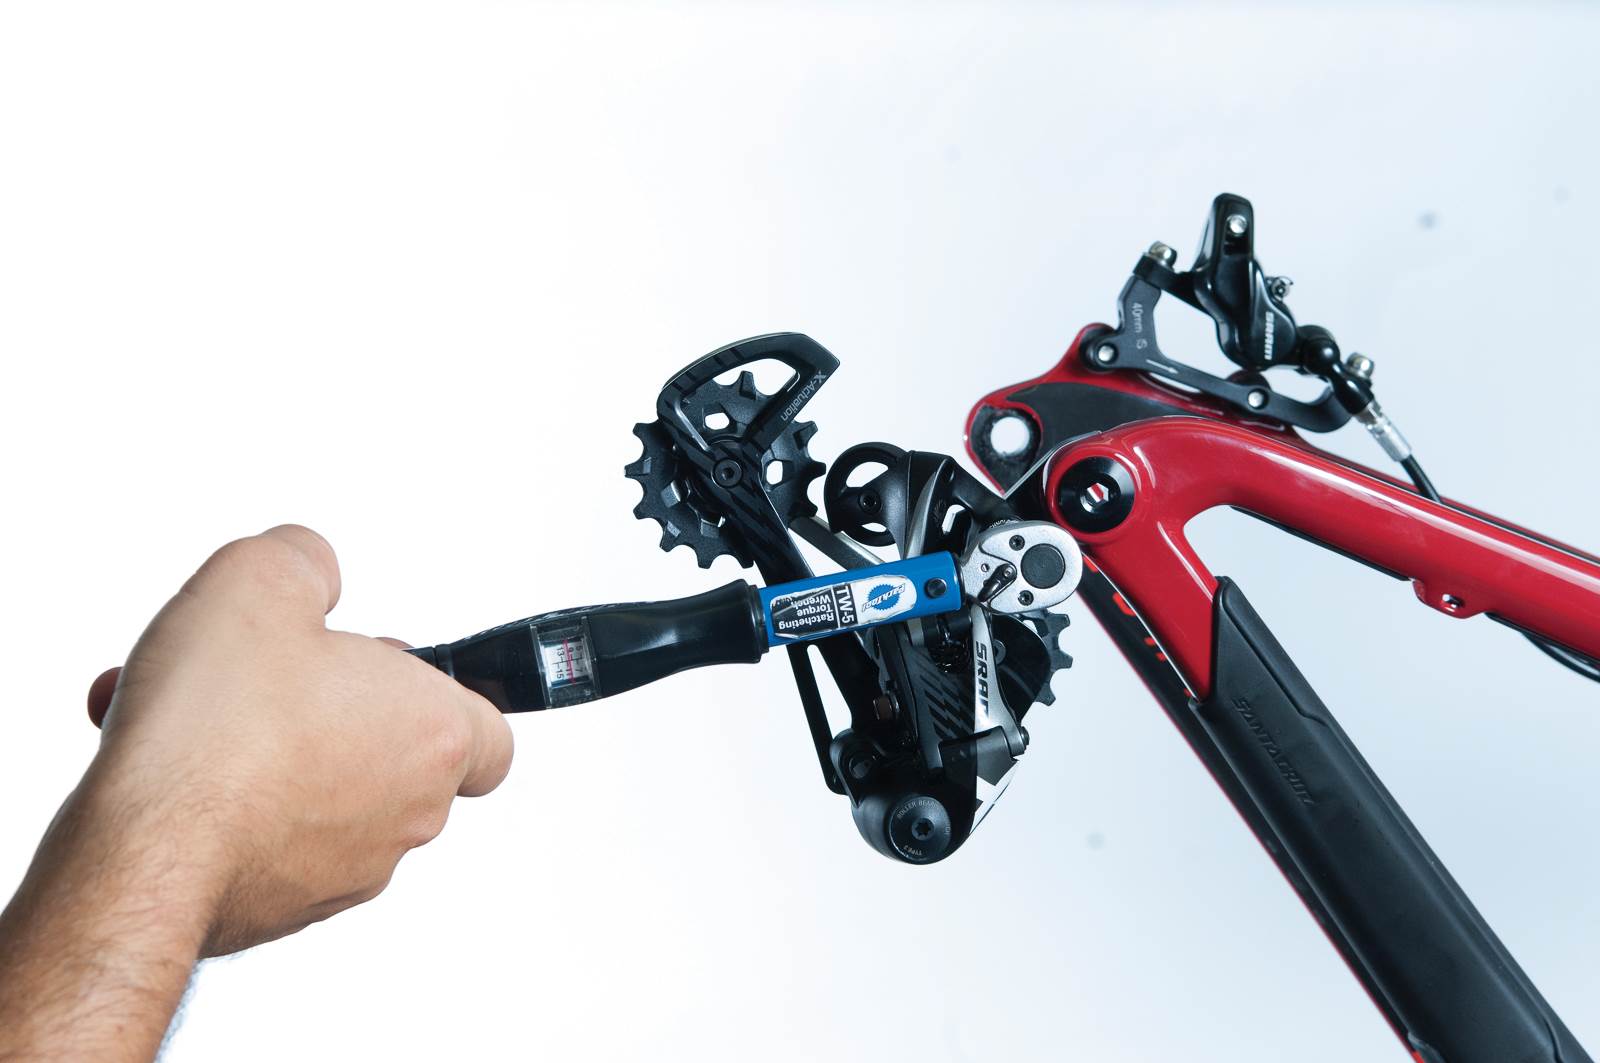
Now it’s time to put the rear mech on. Make sure your hanger is straight by either using a hanger alignment tool, or popping it to your local bike shop to get checked. Tighten the mech up to 10-12nm.
STEP FOUR
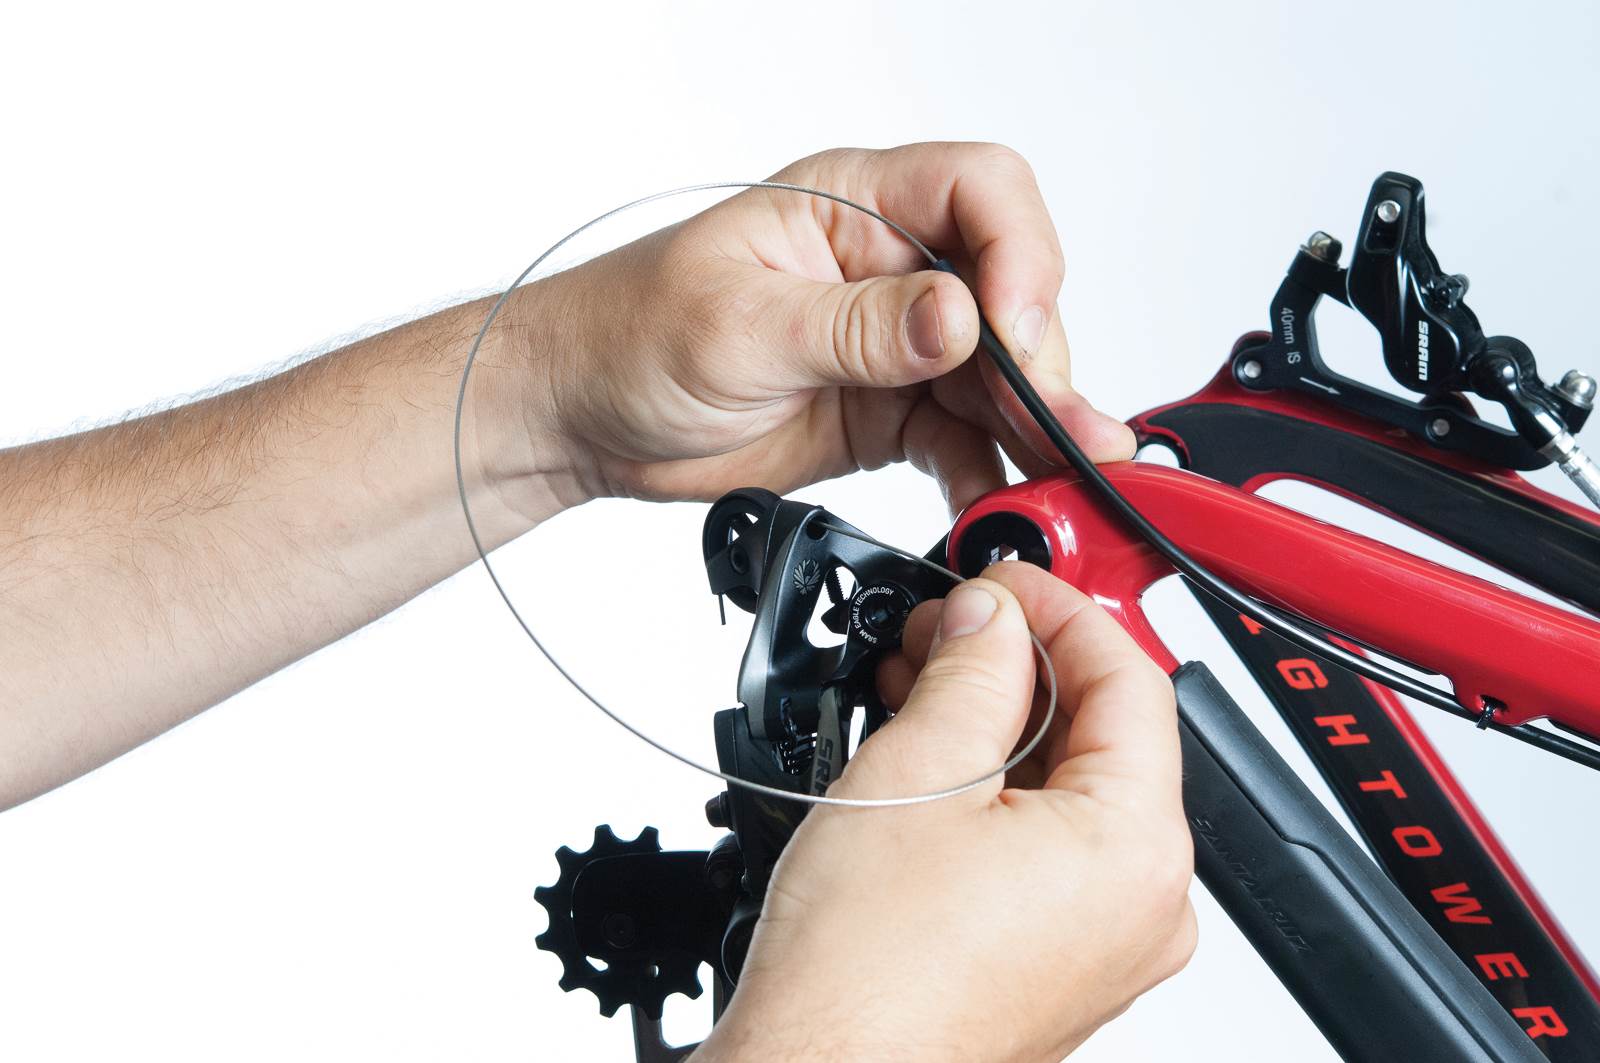
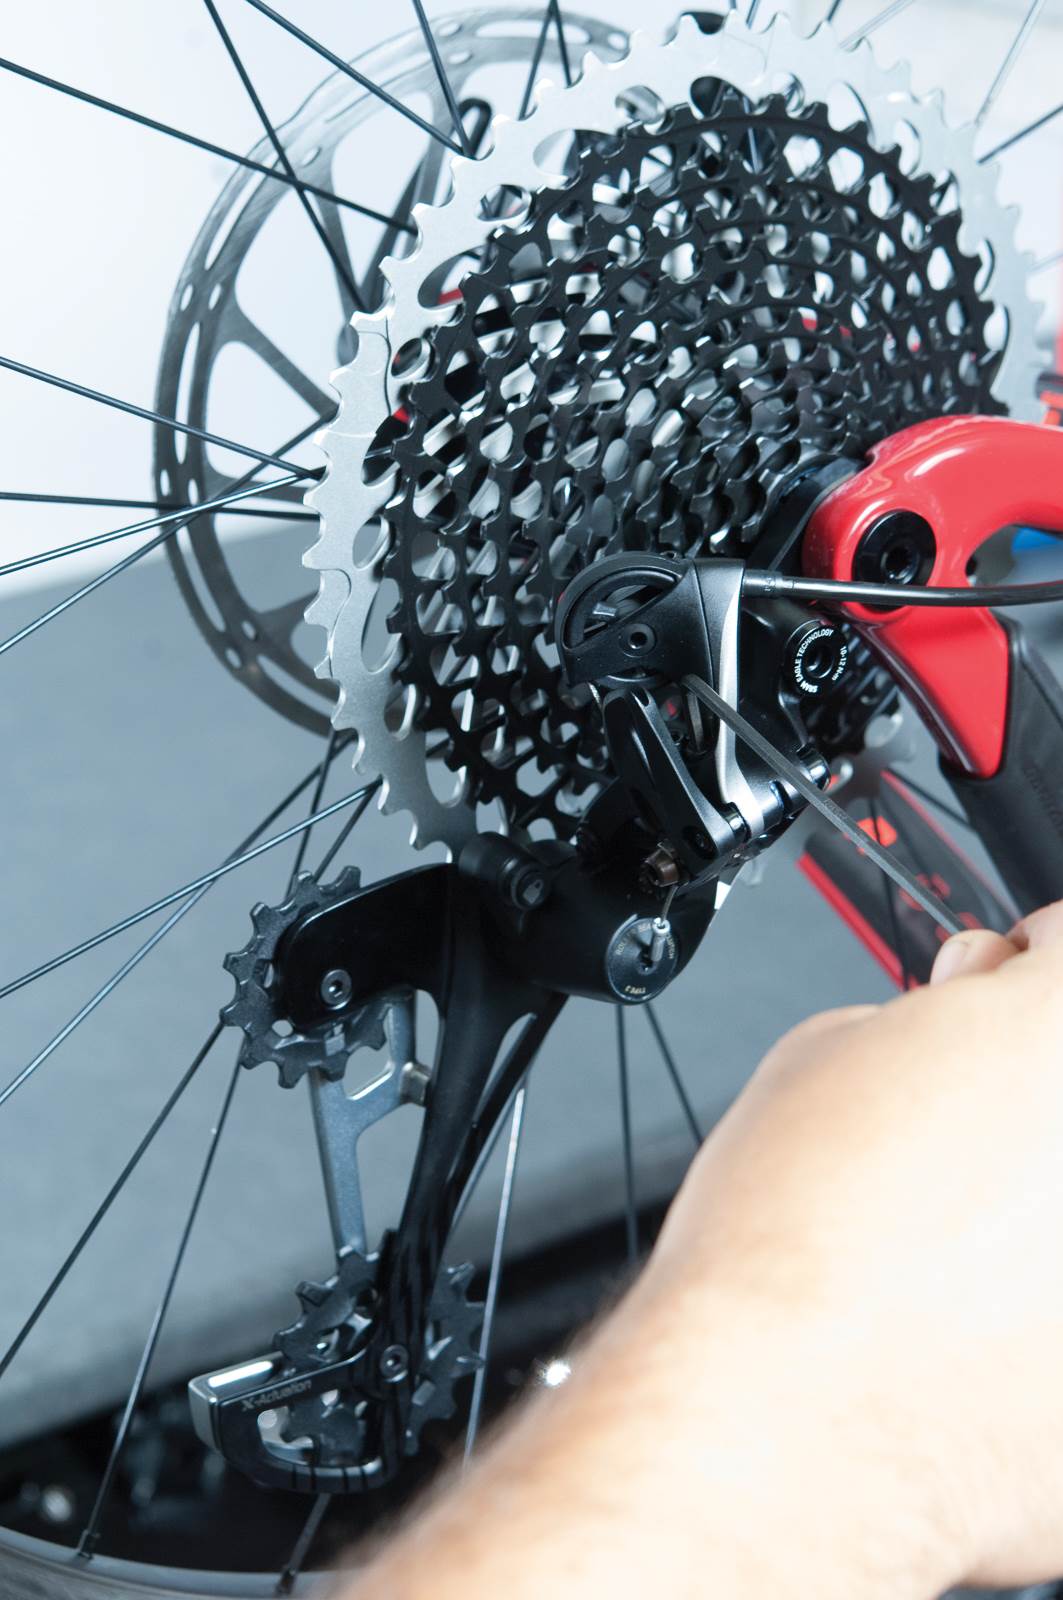
Install the shifter and install the gear cable making sure it’s not too long or too short. Thread the cable through the rear mech’s rollermajig. I now set the limit screws.
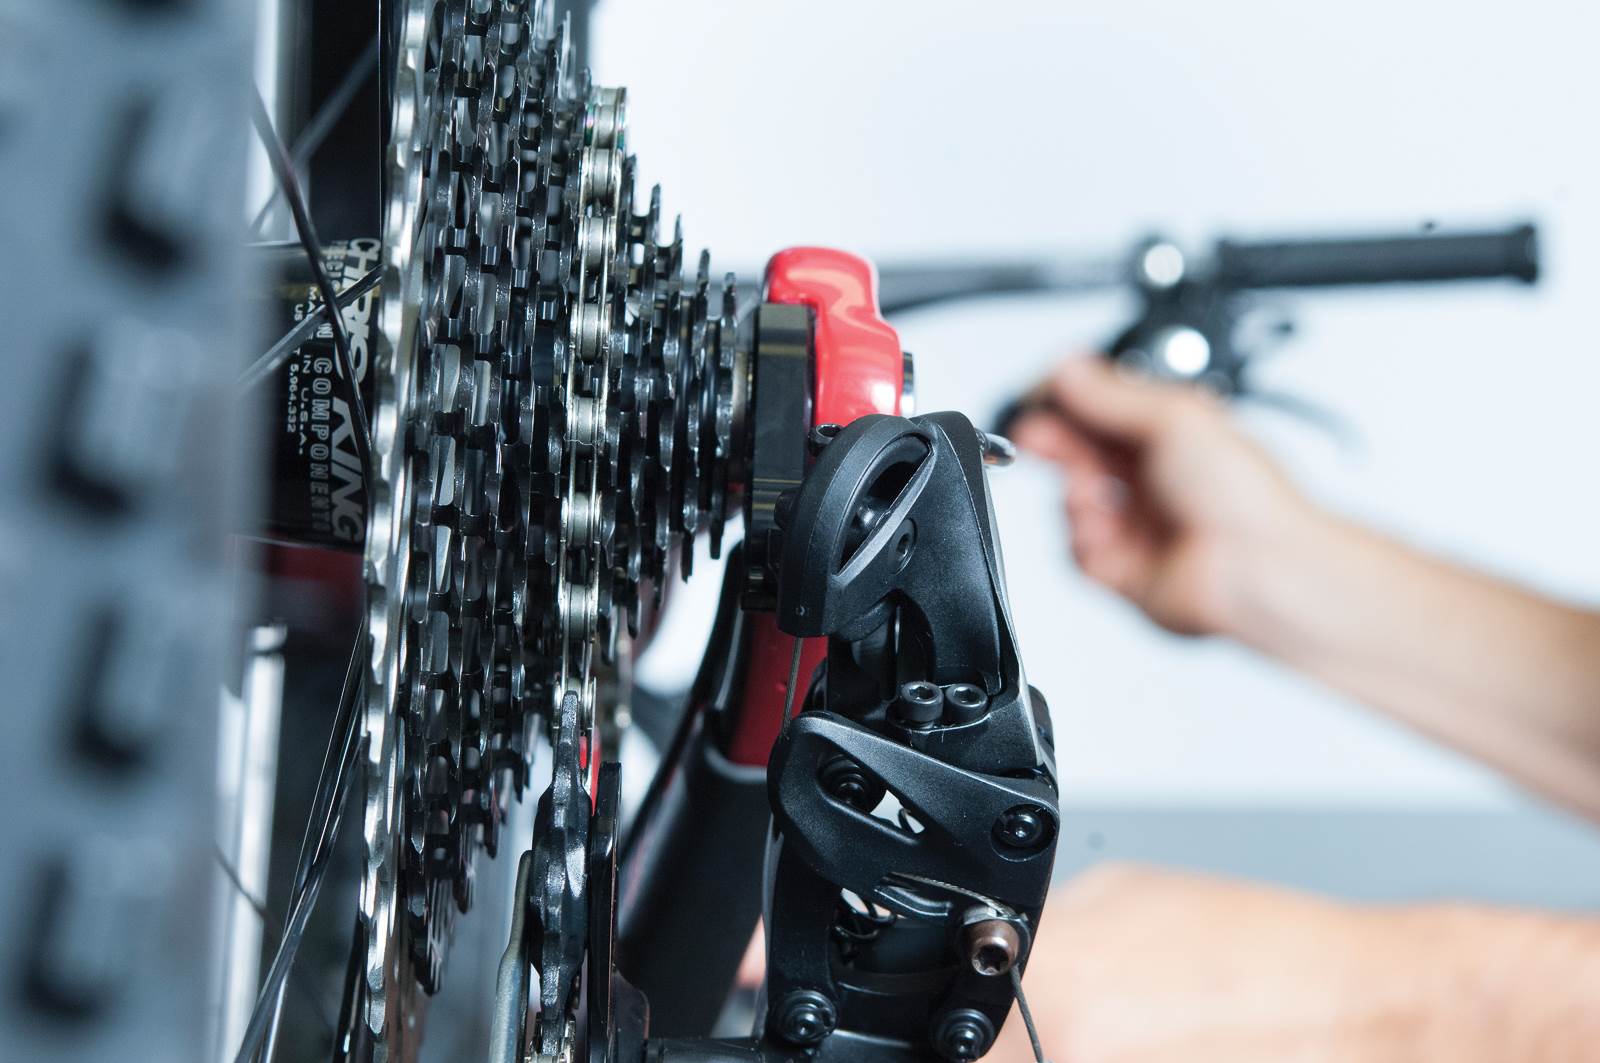
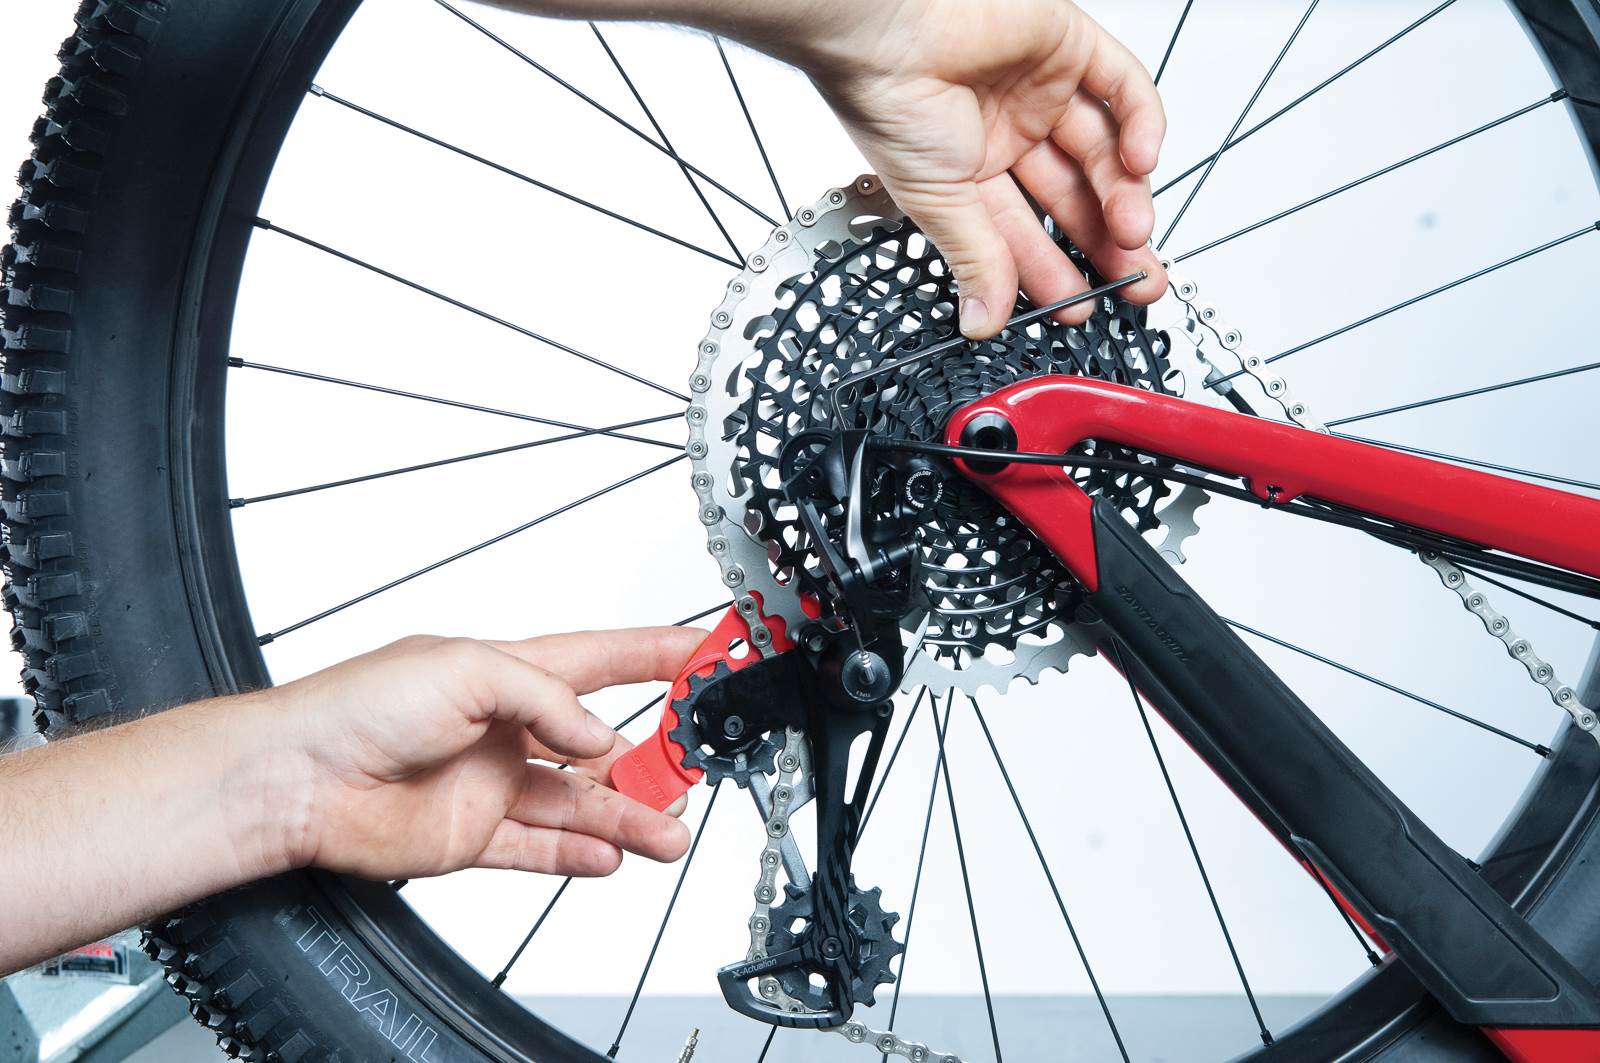
Align the jockey wheels up with the 10t using a 3mm Allen key. Now back to the cable. Tighten the cable to the topside of the bolt as pictured and tighten to 4-5nm. Trim the left over cable and install a cable end. Now to set the rest of the limit screws.
 STEP FIVE
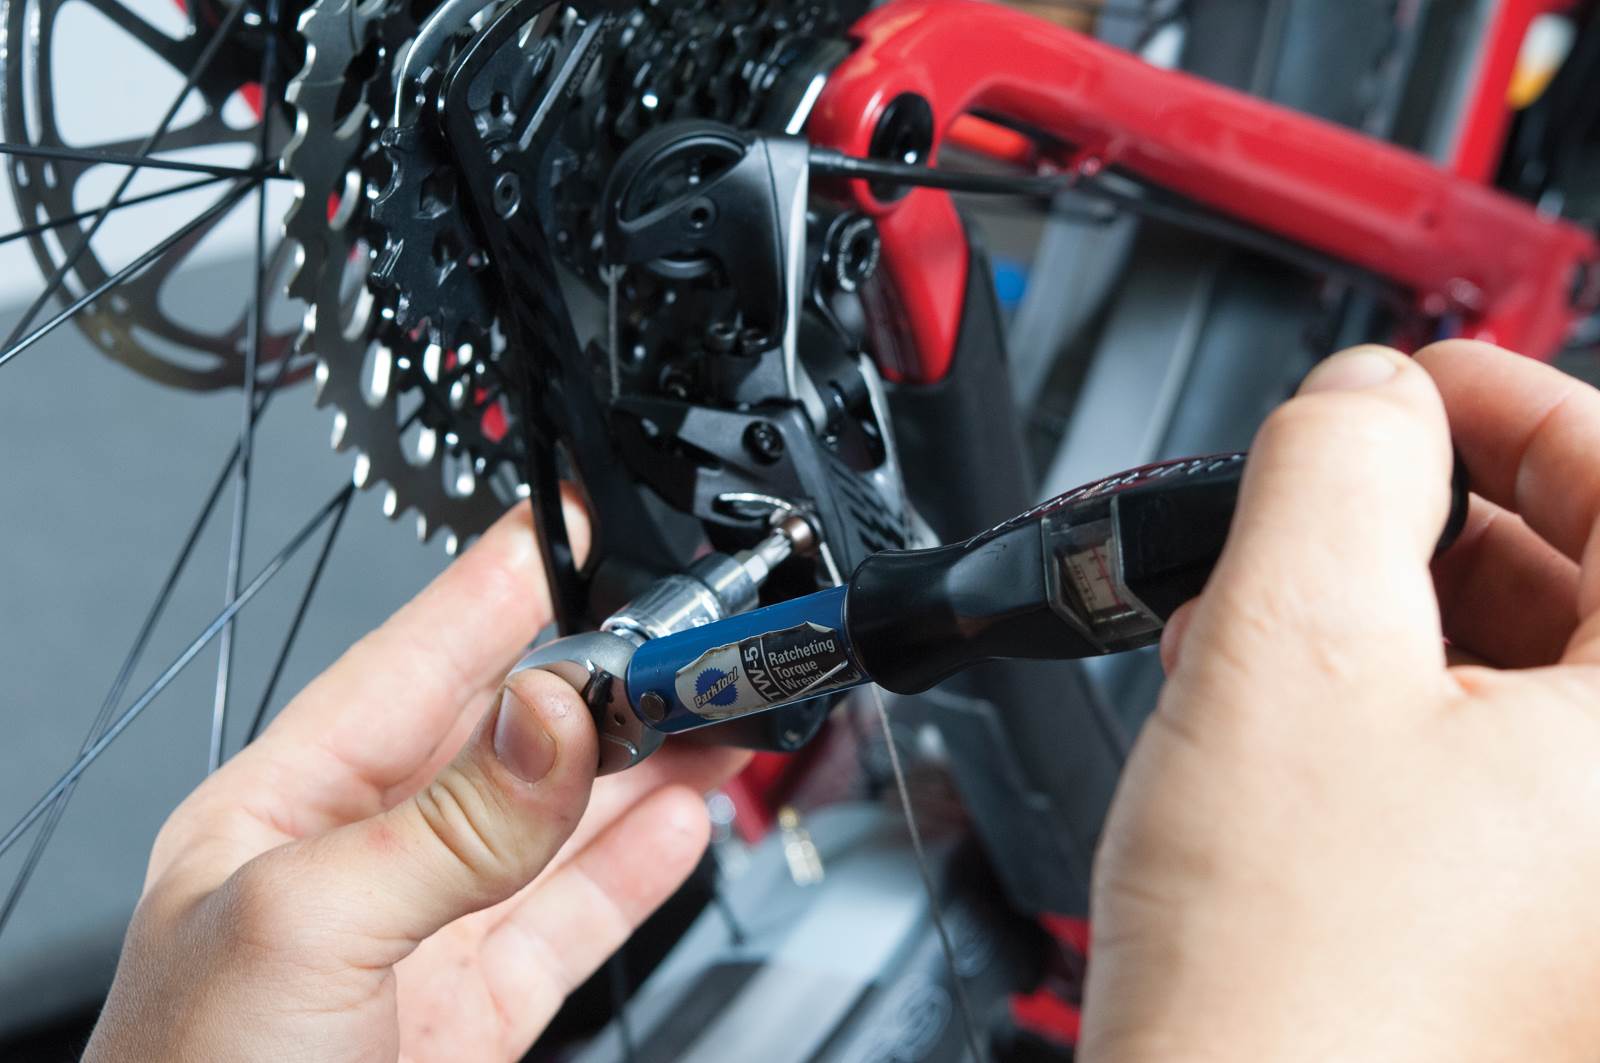
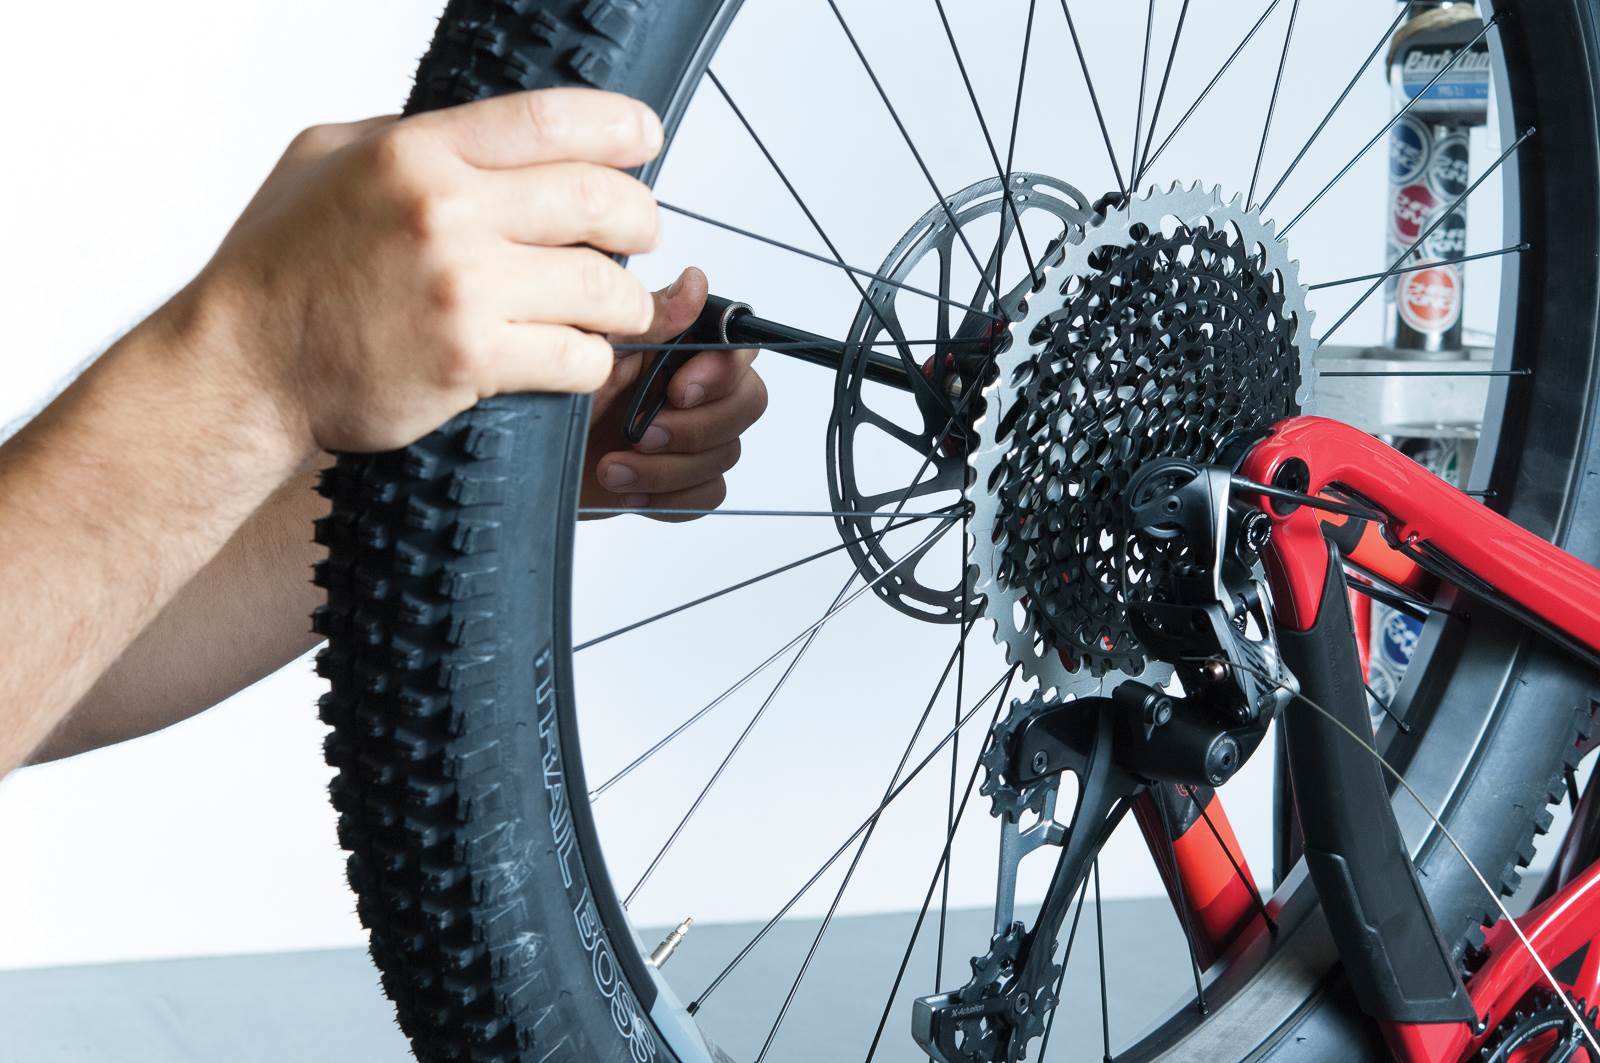
Pop the wheel in the bike. Shift up to the 50 with the cage locked out and align the mech – making sure it is not able to overshift into your spokes.

STEP SIX
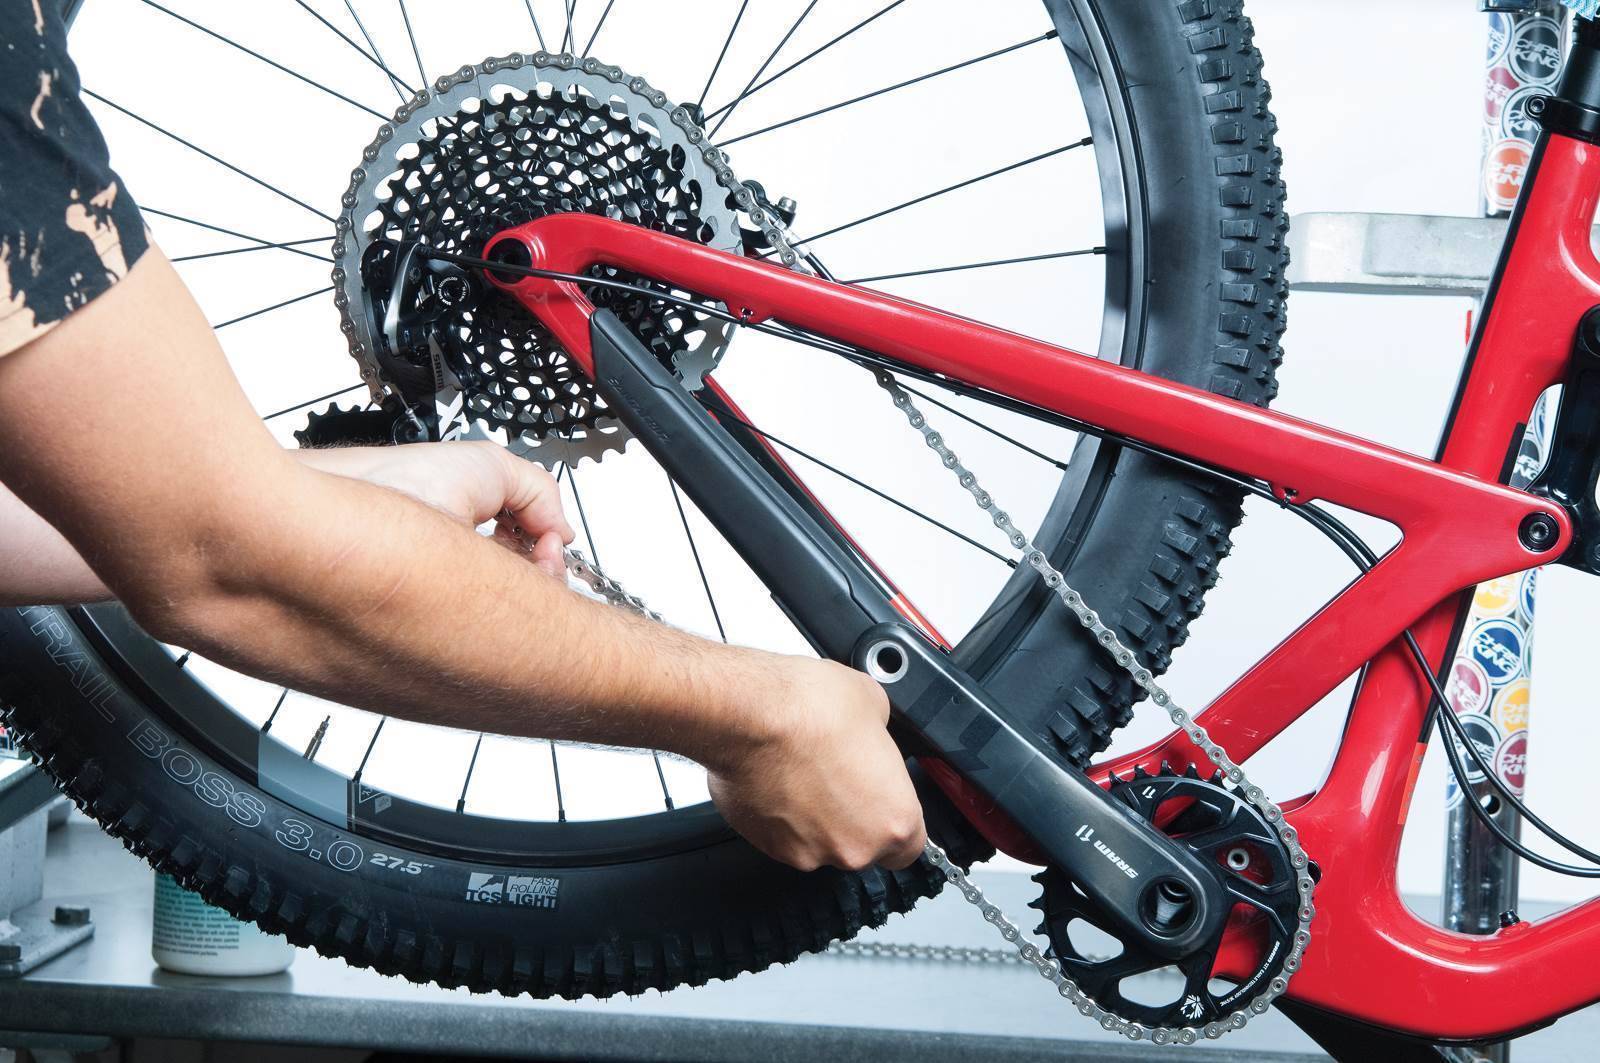
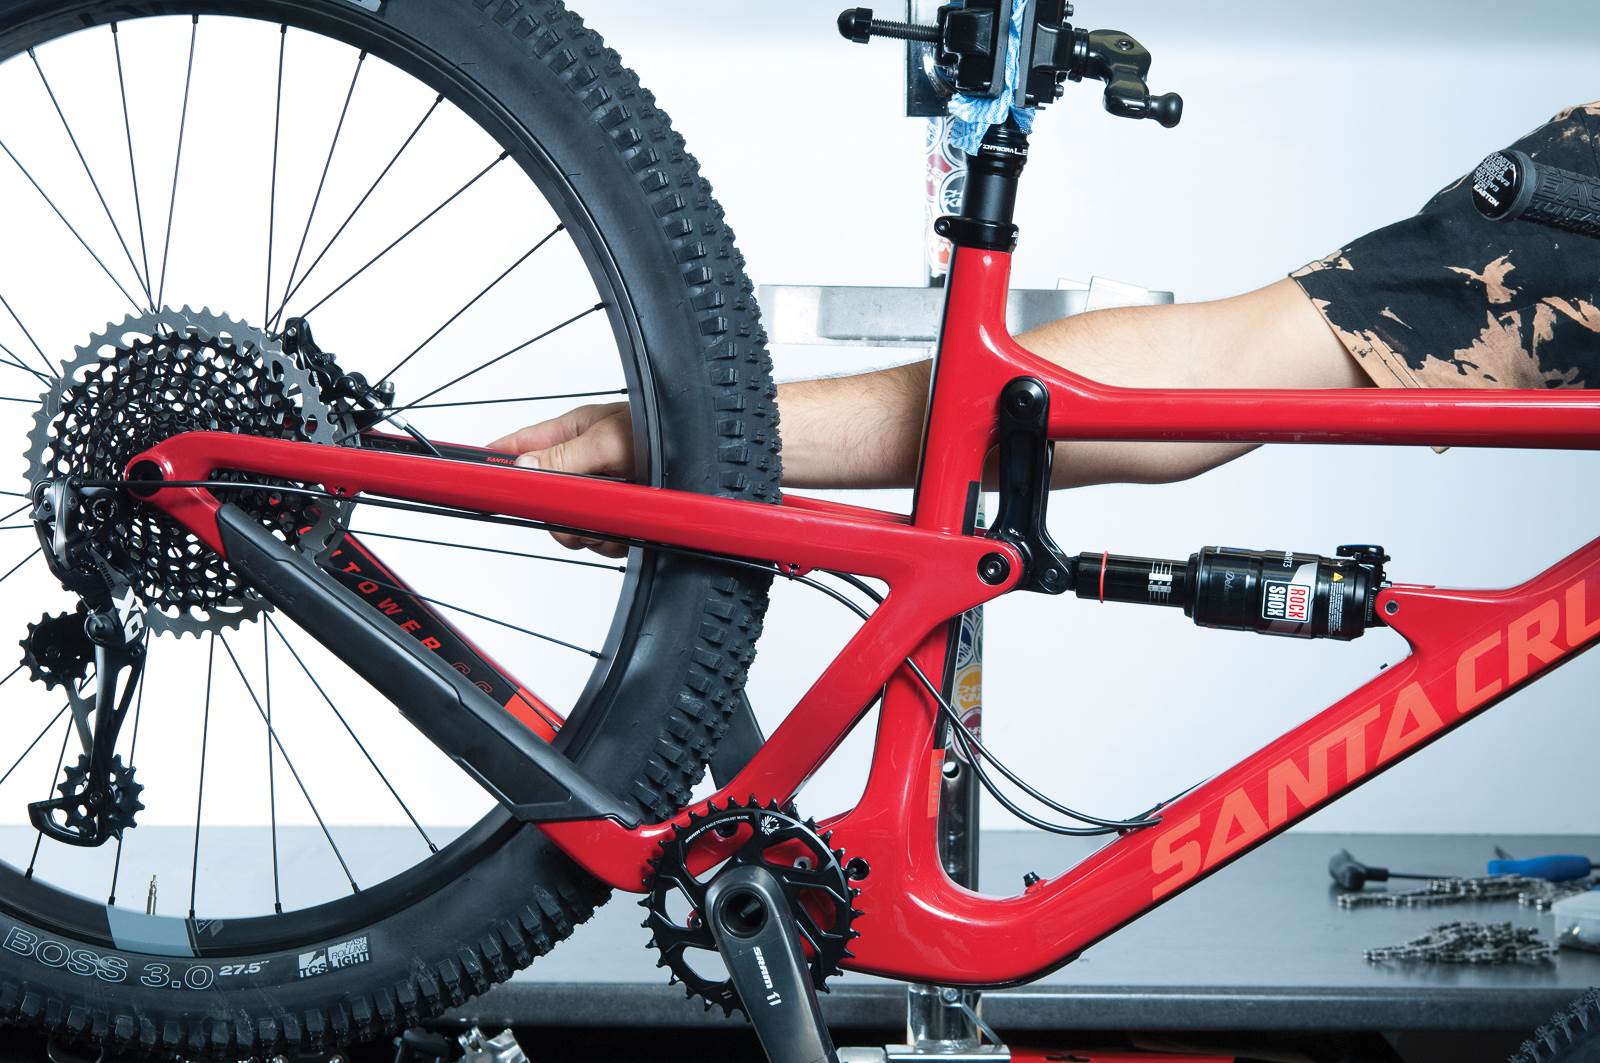
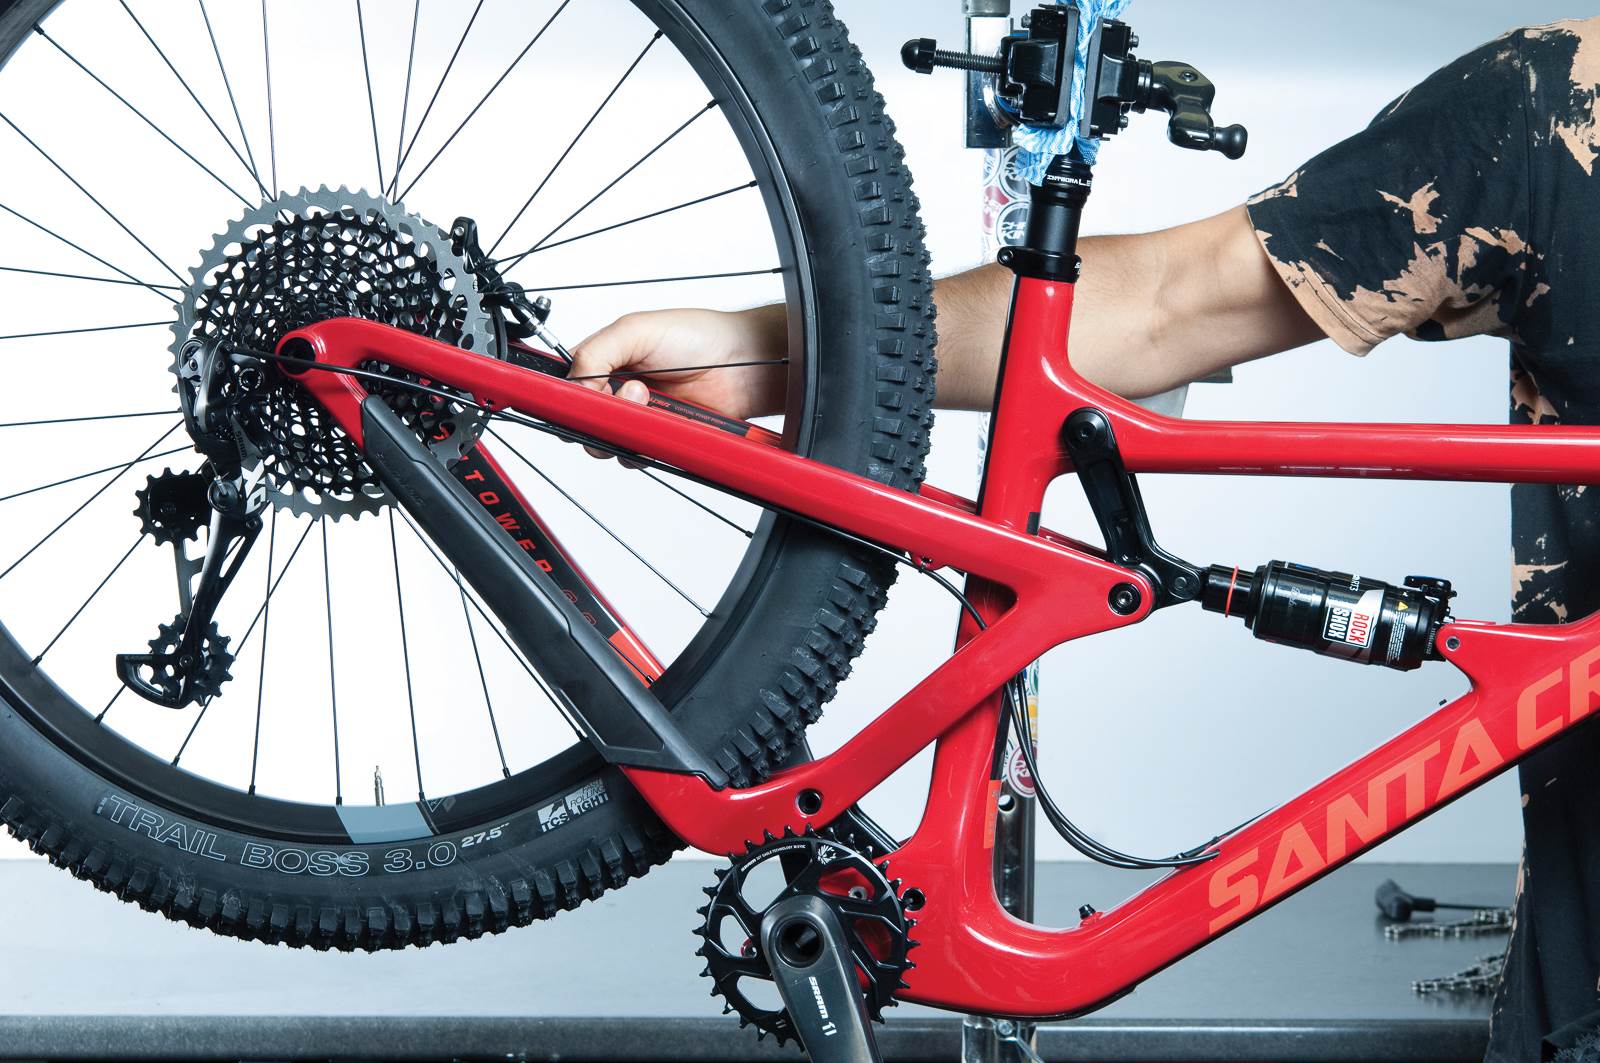
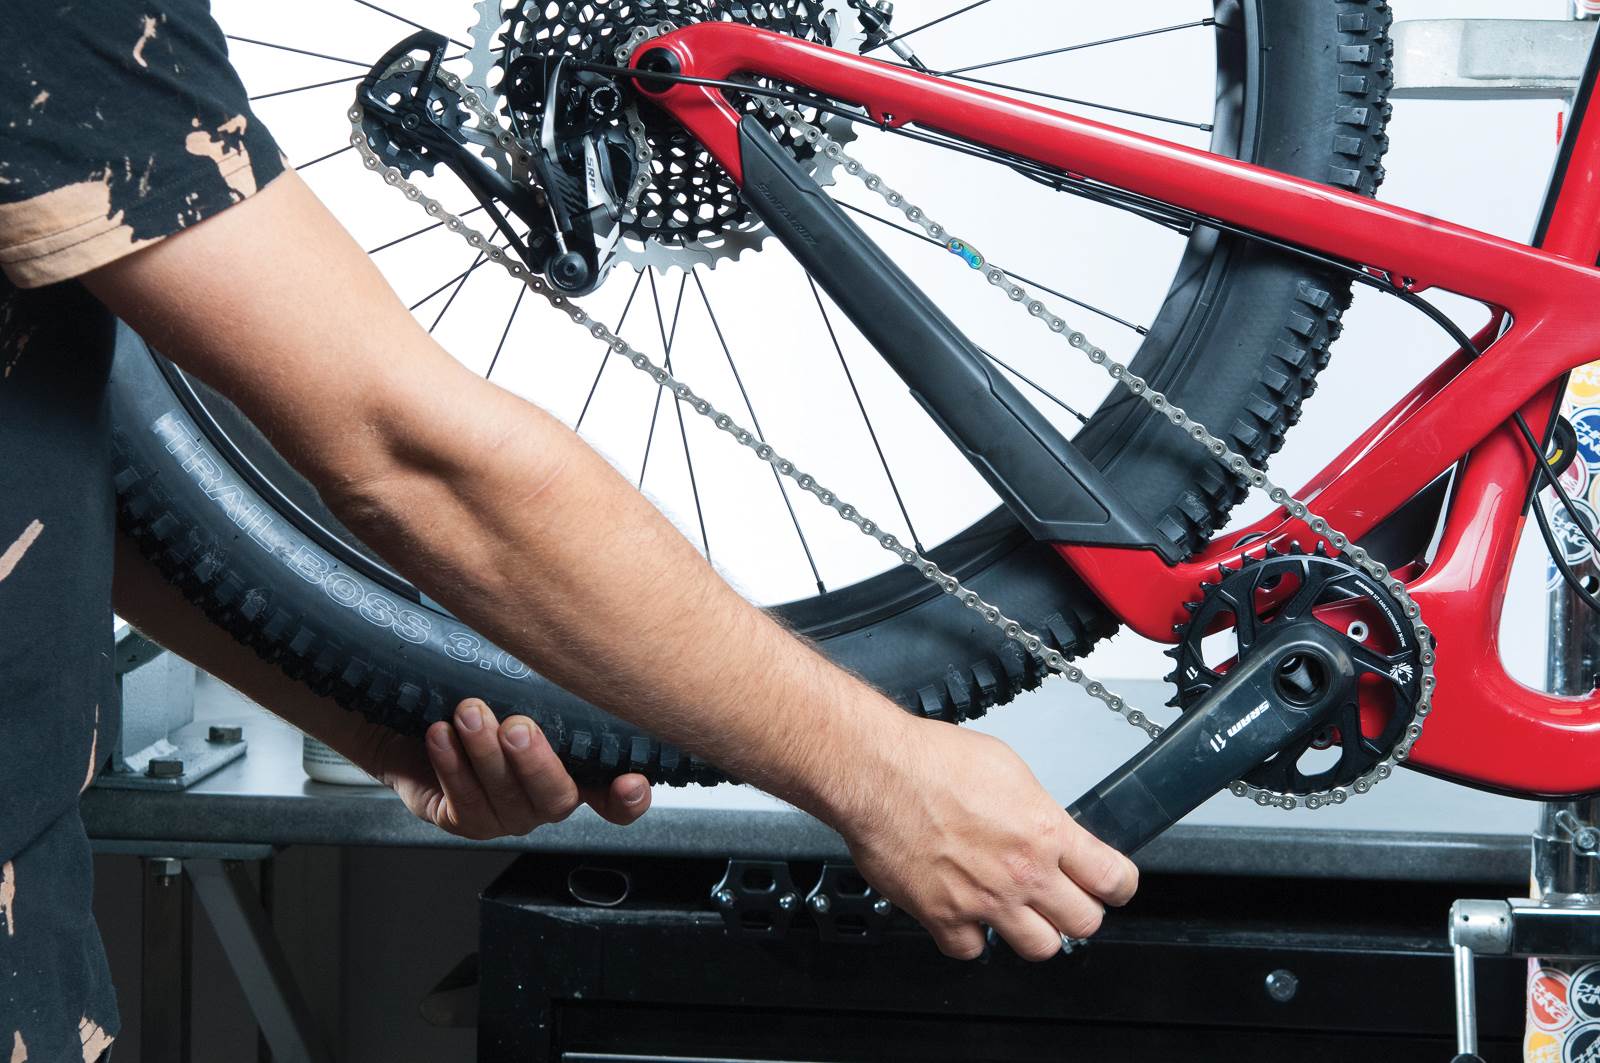
Now to get a chain on the bike. For a full-suspension bike we need to let the air out of the rear shock. Remember to take a pressure reading or know what pressure you use to return your bike to the correct setup. With a tape measure, compress the rear end until you find the point where the rear axle is the furthest away from the bottom bracket. Now wrap the chain round the largest rear cog and front chaining. For full suspension bikes, add one inner and one outer link where the chain starts to overlap. For hard tails add two inner and two outer. Spilt the chain, leaving two inner plates. Thread the chain though the rear mech, and grab your quick link. Looking at the arrow on the quick link, install it in the direction the chain will be travelling. Rotate the chain around until it is at the top of the drive train. Now grab the rear wheel and push down on whichever crank arm is driving. This will pull the quick link into place.
STEP SEVEN
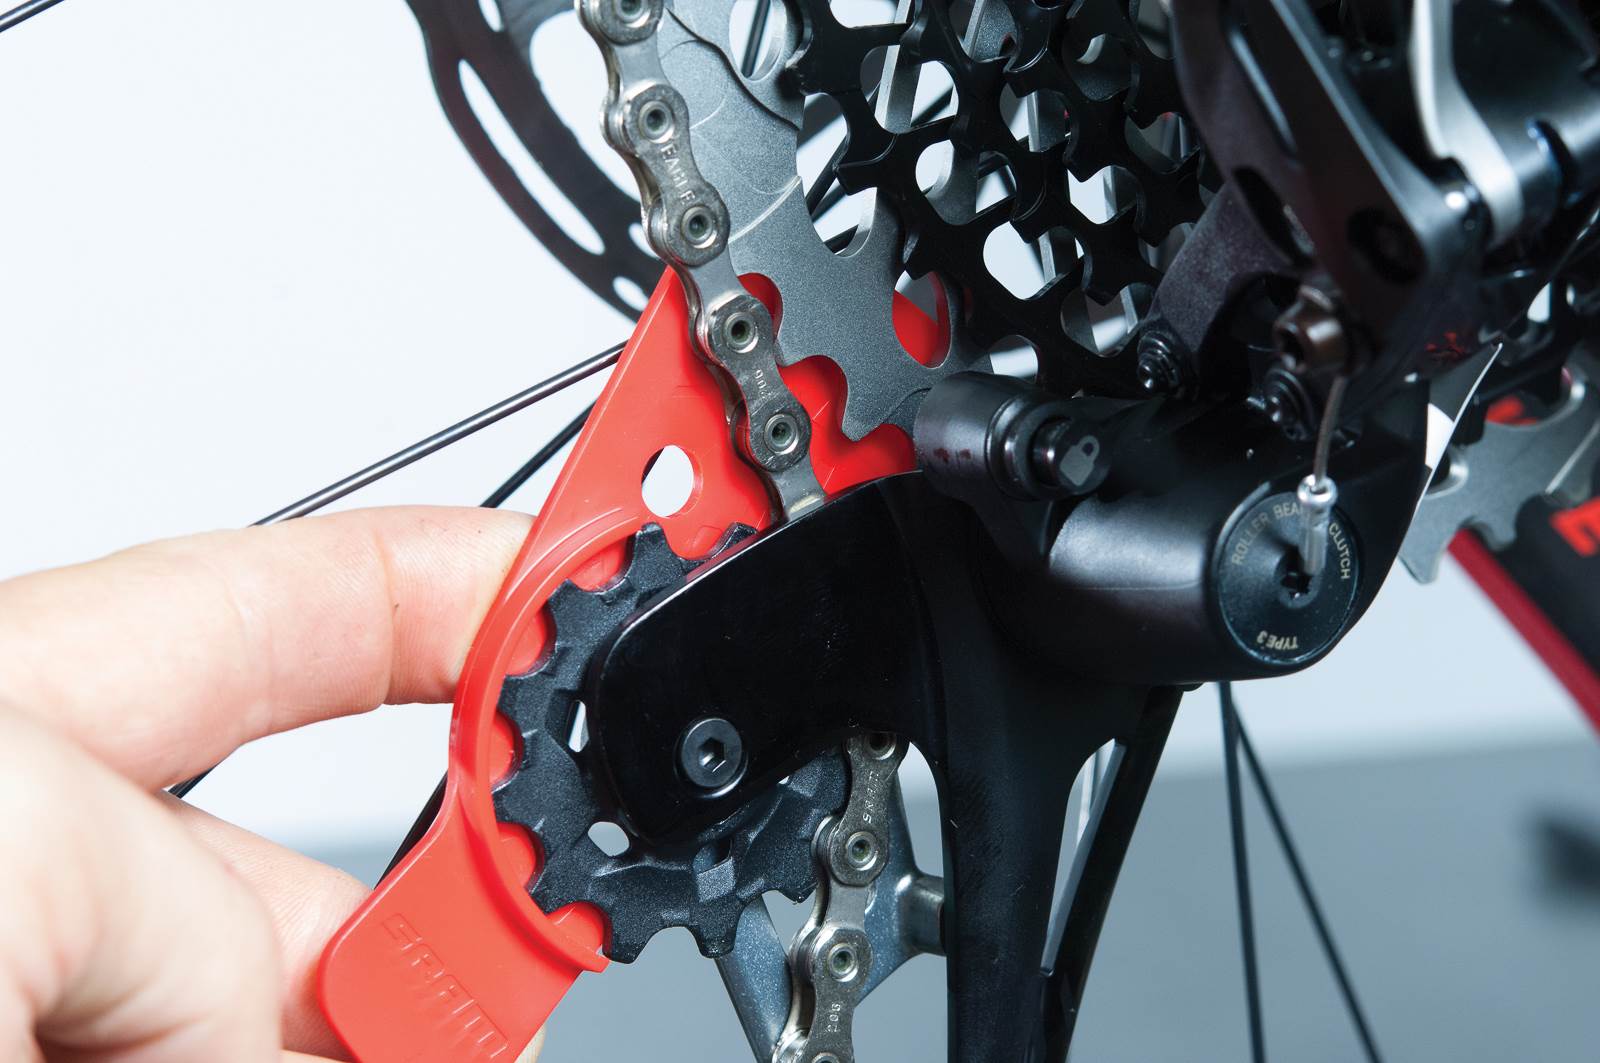
The last limit screw to adjust on the rear mech is the B tension. For this you will need to compress the rear end to desired sag position. With the rear mech sitting in the 50t slide the B gap adjustment tool over the top jockey wheel as pictured. Adjust the B tension until aligned with the picture on the tool.
STEP EIGHT
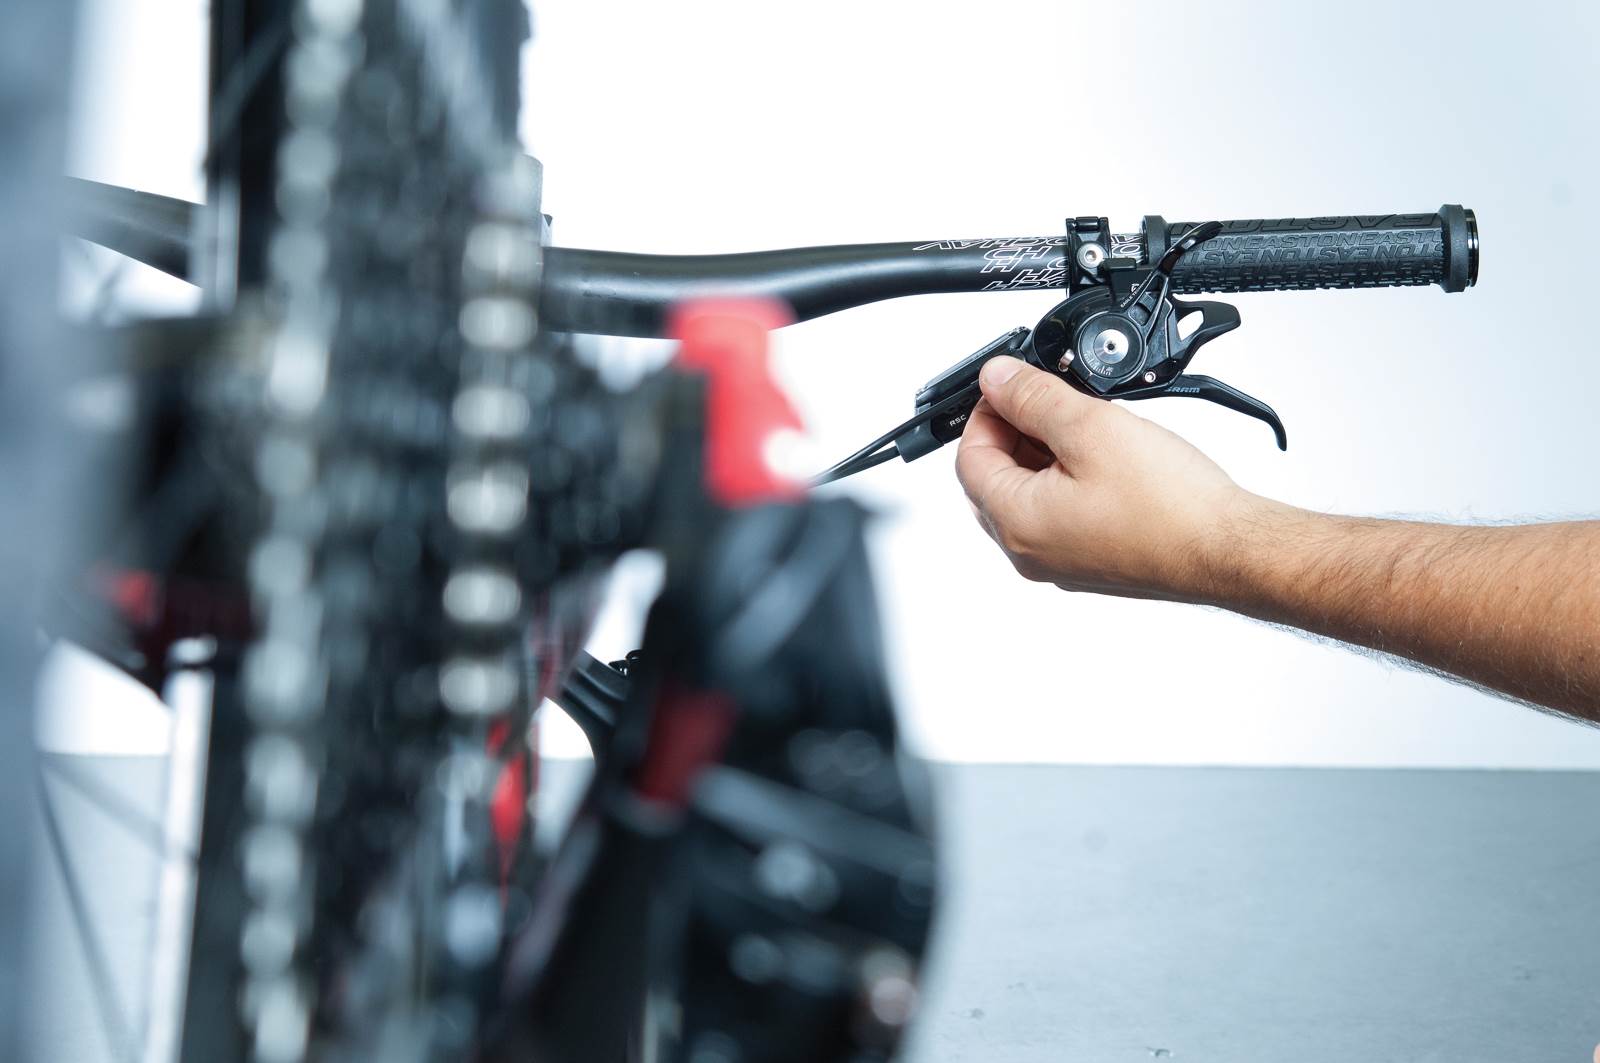
Final adjustment is to index the gearings using the cable tension. The more you wind the barrel adjuster out, the more the rear mech will move up the cassette. Adjust until it shifts up and down the cassette.
