How to trackstand
You may have heard of a trackstand - It provides us with a fundamental skill for mountain biking - Balance.
Trackstanding is basically ‘balancing’ on the spot, and with good technique – you can even hold a conversation while doing so! The beauty about the trackstand skill is that it’s not just all about balance. Although it is fairly uncommon to need to ‘trackstand’ on the trail, there are several aspects of our trail riding that can improve by nailing the technique of this fundamental skill, from our feet positioning, our vision, to our body’s ‘suspension’, position and confidence! Let’s guide you through the basics, then we’ll talk about why this is such a good one to practice, and become super natural with.

Step 1 – An Introduction
Ok, for the first timers, try doing this on a soft grassy area with a very slight incline, forwards facing directly up the slope. A trackstand is best attempted in a slightly harder gear than what you would normally use on that slope if riding up it casually. The harder gear selection is to help us apply pressure on the pedals, and use the tension on the chain/drivetrain to maintain balance, as opposed to simply coming to a stop and hoping for the best.
Step 2 – Leading Foot
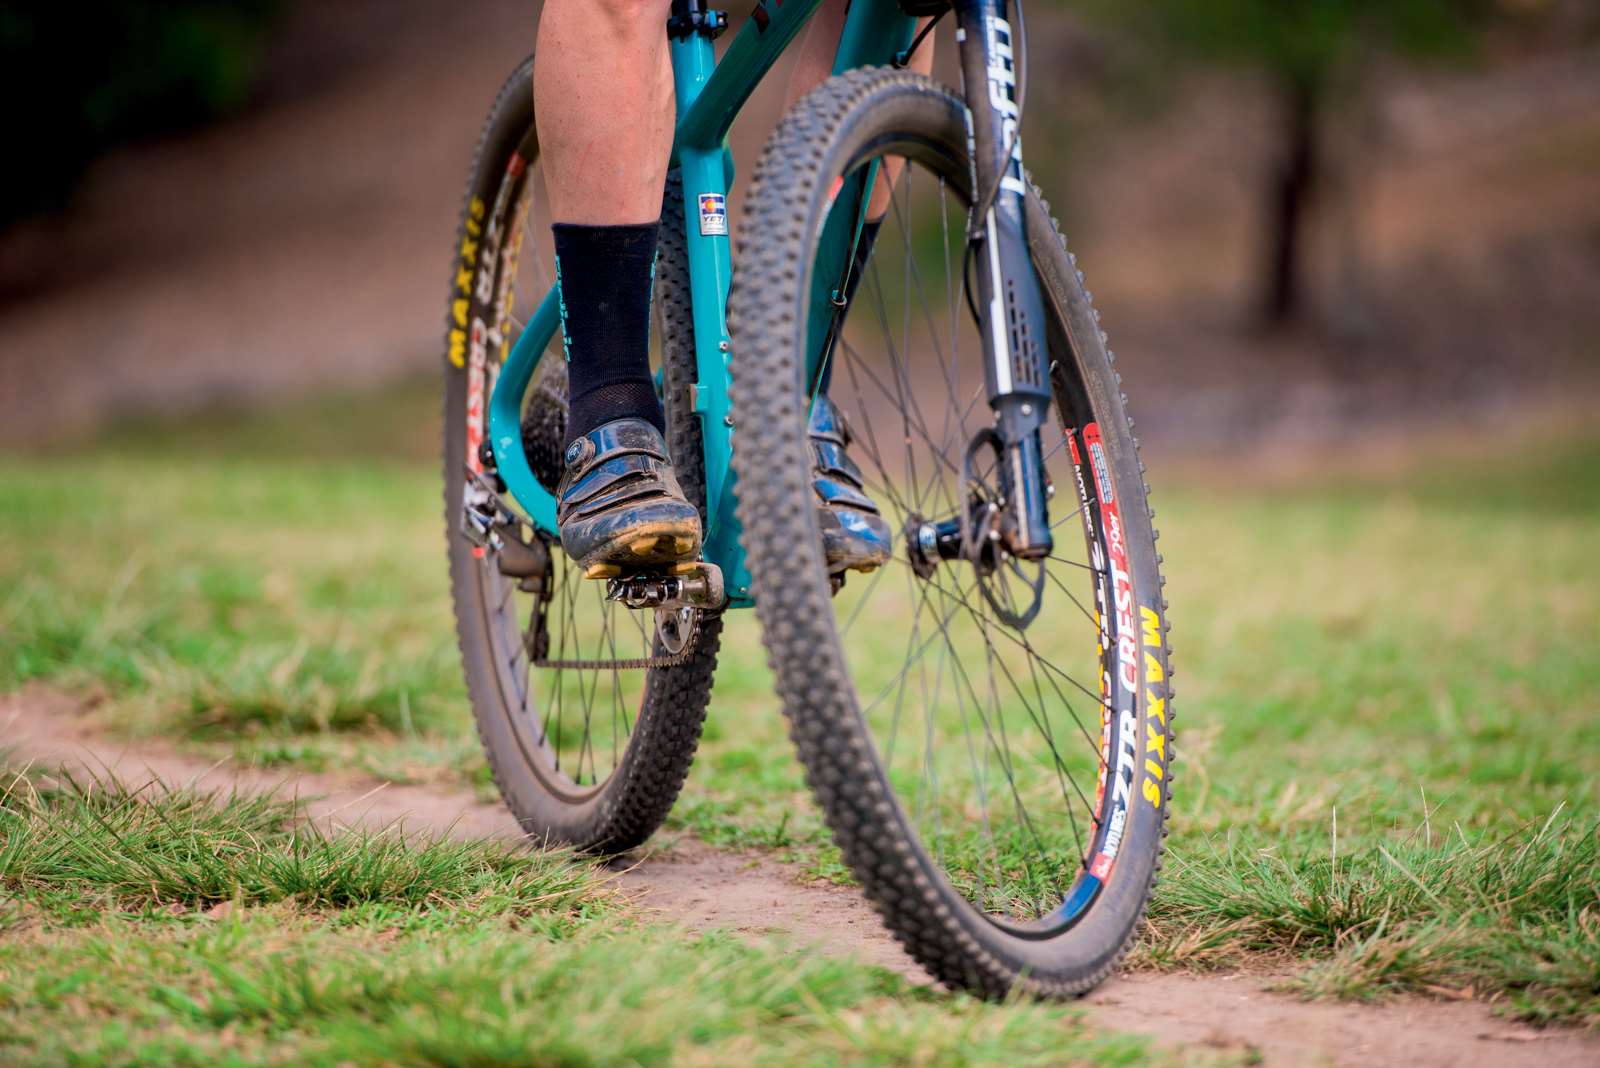
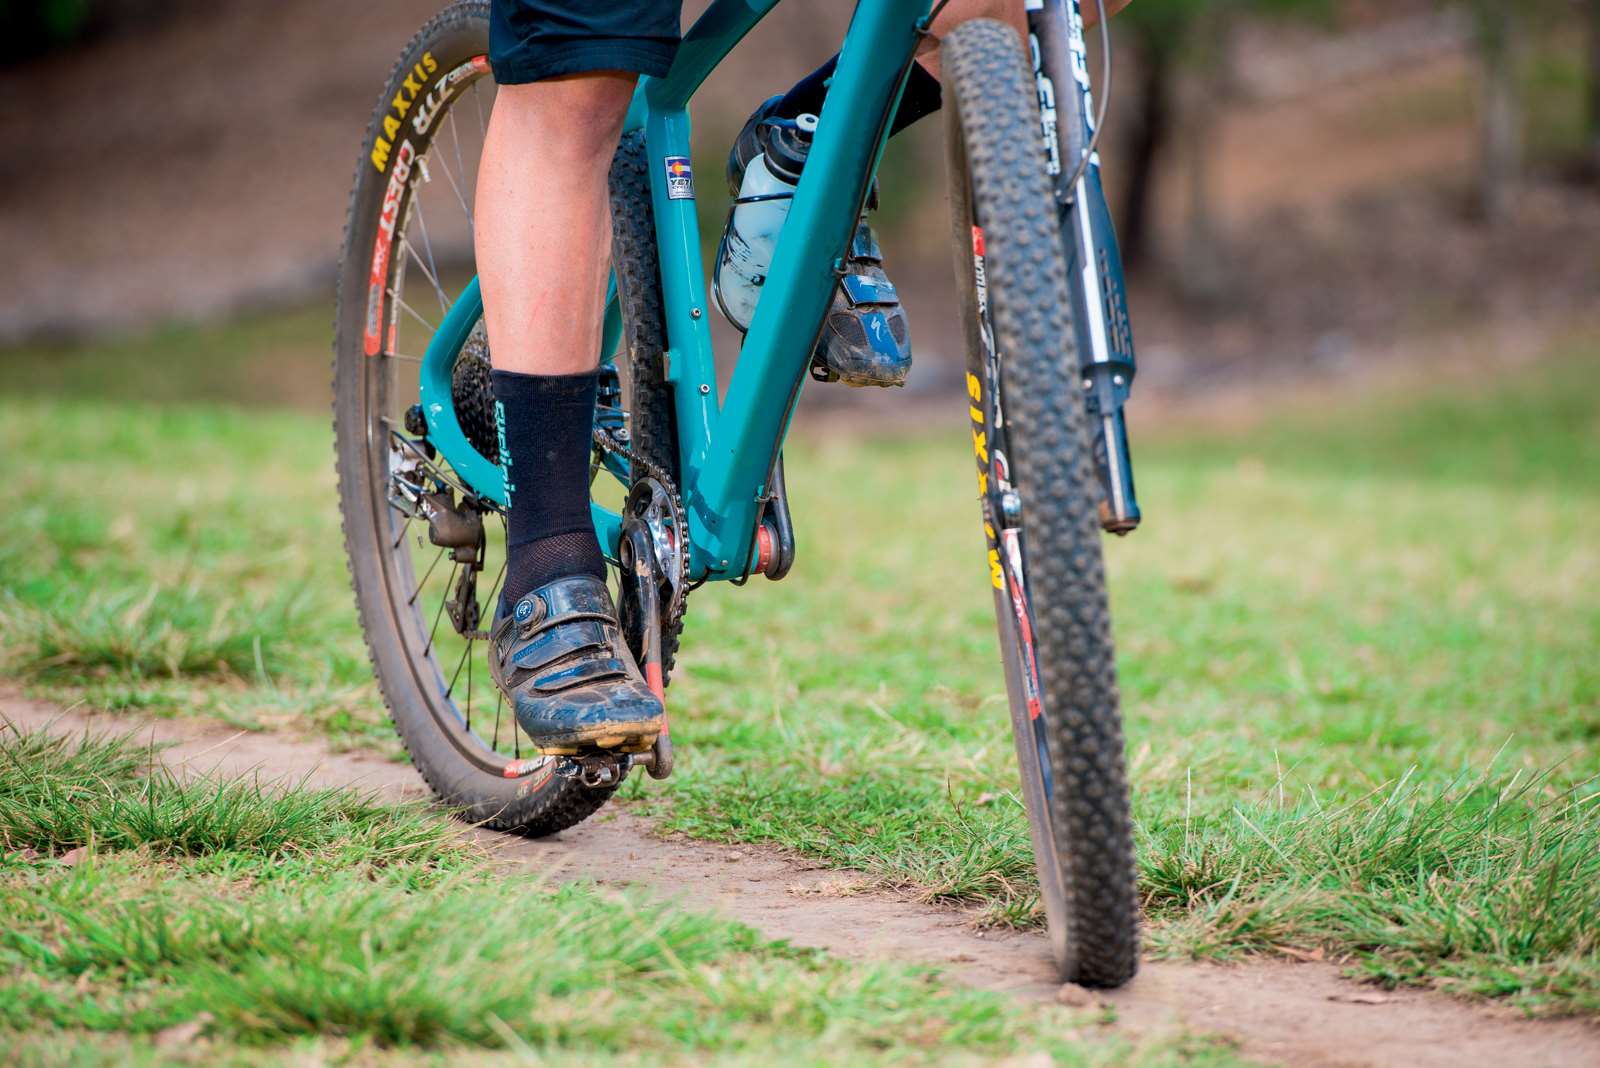
It is super important to identify which foot is your leading foot, as we will use it forwards on most trails, and for many other skills including the various forms of hopping. If you’re not sure which is the leading foot, try the skill both ways and we can guarantee that one will just feel more balanced and comfortable than the other. Once identified, stand up and apply pressure on your leading foot but keep your cranks and feet as close to parallel to the ground as possible.
Note – If attempting on the flat ground you may need to ‘dab’ your brakes for stability, but if you’re doing this facing up an incline, you should not need to use them.
Step 3 – Body Suspension
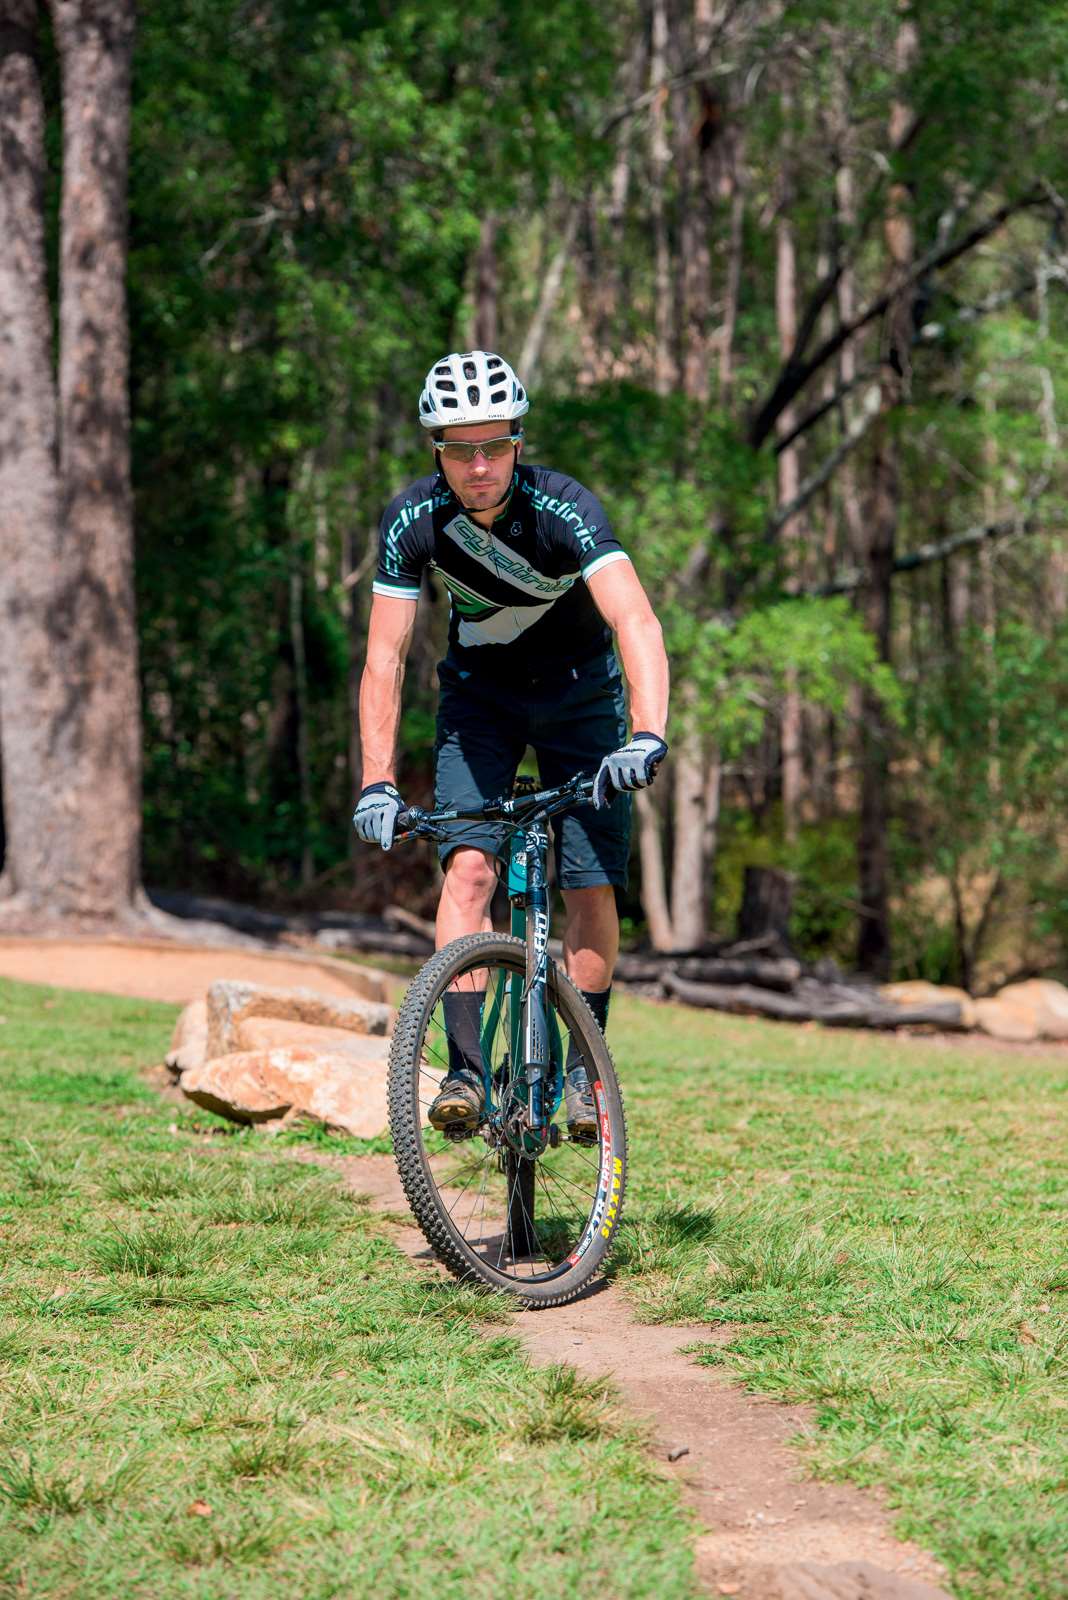
You should be standing fairly tall with your body positioned centrally over the top tube of the bike. Try not to lock your arms or your legs at all, as this effectively hits the ‘body suspension’ lockout switch – which is not so good. ‘Body suspension’ needs to always be ‘on’, or activated as it is crucial to being relaxed on the bike and smooth on the trail. Allow the bike to move beneath you, and keep that pressure on the leading foot to maintain the balance. If your right foot is leading (forwards), you can slightly rotate your front wheel to the right to add a little stability to the trackstand. Vice versa for the Lefties out there.
Step 4 – Vision
It wouldn’t be a skills article without good mention of ‘vision’. Look at least 3 metres ahead and you will feel the difference it makes. Looking down will mostly result with a foot on the ground or a complete loss of control in some cases – which is why we’re on the soft grassy slope after all.
Practice Practice Practice! The more you do this, the better it will become, and the more confidence you will have out on the trail, especially at slow speeds in those tight switchbacks or tricky sections.
SIDE NOTES
– To underline the importance of keeping our feet ‘flat’ and paralleI to the ground, I encourage you to try the trackstand (The wrong way!) without a leading foot – ie – With one of your cranks or pedals pointing towards the ground. You should struggle with this as your body looses its ability to properly ‘suspend’ and effectively keep you nice and balanced. This should underline why we ride mostly ‘feet flat’ on the trail, except for certain techniques with cornering, and obviously when we’re pedaling!
– So you think you’ve got it? Try for 20 seconds at first, then for 1 minute. Next up, take one hand off the bars and try again, maintaining all the same techniques as mentioned previously. Then, you can try and break the world record which ‘stands’ at close to 24hrs!
Words: Aiden Lefmann Photos: Lachlan Ryan

