Photos: Jack Fletcher, Mike Blewitt
Whether you are an XC goat or a gravity gremlin, it’s undeniable that mountain biking in it’s current form is as technical as it has ever been. While we understand the need to prepare our body for the task of undertaking these races, figuring out how and when to fit in skill and trail based technical sessions can be difficult.
This probably doesn’t need to be said for all riders; gravity groms and downhillers in particular are great at playing on their bikes. For riders that are time-crunched, however, their main riding could be commuting and doing a social trail ride with their mates on the weekend, and dedicated skills practice can fall by the wayside. Sometimes cross-country or gravity athletes that enjoy the suffering of watt watching and long miles more than the joy of accomplishing that massive drop can be missing out on key elements of performance by ignoring skill development.
Want more skills? Check out our complete Skills section for top tips.
So let's look at ways to incorporate skill-based trail time into your weekly schedule, to make sure you can be the fastest rider you can be: whether that is racing your mates or lining up between the tape!
Carve out time for jibs
Making time within your weekly training schedule for a dedicated skill development ride can exponentially increase the speed of your skill development. For many of my athletes this means setting the agenda before the ride before getting out there, and either heading out to achieve an improvement in one specific area or adding on 10-20min of dedicated skills park, pump track or carpark skills alongside weekend trail rides with mates.

For those with kids, pump tracks can be a lifesaver. Fun for all ages and a great way to work on your pumping, manualling and jumping skills, a few hours at the pump track can mean you can improve your skills while hanging with the fam: win win!
Pick your focus
It’s one thing to go out and say you’re going to do a session working on skills, but heading out with a goal to ‘practice skills’ but no focus on what and where you will practice them can often lead to just trying to rail each trail as hard as you can. While this is fun, this approach is less effective and can entrench bad habits when compared to spending dedicated time on specific skills.
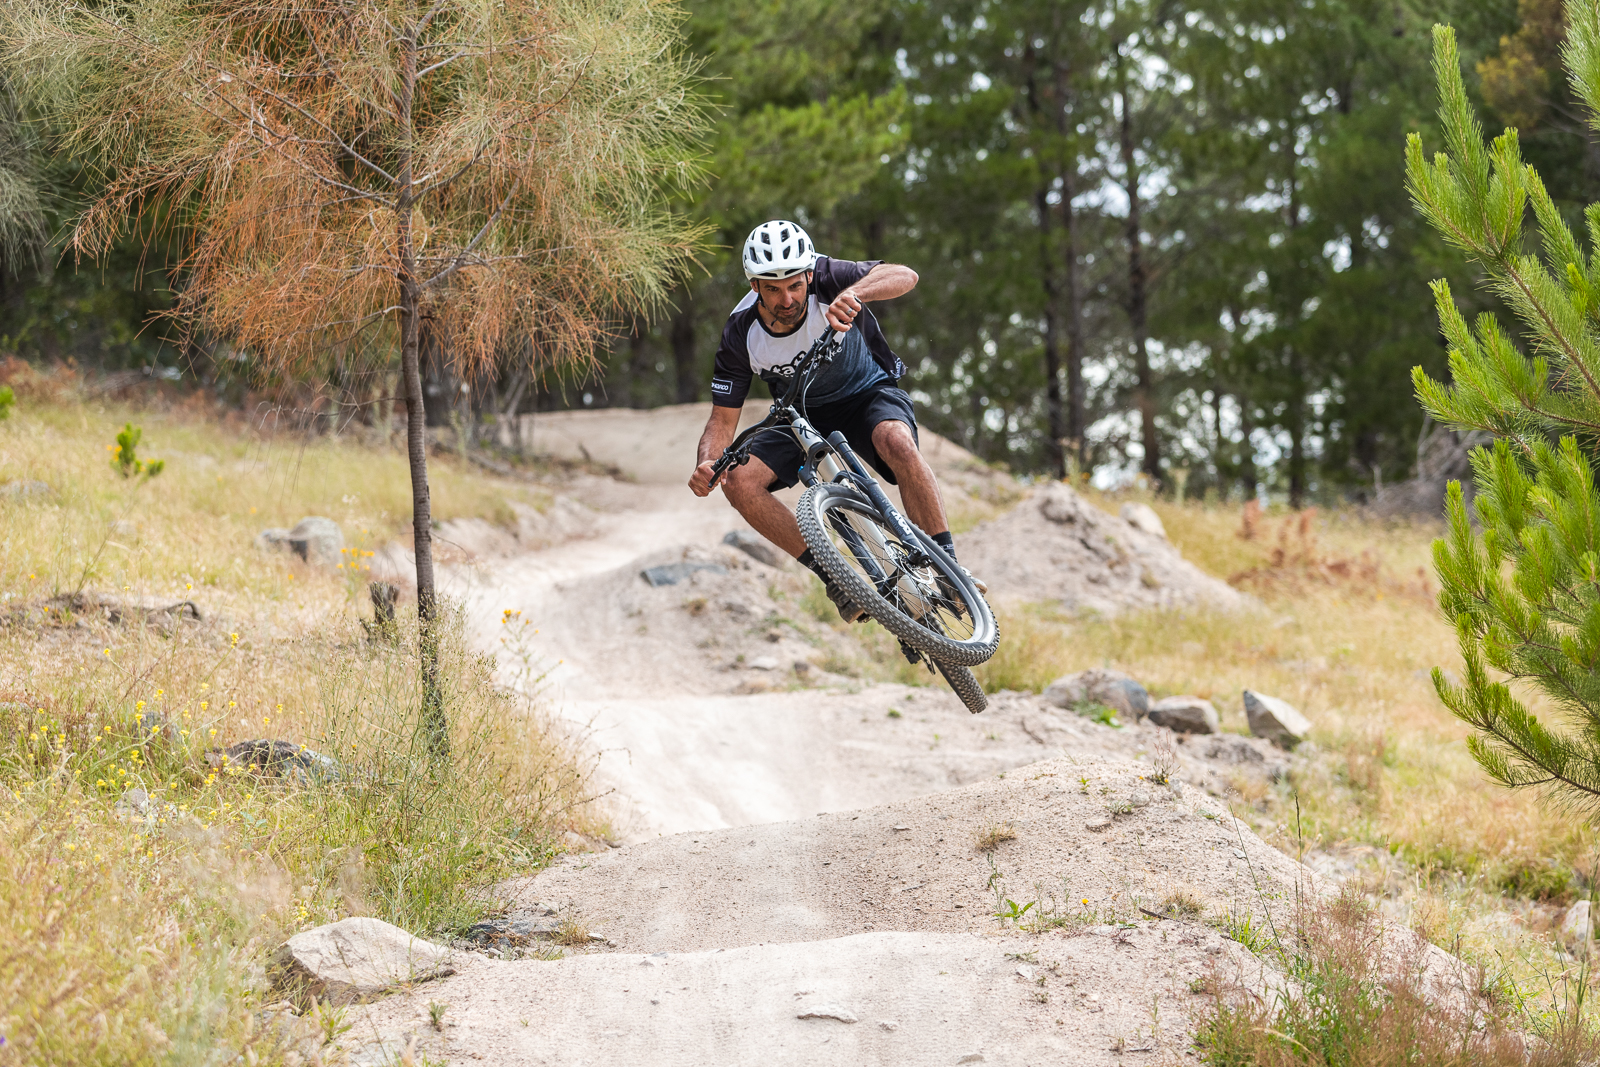
Instead, pick a specific skill to work on (bermed corners, flat corners, rock gardens, step-ups etc) and identify locations where you have options to work on these. Do you keep up with Dave on long straight chundery tech but he drops you like a potato in corners? It may be a sign that turning is a key skill to work on. To start with it may be one berm, then working towards linking corners together with good form and focussing on key components of the skill such as braking to managing entry speed to exit faster, line choice and set up, body position and feet position and vision. From here, try implementing these cornering skills on a whole trail. Don’t stress if you revert back to old habits, or muck up a few entries to corners: the golden rule of skill development is progress! If you manage to nail 4 corners out of the 6 key moments on a trail but before you were riding all 6 really poorly, that’s a huge improvement.
If you’re ready to do some skills training, but less sure of what optimal execution of a skill should be, check out reputable skill channels online or even better: get professional feedback from a mountain bike skills coach.
Use video feedback
Sometimes what we are doing and what we feel like we are doing is vastly different. Think about that time your friend made a video of you doing an epic drop and you look back on it and realised that while it felt huge it was actually 50cm tall. Likewise, our perception of what our body is doing can be wildly inaccurate.
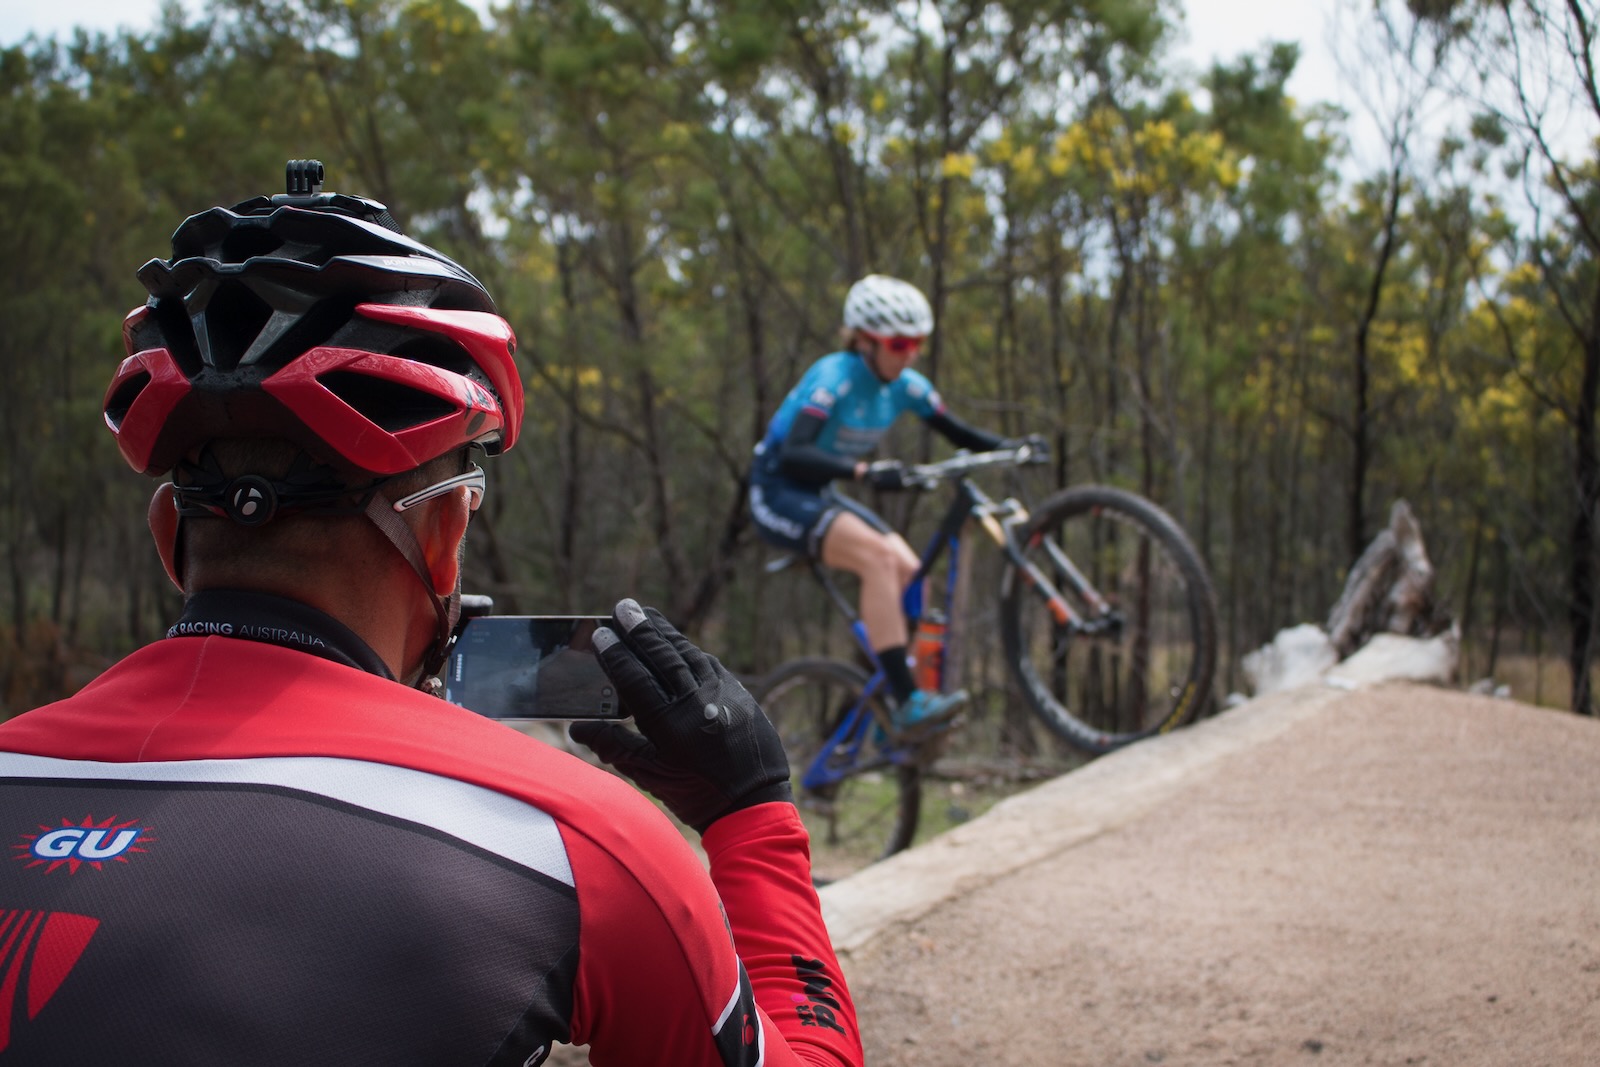
Enter the smartphone. We all have an amazing skill feedback tool that we take on every ride. Simply set up your smartphone using a very high-tech set up of rocks, logs and sticks, hit record and do your thing. Review the video, fix any glaringly obvious errors thinking critically about what you’re trying to achieve, and then try again. Take another video and compare, did you improve? What can you take away from the process?
The beauty of videography is that you have a time stamped record of your progress, and when you get over self consciousness and the awkwardness of watching yourself on video, it’s amazing to see the process of developing skill over months or years. Make this easier by riding with a compliant friend or purchasing a cheap bendy tripod for extra camera stability.
Implement relevant technology
We have had watts, heart rate, cadence and a range of other sweet data for cycling fitness, but we haven’t had much other than recording times (thanks Strava!) to track skill development. The problem with Strava is that you can have marginal improvements with bad technique if you just get really brave or really fit.
Enter the BrakeAce, a brake power meter designed across the ditch in New Zealand that allows you to track your braking activity on a trail or portion of trail. As we know the key job of brakes is to slow you down, limiting braking and using brakes more effectively leads to substantial gains in trail speed.
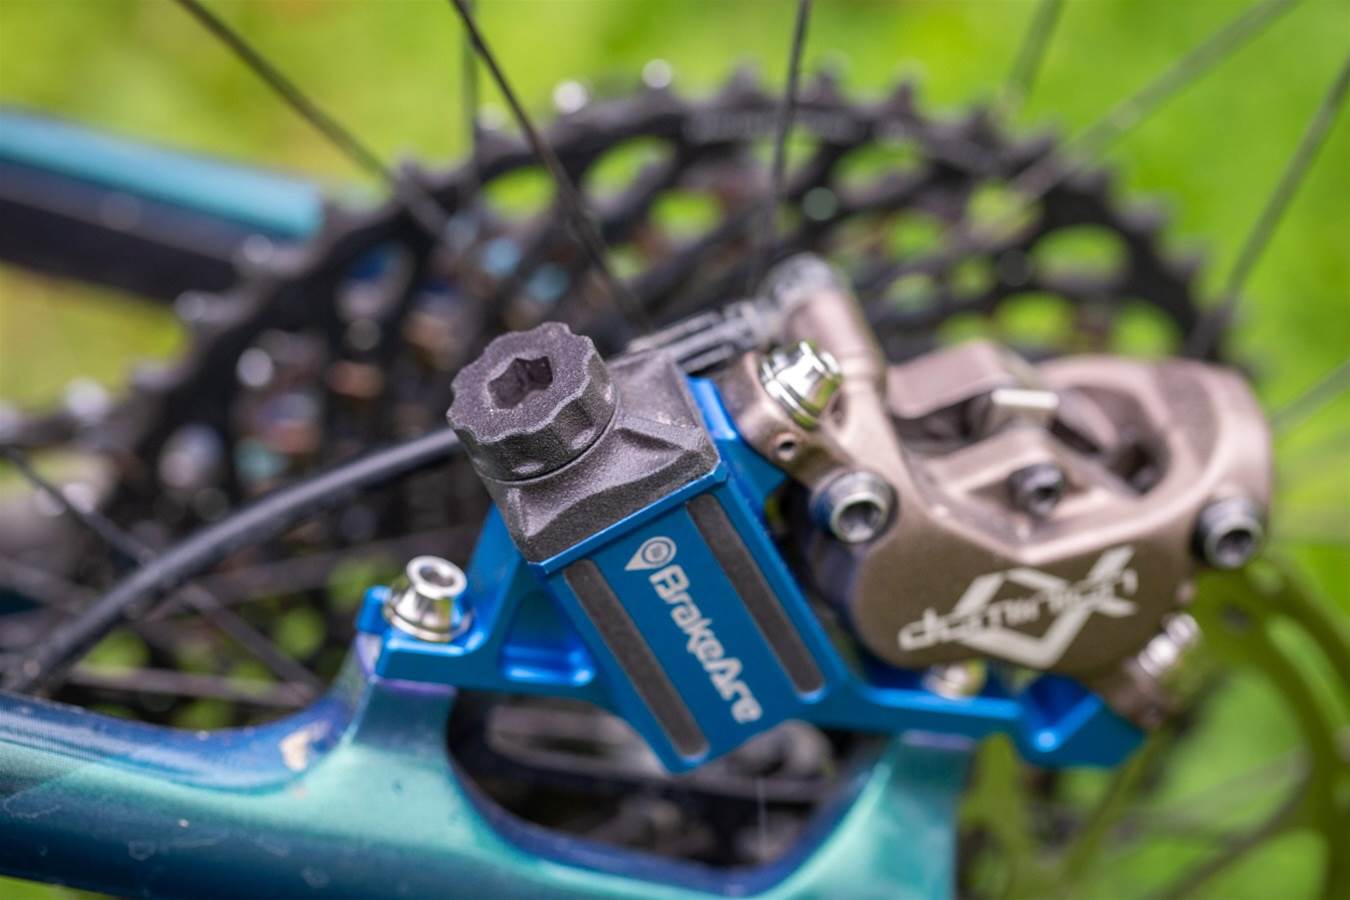
Having used the Brake Ace for a few months, it was an amazing tool that assessed the intensity and duration of braking events, identified key opportunities for growth, allowing you to try better braking behaviours and see how that impacts overall trail time. Check out my BrakeAce review online.
For those of you without access to extra tech, there is always Strava and video, but don’t forget about all the other technology we know and love: tubeless tyres, tyre inserts, suspension settings (and ShockWiz!), modifiable geometry: these are all aspects of your bike build that can add or detract from trail speed. Keeping note of your default settings then, for example, changing up a rebound click or two and doing a run, or changing your tyre pressure 2psi (one at a time) is key in understanding your optimal settings for traction and speed on the trail.
FUN SKILL SESSIONS TO TRY OUT
Rollie Runs
Key skills: Trail efficiency by focusing on pumping, more effective braking and line choice
Why? Being efficient is so important in all mountain bike disciplines: when we can use the trail effectively for free speed we can often generate far more speed than merely mashing on the pedals then braking hard and inefficiently. Think about how much better you will ride at the end of a long enduro if you have saved the legs and reduced all that pedal mashing.
-Head to the top off the trail that you think you could MAYBE roll all the way down without pedalling.
-Roll down the trail, focusing on maintaining trail speed by pumping the trail, braking less and opening up corners/choosing faster lines: without pedalling.
-If you come to a near stop on a flat or mild climb, count the number of pedal strokes you need to get through the trail and assess why that was: could you manage more speed into that section?
-Try it again: can you get through it without pedalling or at least with fewer pedals?
Simulated course practice
Key skills: Line choice, synthesising a run in a short period of time
Why? When we get to events or even new trails, we often have to absorb a lot of new information quickly. By practicing the process of breaking a trail down into key parts, we can learn about what parts will bring us speed, what lines we need to navigate the trails quickly and safely and how to best use our time on the trail.
Course recon is best kept for trail networks you haven’t ridden or are less familiar with, but you can implement this on your local trails by thinking critically about the line choices and decisions you automatically make.
-Head to a new trail, and give yourself a ~45min time limit (ie this should be for one long gravity run or key features in an XC lap).
-Stop and look at key features, taking note of where they’re located (ie: entrance and exit: looking for free speed) and what line options are available, and what is comfortable for you.
-On each feature, commit to trying a line within 5min, then move on: time is of the essence.
-If possible, attempt multiple lines.
-Continue throughout the lap/descent until you have completed the run, then complete a lap with selected lines.
