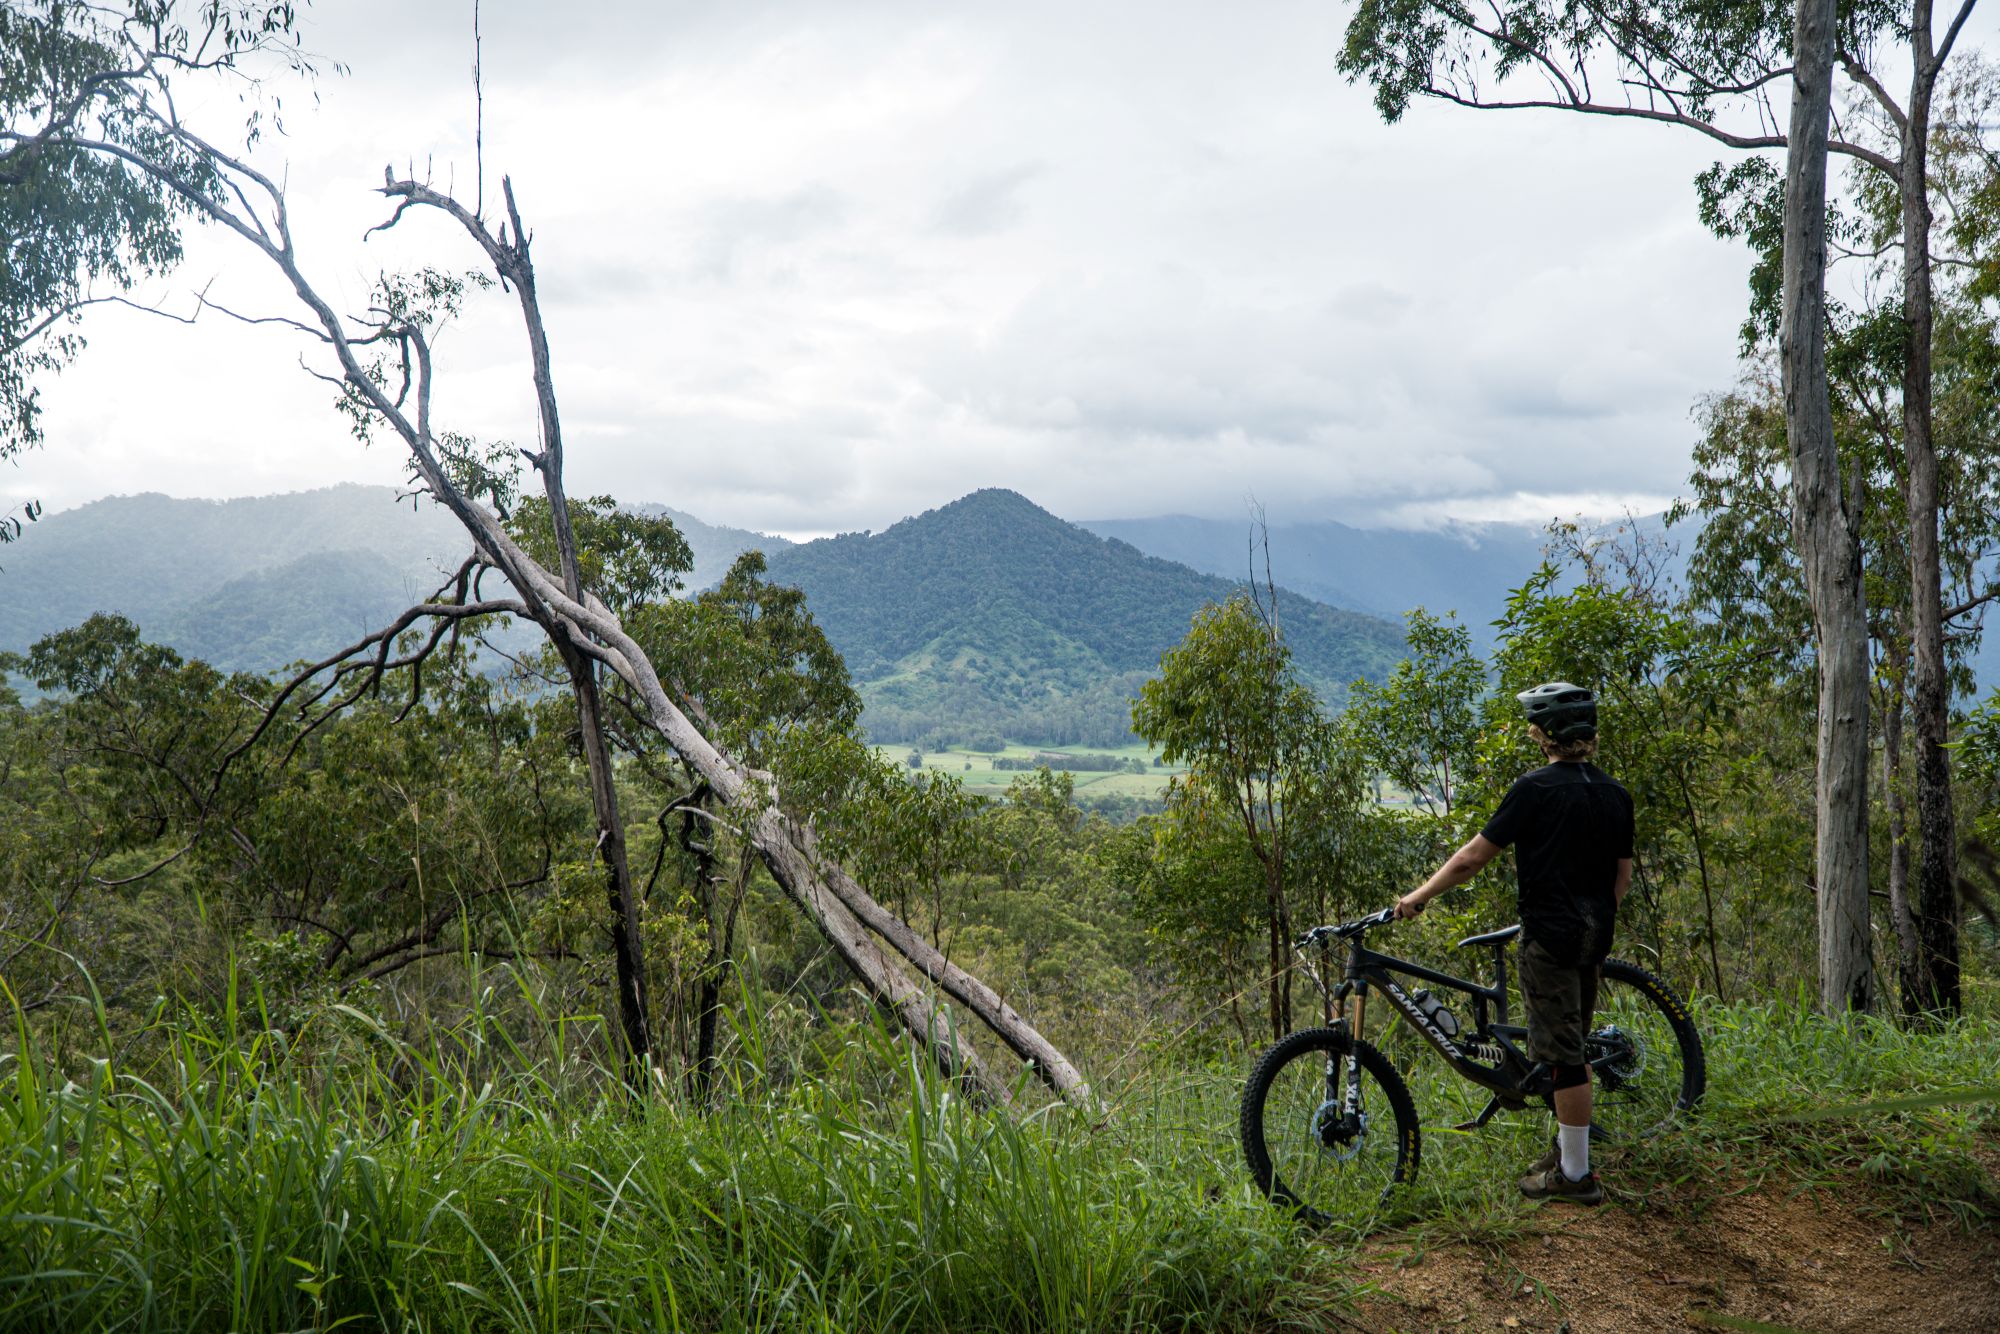
Long travel suspension setup - the basics
Struggling with your suspension setup? Maybe it's time to go back to basics.
Words: Jared Rando Photos: Jonathan Renton
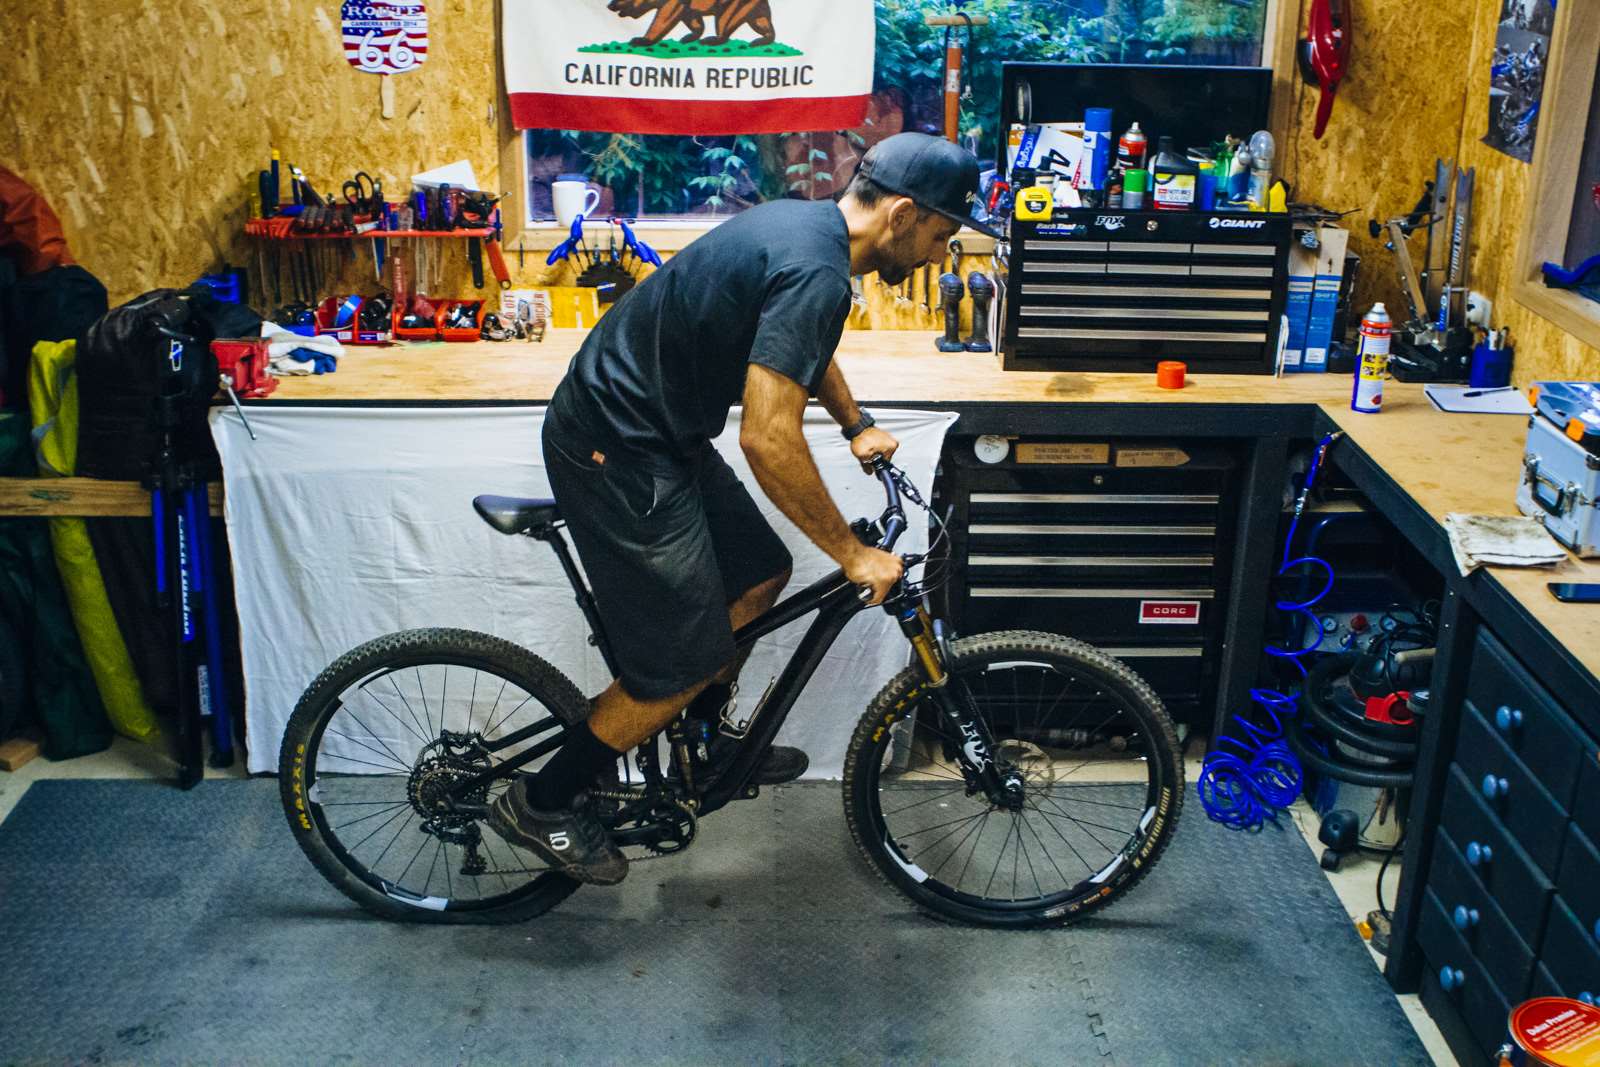
Setting up a full suspension bike can be a daunting exercise – especially for novices. With the average bike these days having such a huge range of adjustments, finding the sweet spot which will work for you and your needs is a real challenge. Getting it right takes time and practice learning about what the settings do and how they affect every aspect of your ride.
There’s plenty of advice when it comes to bike setup. This is a process I’ve come to use over the years which works well for me and helps me find a good starting point for a new bike. At the end of the day, much like a bike fit, there’s no right or wrong way – just a way. The most important aspect to understand is that it takes time to get it right and the more you can learn, the better off you’ll be in the long run. Here’s how to go about it.
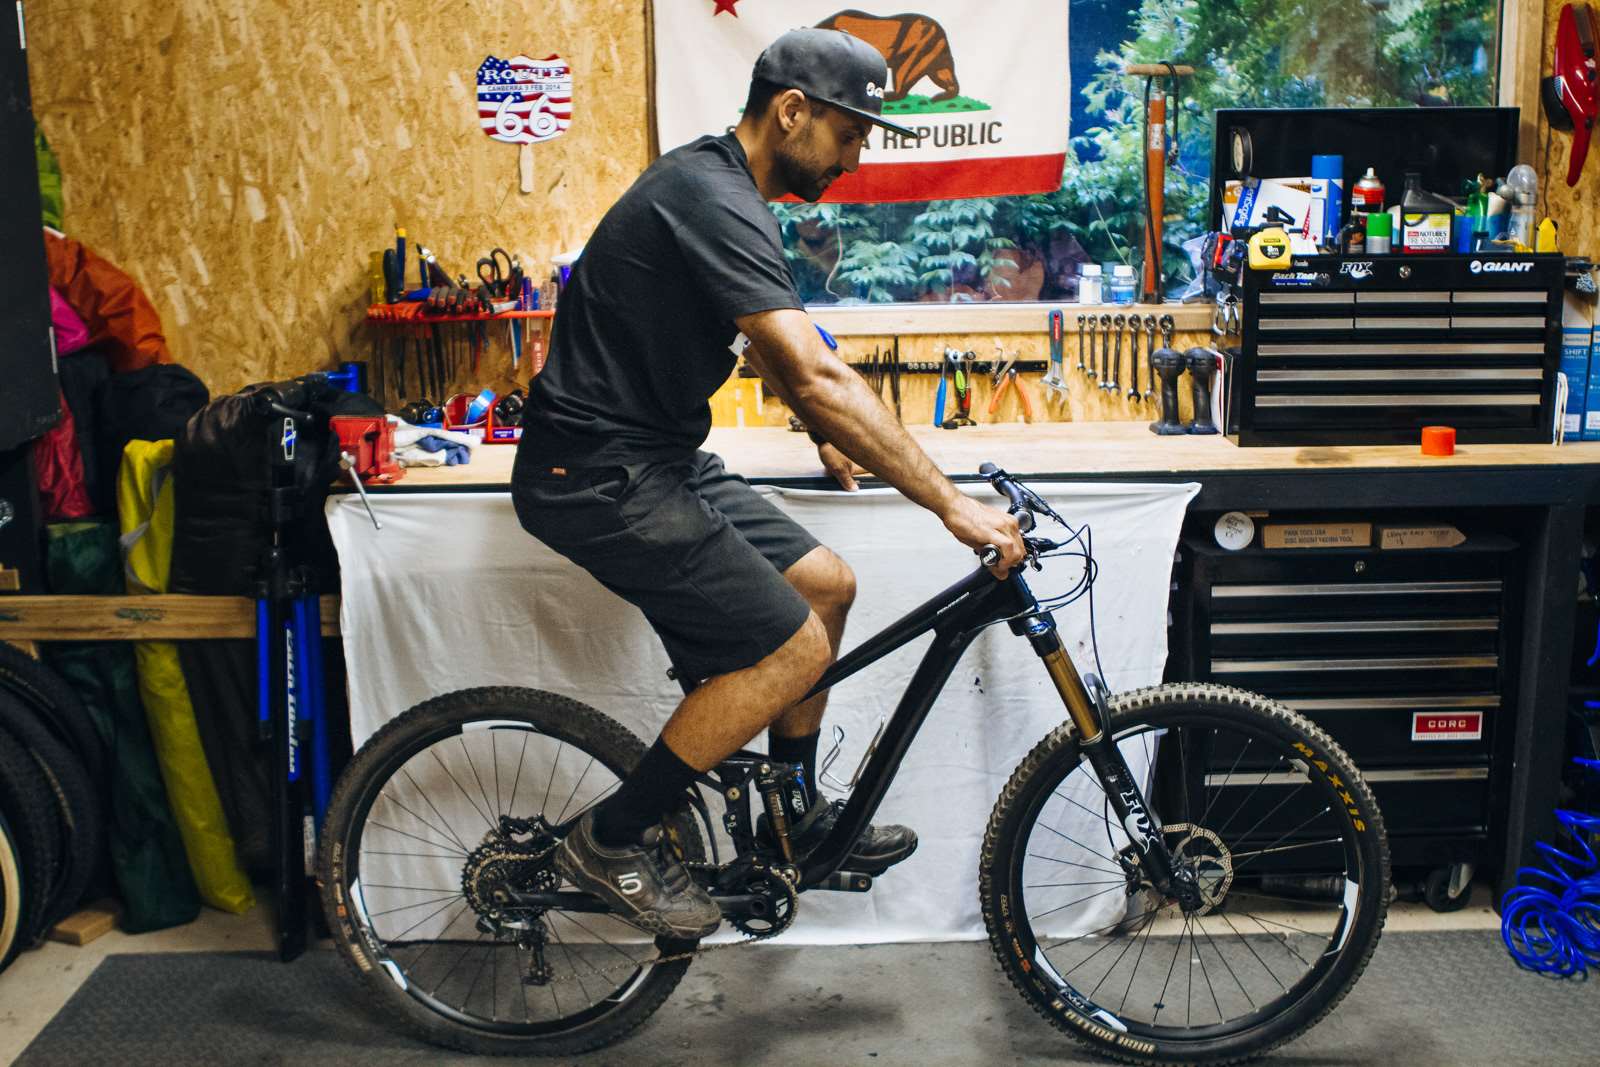
Step 1- Set your rear sag
I prefer to set my rear sag whilst seated as it will give the most consistent results. The process is pretty simple – push the O ring up, sit down gently, get off and take note of how far down the O ring is. You can work off a percentage setting of the shock stroke or simply a measurement – I prefer the latter and record my settings as a measurement in millimetres. What’s right? Well that depends on a lot but as a guide, 20% – 30% of your shock stroke will be a good starting point. I’ll also start with all compression settings backed off for consistency.
Step 2- Set your rebound and compression settings
I always set my rebound first and then move on to compression from there. Rebound is generally done by feel in the first instance and if you’re a newbie, seeking some hands on advice to find a good starting point is a good idea. You don’t want a pogo stick (no rebound damping), but at the same time, it shouldn’t be sluggish (too much rebound damping).
Compression settings vary a lot from shock to shock and the trend seems to be towards pre-set settings such as the Fox CTD system which makes things much easier. Have a good read through the literature relating to your shock to find a starting point if need be and don’t be afraid to seek specific advice for your bike if you begin to feel lost. If in doubt, start off with a mid to light setting and go from there.
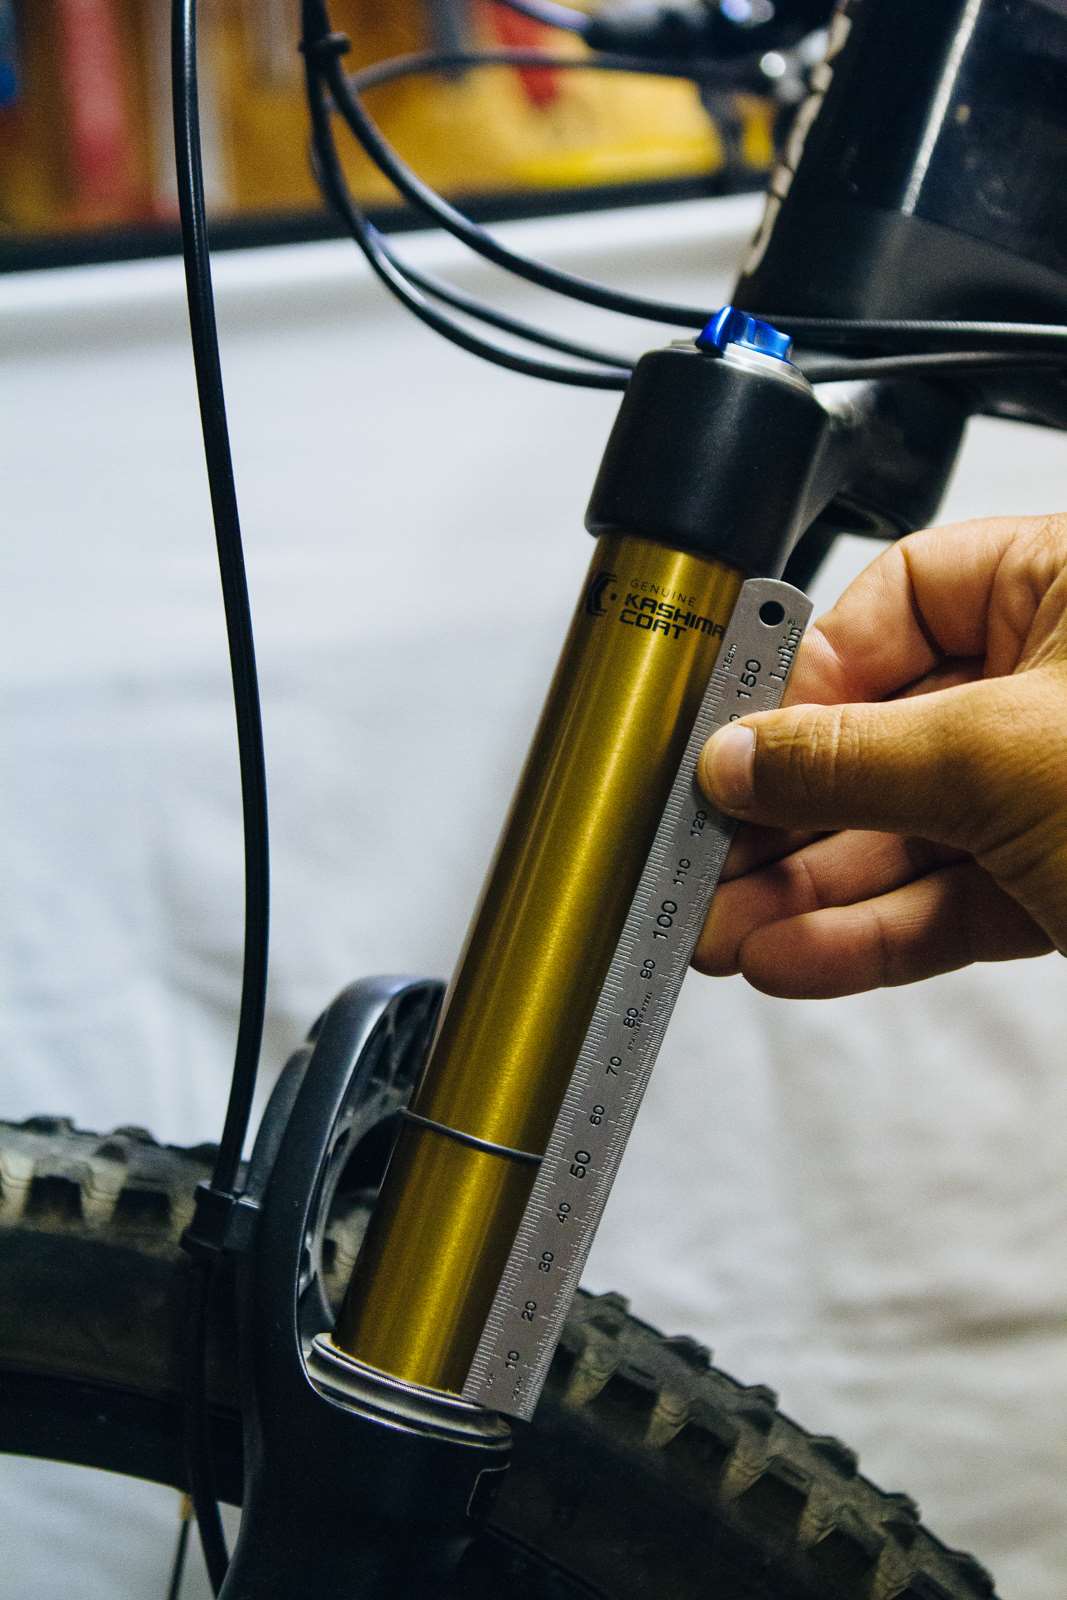
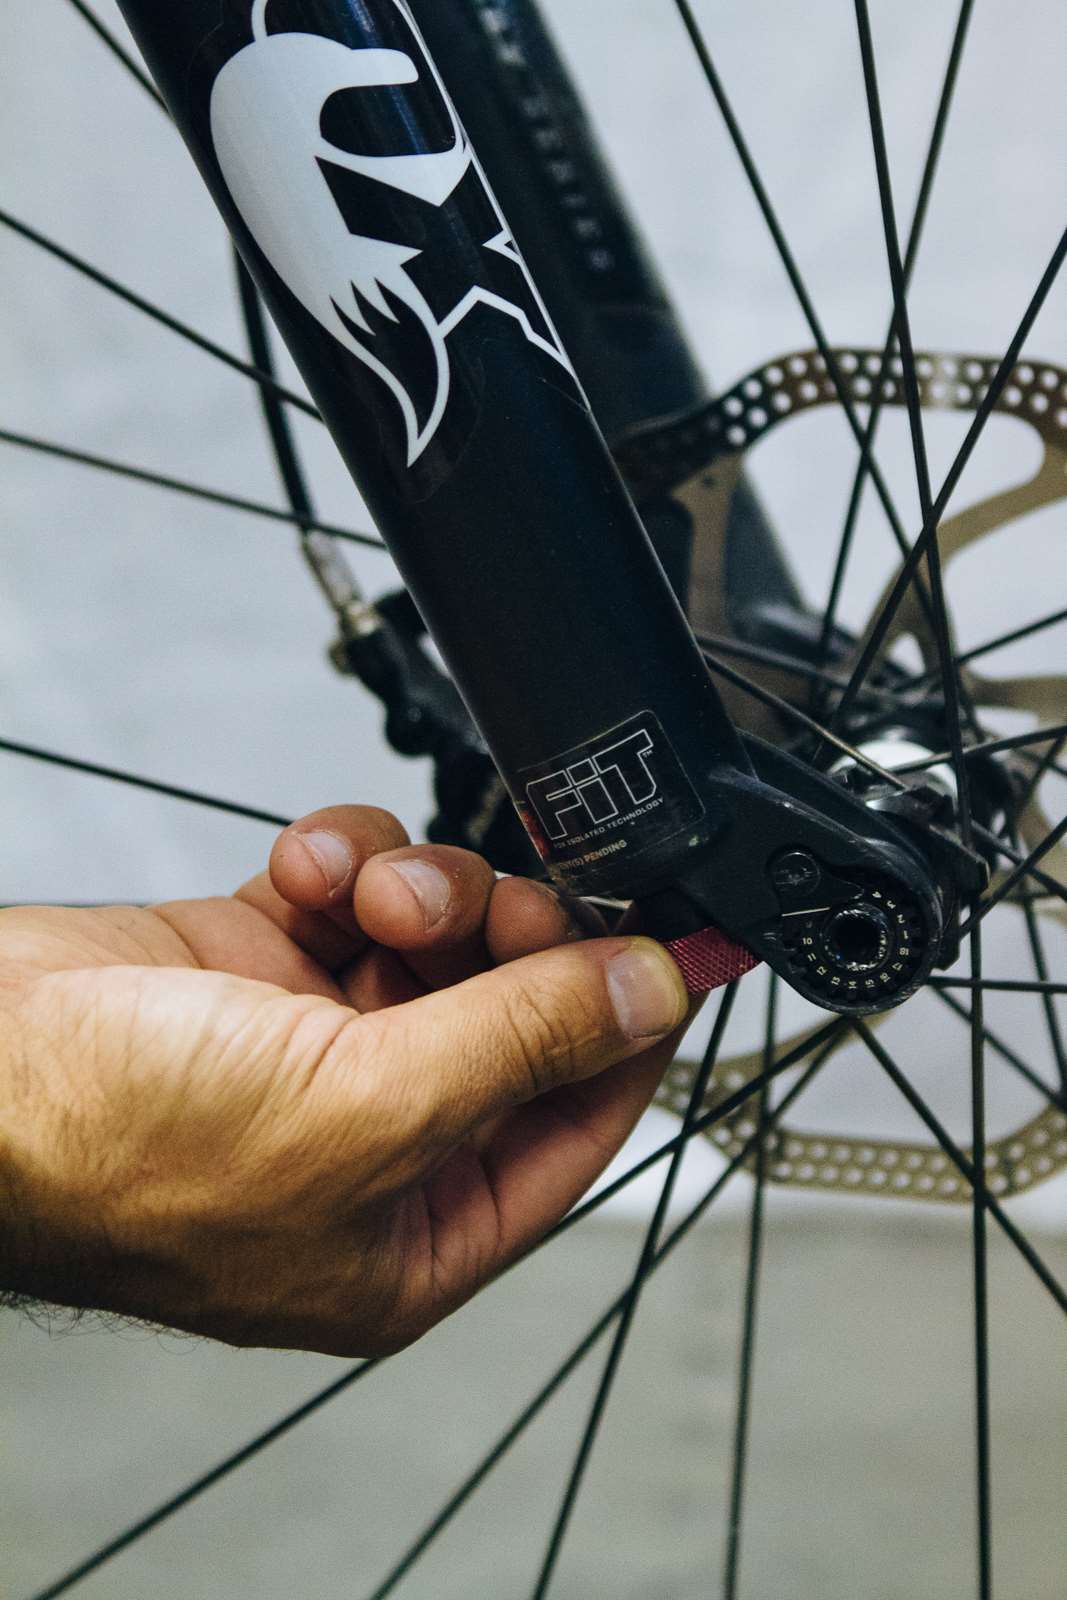
Step 3- Set your fork sag/pressure
Once you have a starting point for your rear shock, it’s time to move on to your forks. I prefer to work on balancing my forks with my shock rather than working off a sag measurement. To do this I’ll bounce on the bike with my weight centred and take note of the O ring on my shock and forks when done. What I’m looking for is even movement out of the front and rear. Take note, adjust the pressure if needed and try again. It can take some time and going for a quick spin on the street with a shock pump in your pocket is sometimes what it takes to find the right point. Record the pressure setting when you have found the right spot.
Step 4- Adjust your fork’s rebound and compression settings
Follow the same process as the rear shock for your forks rebound and compression. Balance is also critically important at this point and tuning your fork to react in a similar manner to your rear shock is key. Once again, some even and centred bounces on the bike are a good way to go. I tend to set the rebound in my forks just slightly quicker than the rear shock to give the bike a “nose up” bias when hitting jumps and the rough stuff- but that’s my preference and won’t feel right for everyone.

Step 5- The car park test
By this point you’re pretty much good to go. From here on it's time for a quick spin and some final tweaks until the bike feels balanced. Balance is absolutely critical and the longer the travel, the more important it becomes. It’s also extremely important to remember to keep your tyre pressures consistent when working on your shock settings. Don’t be afraid to try some different things to see what settings do. Turn them all the way on and have a bounce, wind them all the way out and have a bounce. It’s a fantastic way to learn about your various settings.

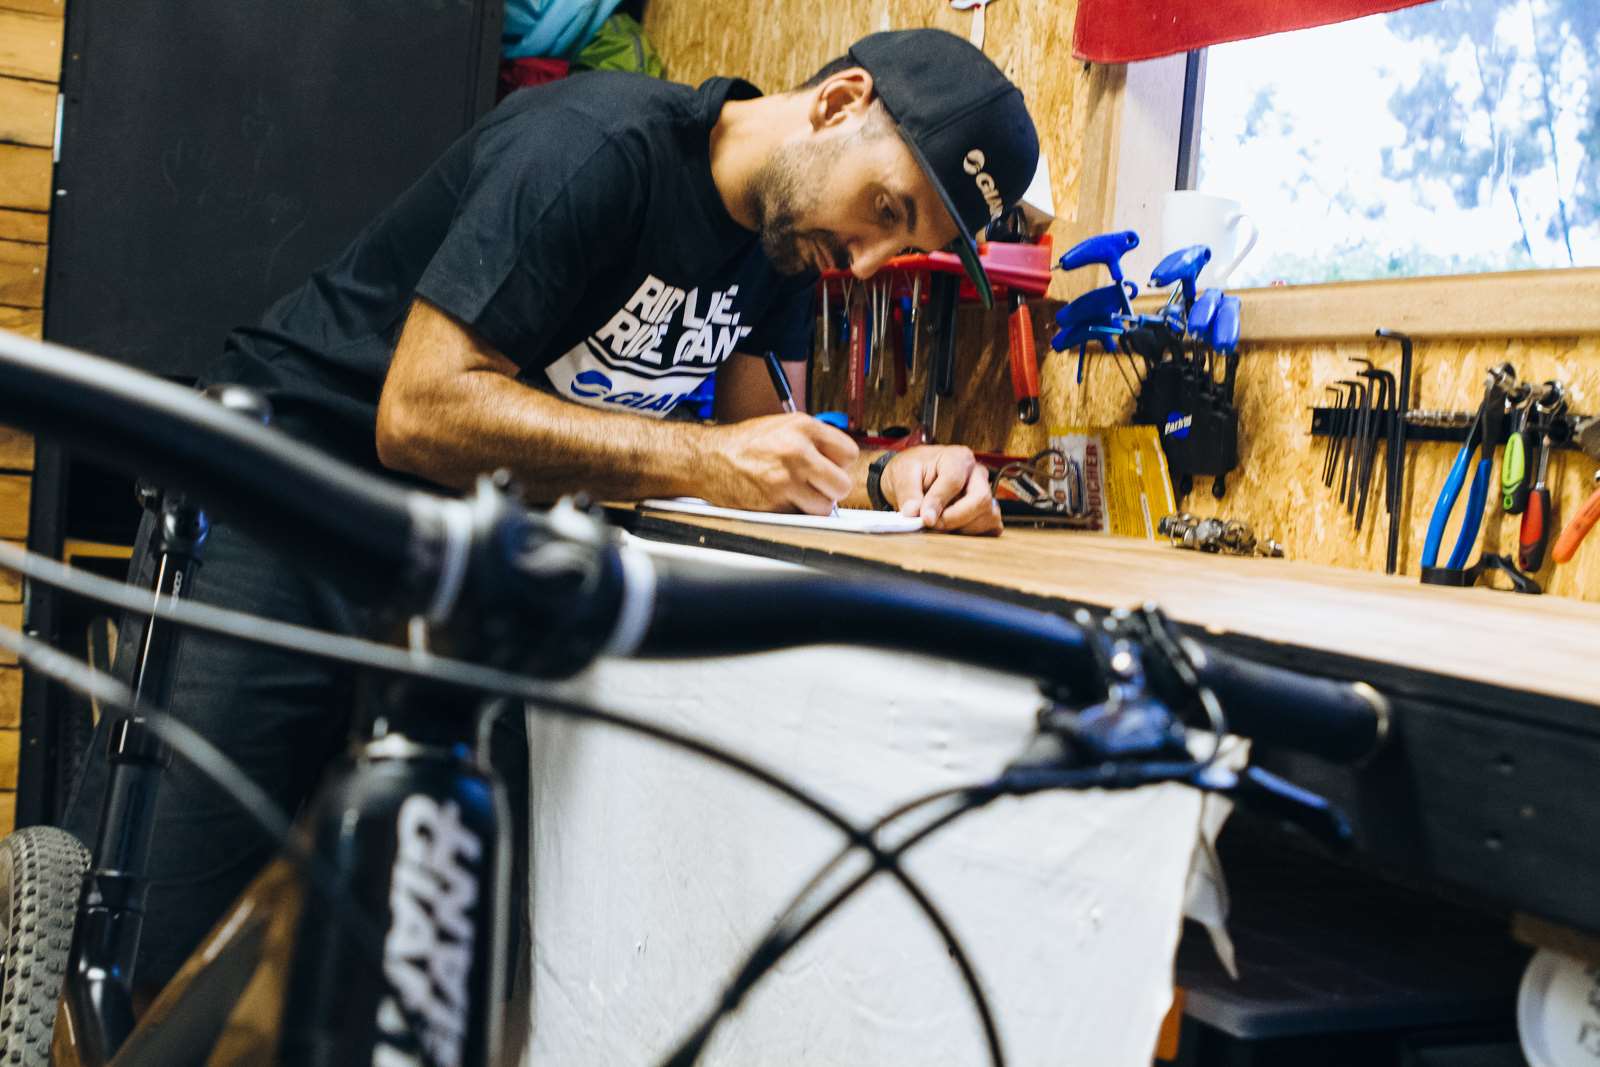
Step 6- Keep records
Keeping records is really important when working out what settings will work for you. Use the above guide to find a “base setting” which you can always revert to if you get a bit lost further down the track. Don’t forget to record your tyre pressures as well and any other notable settings on your bike if they exist. From this point forward, it’s a matter of trial and error until you find the ultimate setting for your local trails, conditions and riding styles and with everything you learn through the process, it should allow you to make the right changes when conditions change.