Say goodbye to flat tyres
Flat tyres can plague mountain bikers, and make a ride terrible. Here are some options to help you ride flat free!
Ok – so we can't make flat tyres completely disappear. But by really nailing your tubeless setup and following some of our tips, flat tyres can be far less frequent, keeping you on your bike and on the trails more often.
Here at AMB we think the best way to prevent flat tyres is to take tubes out of the equation. This isn't everyone's choice but it works for us
First up – don't miss the tips from Summit Cycles Sydney about tubeless setup – they have decades of experience and know what works, what doesn't, and what some of us always mess up.
Are your rims tubeless compatible?
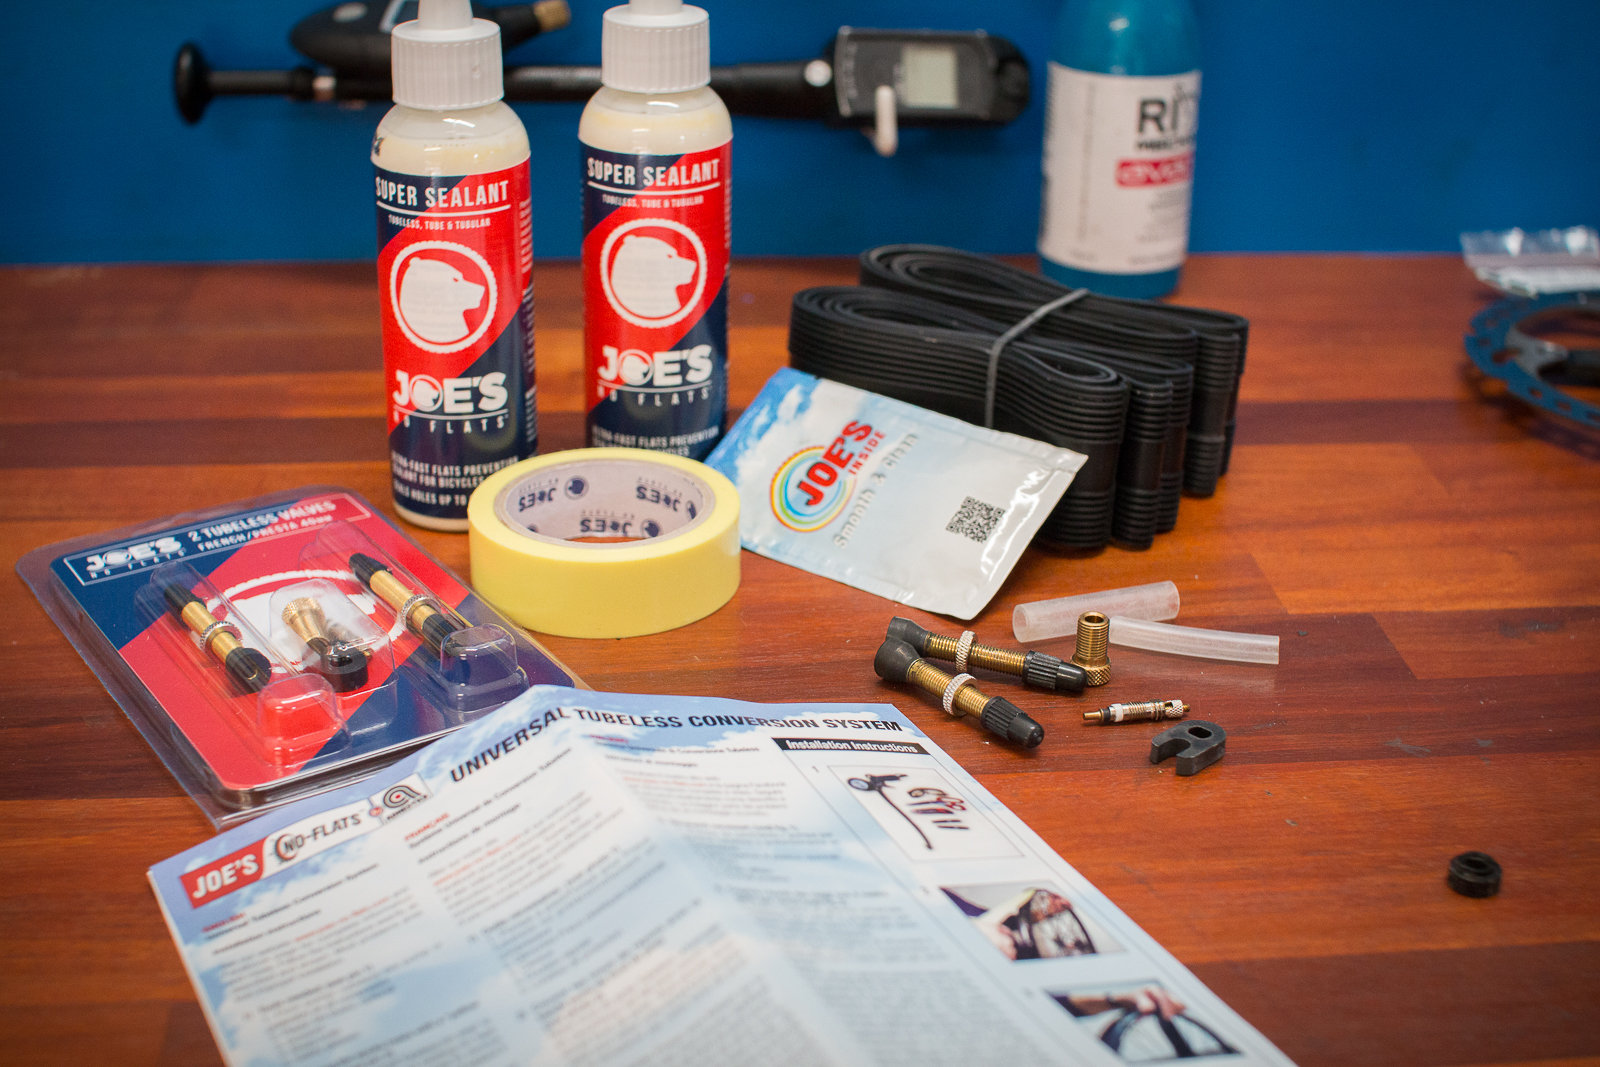
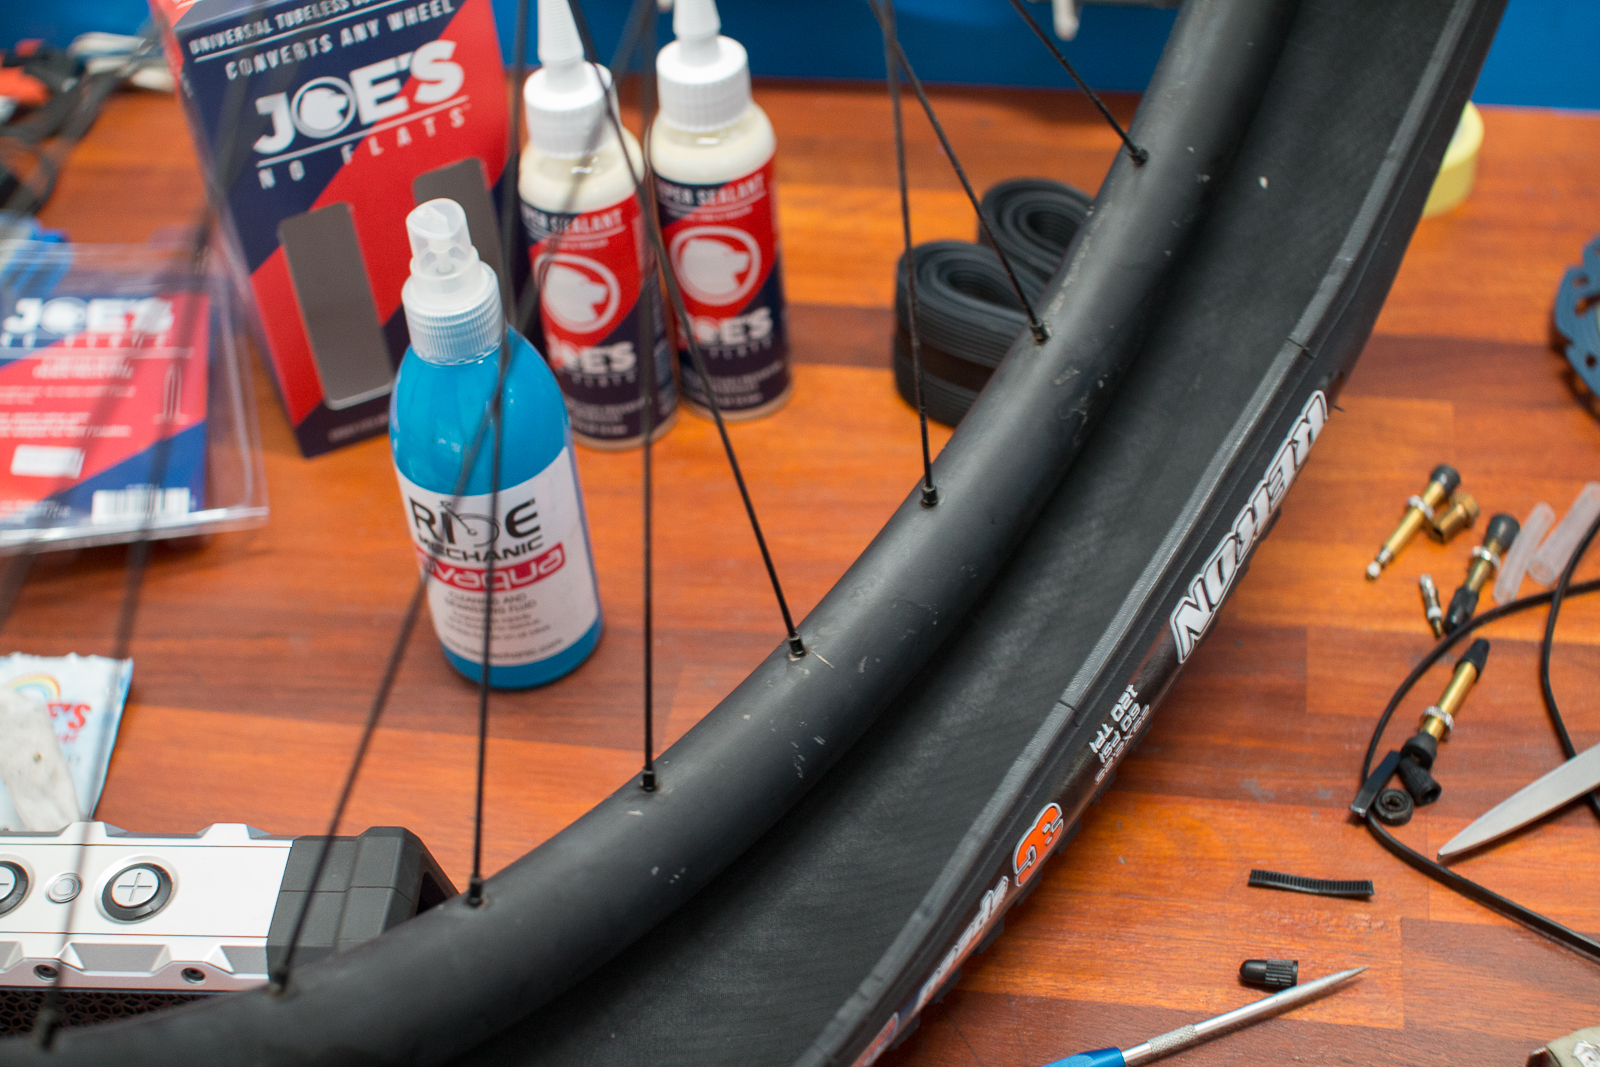
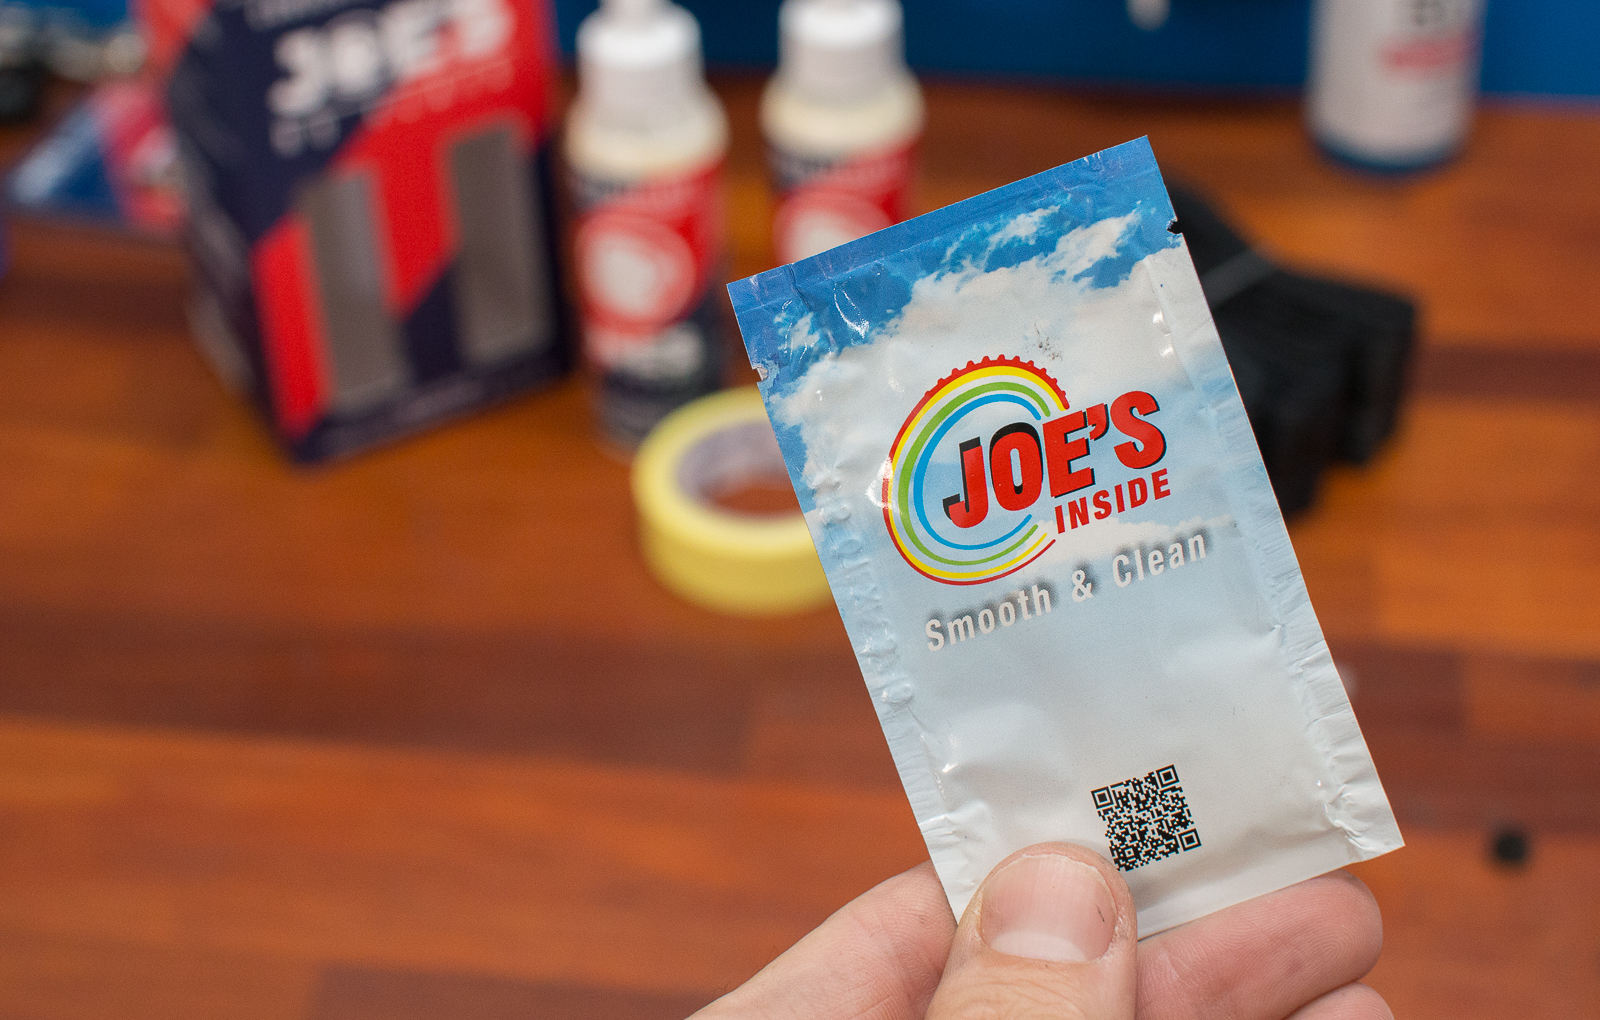
No seriously, are they? Not every rim seals easily, some require rubber rim strips. Joes No Flats do a Universal Tubeless Kit ($64.95) that has yellow tape to cover spoke holes, then rubber rim strips to trim to size. Along with sealant, valves, a spare valve core, valve remover, presta to schrader adaptor, some bead lubricant and instructions – this kit should let you set up just about any wheel.
What condition is your rim tape in?
The rim tape that covers your spoke holes needs to be airtight. If you see sealant leaking out around your valve – the tape probably has a problem. Tape can get damaged when fitting or removing a tyre, or when sealant starts to get under the edges and it lifts. Some tape is so thin it's easy to damage it, even with a tyre lever.
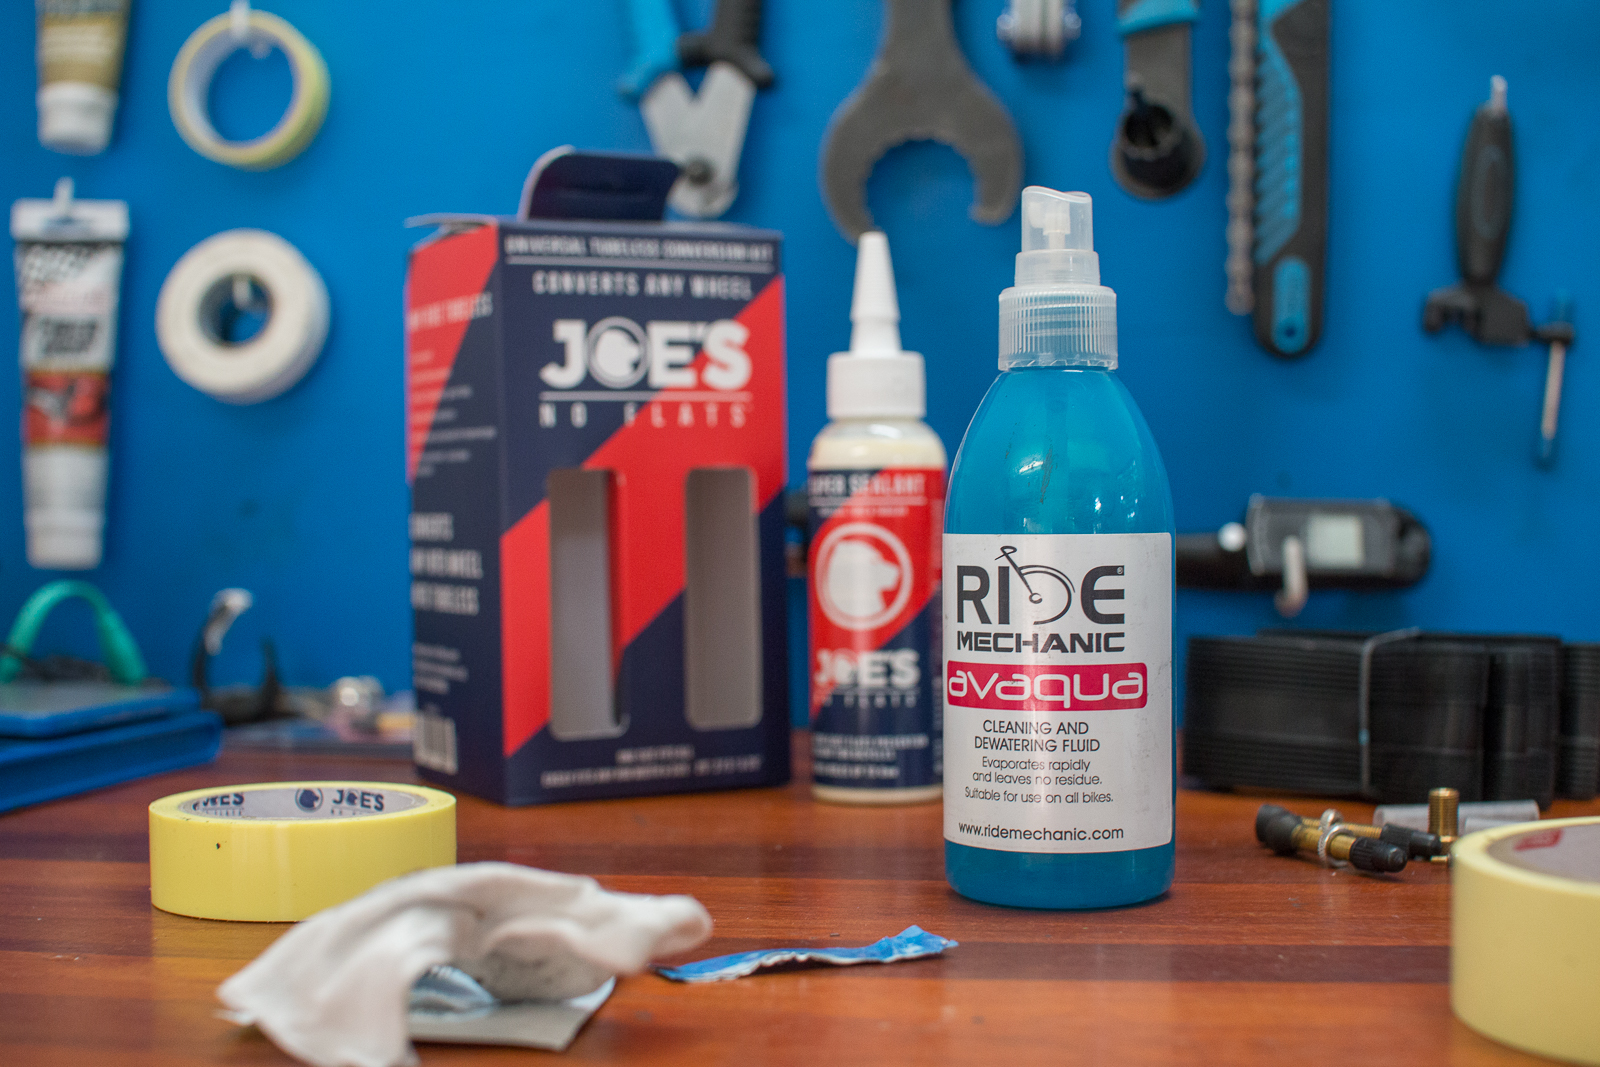
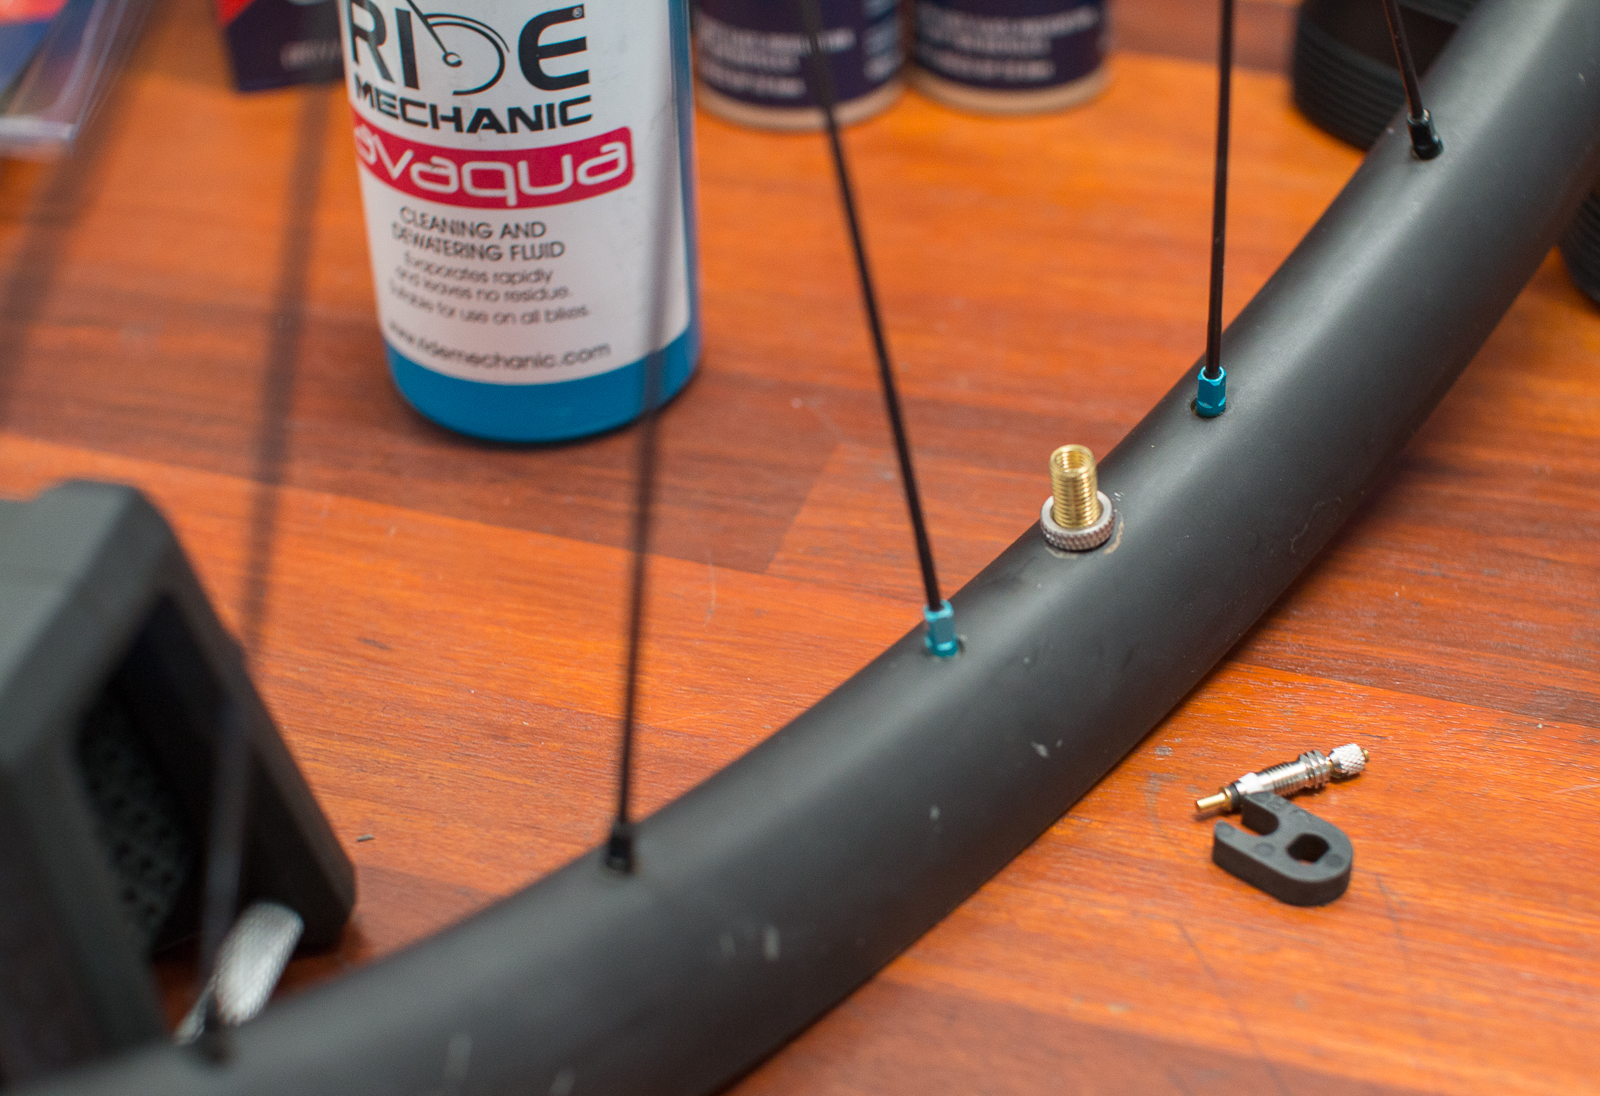
Make sure the rim is completely clean and dry. We recommend something like Ride Mechanic Avaqua. It's a good cleaner, but it's an alcohol based one that dries with no residue. Ask your local bike shop to get some in if they don't have it.
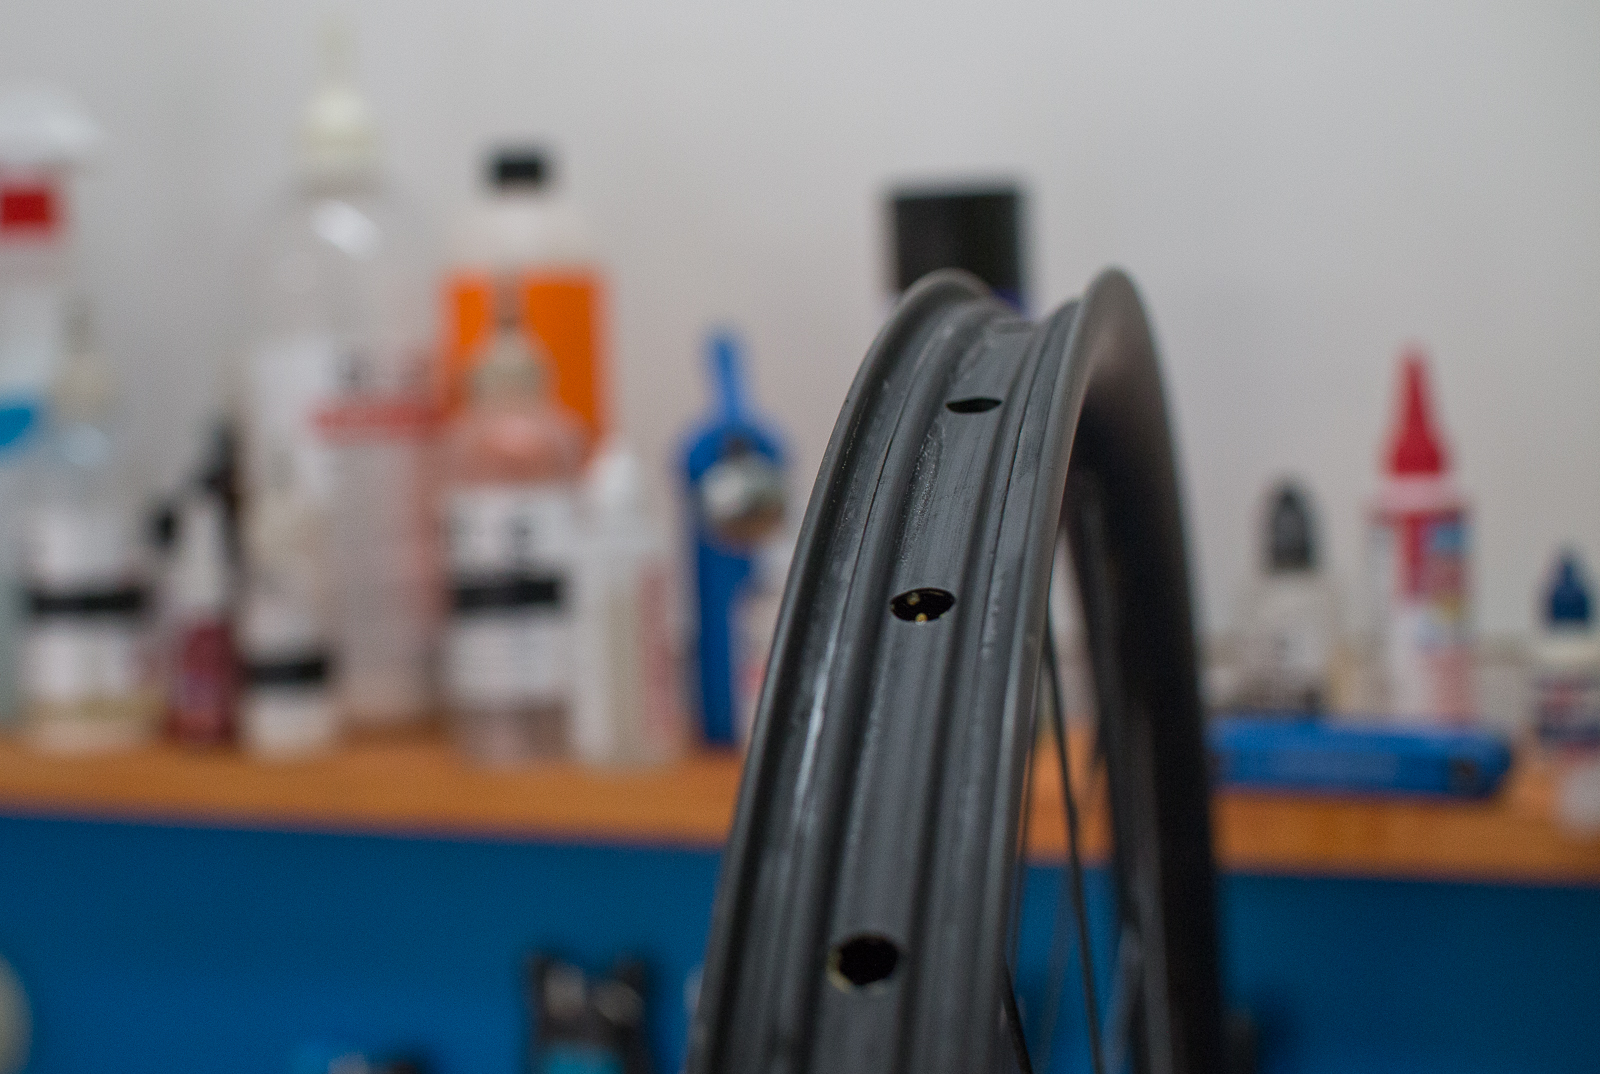
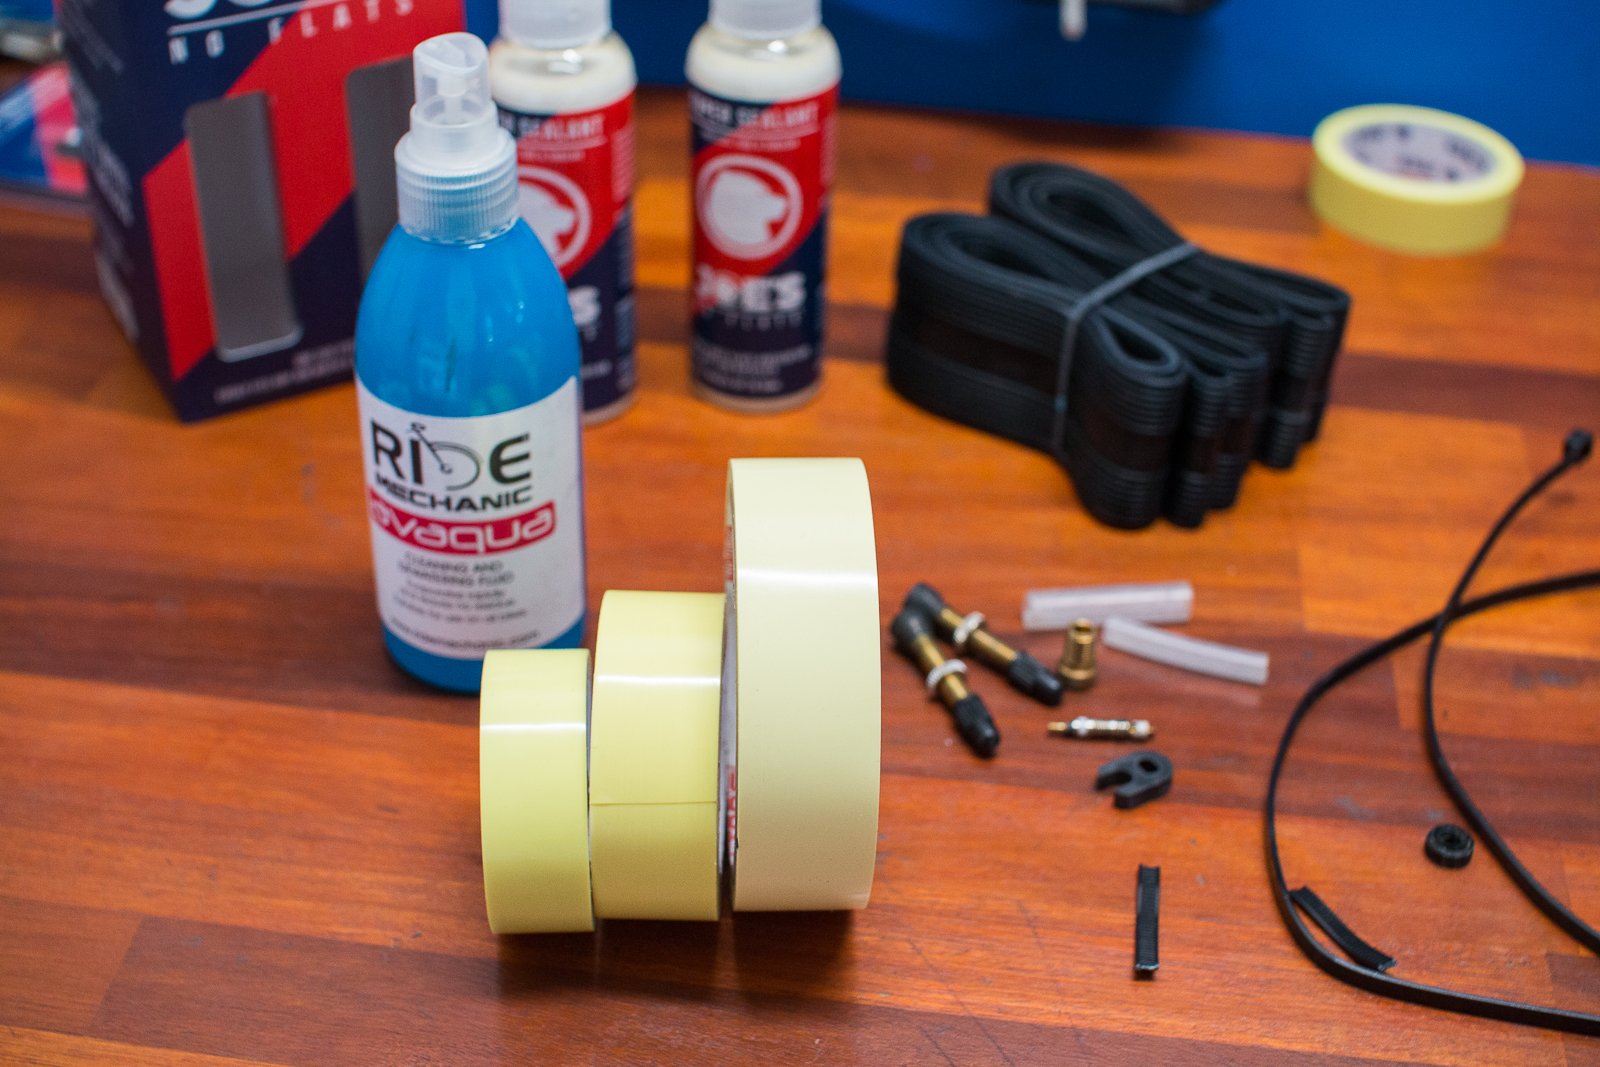
Now it's time to tape the rim again. Do be aware that there are various widths, and match the width of your time tape to the width of the inside of your rim. You want the tape to go right to the edge.
Start about 10cm from the valve hole, and continue about 10cm past it when you're done.
This can be harder than it looks, as most tapes like this are rigid and don't stretch to fit. You really need to put a lot of tension onto the tape as you roll it on, which means you need to hold it in place as well. Smooth it out as you go with a rag to help get rid of any air bubbles.
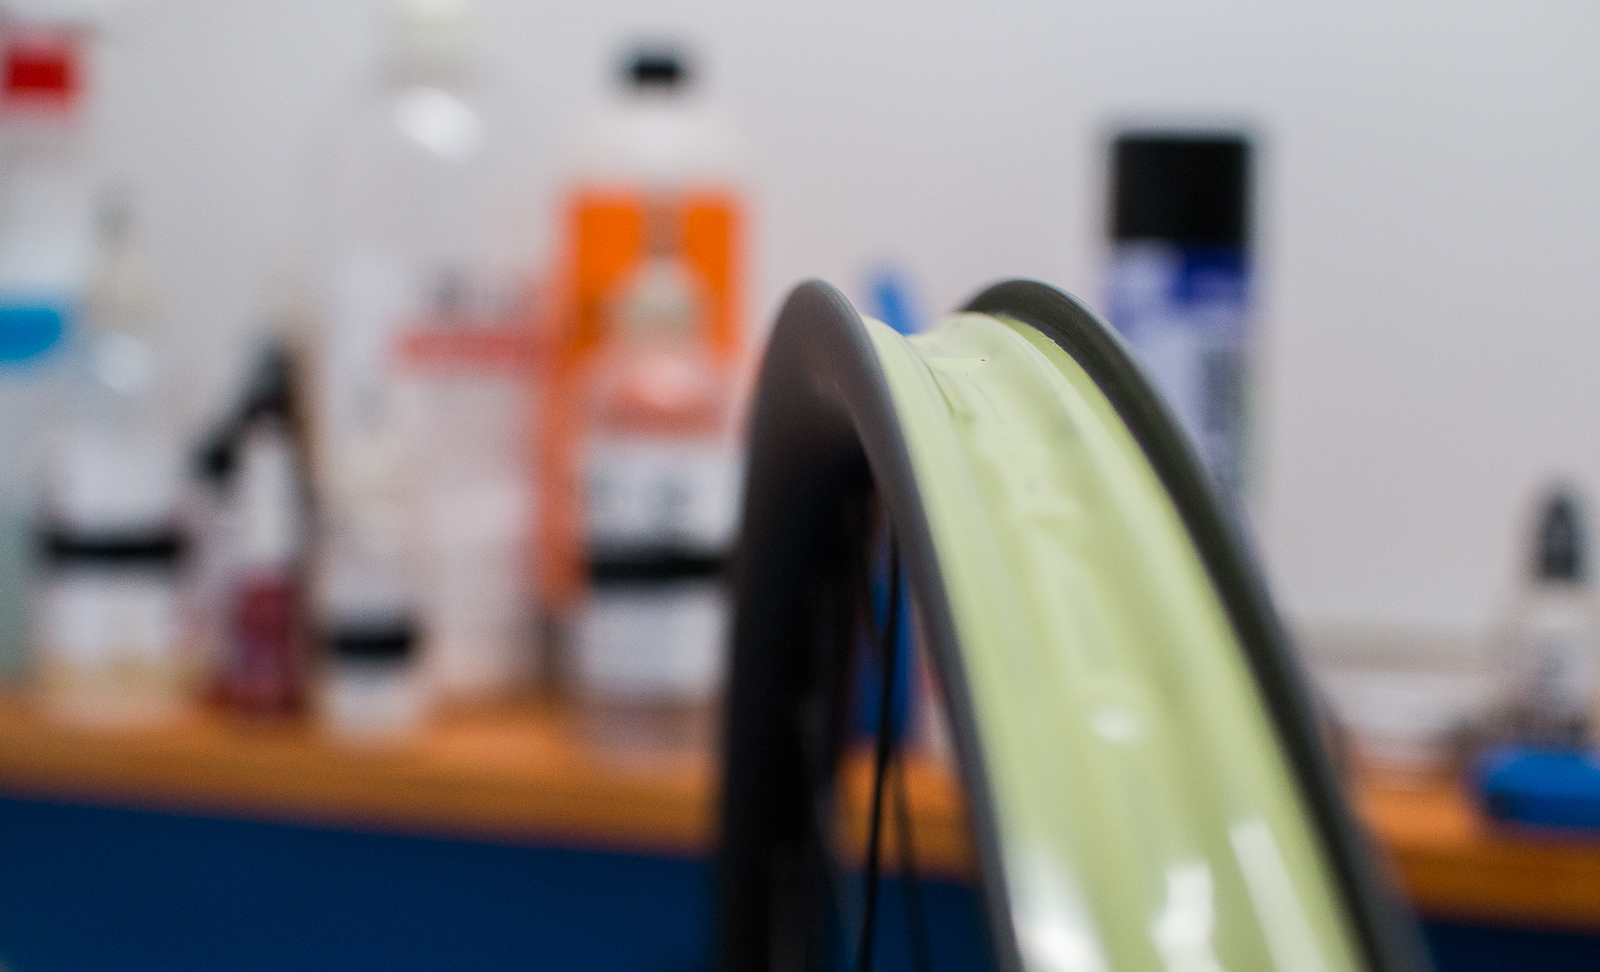
Once the tape is stuck, make a tiny hole for the valve. Don't use a knife as you don't want to promote a long slit. A sharp spoke or the tip of a nail works wonders.
Make sure you're using the right length tubeless valve. Carbon rims are often a little taller than alloy, so you might need 40, 45 or 50mm valves.
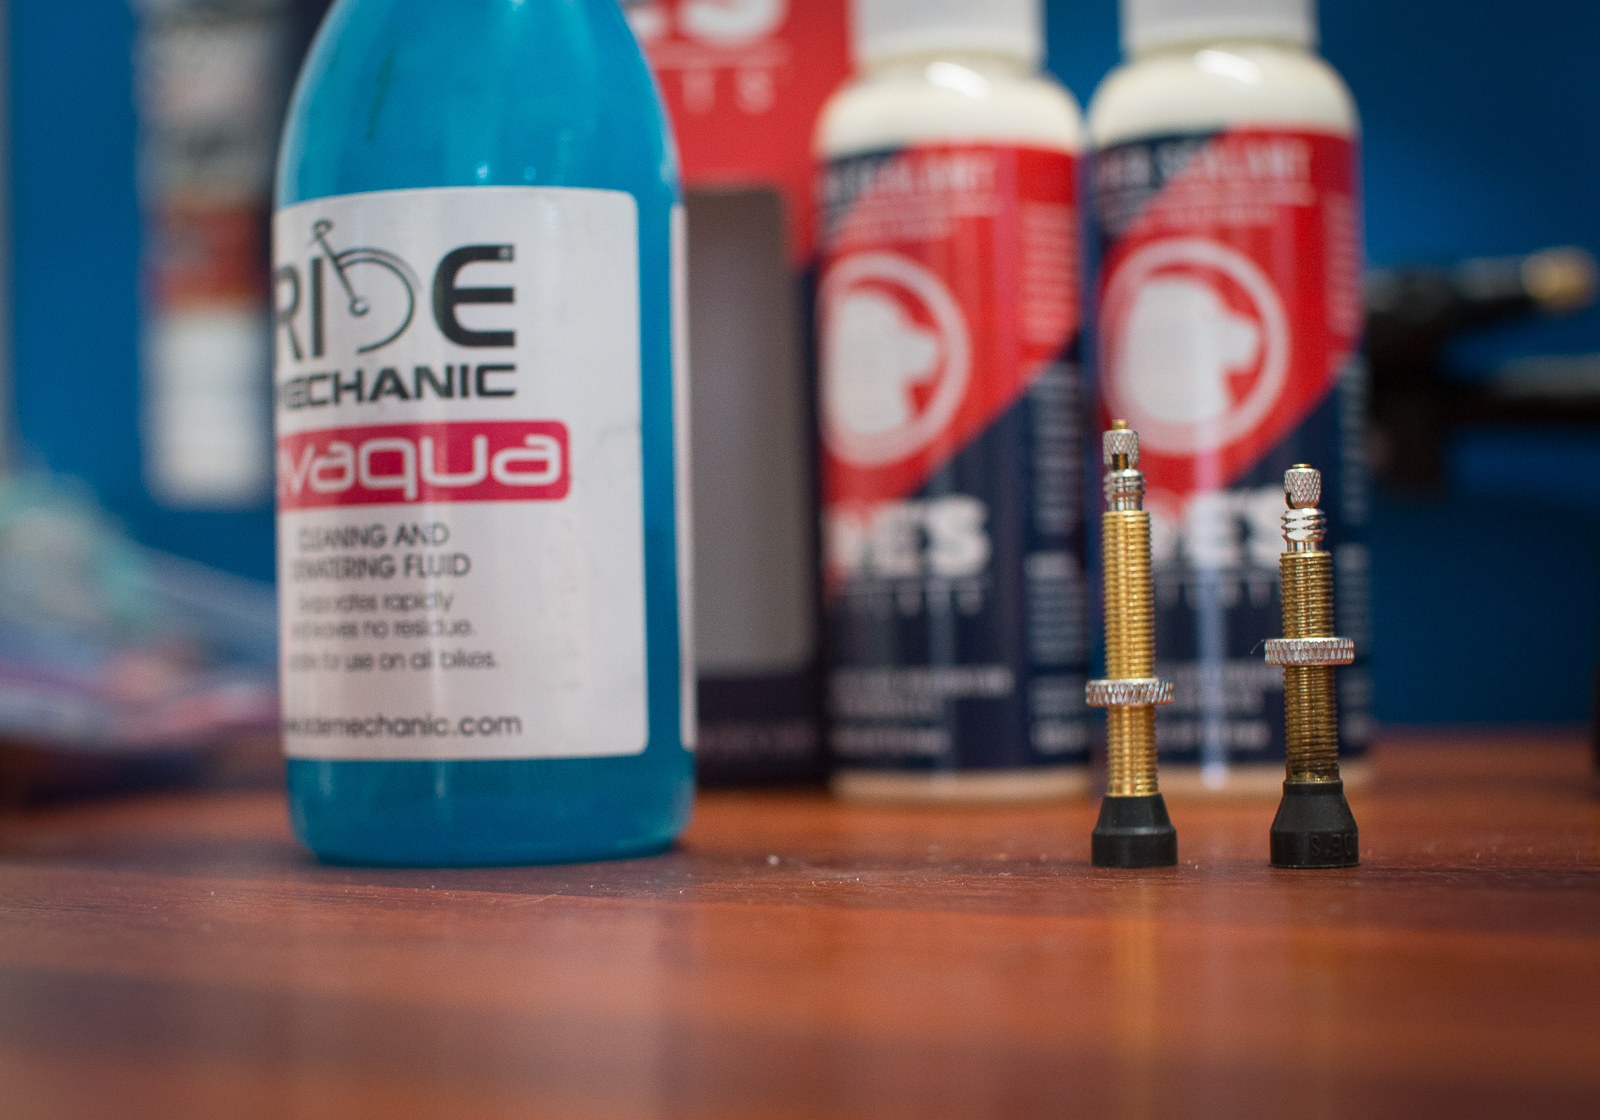
Push the valve through, and even put a little grease on the threads when you screw the washer on. This should make it easier to take off next time.
But what about your tyres?
Make sure your tyres are new
It sounds obvious, but if you're struggling with flat tyres or setting yourself up to run tubeless, it helps if your tyres are new. Why? Well while tyres are rubber spread over a casing (so they don't inlfate like a balloon) they still do stretch. And a tyre that's well used sometimes won't make the seal you want with the bead and rim. Plus if the sidewalls are badly degraded you might never be able to make them seal.
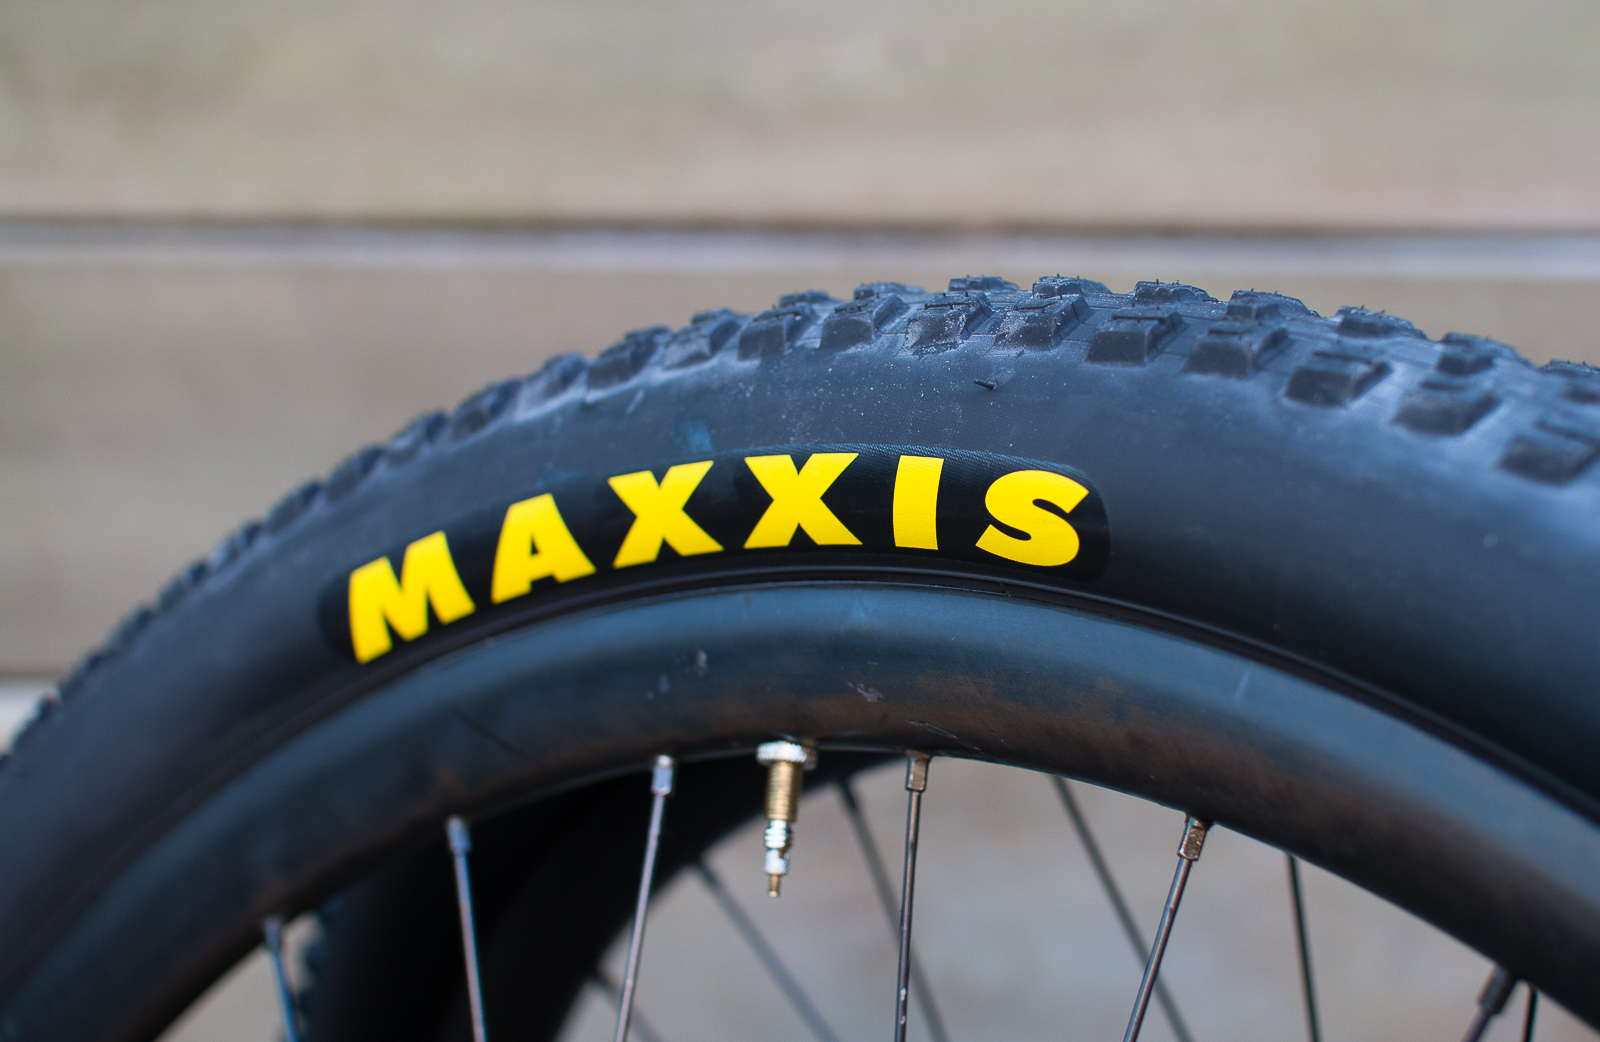
We're using a set of Maxxis Rekon with 'TR' (tubeless ready' casings in this case. Most manufacturers will have a tubeless ready or tubeless specific model. Yes, you can setup non-tubeless tyres without tubes. But they don'y tend to hold air as well. And if you're reading this as you come struggling with flats – it might be time to make sure you're on a tubeless ready tyre.
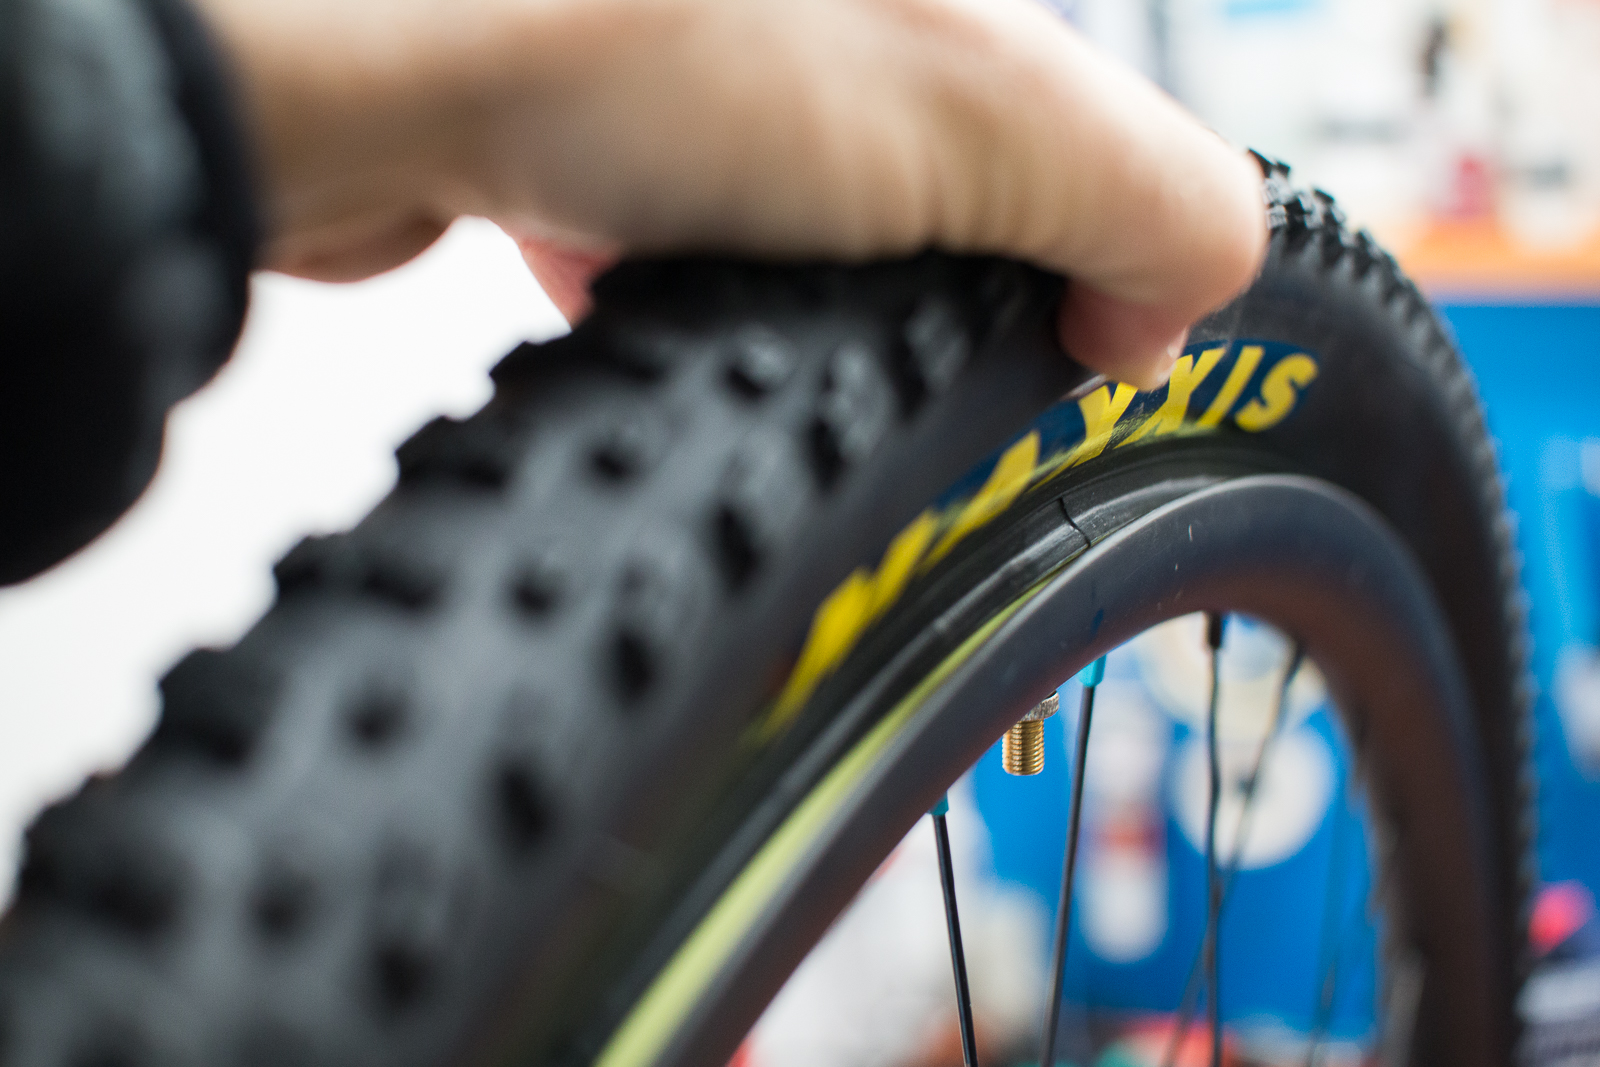
So with your tyres, place one bead into the rim bed, all the way around. The rim should hve an internal channel, so make sure it's in there. Put the tyre logo over the valve so it's easy to find the valve any time you need to, and check you've got the direction of the tyre correct. There will be an arrow on the side.
Choose your sealant
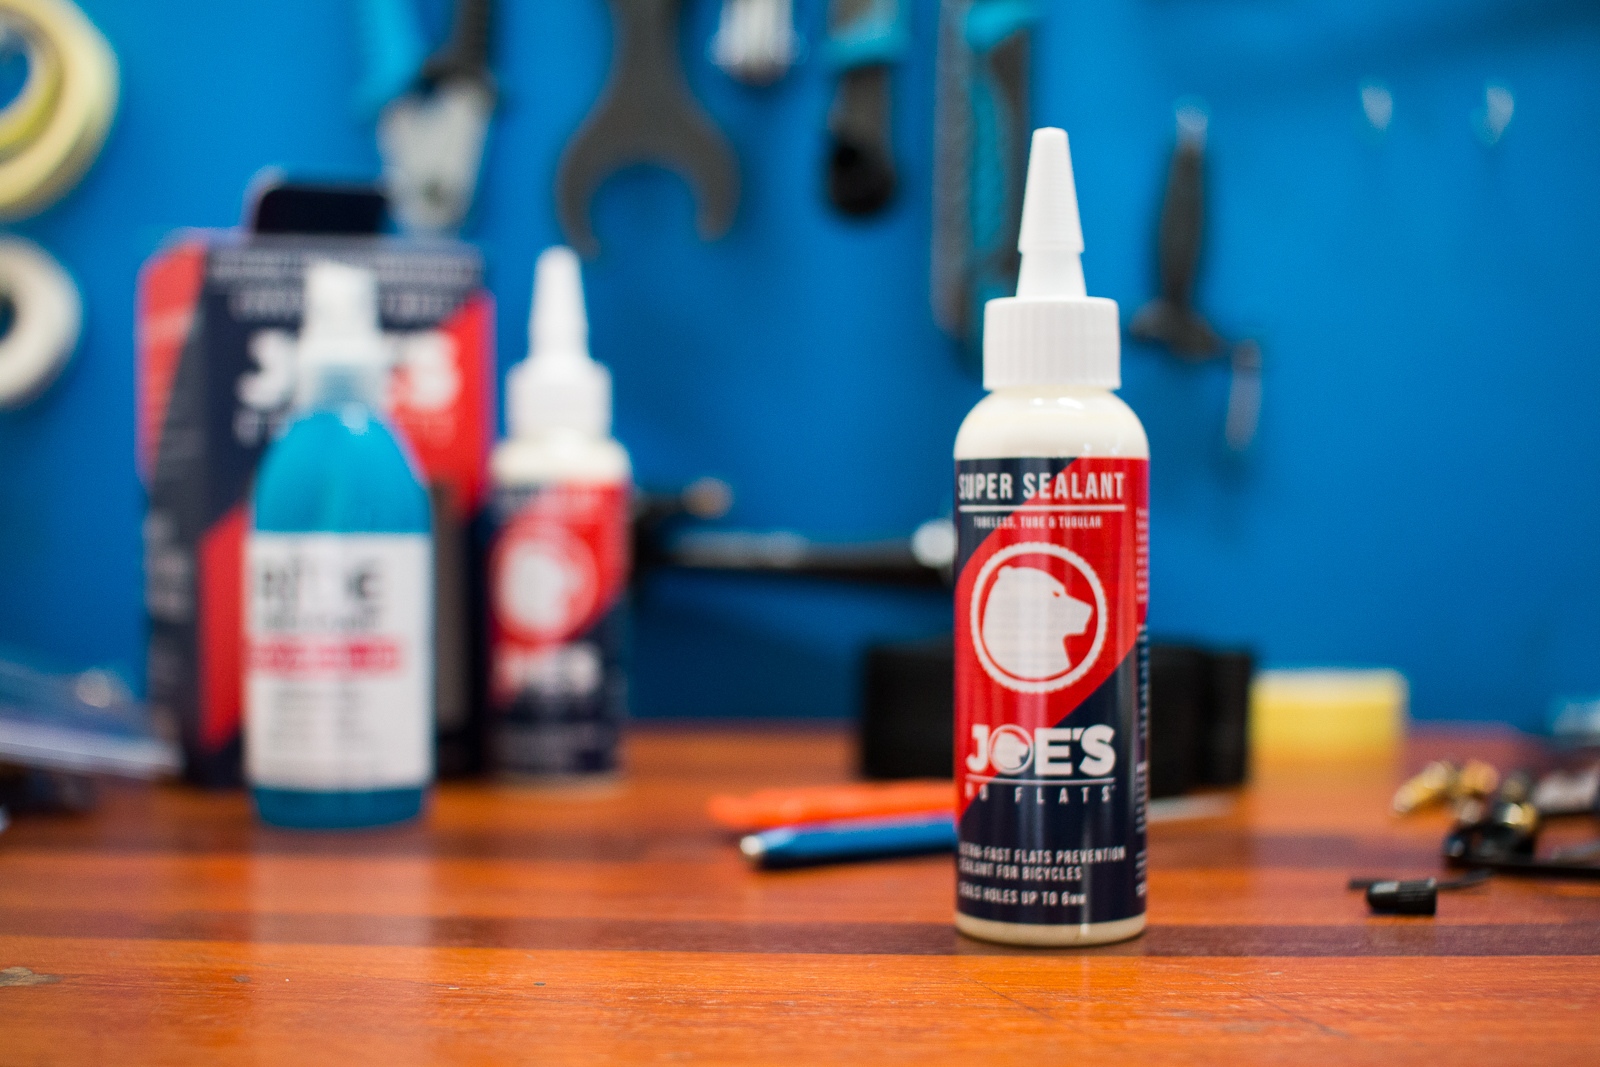
Now comes the sealant. There are a lot on the market but here we are using Joes No Flats. They state it can seal holes up to 6mm and from experience that's about right, as long as there is enough sealant in there.
Yes, enough sealant. It can seem like a good idea to skimp on what you put in, but the sealant not only helps seal the whole system up, but it is part of what keeps you running. Make sure you follow the directions for your tyre size. Be generous!
Some people prefer to put both beads on and dry inflate the tyre and add sealant, which is a great way to cleanly check if the tape and bead are holding. If that's what you want to do, then fit the other bead, and make sure both are sitting in the middle of the rim. Holding the wheel by the tyre is a good way to check.
You can use a slightly soapy solution to lubricate the bead, this helps it pop into place. Joes have one in their kit, but just about any soapy mix works.
And inflate! With the valve core removed, you should be able to get enough air in with any old track pump. get it up to at least 35psi (but no higher than whatever the tyre's maximum is) and listen for the 'pop' as the head settles into the rim.
Yes, even at the 100th time we still jump!
Now, take the pump off and screw the valve core in. You'll lose some air but that's ok. Is the tyre holding? If not, where is the air coming out? That soapy solution, even just some on a rag, will show you where air might be escaping. If it's at the bead that will seal. If it's at the valve stem your tape might not be right.
If everything looks good, drop the pressure, take the valve core out and put the sealant in through the valve stem. This is slow so if you're confident you can get the air pressure required to seat the bead again – take some of the bead off and tip the sealant in. Pump up again and you should be sweet!
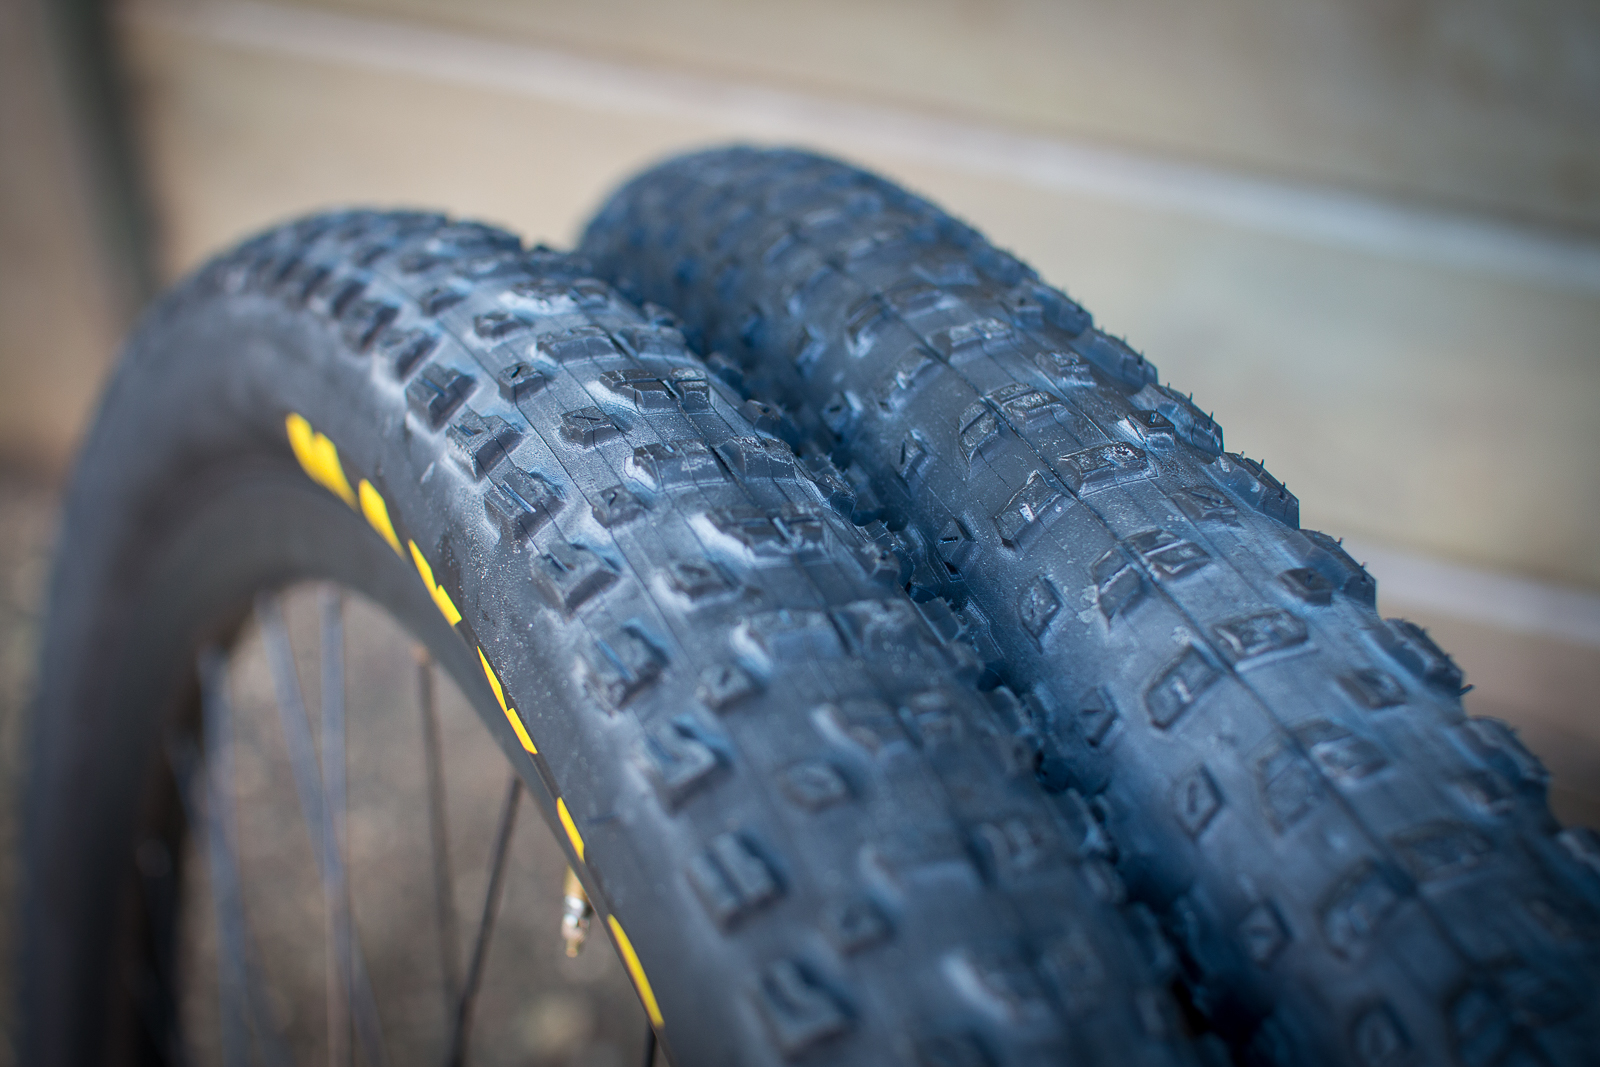
Give the wheels a shake, a roll, a bounce and make sure that sealant is getting everywhere it should. Wipe up any excess with a rag.
How to avoid flats
Ok, so we said no more flats. Here are the tips.
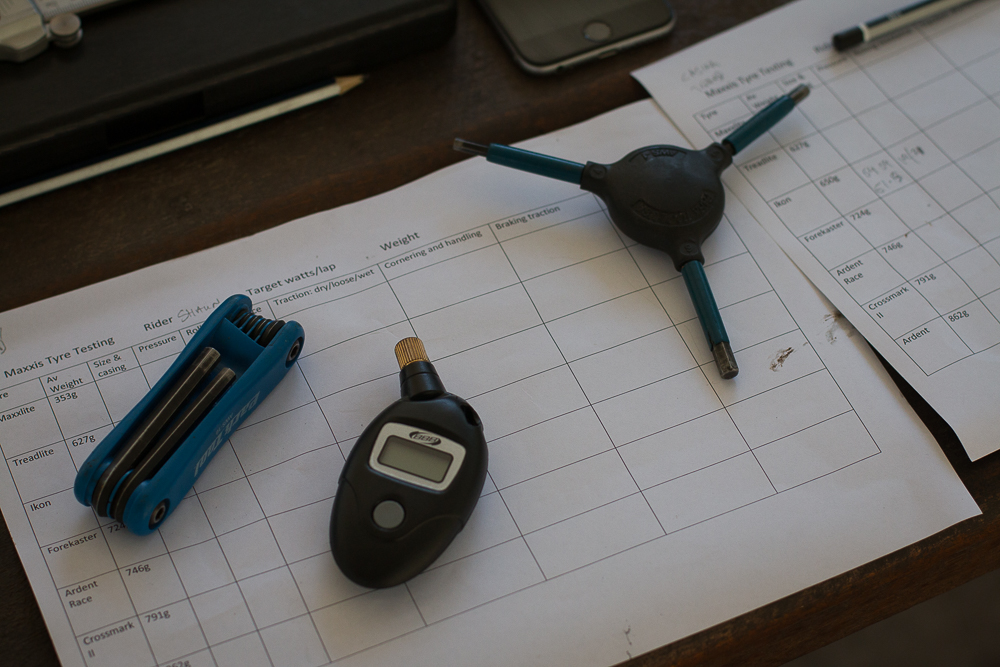
Firstly, always check your tyre pressure and be mindful of running the right pressure. Investing in a digital pressure gauge takes a lot of the guesswork out of it. If you think you have 25psi in and actually have 23psi, you're almost 10% off. That's quite a lot.
The right tyre pressure means ride comfort, rim protection and better traction for braking, accellerating and steering. It also prevents the tyres burping at low pressure.
Don't neglect to check your tyre sealant too. It does dry out, so take your wheels off and give them a good shake every 6 weeks or so. More often if you live somewhere hot. If you don't hear fluid, well there's no sealant left. The tyre will probably stay inflated but it won't seal up any small punctures.
Learn how to use tyre plugs
This is a big one – what is the fastest way to keep riding if you do get a flat? Everything we have listed above should mean your setup is dialled, and you have reduced the chance of getting a flat in the first place. But mountain biking in the great outdoors brings plenty of surprises. Most of them are awesome – great views, new trails, new friends!
But surprise punctures are less fun. Dynaplug have a range of products that can keep you going pretty quickly. Basically they are a mini version of a modern car tyre repair. Except you don't need to drill the hole.
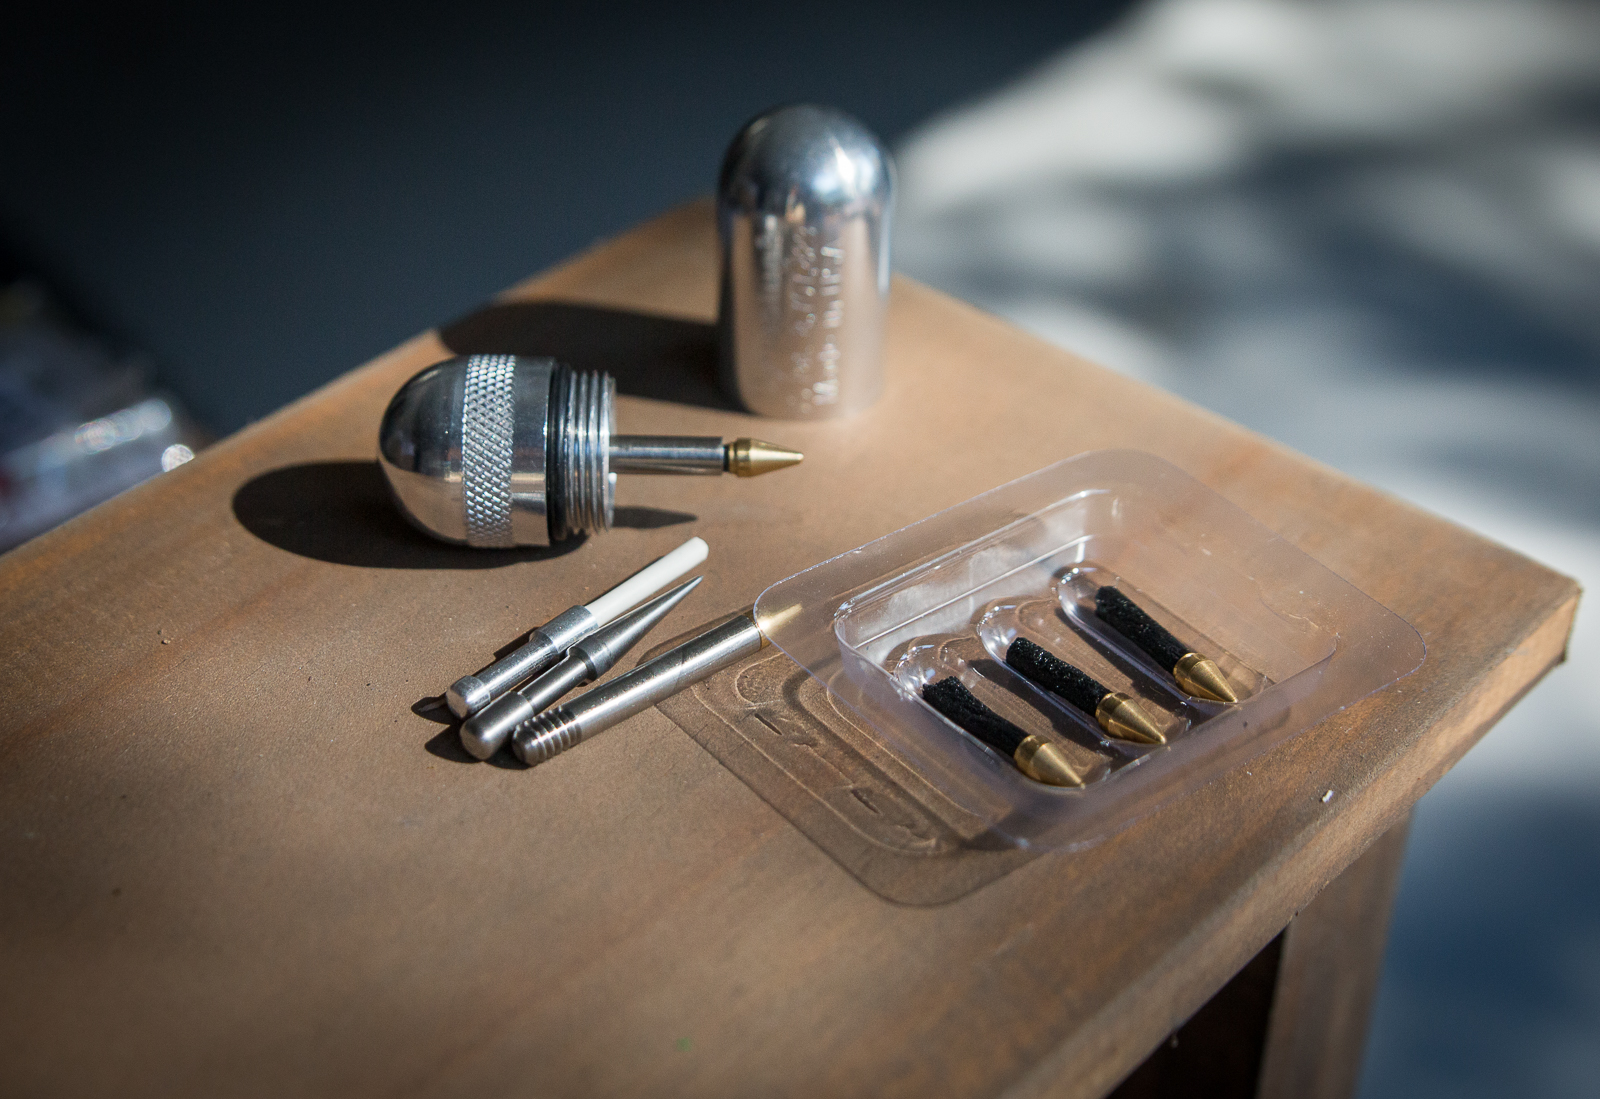
There are a few options, but essentially you remove whatever has made the puncture, and align the tool with a loaded plug. The plug has a sharp head and then the maleable plug, which is what seals the hole. The Dynaplug Micro has a cleaning tool as well, if the hole needs to be the right size. If it's bigger, you can put two plugs in side by side. Plugs work well where sealant just doesn't cut it, like close to the bead. They are also a lot faster than waiting for enough sealant, so they're a favourite amongst EWS racers, marathon racers and anyone who doesn't really want to hang around.
Dynaplug also make models that attach to a CO2 head. So with the plug in, you inflate right away.
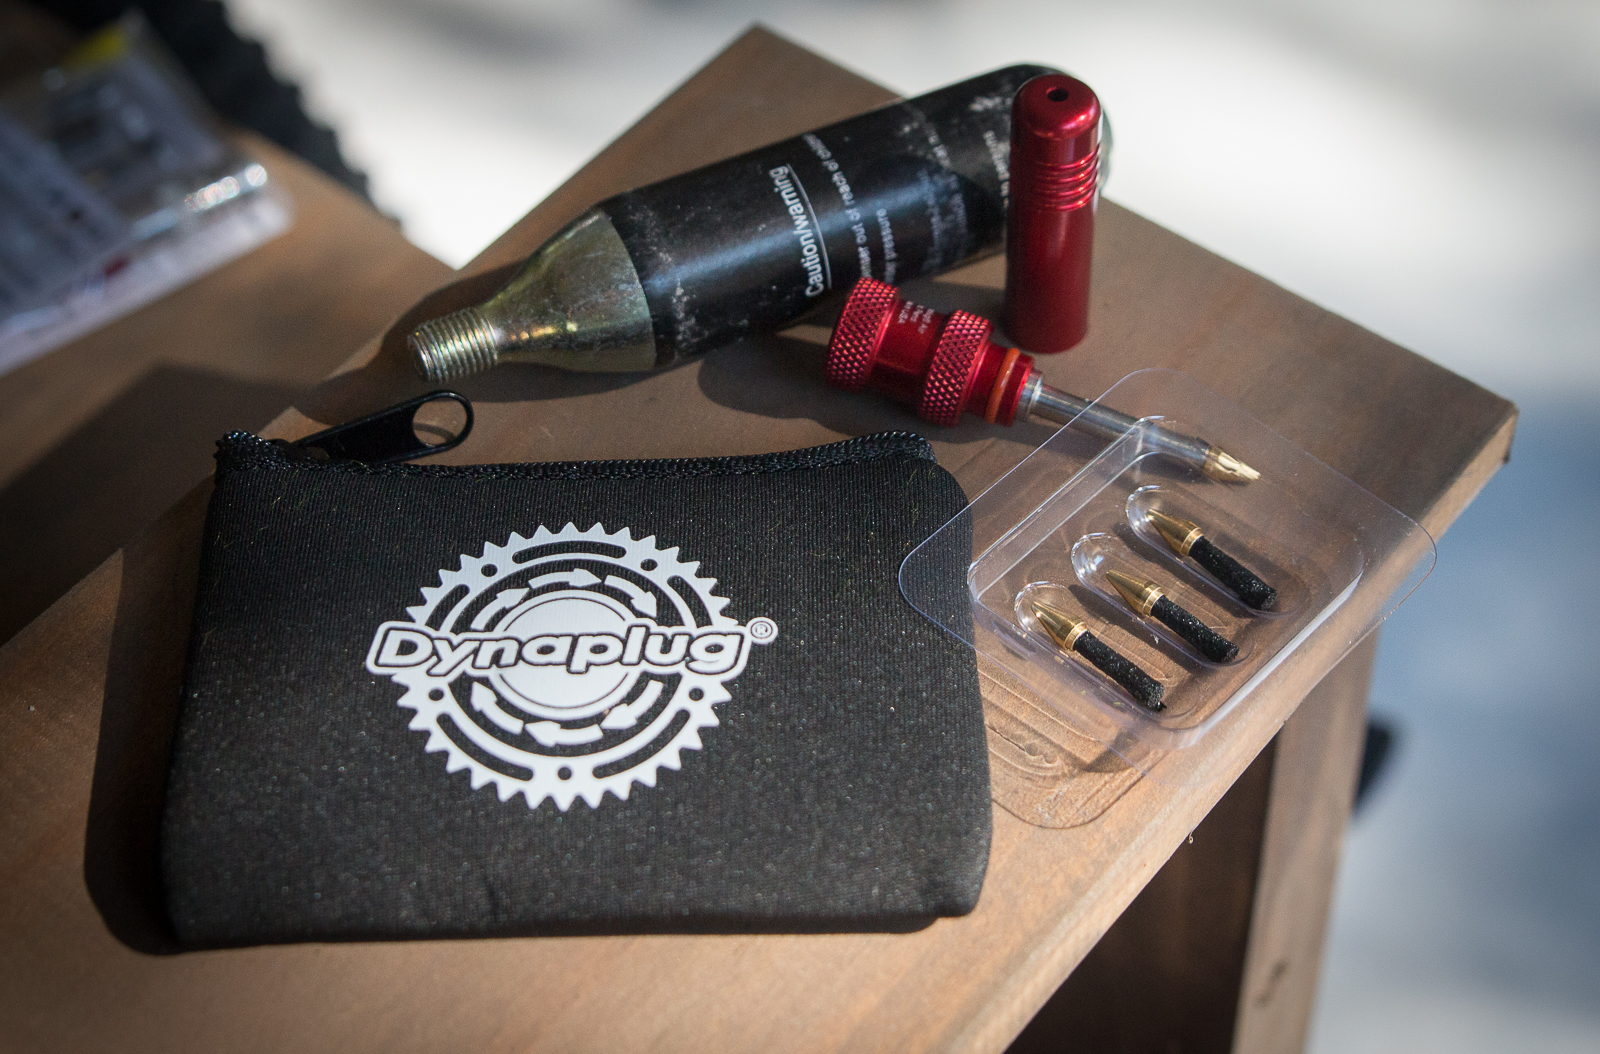
If you really don't want to stop for long – this is the ticket. This setup is $99.95 so it's an investment, but once you've used all the plugs you can get a refill for about $20, which has 5 plugs. Want to know more? Contact KWT Imports for stockists.
Our last tip? If you're going a long way out, or just can't be stuck on the trail (who can be, anyway?) always carry at least one tube and a pump. Sometimes a flat tyre just needs a tube, and even a tyre boot from a mueslie bar wrapper. If you're out for a big ride make sure you have enough to get home again. You might even end up making someone elses day if they've had bad luck.
We hope all this helps!


