Setting up the Great AMB Tubeless Sealant Test (GATST)
Which tubeless sealant will rule them all? We are putting seven into the mix for a long term test. Here's how it's starting.
Tubeless sealant is one of those items that most of us choose a product, and never sway from. It's an ongoing consumable that can be hard to actually verify how effective it is. Rider feedback can vary due to a poor experience (that could have been user error) or from a glowing experience, where the product was never put under duress!
Last summer I put together the Great AMB Chain Lube Test (tongue in cheek, regarding level of 'greatness'). The aim was to set up 7 popular chain lubes as per the manufacturer's instructions, run them in real world conditions until they were dry, and see how easy it was to reapply, and think about how well it lasted. You can read the final piece here.
Further reading:
Tips and tricks for tubeless setup
How to use Stan's DART
TESTED: Ride Mechanic Sealant Exchange Kit
How to use a Dyna Plug
In a similar vein, I'm doing the same with tubeless sealant. While I recall mixing concoction in a sharehouse shed, times have changed, and there are a number of good products on the market – more than I am featuring here. But I only have so many wheels and bikes – so this group of seven is a good start of commonly available sealants.
Of course, putting some sealant in a tyre and riding it and seeing if I get a flat or not isn't a useful test, for anyone. So I am setting a few basic protocols. This is a long way from being strict, but I'm aiming to keep consistency in the procedure, based on the following:
Tyre type
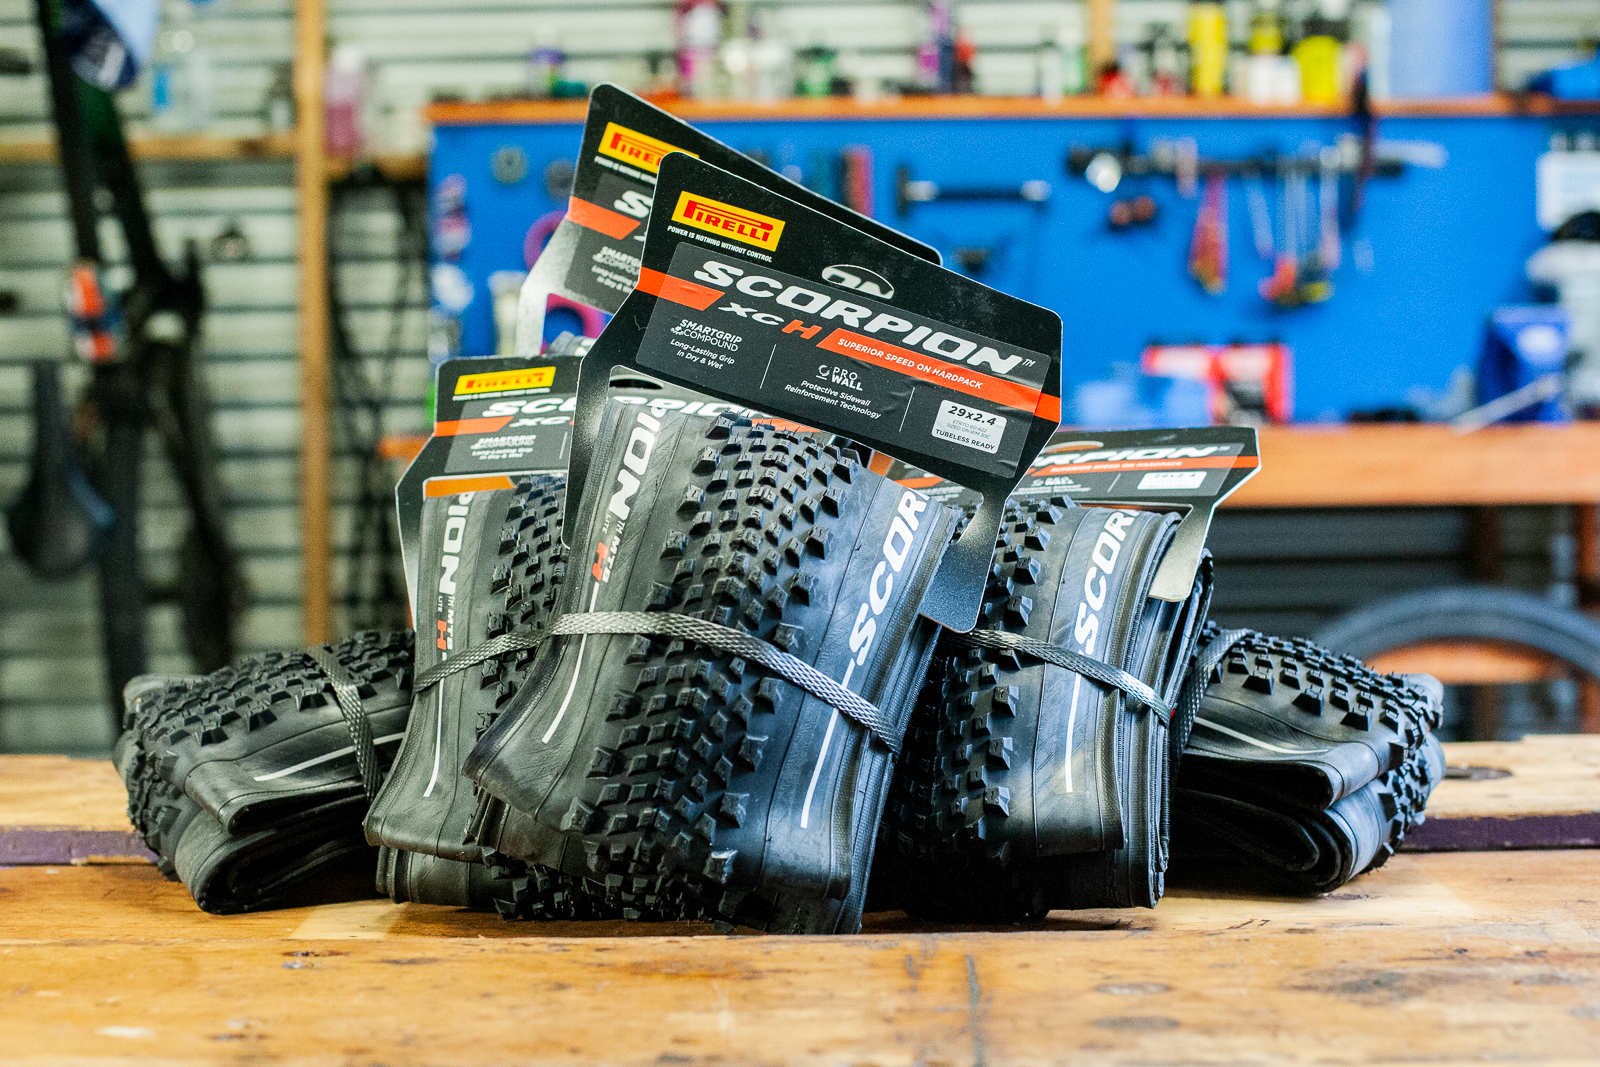
This is nothing to do with tread, but everything to do with casing. So all 7 tyres in the test are Pirelli Scorpion 2.4" LITE ProWall. 6 are the Hard tread pattern, one is Mixed. The ProWall casing is a reinforced 120tpi casing, so it's equivalent to a lot of high-quality trail tyres in the market. The 2.4" casing matches my bikes, and is a consistent volume so I can use the recommended amount of sealant for each brand. I've ridden on tyres with this casing a lot, so there won't be any performance surprises.
Timing
Sealant goes off in time. It dries out, separates – you have all dealt with this. So all the sealants were put in within a 90 minute period on December 1st. The final day of testing will be January 5th, 5 weeks away.
Conditions
Every single tyre is on a wheel in my shed, being used on and off over summer. Some will be ridden by me, some by my wife. This has little impact on the test – unless there is a puncture. In this case, a Stan's DART and Dynaplug will be on hand. Moreover, it does mean each sealant is subject to a pretty warm shed in south east Queensland over summer. Hot weather does have an impact on sealant, but at least it will be the same for each.
Setup
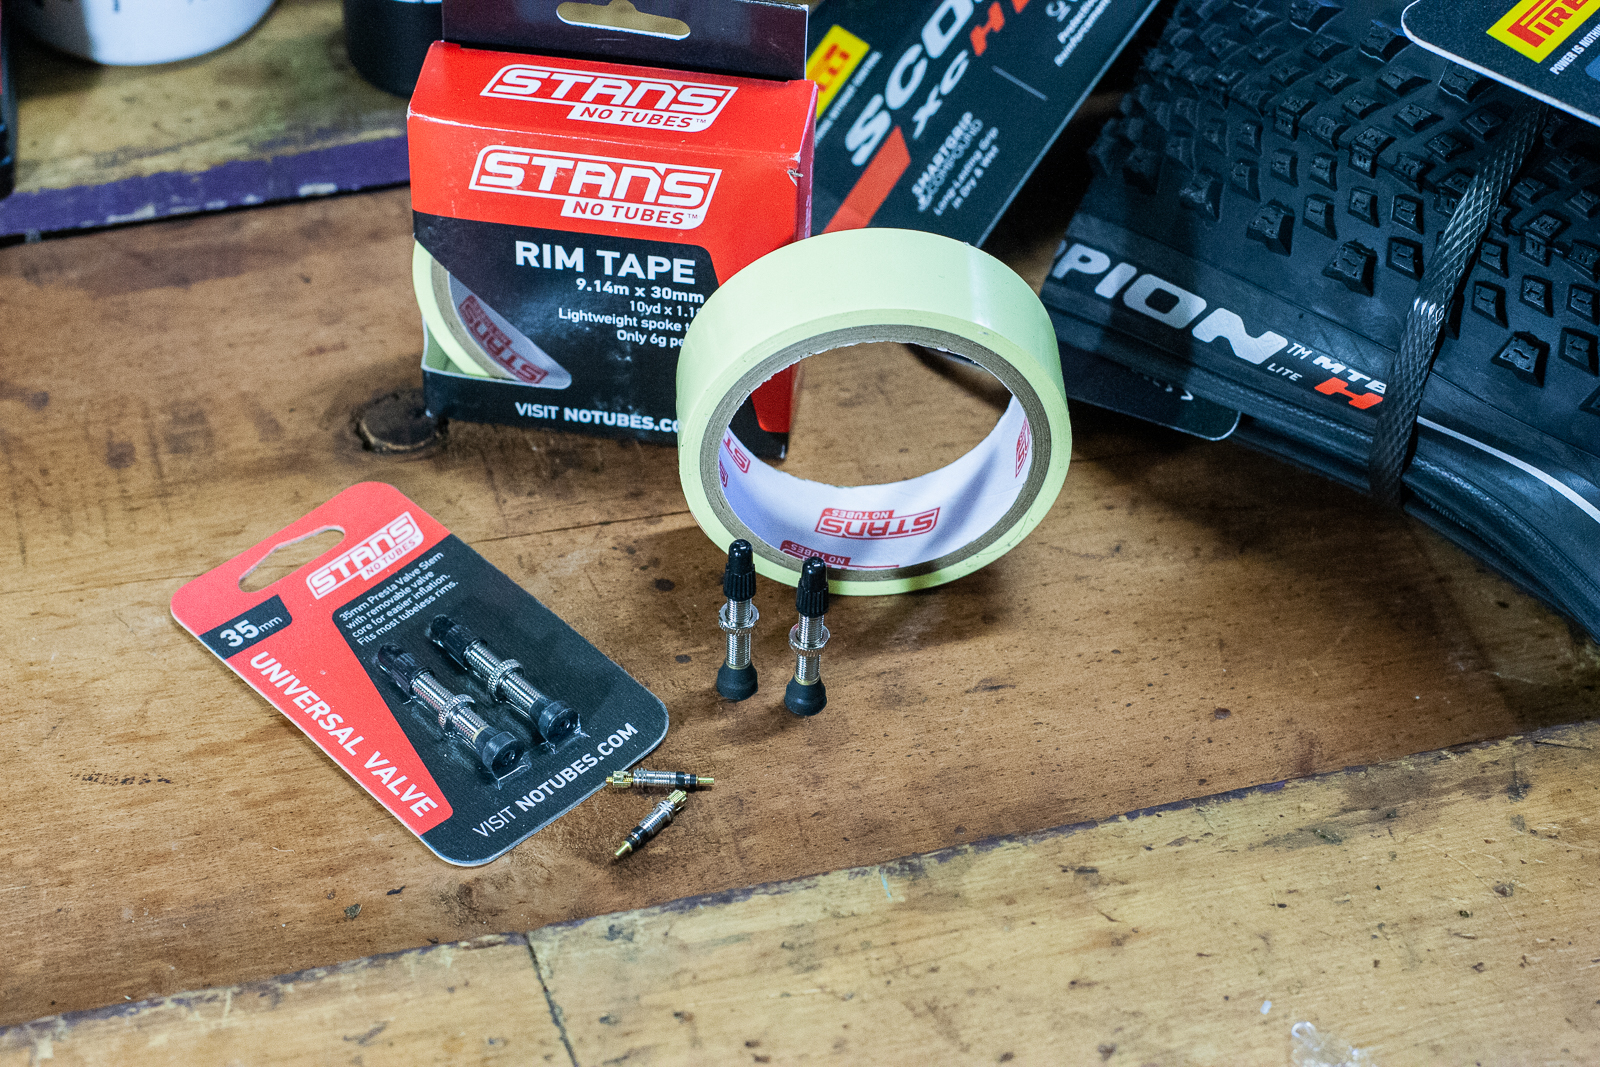
Each tubeless system has been set using the recommended volume per sealant. Each rim had tubeless tape that was in good order, and any slightly sticky valve cores were replaced. Rims were cleaned before fit up, with a compressor used for inflation. Tyres were wiped clean, bounced and shaken, and set at 23psi over night. No significant seeping occured.
What's not the same?
Wheels, for one. I actually have a few being repaired, so that puts a little more variety in the mix. But a different rim profile, width or material shouldn't impact a sealant's ability to seal. It will impact the ride feel of a tyre, and the pressure required for the right support – but not the performance of the sealant.
The test procedure
After setting them up, now it's a case of riding! And with holidays looming, that's easy. While plug tools will be on hand to repair any punctures, the end of the test will see a few things happen, per test system:
– Check volume of sealant, and any separation, via sealant injector. Replace same sealant.
– Set riding pressure
– Ride over an object for a 3mm hole, ride up to 5min until sealed (or plug if not sealing)
– Ride over an object for a 6mm hole, ride up to 5min until sealed (or plug if not sealing)
– Manually create a 3mm sidewall hole, ride up to 5min until sealed (or plug if not sealing)
The idea here is to see how well the sealant lasts over time (5 weeks) and how effective it is at repairing a consistent flat type. And, how much pressure is lost, and if a plug is needed and successful.
This isn't a lab test, and it still has holes in it (boom tish!) but it's repeatable for each sealant.
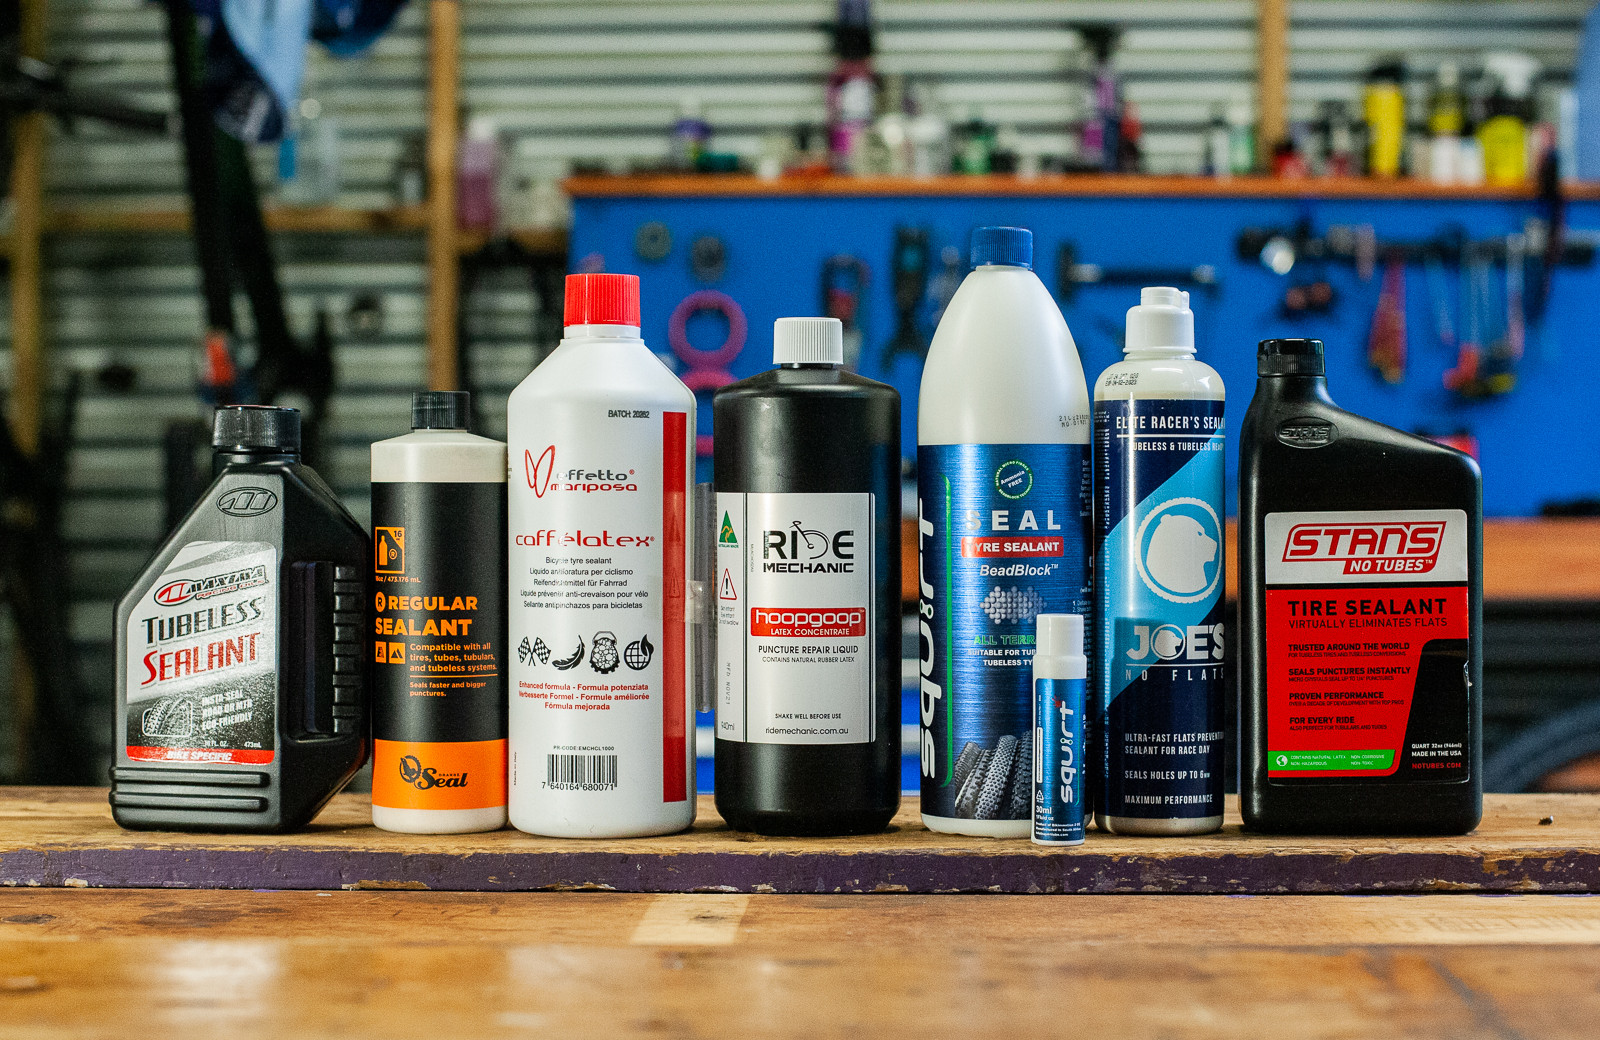
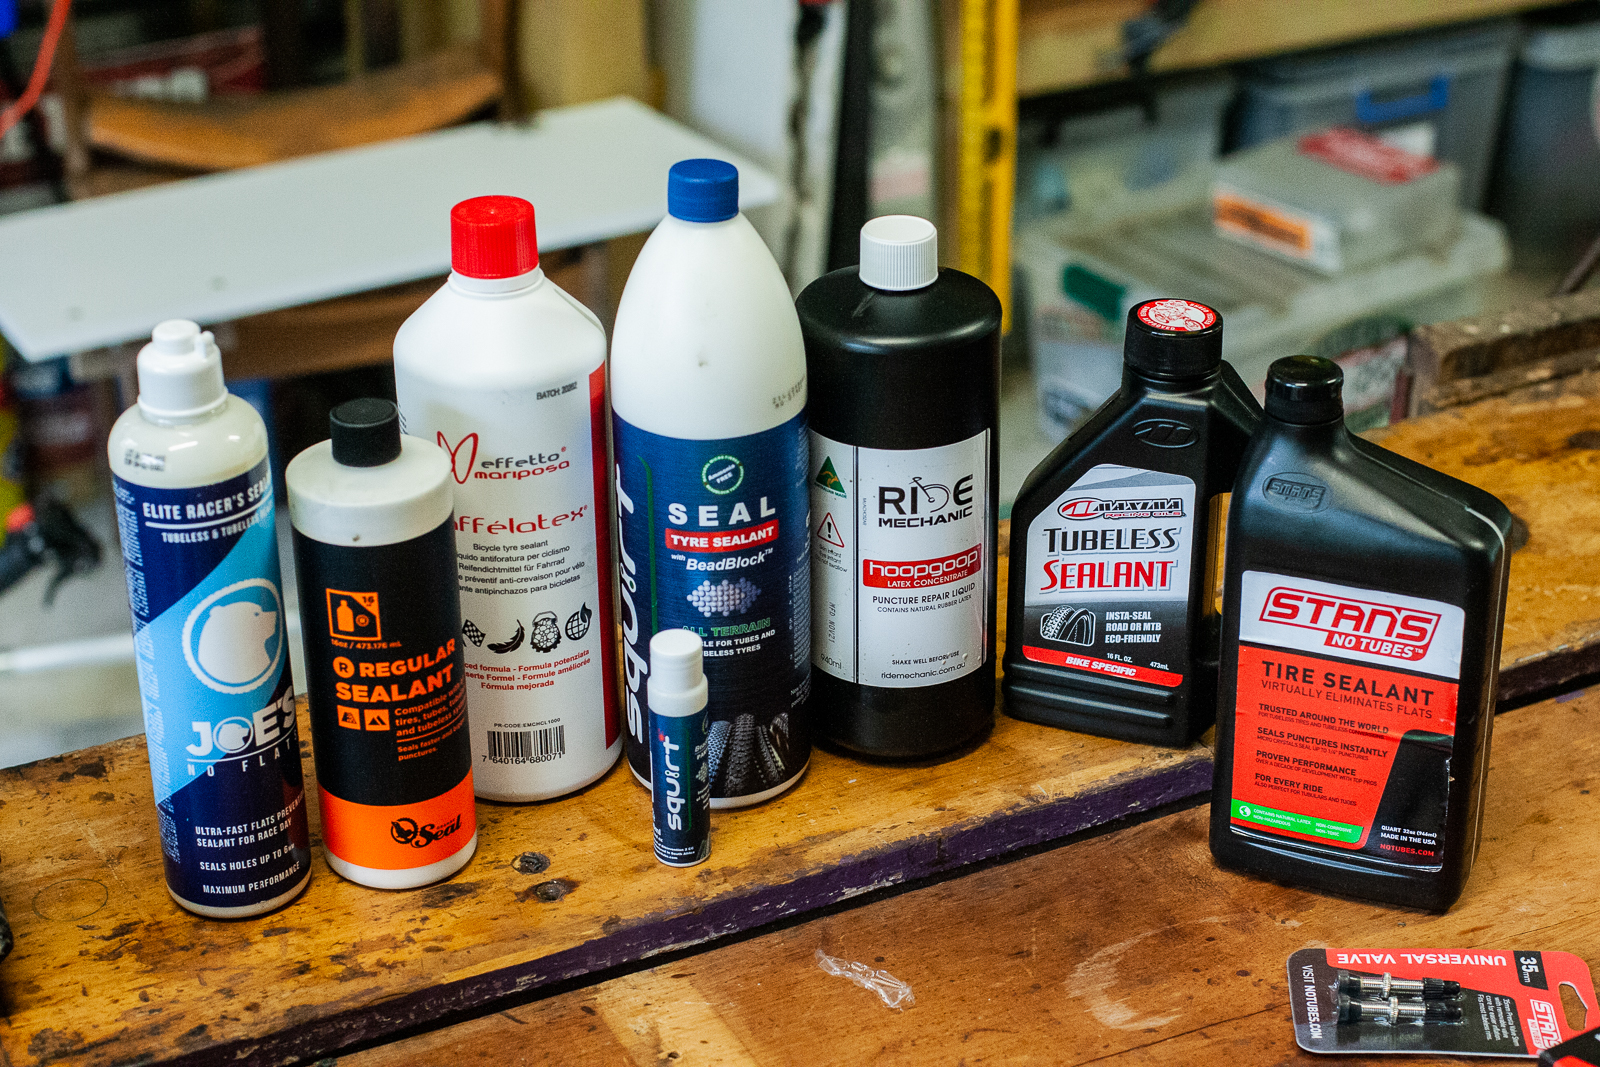
What are you testing, and how much did you use?
First up was Ride Mechanic Hoop Goop, and that used 100mL via recommendations. This one is Australian made, and done after a lot of research. Interestingly, it's billed as a puncture repair liquid, and notes shelf life after opening and storage temperatures required to work as it should.
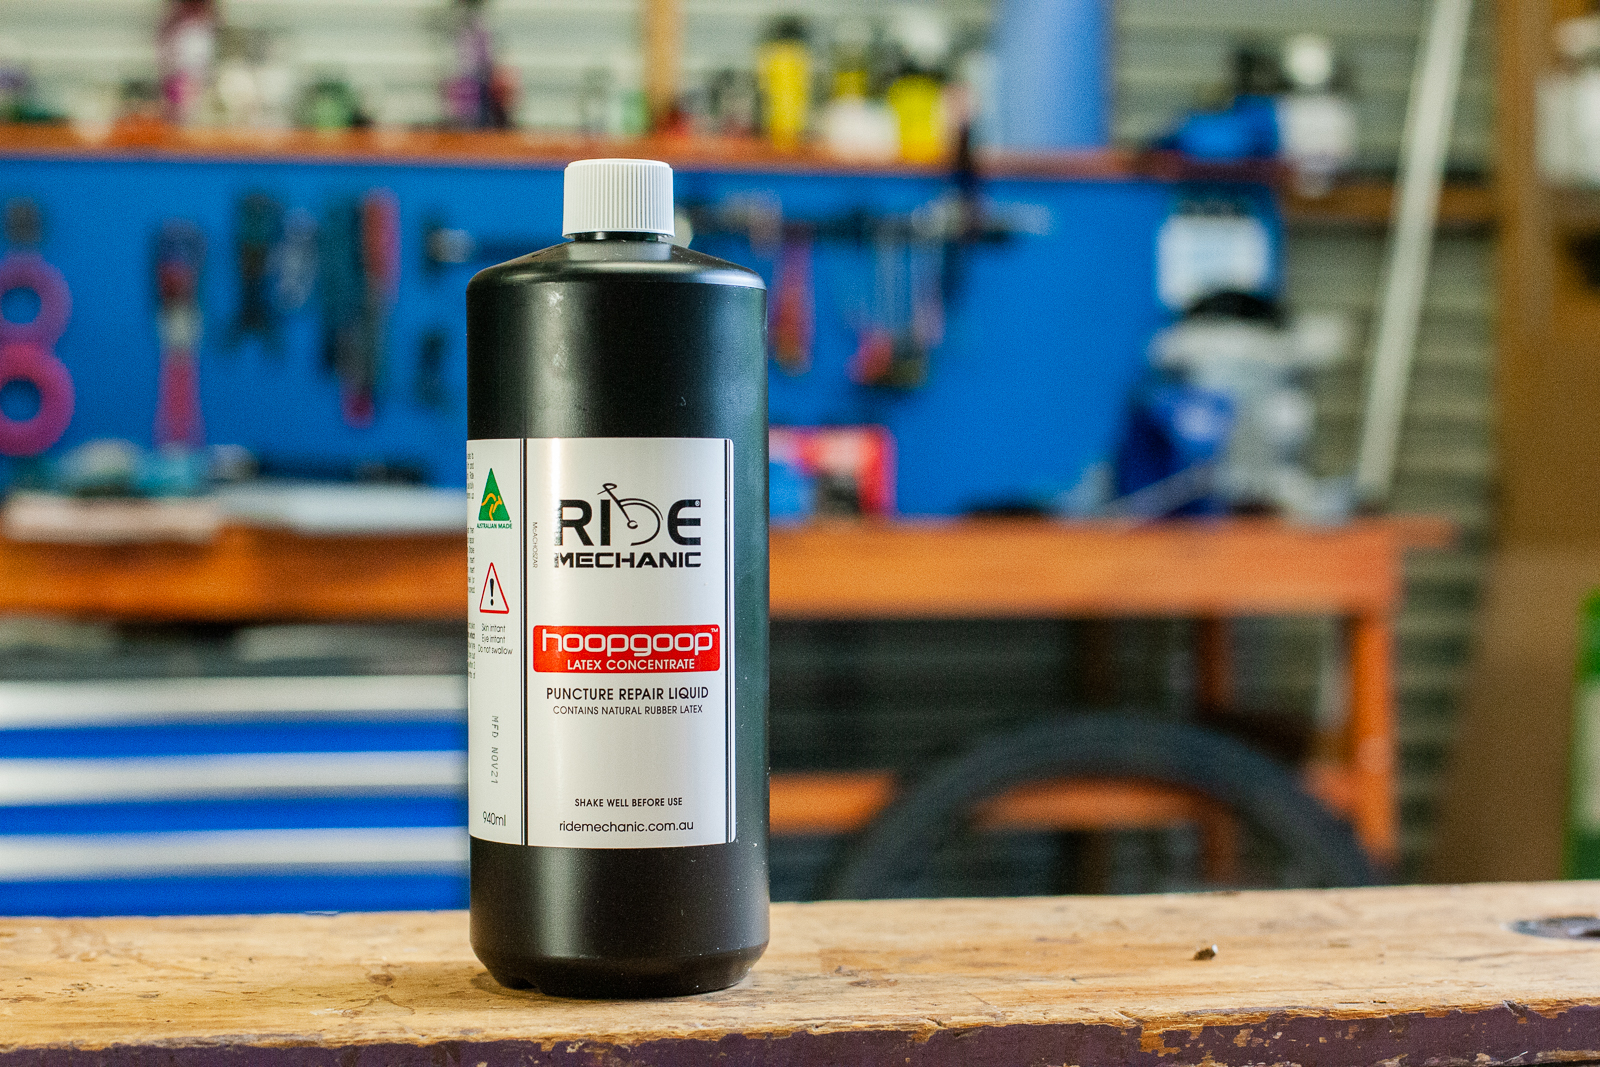
A big 940mL bottle is about $60, which will do about 8 or 9 tyres, for 2.4-2.6" sizes. There are also two smaller sized bottles.
ridemechanic.com.au
Joes Elite Racer's sealant required 100mL, and it has a high temperature rating (and range) and is CO2 compatible – it won't go off if you use a CO2 to reinflate in a race. They claim it seals holes up to 6mm.
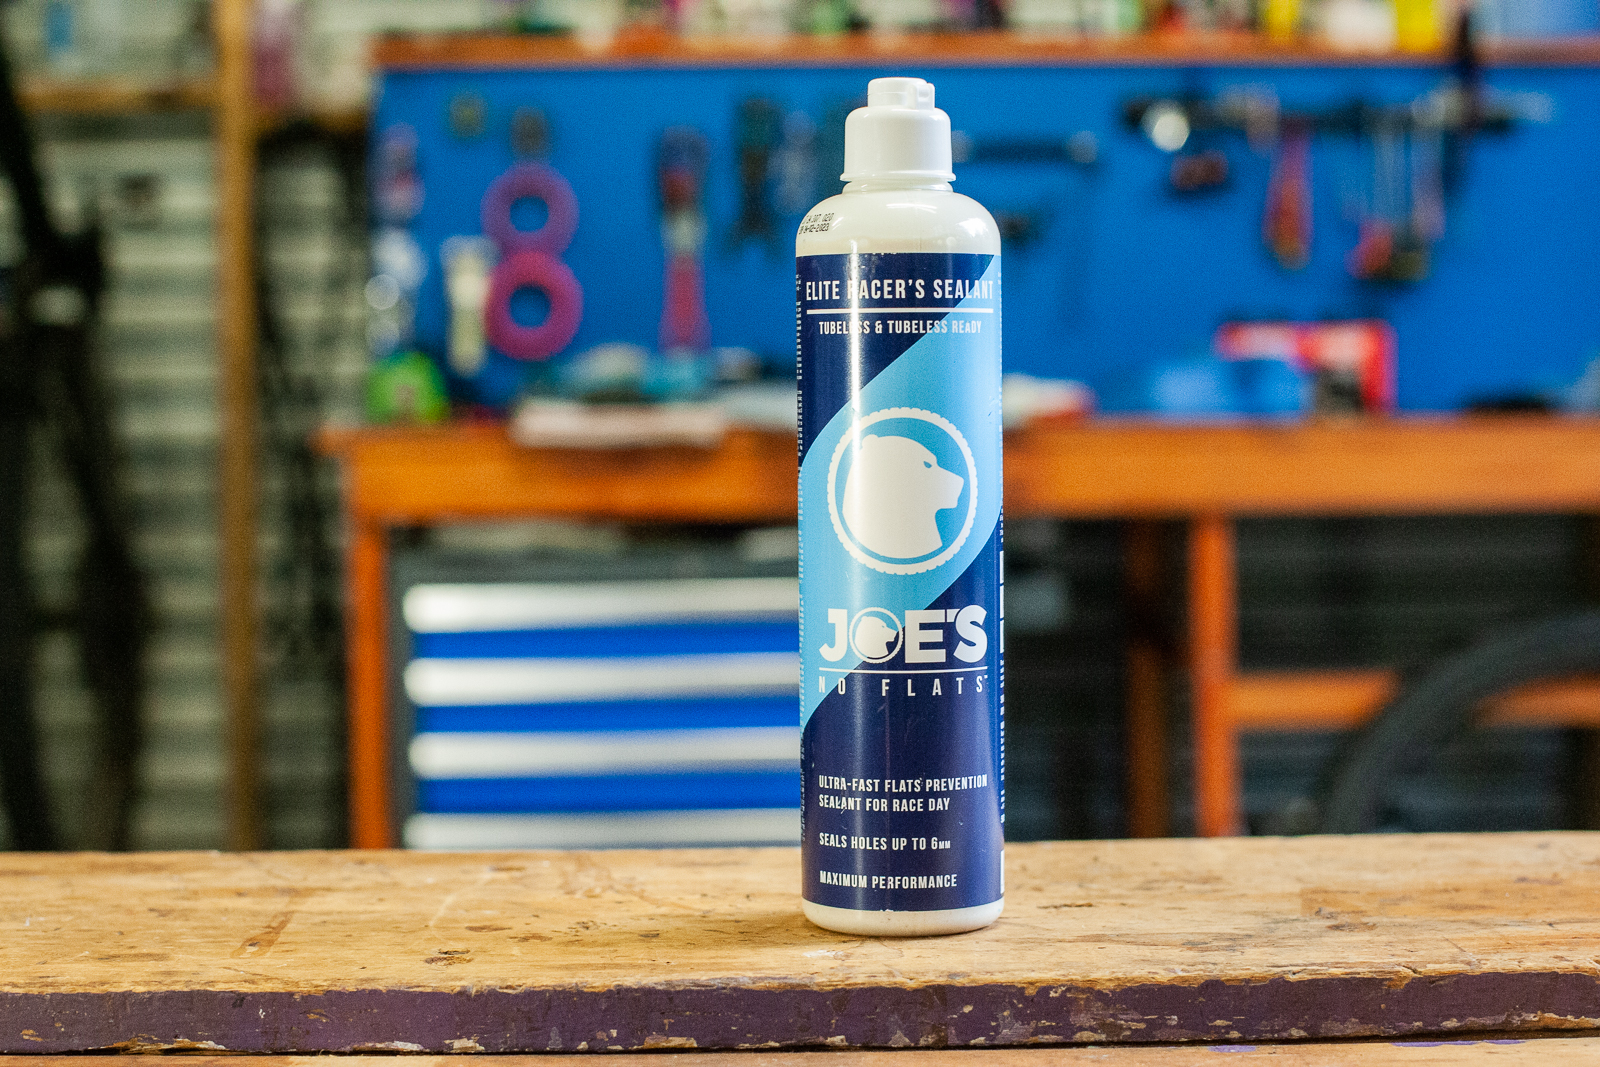
KWTimports.com.au
Orange Seal Regular is tried and tested – it's a good sealant. This one took 100mL for the 2.4" tyre. They do have an Endurance option as well – but we are testing the Regular.
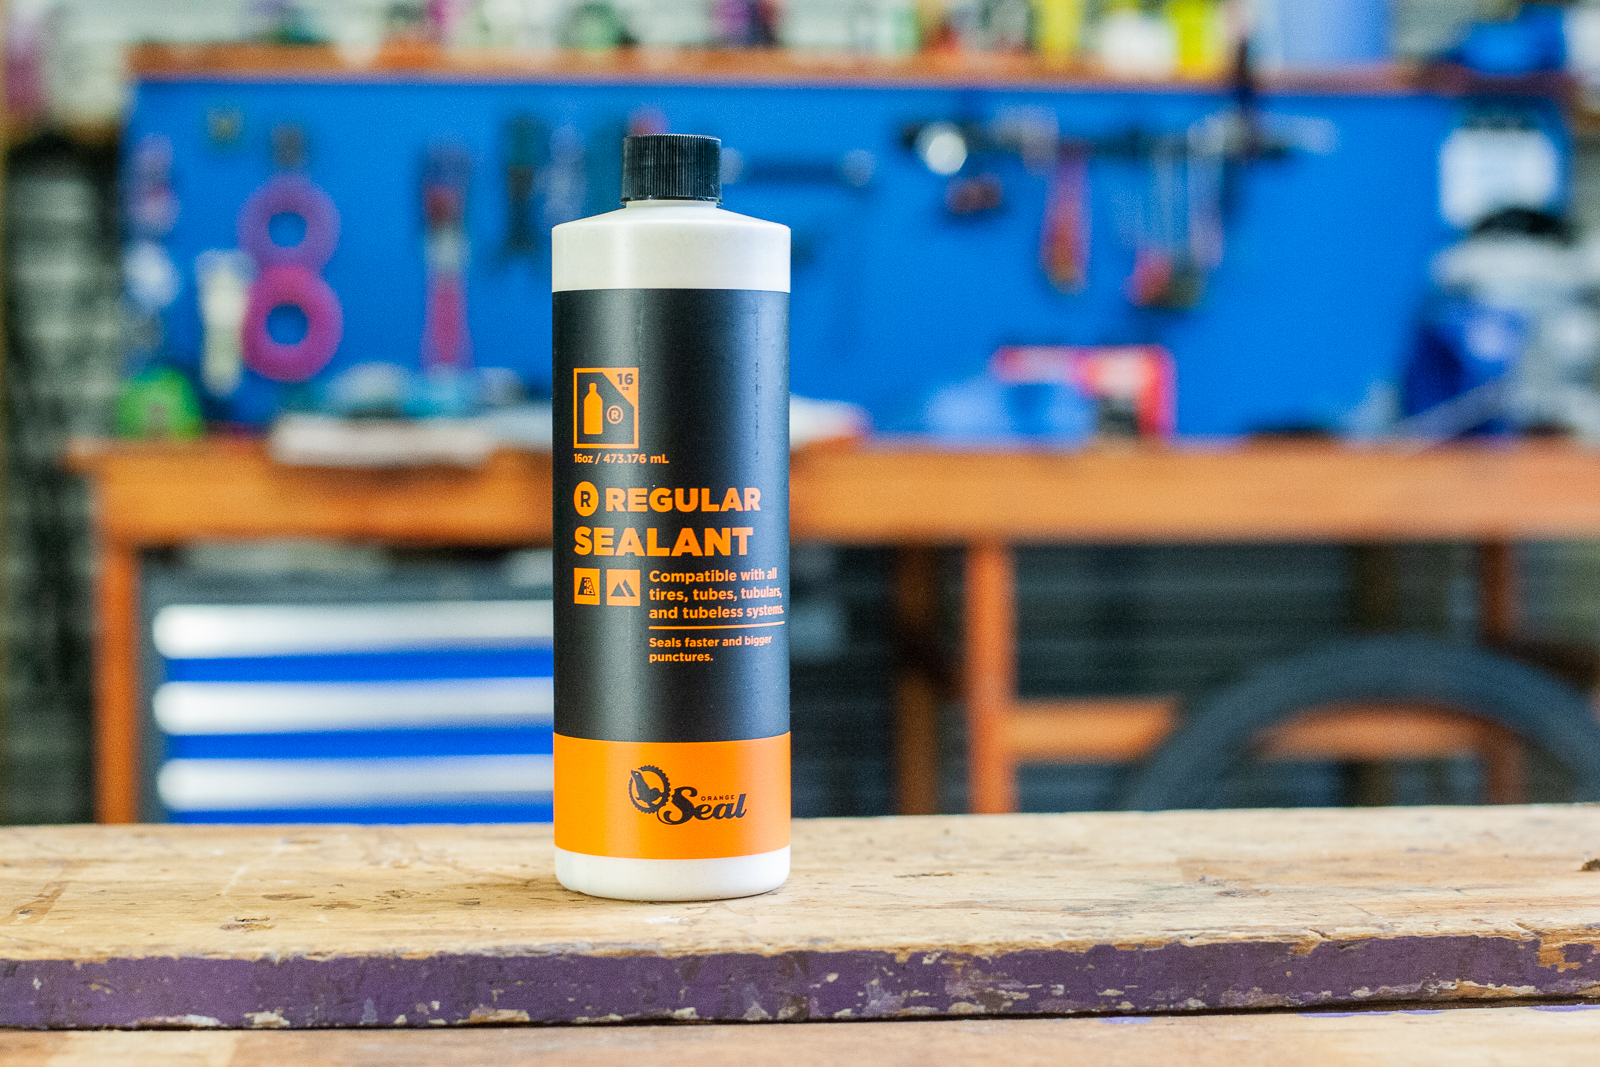
This bottle is a 473mL, so will do about 4 tyres for 2.4-2.6" sizes. It sells for $39.99, and there are smaller and larger bottles available.
bikecorp.com.au
Maxima sealant is new in AMB HQ. They do suggest checking sealant every 4-6 weeks and replacing every 6 months. 120mL was used in accordance with directions. They reckon it can seal a cut up to about 6mm as well!
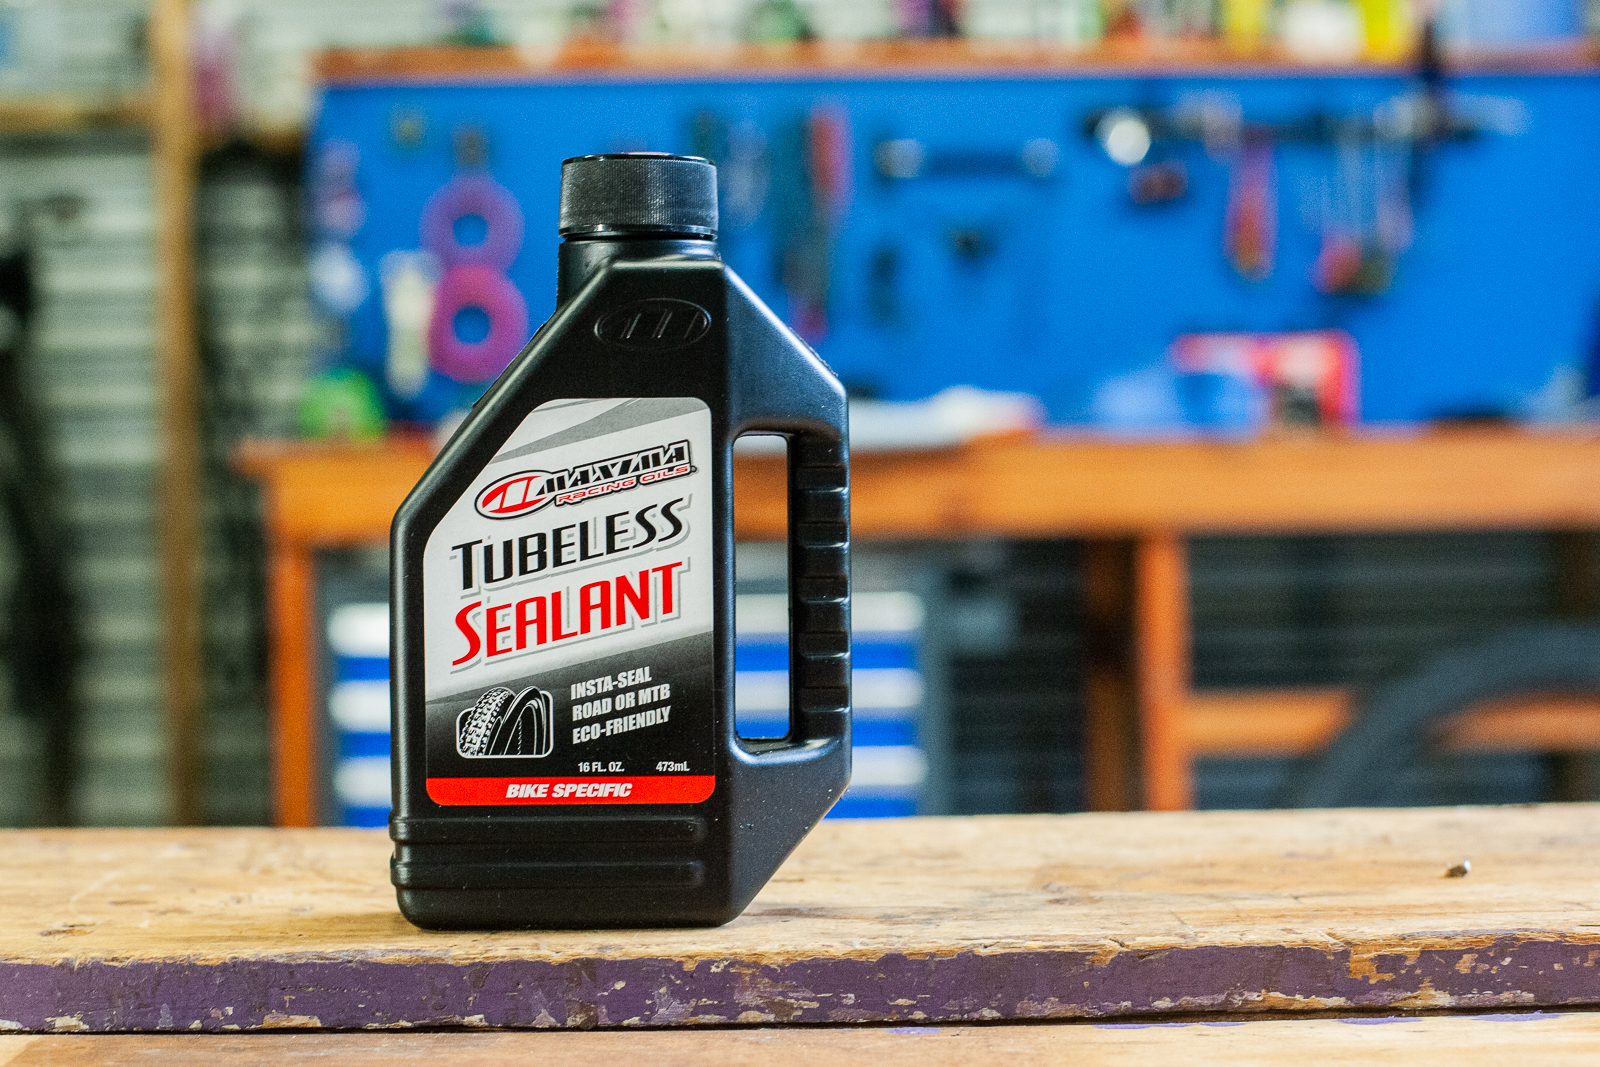
The 473mL carton sells for $39.99, and should just about do 4 tyres at 120mL each as suggested.
lustyindustries.com
The Effetto Mariposa Caffe Latex isn't new to my workshop, I've used it before and like that you don't need as much, and that it foams up, helping it spread around. This one has an app to use to tell you how much sealant to use (based on tyre size). 85mL was required for the Pirelli 2.4" tyre.
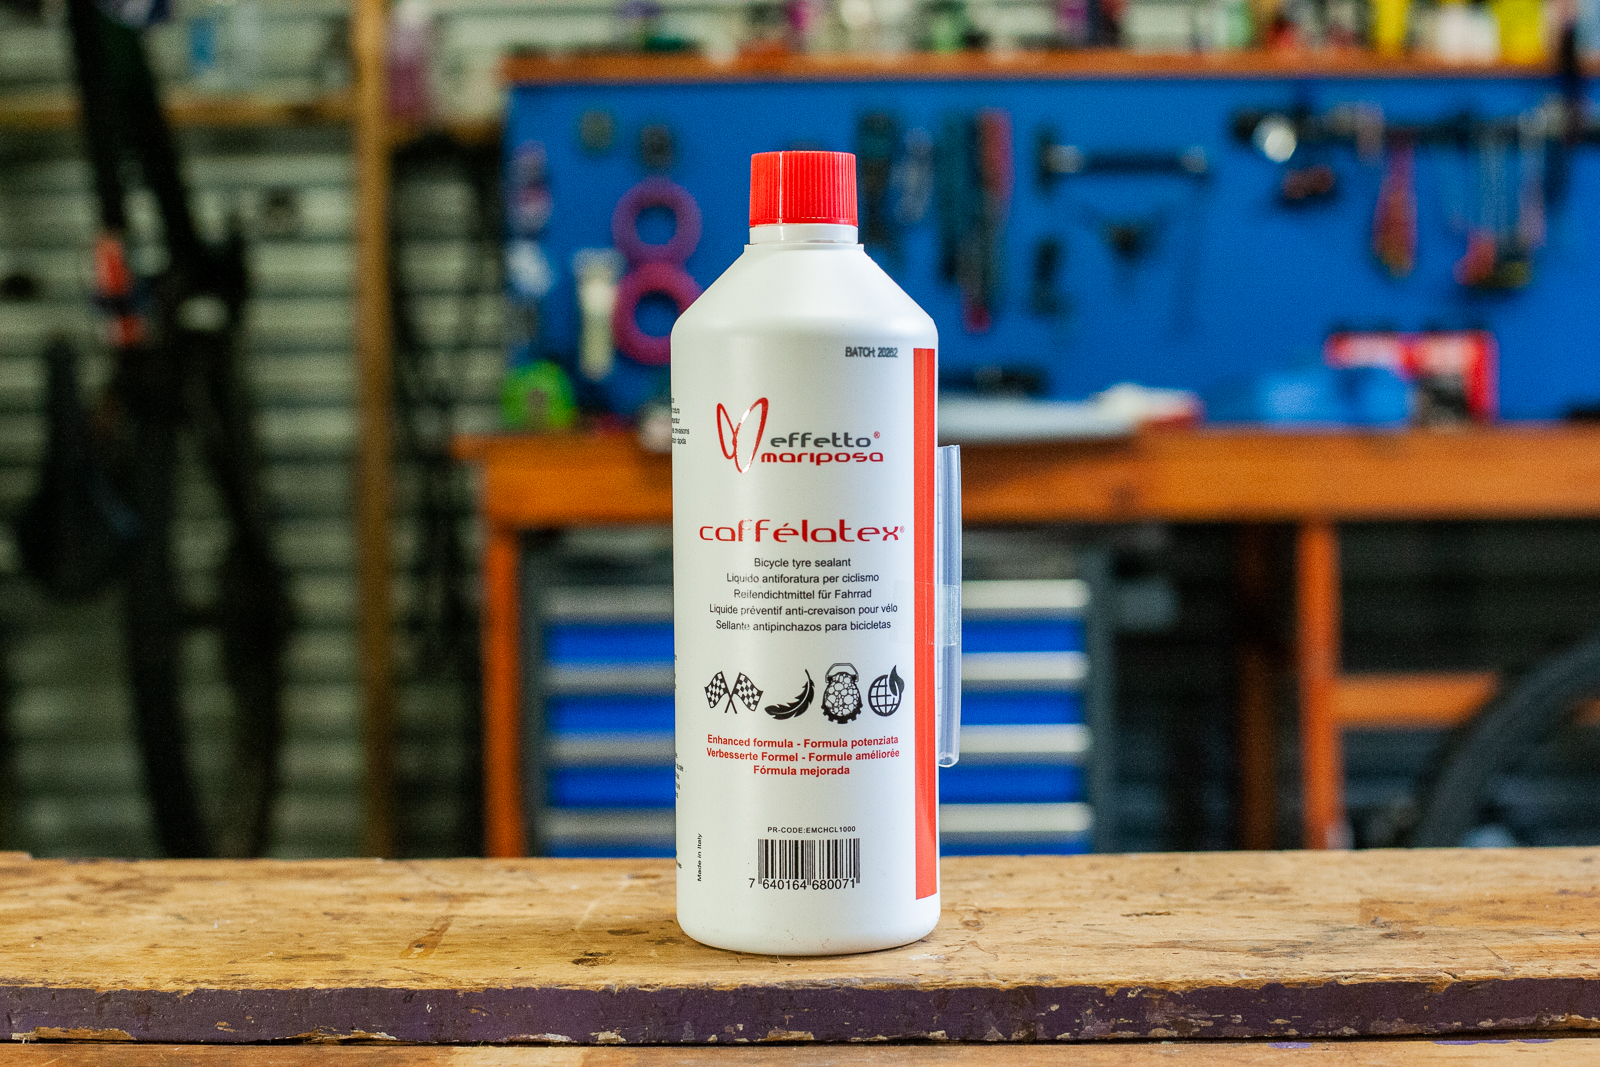
This big 1000mL bottle is $49.95, and given I only needed 85mL, it makes it very good value per wheel. If it passes the test!
Echelonsports.com.au
Squirt are a big name in bike lube, but I haven't used their sealant. It has an additive that gets added to the sealant as you put it in the tyre. It's essentially small fragments to aid sealing I expect, and adding it per setup means there's no chance it all just stays in the bottom of a pre-mixed bottle.
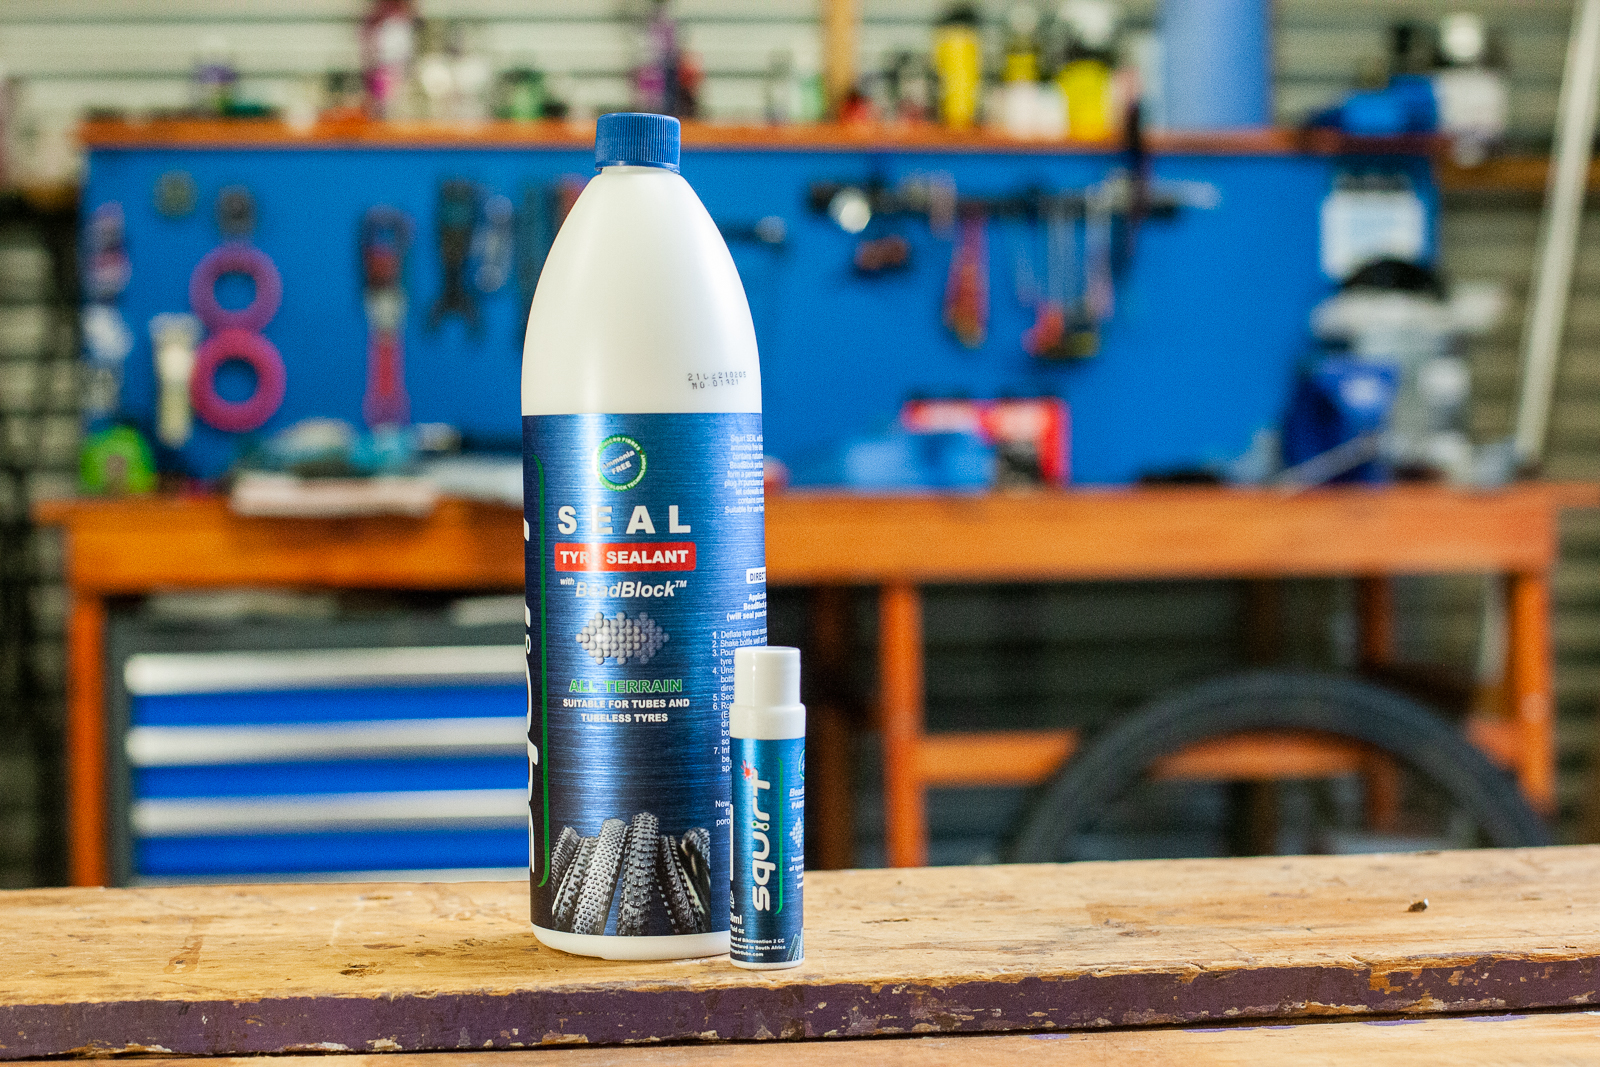
The 1000mL container and Beadblock is available for about $39.99, which suits about 8 wheels. The sealant is claimed to seal a 3mm hole without the Beadblock particles, and up to 6mm with them.
Bikebox.com.au
The last one to use was Stan's NoTubes. This one is a very popular sealant, not just because it has been around for ages – but because it works!

This 946mL jug sells for around $45, and will do over ten 2.4" tyres based on the recommended volume. It also seals up chemically with the Stans DART plugs.
JetBlackProducts.com
Check back in our January issue to see the results – we'll be covering some tubeless tips between know and then on social media – make sure you follow us on Instagram and Facebook.