Words: Jared Rando
Photos: Nick Waygood
Either way, clipping in is definitely worth a try if you haven’t already. Flat pedals in mountain biking are about as popular as they have ever been but it wasn’t always that way. Clip in pedals were once standard equipment for any mountain biker, even for the most novice of riders.
These days it really comes down to a personal choice but there are some great points about being clipped in. The key part for me is grip – you could have the stickiest shoe with the longest pedal pins and they still won’t hold your feet in as well as as a good set of clip ins. Pedalling efficiency has been improved over the years for flat pedal equipment but the advantages of a stiff clip in shoe with the ability to pull up will always leave flat pedals behind in the efficiency department.
SKILLS: How to Stop Pedalling to Go Faster
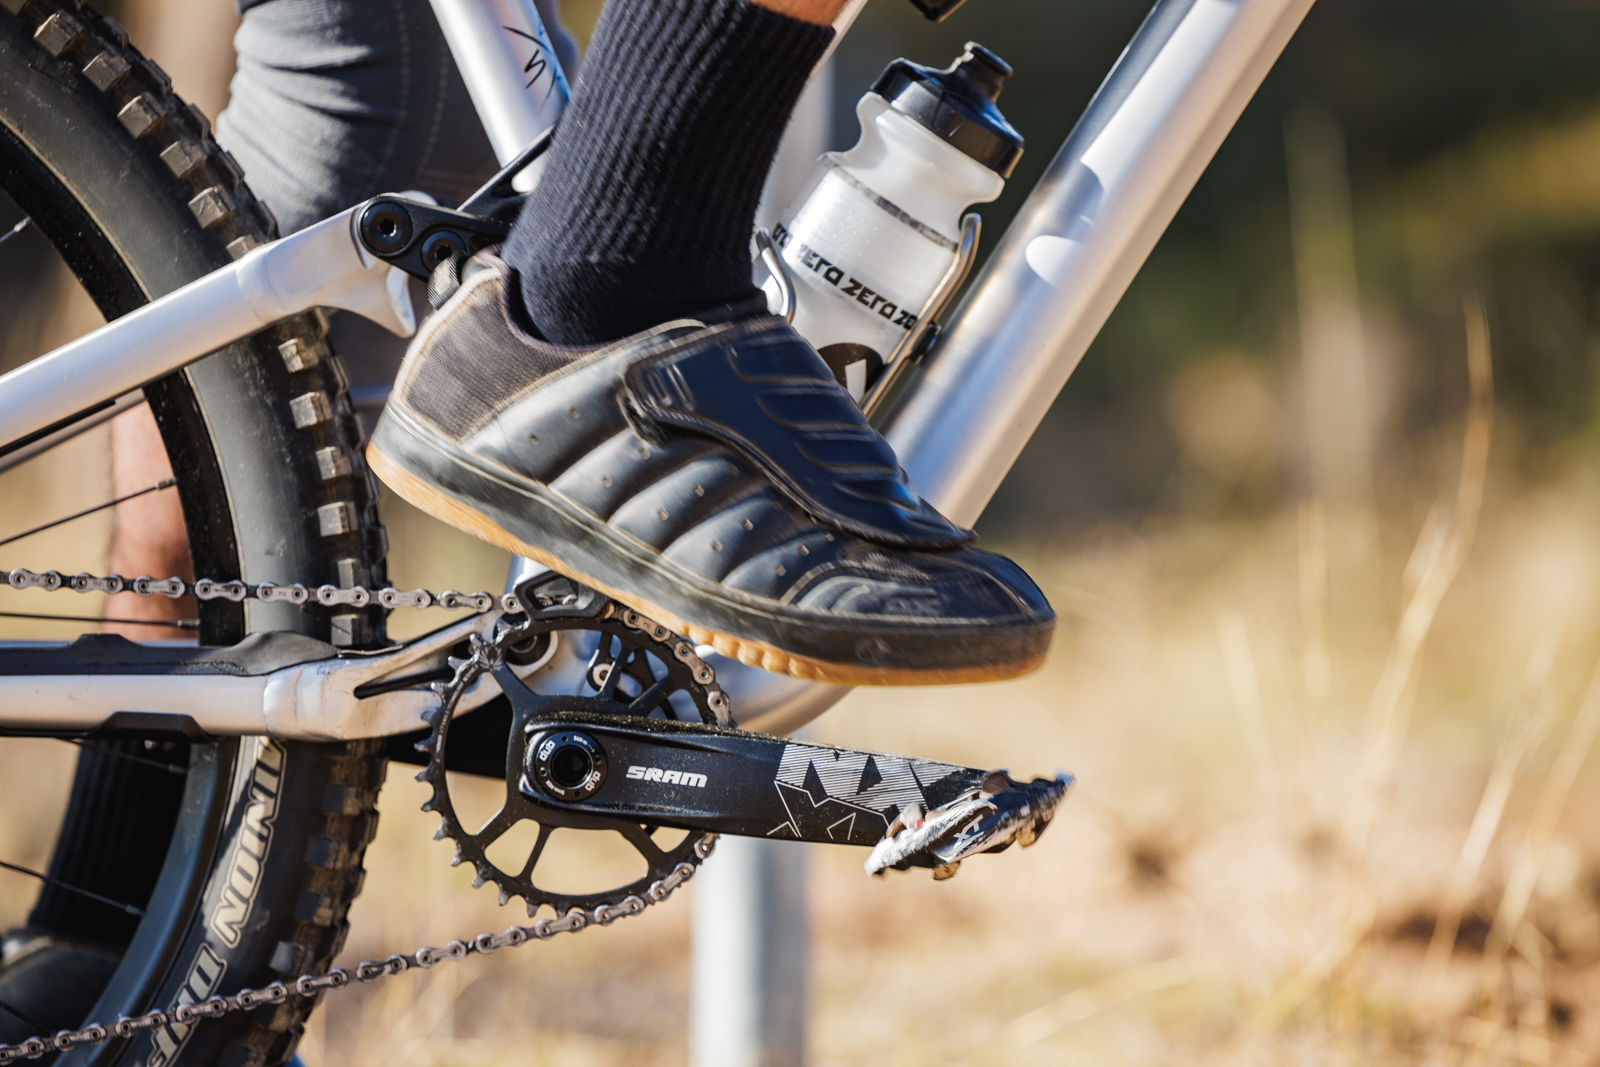
Lastly, one of the most overlooked advantages of clip in pedals is their (generally) slim and smooth profile and durability. More rock clearance is a great thing and there are a whole bunch of clip in riders out there like myself who have been running the same pedals and shoes for years, and years, and years. Hey, if it isn’t broken, don’t fix it!
That all said there are some times when flat pedals shine – for beginner riders and learning general bike handling skills, I’d always recommend a flat pedal setup and when it comes to jumping and stunting, flats are always the best option. In any case, if you want to give clip ins a go, here’s some tips to get you rolling.
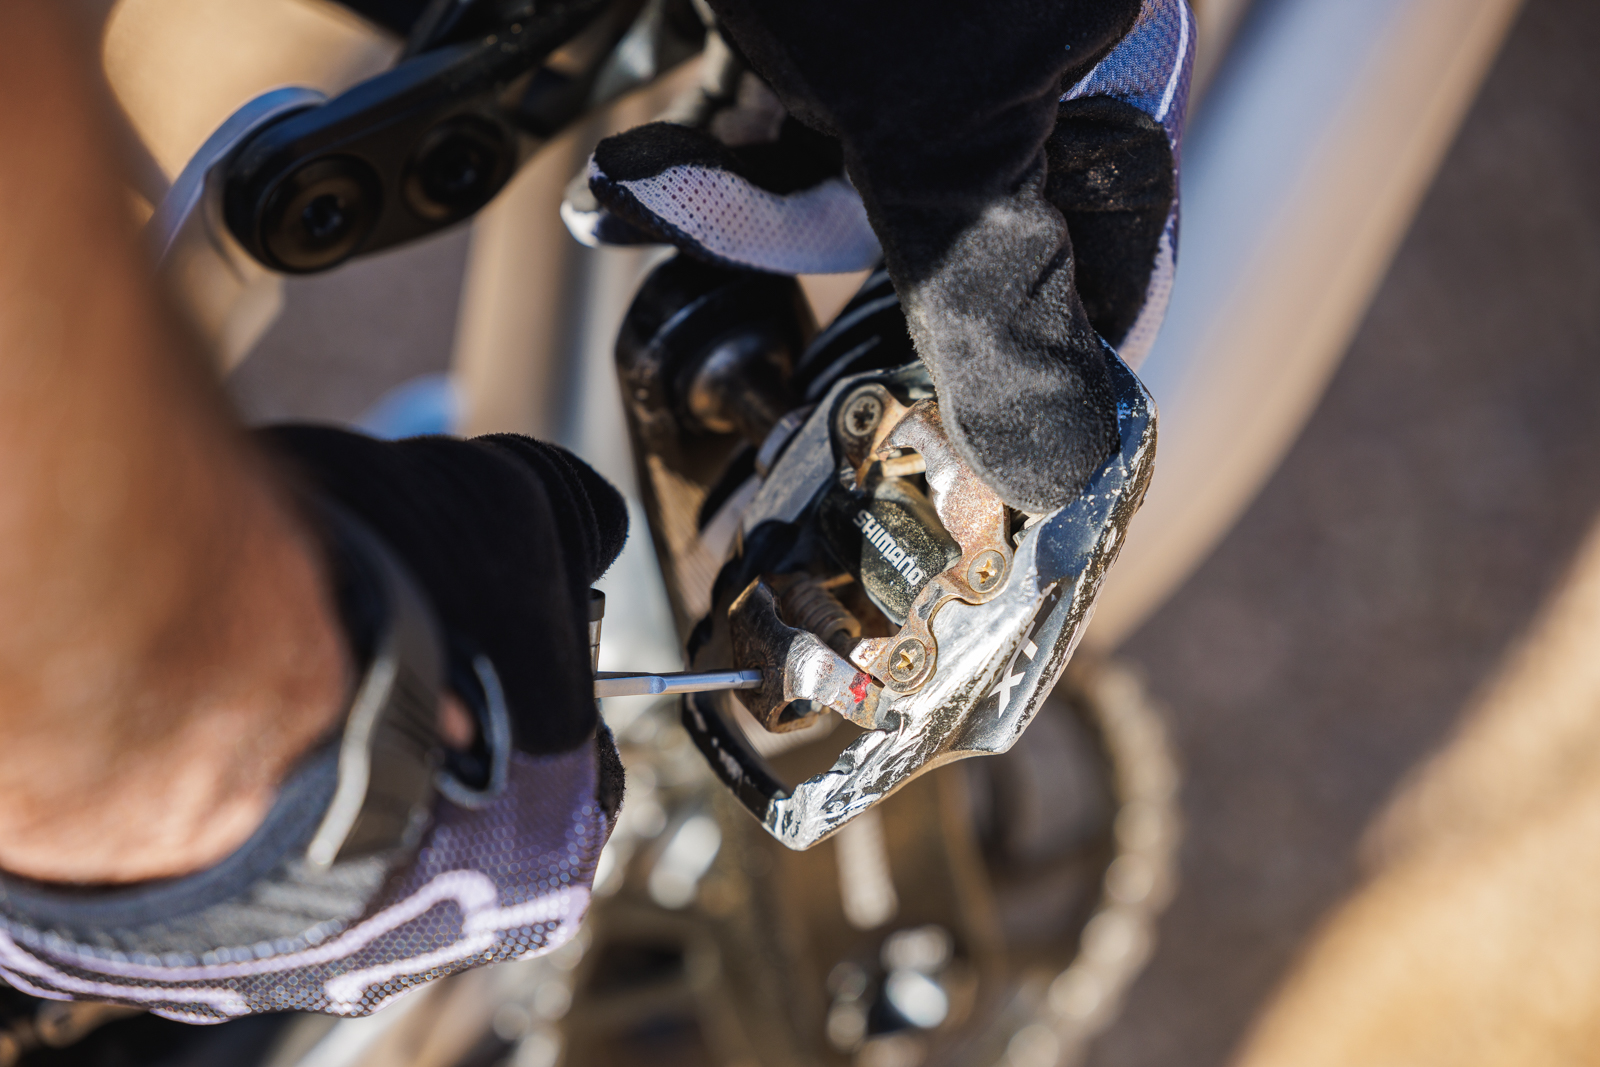
Step 1 – Understand your tension adjustment
This is a no brainer really but there are some points to consider. Of course, start out with minimal tension and work your way up. If you want your pedals extra loose you can also lube up the clip in mechanism which will make release even easier to clip out (although once you are confident I prefer leaving it dry to maintain consistency). Lastly go by feel on each pedal and each side of the pedal and look for a matching resistance rather than clicks or turns – quite often spring tensions can be inconsistent. Obtaining the right feel to suit your preference is the key point and as you get more confident you’ll likely find you need to increase tension as you more comfortable and aggressive on the bike.
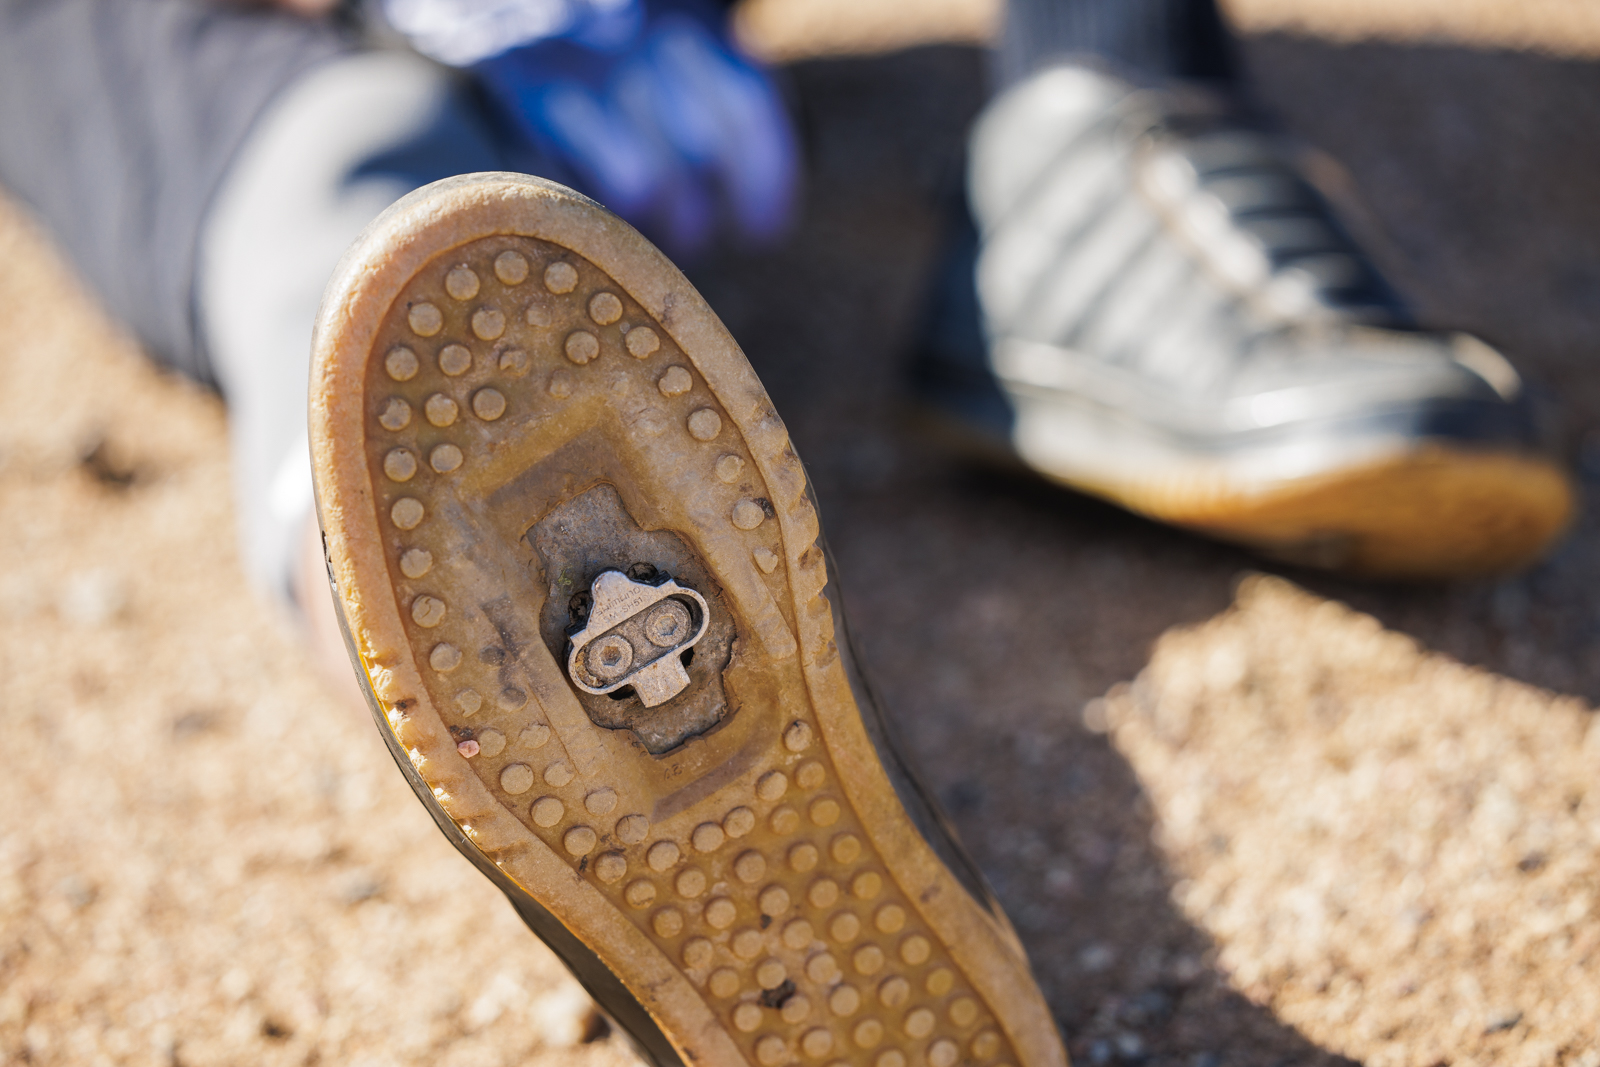
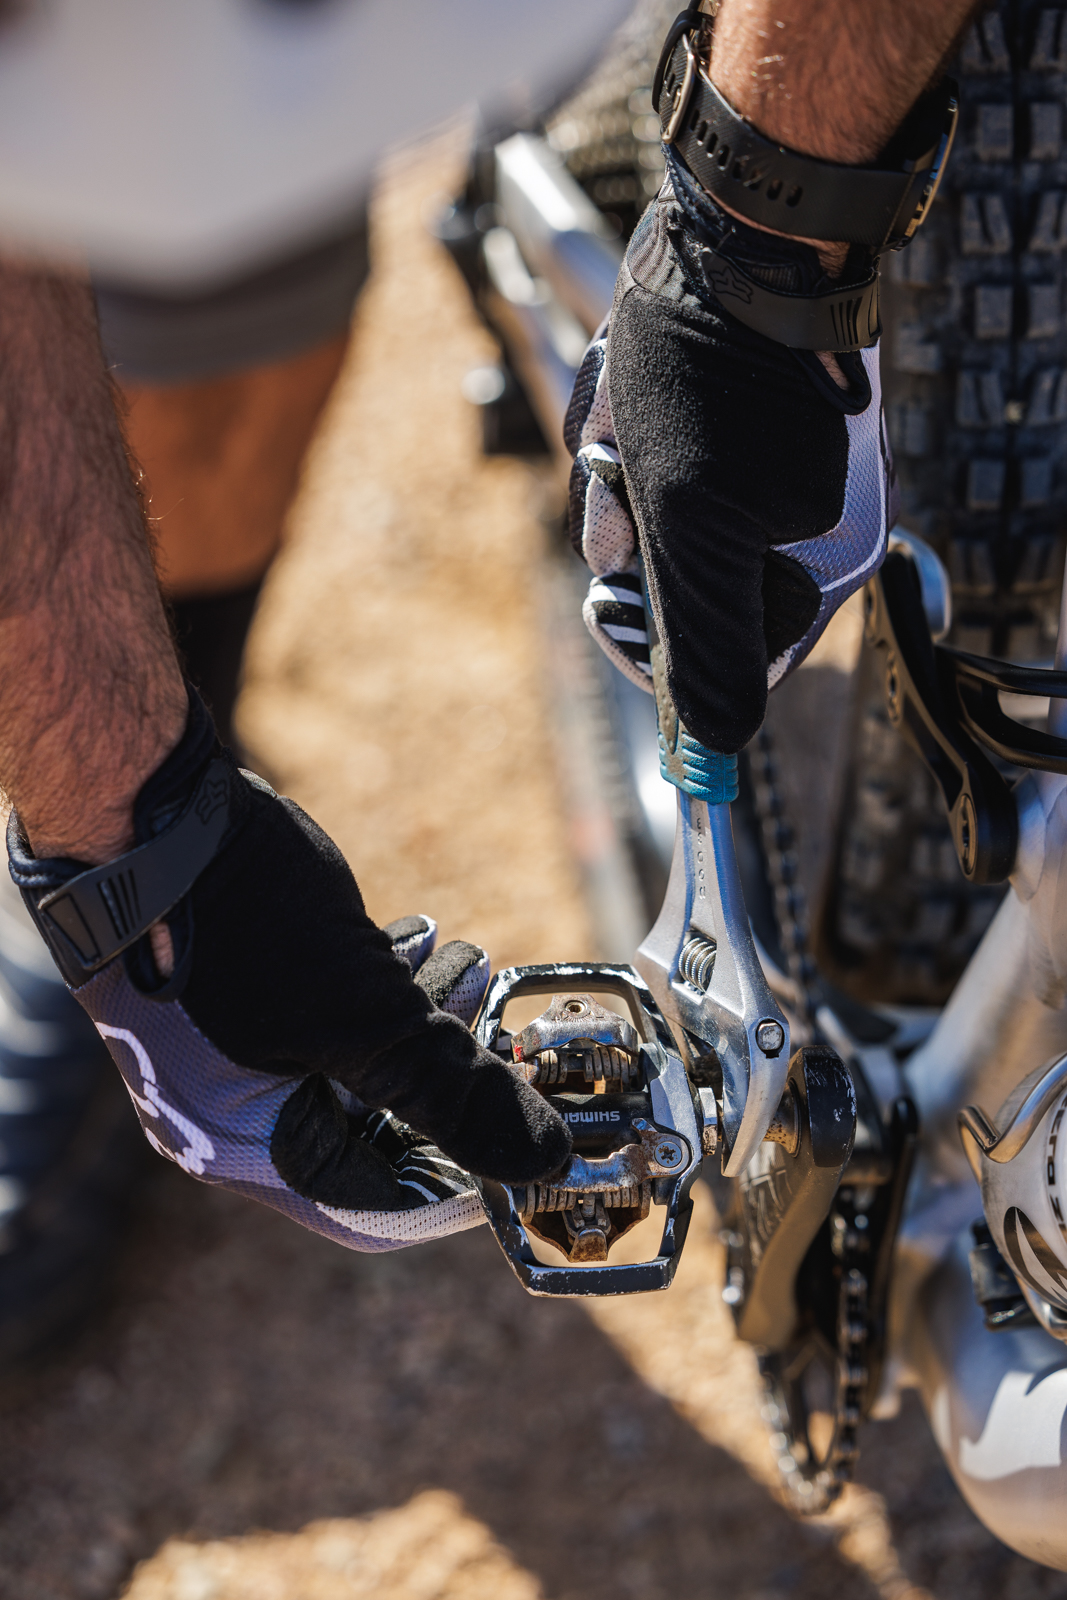
Step 2 – Cleat location
Google cleat location and you’ll find a bunch of items on what to do but I’d suggest keeping things simple unless you are a serious XC guy. Try dead centre of your shoe and go from there – once again finding a feel to suit you is key. Flat pedal and gravity riders though will generally feel more comfortable with the cleat location further back so keep that in mind if that might describe your situation. Also, remember to grease the bolts when installing your cleats – these can get super dry over time and when it comes time to replace your cleats (yes – they do wear out!) it will save getting out the drill and hammer. Another thing to remember is that fresh cleats are a beautiful thing and keep your pedals feeling consistent and snappy. I replace mine on a fairly regular basis for that reason. Really old cleats can also pop out without warning so for what a new set of cleats cost it’s a no brainer to keep them fresh.
Step 3 – Time to practice
The best thing you can do once you’re set up and ready to go is to find a wall (or a wind trainer), throw on your favourite podcast and sit there for as long as you can bear it, clipping in and out. Push down toe first to clip in and twist sideways to clip out. This will get you the general feel for the clip in and release mechanism and speed is key as you get used to the feeling. A great exercise is to spin the pedal backwards with your foot as hard as you can and then clip in as quickly as you can by stomping down with a forward motion into the pedal. You’ll be surprised at just how fast it can all happen once you get a feel for it. Do this about a million times, as much as you can bear, or until you’re confident before taking it to the road unassisted.
Step 4 – Practice on the bike
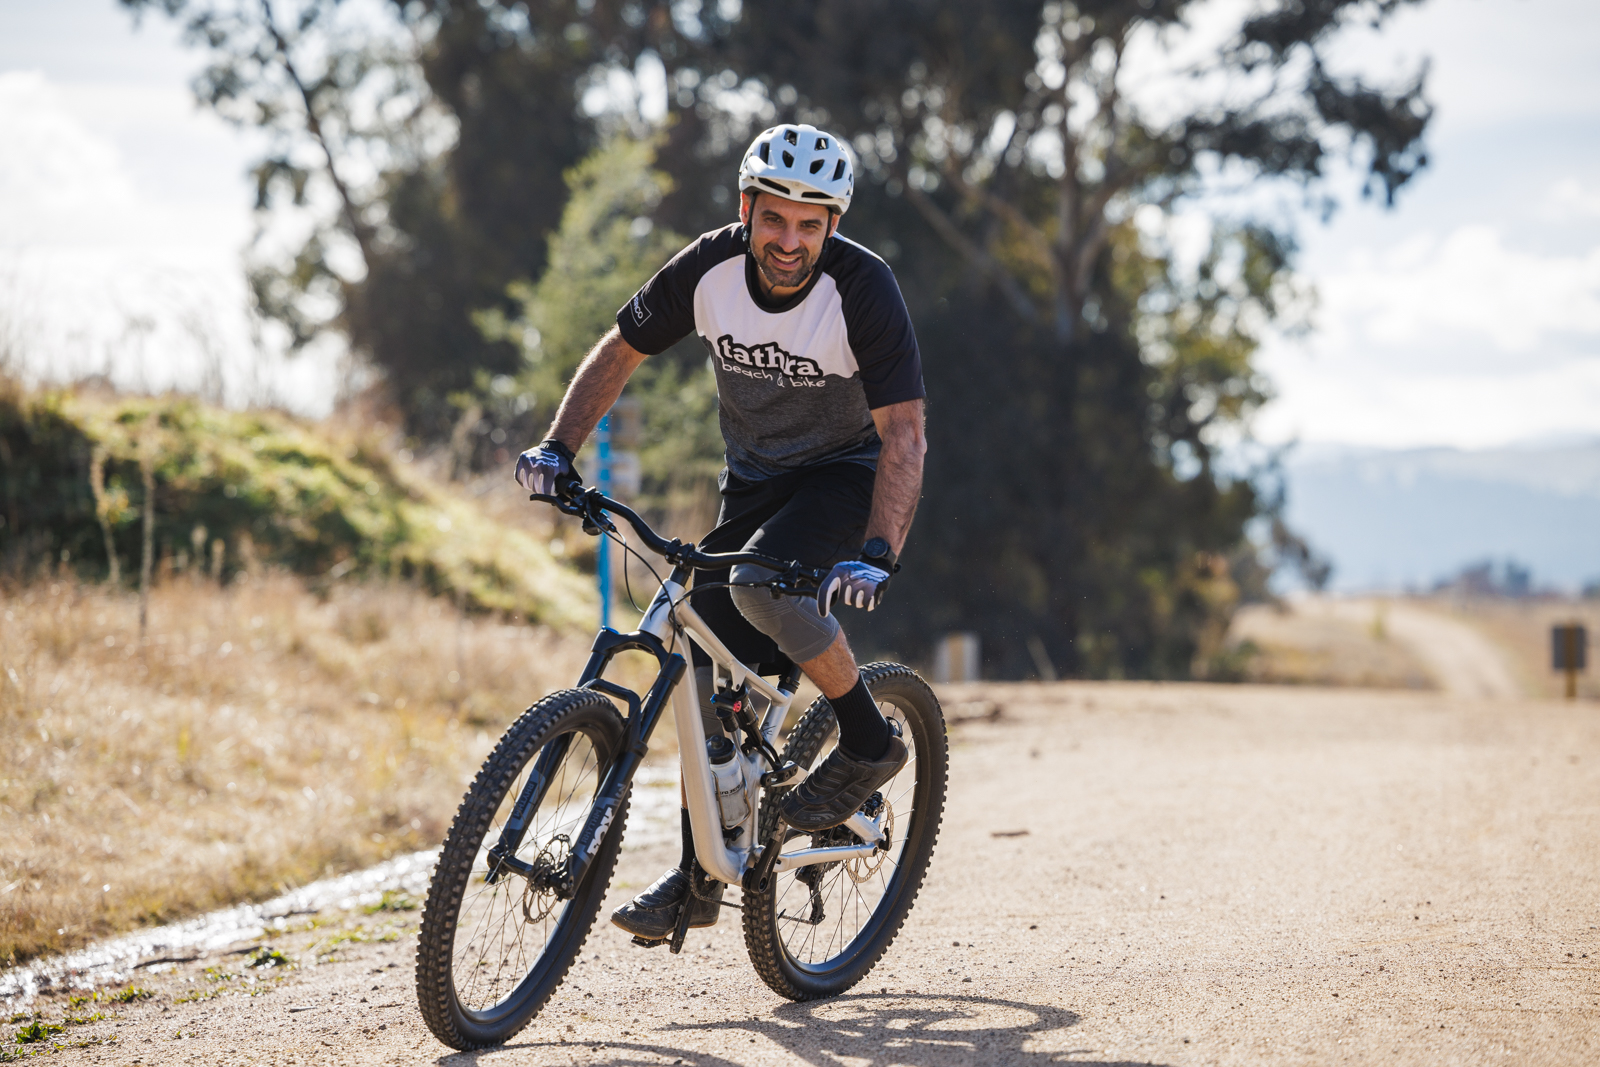
Find some grass or a gravel road if you dare and get your slalom on. Practice unclipping and clipping back in, each and every turn to build your confidence. The more you do it the better off you’ll be once you finally hit the trail. You can also use the opportunity to bounce around on the bike, practice bunny hopping and general skills like track stands to get a feel on the bike for the pedals. Once you hit the trails start out easy! A weekend at Thredbo with the crew isn’t the ideal time to give it a go. Start out on familiar and easy trails and build your confidence from there. In time you will really appreciate how clipless pedals can have a positive impact on your riding.
Step 5 – Maintain your pedals
It’s really important to maintain your pedals as any failure can be catastrophic and pedals are quite often overlooked. Like I mentioned before don’t forget about your cleats until it’s too late but you also need to check pedal bodies are tight on the axles (Which I do obsessively after having one come loose in a World Cup DH start gate…) and bearings are lubed. Do this and your setup should last you a really long time, see you through many bikes and end up like that old hoodie or jacket you just can’t get rid of because it’s so damn comfortable. And hey, if you don’t like being clipped in you can always go back to flats or even switch between the two options when the conditions call for it.
Want more skills? We’ve got a whole section dedicated to step-by-step guides!