Skills: How To Dial in Your Tyre Pressure
Dial in your tyre pressures with these tips!
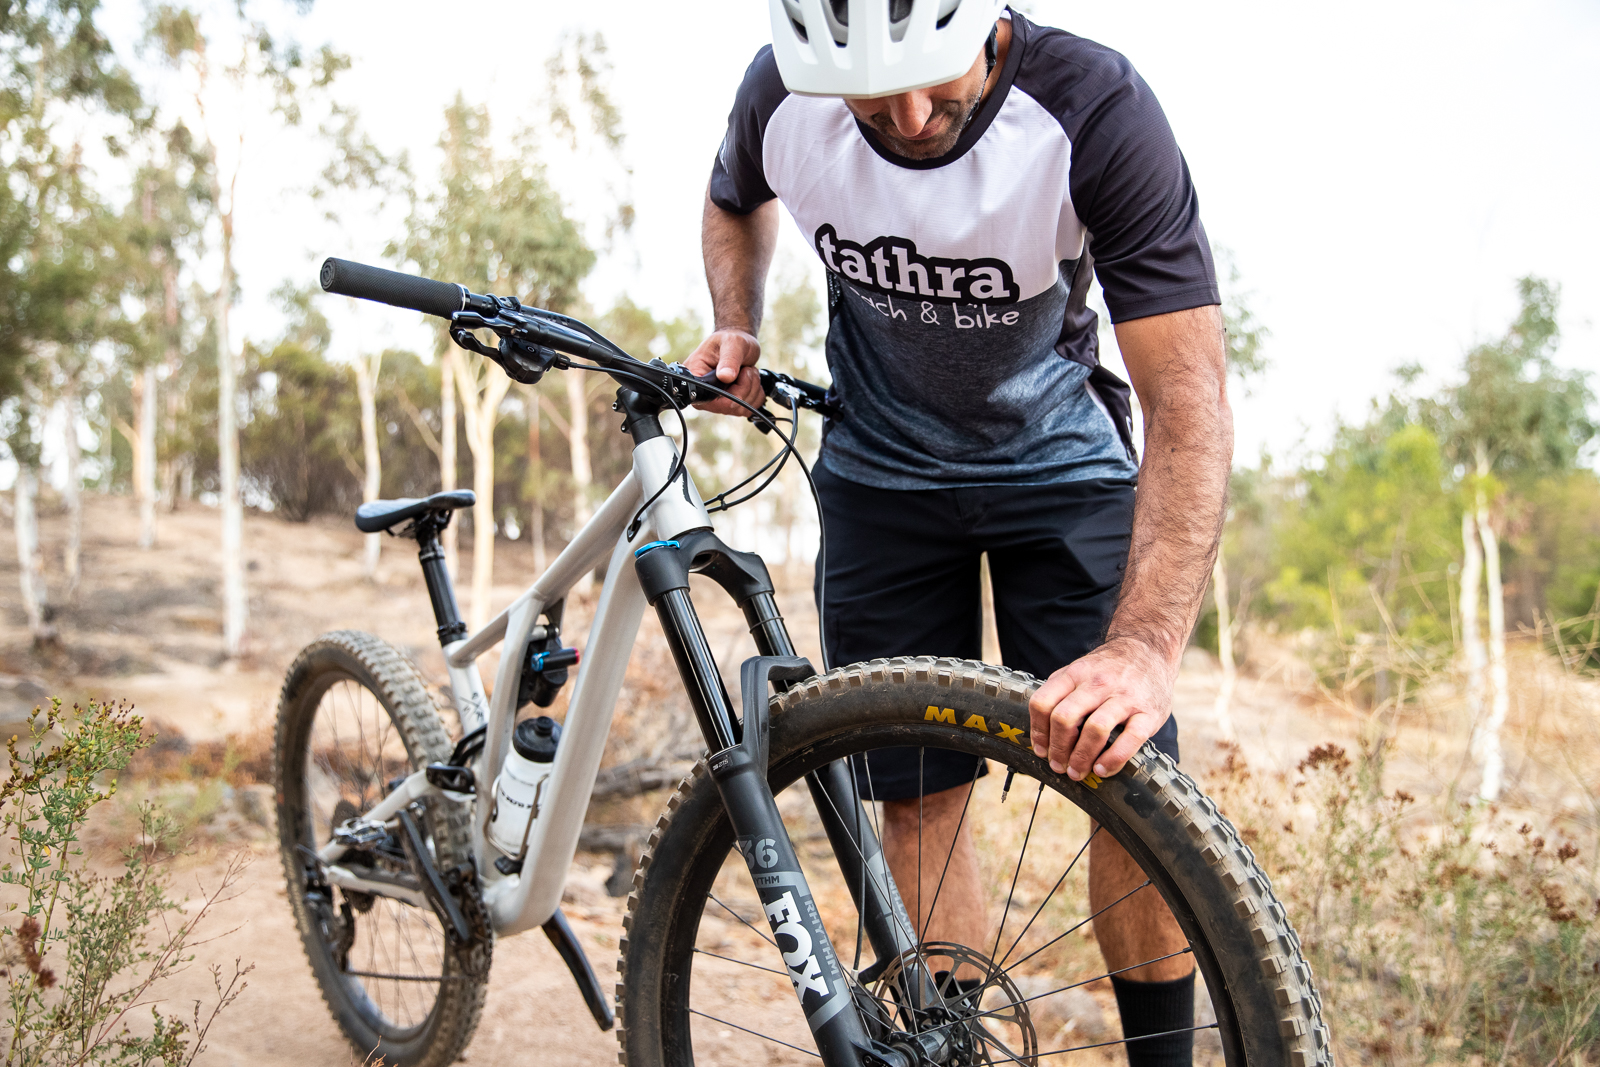
Words: Jared Rando Photos: Nick Waygood
It would be way too easy to dedicate each and every page of this website to tyres, setups and pressures. There is a huge amount of information which needs to be considered when it comes to getting it right and the truth is the sweet spot on any given setup can vary so much based on the conditions, type of trail, suspension setup and almost every element of what you are doing on the bike. That said, getting it close to right is often simple enough with some good advice from others but that said, once you get rolling, there are a few key things I reckon you need to look out for to get it dialled, and also keep you safe. Here they are.
Step 1 – The Golden Rules
- Run your rear tyre with a slightly higher pressure than your front. 2 – 4 psi is generally sufficient.
- NEVER ride without knowing what pressure you are running in your tyres. Check before every ride. Low tyre pressures can cause some serious harm.
- One size does not fit all when it comes to tyre pressure – every element of what you ride and how you ride has an effect on the ideal pressure.
- Higher pressures are required for heavier riders, fast and rocky trails, jumps, berms, heavy compressions, more advanced riders, narrower tyres, shorter travel bikes and stiff suspension.
- Lower pressures are great for light riders, novice riders, slower trails, flat turns, softer suspension setups and loose conditions.
- Finding the balance and what works for you and where you ride is key.
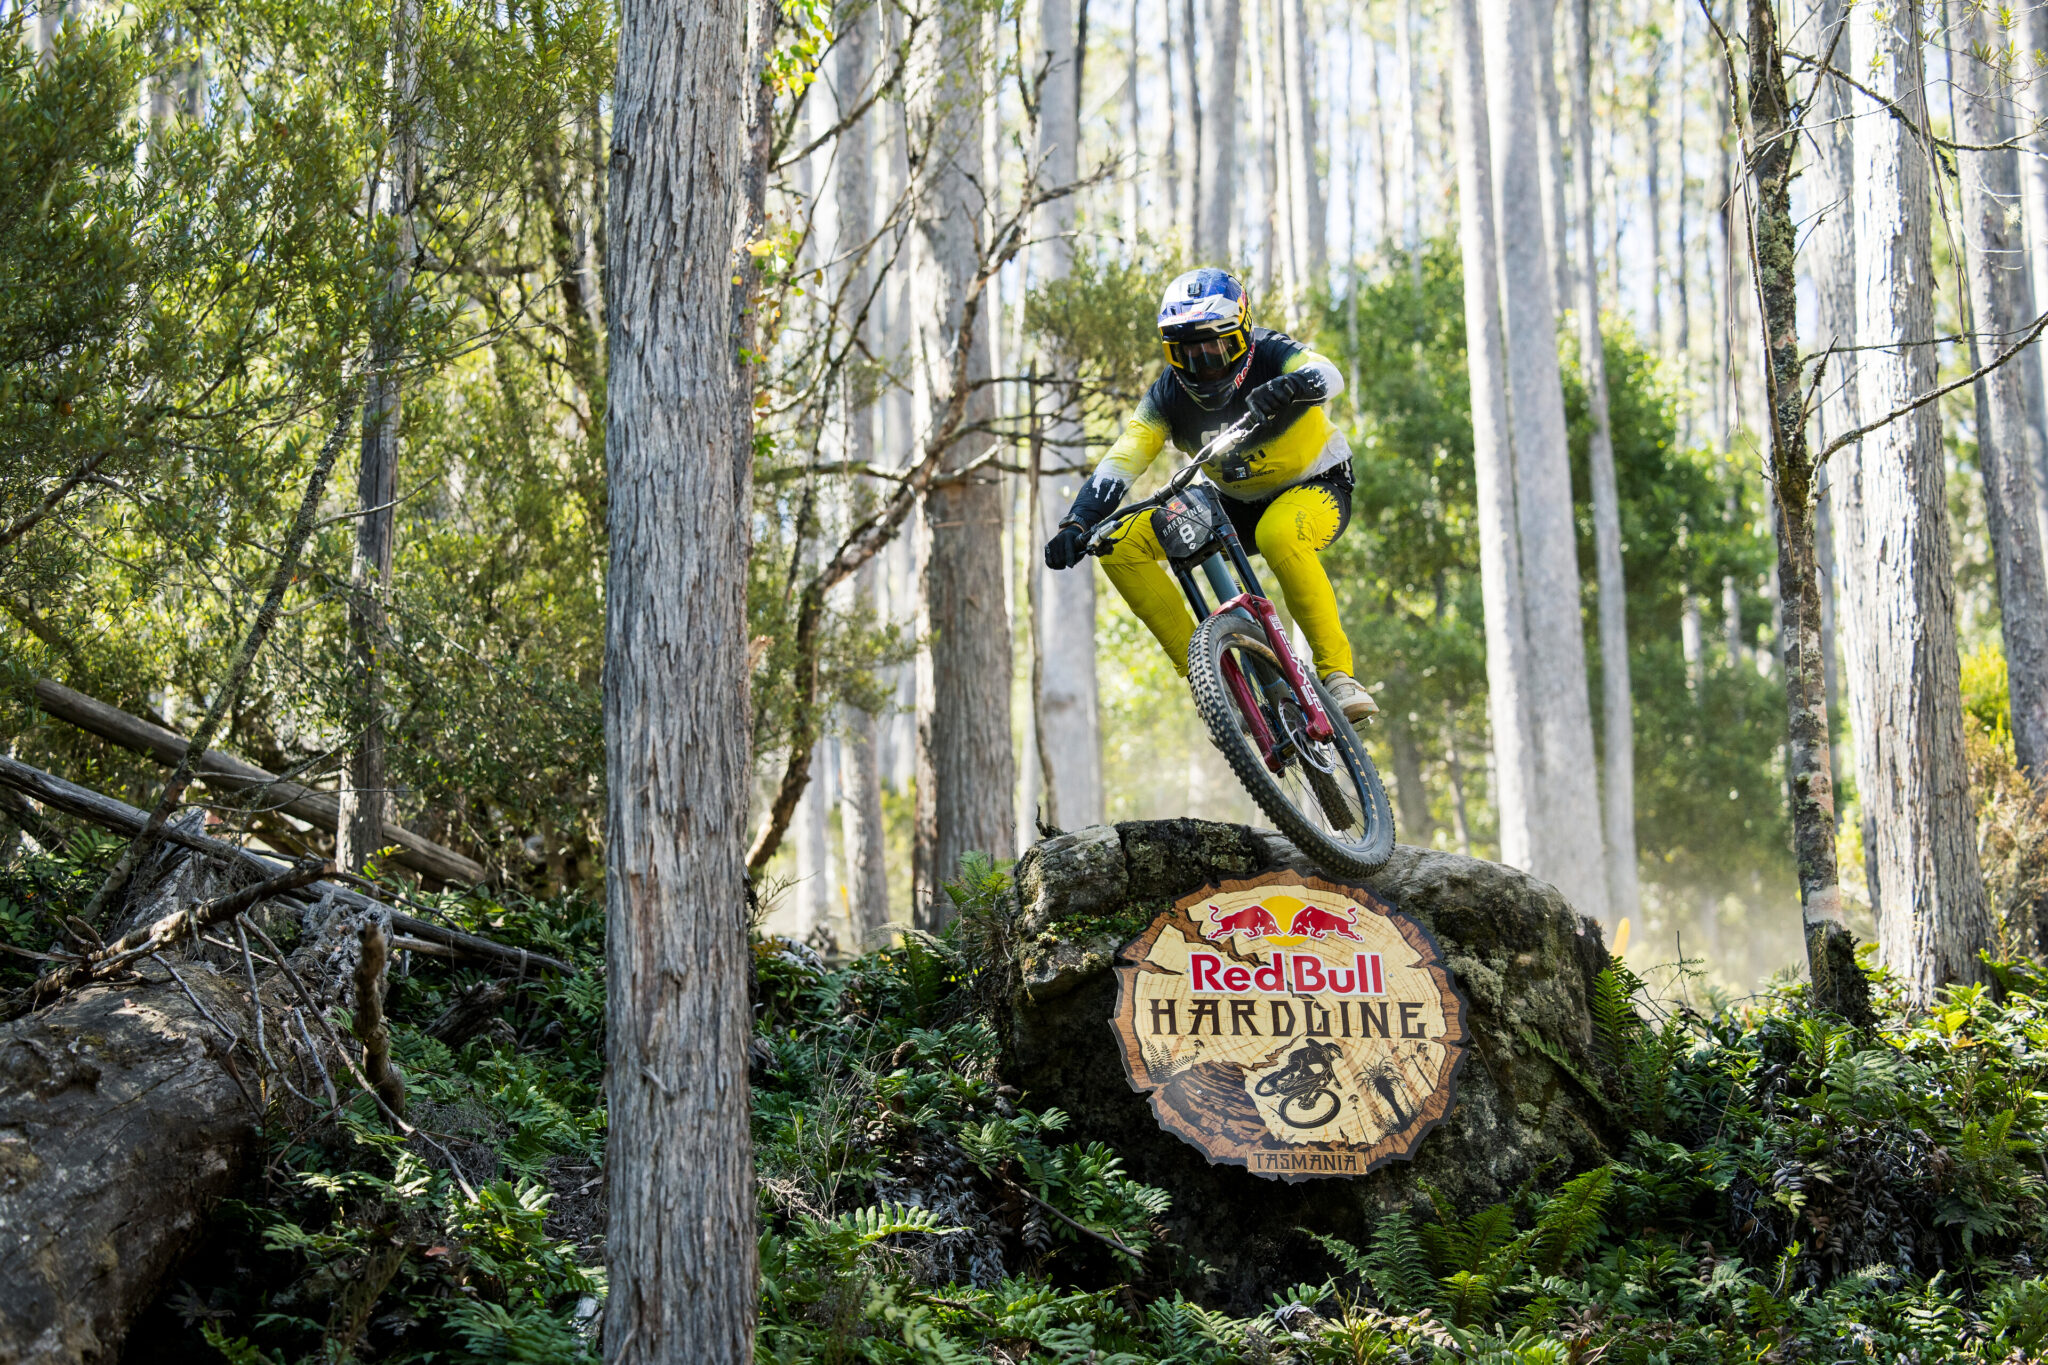
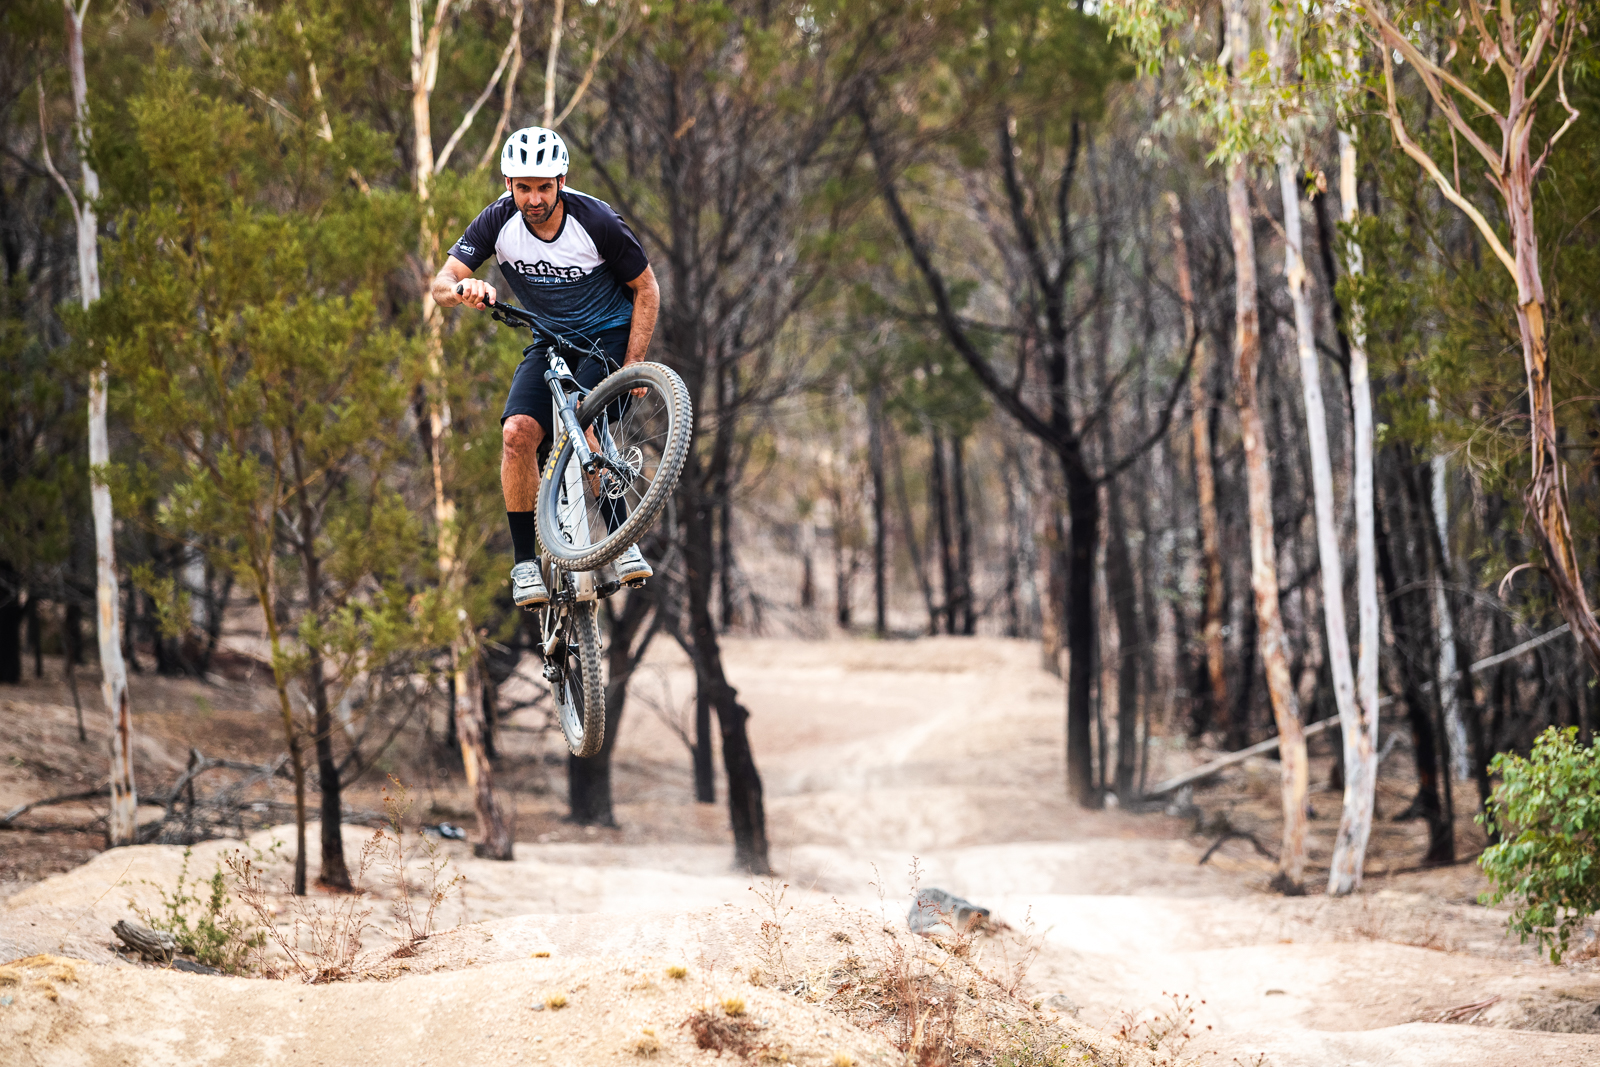
Step 2 – Factor in Jumps and Compressions
When you hit a jump, g-out or any serious compression, you put a huge amount of load on your tyres. Your tyre pressure may seem perfect for 99% of the trail, but what happens when you hit that big jump or drop? Rolling tyres off your rim is by far the easiest and most common way to do yourself some serious injury on the bike and low pressures in these situations only add to the risk. Really try to take note of what your tyres are doing during these situations, and if the roll begins to feel dangerous, a couple of extra psi in your tyres can make all the difference. Sure, it might not grip as well on the rest of the trail but for me that’s a sacrifice I’m happy to make over a broken collar bone or worse!
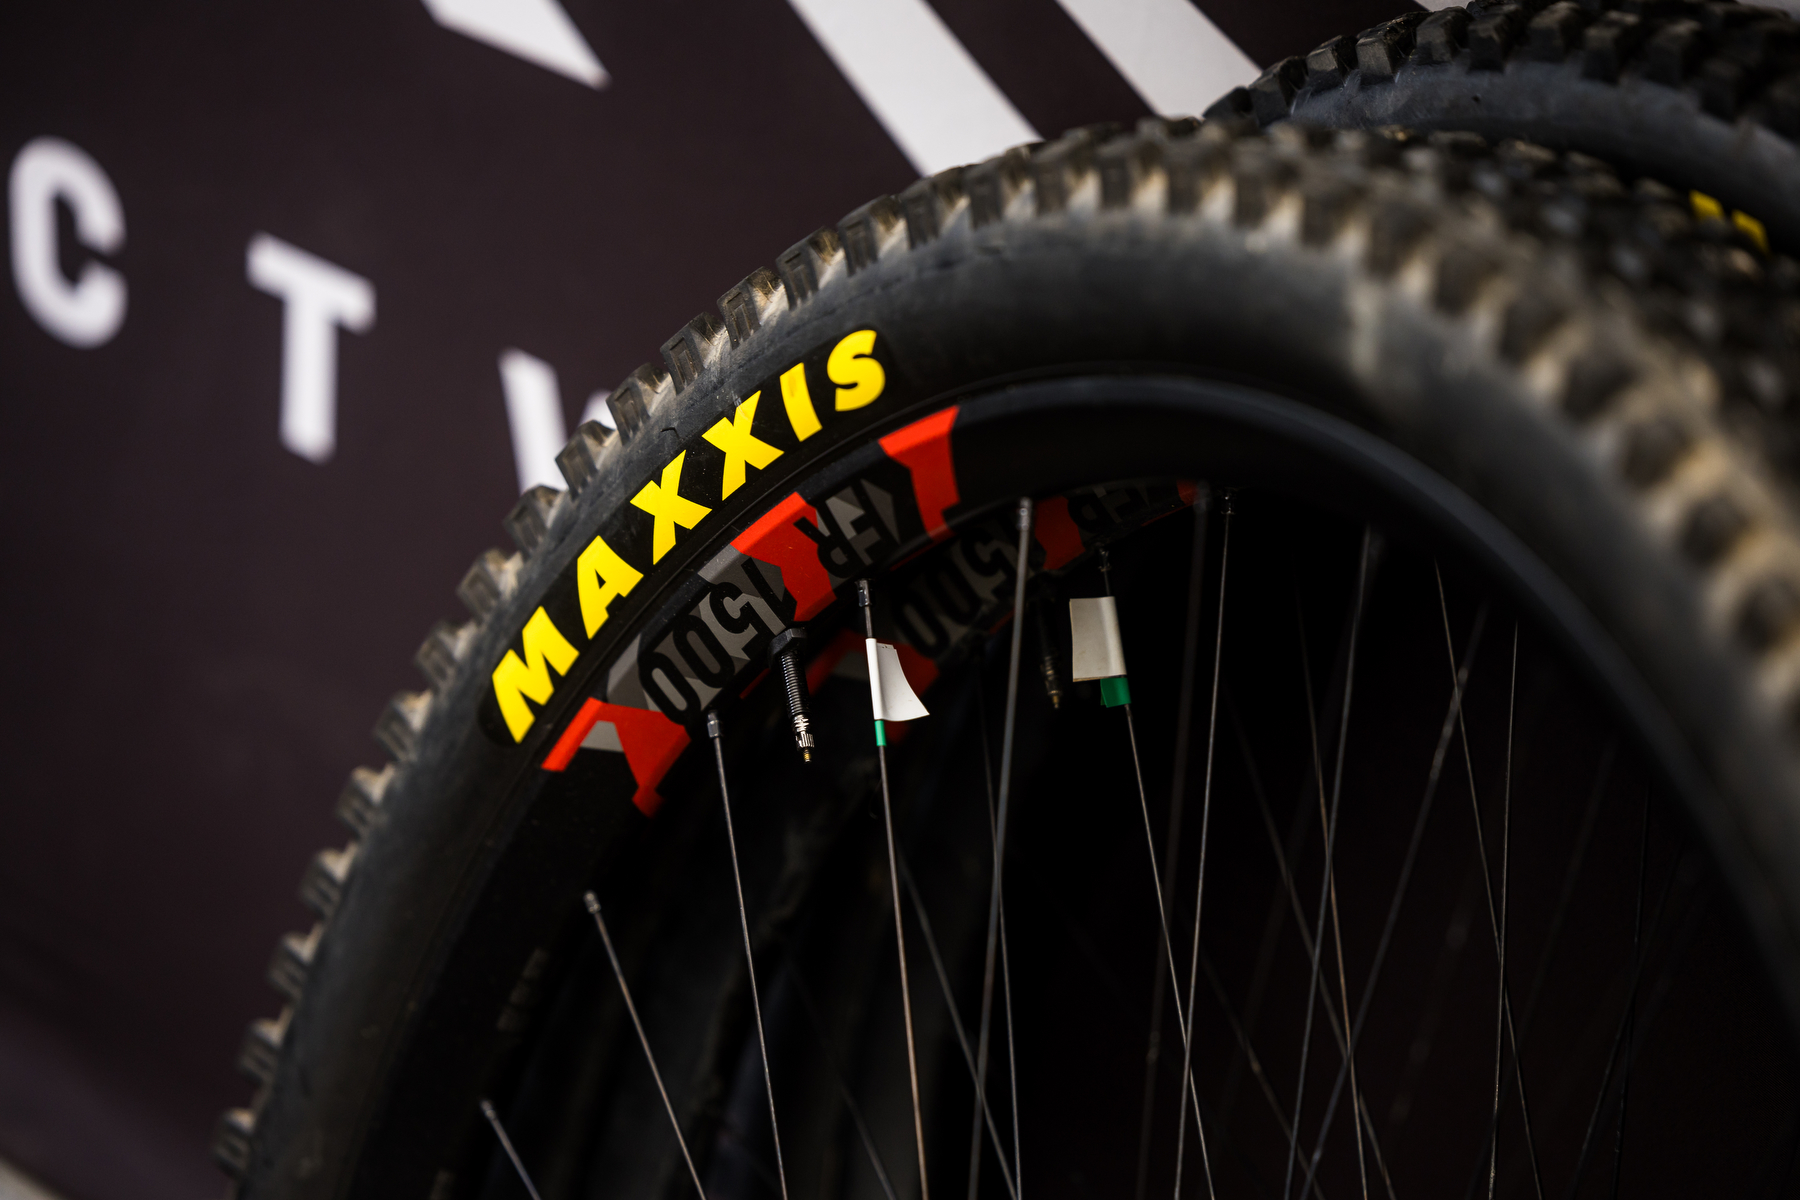
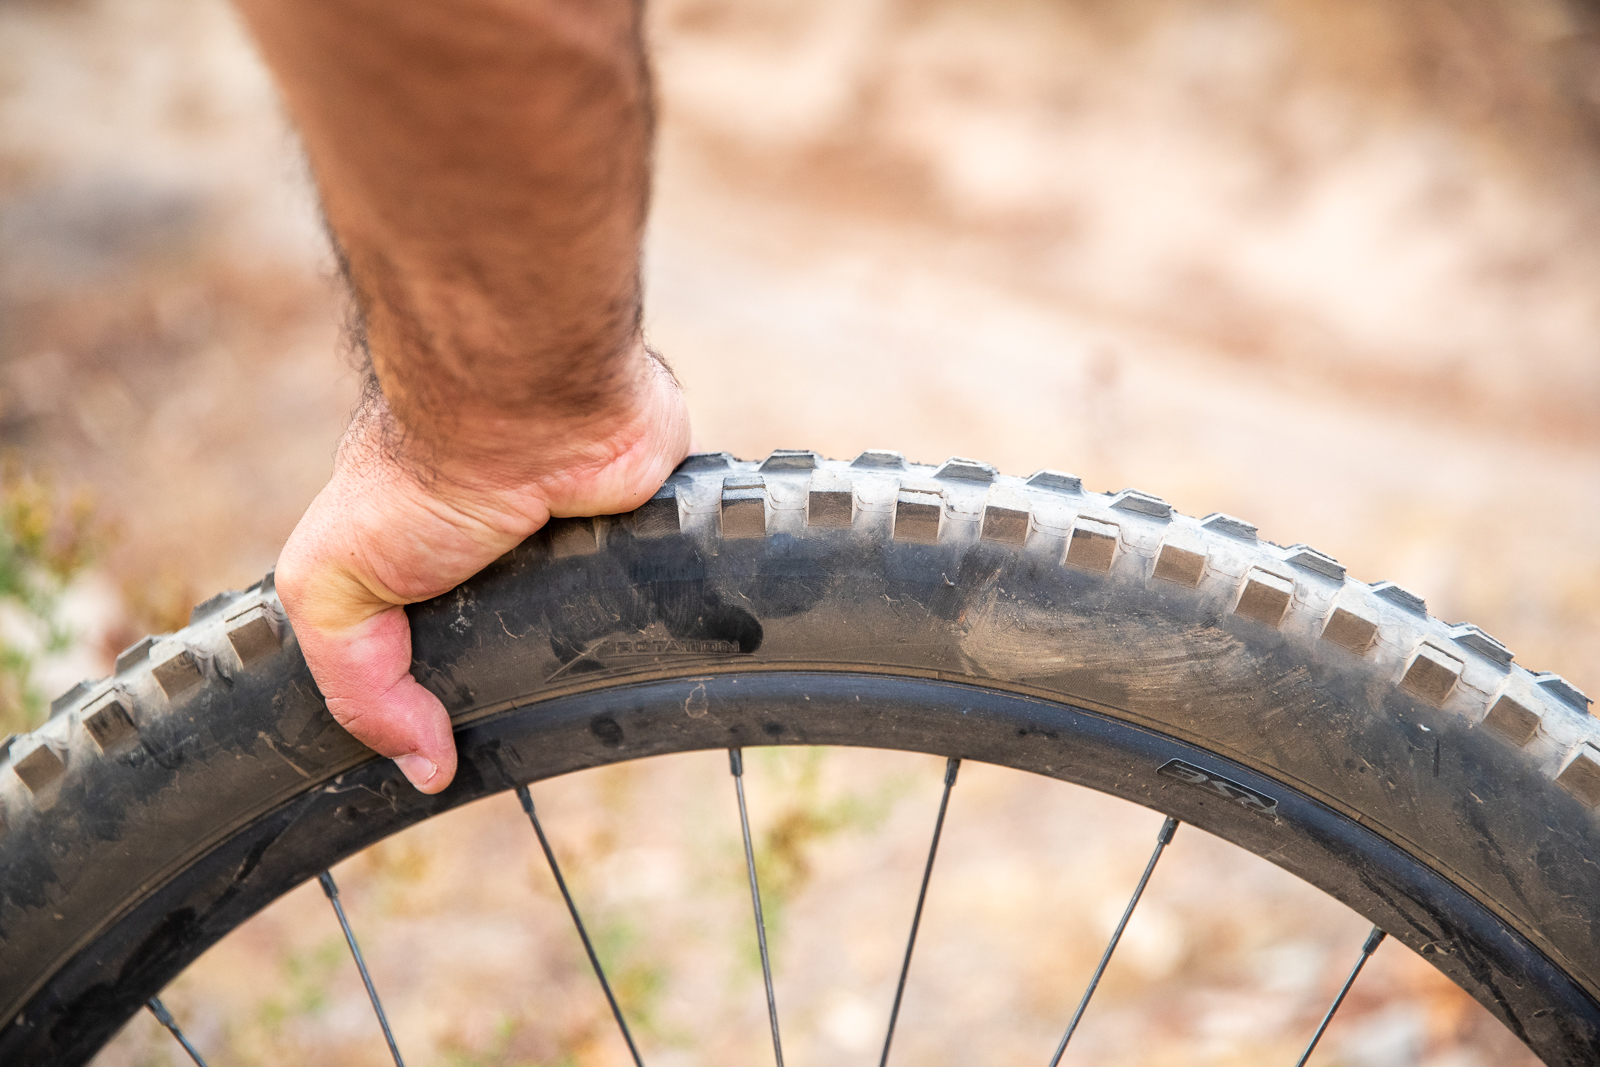
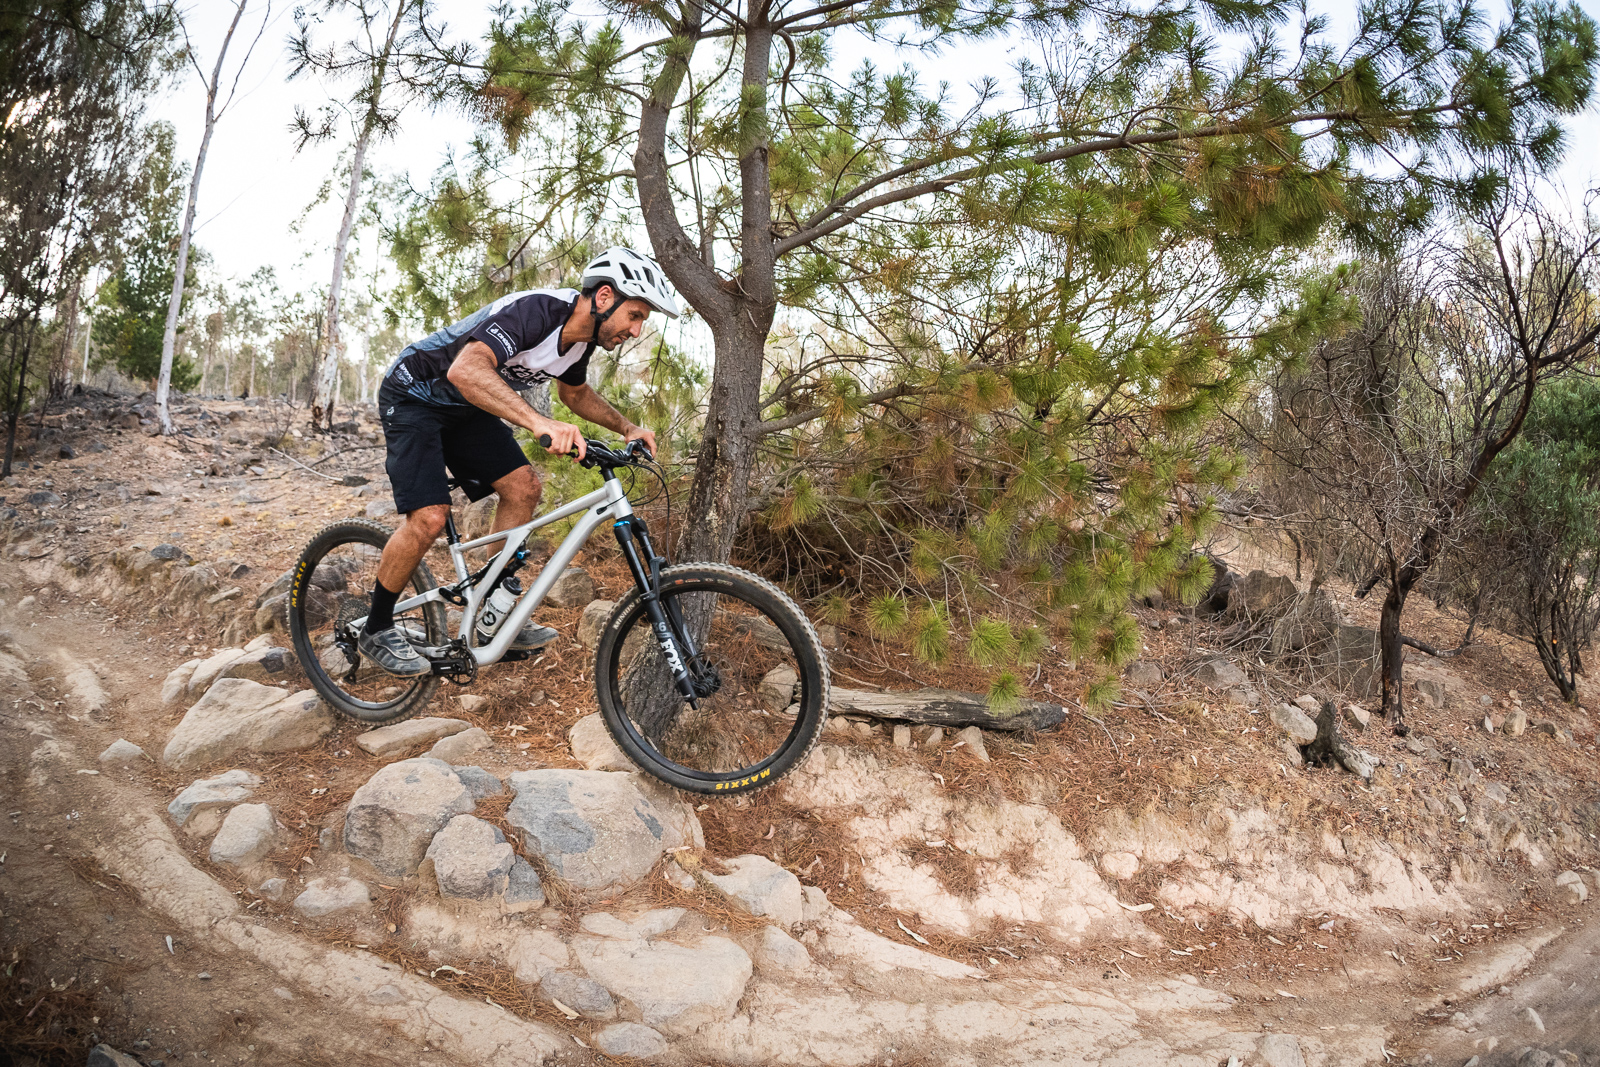
Step 3 – Rocks and Rims Don’t Mix
Like jumps and compressions, rocks and rock gardens also need to be factored in. Luckily there are a whole lot of options out there these days which assist in this space such as heavier sidewall tyres, tyre liners and the like but ultimately, you’ll still need to tune in your pressures to suit. Pay attention to what’s happening through the rocks. Fortunately this is a pretty easy one to figure out – too low pressures can result in some serious damage to your hoops and too high will have you bouncing all over the place. As someone who thoroughly enjoys riding rocky trails and often travels without any spares, slightly higher pressures give me some assurance that I’ll make it home without any issues or stoppages to my ride. For my setup this usually equates to around 29 psi front, 32 rear on 2.5” single ply tyres with no liners on my trail bike if I’m out on the rocky stuff. If I was heading a long way from home, I’d probably up it a bit for some extra insurance. I’m more than happy to give up a little grip for security.
Step 4 – Flat and Loose Turns
On the other end of the spectrum, flat and loose turns are where low pressures really shine. Generally speaking, the slower the trail and looser the conditions means you can comfortably drop pressures. This is why novice riders can also get away with lower pressures as well. Lower pressure means more traction so if you do find yourself skating around a lot and aren’t having any issues with tyre roll in other places, then try dropping your pressures. Just remember that it’s all a balancing act to get it right based on your setup and riding style.
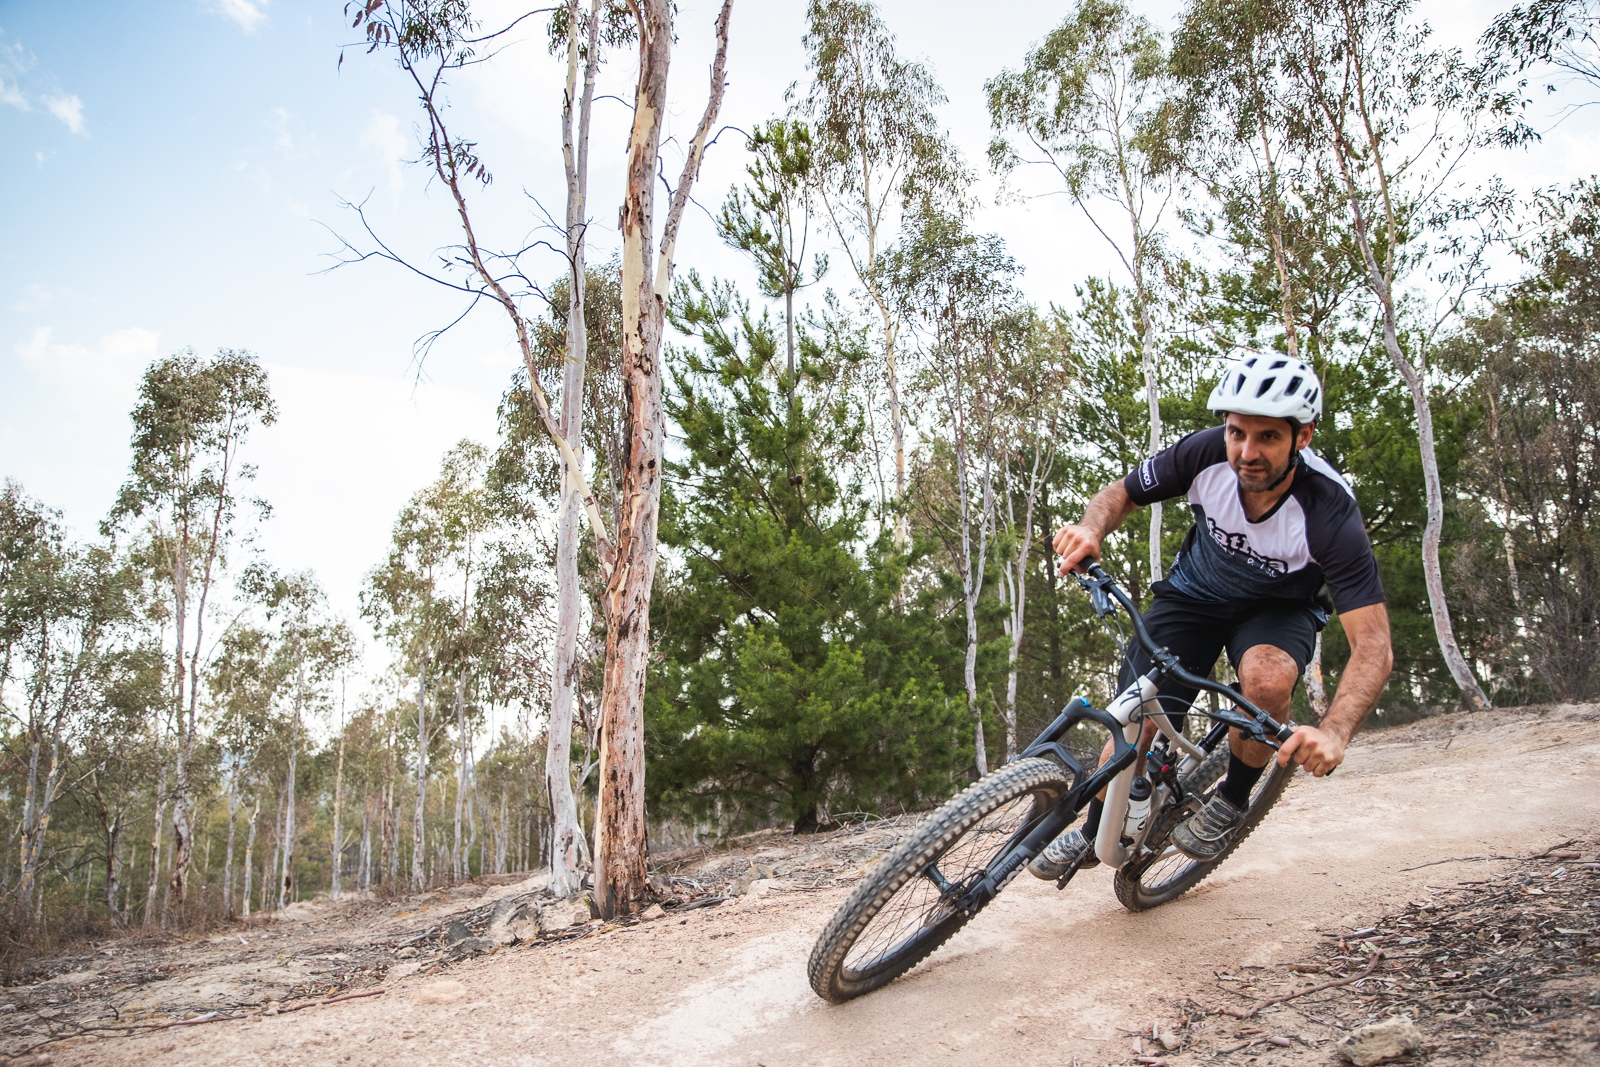
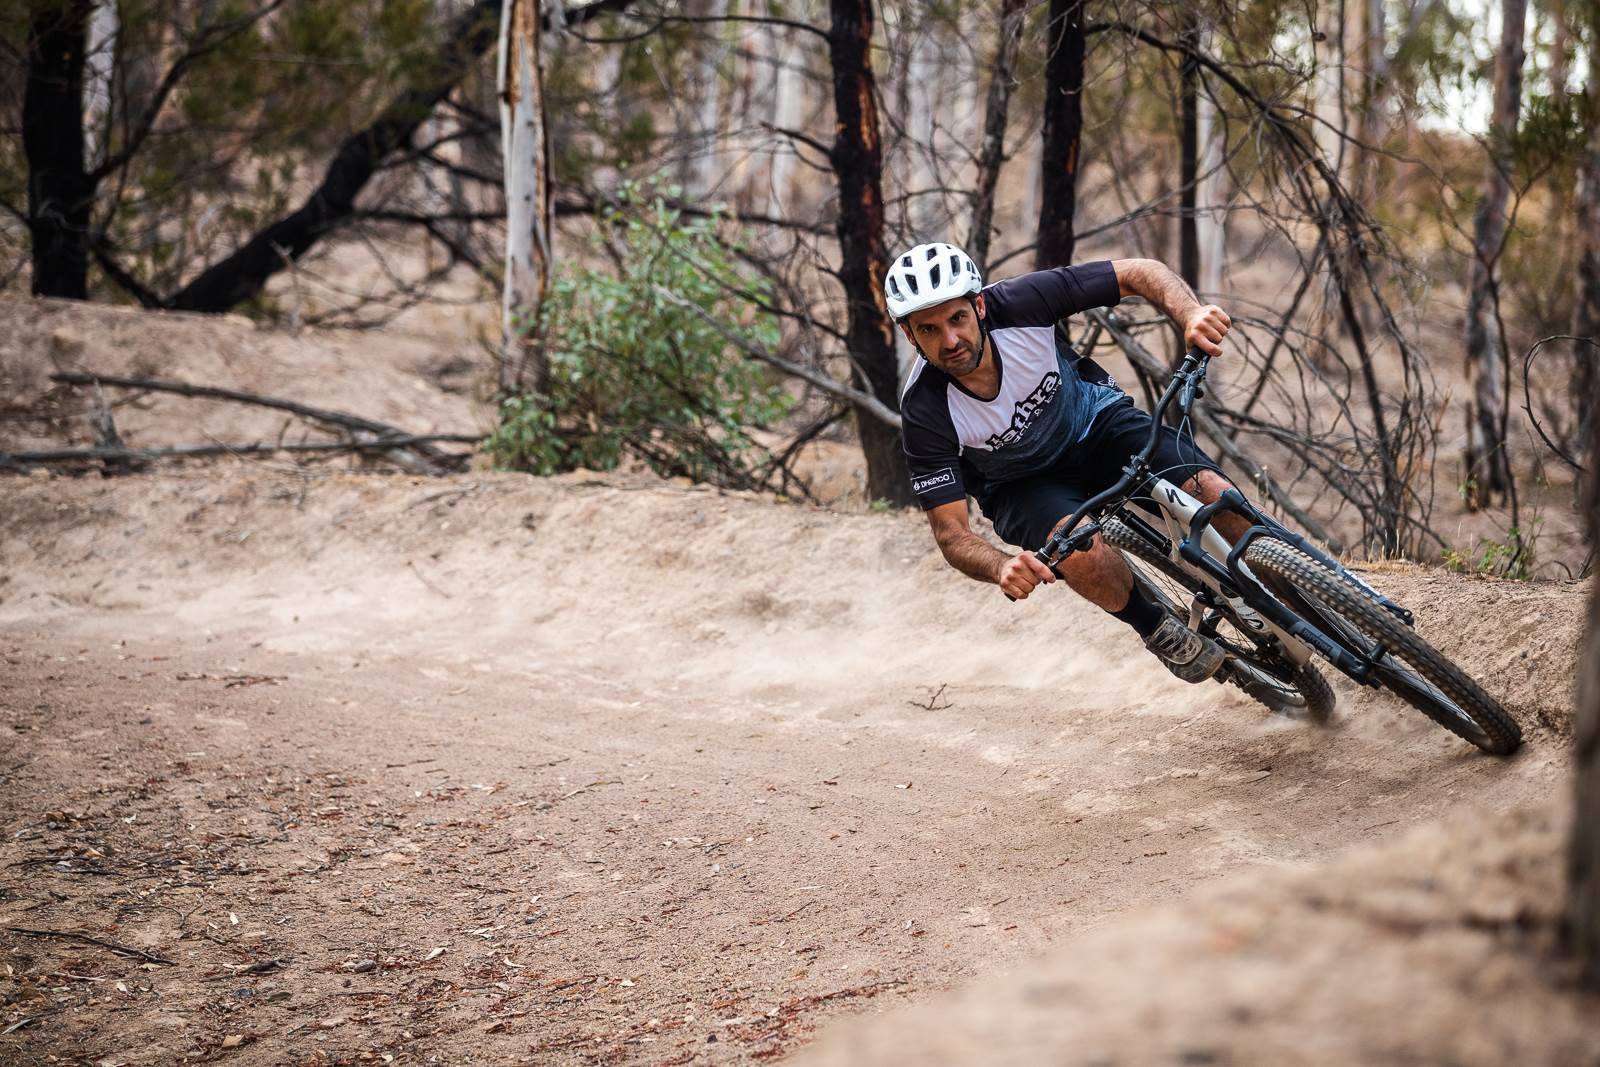
Step 5 – Berms
Berms are becoming a seriously common feature on trails. Like it or love it, it does mean you can corner faster and when the traction is high you can put your tyres under some serious load. If you’re riding a bike park with lots of berms, jumps and all that fun stuff, a few extra psi can help you push a little harder into the berms without worrying about tyre roll. As an example, in my slalom racing days I would often run pressures in the high 30s to be able to keep pushing through the berms if needed.
Hopefully these tips will help you get your ride dialled. The moral of it all is that just because it works for someone else, doesn’t mean it will work for you. Ask around to find a solid starting point based on your setup and go from there. Pay attention to what happens at the pointy end of the spectrum when you’re really pushing it. I have seen so many crashes due to pressures which are too low for the rider, terrain or conditions. Likewise, when the conditions are safe to do so, don’t be afraid to experiment with lower pressures and after a while it will all start to make sense and you’ll get a feel for what works, where and when.