Words: Jared Rando
Photos: Nick Waygood
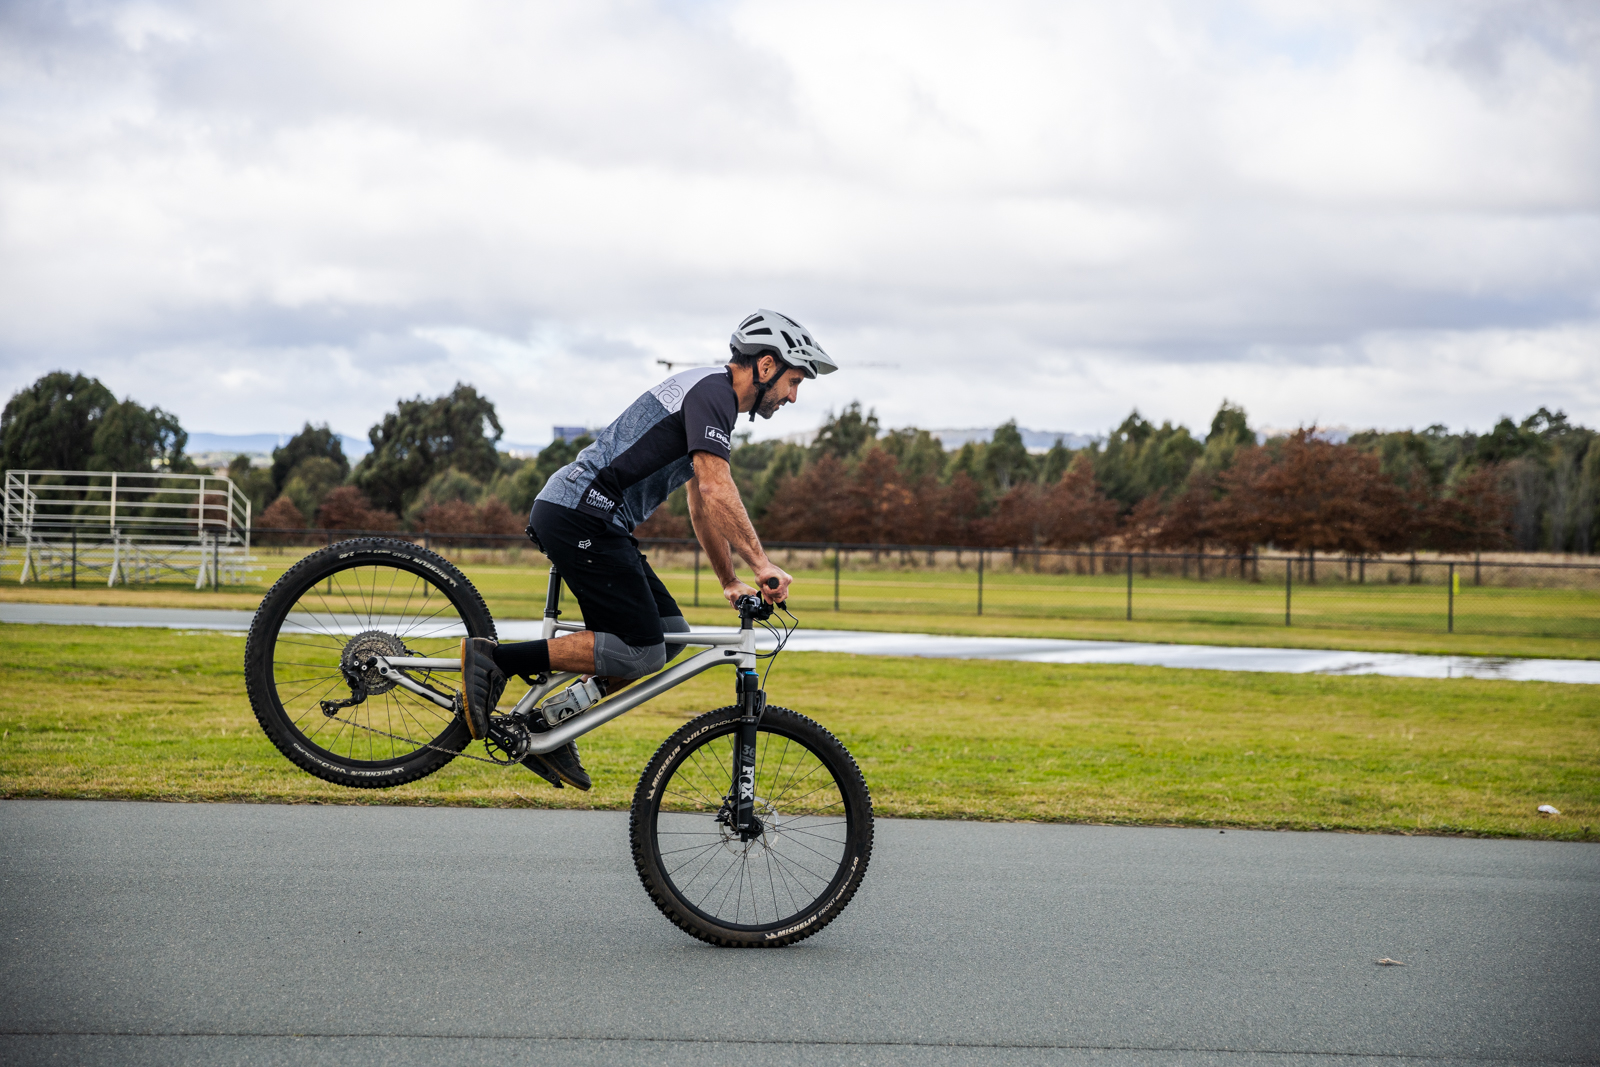
I should note that this is more of a traditional nose wheelie where you are using the brakes the whole time to maintain your balance – not a nose “manual” which is done without brakes and very few people on this planet can pull off! While it’s not a hugely practical skill on the trail, it does help with knowing just how much you can front brake down really steep stuff, pulling off a nose wheelie turn if you ever need to or most importantly, looking awesome when you are the last to show up to go riding and the group is waiting. That is until you go over the bars… Here are some tips to get started.
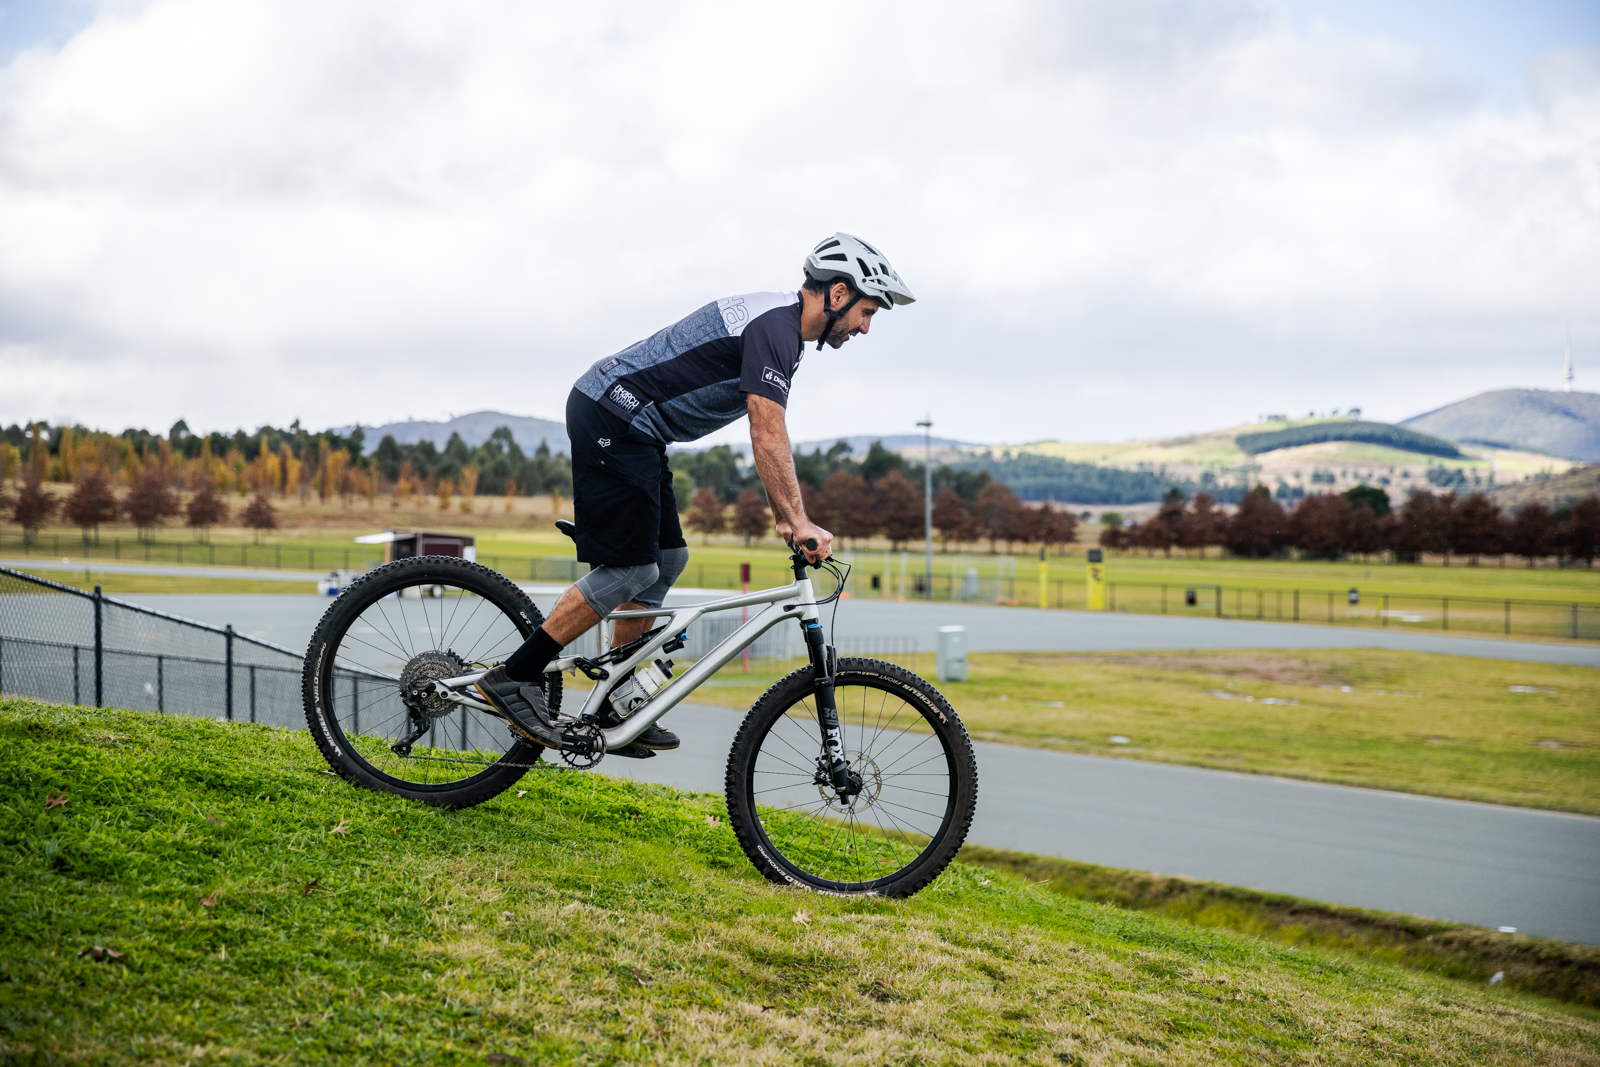
Step 1 – Find a nice gentle grass slope
A nice grassy slope is ideal to learn on. It’s actually quite a bit easier to pull off a nose wheelie on a slope and the grass will give you some traction, as well as some padding if it all goes wrong! Flat pedals are a good idea too. To start off, you’ll need to preload the bike a little and pull up like you are bunny hopping but lift the rear wheel only. A good set of brakes is key and one finger braking is the preferred method (as it always should be) as it will give you some extra feel and modulation to work with.
Want more skills? Read up on how to clear jumps with minimal speed.
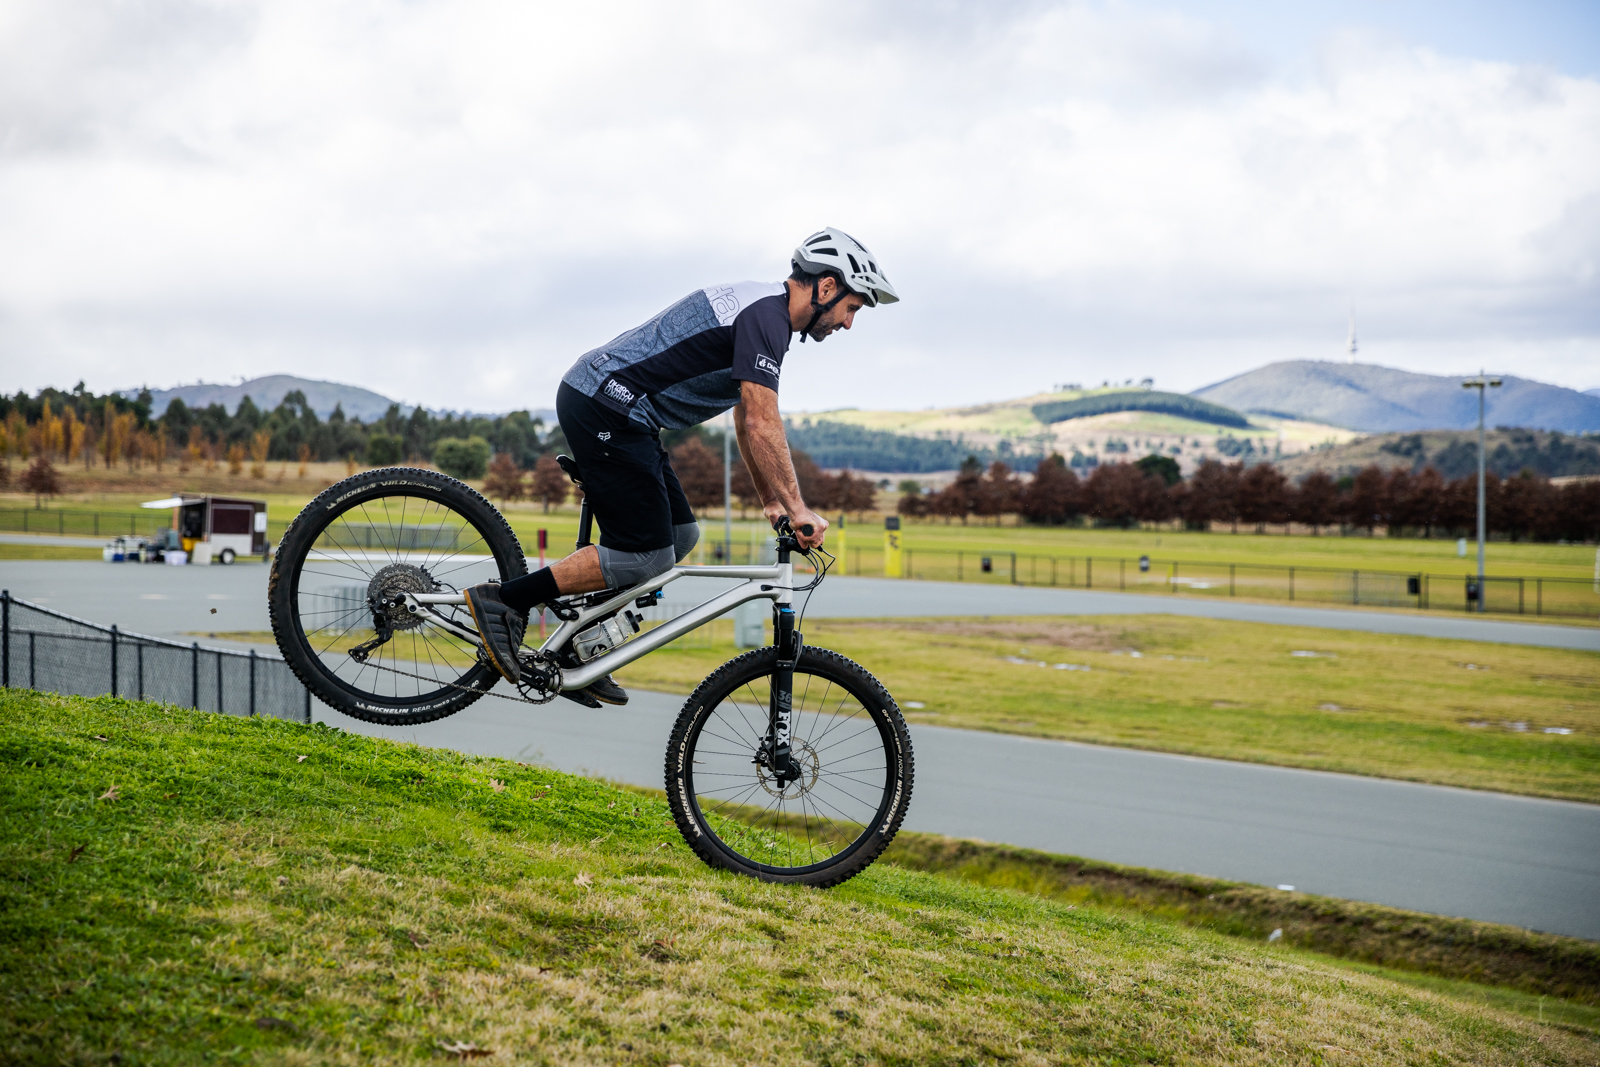
Step 2 – Squeeze on the brakes
This is the hardest part to get going. As your rear wheel comes up, you need to squeeze gently on the brakes to get rolling on your front wheel. Too much and you’ll go over the bars, too little and you won’t even get close to pulling it off. The aim is to use your brake control to adjust your balance as you roll along, grabbing a little harder if you feel yourself dropping down and letting off if you are going over the bars.
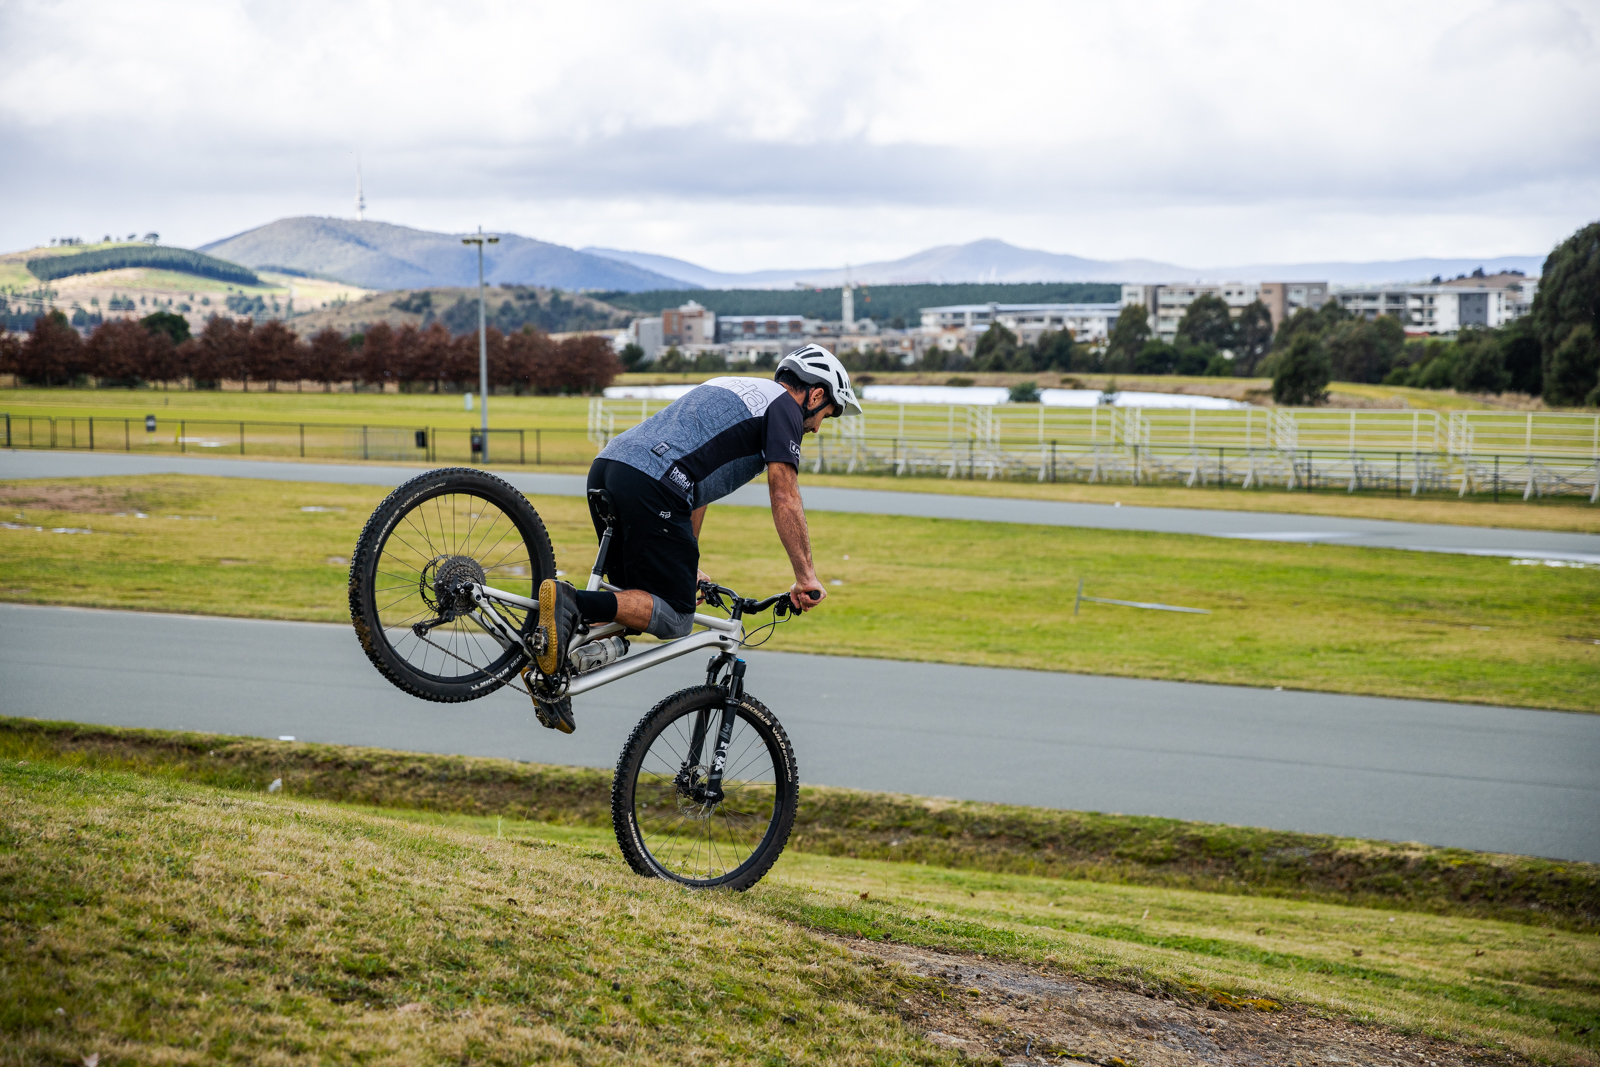
Step 3 – Weight your arms
This is one of the few occasions in mountain biking where you will need to have the majority of your weight on your arms. Keep your backside close to the seat but your weight largely over your arms and front axle as you adjust your braking to suit. Your body position will remain largely static with your finger doing most of the work on the front brake to keep you rolling along
Step 4 – Find a balance point
Like with a manual, as you get better and more confident, you can look for the balance point over your front wheel which unfortunately is that point just before you go over the bars. As your confidence builds though you’ll find yourself being able to use less and less brake and get a little more distance for the same speed as you progress.
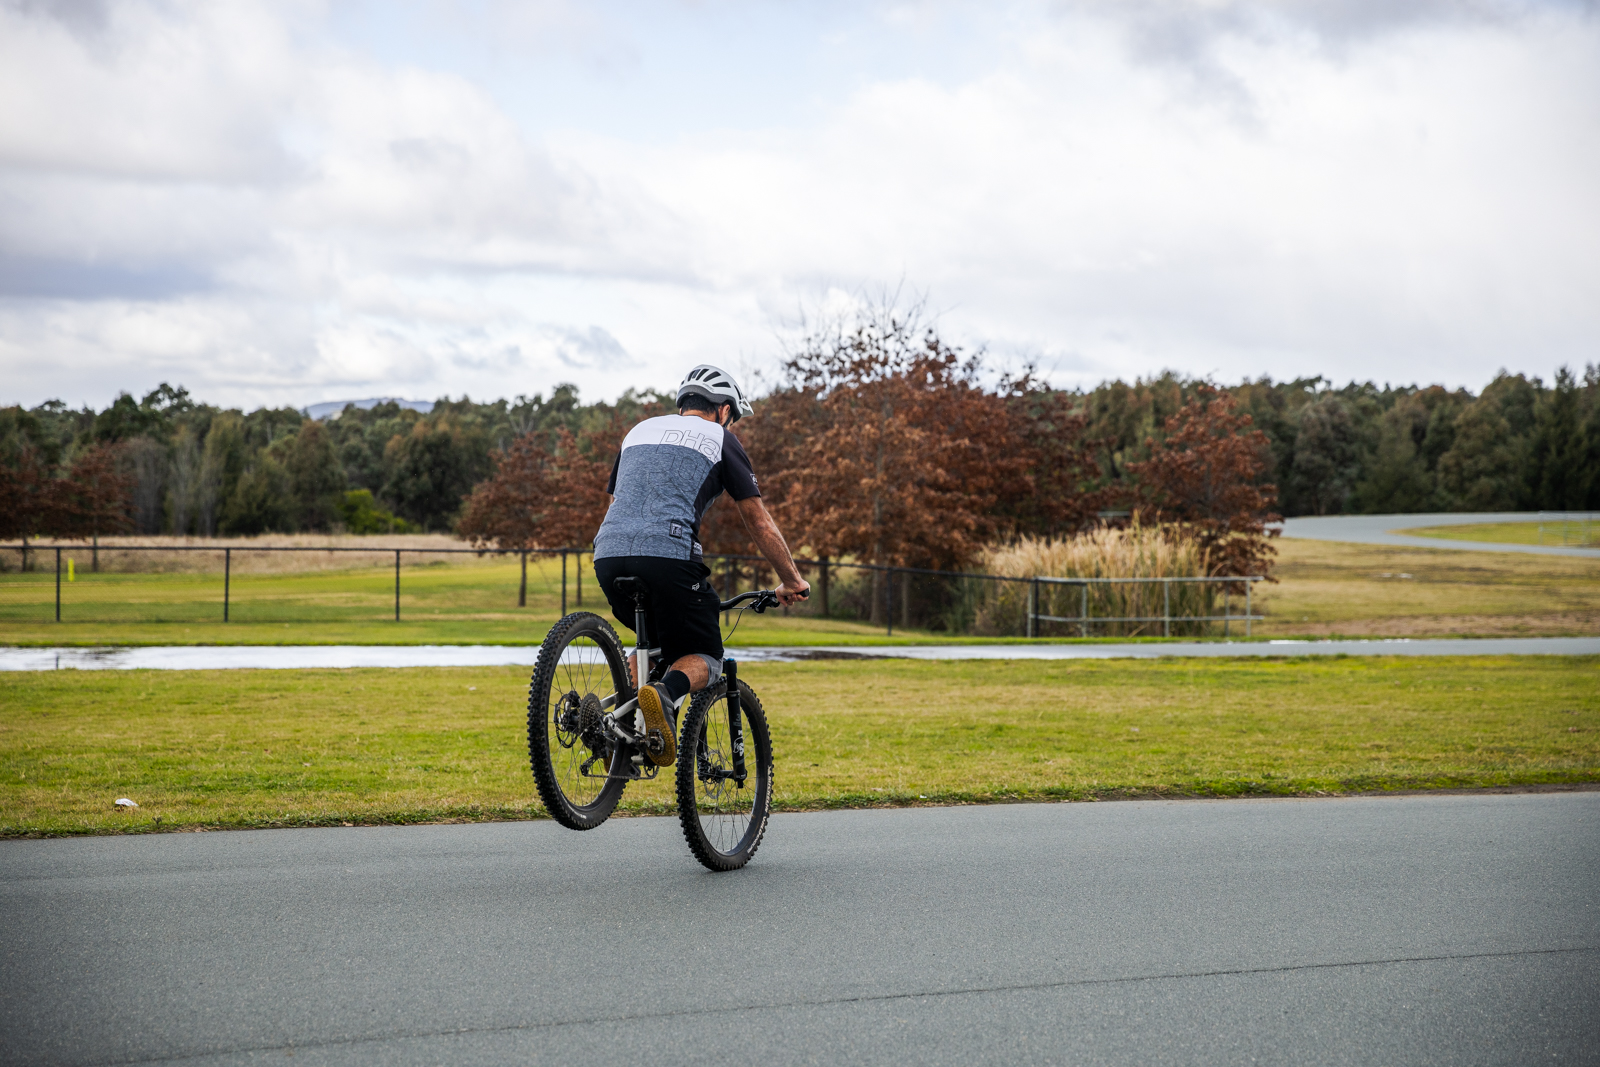
Step 5 – Tips for flat ground
As you progress to flat ground, the key difference is the amount of effort it takes to get your rear wheel up to get started. I like to preload the bike and start with a short and sharp jab of the brake to help get the rear wheel up and then focus on the brake modulation. Getting a good amount of distance on flat ground is also much harder and it becomes more and more important to find that balance point so you can brake as little as possible. Just remember to start slow on this one and work your way up. It does take a long time to learn, so be patient and progress slowly before you start to have a go at higher speeds or on flat ground.
Want more steez? Check out our Skills section!