Words: Jared Rando Photos: Nick Waygood
No, we’re not talking about hippies on bikes or cool jumps (sorry, Dad joke…) but rather a jump where the aim of the process is to change direction during the jump and effectively land with the bike and rider heading in another direction. Hip jumps are sometimes built on purpose or out of necessity, but the skill of a hip jump also crosses over into general trail riding to change direction using an obstacle to set you up better for a turn, get in the right part of a trail or just to have a bit of fun. It’s actually a skill that isn’t too hard to get your head around and doesn’t require highly polished jumping skills. Obviously, just like any jump, the bigger you go the harder it gets but on a small scale it can be a really useful skill out on the trail and definitely worth taking the time to conquer as it can open up all kinds of options on the trail from quick direction changes to setting up high in corners using just about anything to get your wheels of the ground. Here’s the nuts and bolts to get it done.
Step 1 – Spot your landing early
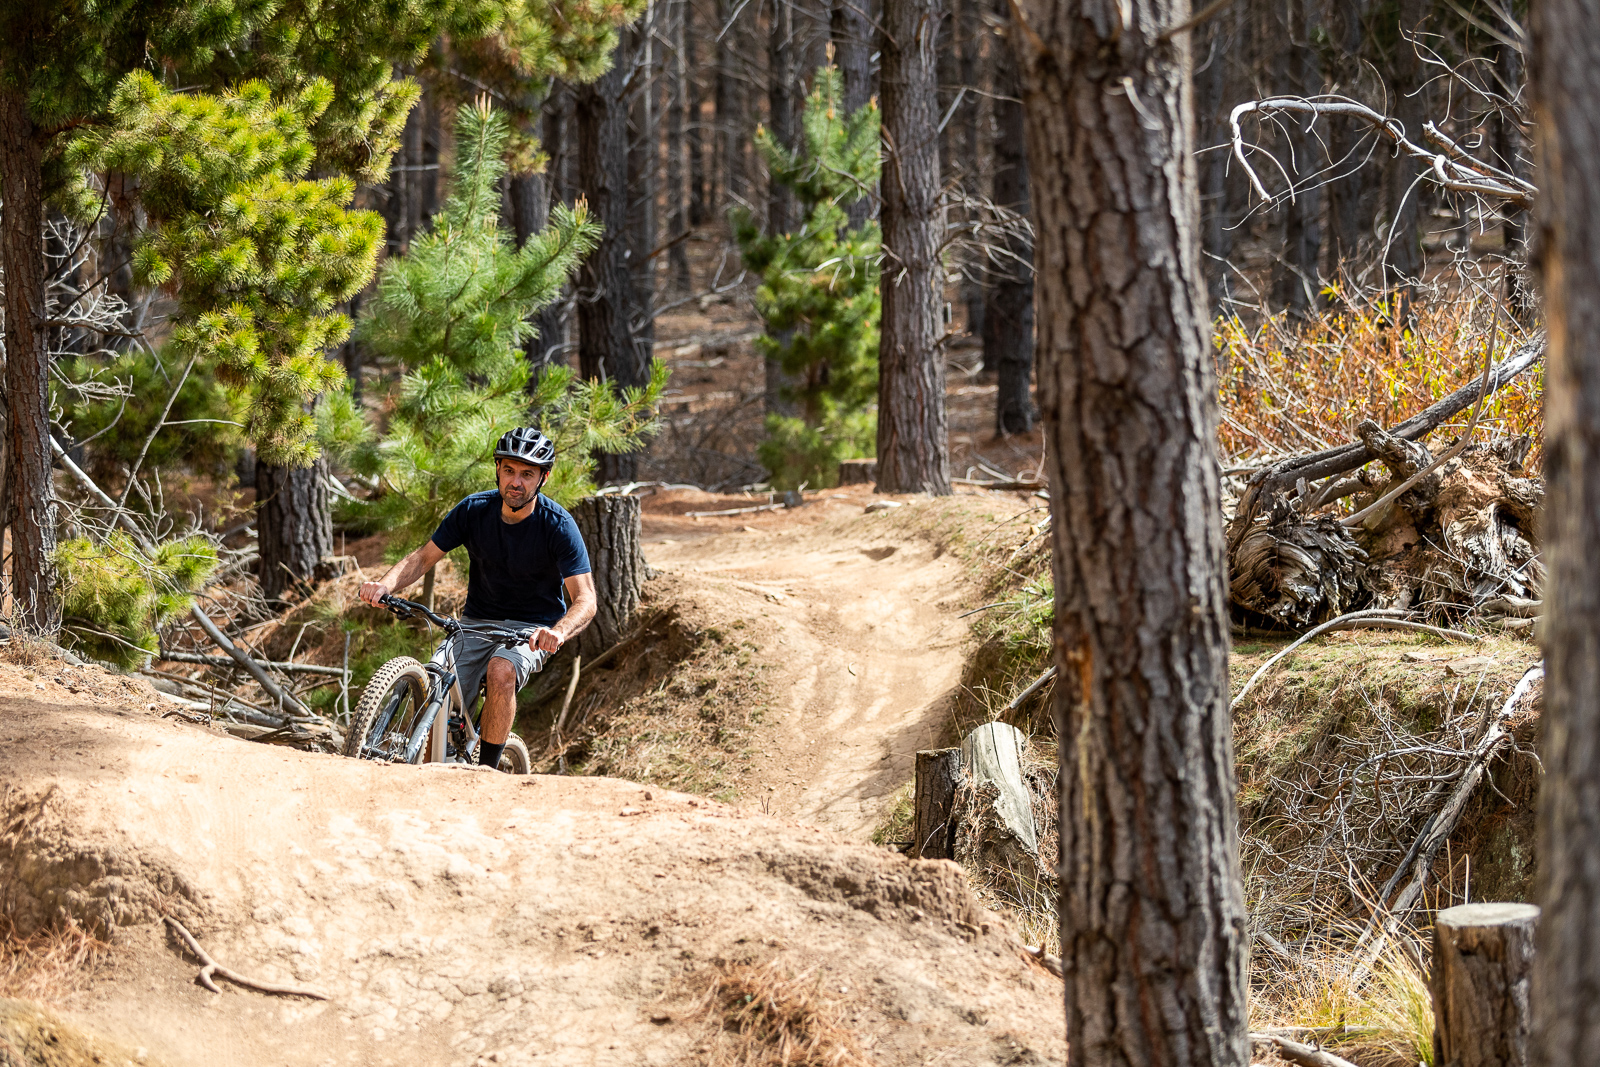
I’m going to assume that the basics of jumping are already in hand and focus more on the motion of getting your bike around for this how-to. Before and as you hit the lip, you want to spot your landing and have a clear understanding of what angle you want your bike to be at when you land. As you hit the lip, envisage rolling out at the desired angle and the rest should flow fairly well. The aim is to lead with your front wheel and have your rear wheel follow.
Step 2 – Lead with your front wheel
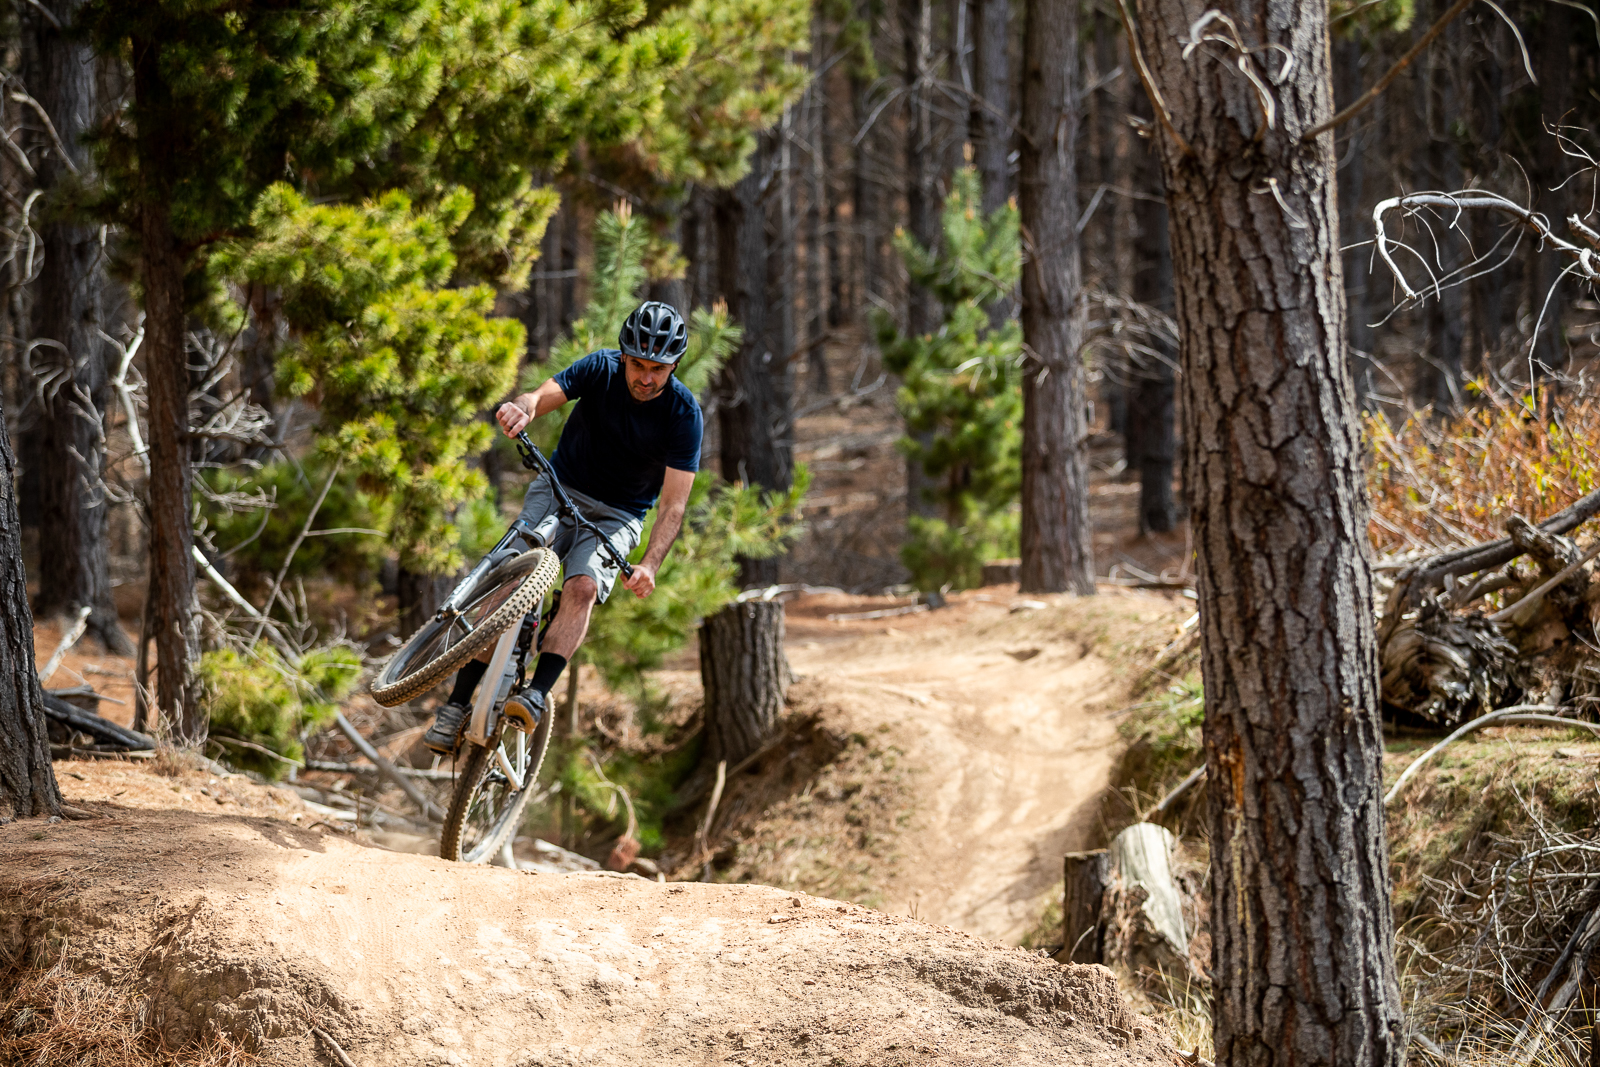
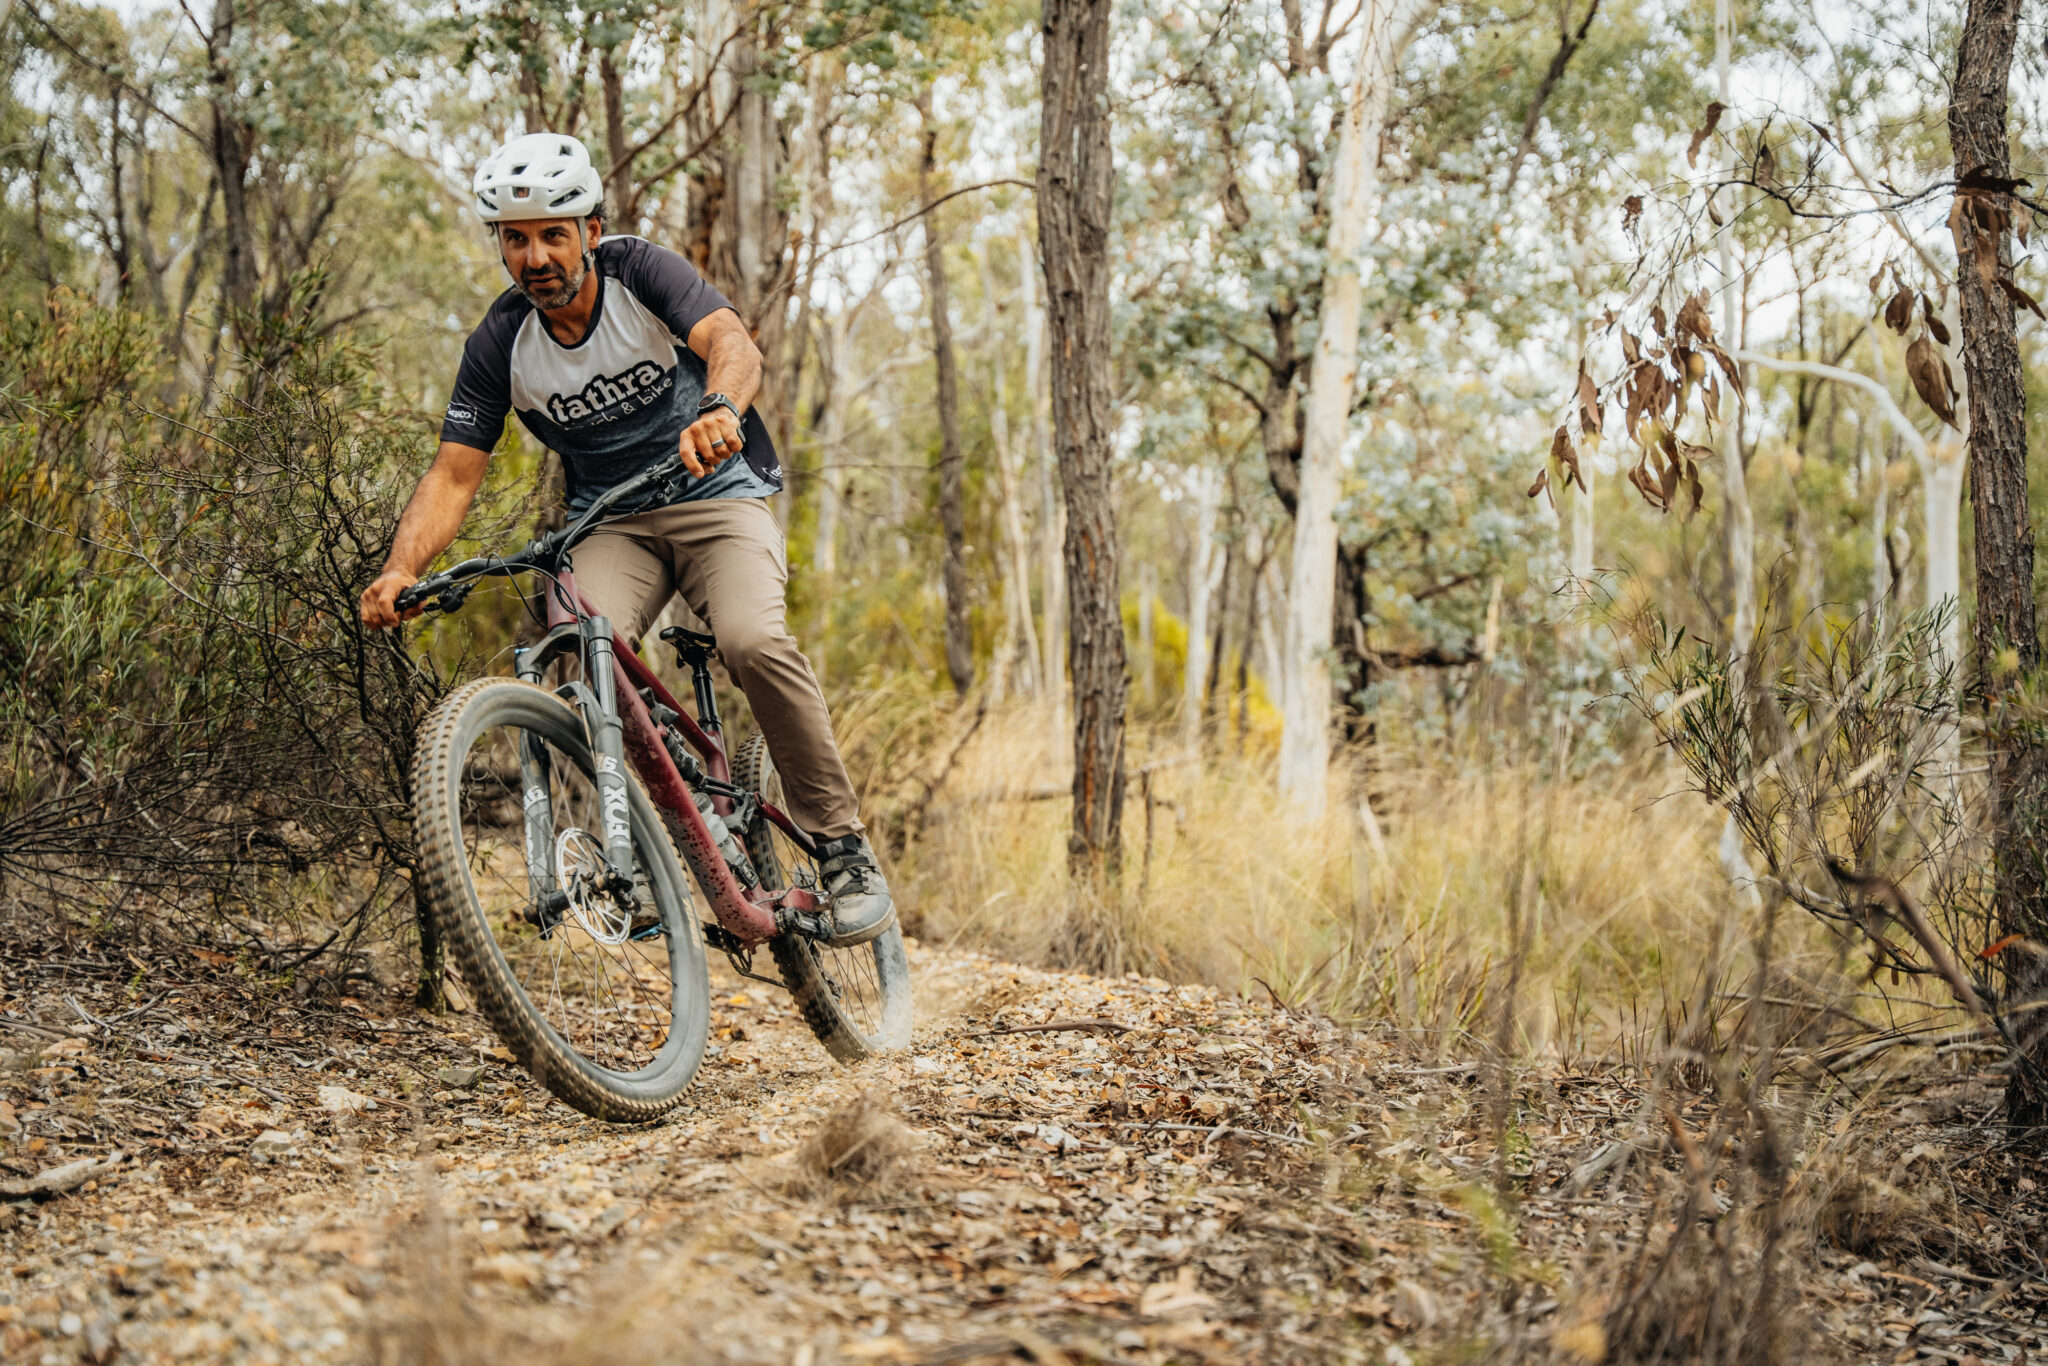
You want to lead with your front wheel. When hitting hip jumps it’s important not to over exaggerate how far you need to turn. You can see here my front wheel is sitting at about the desired landing angle – not any further. Over turn into the jump and you’ll likely follow with the rear and it will all go pear shaped from there. Spot your landing, and turn in appropriately, leading with the front wheel.
Step 3 – Follow with the rear wheel
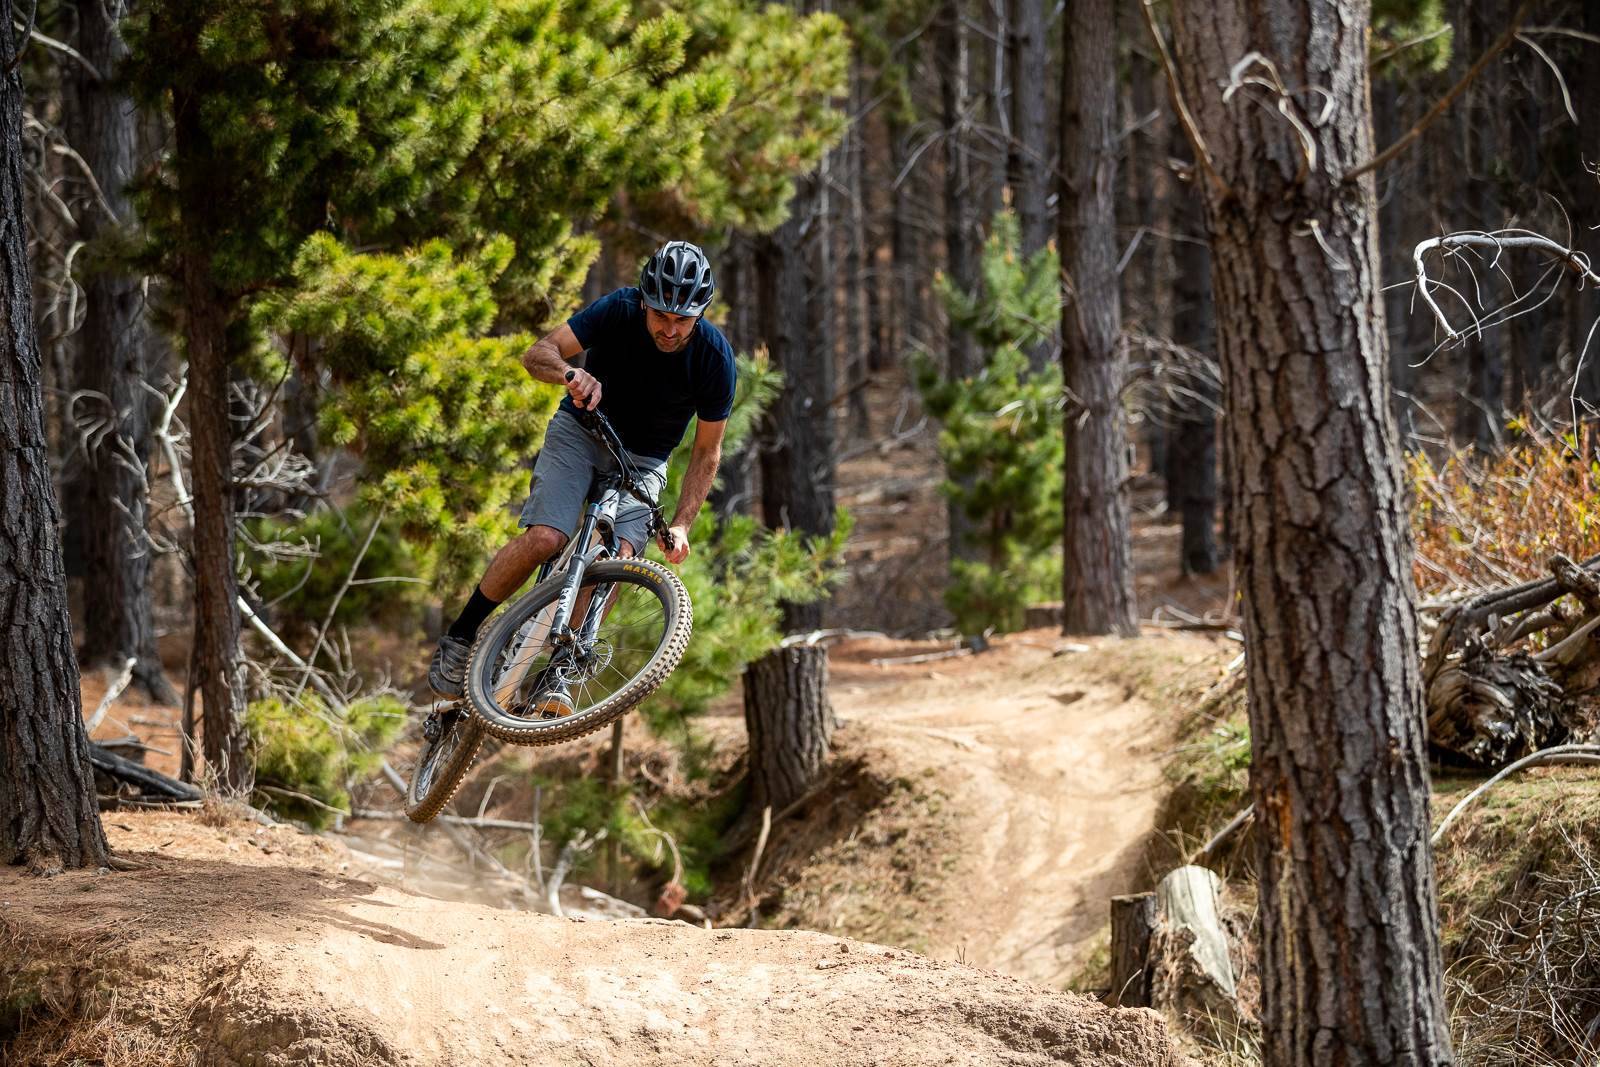
As you follow through with the rear wheel, you’ll need to use a little body English to get your rear wheel around to follow the front. I do this by “kicking out” the rear wheel using my legs to bring it around. Once again, it’s important not to over emphasise this and also to lean in a little to assist – kind of like doing a turn in the air. Once you get the rear wheel swinging it’s really hard to stop it mid-air so the skill lies in understanding and refining how much you need to turn based on the jump size and speed you are going. As always, start small and work your way up.
Step 4 – Keep your eye on the landing
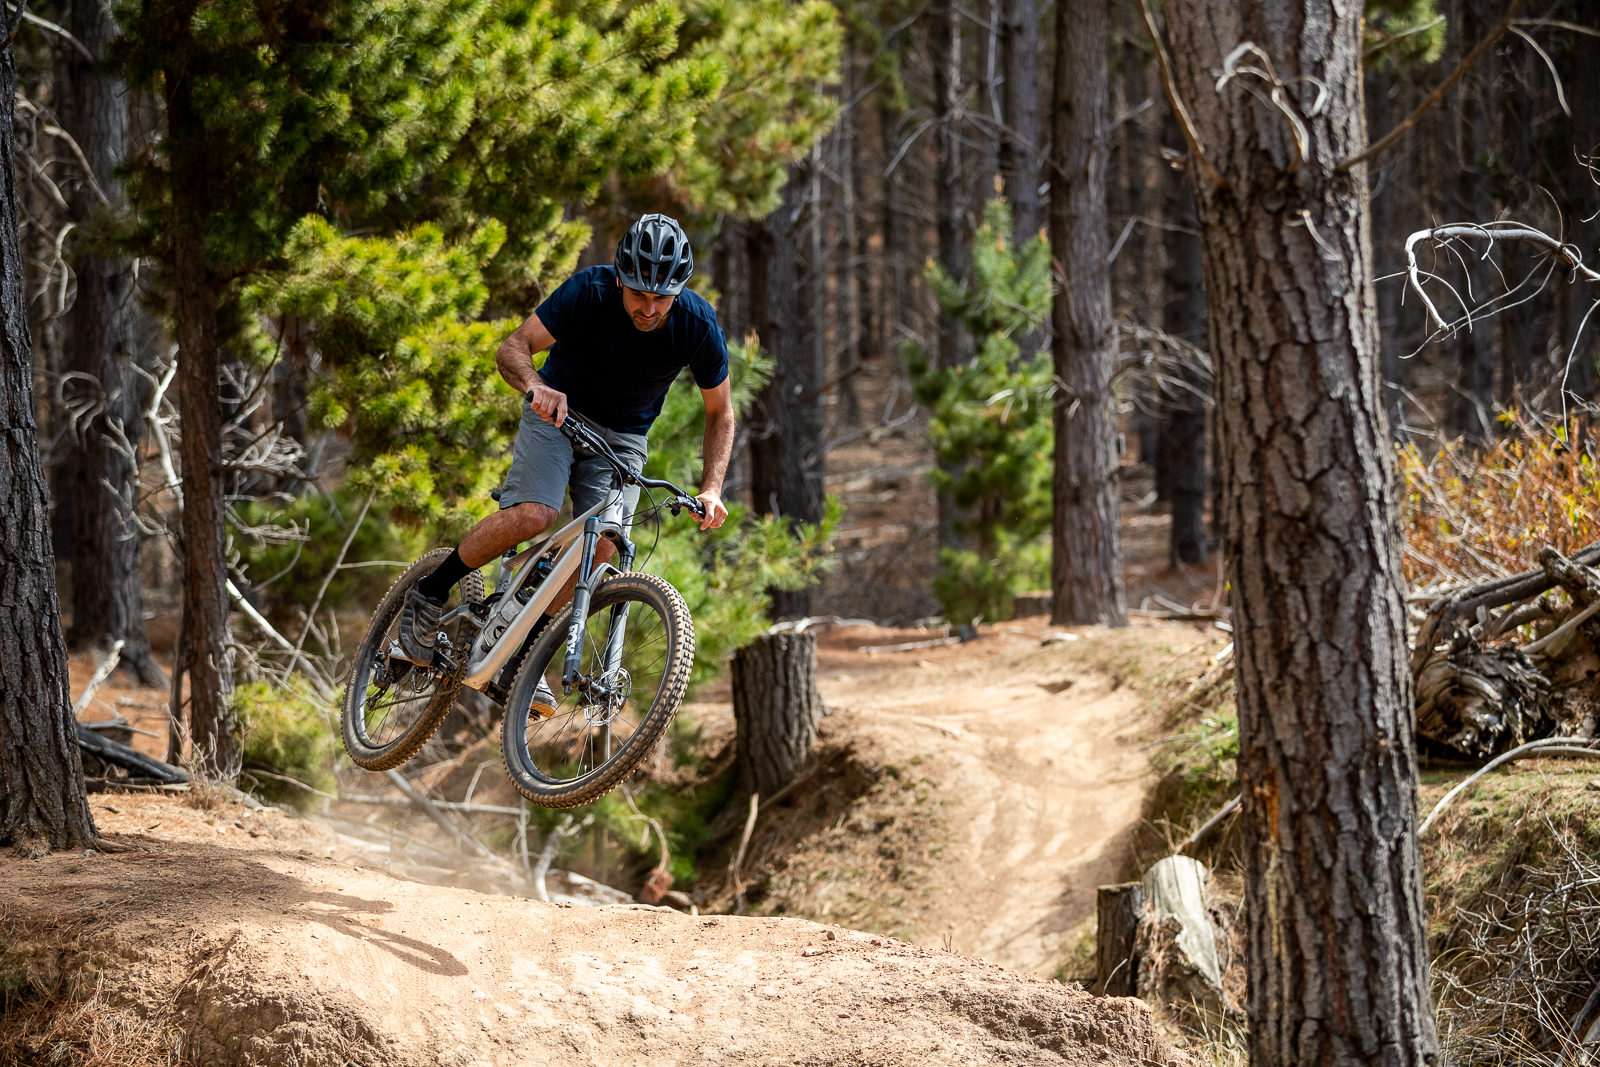
You can see in these pics that I’m focusing on the landing the whole time. As you come in to land, you want to spot where you need to go and adjust your front wheel to land in the right spot and pointing in the direction you want to go out of the jump. Here I’ve spotted the landing and the next step is to set up in the right direction with my front wheel so my rear can follow.
Step 5 – Lead the landing with your front wheel
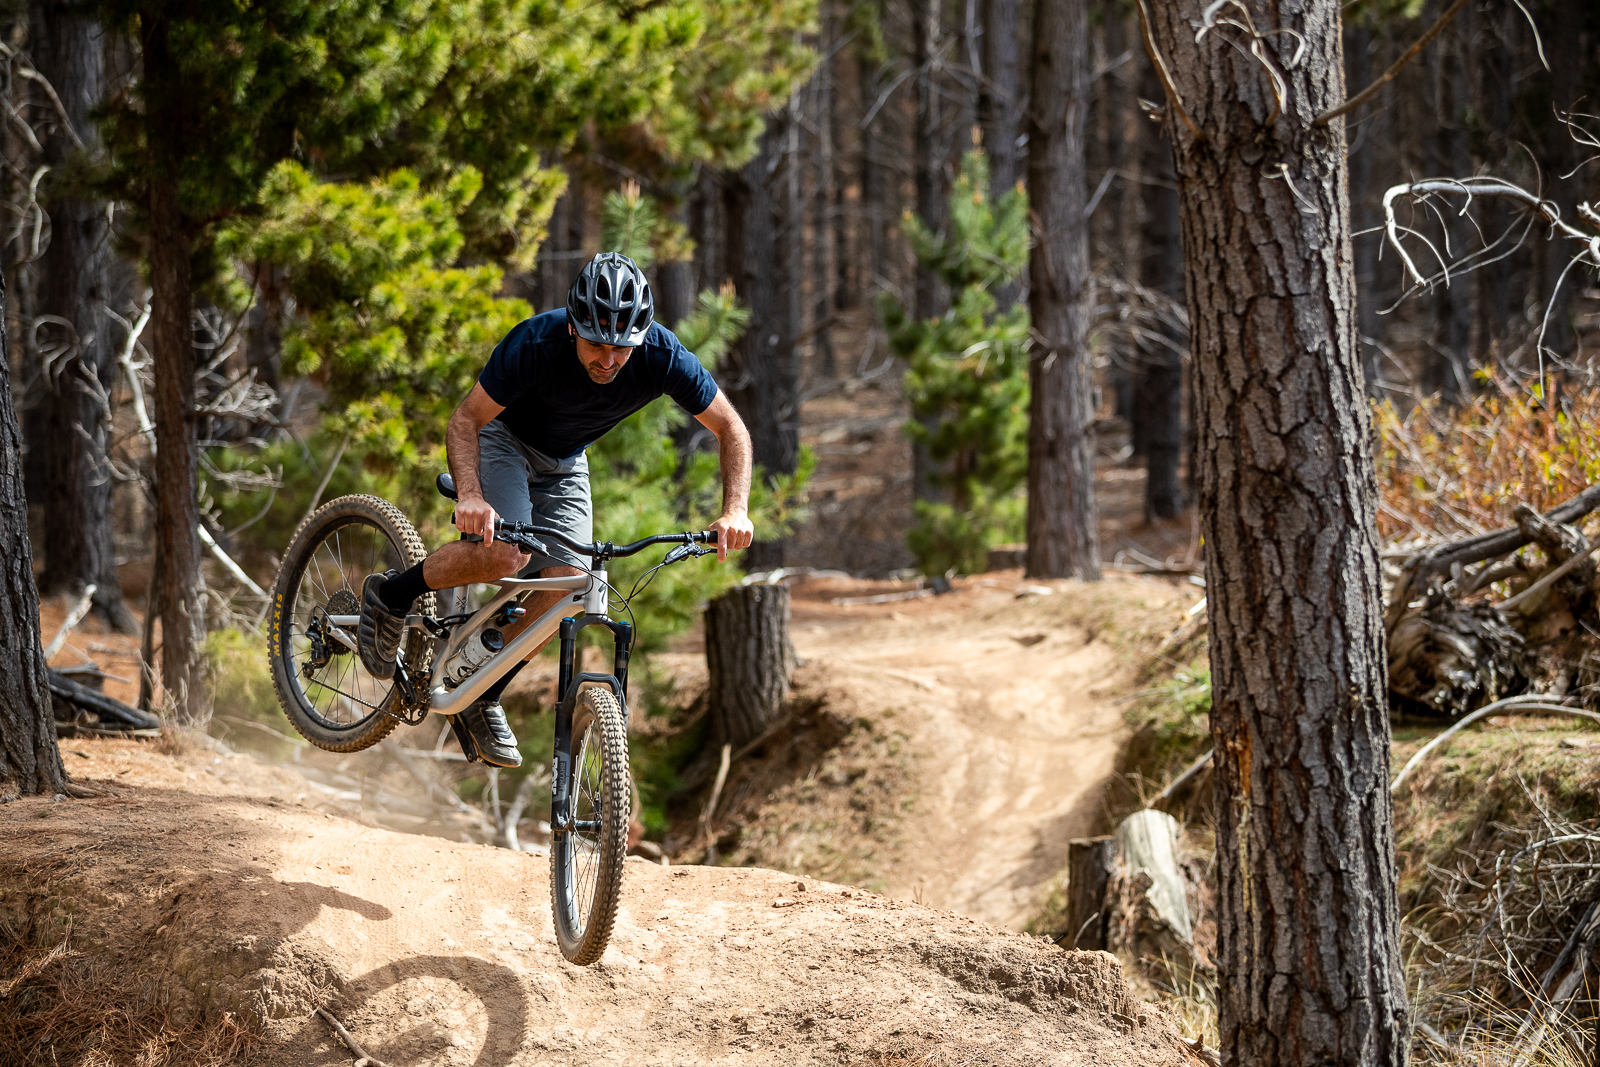
As you touch down, you’re going to head in whichever direction your front wheel is heading so it’s important to have your wheel pointing in just the right direction. As your front wheel touches down, the rest of the bike will follow. Quite often your rear wheel will keep travelling a little bit sideways but you’ll find that it will be corrected pretty quickly as you roll out. Land as you would a normal jump but aim to be light on the landing as this will help out with getting high sided as you touch down. As both wheels come down, stay centred over the bike and look ahead for whatever is coming up next. Hopefully, if it’s all done right, you’ll be heading in the right direction!

