Skills: How to Ride Gullies
Learn how to handle gullies!
Words: Jared Rando Photos: Nick Waygood
Riding through big dips or gullies is something which may seem relatively simple for an intermediate or advanced rider, but for a newbie to the sport, riding through gullies can be absolutely terrifying. The main challenge is the quick transition from heading down to heading up. This, combined with the sudden acceleration of dropping in and the fear of not quite making it out quickly adds up to something which might seem relatively simple, becoming something which a rider can quickly generate a fear of.
The reality is though, even for advanced riders, if you do it right it can make the process a whole lot easier, a whole lot safer and require way less effort if you focus on a few key elements. For me, riding through big dips is something I really enjoy and I really enjoy the challenge of making it through something which at first might seem impossible. Here’s a few tips on how to make it all a little bit easier, no matter what your skill level.
Step 1 – Pick your line
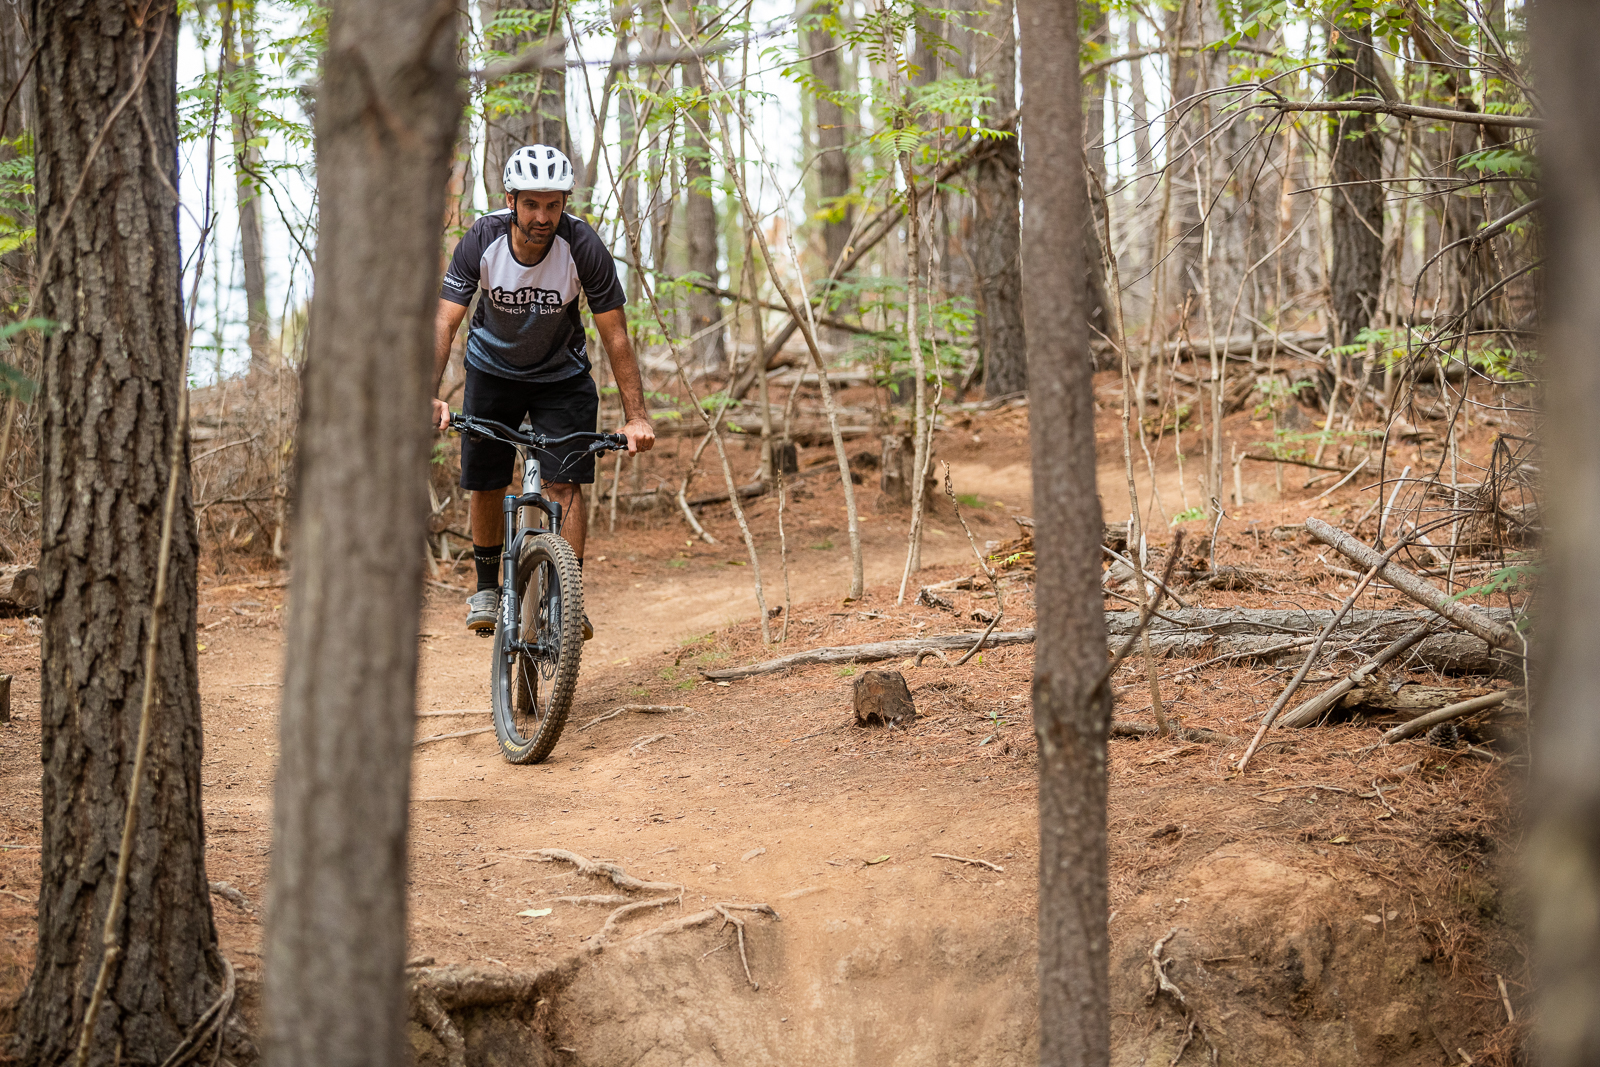
As you approach the gully, take a second to stand up high on your bike and look over the edge and up the other side. First thing to look for is the straightest line you can ride and after that, look for the smoothest. Like corners, venturing slightly of the main line can make it a whole lot faster and easier, but if you’re not confident enough, take the easy line. On this particular gully, I’m going just to the right of the main line over a root which makes it a little harder on the way down but will point me in the right direction on the way out. At this point to, ensure you are in the right gear for the exit as changing gears on the way up will cause you dramas on the way out!
Step 2 – Take it easy on the way in
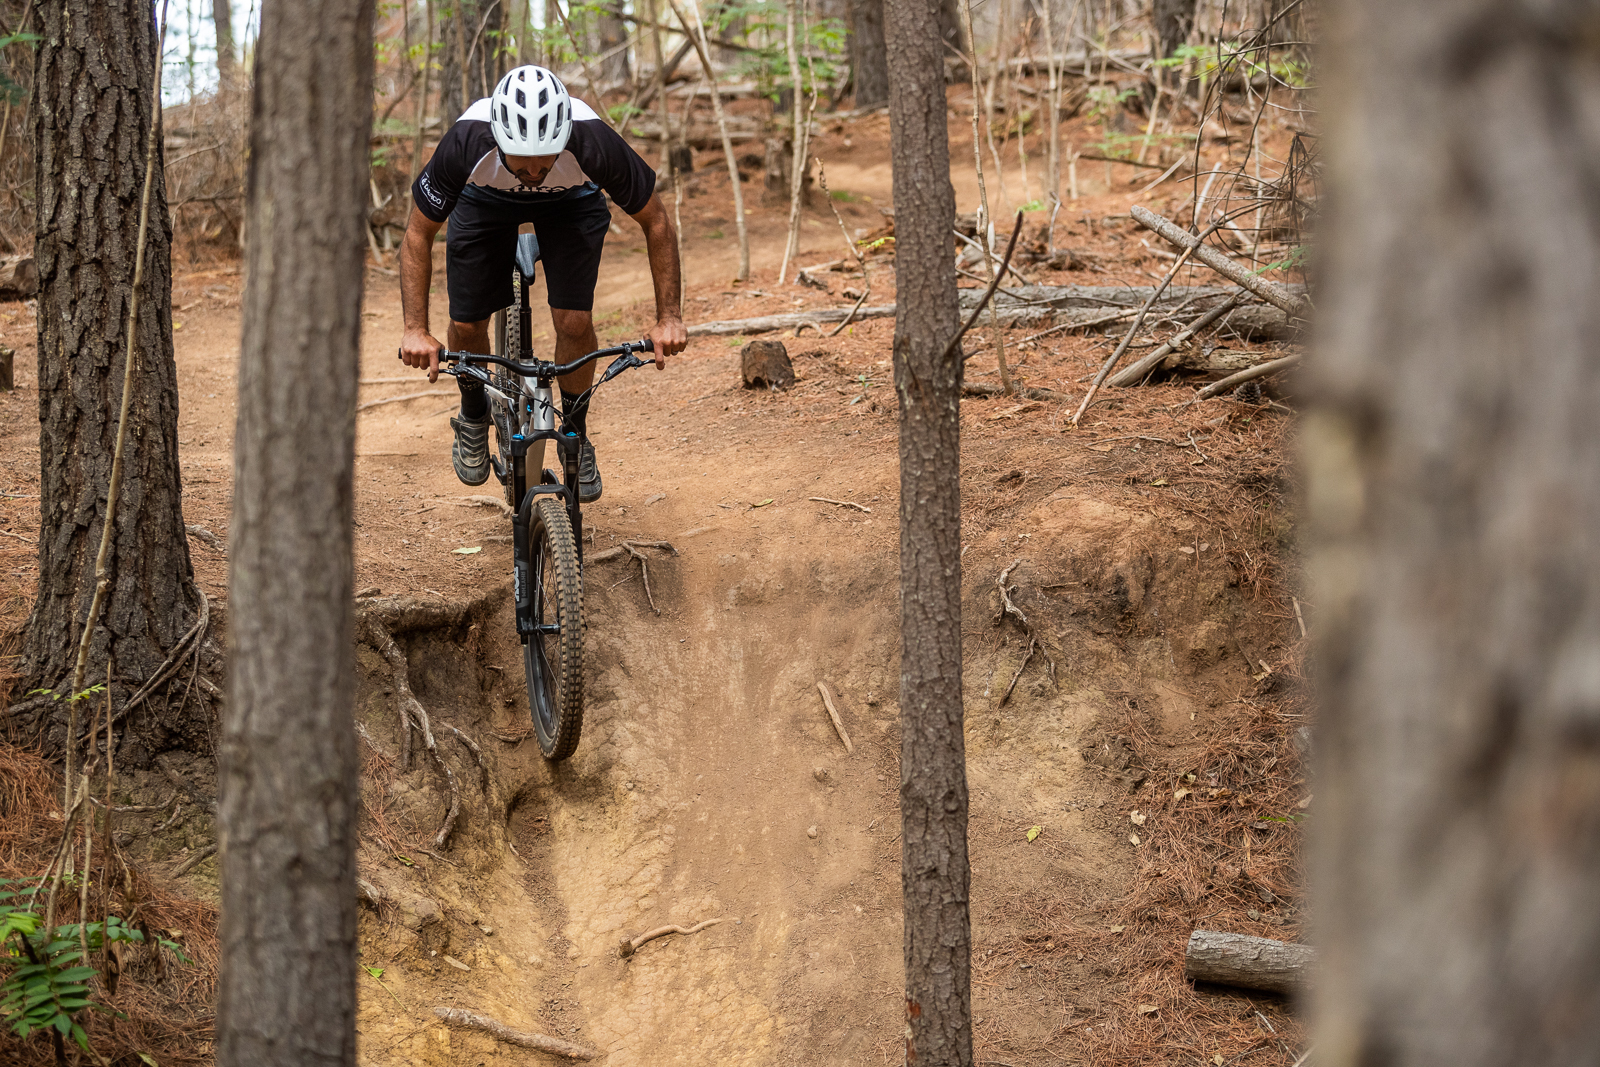
Like cornering, the aim of a gully is to exit fast and smooth, not come in hot! A little pause at the top and an easy entry will allow you to focus your efforts on the compression and getting out smoothly. Here, since I’ve already picked my line at the top before I enter, I can focus on my line on the way down to get it right and change my focus to the exit once I hit the bottom of the gully.
Step 3 – The compression

This is the really crucial part of the process. There is a lot which needs to happen as you compress at the bottom. Firstly, you’ll need to keep your weight centred over the bike so you don’t get thrown forward or backwards – remember to use your legs and not your arms to hold yourself up. Secondly, look up and make sure you’re on the right line on the way out – look up and over and that is where you’ll go. If you look at the bottom that’s where you’ll stay! And lastly, you need to let off the brakes as much as you’re comfortable with, ideally get off them completely. This will allow your suspension to compress and help in shooting you back out of the gully which really helps – especially for advanced riders who are looking to make the process easier and faster.
Step 4 – Ease on the power
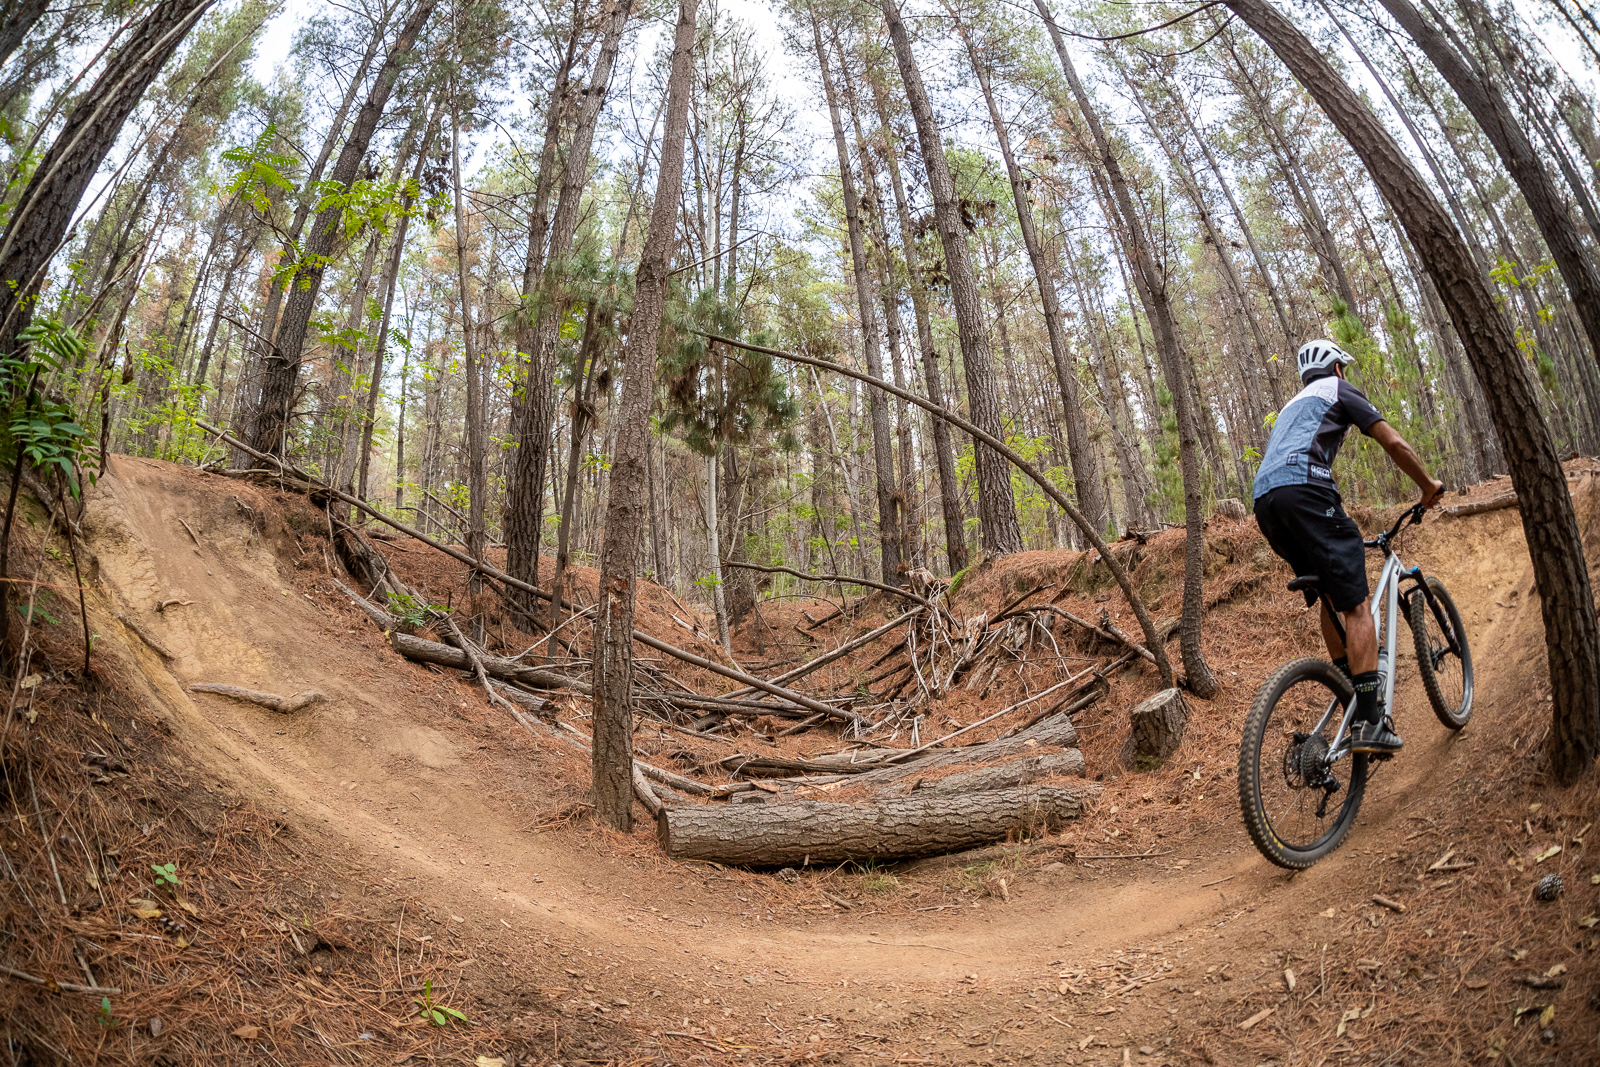
As you come out of the gully and need to pedal to help you get up and out, remember to ease on the power rather than pedal frantically. A slightly harder gear will help with your balance and give you a little extra torque which will also help maintain traction. Trying to spin quickly will get you off balance and losing traction. If you do need to shift up, do it one gear at a time rather than grabbing a handful as in this instance a mis-shift or clunky gear change will leave you stuck. You can also help get over the edge by pushing your bike forward a little – if you can get your front wheel over the edge it will act a bit like a hook and help you make it over. Just remember to do it all as smoothly as possible.
Step 5 – Look over the edge as soon as possible
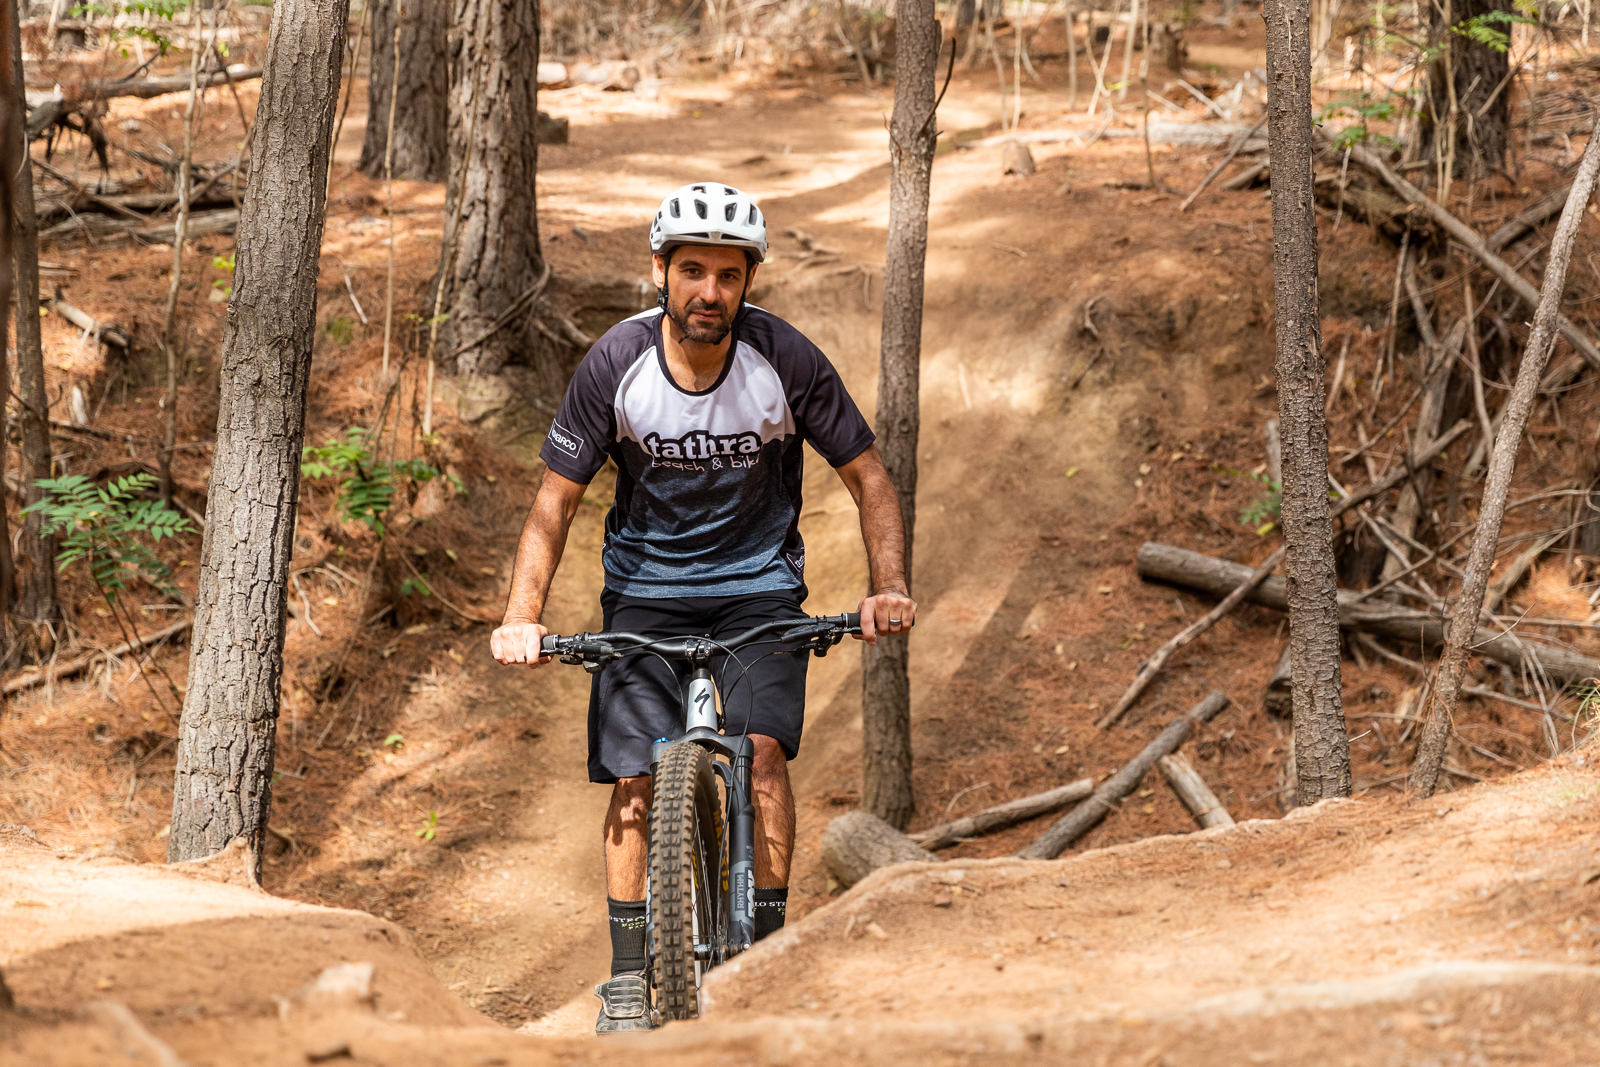
As you exit up and out, get high on the bike and focus up and over the edge as soon as you can. This will allow you to make any necessary adjustments and avoid any obstacles. At this point, remember to use your momentum to see you through as well. Relaxing and being light on the bike will allow you to float over the edge and up and onto the rest of the trail. If you need to you can throw in a little bunny hop or small lift of the front wheel to make the final stages as well. Just remember to make it all as fluid as possible on the way out!

