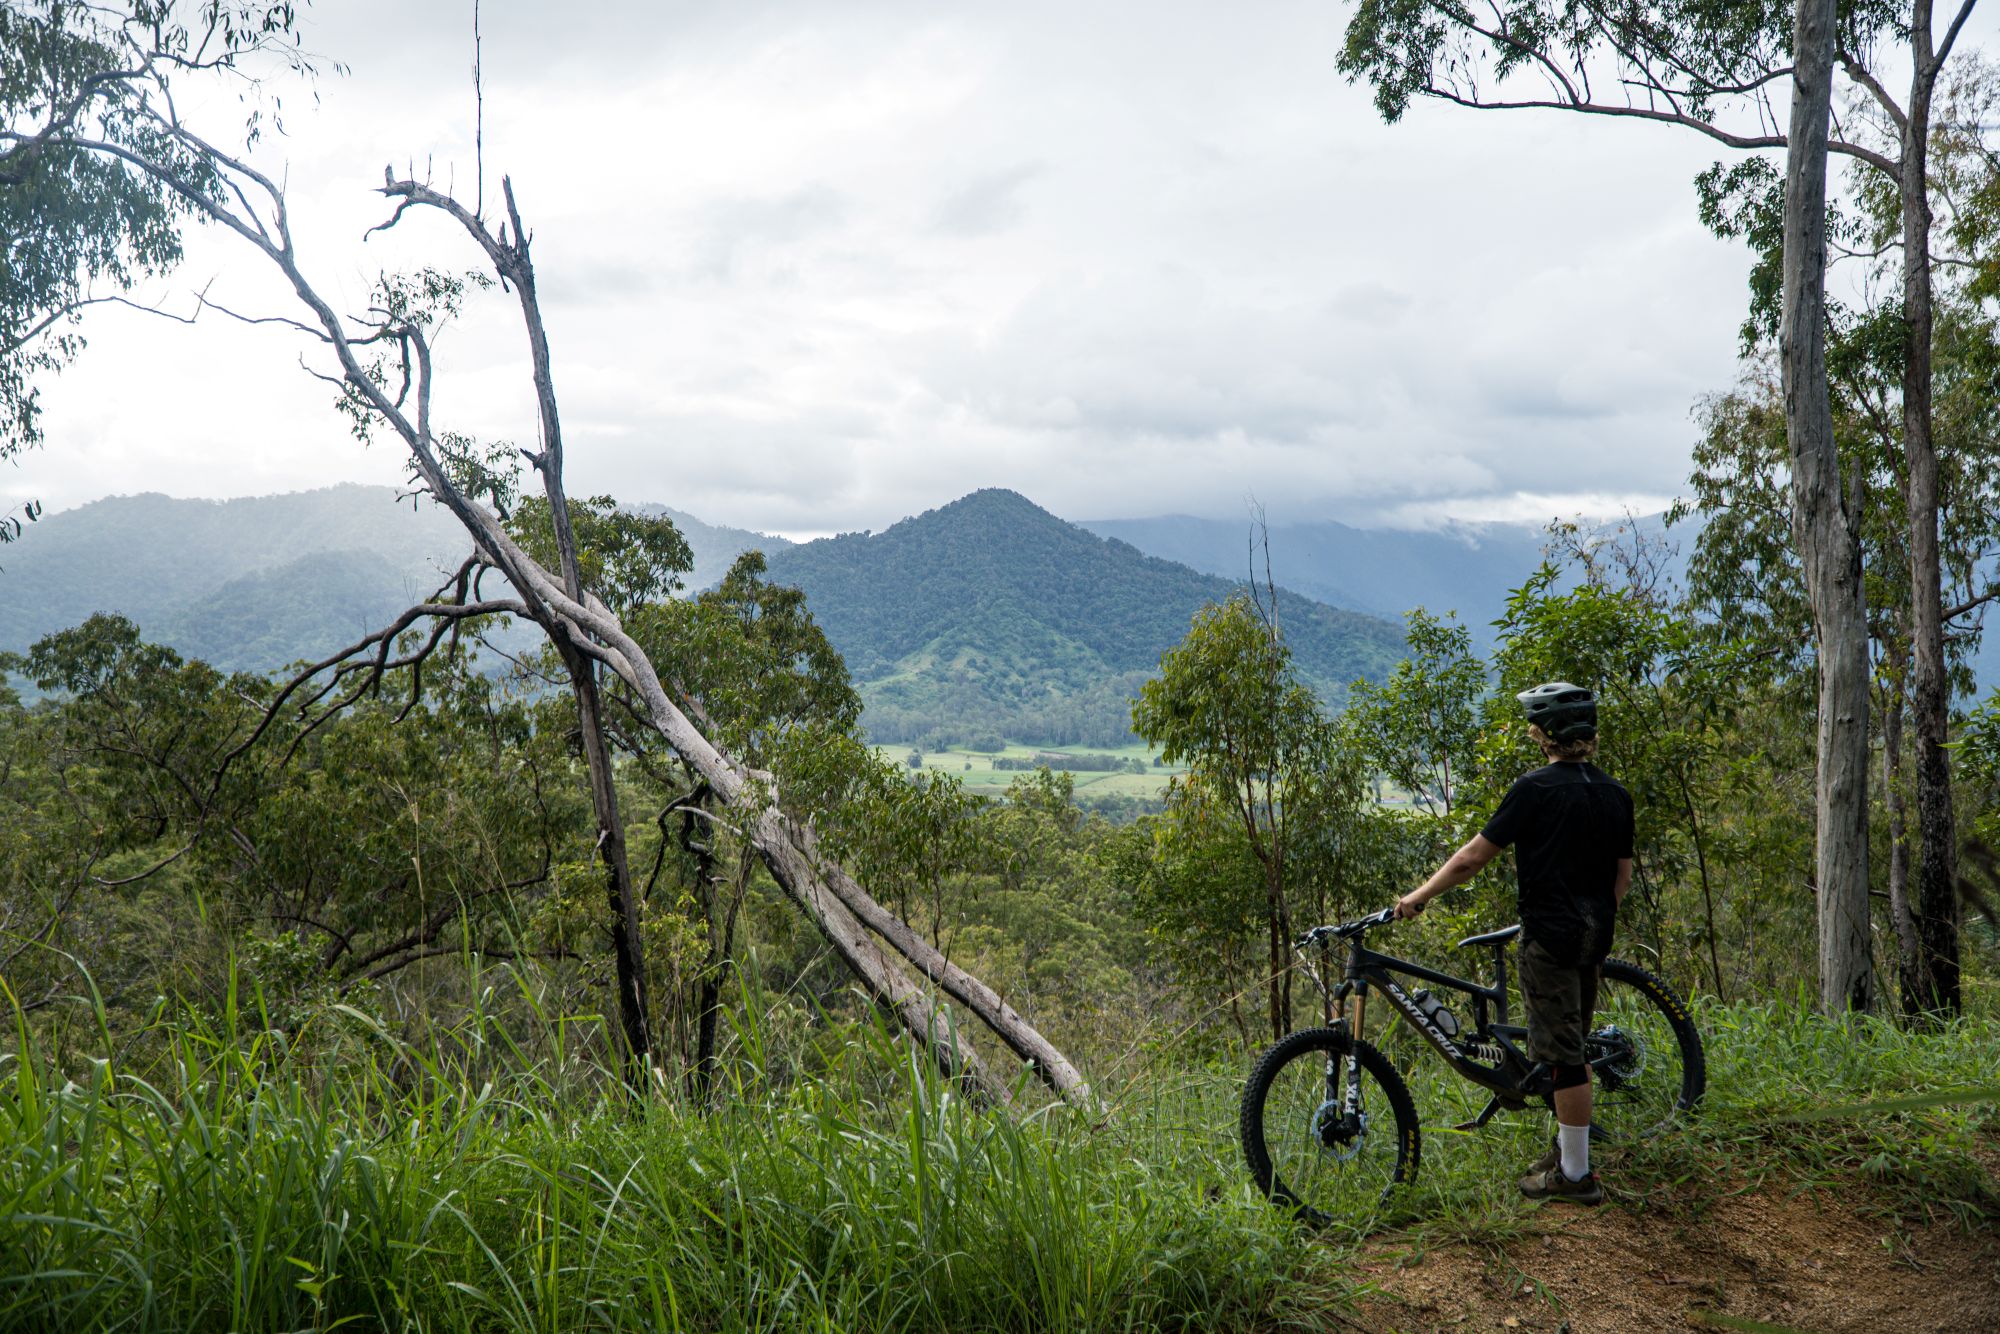
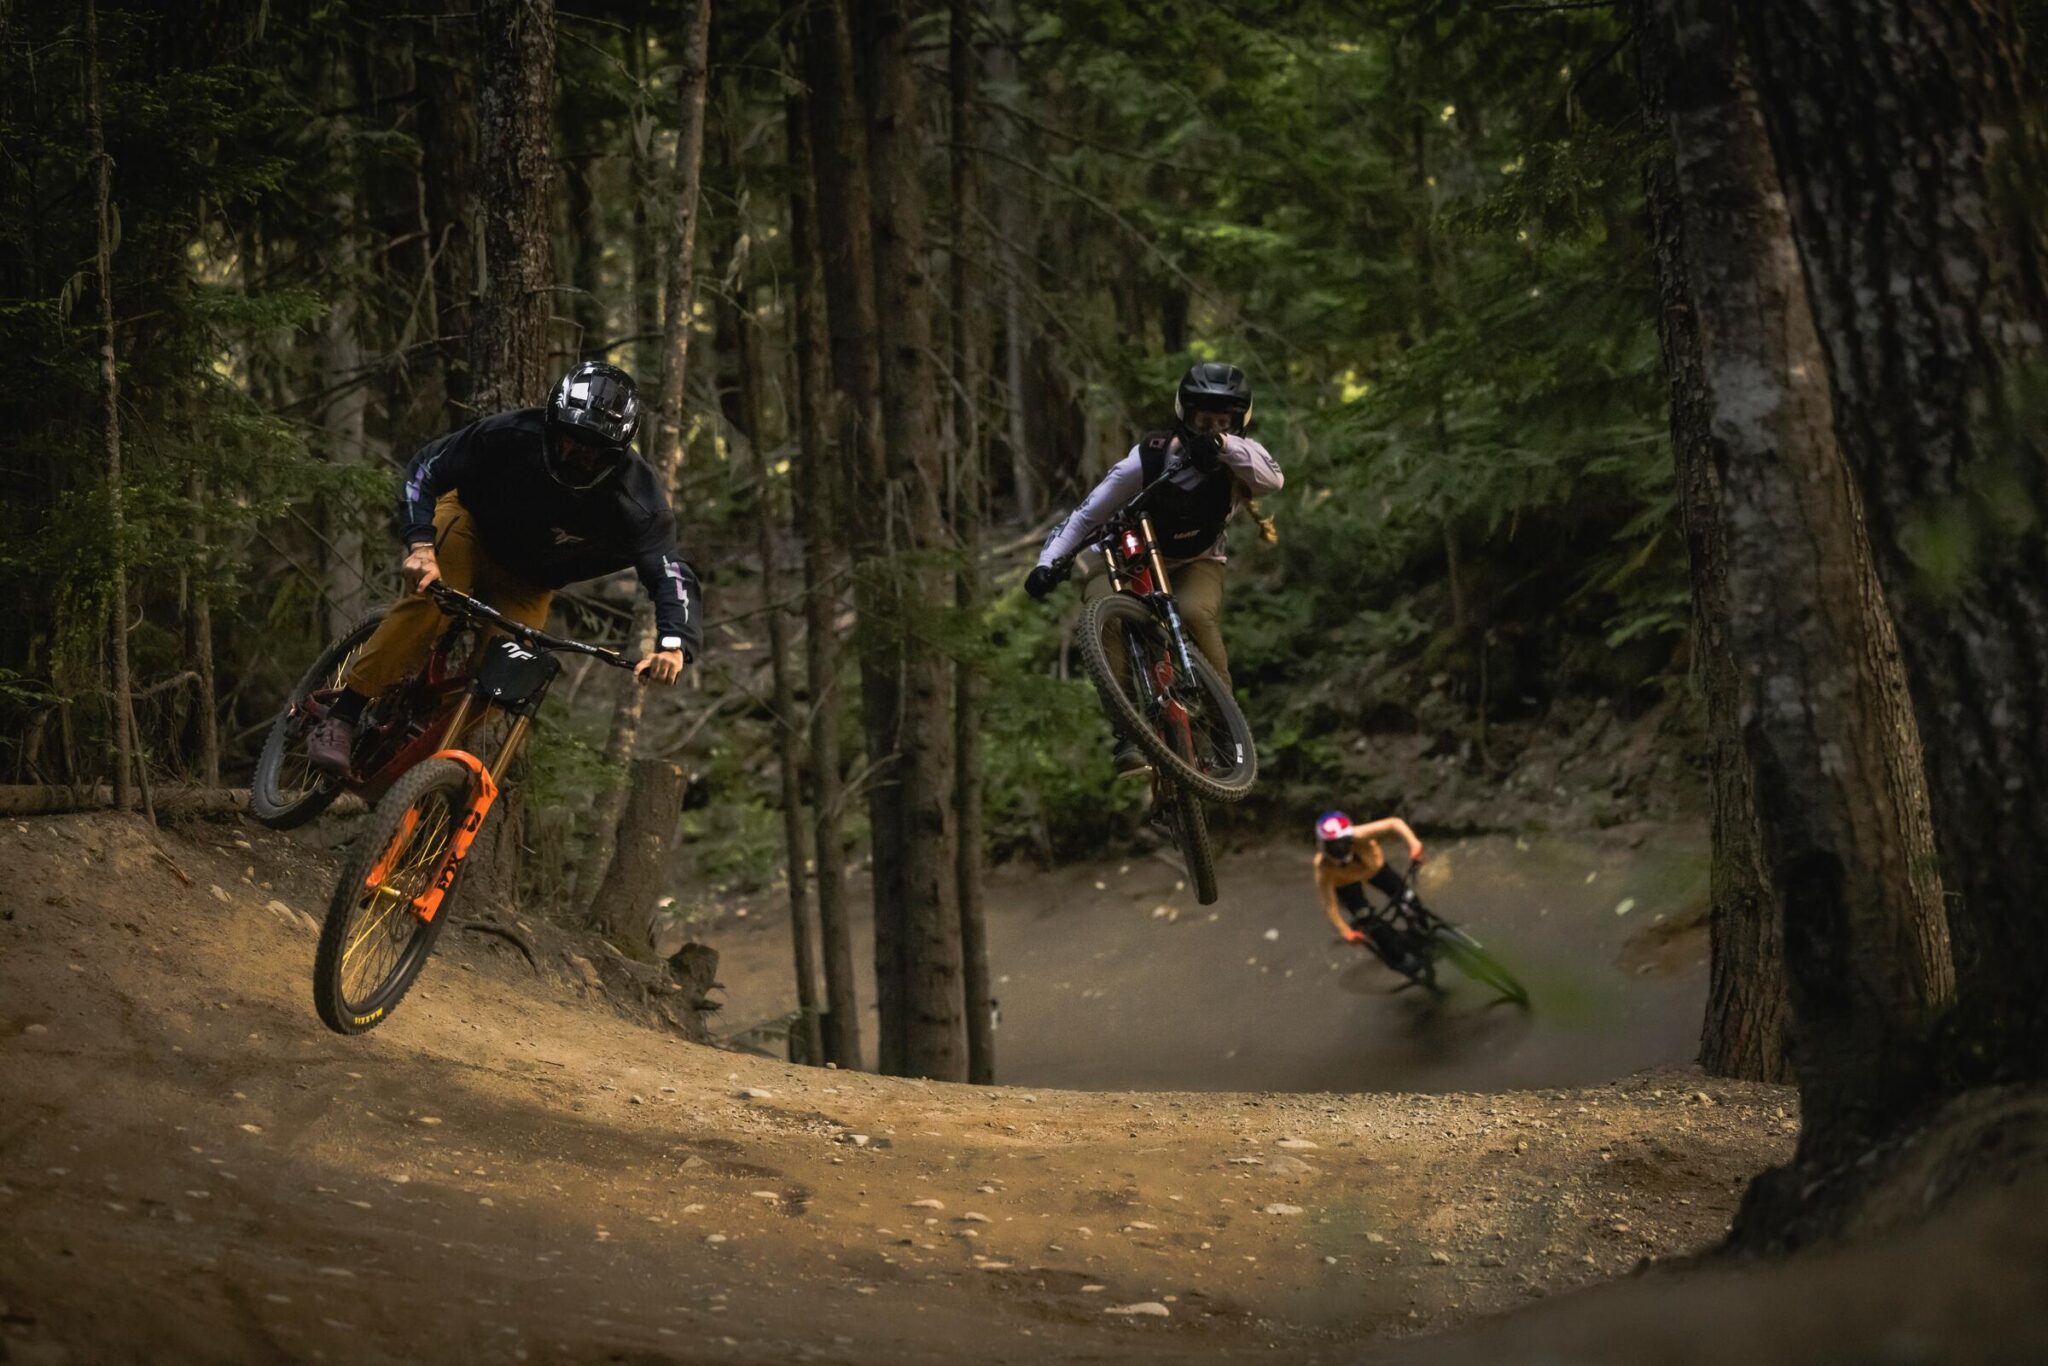
Words: Jared Rando
Photos: Nick Waygood
Intro:
Riding larger drops is for the most part the same as riding smaller drops – it’s all about judging your speed and controlling your landing. The key difference when it comes to large drops is the fear factor and quite often it is the fear factor which causes a rider to make mistakes. How do you overcome the fear factor? Well, the simple answer is progression.
The key skill you need is how to control your amplitude on the landing and have the ability to land how you choose – be it front wheel first, two wheels together or rear wheel first. Learn to master your amplitude on smaller drops before you progress to larger and larger drops and remember to practice different styles or run-ins; small lips, flat drops and downward sloping (this is the easiest to master). Once you have the basics covered, here’s how to tackle the larger drops out there.
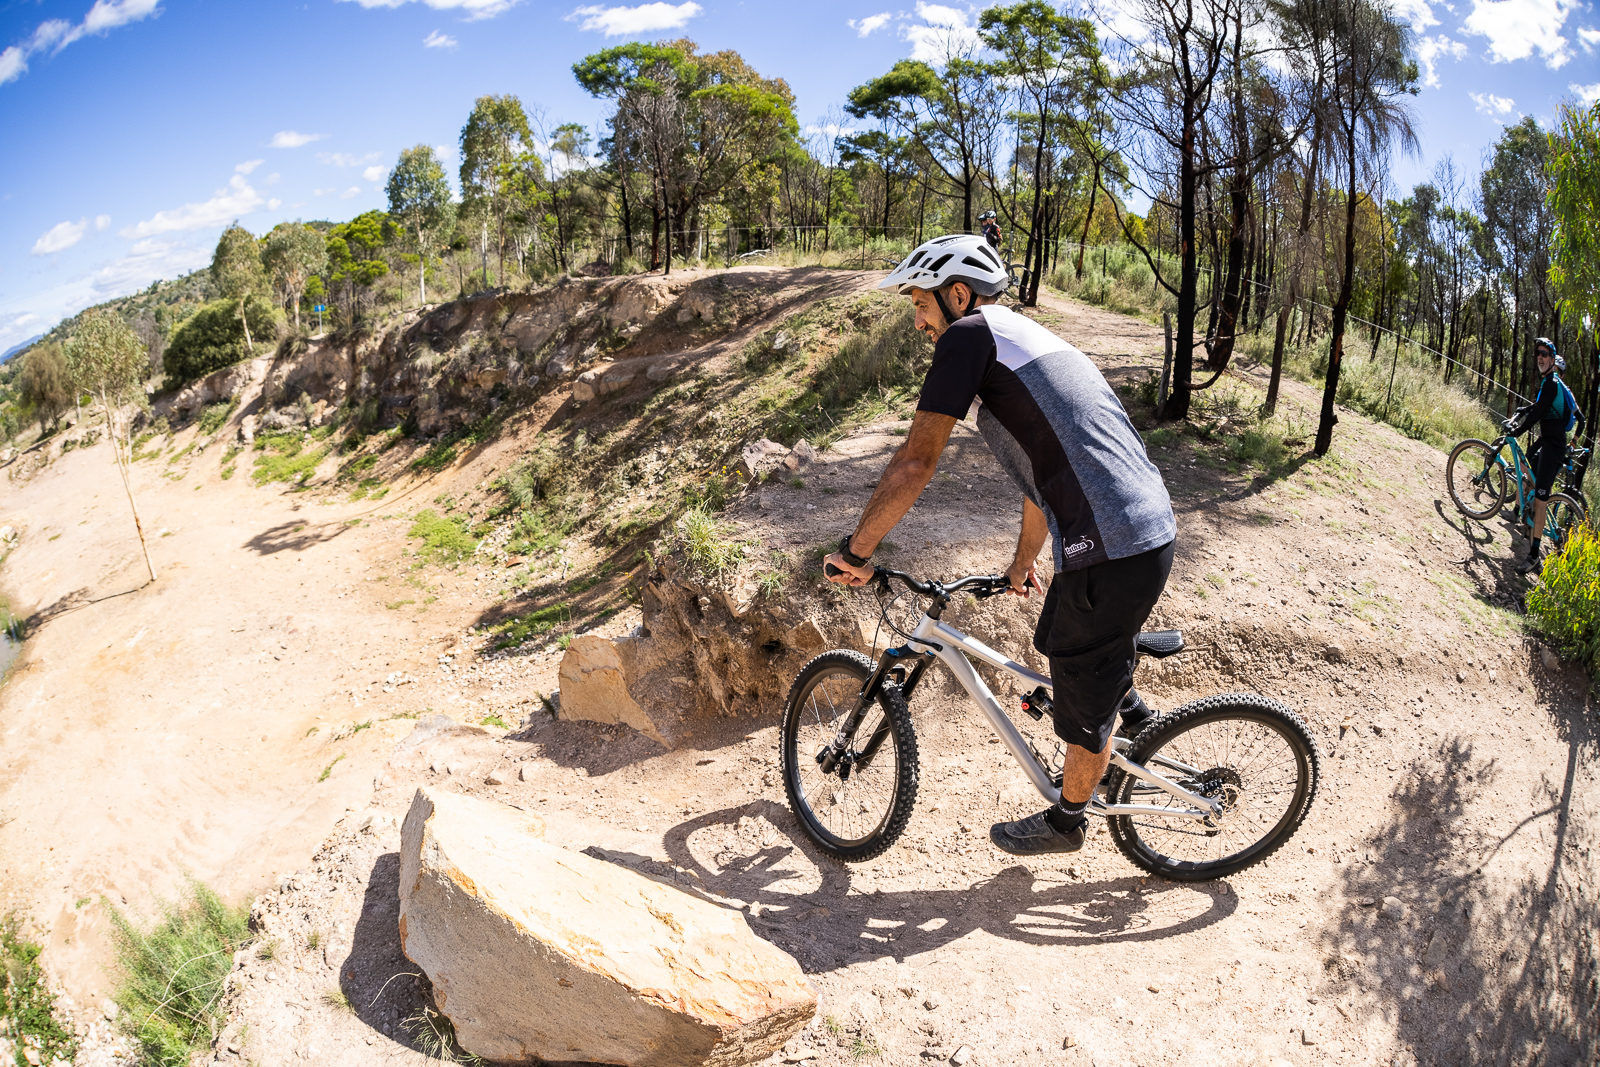
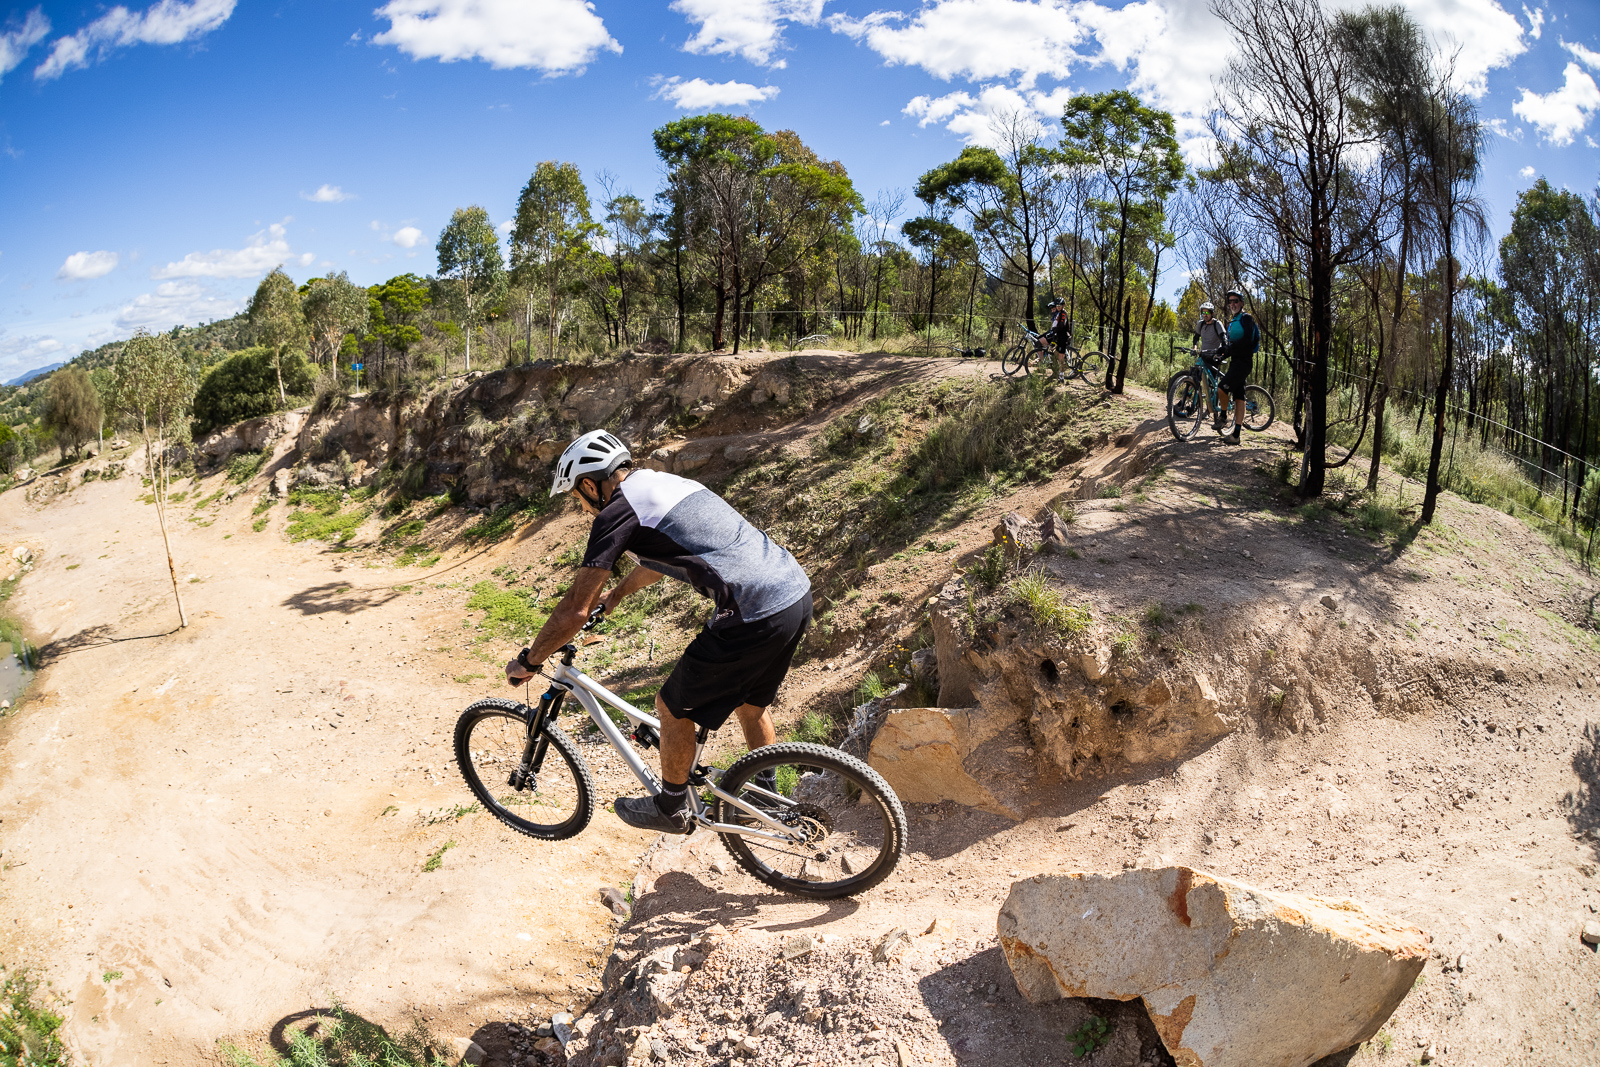
Step 1 – Scope the landing:
While the natural instinct will be to put your bike aside and have a look on foot. The best way to scope a landing is from on your bike. This gives you a more realistic view of the approach (as you get better vision with the extra height) and will also aid you in visualising what you need to do and where you want to land. Take a couple of dummy runs and focus on where you want your front wheel to land – not the top of the landing! It can be really useful to make a mark where you want to land for extra assistance as well.
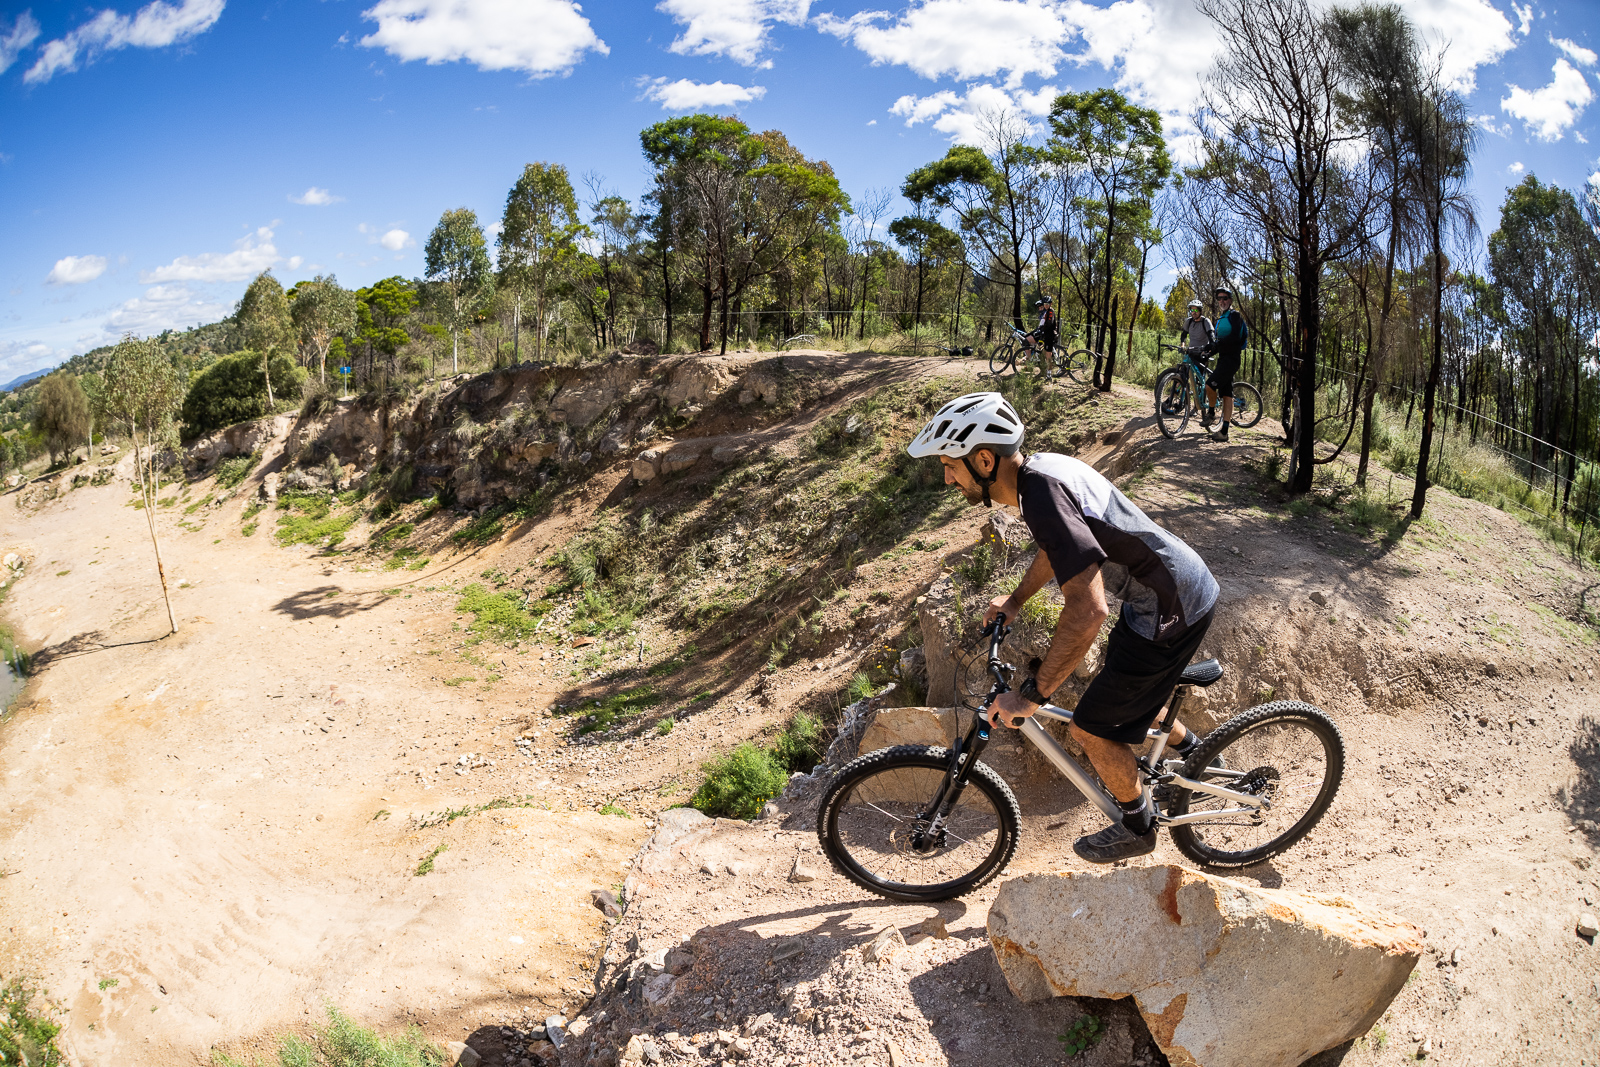
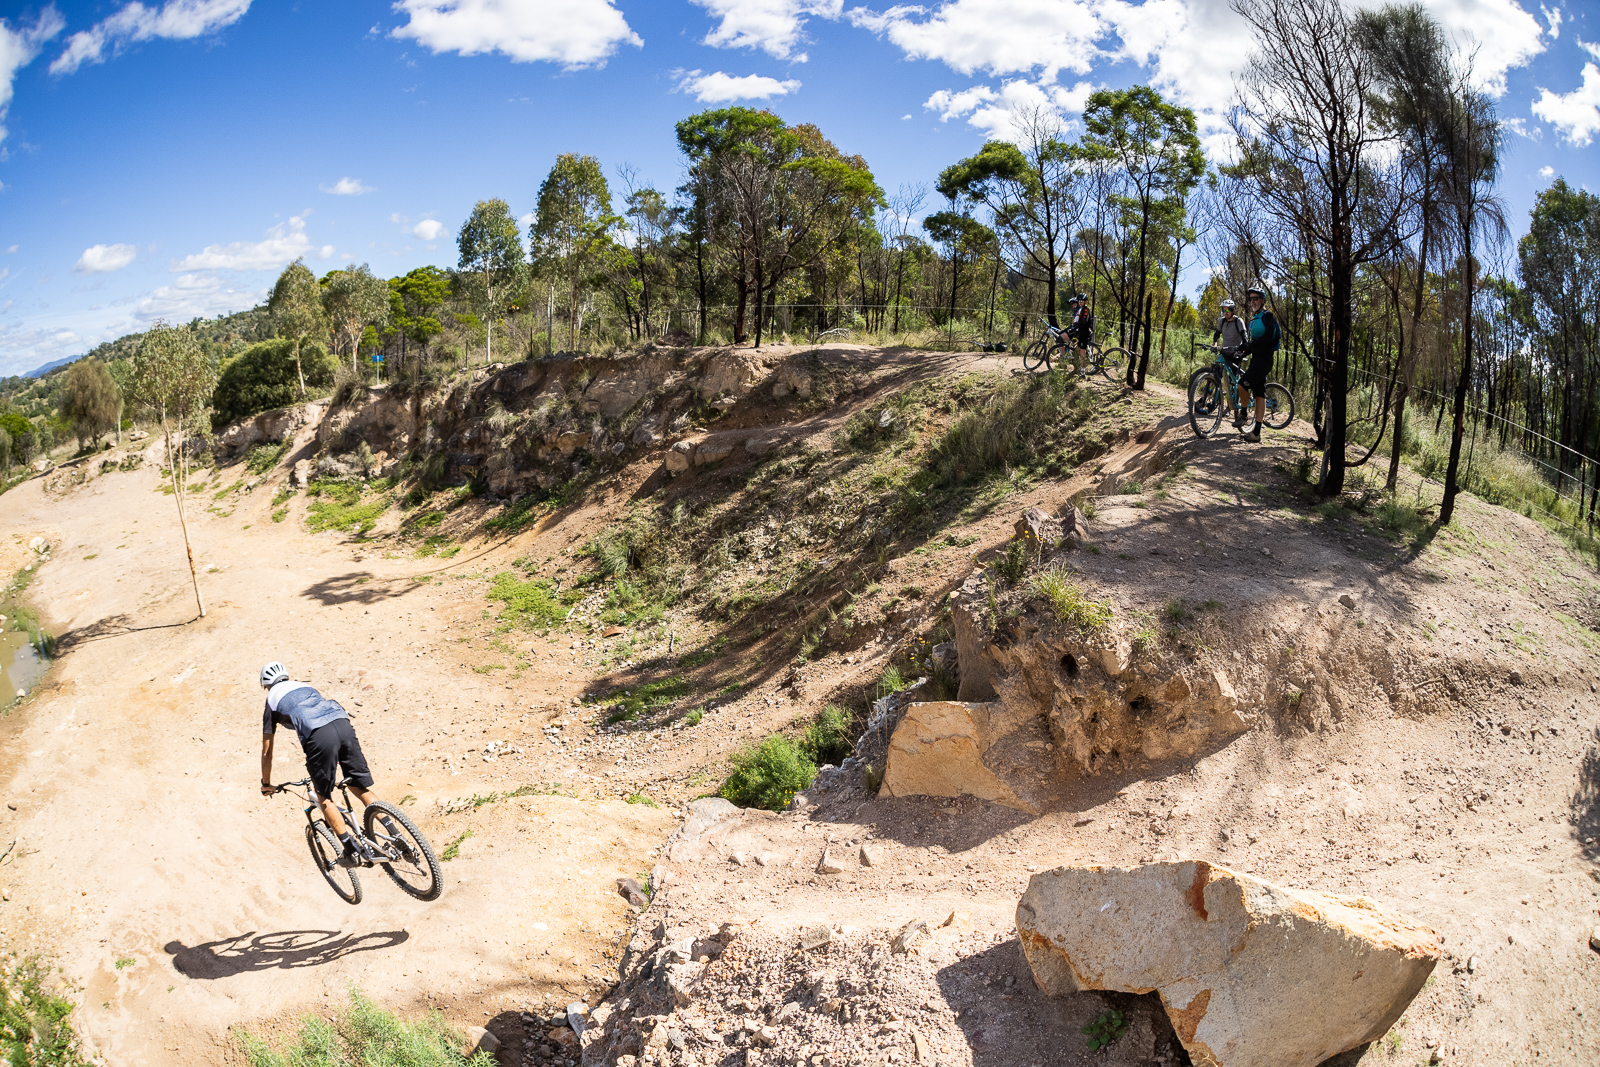
Step 2 – Spot your landing as soon as possible:
As you roll in, spot your landing as soon as possible and understand how you want to land. For this drop which is on the smaller side and has a nice downward runout, I’m looking to land slightly front wheel first with my front wheel a little over a bike length from the top of the landing. For larger drops a two wheel or slightly rear wheel landing will be better and for flat landings you definitely want to touch down rear first. Once again learning the different landing styles on smaller drops will help you judge what will suit you best for the style of drop you are attempting.
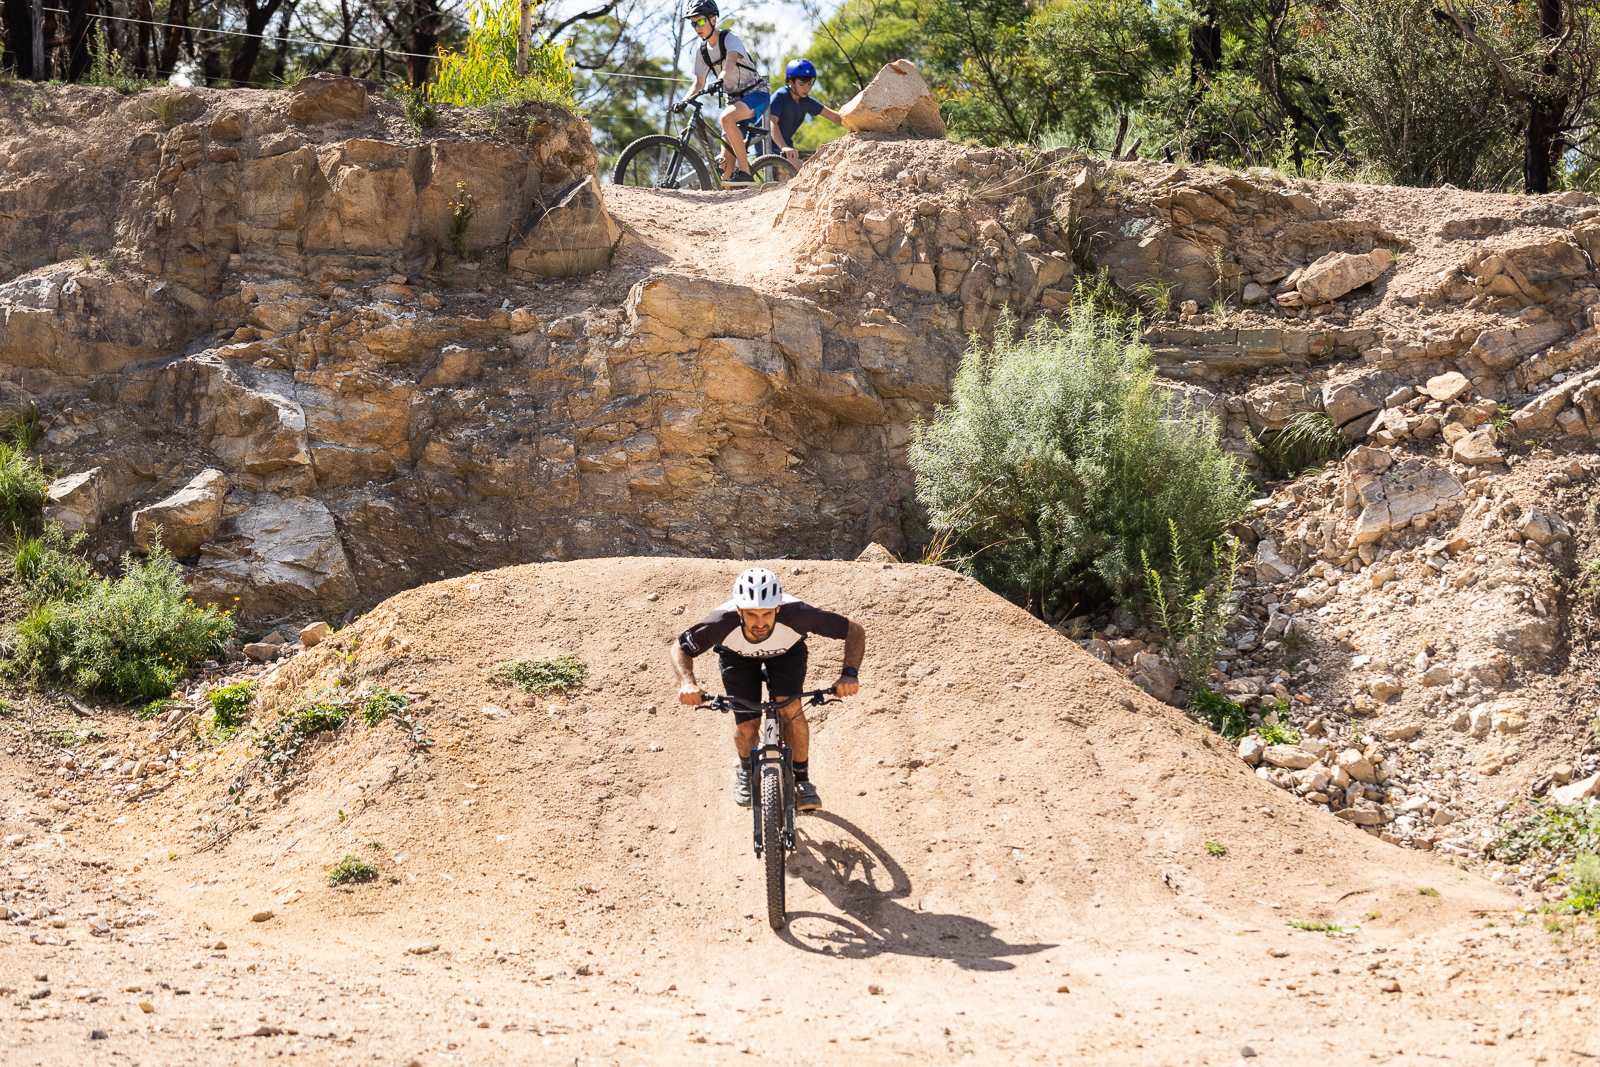
Step 3 – Use your body weight to pull back:
A really common mistake is for riders to rely solely on their arms to pull back. Use your whole body and weight to pull back off the drop. The exaggerated movement will give you more opportunity to adjust to the right angle rather than a short sharp jerk of the bars. Keep your eyes on the landing and adjust accordingly. This will also help if you get the speed slightly wrong as you can pull up a little harder if you are coming up short or less if you are going too fast. Practice different speeds on smaller drops to learn how to make the adjustments so you get it right on the larger drops.

Step 4 – Make your final adjustments closer to touchdown:
Here as I’m getting close to touching down, I’m still keeping my front wheel relatively high and will make the final adjustment just before I touch down. By doing this I’m giving myself a bit of wriggle room just in case I come up short or go too far. With a bit of experience you’ll be able to drop the rear wheel by pushing down with your legs or drop the front wheel by pulling up with your legs or dropping your front end with your arms. Practice on the smaller drops first!
Step 5 – Keep your weight centred as you land:
Last but not least it’s really important to use your whole body to soak up the landing. Use your legs and arms together and maintain a balanced and strong posture. Try your best not to tense up as well and focus on absorbing the drop with your body and your suspension will do its work in conjunction with your body.
Can’t get enough Rando? Click here for more skills.