Words: Jared Rando
Photos: Nick Waygood
The ability to control your bike accurately at low speeds crosses over into so many elements of riding and particularly when things get a bit out of hand and there is a need to “re-balance” to get back on track.
Be it technical climbs, slow and steep technical descents or simply trying to get across a less than adequate bridge, the skill translates really well and can be practiced in so many ways other than on North Shore style bridges. From beginner to advanced, it’s also a whole lot of fun to challenge yourself but always remember to start low and slow and work your way up as your confidence and ability progresses. Here’s some tips to get it done.
Step 1 – Commit and focus

As you approach, you need to be 100% committed to getting to the other side. Anything high and skinny has consequences and once you are on bailing out isn’t really an option – you need to commit! Focus ahead but not too far ahead. Keep an eye on the line and don’t look anywhere else.
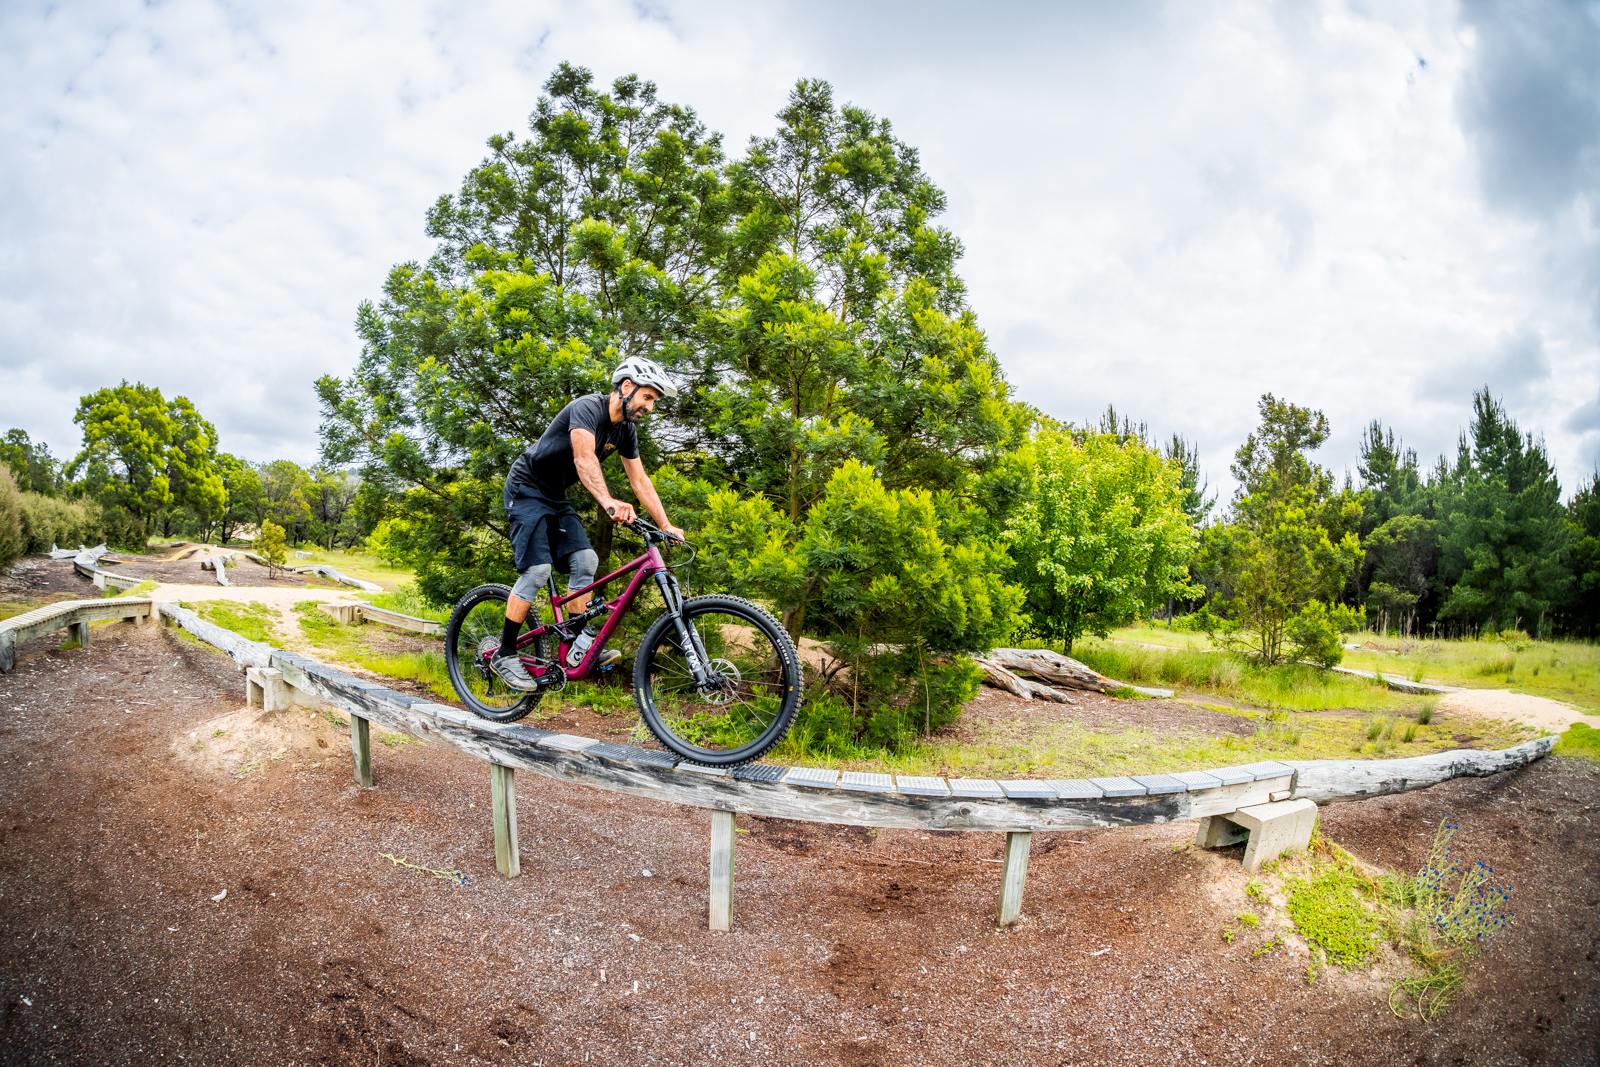
Step 2 – Body position
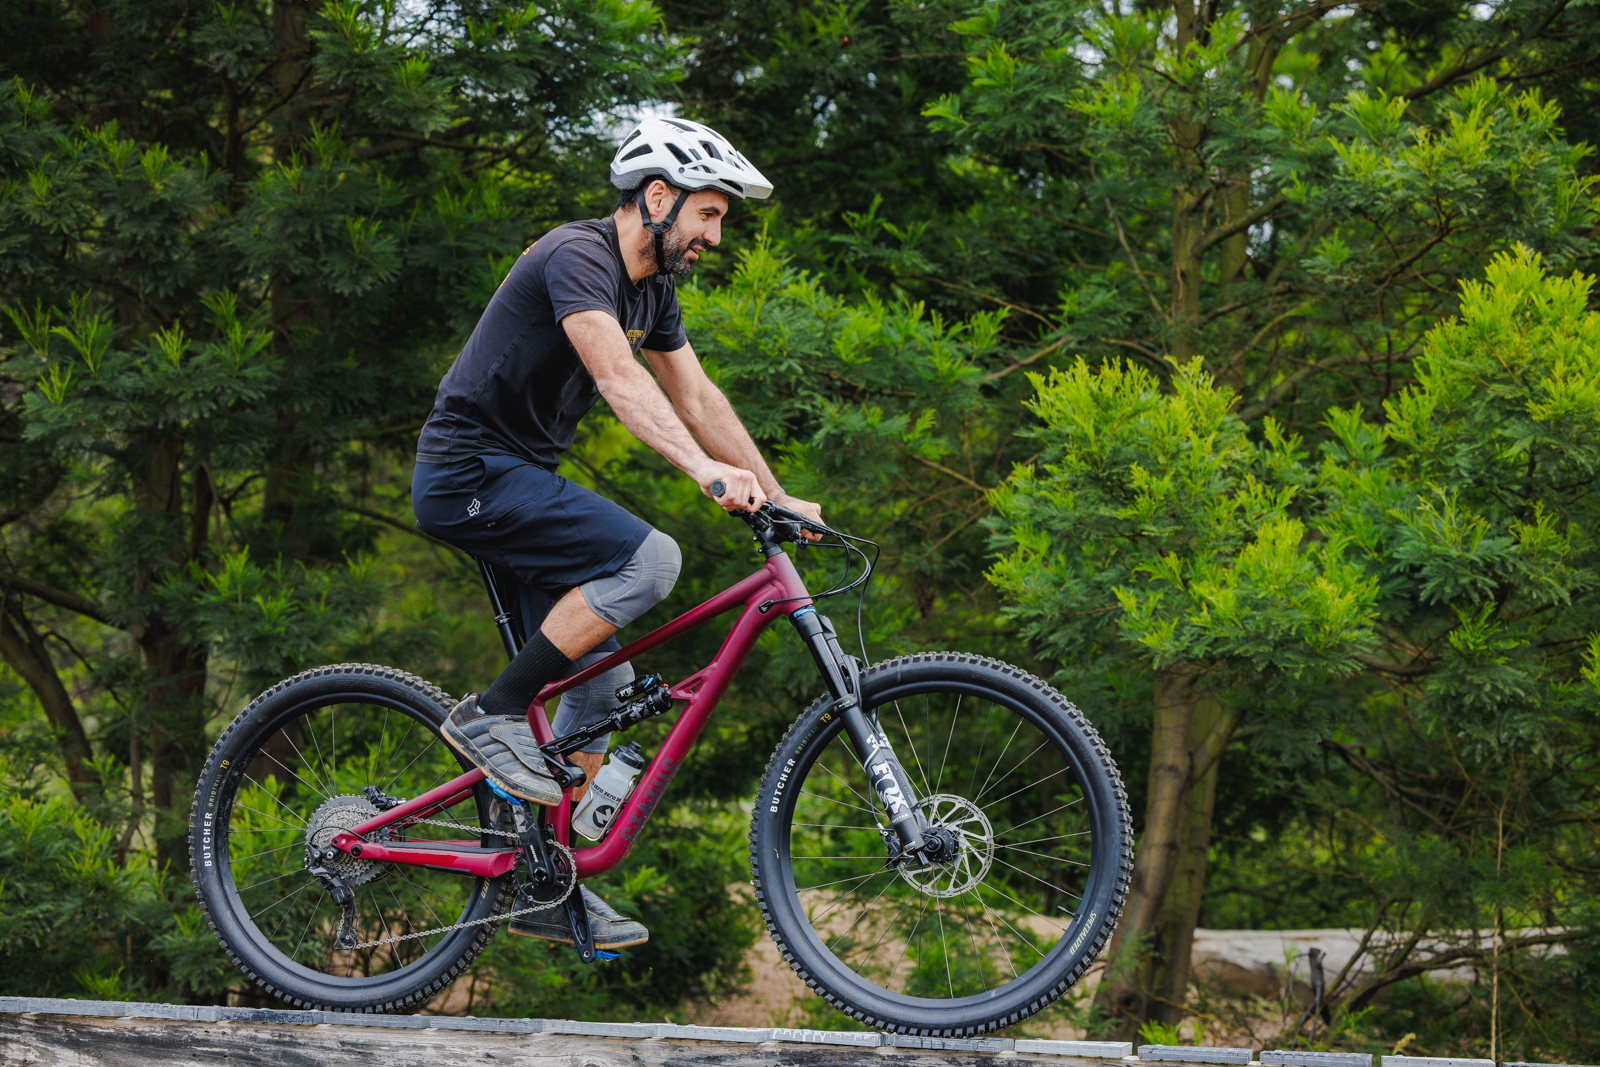
This can vary from rider to rider but my preference for anything flat where you need to pedal is to stay seated and steady and then to stand up once gravity can take over and things point down. I also prefer to use a slightly higher gear as the resistance of the pedal stroke helps maintain your balance. When you begin to point down keep your weight low and centred and everything as steady as possible. The less movement the better.
Step 3 – Use your brakes
This is actually a bit counterintuitive but braking gently and pedalling at the same time is also a great way to help maintain your line and balance by giving you some resistance to work against. In this instance I’m using the brakes whilst sitting and pedalling on the first flat section and then braking down the inclined log at the end to help maintain my balance. It sounds crazy but it definitely works.
Step 4 – Move your bike
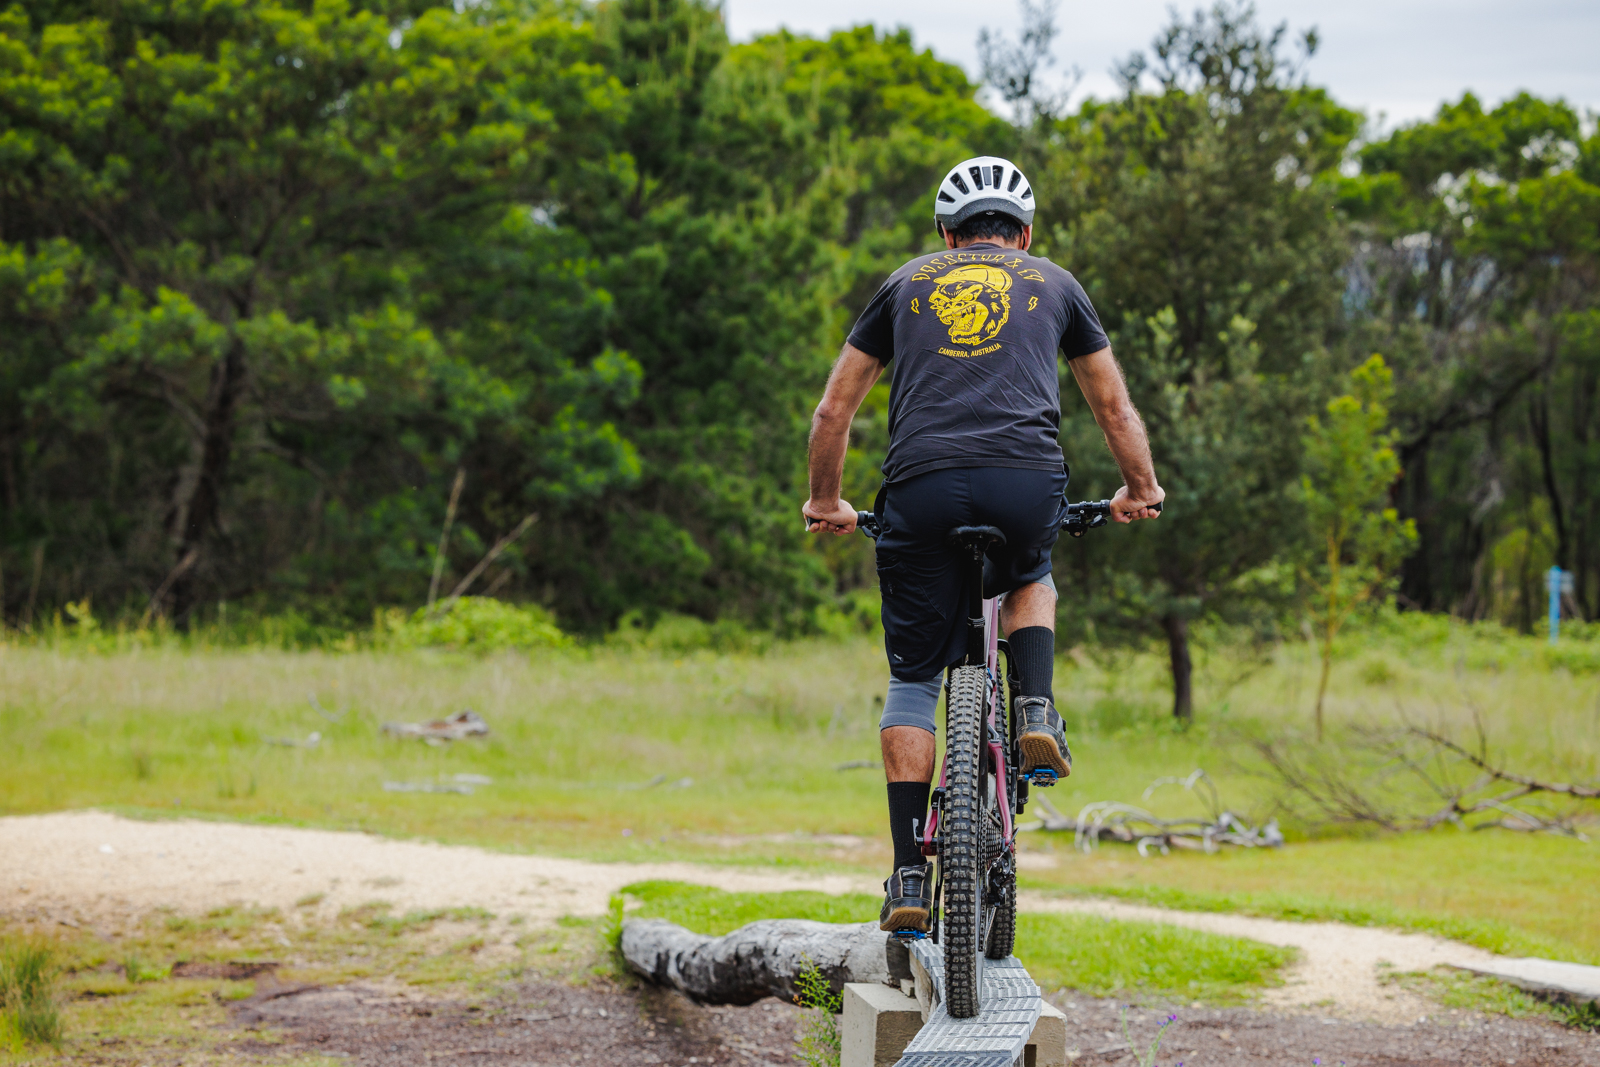
Once again, this is something which is a bit counterintuitive but moving your bike around underneath you is a really great way to stay on track. The aim is to keep your body weight centred over the bridge because once it’s off your bike will follow. Let the bike go side to side underneath you whilst keeping your weight centred over the log.
Step 5 – If it all goes wrong…
If you do find yourself in an unrecoverable position and falling to the side, the best option is to side hop of the log (bunnyhop sideways) and aim to land rubber side down. This is something definitely worth practicing as you progress, so you know what to do if and when it happens. Some riders on flat pedals will also opt to jump up and over the bike and land on your feet to the side but doing this is a slightly more risky choice as you can get caught on the bike or land with your foot in a hole or on a rock. The last thing you want to do is simple tip over and put your arm out as it’s simply a longer way to the ground and gravity will have more of a chance to inflict the its maximum damage. As always, remember to start out easy and work your way up as your confidence builds.