SKILLS: How to speed tuck
Looking for a little more speed when racing against the clock? Jared Rando takes you through the proper way to speed tuck.
Words: Jared Rando | Photos: Nick Waygood
"Why the hell do I need to tuck!?”
I hear you ask. Well, for the most part, most riders out there have absolutely no need to tuck when you are out for a rip, but for anyone who rides when a clock is involved – either racing or just trying to get a PB on your favourite descent – knowing the ins and outs of tucking can carve a huge amount of time off your descents. And it becomes more and more effective the faster you go.
Watching Greg Minnar ride to his umpteenth downhill World Cup victory in late 2020 was a master classin tucking. Once you hit a particularly high speed on your bike, there’s several things which can happen; you either run out of gears to pedal any faster, it becomes downright sketchy to keep the pedals turning over the rough stuff, or pedalling simply becomes too inefficient due to wind drag and when this happens, it’s time to tuck!
You will find too that the majority of pro downhillers do everything they can to keep a low profile at any speed when they are out in the open so it is relative at most speeds but for this we’ll focus on the basics of what to do when the speed gets high and the above factors come into play. Here’s what to do:
Step 1 – tuck!
Well, there aren’t anysteps really, it’s just about getting in the right position!
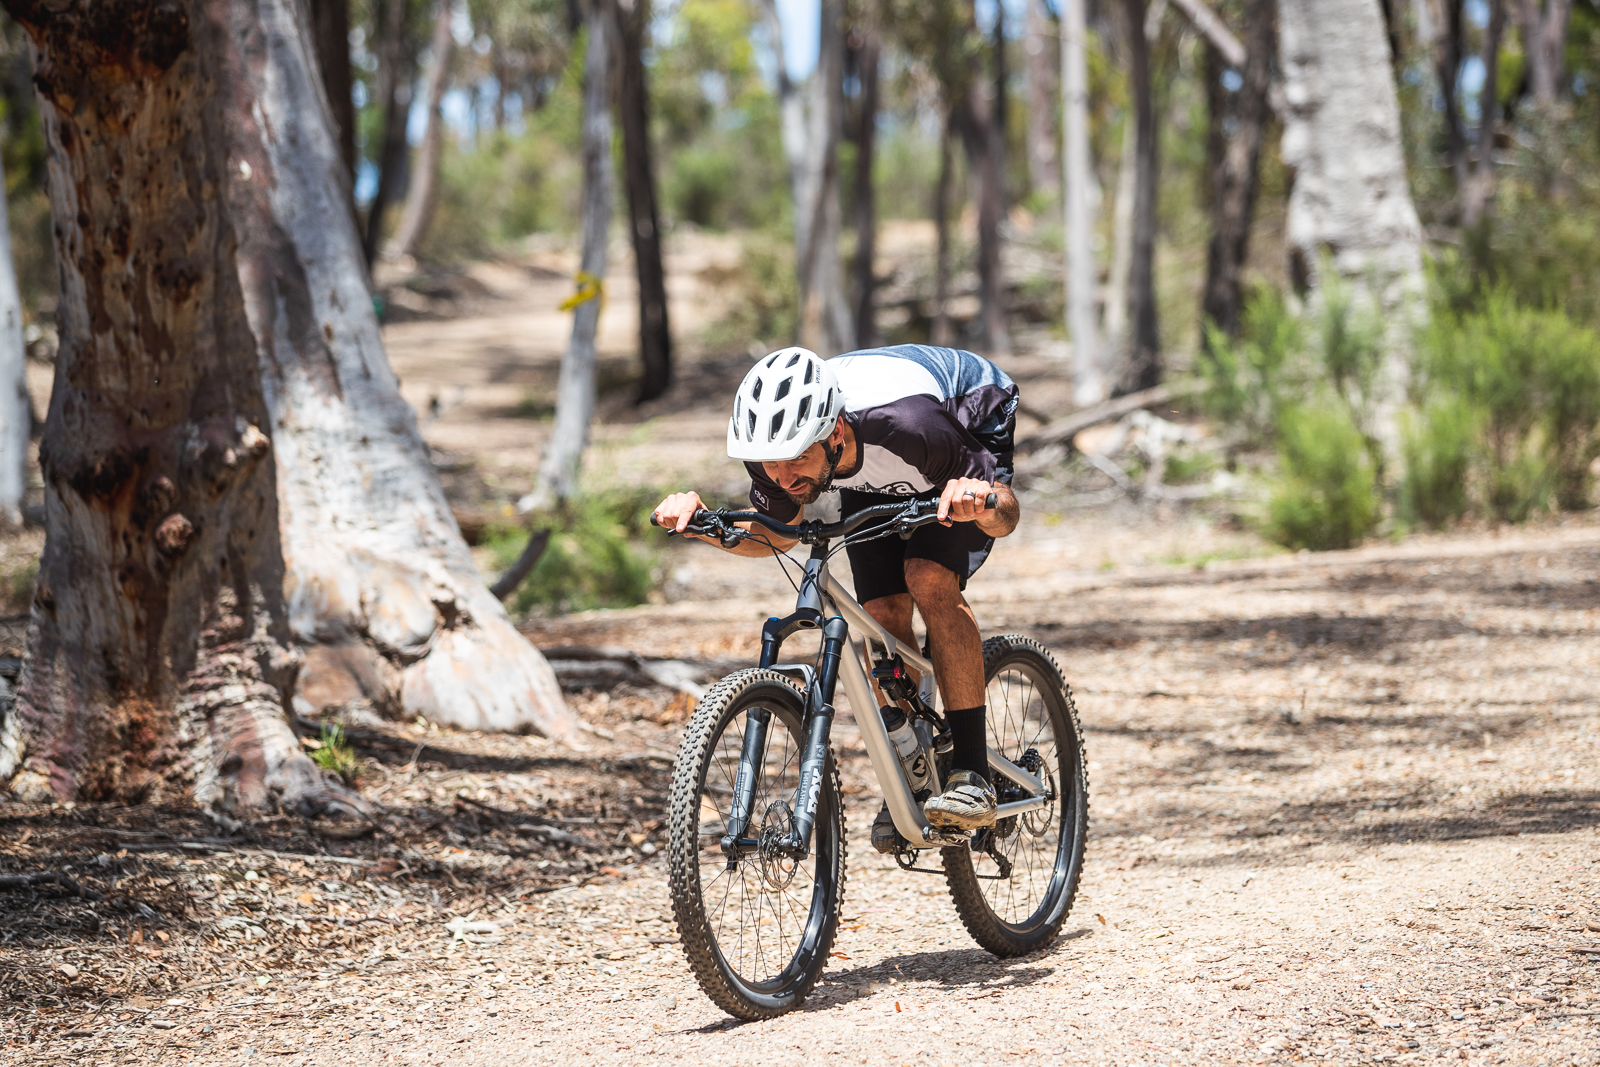
What you are looking for is having your back relatively parallel to the ground and your elbows andknees tucked into your body. I was told by a pro track rider to squeeze in your shoulders as well. Basically you are just trying to get as small a profile as possible on the bike, and be as “aero” as possible. No death grips either–keep your fingers on the brakes!
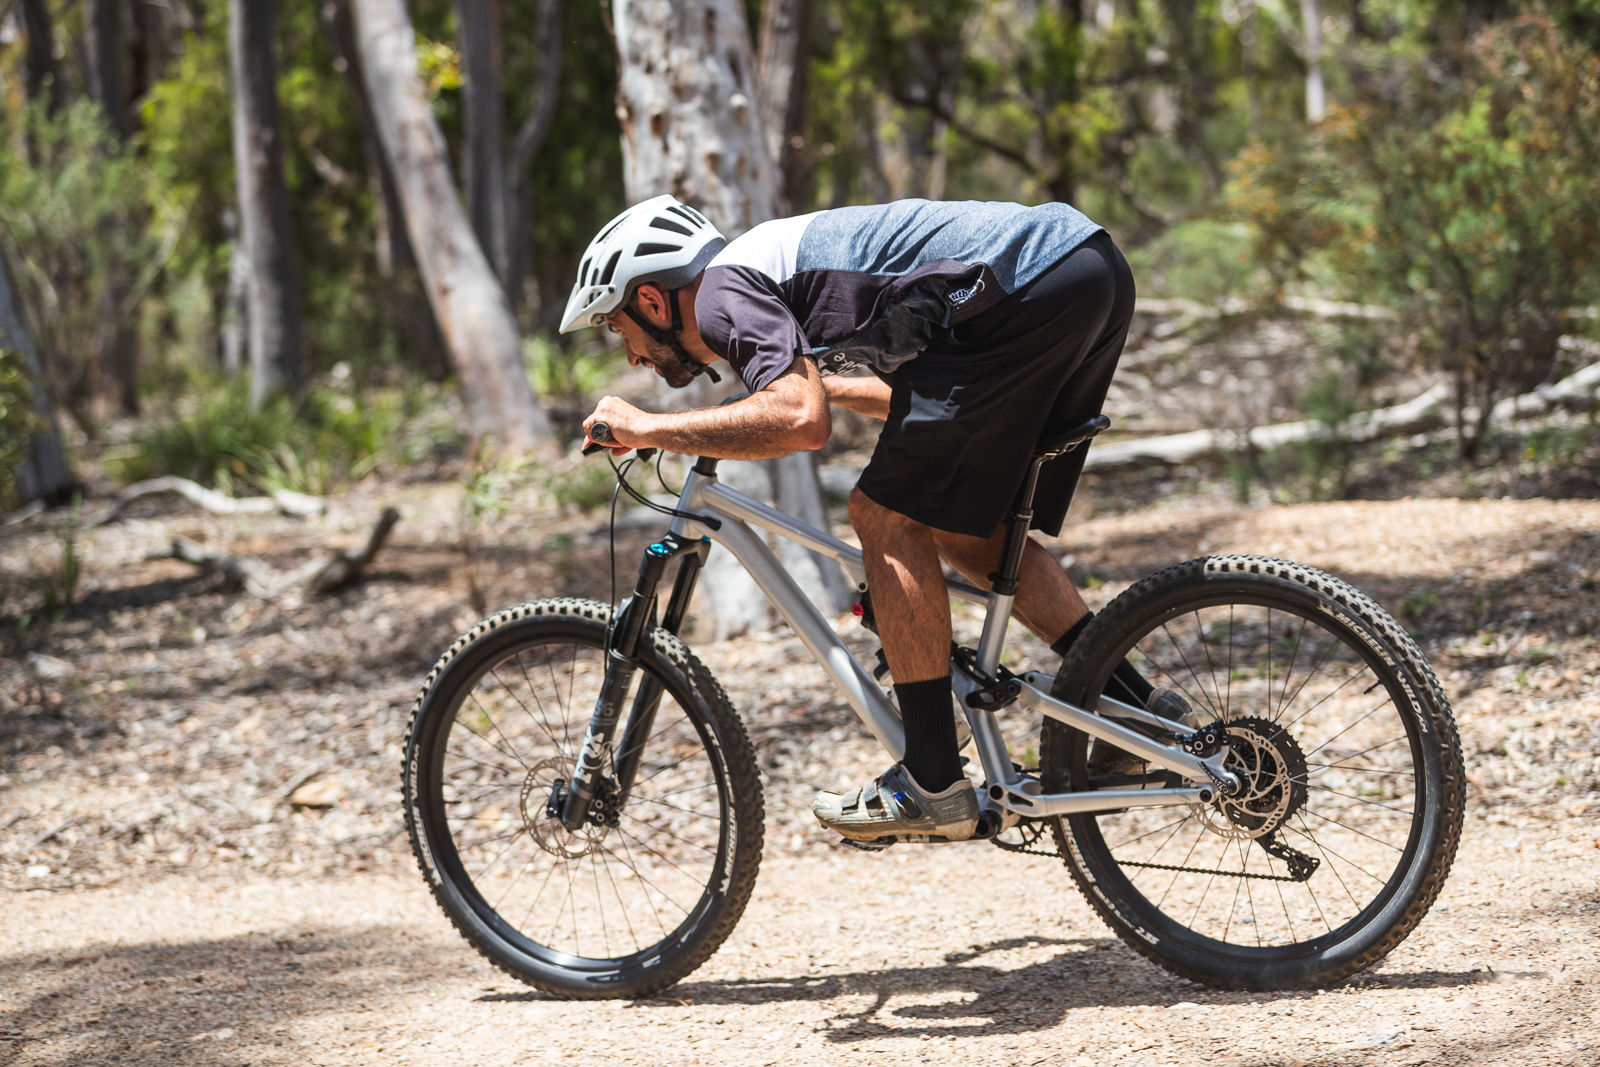
Step 2: Maintain Control
While it’s pretty easy on a flat surface, tucking when the going gets rough can become a bit of a challenge.

Keep your weight centred over the bike and the weight on your legs. This will allow you to soak up any unexpected big hits. Keep your suspension active as well – at the end of the day you’re going to be going pretty damn fast and keeping your bike glued to the ground will stop you bouncing around, keep you safer and actually help maintain speed. And keep your fingers on the brakes!
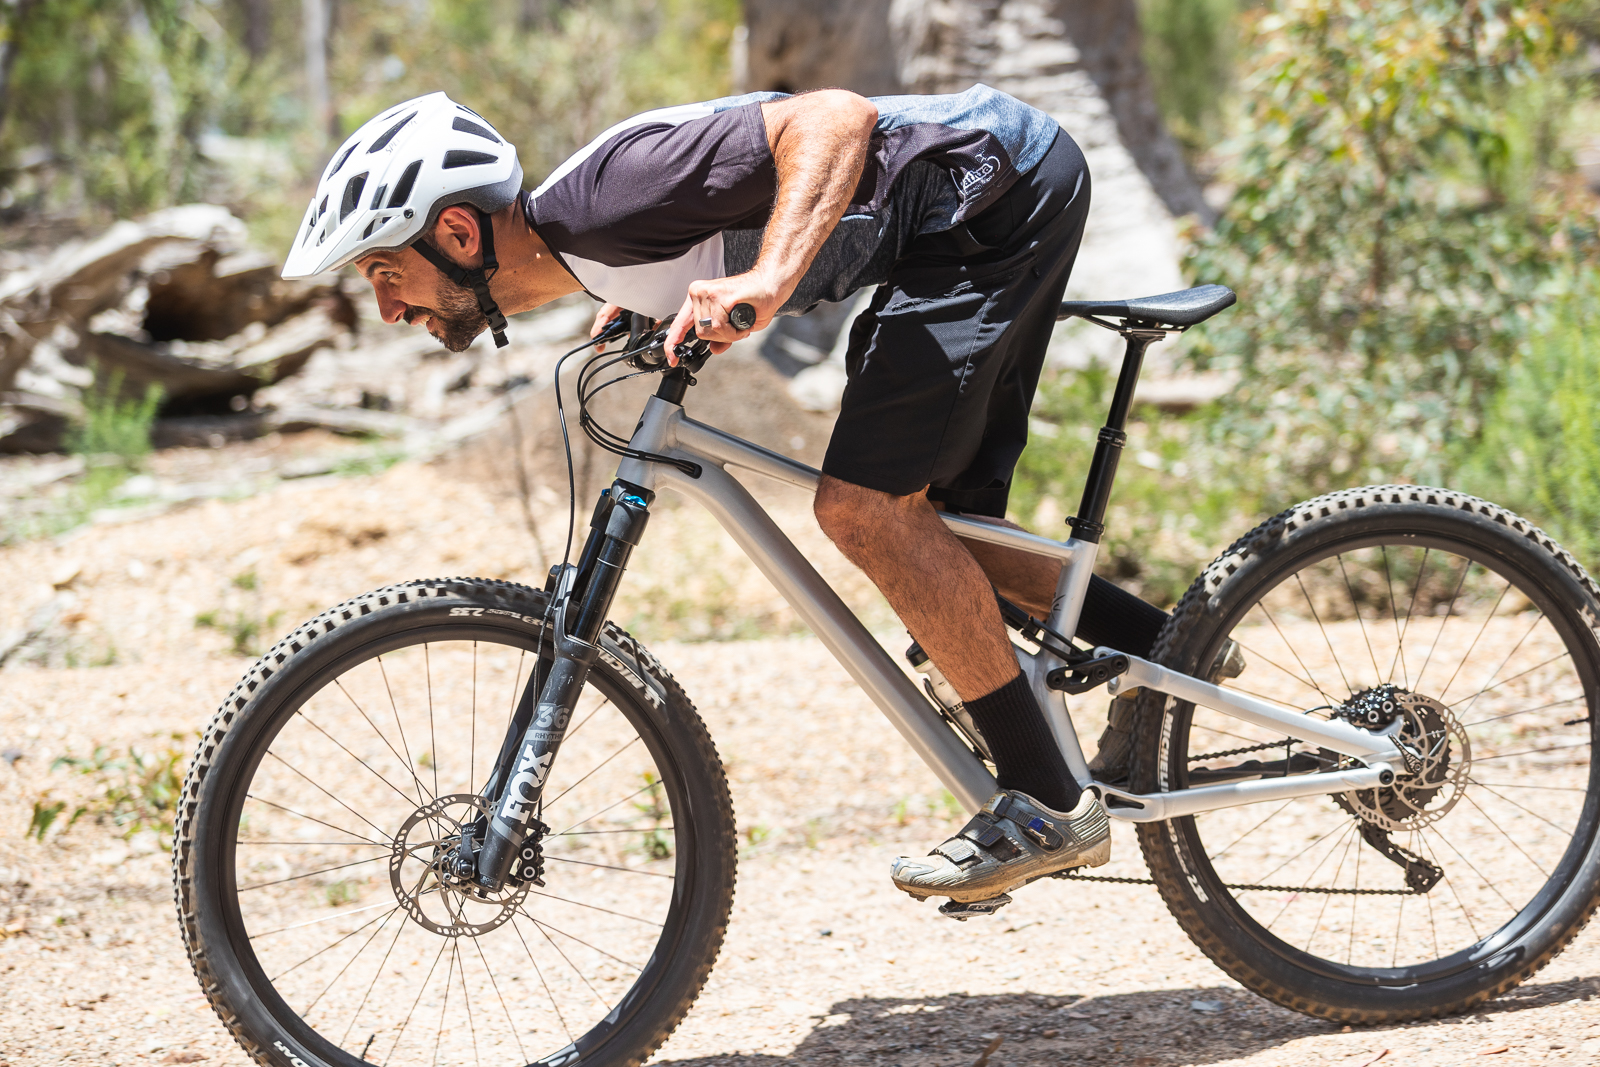
Step 3 – Weight and unweight your bike when you need to
Keep an eye on the terrain ahead – if there’s a rough patch coming up, look to unweight your bike so it doesn’t slow you down.
If there’s a dip you can pump, do what you can to get some extra speedout of the dip by pumping while still maintaining your position. The same goes for slight corners where you can still maintain your tuck–you’ll need to weight the bike to get some traction like you normally would do cornering but also maintaining the tuck position as best you can.
Step 4: What not to do
There’s some pretty crazy tucking techniques out there, especially when it comes to road cycling.These may be slightly more aerodynamic but it’s simply not worth it!
When you tuck on a mountain bike, you’re going to be going fast (35–40km/h and up). You need control. Don’t get over the front of the bike and have all your weight over the handlebars. Surprisingly I‘ve actually seen this done more than once and it makes me cringe every time.
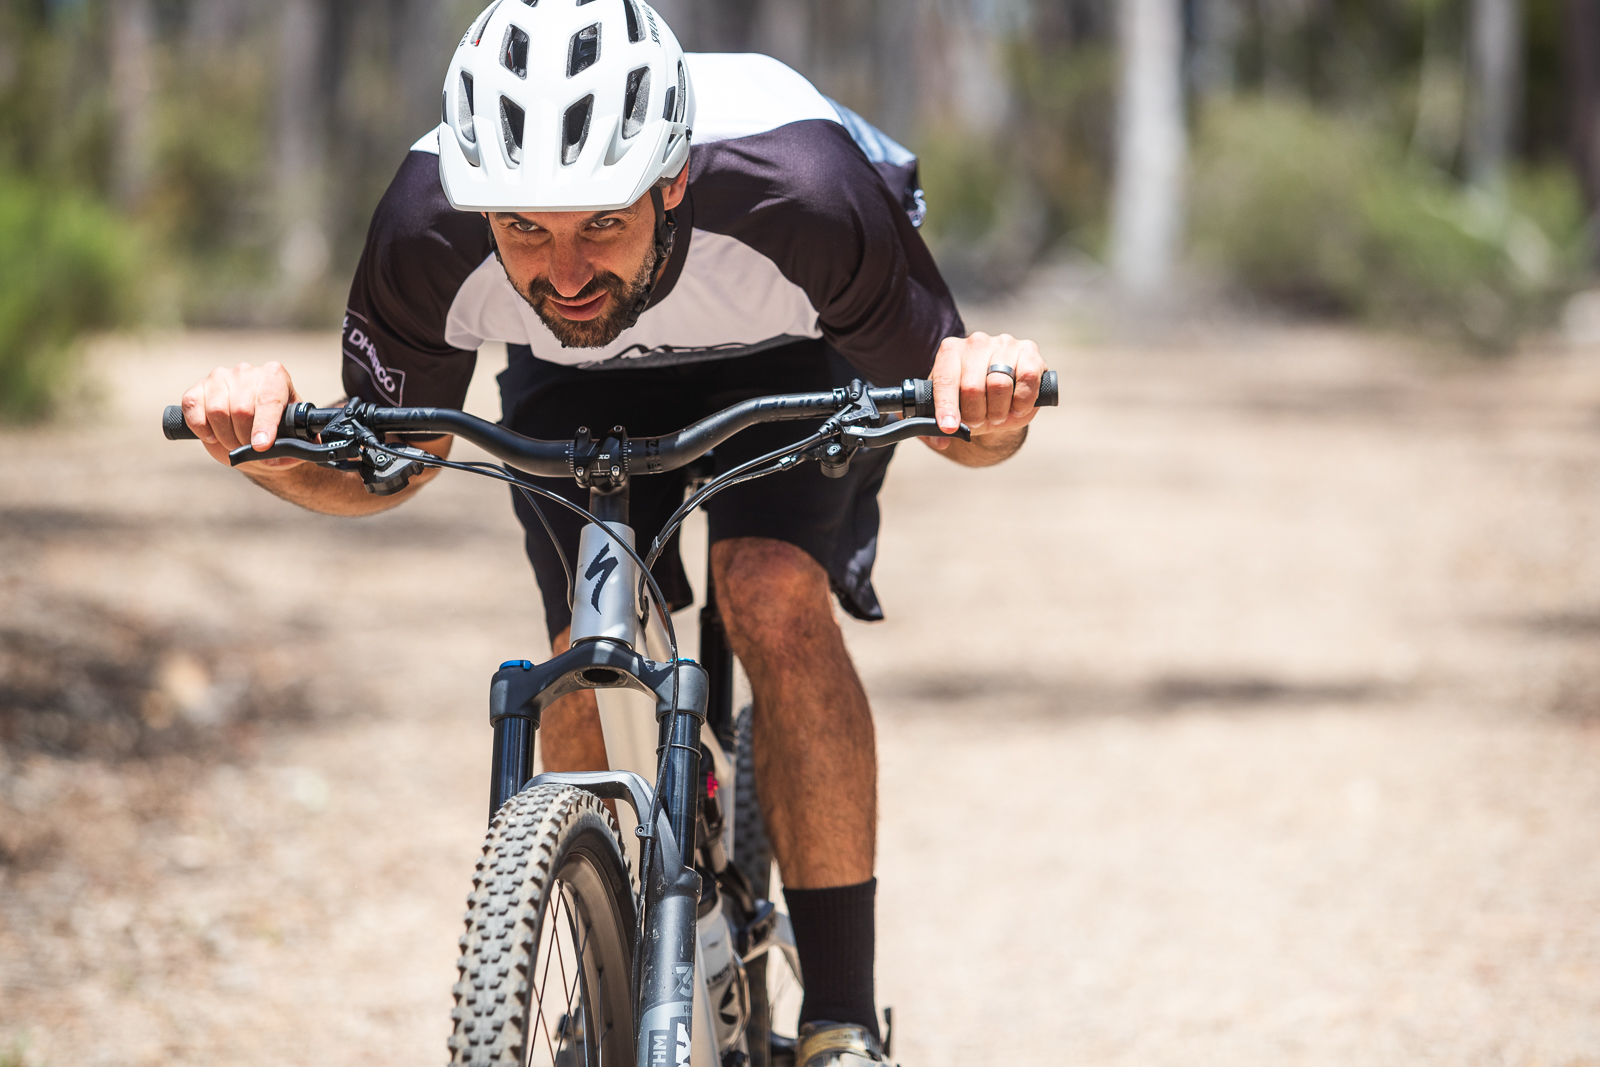
The death grip (fingers off the brakes) may make for a cool pic but the reality is that it’s a terrible idea for obvious reasons. Combine all that and youare in for trouble if something goes wrong. Keep it safe.
Find more skills tips from Jared Rando right here.