Words: Jared Rando
Photos: Nick Waygood
This might seem hard to believe for the younger folk out there, but the “scrub” technique over jumps is actually a relatively new technique. Prior to the legendary James Stewart bringing the scrub to fruition, it was all about squashing jumps. Scrubbing jumps is a relatively difficult technique to get right, and for the intermediate level rider, it’s going to take a long time to master.
Squashing jumps on the other hand is relatively straight forward. Over large jumps at high speeds, it definitely isn’t as effective as scrubbing but as your speed and skill progresses and the jumps become smaller underneath you, squashing jumps is a great and fairly natural progression. It’s also a great technique for advanced riders when you need a really good pump on the backside as keeping the bike straight allows you to get a good pump right off the bat. As always, this is definitely a technique you want to master on small jumps and at lower speeds before progressing. Here’s how to do it.
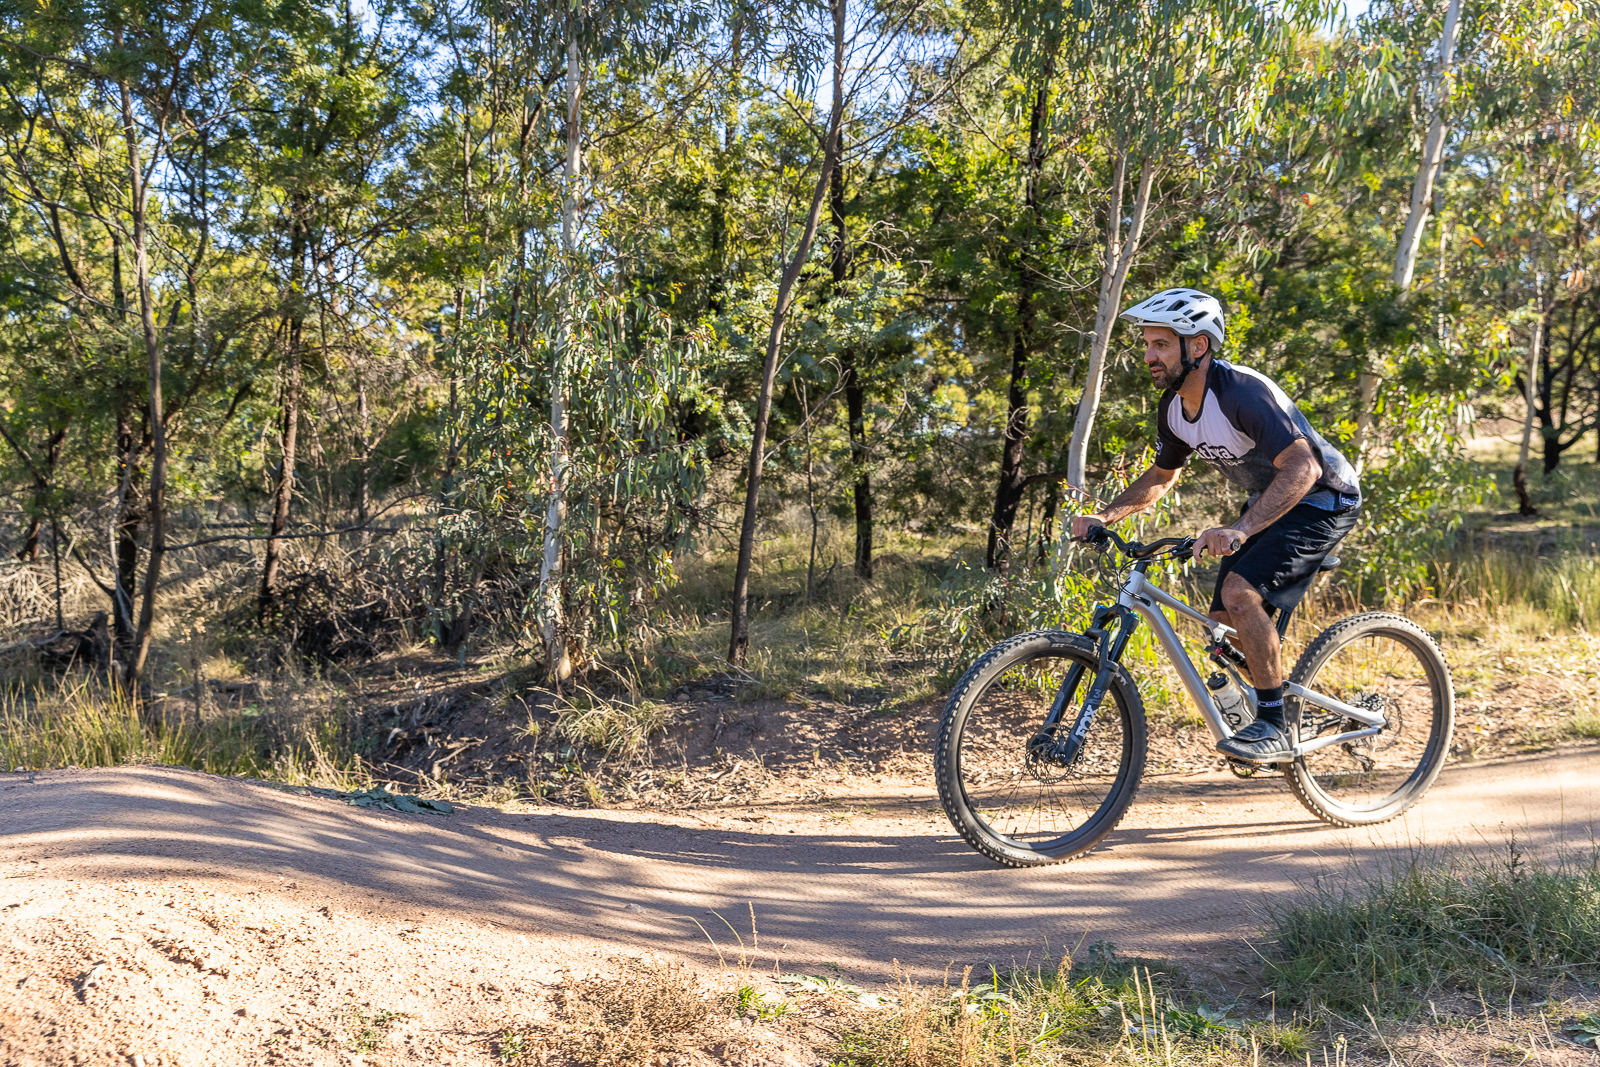
Step 1 – The approach:
Approaching the jump is similar as if you were approaching a normal jump but you will need to keep your weight a little more towards the back of the bike as the technique is all about allowing the bike to come up in front of you. Focus on the lip of the jump as it’s all about timing on the lip.
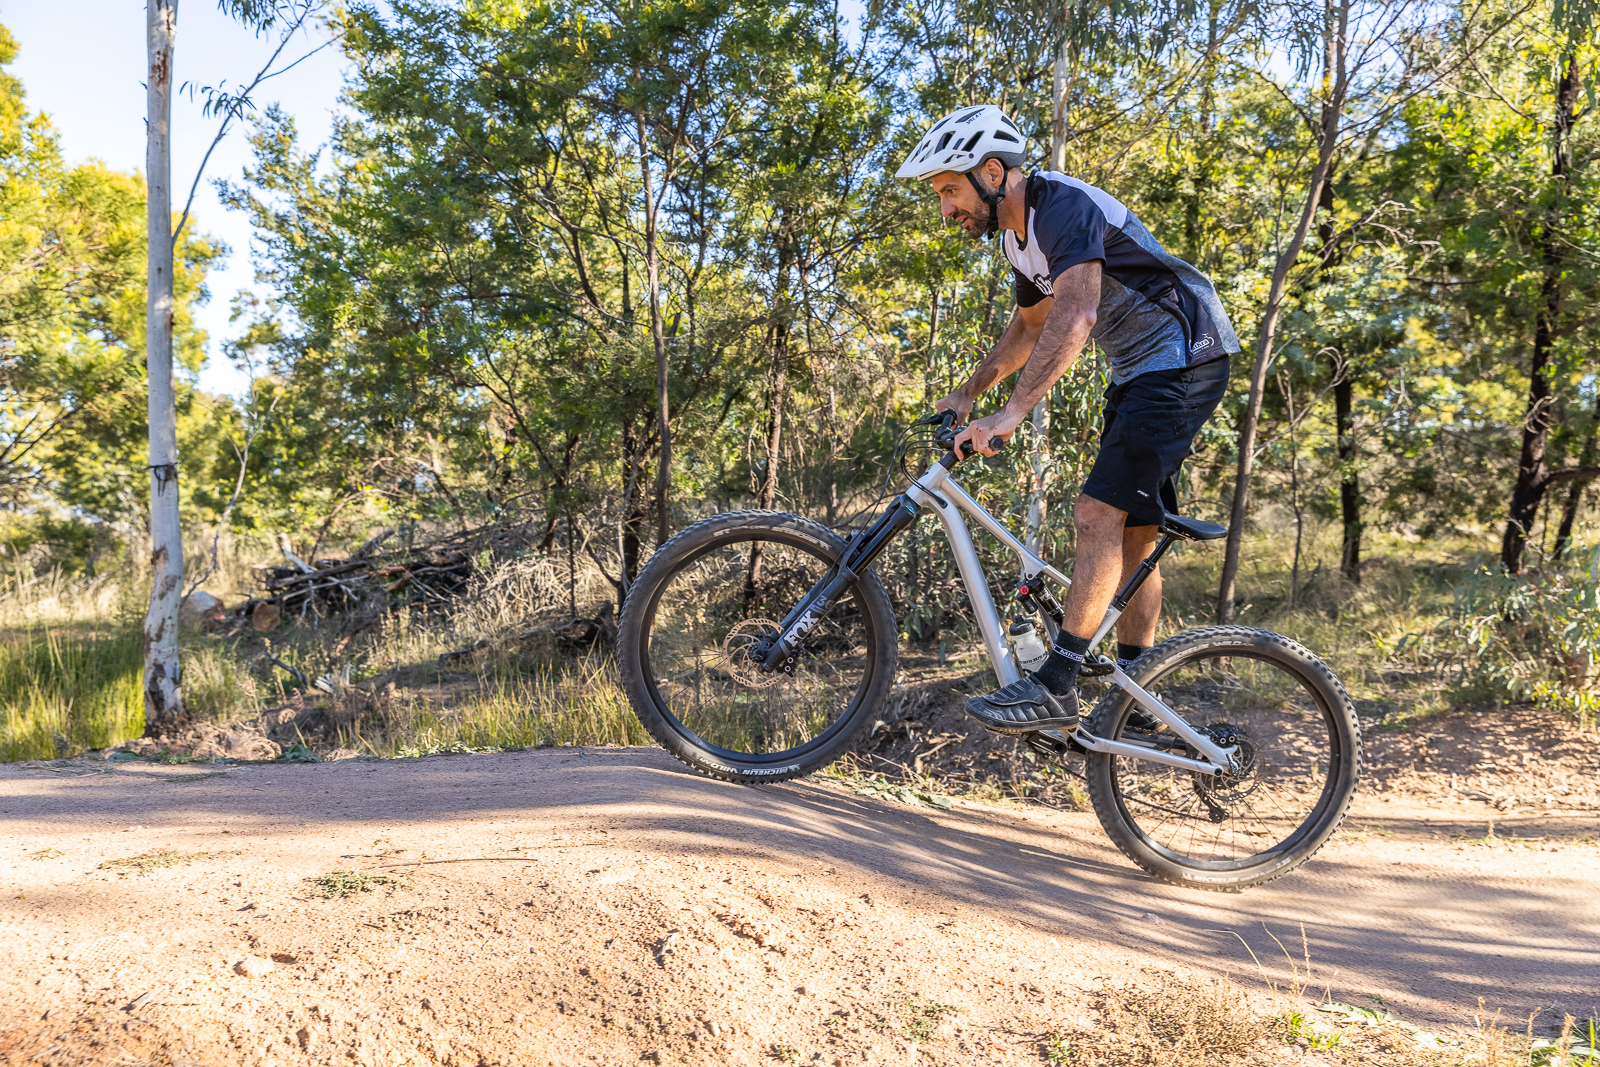
Step 2 – Anticipate the lip:
As you approach the lip of the jump, the key focus is to almost lift your front wheel up and over the lip so that the lip doesn’t kick your front wheel up. In this instance, I have pulled up before the lip so my front wheel goes straight over it. This also effectively makes the jump a little longer as you are taking off from lower on the lip. In a lot of ways it’s a similar technique to a pre-jump but you are pre-jumping the lip of the jump. Smaller jumps will allow you to really exaggerate the technique but you need to be careful as the jumps get bigger and the speed increases.
Step 3 – Follow with your rear wheel:
The next part is to follow the same path with your rear wheel. Once again the aim is to not let the jump kick your wheels up and into the air so think about having the rear wheel “miss” the top of the lip. By this point you also want to focus on the landing of the jump and also the next step which is to have the bike come up in front of you.

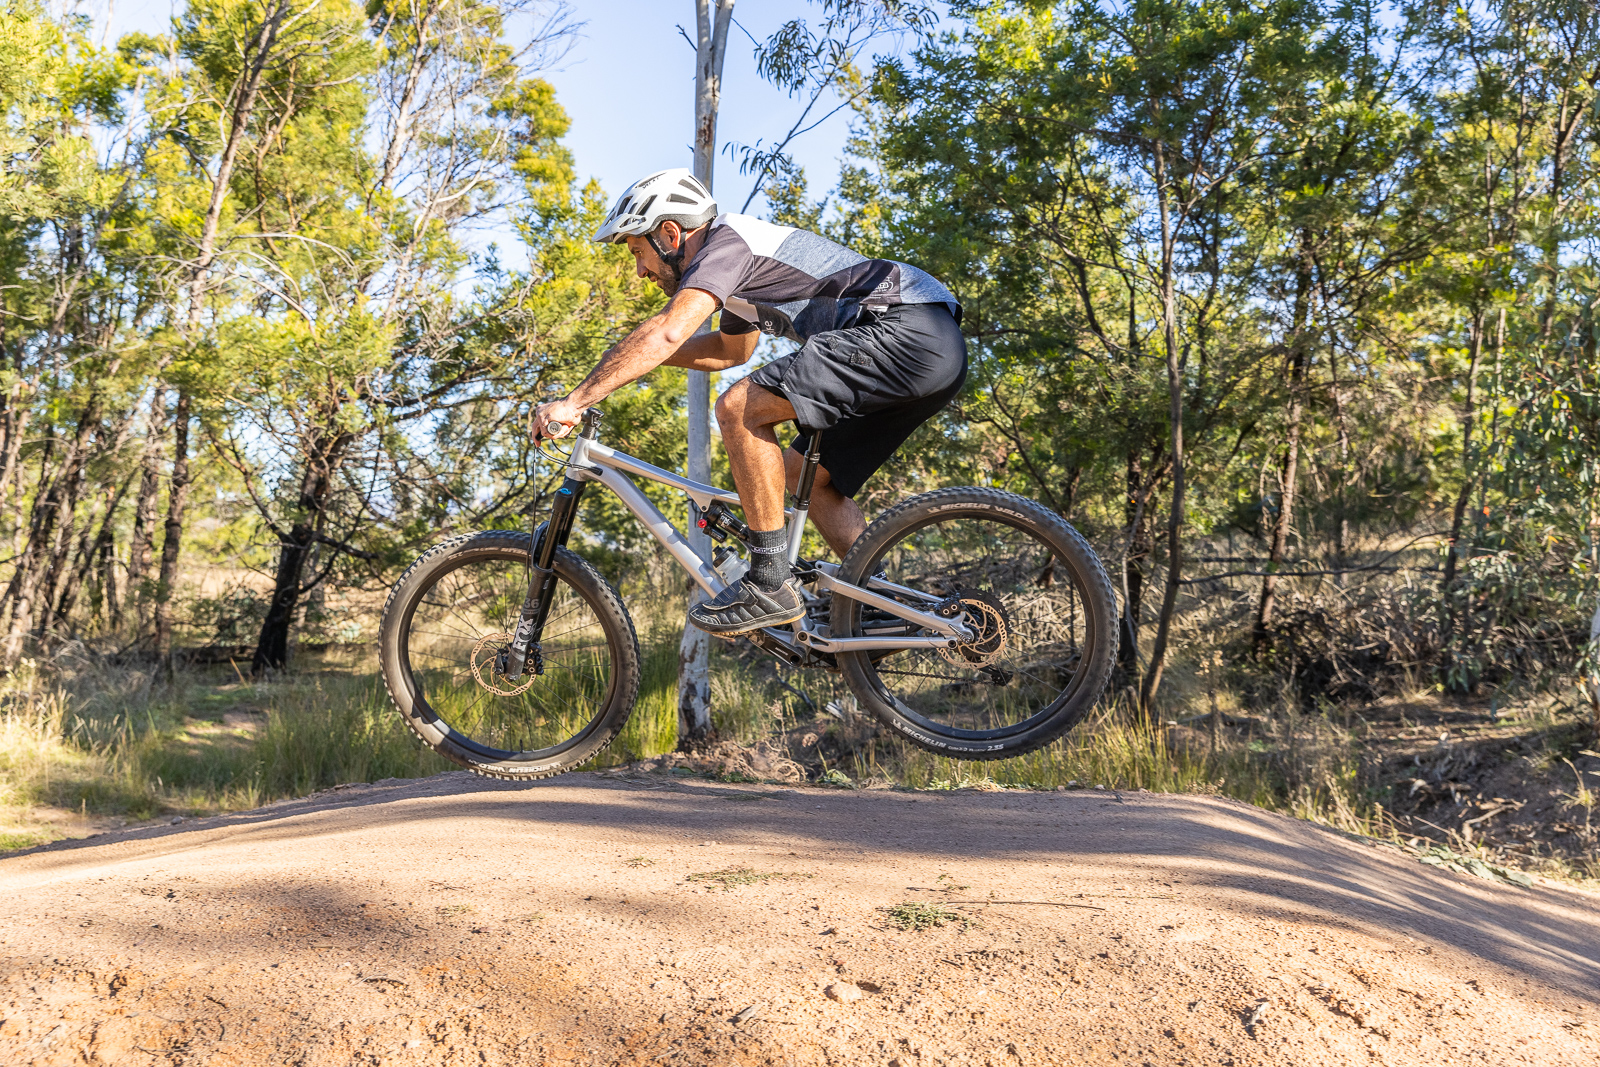
Step 4 – Keep your weight low and back:
As the bike comes up from underneath you, keep your weight back and low to allow the bike to come up while your body stays as low as possible. This is really the most important part of the technique. You need to have your body position far enough back so that the seat can raise up through your legs. On bigger jumps the seat will pretty much hit your stomach. Keeping your weight back also has a safety factor to stop you getting kicked over the bars which is the last thing you want to happen!
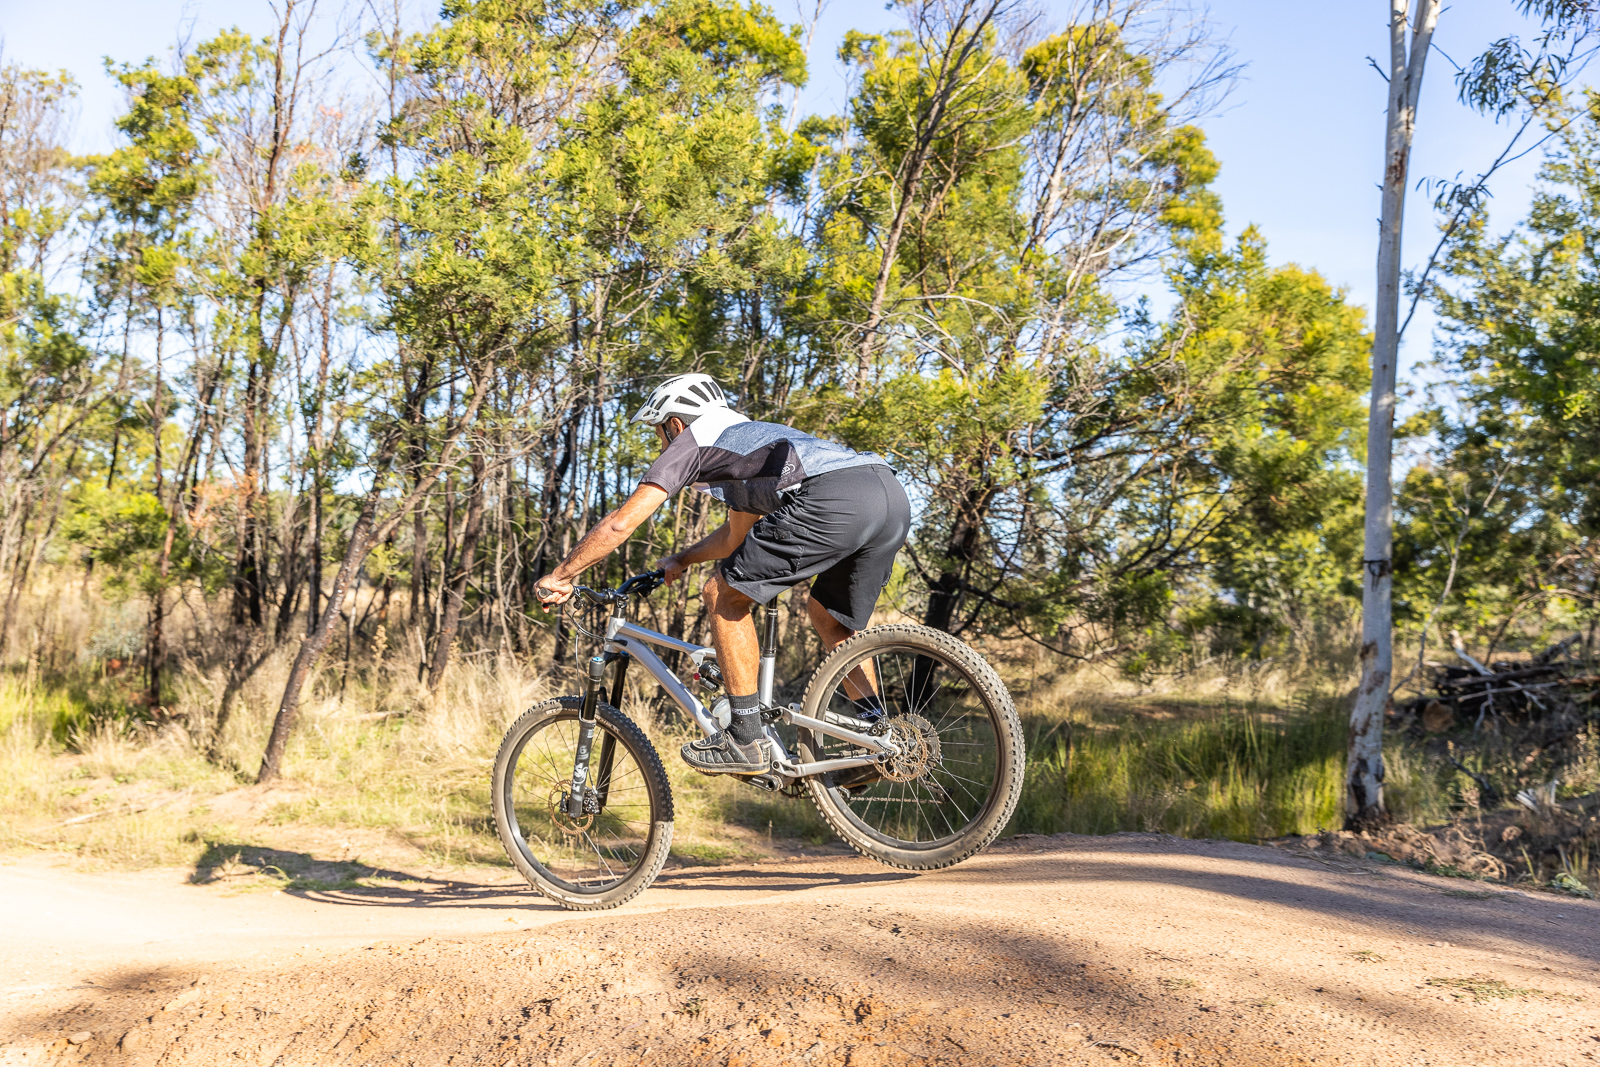
Step 5 – Keep your weight back:
It’s really important to keep your weight back and low the whole way through – pretty much until you land. As the energy of the jump dissipates you’ll feel your bike begin to drop and at that time you can begin to bring your weight forward. With your weight back the bike will naturally drop at the right time. As you progress with the technique, you’ll also be able to drop the rear wheel a little earlier which helps at higher speeds.
Step 6 – Be light on the landing:
As you touch down, aim to be light on the landing. The reason for this is that you’ll often have your weight quite far back still and being light on the bike and landing will help you get back to a centred riding position as soon as possible.

Looking for more skills articles? Click here.