SKILLS: Suspension setup on the fly
Grab that shock pump and get your suspension set up on the go.
Suspension setup is something which takes years for even the most knowledgeable riders to understand. Throw in a mix of multiple adjustments and a never ending spectrum of technology and it only gets more and more difficult to get right. More often than not, finding the right tune takes quite a while and varies with different riding conditions, rider abilities and bike setup.
More often than not though we find ourselves in a situation where we need to do a quick setup as a starting point to get the ball rolling. Chances are that with a new $10k bike in the back of your car you’re going to look to hightail it to the trails and get out there as soon as humanly possible, or you might need to borrow a bike or even rent one for whatever reason. I find myself in this situation quite often so here’s some steps I follow to get the tune right as a starting point, without taking up too much time.

Step 1
Set your rear sag
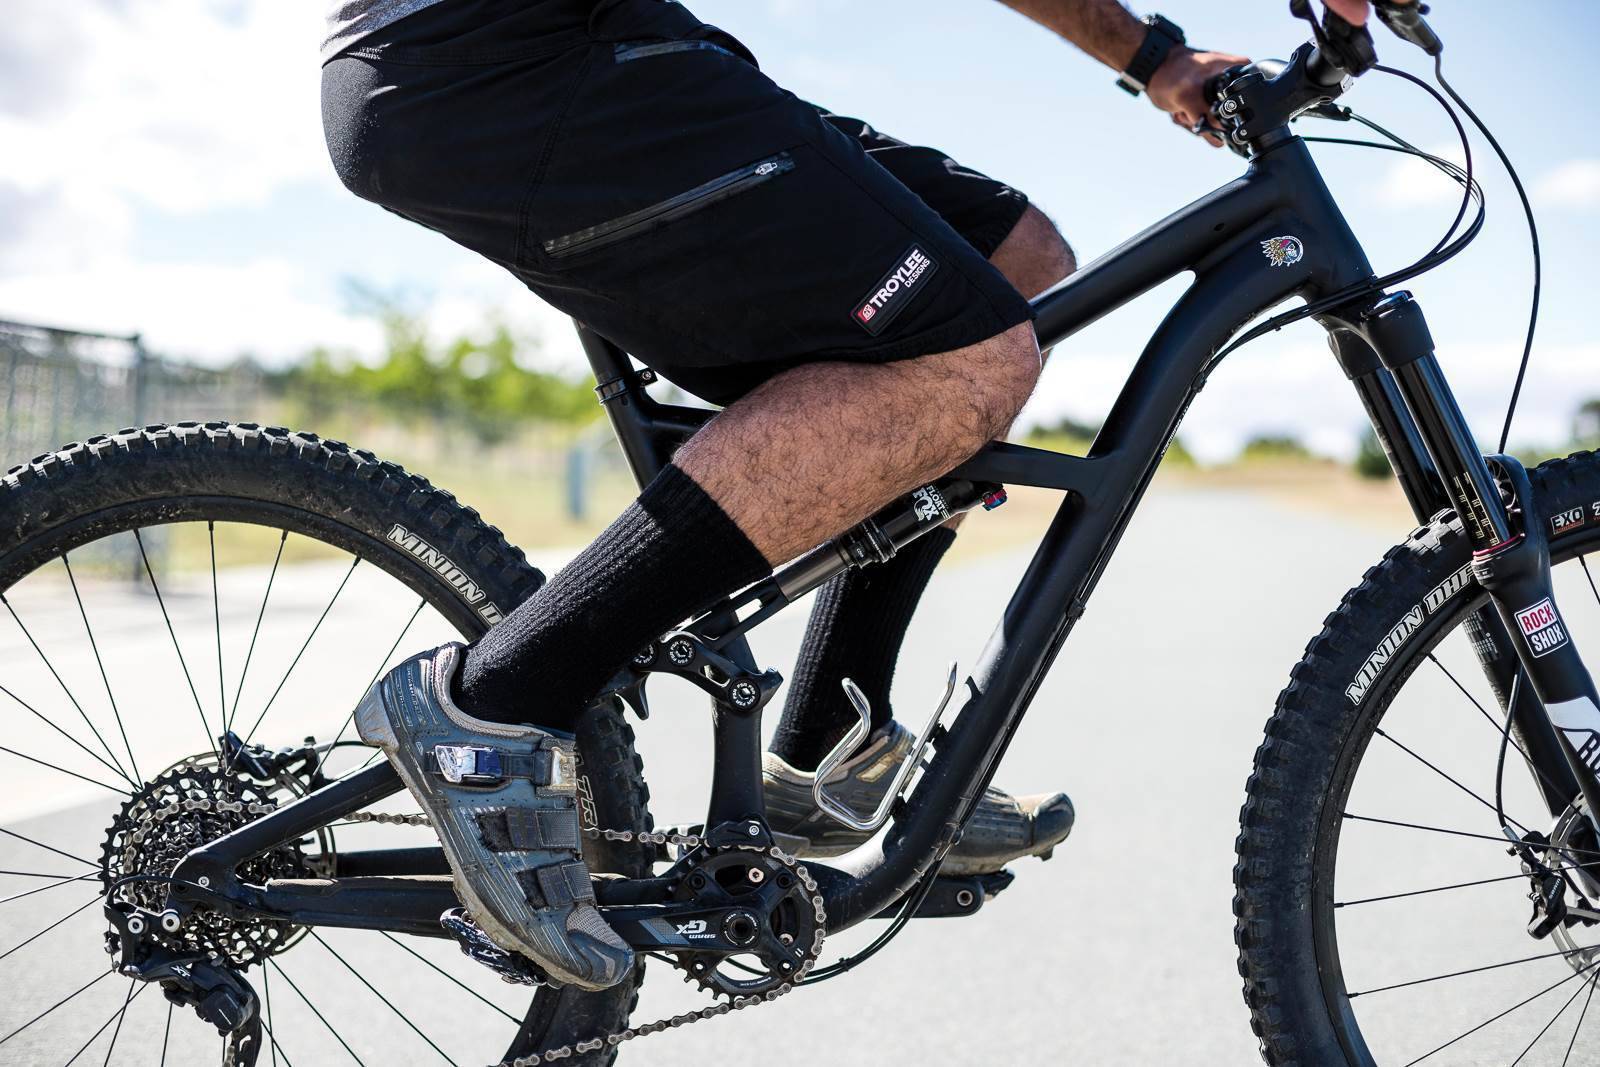
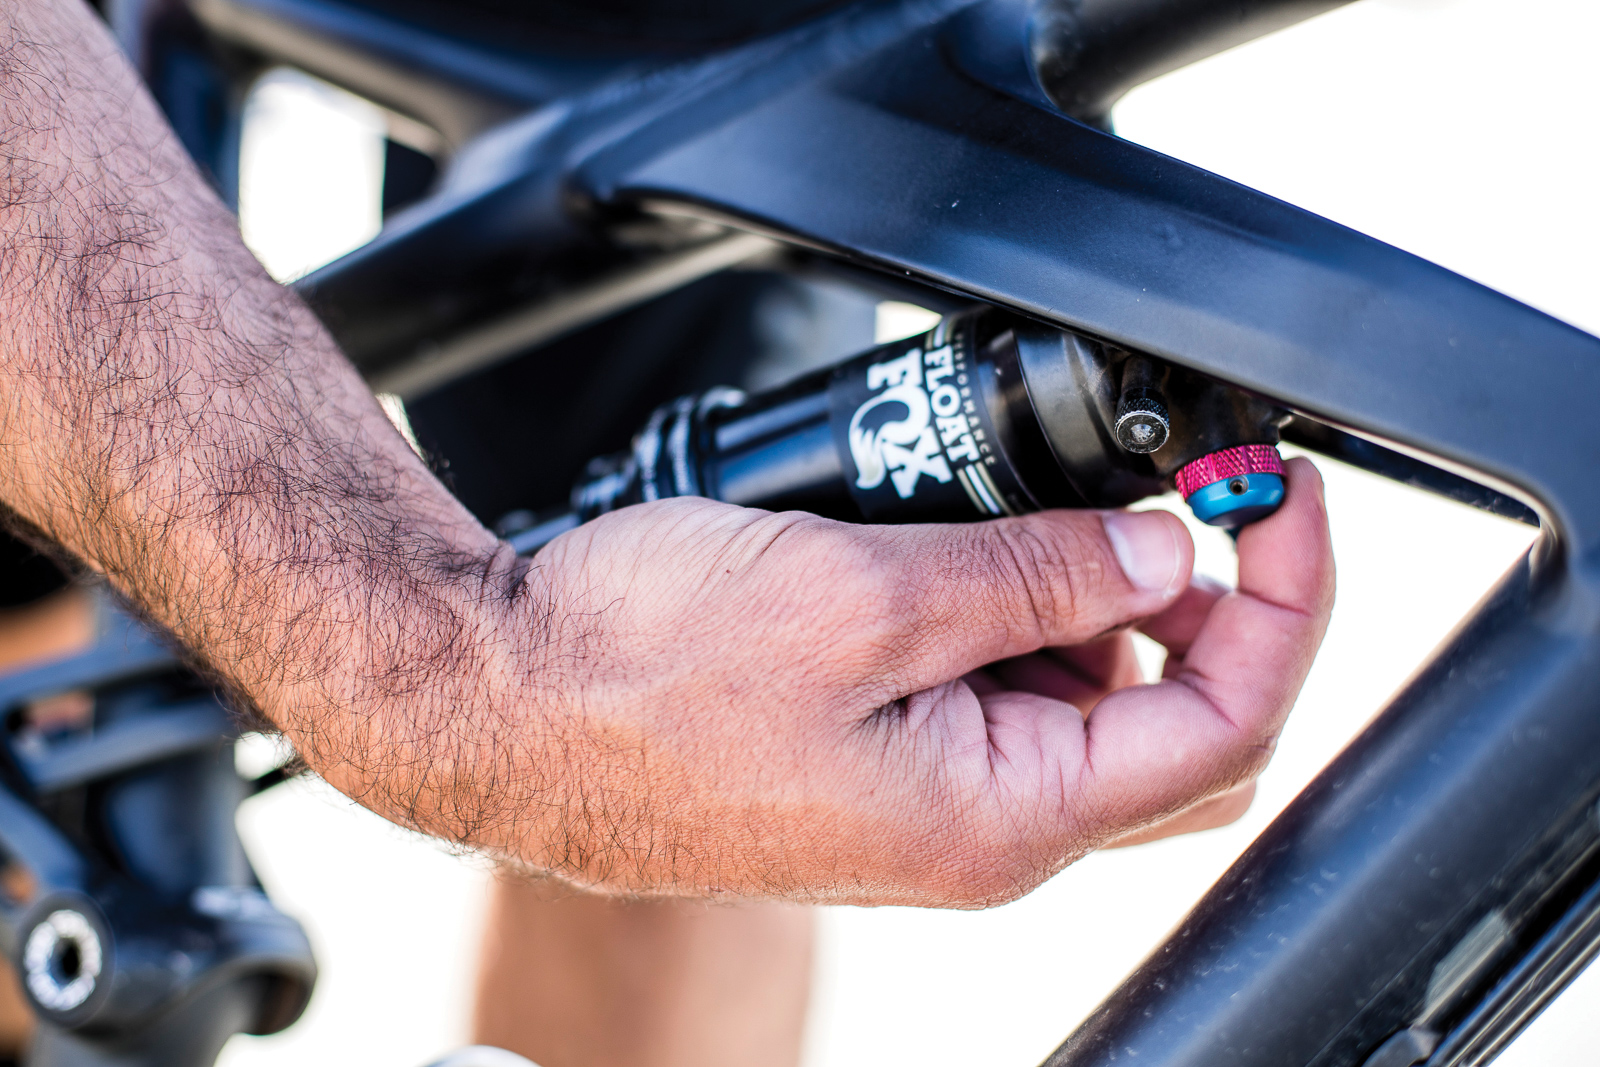
First things first, start with your rear shock and set your sag. Anywhere between 10% – 30% is in the range for most riders. If you are unsure, try 25% as a starting point and go from there. It also makes it easy to do a quick visual on the shock shaft to get rolling. Push the o ring up, sit on the saddle and lift your feet up. Take note of the pressure and where you are in the travel until you have the right setting. I do it with the compression settings fully open so I can tune in the right compression on the trail.
Step 2
Set your rebound settings
Once you have your pressure set, it’s time to set your rebound. The best thing to do here for novices is to seek some input from someone with some experience until you have an understanding of how it works. For me, I tend to adjust the rebound until the bike is rebounding notably slower when compressed and back it off a click or 2 from there. It’s important to do your rear rebound before your fork because the aim here is to have your fork match your rear settings for a balanced ride.


Step 3
Set your fork pressure
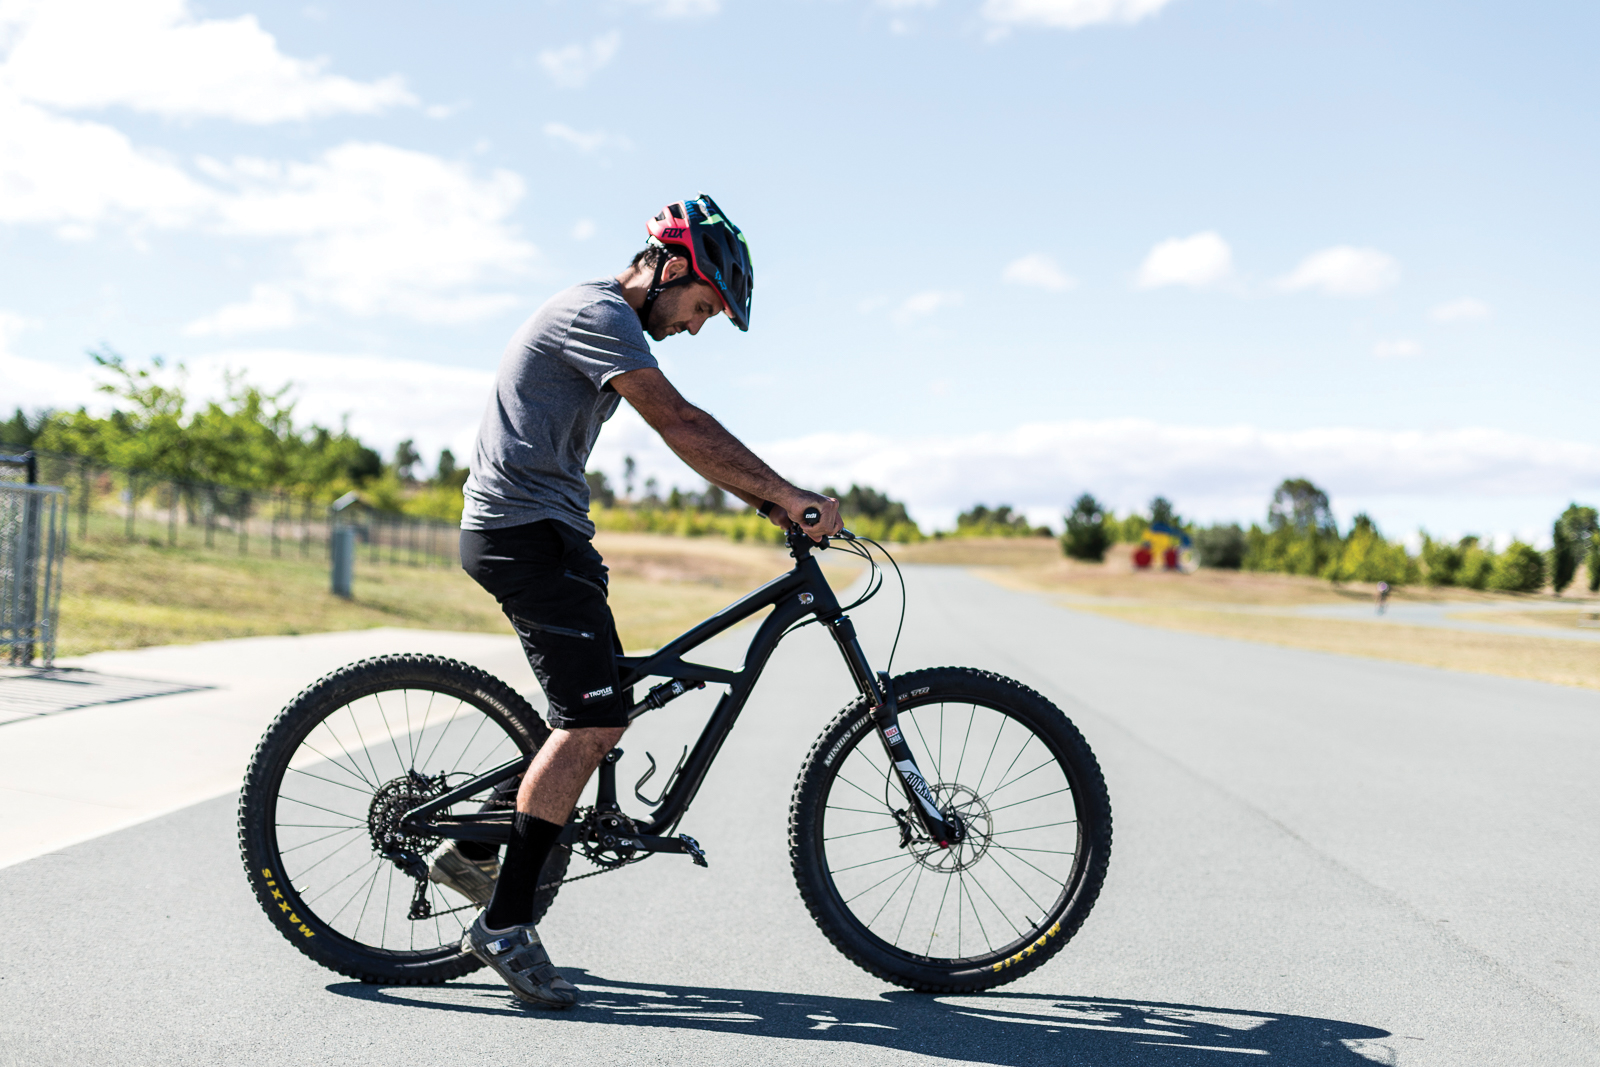
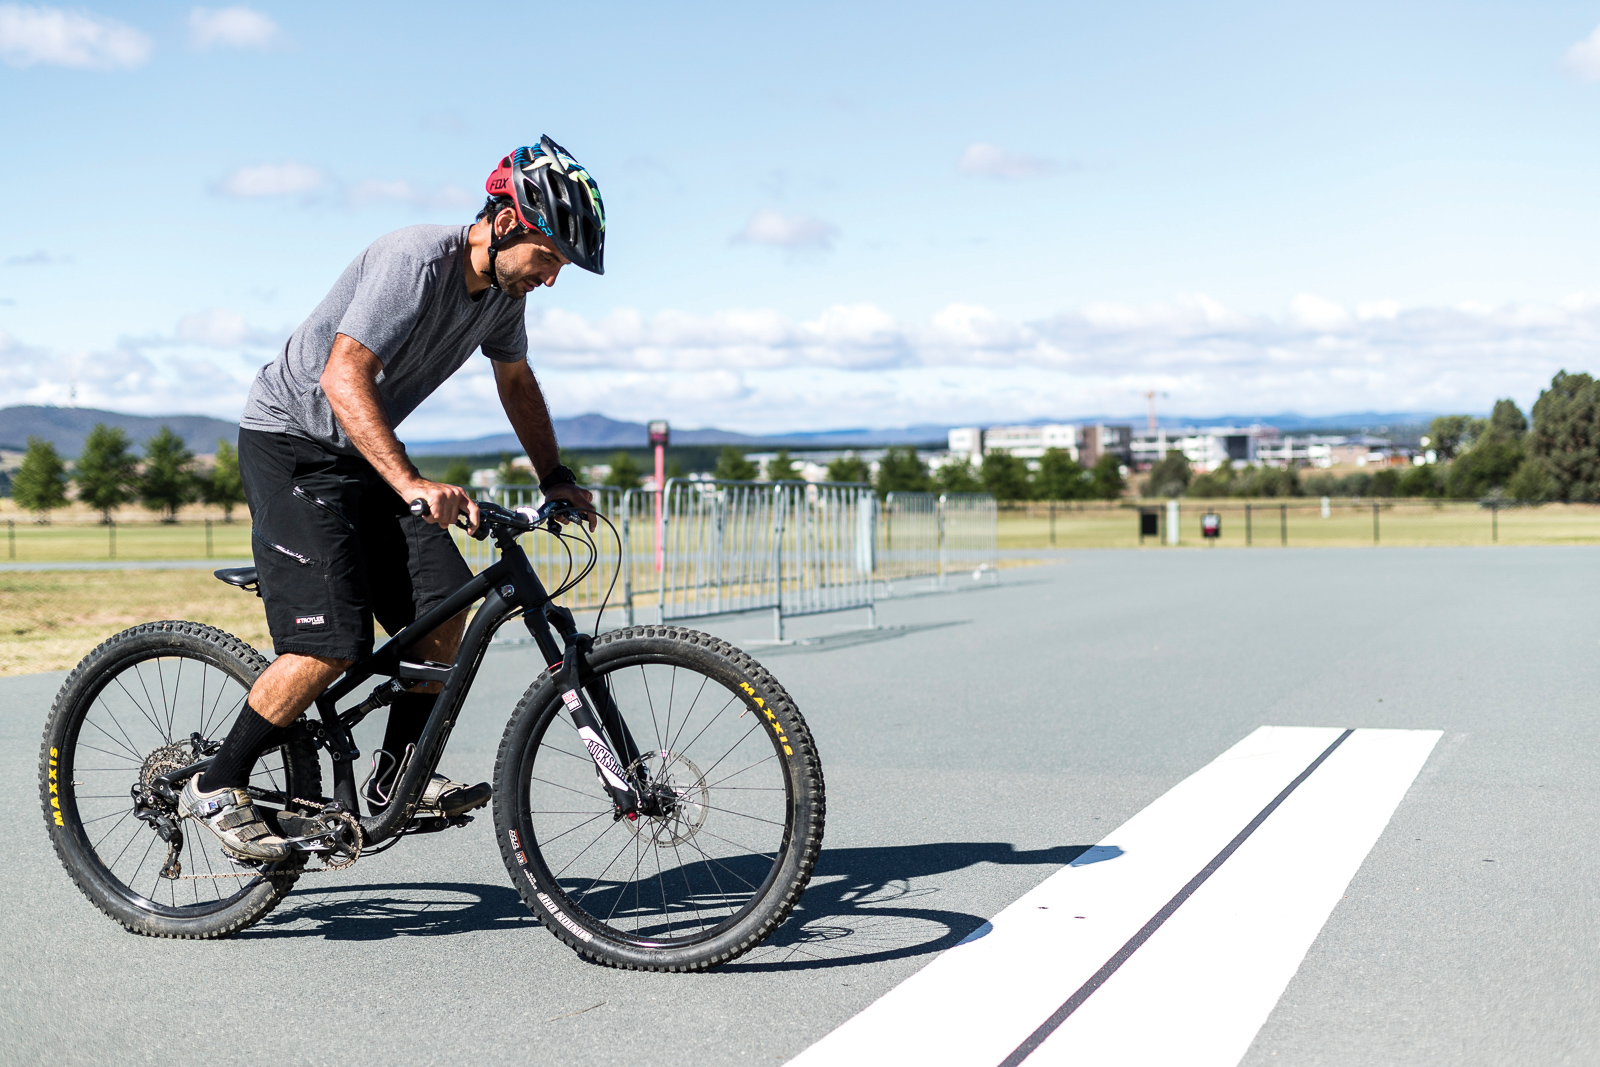
I prefer to set the fork pressure by doing the good old car park test rather than using a sag adjustment. What I do is reset both the fork and rear shock O-ring, go for a quick roll and compress the suspension evenly in a neutral riding position. I first check at about 30% travel and check both the front and back O-rings are effectively in the same position. I then do it deeper into the travel looking for the same result. If the O-ring on your shock is half way through the travel and the fork O-ring is at 25% then you need to soften your forks. The aim here is to match your fork to your shock – you should only be adjusting your fork as the rear shock is set to your sag setting. My personal preference is to run my forks a little stiffer than my rear shock so when my forks hit 50%, my rear shock will hit about 60% but that’s me and I would always set up anybody else’s bike balanced to start. Once again start with your compression in your forks open and tune it on the trail.
Step 4
Set the rebound on your forks
Once again doing the car park test and even compressions on your bike, adjust the rebound on your forks so it rebounds evenly with your rear shock. The rebound at any given setting will change with fork pressure which is why you want to do the pressure before rebound. The aim is to adjust the rebound so the fork and rear shock rebound evenly on small and large compressions. You’ll know when you get it right because the bike should feel nice and balanced. My personal preference is to balance the rebound and go 1 click faster in the forks which helps keep the front end of your bike up over jumps and after big compressions.

Step 5
Get out on the trail and fine tune it all
From there, the next step for me is to get out on the trail and fine tune my settings. For compression I’ll normally start a couple of clicks in and tune it in or out to suit the trail and conditions. I very rarely adjust my rebound settings as the initial tune is generally the right setup. If your bike feels too soft or too firm, it’s best to start the process again and balance the fork with the shock to get it right if you have the time – otherwise you can go down the slippery slope of over compensating on one end or the other and losing your balance. Different bikes are different too and a sag setting of 15% on one bike might need 25% for the same rider on a different bike. With the whole process, I believe the most important aspect is balancing your front and rear suspension – a balanced bike, is a happy bike and will ride like it should.
Words: Jared Rando Images: Nick Waygood

