Suspension 103: How to Set Up Your Shock with Connor Fearon
Setting up the suspension on your new bike, specifically one that is unfamiliar to you, can be a daunting process.
Words: Hayden Wright
Photos: Andy Rogers
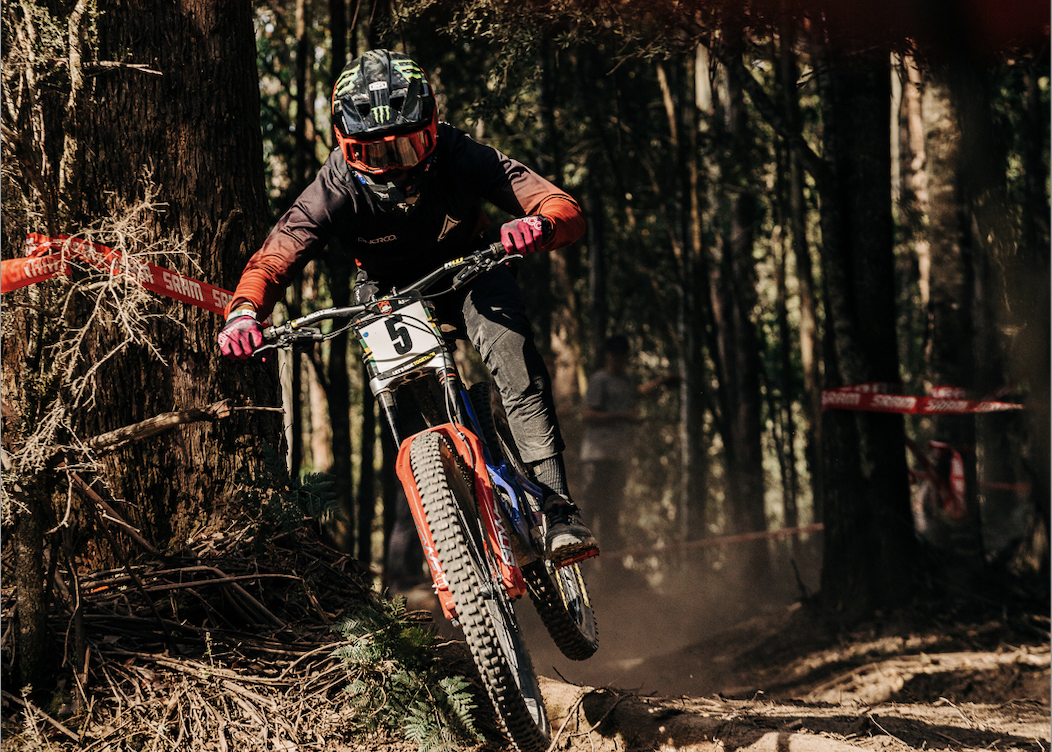
With endless potential combinations of spring rates and clicker adjustments at our fingertips it is easy to go down the rabbit hole and end up feeling overwhelmed and lost within your settings. Fortunately, we have enlisted Connor Fearon to help guide us through this process. After spending over a decade riding and racing on linkage driven single pivot bikes, Connor has recently made the switch to a high pivot Forbidden Dreadnought. Although he had limited time to test and adapt to this wildly different race machine prior to the Auscycling 2022 National Championships in Maydena, Connor was able to best the field and walk away with the win. This was then backed up by an impressive top 30 finish at the first World Cup of the year, all aboard a bike with only 154mm of rear wheel travel. It is obvious that Connor got his new bike dialled in fast, so let’s hear his process.
Testing grounds
Before you touch a shock pump or turn a clicker, it is important to first consider where you are going to complete your suspension testing. While there may be an exciting new trail open nearby, choose something familiar where you have a good foundation of knowledge regarding how your previous bikes have behaved. Even better yet, choose somewhere which you can easily shuttle – the more laps you can get it the more opportunity you have to get everything dialled, as Connor said.
“I’ll start by saying do some back-to-back runs on a track that's like the terrain you ride most commonly. This will fast track the entire process. It’s easier to notice small adjustments for better or worse when you are familiar with the trail you are riding.”
This process can also be used to set up your bike for a specific event, so it’s worth considering how your testing ground compares to your potential racecourse if your goal is to optimise your bike for a particular type of terrain.
Baseline
Most bikes come with a recommended sag value and corresponding clicker settings based off your weight. This is merely a guide and may not suit your riding style, speed, or the terrain you typically ride. For example, if you predominantly ride low speed steep terrain you may prefer more sag and slower dampening to help keep the bike calm and predictable. Alternatively, if you prefer high speed rough terrain, less sag and faster dampening might be to your liking. There is no right or wrong answer, however many frames call for a sag value of around 30% with clicker settings to suit the given spring rate you use to achieve this number. This can form a great starting point if you’re unsure of where to start with your spring rate. Connor prefers to start with a clean slate.
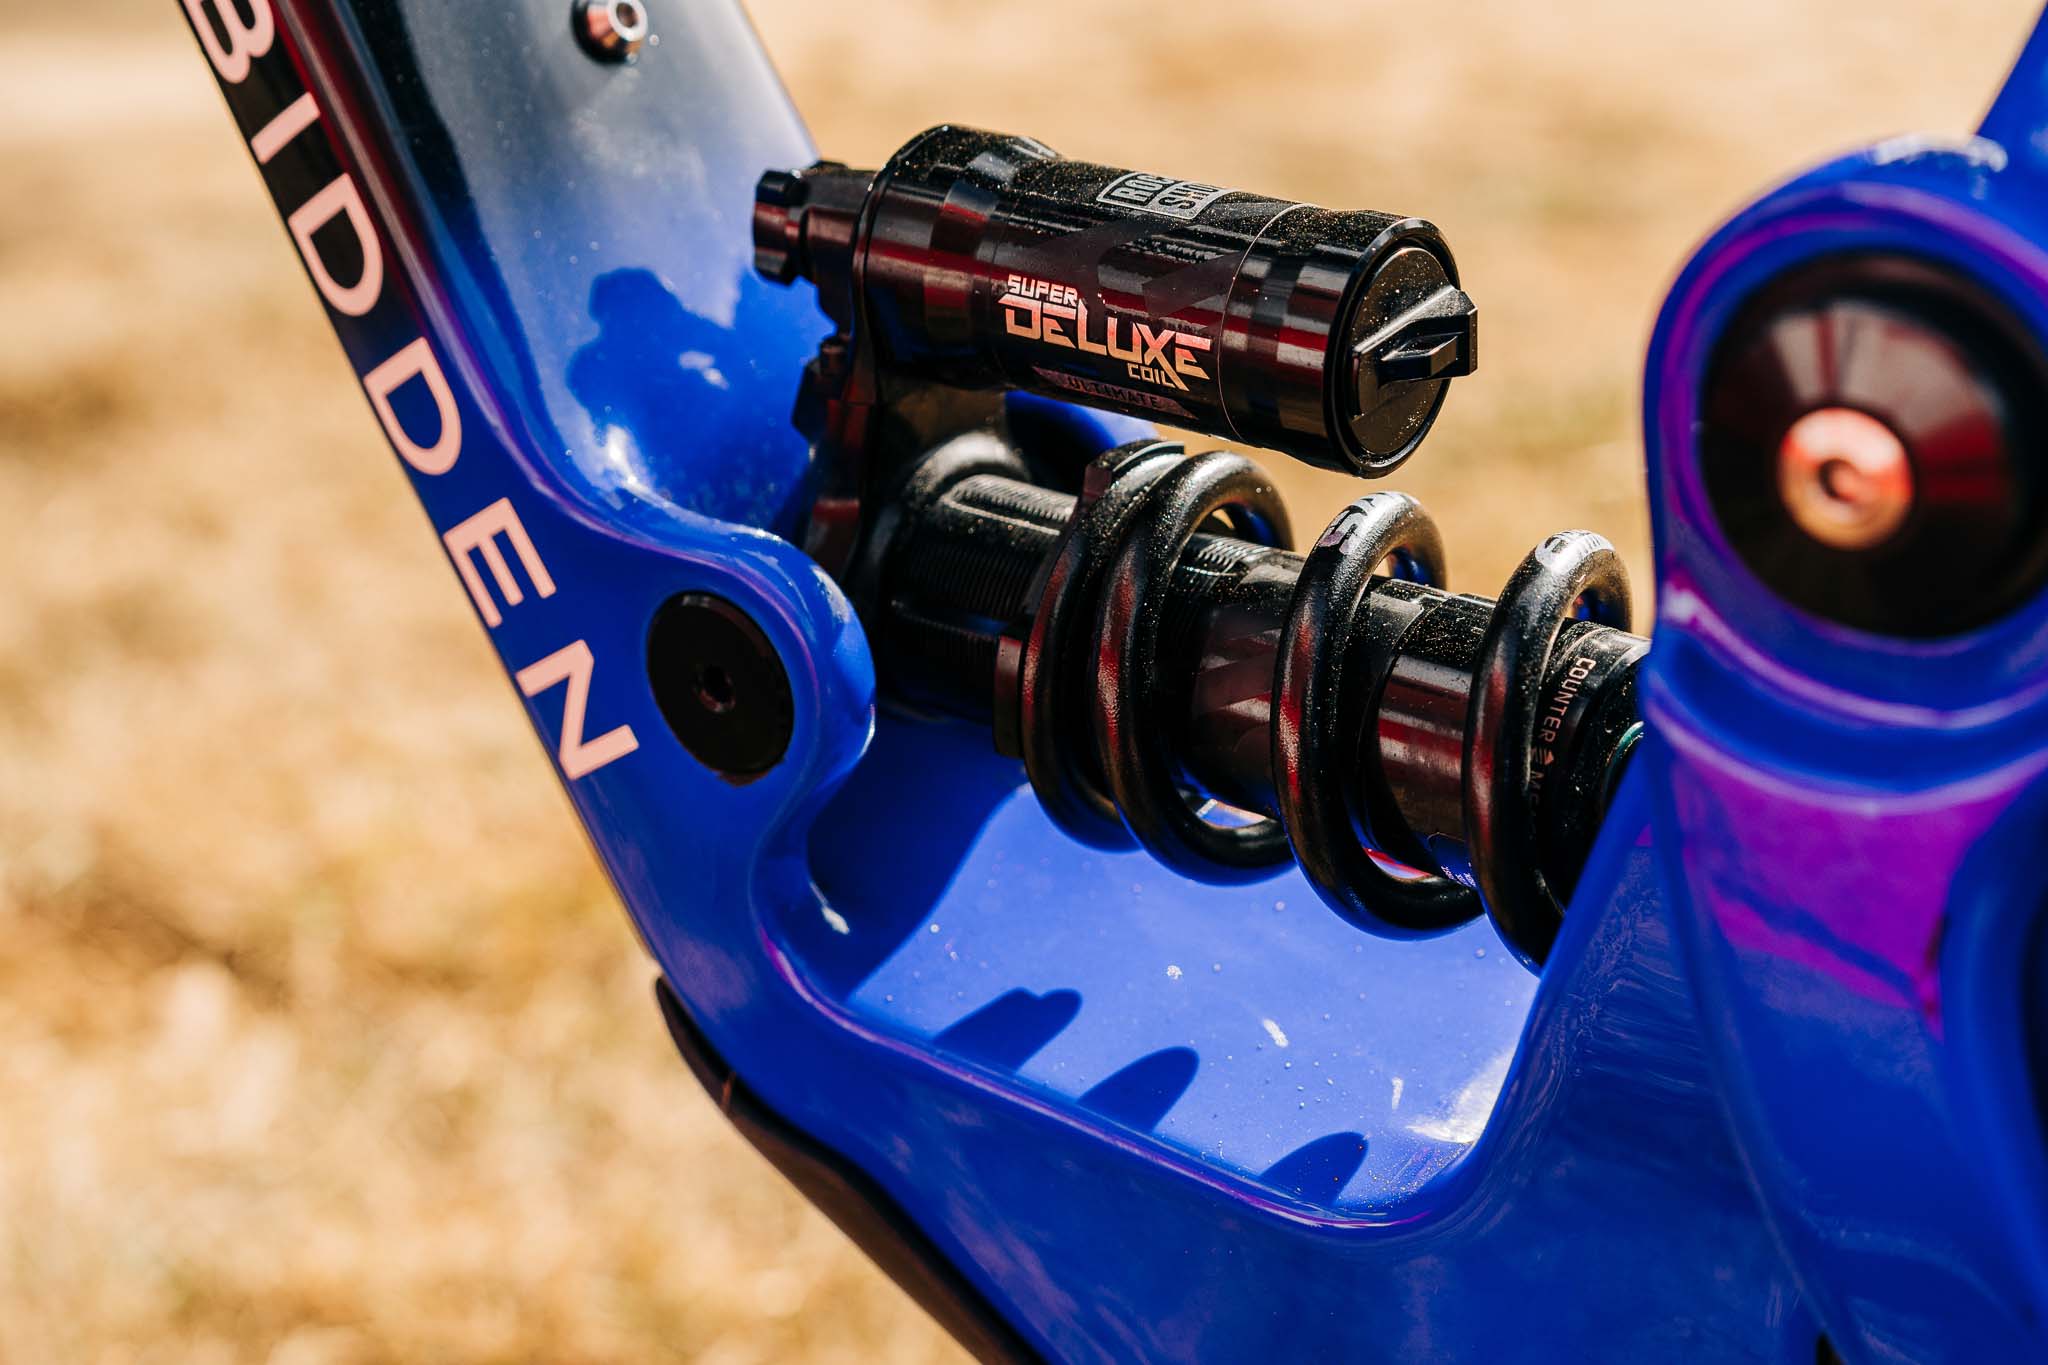
“I usually run my suspension a fair bit firmer than the average rider, so I disregard this [recommended sag] advice and start from scratch. I will use the sag indicator only for the first time riding the bike when I really have no idea what spring rate or air pressure to run. I’ll set this to around 20%, with the compression adjustments right in the middle of the available clicker settings. I also adjust my rebound with a few bounces in the carpark to get it in the ballpark range.”
Once you have your initial baseline settings, it’s time to get to work.
“Write down what you have so you don't lose track and make changes two clicks at a time so there's a noticeable difference” Connor instructs. “After time you will quickly understand the feeling the bikes giving you and know what changes to make to improve the bikes handling.”
Spring Rate
Connor’s first point of focus is getting his shock's spring rate correct. If you have an air shock, this is easily adjustable with a shock pump. If you have a coil shock, things can be a little trickier. This is where investing in a Springdex can be of benefit. They allow you to have a variable spring rate with 100lbs of range, meaning you can fine tune the spring rate of your coil shock with fidelity comparable to an air shock. While some rely on static sag numbers, Connor uses a more intuitive approach which focuses in specifically on how the bike behaves at speed, rather than in the carpark.
“When my goal is to get the spring rate right, I do this by feeling and adjusting the spring rate by 'dynamic sag'. This is where the shock sits in its travel when riding out on the trail. If it’s too soft, you'll find your front wheel washing out as the bike’s dynamic ride height is too low leading to not enough weight on the front wheel. You may also feel that you are bottoming out the rear suspension or that the bike is packing down over bumps. On the other hand, if your shock is too stiff and it'll feel rough and hard to control with lack grip on the rear wheel. Play around for a few runs to find the [spring rate] sweet spot.”
Rebound
Once you have found your spring rate setting, Connor recommends moving on to finding the right rebound settings. Rebound damping is used to control the speed that your suspension returns from an impact. Some suspension units may break this down into both low (LSR) and high (HSR) speed rebound adjusters. It is worth noting that the speed relating to your rebound adjuster is relative to the speed at which your damper is rebounding from an impact – not how fast you are going on the bike. While this may sound a little confusing, Connor has a clear and concise process to finding the right setting for you.
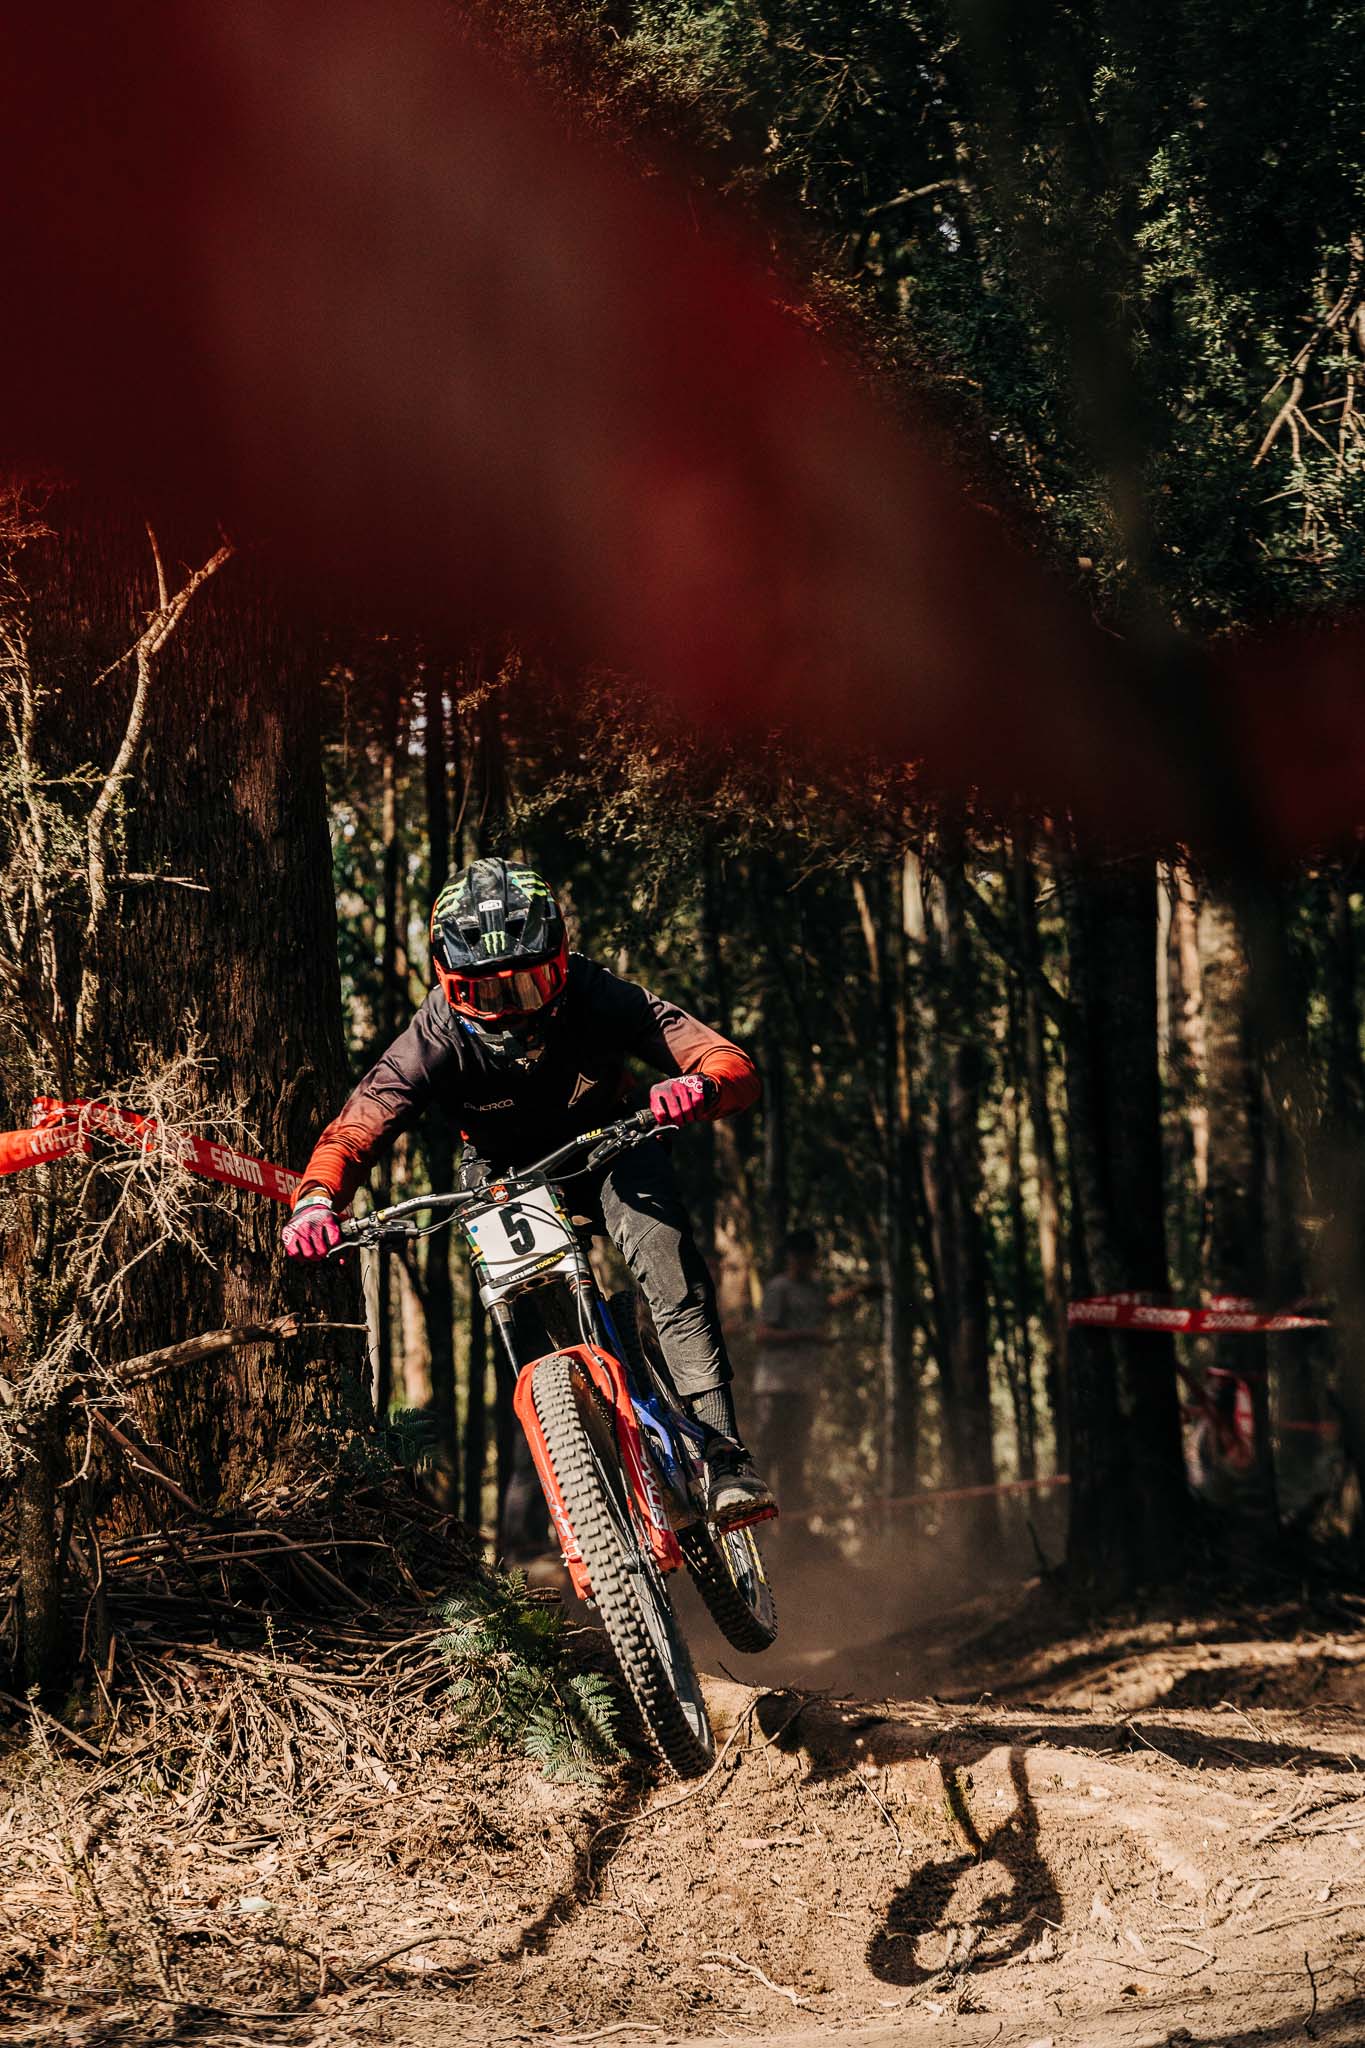
“This one is pretty easy” Connor remarks. “Go back and forwards with the rebound clicker for a few runs. If your rebound is too fast, you’ll get a bucking sensation hitting bumps, roots, and jumps. Alternatively, if your rebound is too slow your bike will pack down and become harsh through rough sections. Another consequence of having your rebound too slow is that you might start washing the front wheel, again because the rear of your bike is stuck deep in its travel.”
Compression
After completing the setup of your spring rate and rebound, we can move to the final step which is adjusting your compression settings. As with the rebound settings, the low and high-speed compression circuits again relate to the speed at which your damper moving – but this time in compression rather than in rebound.
“Basically, Low Speed Compression (LSC) will adjust the ride height of your bike” Connor explains. “This is handy for those of us using coil shocks where there’s a 25lb-50lb gap between spring rates. Increase the LSC and the ride height stays higher, back it off and it will be lower. It also helps with pumping and pedal efficiency so on flatter tracks it pays to ramp up the LSC.”
“High speed compression (HSC) is something that you'll notice more on faster tracks. When it’s fast and rough that's when you need to increase HSC. This stops the bike blowing through the travel on big high-speed bumps without effecting your ride height or other suspension characteristics.”
Trail specific fine tuning
“I change my compression adjustments on the shock a lot, along with my fork settings and fork height” Connor remarked.
While having a baseline setting you are comfortable with is a great thing to have, Connor recommends doing some fine tuning as you move from track to track. He bases this around the compression adjustments, keeping focus on adjusting relative to changes in the average speed, gradient, and roughness of the terrain at hand.
Next issue, we look at the pros and cons of coil vs air shocks, along with a glossary on what all the suspension terms mean!
Want more suspension tips? Start here: Suspension 101: Why Your Suspension Needs Servicing

