TESTED: Stages Shimano XTR M9000 race power meter
Power meters can be crucial in honing in on what's missing from your training and maximising it at the same time. We check out the well known Stages Shimano XTR M9000 combo.
Words: Imogen Smith Photos: Mike Blewitt
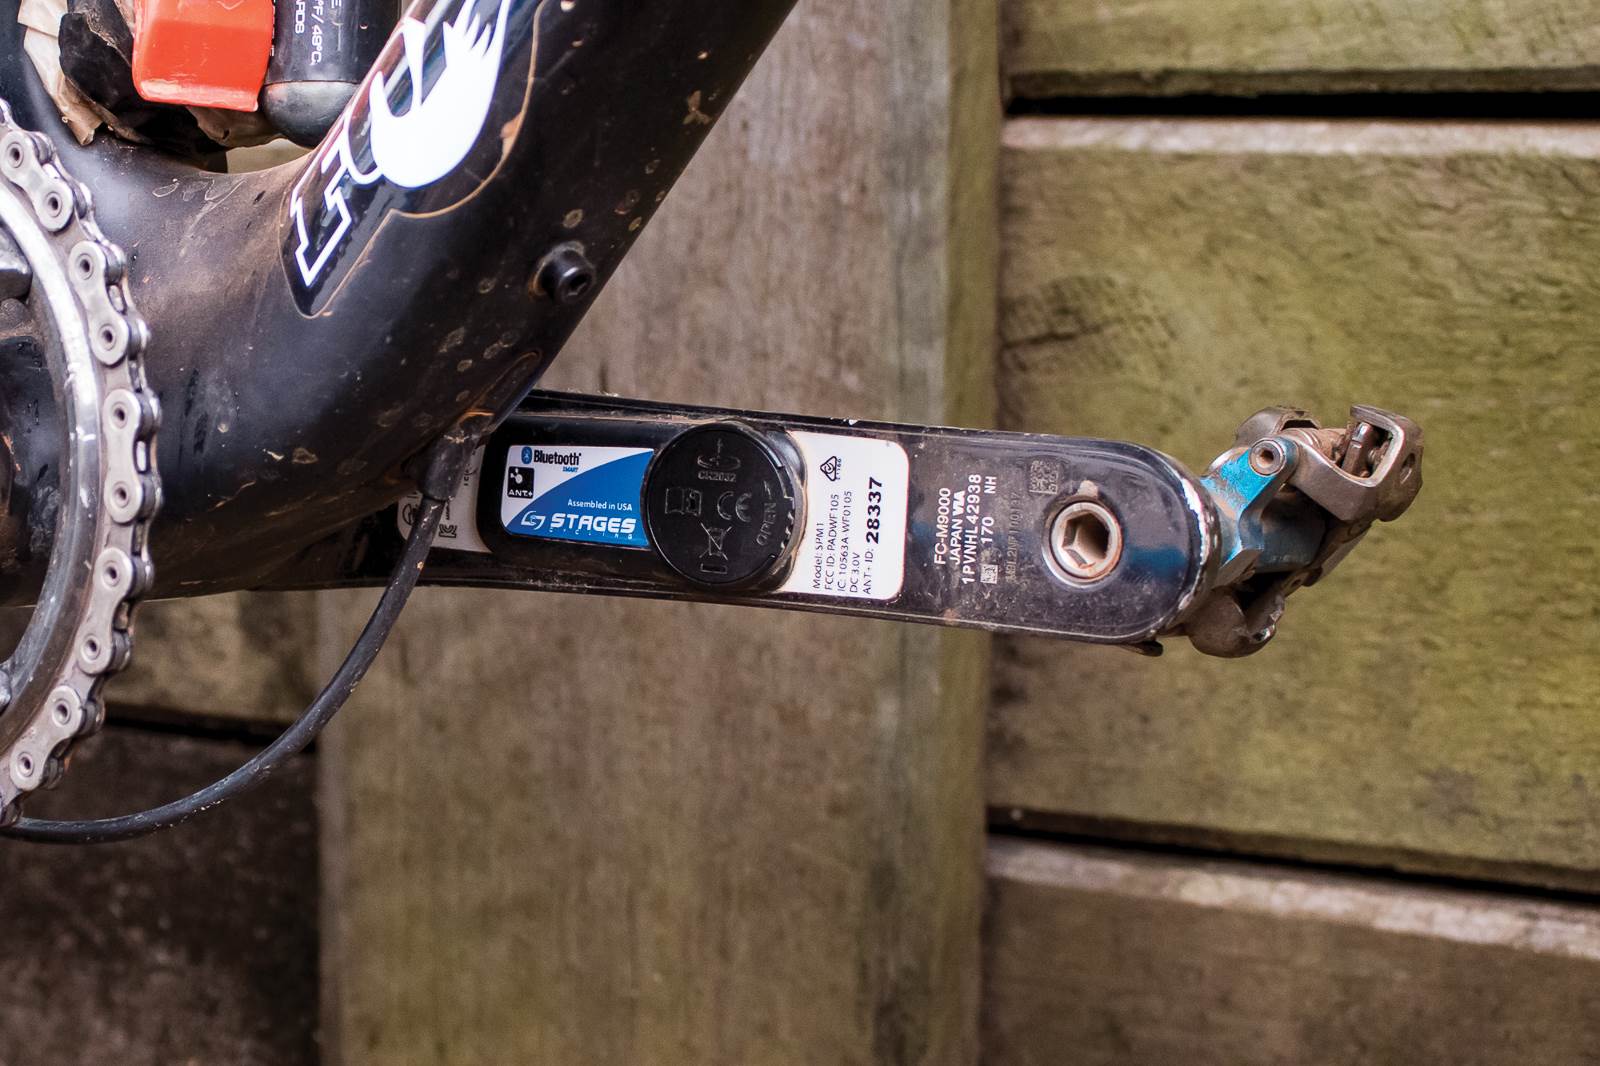
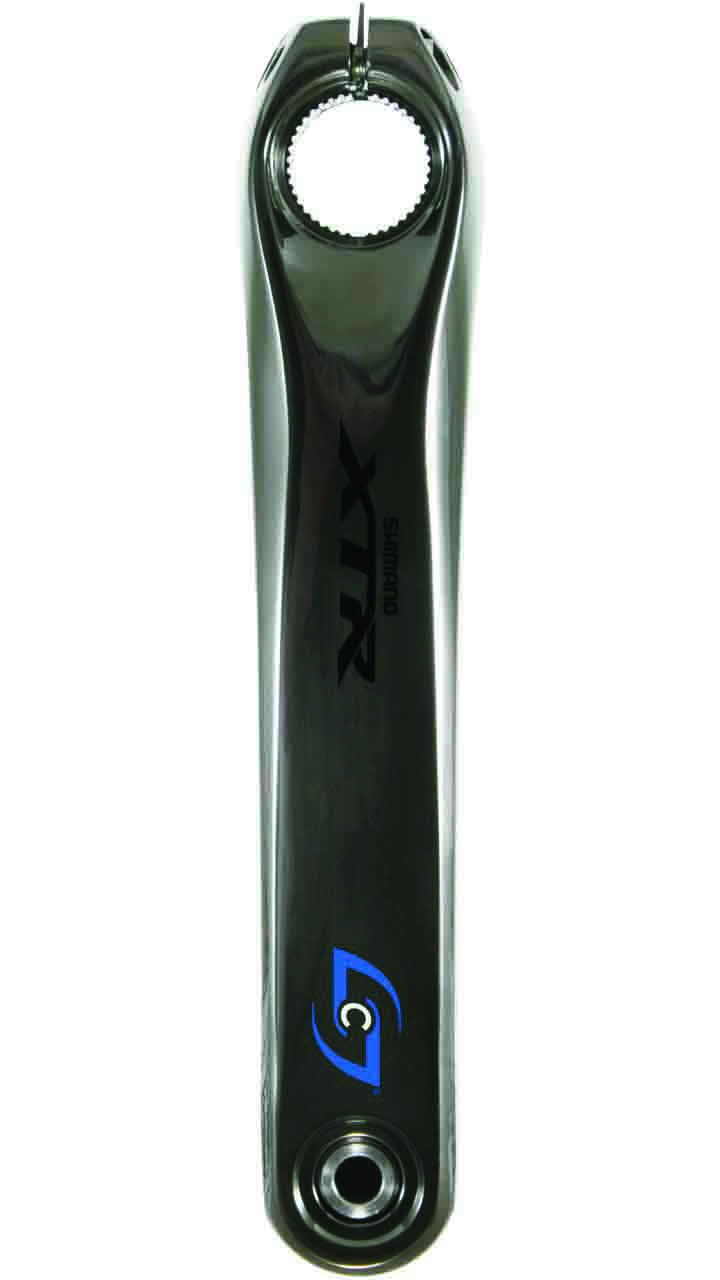
Mountain bikers have fewer options than roadies where power meters are concerned, with many crank and dual-sided systems unavailable for MTB riders. That’s where Stages fit in. A single-sided crank arm power meter, Stages are available for dozens of different crank arm brands and lengths. They’re one of the cheapest units on the market, and also one of the lightest, adding just 20g (about the weight of a gel) to your bike.
Stages offer a few notable tech features, like Active Temperature Compensation (ATC), which allows the power meter to compensate for temperature changes that can affect the strain gauges, and Bluetooth connectivity alongside ANT+. Bluetooth is a useful alternative if your phone doubles as a bike computer, and you can use it to pair your power meter with the Stages Power App. The Stages unit also makes use of an accelerometer to measure cadence, a neat solution that eliminates the need for magnets.
Setup
The Stages unit we tested was mounted to a 170mm XTR crank arm. A ‘Gen 2’, unit, this doesn’t mean it’s more accurate or has better firmware than the Gen 1, as I’ve heard suggested. It merely means that the casing is smaller, smoother, sleeker and stronger. Fitting the Stages is as easy as fitting a crank arm. The whole process takes just minutes once you get the hang of it, so it’s possible to swap your Stages power meter between bikes pretty quickly using just a couple of tools.
I started out by downloading the Stages Power App to my phone, pairing it using Bluetooth, and checking the firmware was up to date . Stages communicates using ANT+ as well as Bluetooth, and pairing with your bike computer should be simple once the unit is woken up with a few backpedal strokes. Calibrating is easy, too. Wind the left-hand crank arm down to six o’clock and work via your head unit. It’s a good idea to set your bike computer to one-second recording before you set out with a power meter. One second recording improves accuracy by sending more data to the device, and although it takes up more memory space, is certainly worth doing, as is calibrating before every ride.
On the trail
I’ve heard a few cautionary tales about Stages units before I bought mine: people experiencing power spikes to 1800w in general use, stuff like that. I have to say the first time I rode mine, I did think it was broken. I was finishing rides with low average watts and low TSS (training stress scores) readings and nearly called their warranty department.
But there is absolutely nothing wrong with my Stages. Let’s digress here to take a little look at training with power, and how it works for mountain bikers, to find an explanation.
Power is torque multiplied by cadence. Put simplistically, the force you apply to a pedal stroke multiplied by how quickly you make that pedal stroke. In the late 1980s professional road racers (Greg Lemond included) began experimenting with power – the first, truly empirical measure of cycling performance. Since then power meters have got cheaper and more ubiquitous with every passing year, and I imagine they’ll be standard on nearly every club racer’s roadie in a few years’ time.
It’s not just the trickle down of the power-measuring technology that’s made power meters viable purchases. The data, in itself, doesn’t mean much until you can interpret it. We need software to track and record performances over time and make comparisons between them, preferably using digestible charts and graphs. Over the last few years, software like Training Peaks, Today’s Plan, and even Strava Premium have given everyday riders the capacity to plan, test, and measure. You don’t need a degree in exercise physiology or the support of the AIS to understand your power, where you sit compared to the best in the world, and what you can do to improve your numbers — you can do it yourself. You just have to pay.
Much of the utility of the software boils down to three metrics. Different platforms (Strava, Today’s Plan) give these different names, but I’m going to stick with the terms used in Training Peaks: Training Stress Balance (TSB), Chronic Training Load (CTL), and Acute Training Load (ATL).
If you are interested in reading more on these metrics, there are hundreds of resources online (on the Training Peaks blog, for instance), so we’ll summarise. Your TSS is a measure of the ‘stress’ of a particular training session, based on the idea that 100 is the maximum probable score for an hour’s steady-state riding. Your CTL is the weighted average of the last 42 days and is a measure of all that training you’ve got in the bank, so an approximation of your fitness. The ATL looks at data from the last seven to 14 days to see how tired you are, so it’s a measure of your relative fatigue. Charting all these together in the ‘Performance Management Chart’ or similar gives an idea of training load over time, freshness, fitness, readiness to compete or requirement for rest.
Much of the thinking behind this performance management system emerged from power data from road cyclists, track riders, and triathletes—the same groups for whom power meters were developed in the first place. Studying data from these kinds of cycling disciplines comes with a couple of assumptions: That an effort requires you to pedal most of the time, and that when you are not pedalling you are not putting in much effort (think of a roadie descending a mountain). Thus we arrive at the limitations of power meter training in mountain biking. How often do you get to the bottom of a descent puffed out? How often are you forced to freewheel through corners, or backpedal as you muscle up a technical climb? What about a pump track, where you barely pedal at all? Your perceived exertion and heart rate may not change much as you alternate between pedalling and pumping, steering and bunny hopping – but if you aren’t pedalling, you’re producing zero measurable power. If you train, as I do, with power on the road and mountain bike, each mountain bike session is pushing your Performance Management Chart out -not ideal if you are working towards specific goals that require the delicate balance between fitness and freshness.
Not only is the zero pedalling we’re forced into on trails an absolute killer for power data, the core and muscular engagement required by mountain biking make all our efforts higher than the power meter data can reflect. My coach and I work around this by adding about 10 per cent extra TSS to mountain bike rides, but it’s hardly accurate. In fact, returning to heart rate TSS would likely paint a less impressionistic picture of my overall training balance.
Single-sided power
So, you will get lower average power and low TSS with any power meter on nearly any mountain bike ride. But what about the fact that, uphill and under constant load, the Stages still reported lower power figures than the numbers I’m used to seeing for the same perceived exertion on my roadie? There’s another issue here, and it comes down to Stages’ single-sided design.
The inherent flaw in any single-sided power unit is that it operates under a tricky assumption: That the power your left leg generates is pretty much the same as your right leg. It actually only records what the left leg can push, and then multiplies it by two. Using some analysis in WKO4 software, my coach has helpfully mapped the power profiles of both my legs thanks to the complete power meter (measuring both sides at once) I have on my roadie, and the results are telling. My legs both have different phenotypes, and as you’ve probably guessed, my right leg is significantly stronger.
The upshot
If you’re using the Stages power meter consistently, and especially if it’s the only power meter you use, you’ll gain the same information as any power meter would provide. It’s just that the numbers might be slightly lower or higher (if you have a stronger or weaker left leg) than they might be if you used dual-sided or complete power setups. That’s not a huge concern for most and the differences are only going to be a few per cent, at the highest. And you’ll still know whether you’re improving, whether you’re fit, whether you’re fatigued, and whether you’re fresh. It’s important to remember that the Stages price tag is possible because of the single-sided design.
The bigger issue for me remains around whether power meter data for mountain biking is useful enough to warrant the money you spend to get it. As I mentioned, I tweak the TSS of every mountain bike ride I do, and another metric, Intensity Factor (IF) is also usually way off the actual difficulty of a ride.
There are plenty of ideas on how to measure the full-body efforts deployed by mountain bikers: gyroscopes, accelerometers, pressure pads, you name it. I imagine someday we’ll ride smart bikes, with sensors in various locations to get a better picture of our exertion. At this point, however, most of the data I produce on the mountain bike doesn’t tell me anything I don’t already know, and any interesting metrics have been generated by WKO4, a much more expensive and complex piece of software than the standard training packages, and not something most of us have the time and tenacity to master. If you ride both road and mountain bike, I’d recommend getting your roadie outfitted first, then having a think.
| HITS | MISSES |
| Relatively inexpensive | Single-sided power provides less data |
| Easy installation and basic maintenance | Dreadful battery life |
| Reliable during our test period | |
| RRP | $999 |
| FROM | firstendurance.com.au |

