WORKSHOP: How to Fit New Disc Brake Pads
If you started mountain biking before V-brakes it's easy to forget how different the maintenance we need to do is now.
Words and photos: Mike Blewitt
Sure, a cable actuated rim brake was easy to look after. But really, you had to do a lot of ongoing adjustments to account for pad wear, rim wear and conditions. That included setup to avoid brake squeal, and then of course pivot service kits when Shimano introduced the parallelogram design with their V-brakes.
In many ways the ongoing service of a hydraulic disc brake system is much easier. While the system will need a bleed from time to time, adjusting for pad wear is automatic. Still, it’s worth giving the system a bit of attention when you need to replace your pads.
Grab a small light and look into the back of your caliper to see how much pad life you have left. The pad material is on top of the backing plate, and you want to make sure there is enough there – I’d change mine before there is only 1mm left. Different brands will have different compounds, so talk to your local shop about what suits your riding, the dirt and your brake and rotor. This could be a good time to upgrade!
Step 1: Remove the wheel
Place your bike in a workstand or make it stable, and remove the wheel. So you have full access to the caliper.
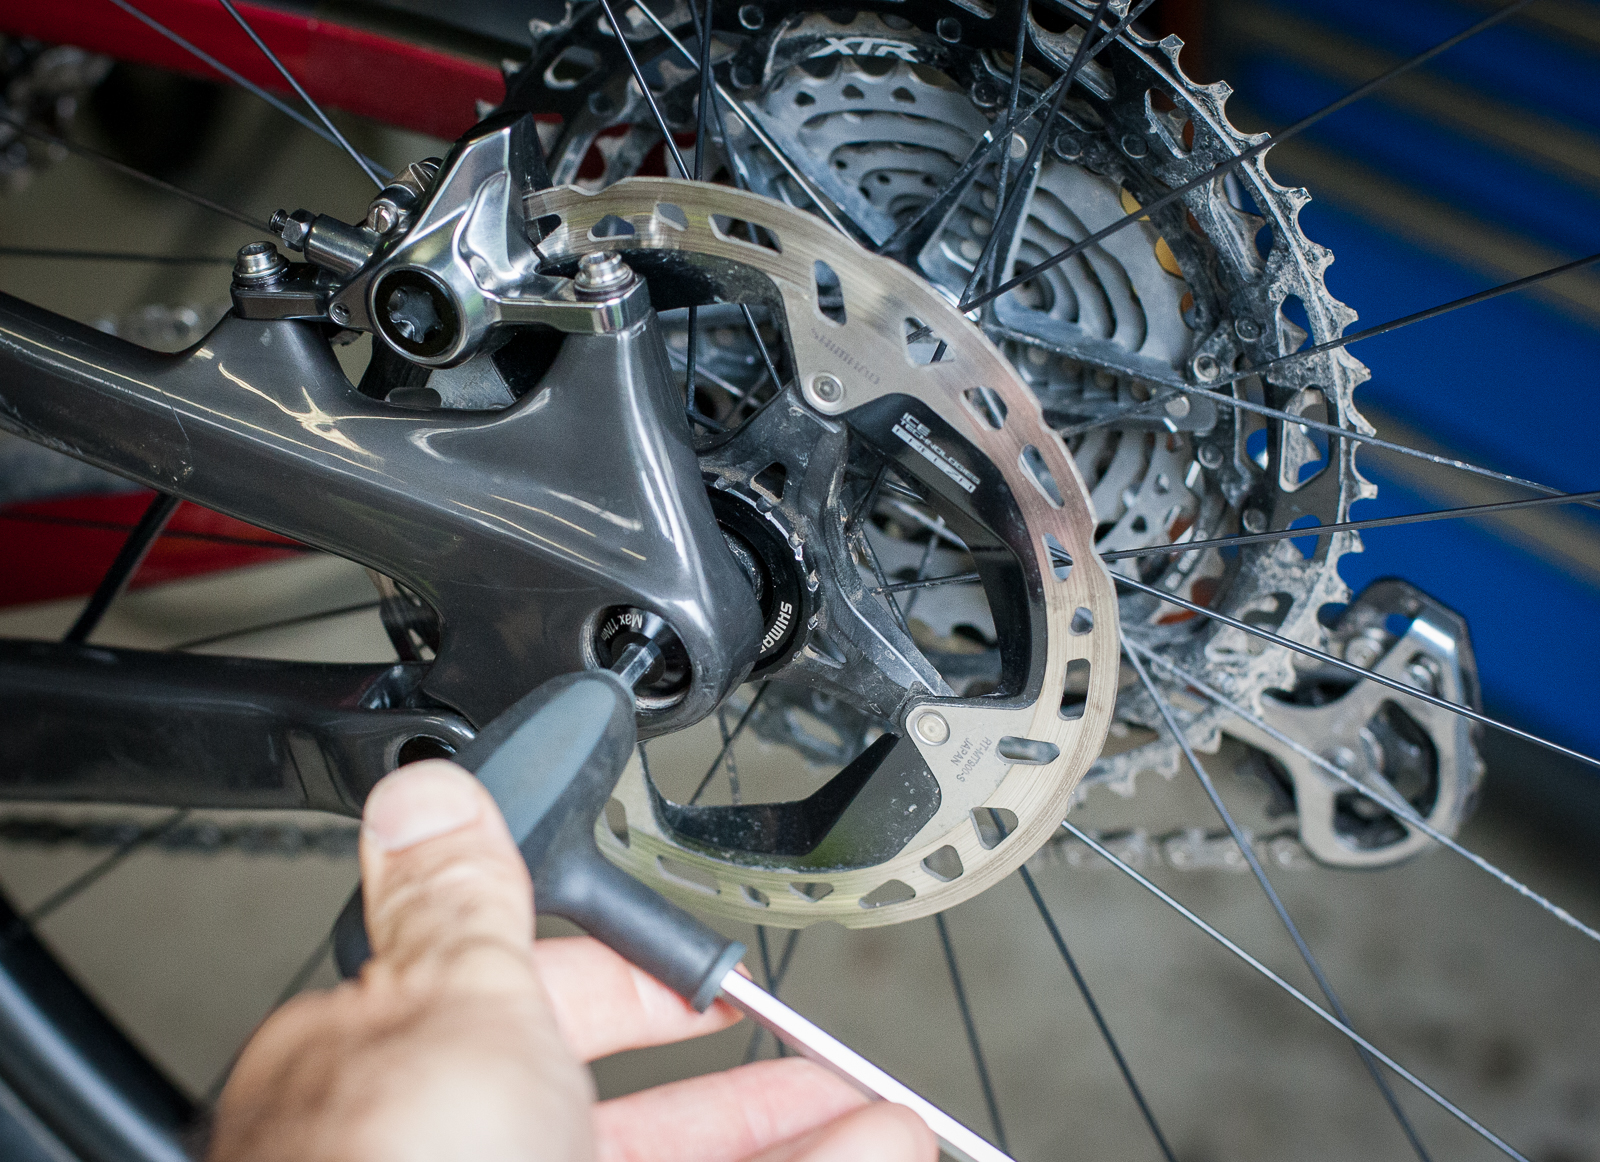
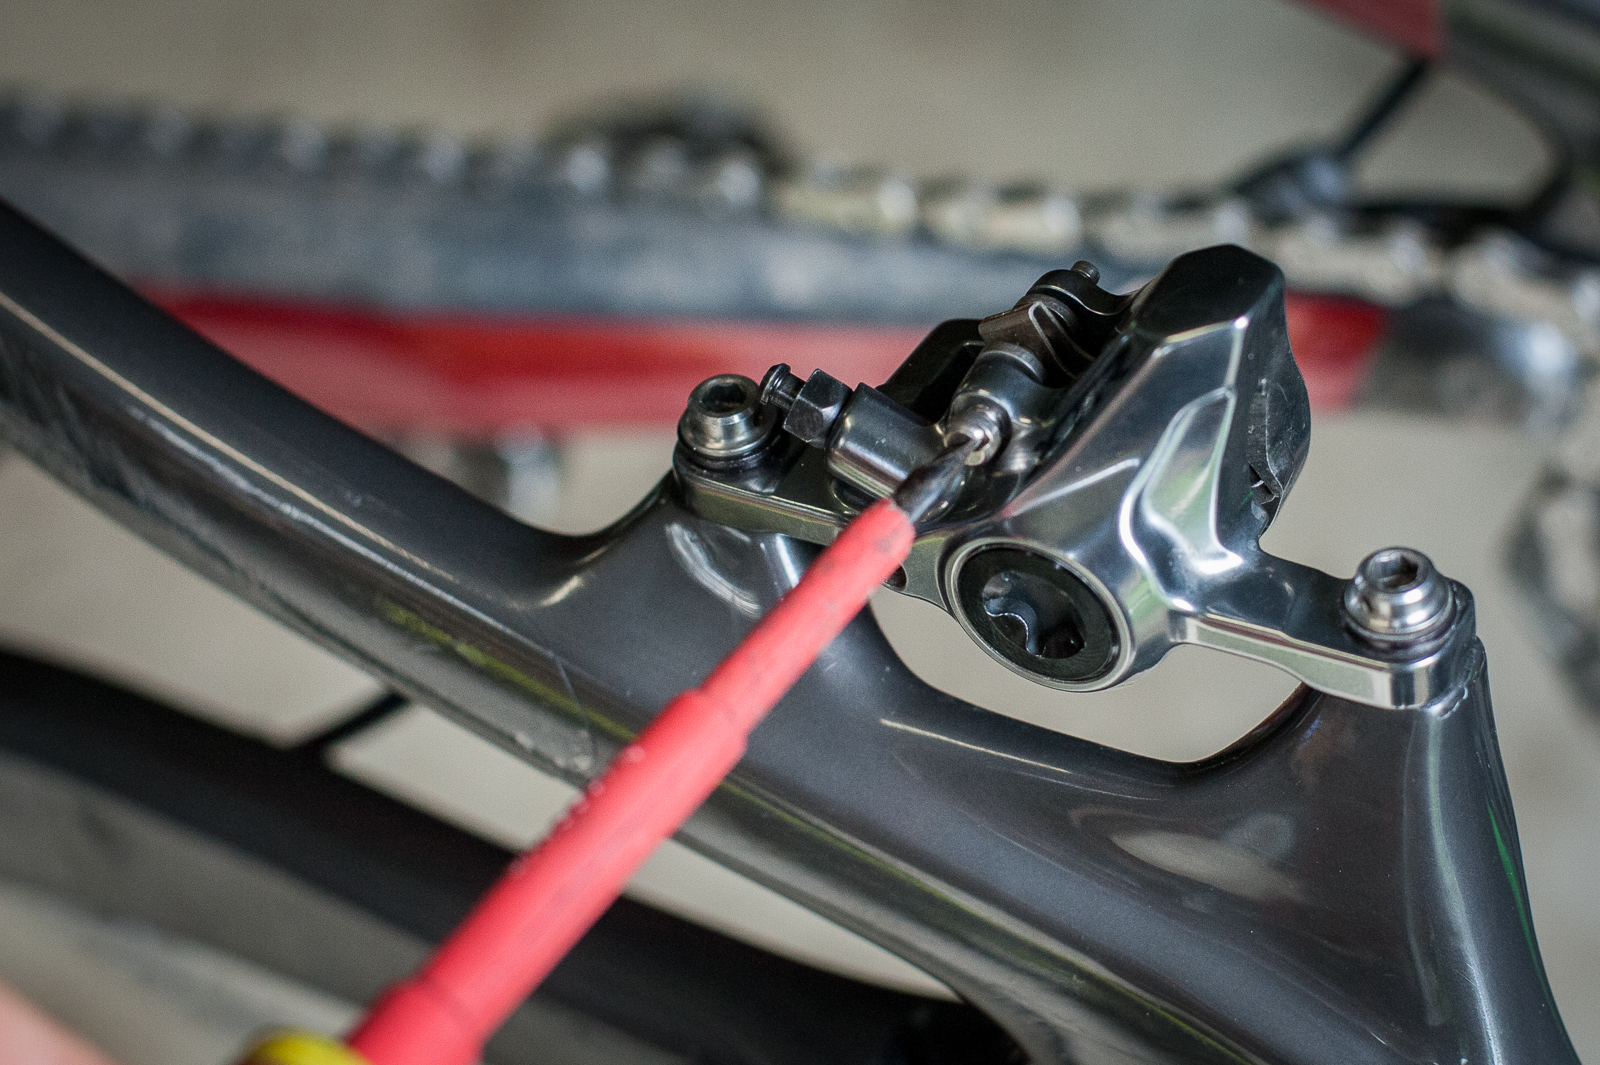
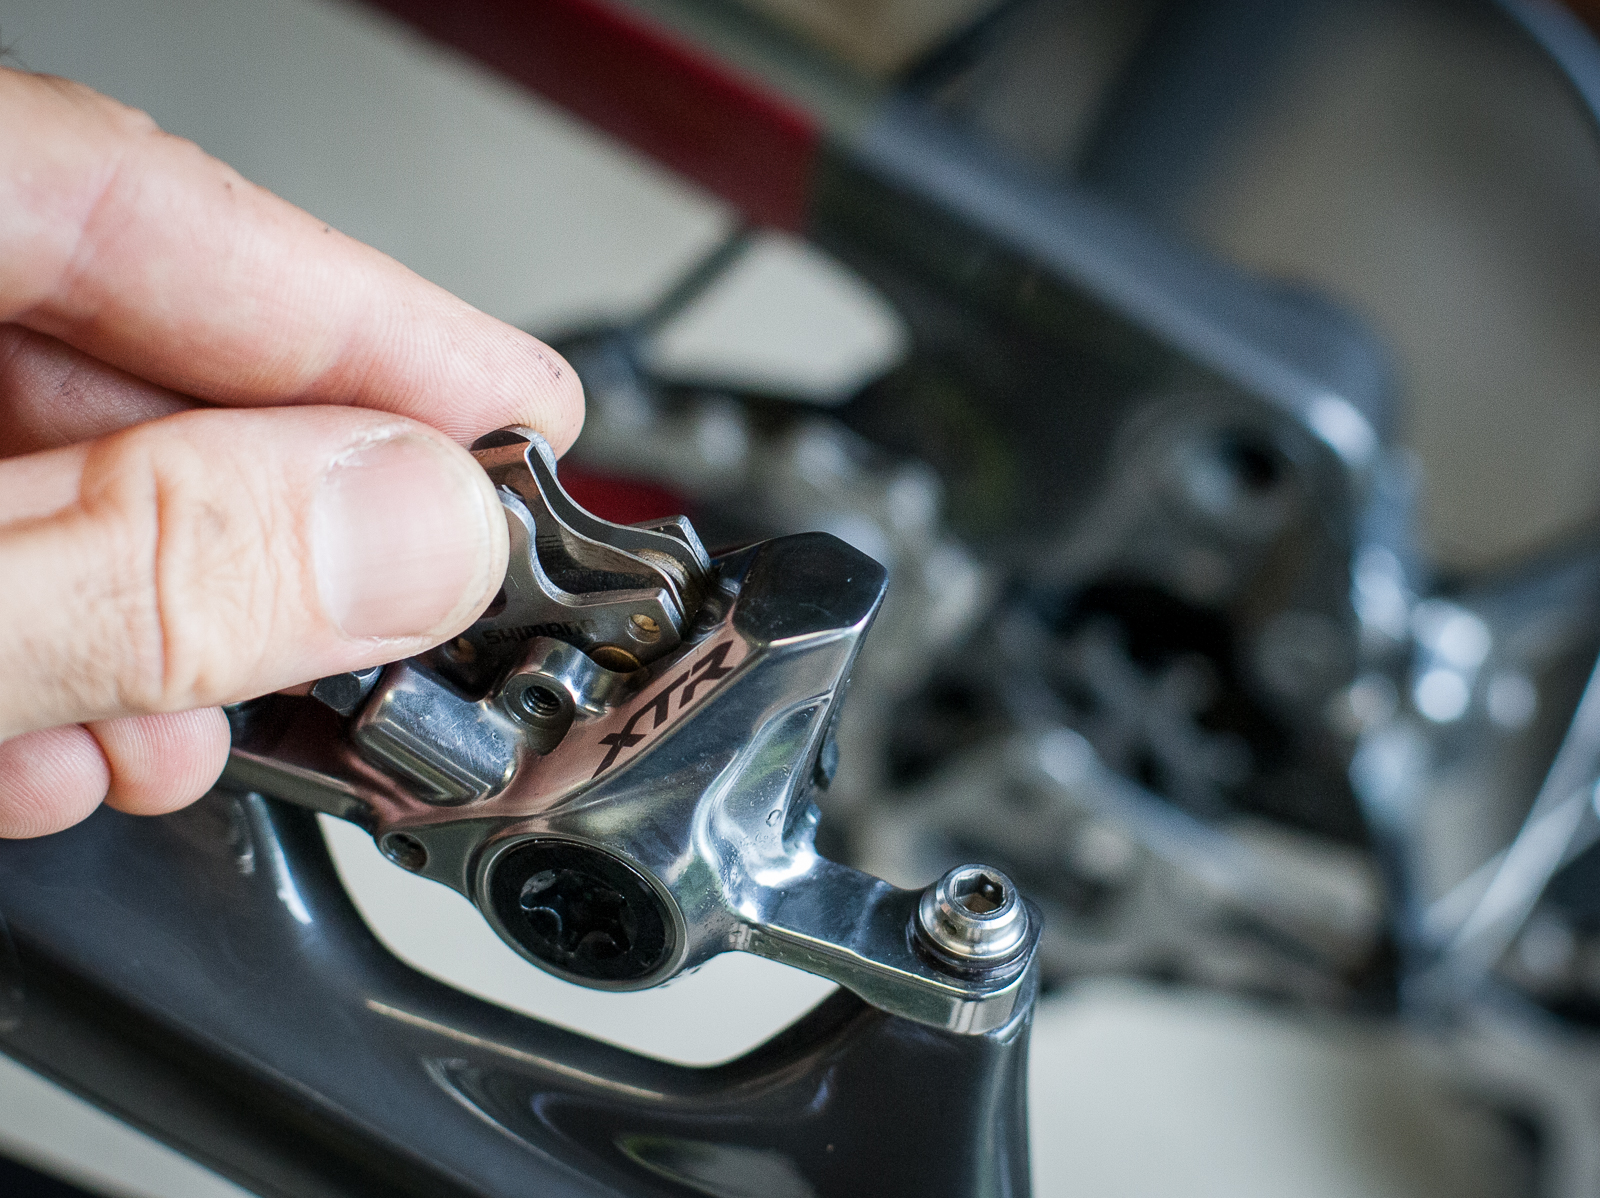
Step 2: Remove the brake pads
You’ll need to undo the pad retainer first. This could be a clip and threaded bolt, or a split pin. Put it aside. Take the brake pads out, including the return spring.
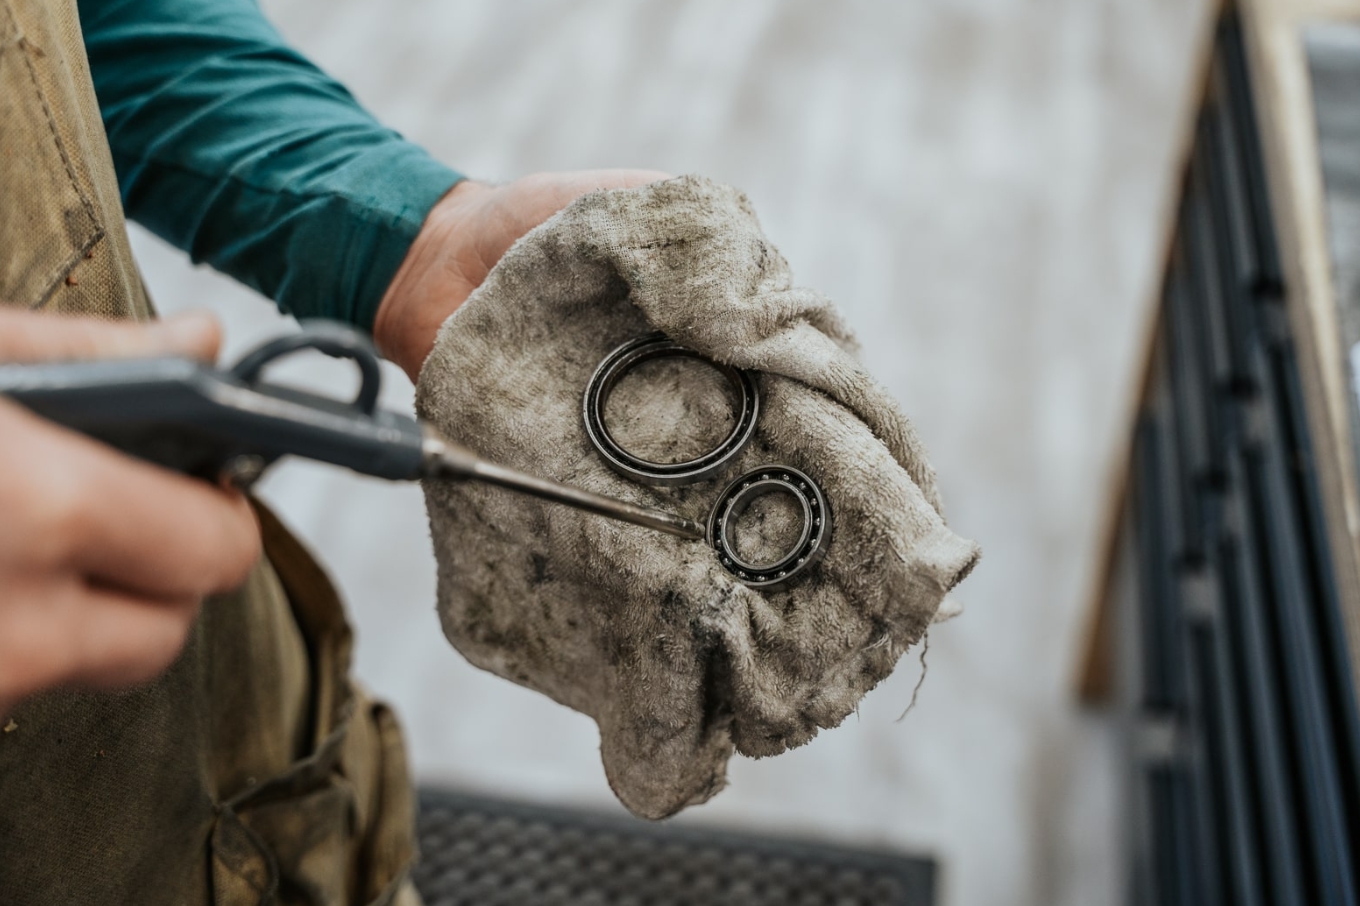
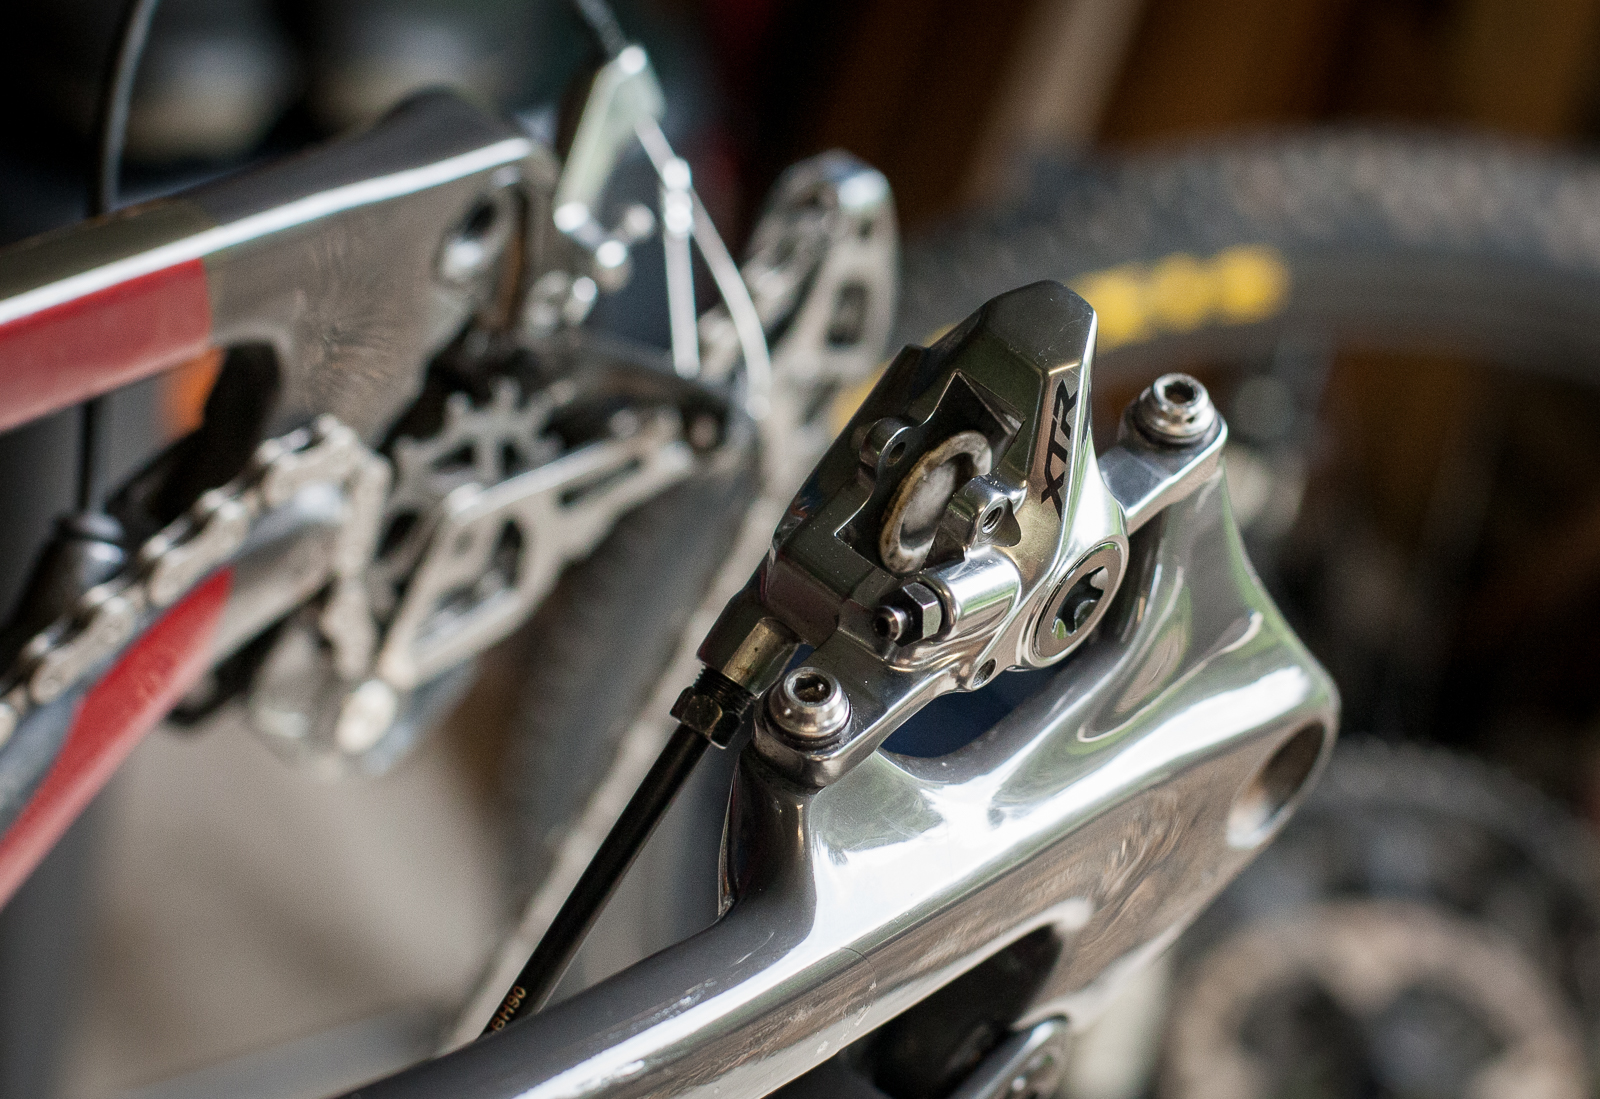
Step 3: Inspect the caliper and pistons
Take a good look at the caliper and pistons. You’ll notice a lot of brake dust! Make sure there is no signs of an oil leak around a piston, if so your brakes wouldn’t have been working due to contamintation. It’s time to book in to your shop as there could be an issue with the seal on your piston and the caliper.
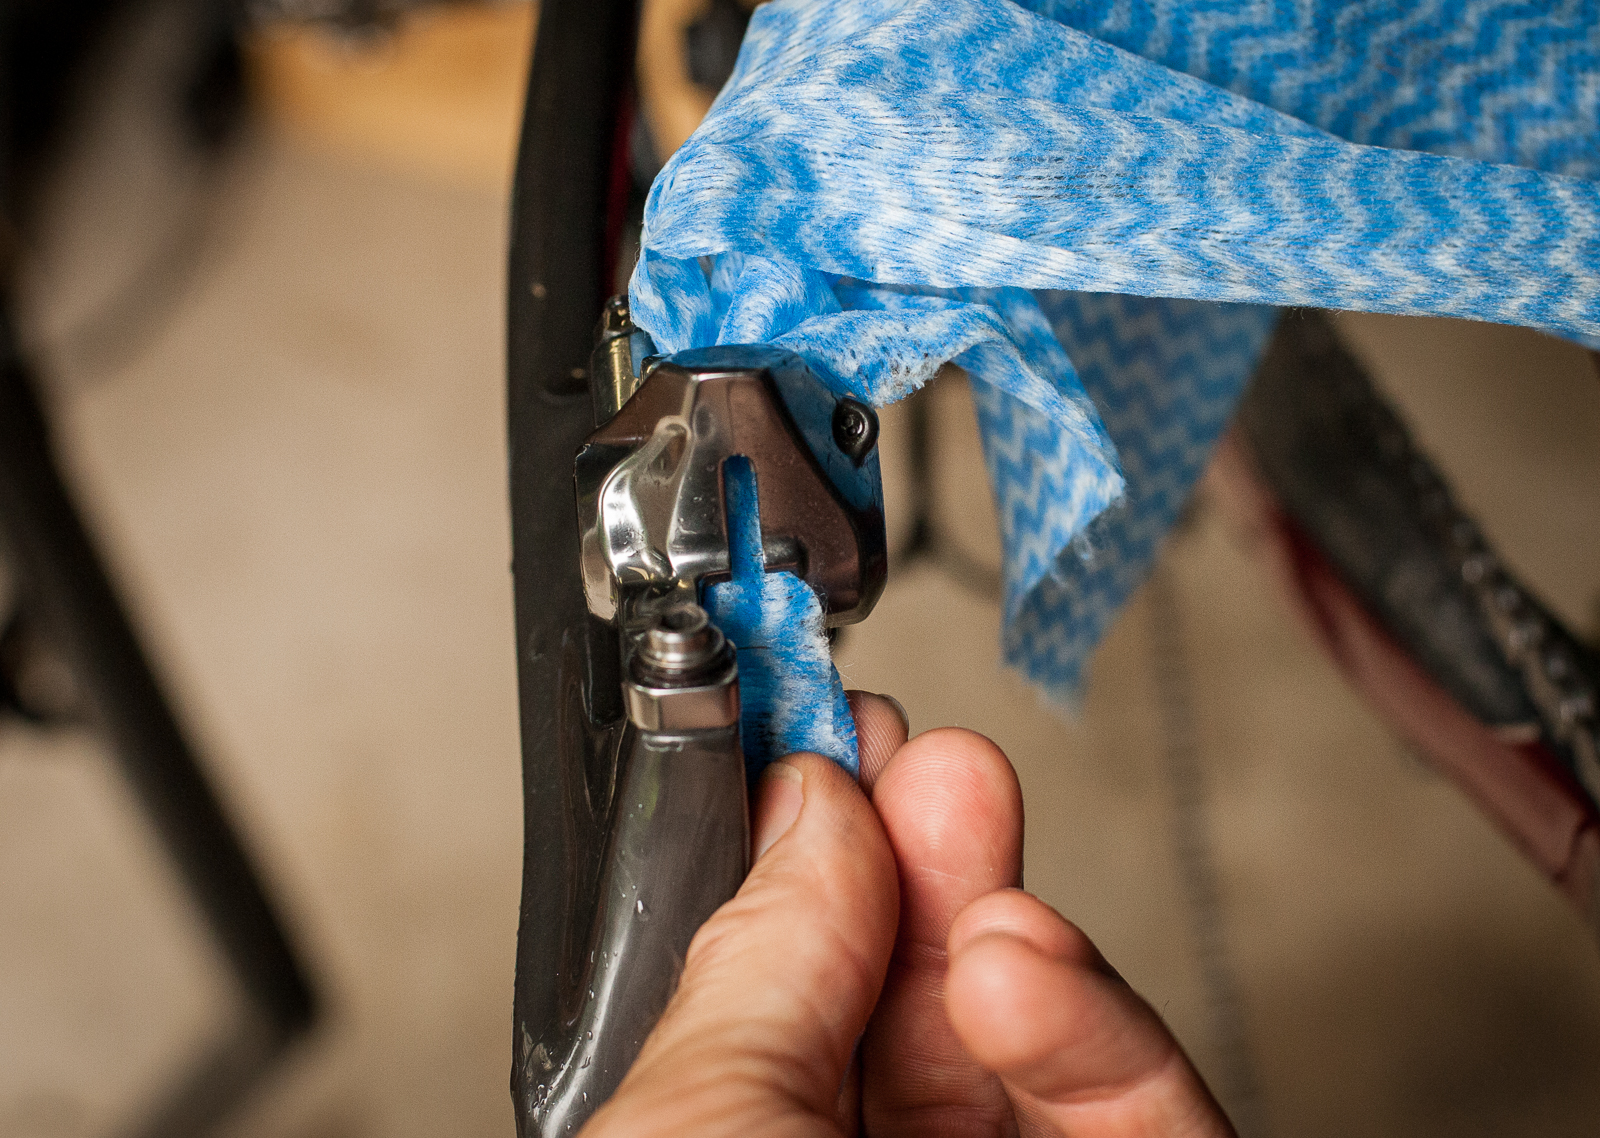
Step 4: Clean the caliper and pistons
Use a brake cleaner like Ride Mechanic Avaqua or Krush Rotor Revive to help clean them. You can use a new rag to pull through the caliper, or even a cut down toothbrush to scrub in there.
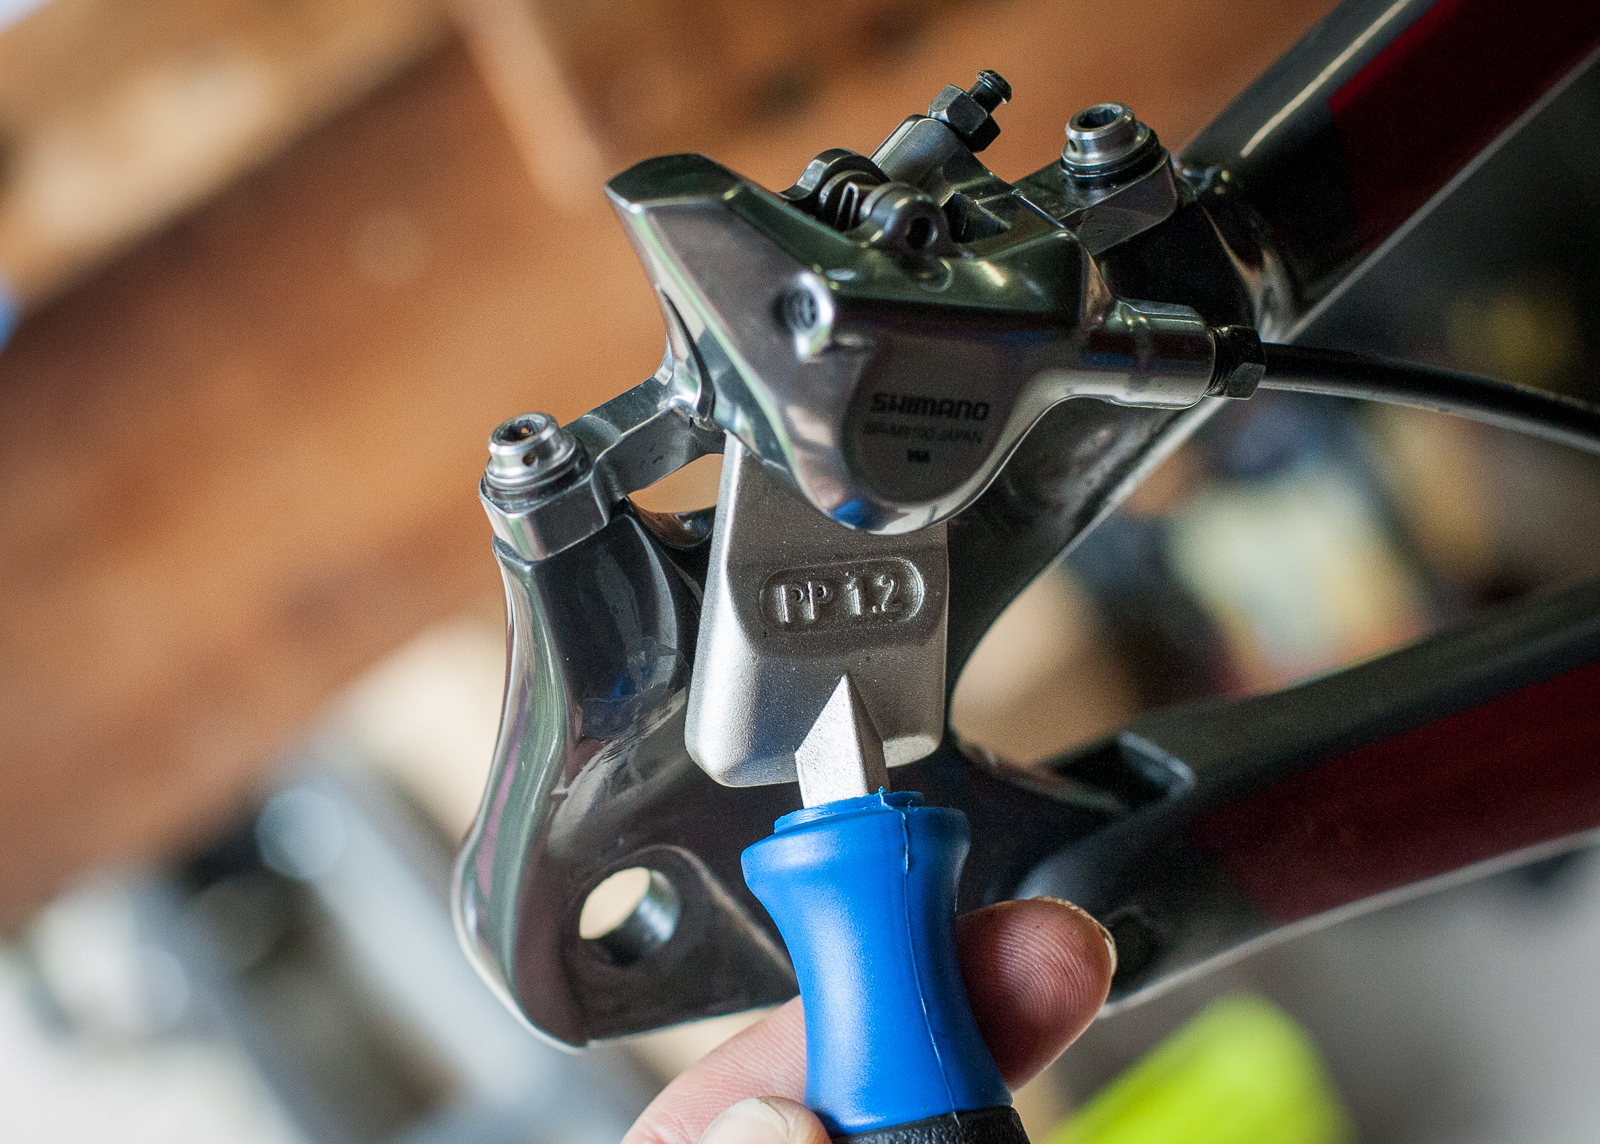
Step 5: Depress the pistons back in to the caliper
If your old pads aren’t contaminated and filthy, place them back in and gently push the pistons back in using a flat tool. Park Tool have PP1.2 for this, and a few brands make something similar. Don’t push against the pistons – many are quite fragile, optimised for low weight and heat dissipation, not being pushed with a metal tool. You could also use your new pads for this task. You may choose to depress the lever a little and redo step 4 and 5 again to check everything is as clean as possible.
Step 6: Fit the new pads
Check the pad orientation, and that the pads you are using are the right ones for your rotors and brakes. As mentioned earlier, this could be the time to be upgrading your pads and rotor for better braking.
Step 7: Put the wheel back in
Put your wheel back in and see how it’s all sitting. You may need to readjust the caliper to be centred over the rotor.

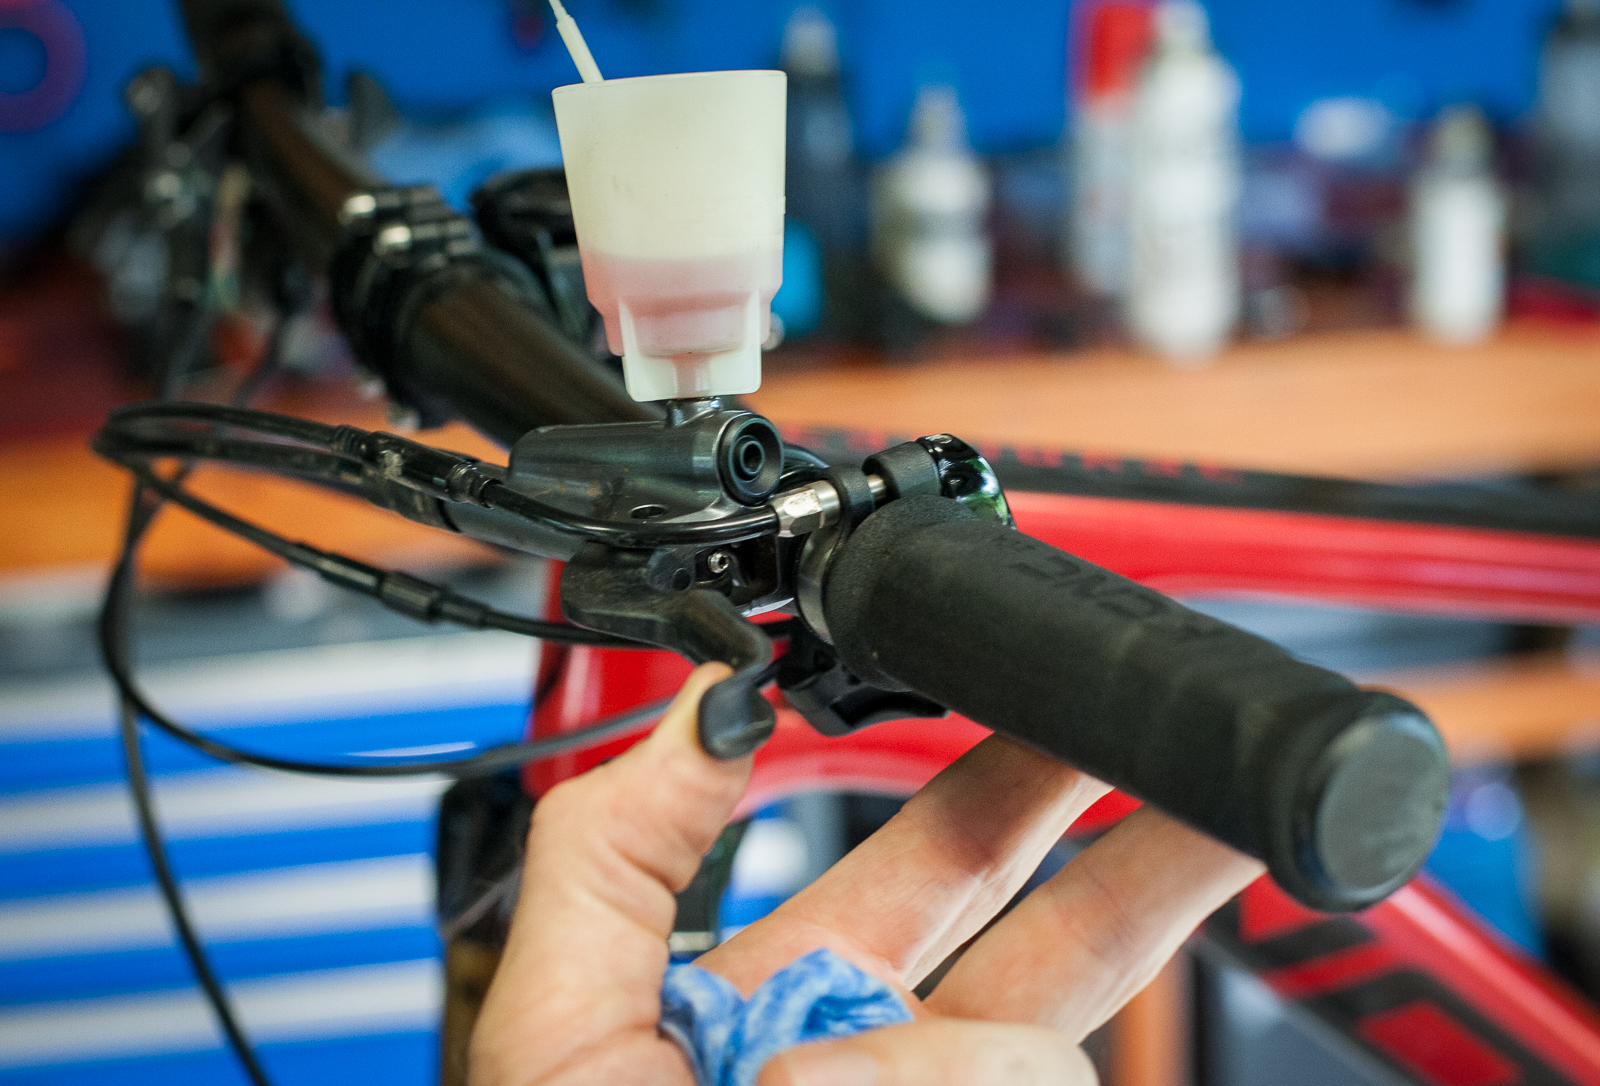
Step 8: Pump the lever
Attach a Shimano bleed bucket or SRAM syringe. Pump the lever so the brakes engage solidly. Any air will come out into the bucket or syringe. Does it feel spongey? You can find out how to bleed SRAM and Shimano brakes in the workshop section on our website.
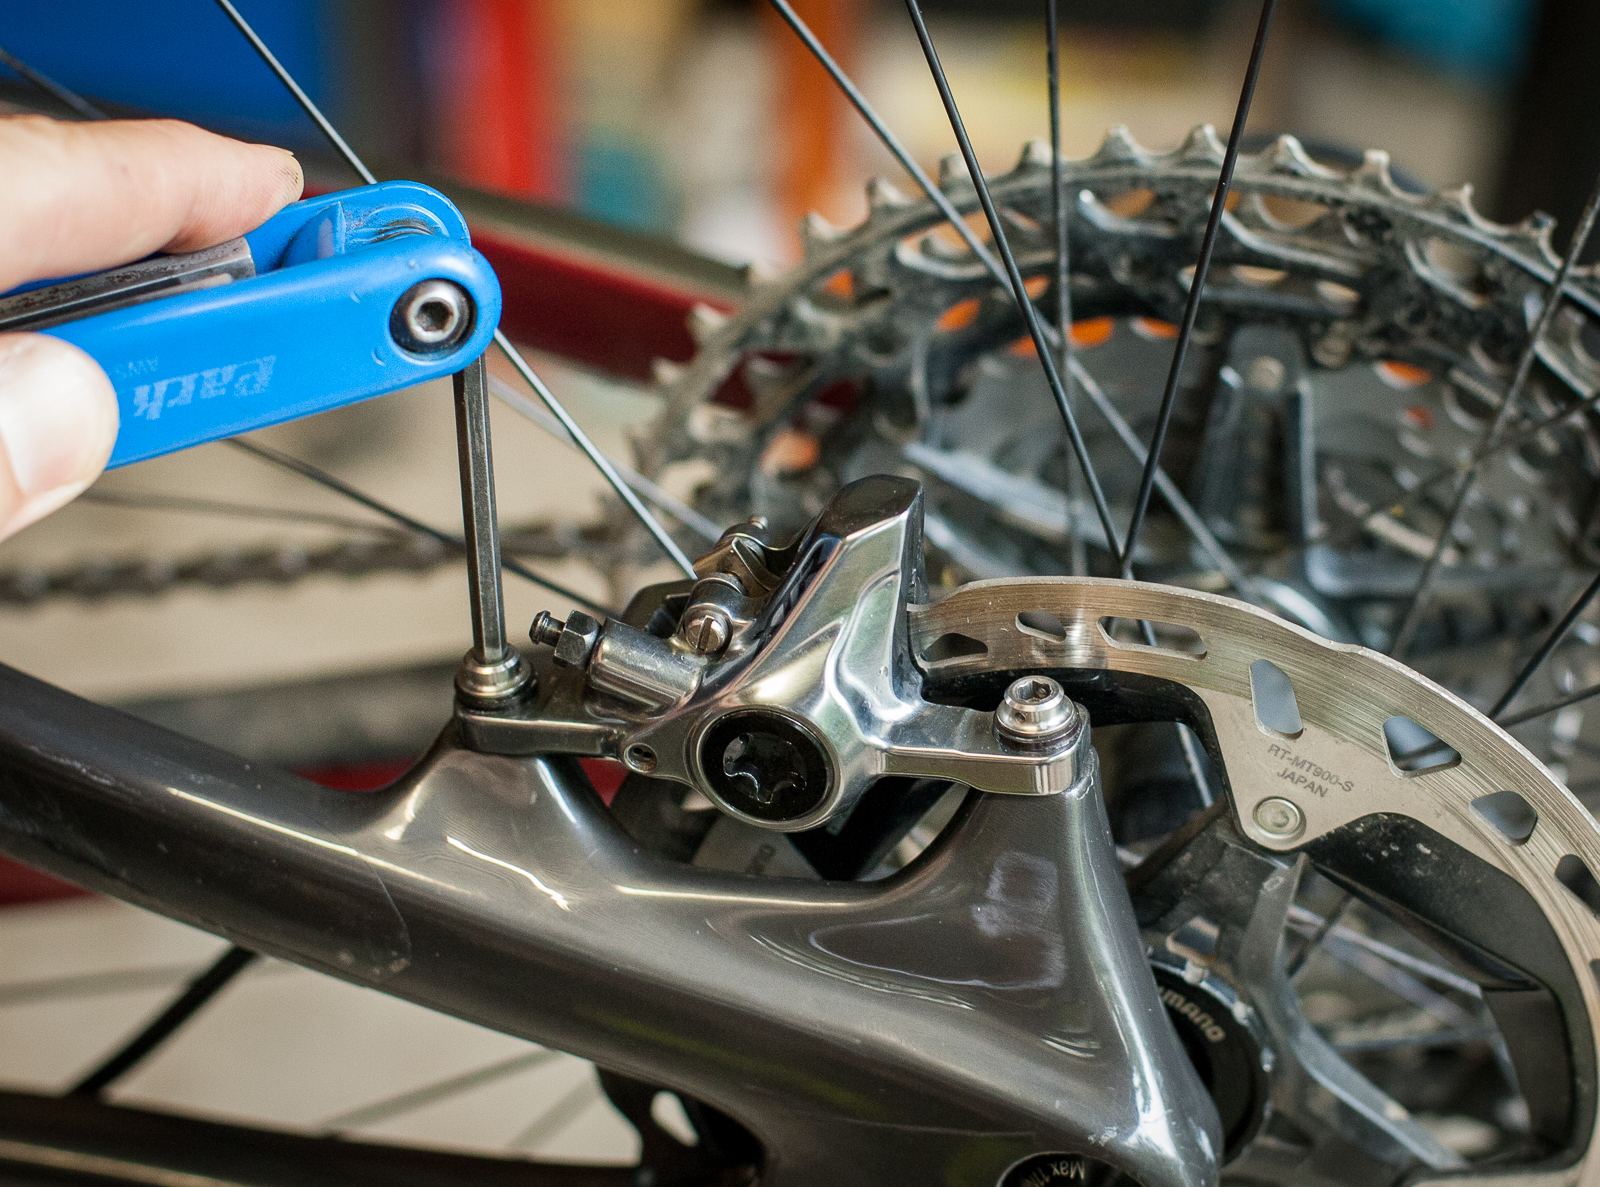
Step 9: Remove the syringe or bucket and adjust
Take the bleed bucket or syringe off and readjust your caliper so the rotor runs drag free. Make sure you now bed your pads in according to the manufacturer’s recommendations.
For more workshop tips, click here!