WORKSHOP: How to install a headset and fork
For this issue we thought we’d talk you through the simple task of fitting a new fork. But while we’re at it, we’ll also also give you a few steps to fitting a new headset.

STEP ONE
Make sure the headtube is greased. Wipe a thin layer of grease where your headset cups are going to press into.
STEP TWO
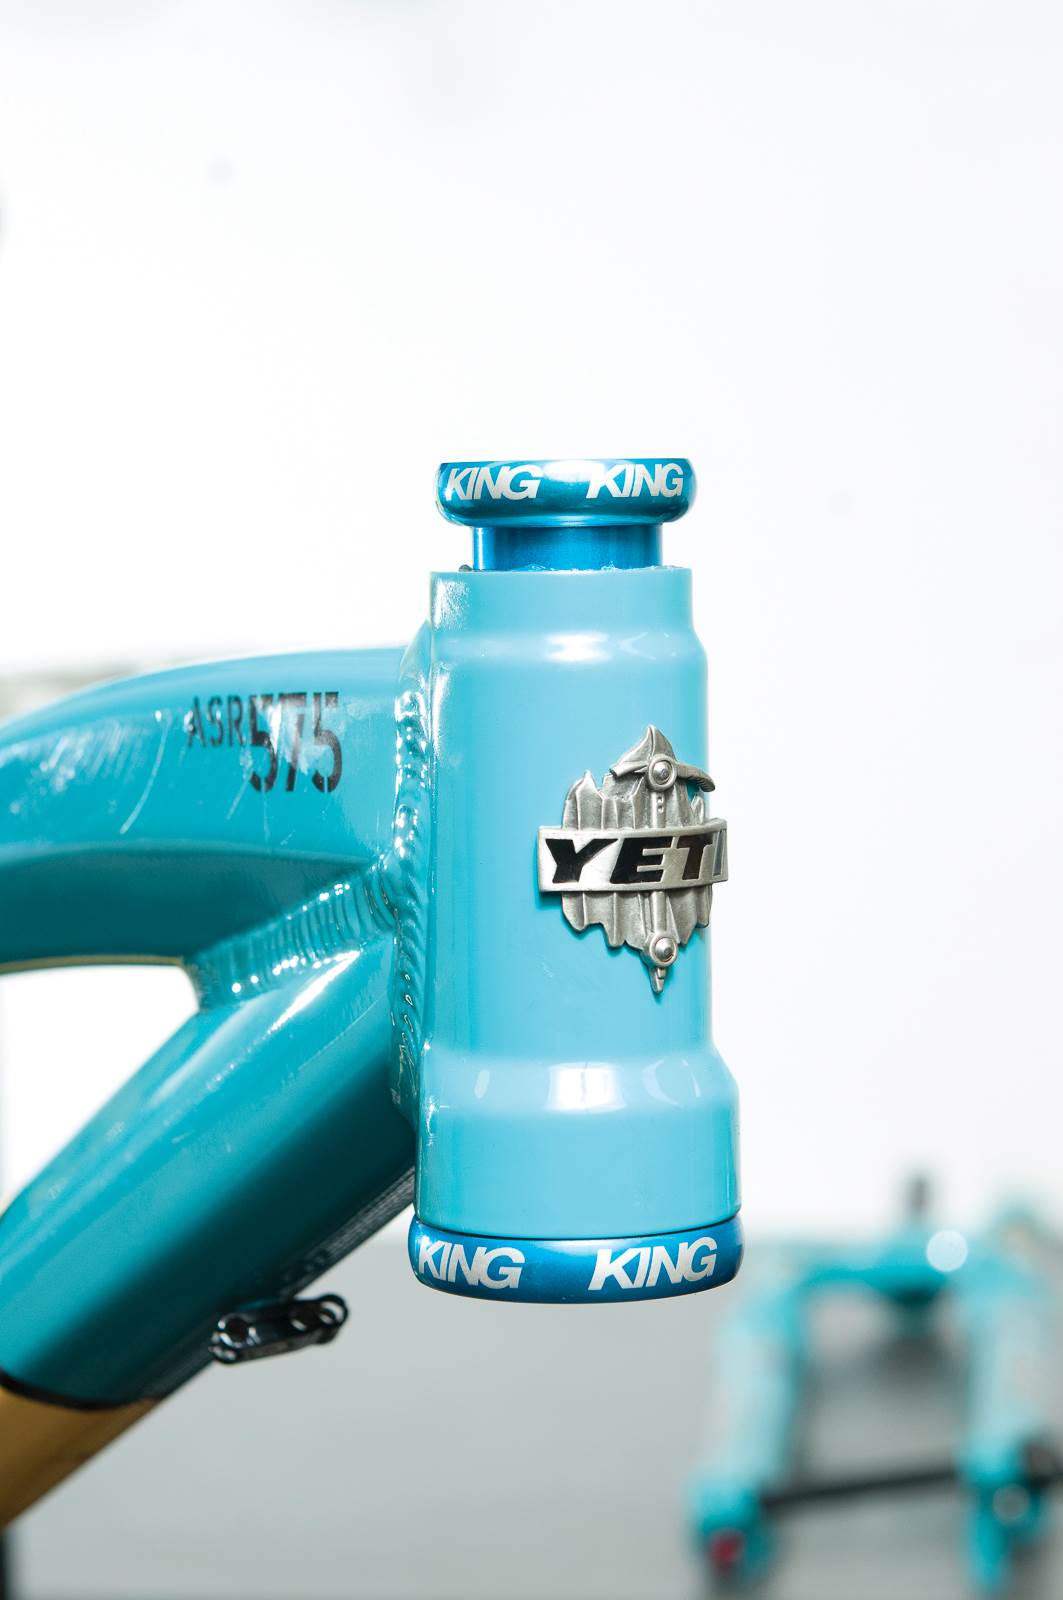
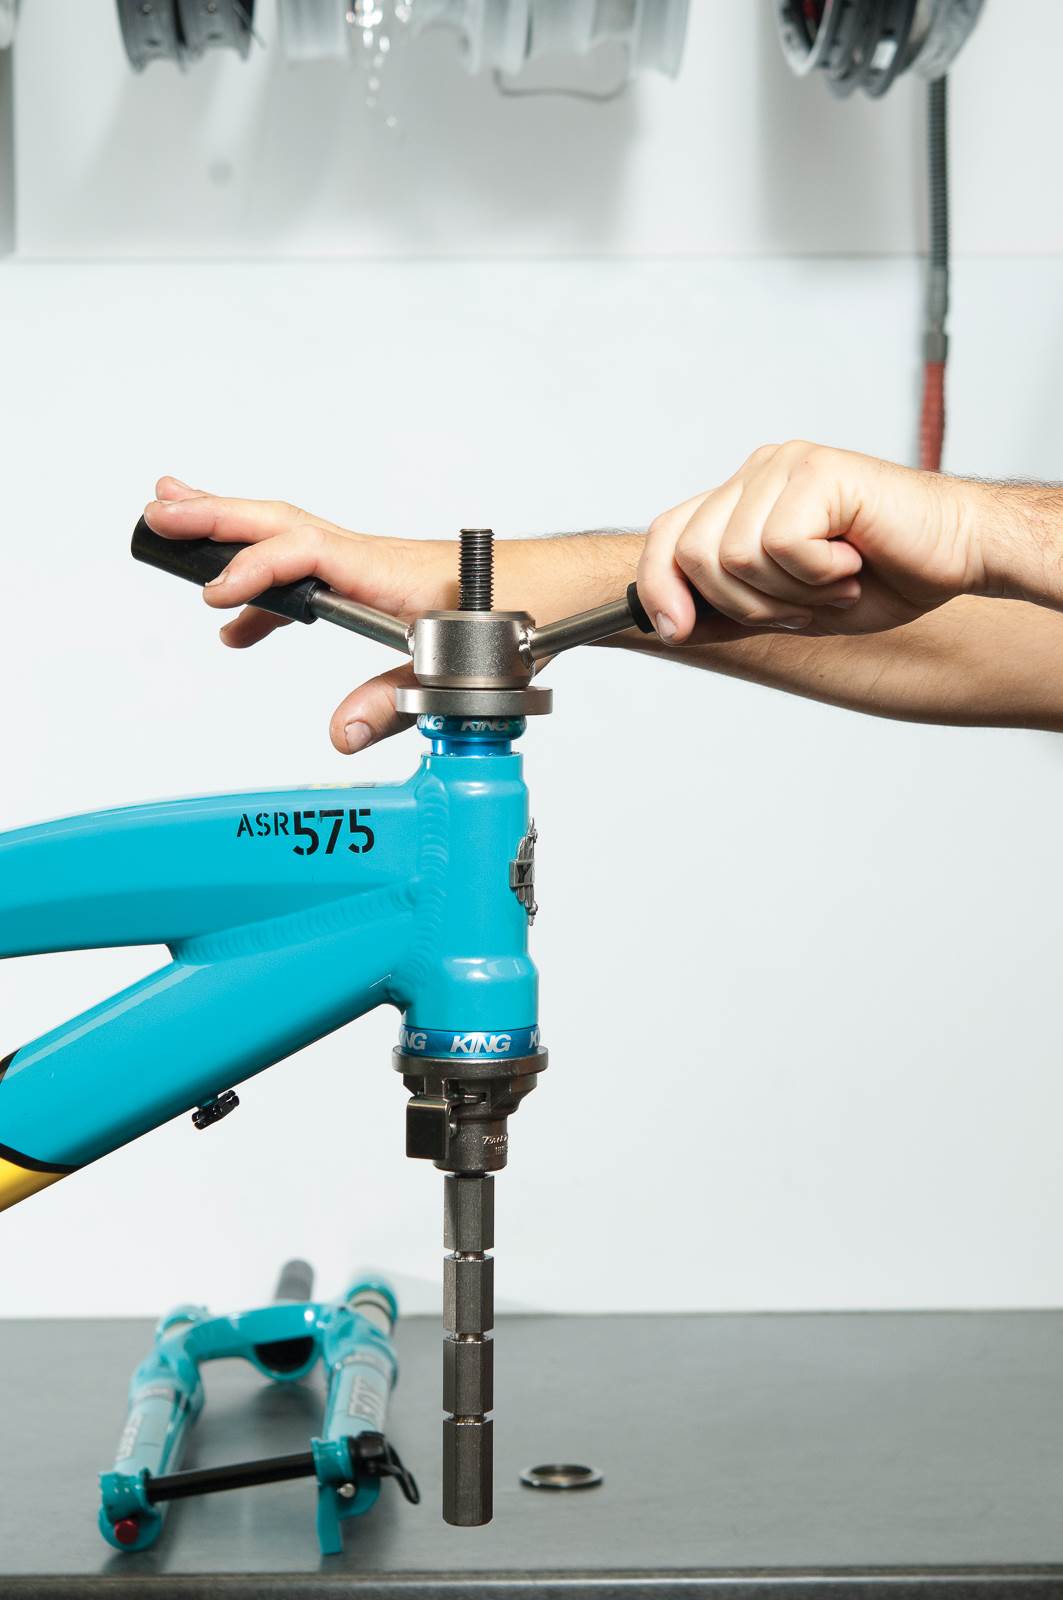
Next, line up any logos with the head badge on the bike. With this Chris King headset, I would line up one of the ‘Kings’ so it’s directly on the front of the bike
STEP THREE
Using a headset press, slowly push the cups one at a time into the frame. Make sure they go in straight and don’t start to spin, which would then misalign your logos.
STEP FOUR
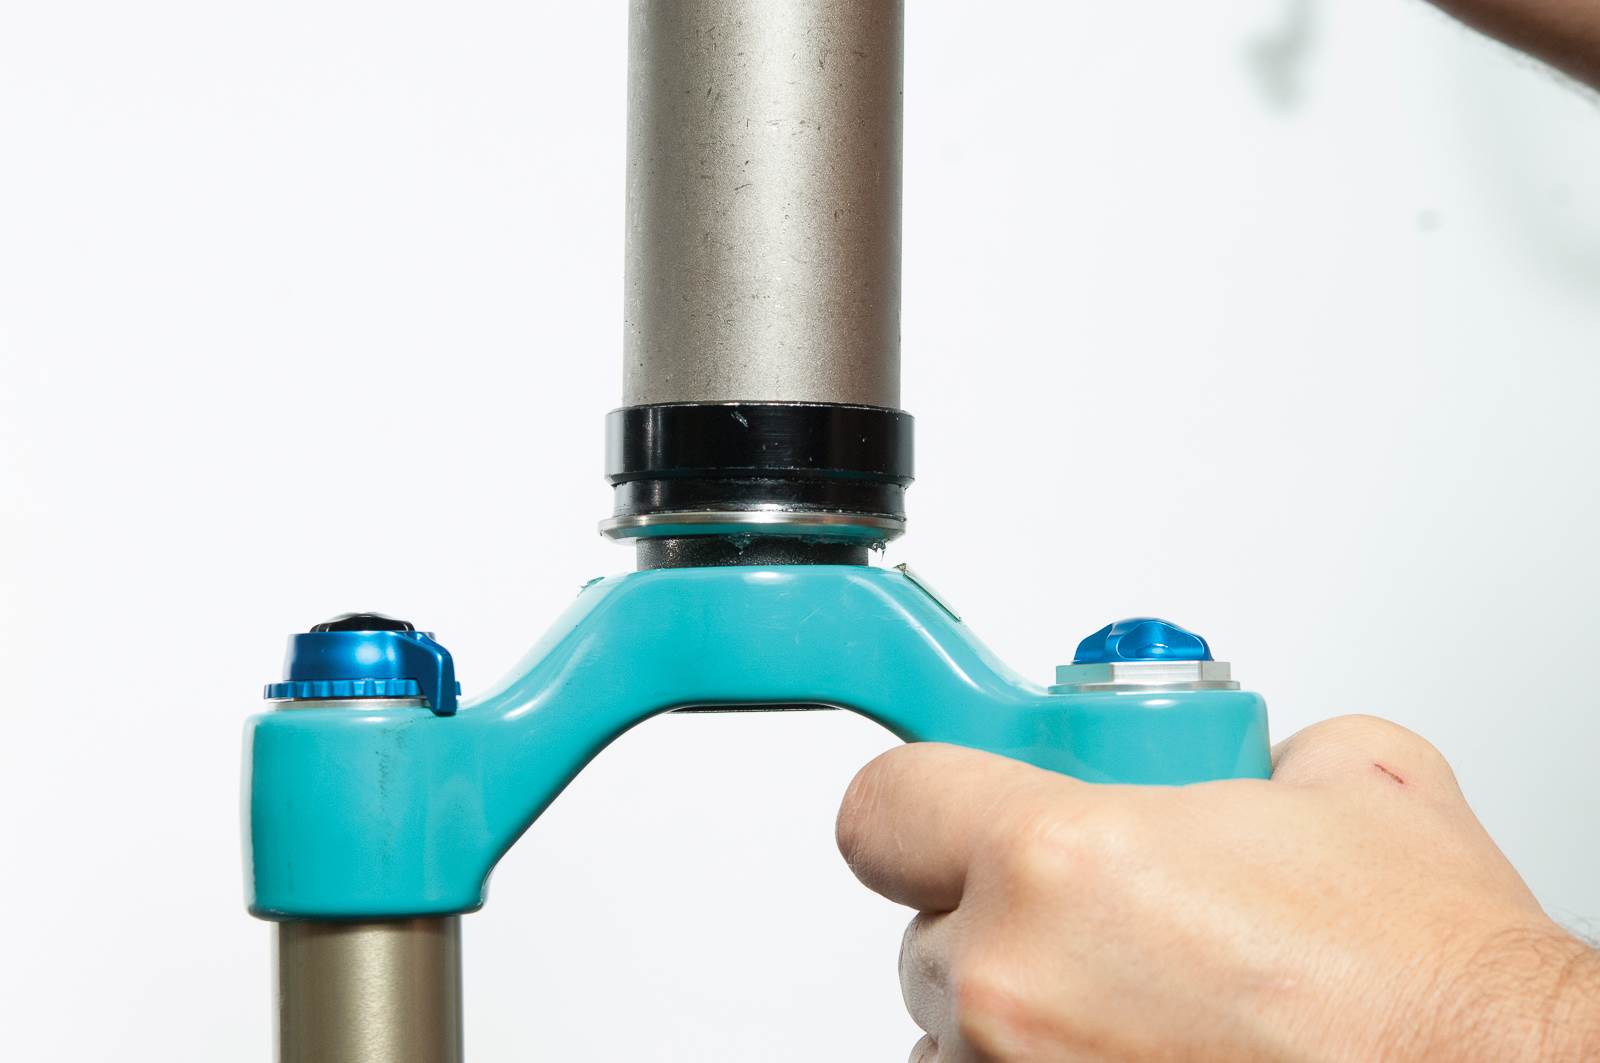
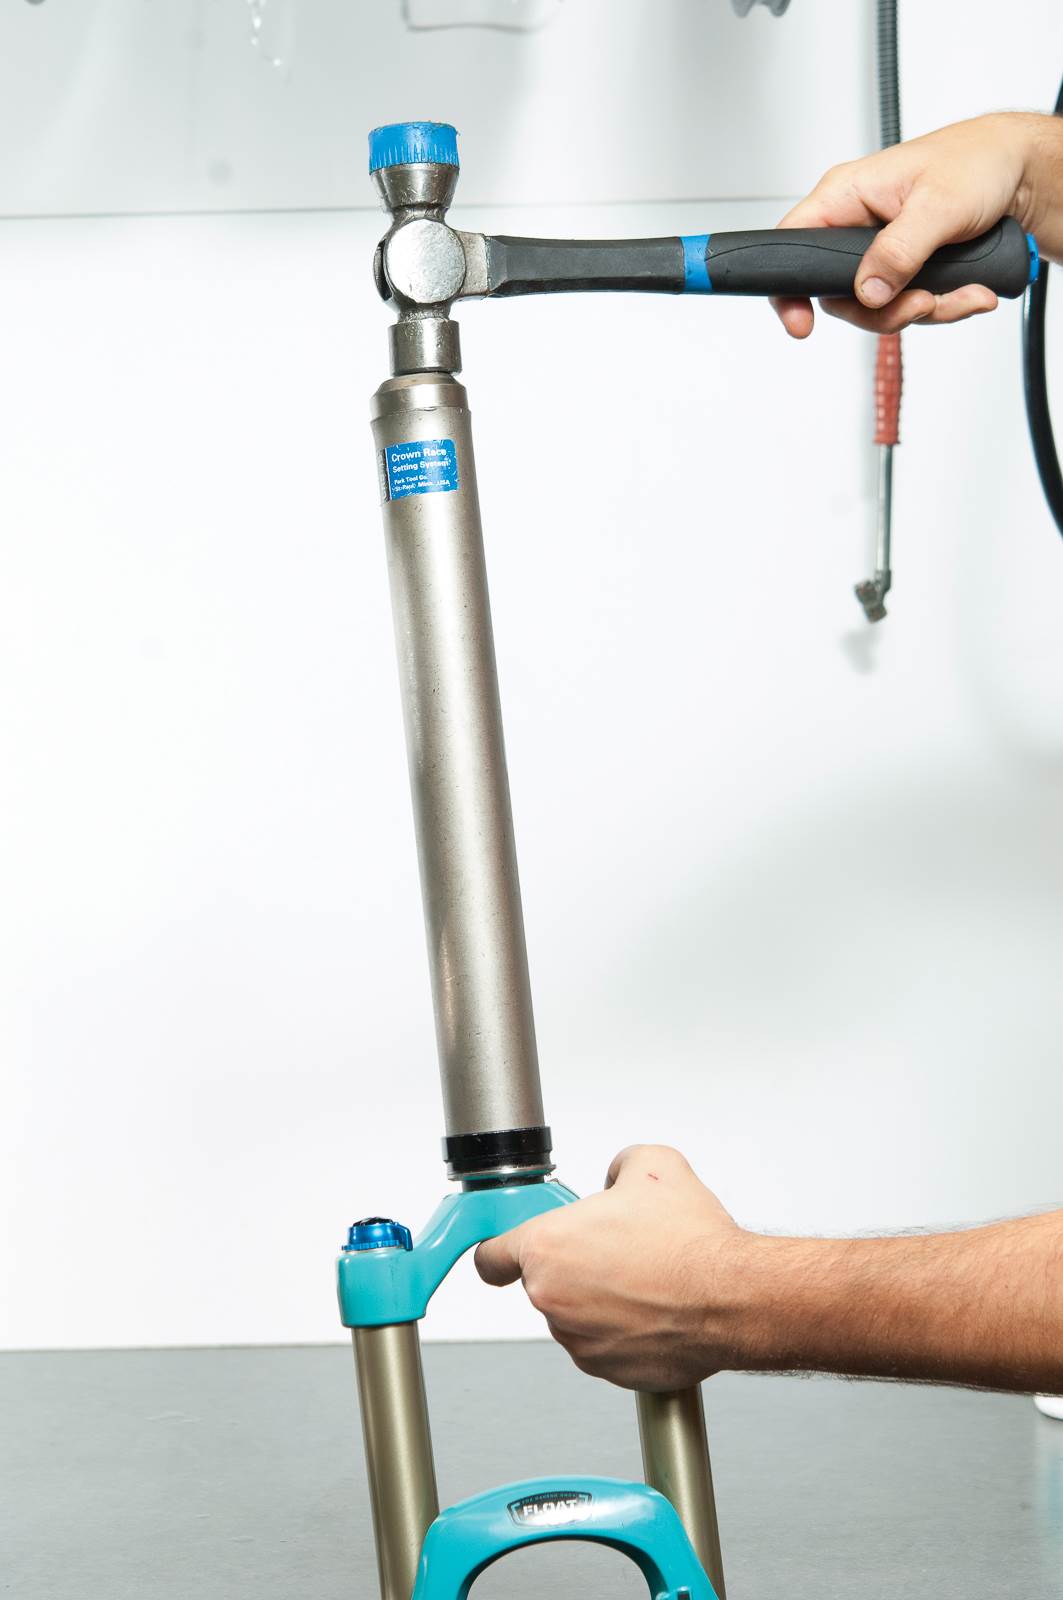
Next step is to grab your new fork and your crown race. The crown race is a bearing race that needs to be tapped into place in order for the headset bearings to work. These are generally brand/size specific, so don’t go mismatching parts from other bikes. Again, lightly grease the crown race and tap on the crown race using a specific crown race fitting tool. Make sure it is seated completely flat and you can’t see any gaps between the fork crown and the race.
STEP FIVE
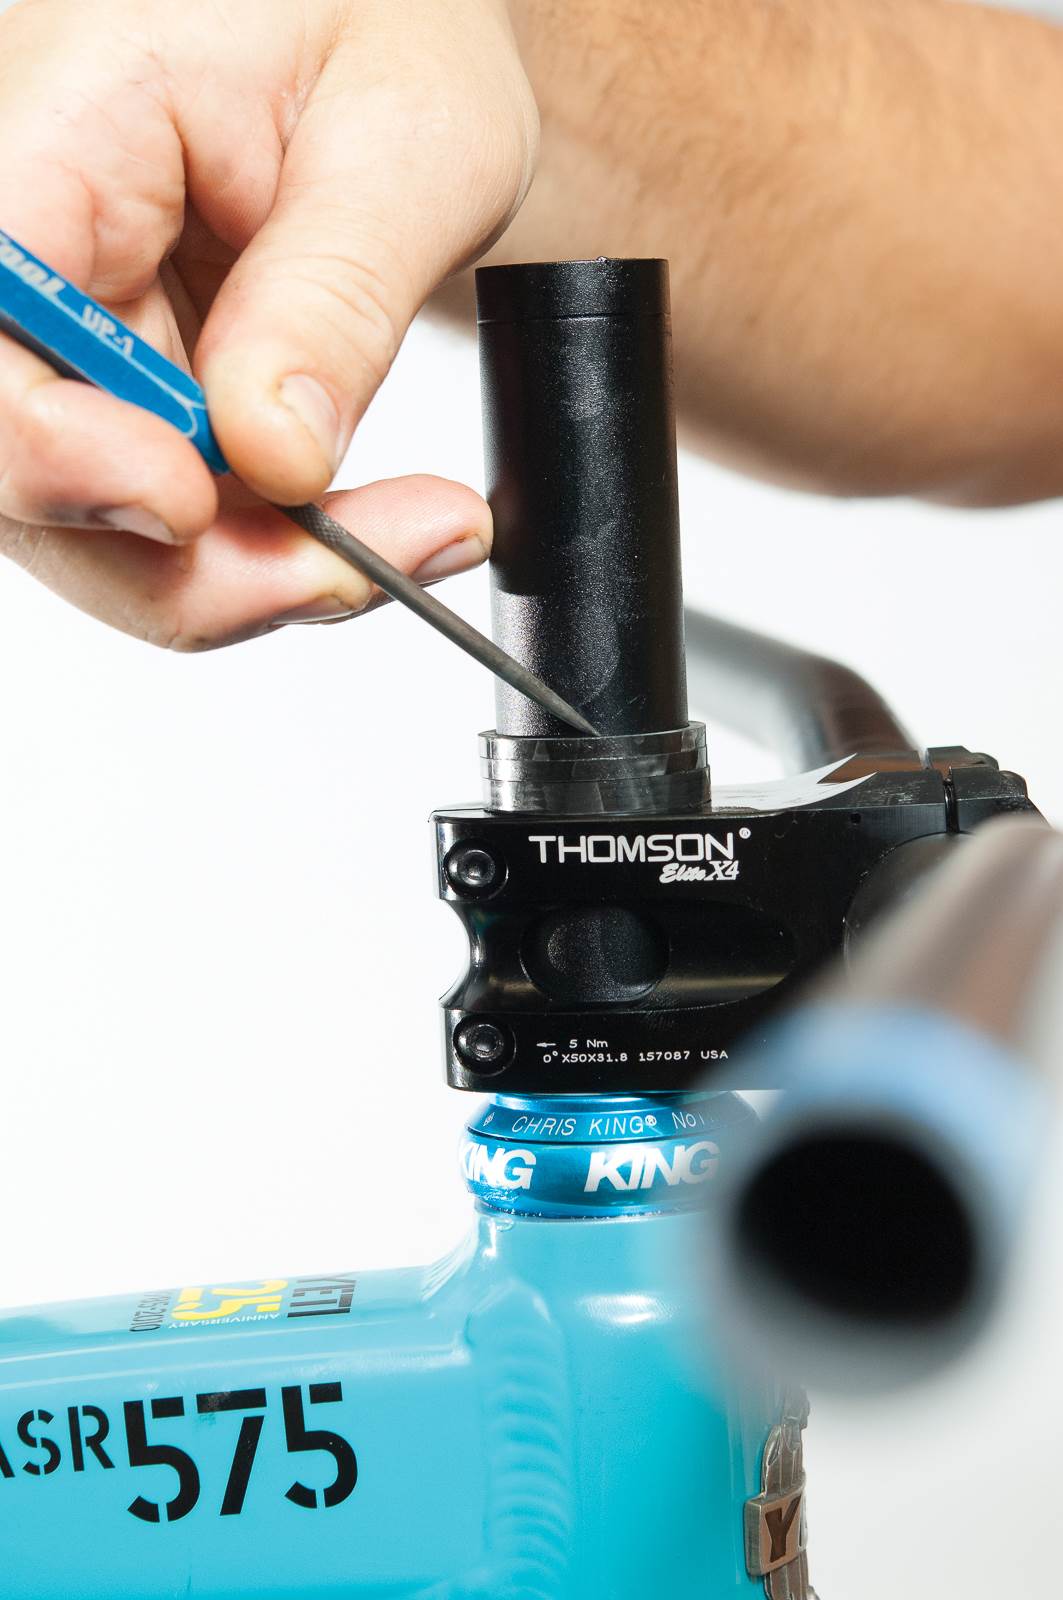
After that, slide the fork through the headset and fit all the parts in order – your stem and then your required amount of spacers. Next step is to mark the fork where you wish to cut it. I use a scriber to do so. Remember you always need to leave at least a 2.5mm spacer on top of your stem once the headset is assembled.
STEP SIX
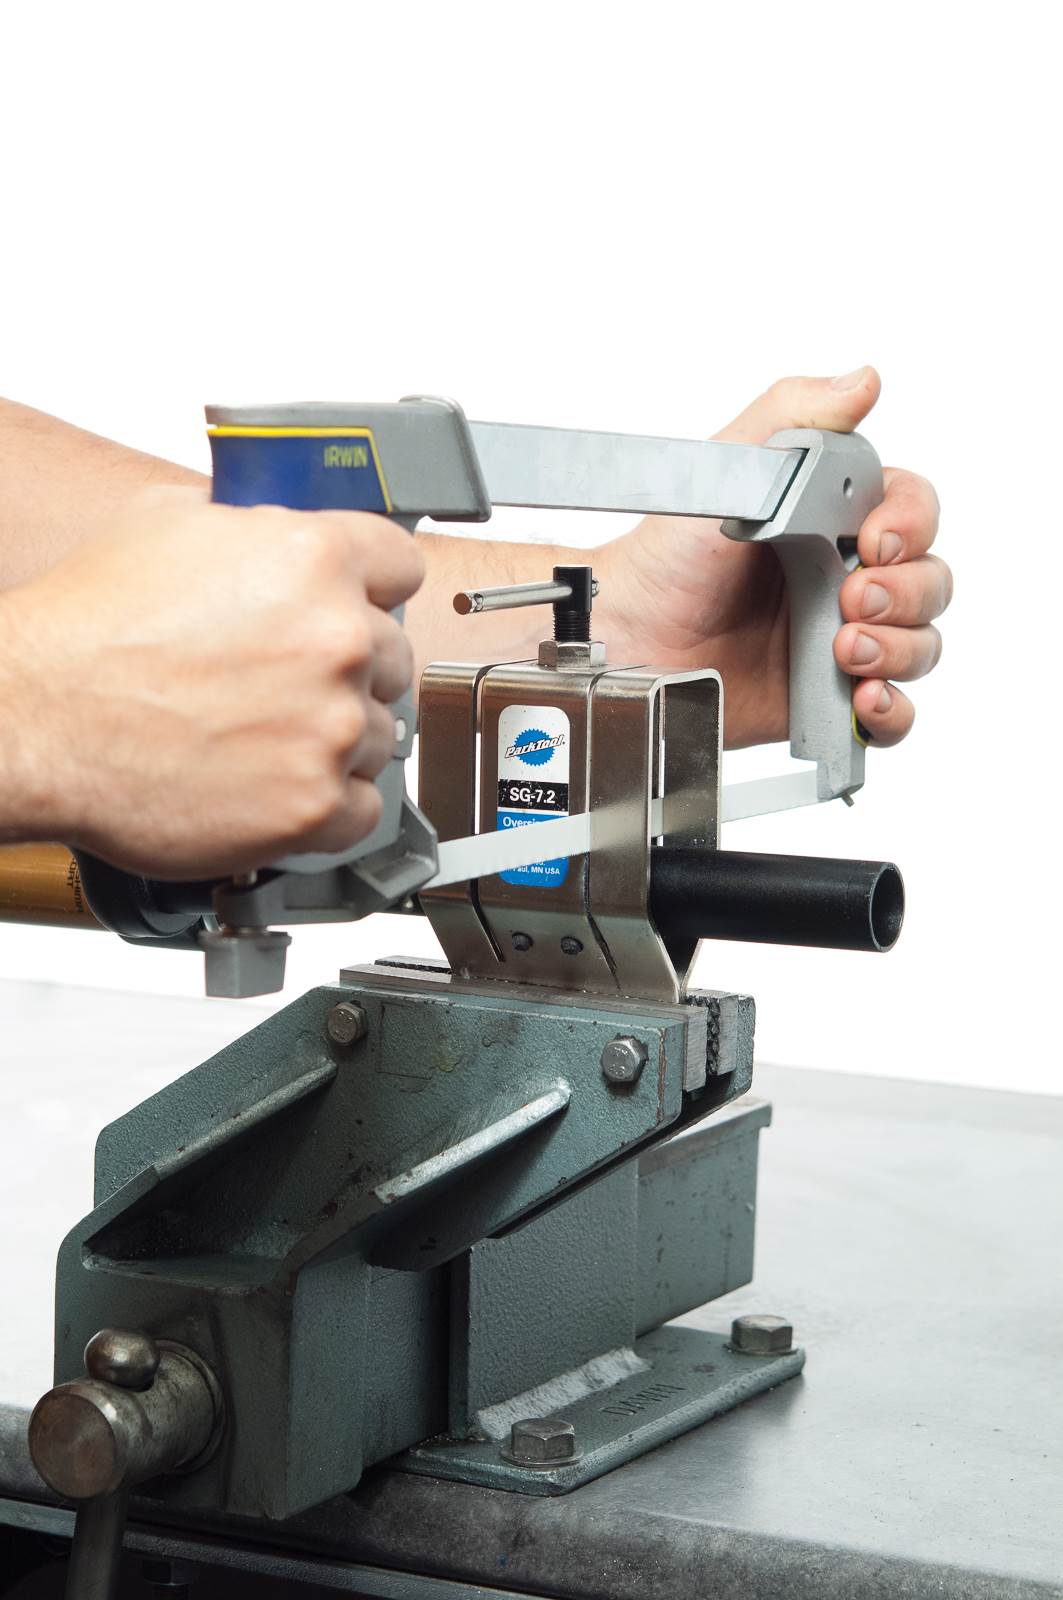
Pop the fork into a cutting guide and cut 2-4mm below your scribe mark. Always be careful taking the fork out of the guide. The last thing you want to do is dump all of the metal filing onto your brand new dust seals. I would pull the fork out of the guide slowly and turn it upside down over a bin straight away, giving it a few light taps with my hand to dislodge any filings. I would then give it a wipe with a rag as a final clean.
STEP SEVEN
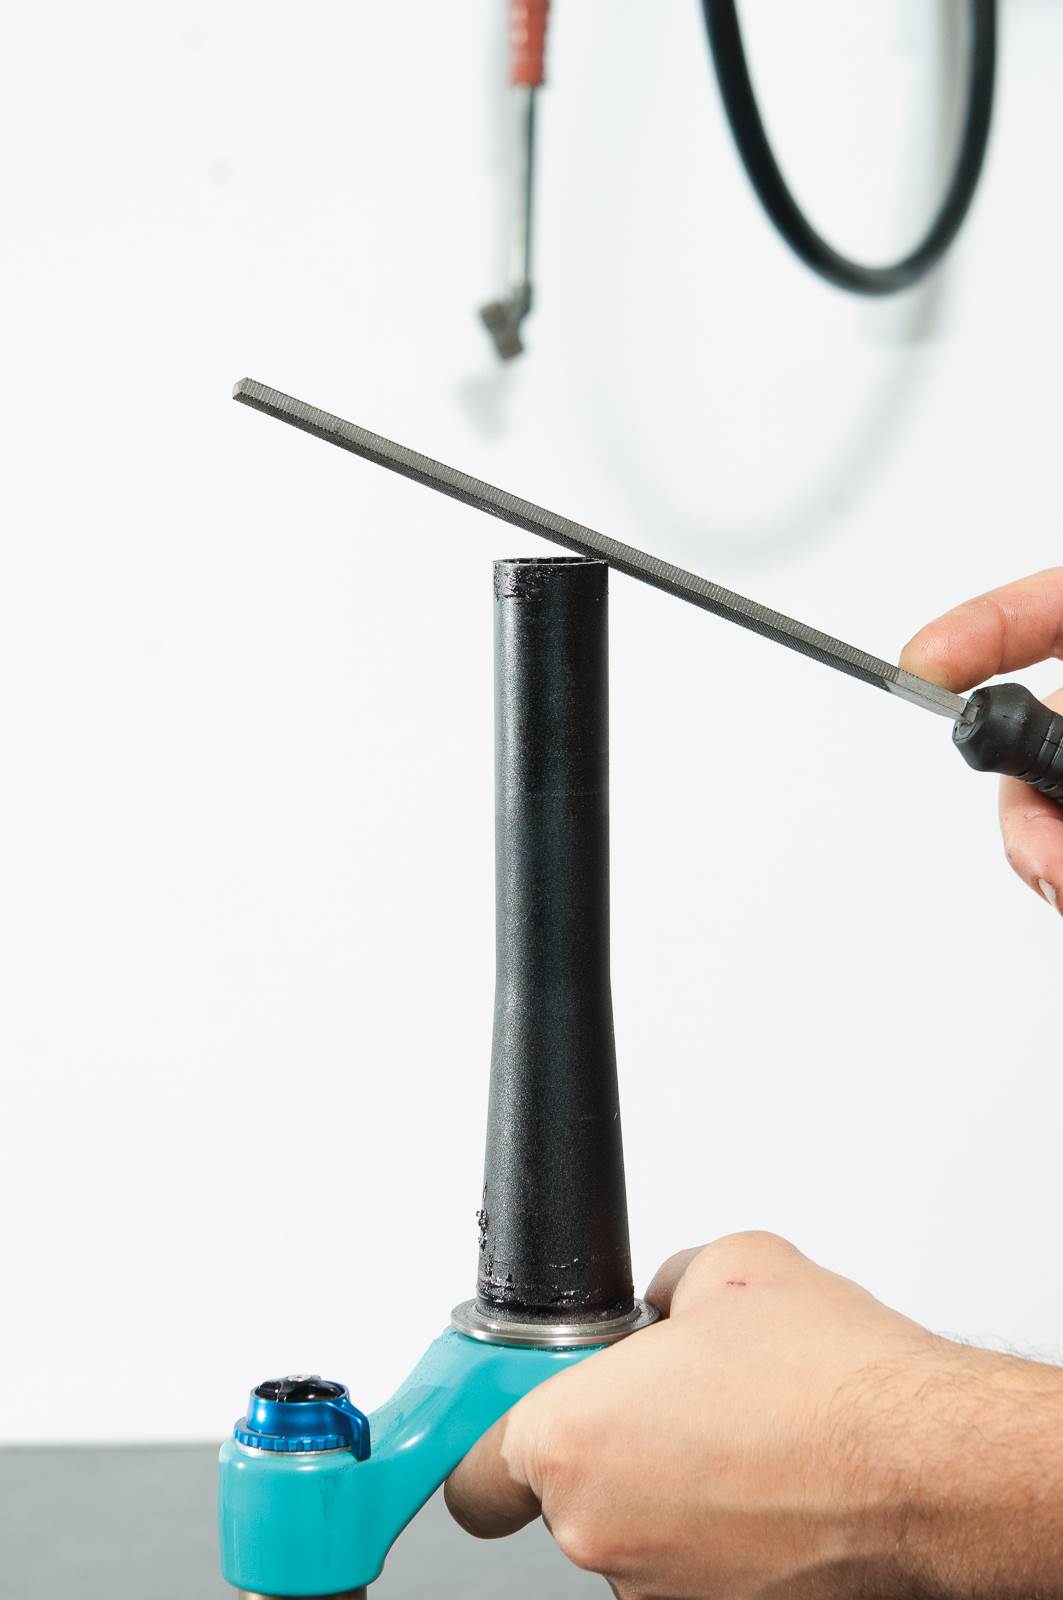
Grab a file and clean up any burns around the cut, inside and out of the steerer. This also produces filings, so be careful!
STEP EIGHT
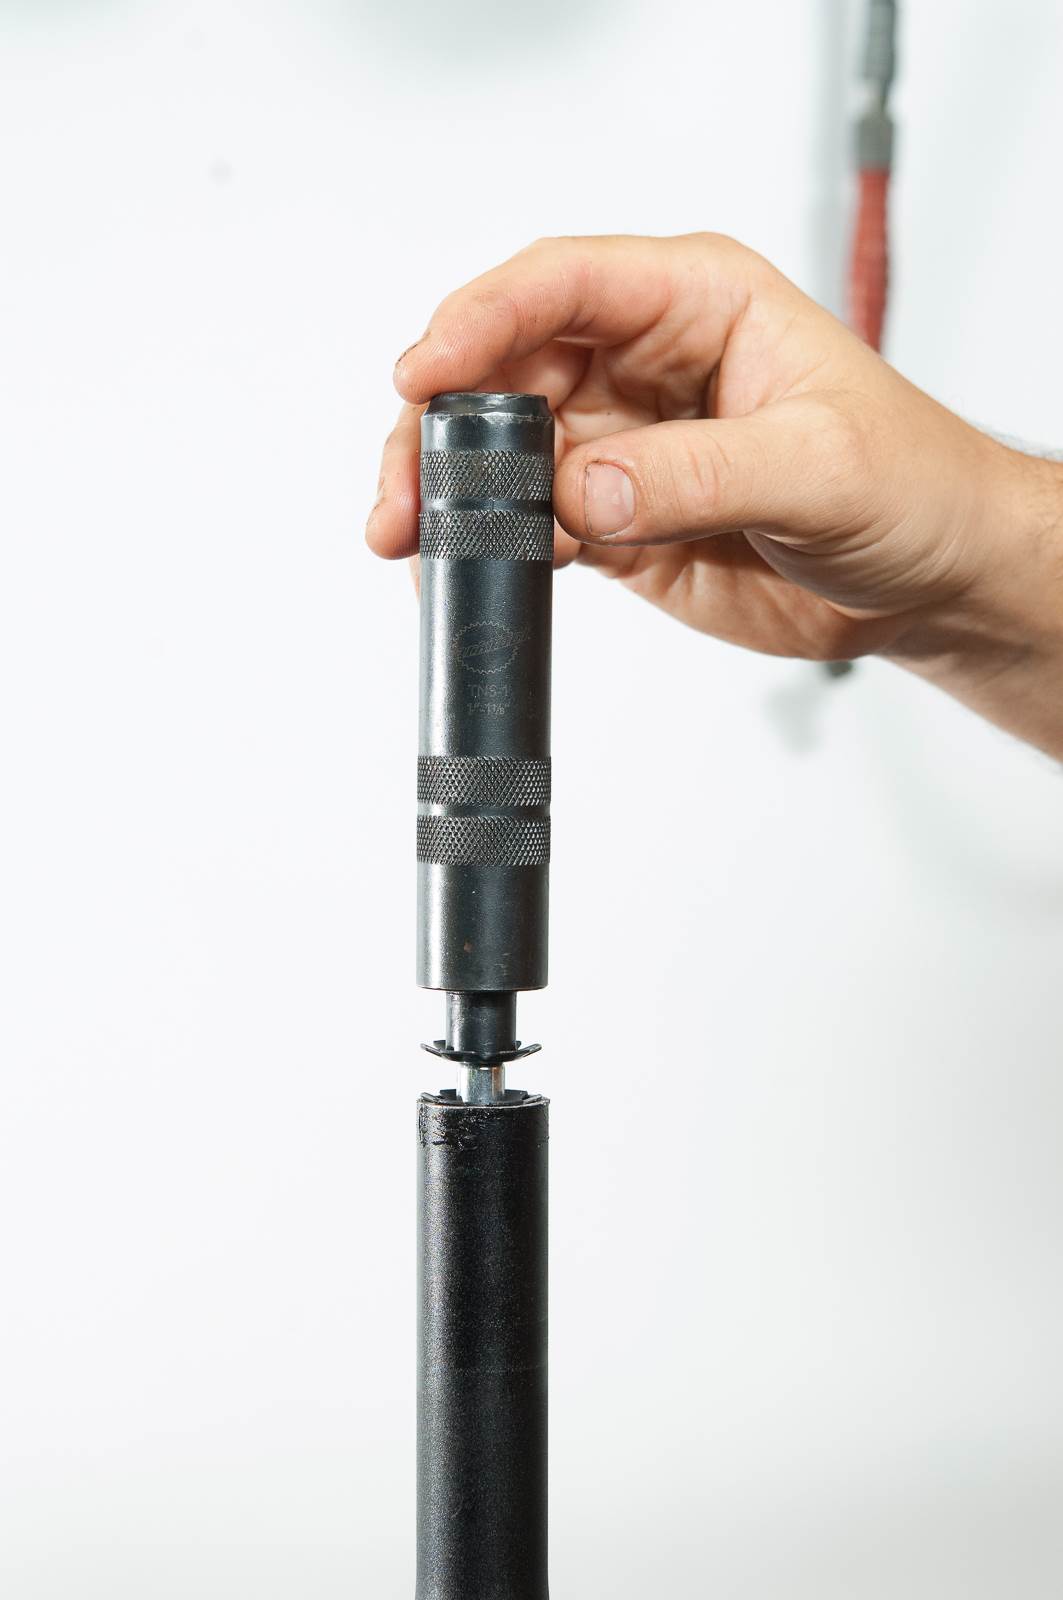
Now you need to fit a star nut. These are for alloy steerers only. If you’re fitting an RS1 or another fork using a carbon steerer you must use a compression plug. Using the correct star nut tool, hit the star nut in – making sure it goes in straight and to the correct depth.
STEP NINE
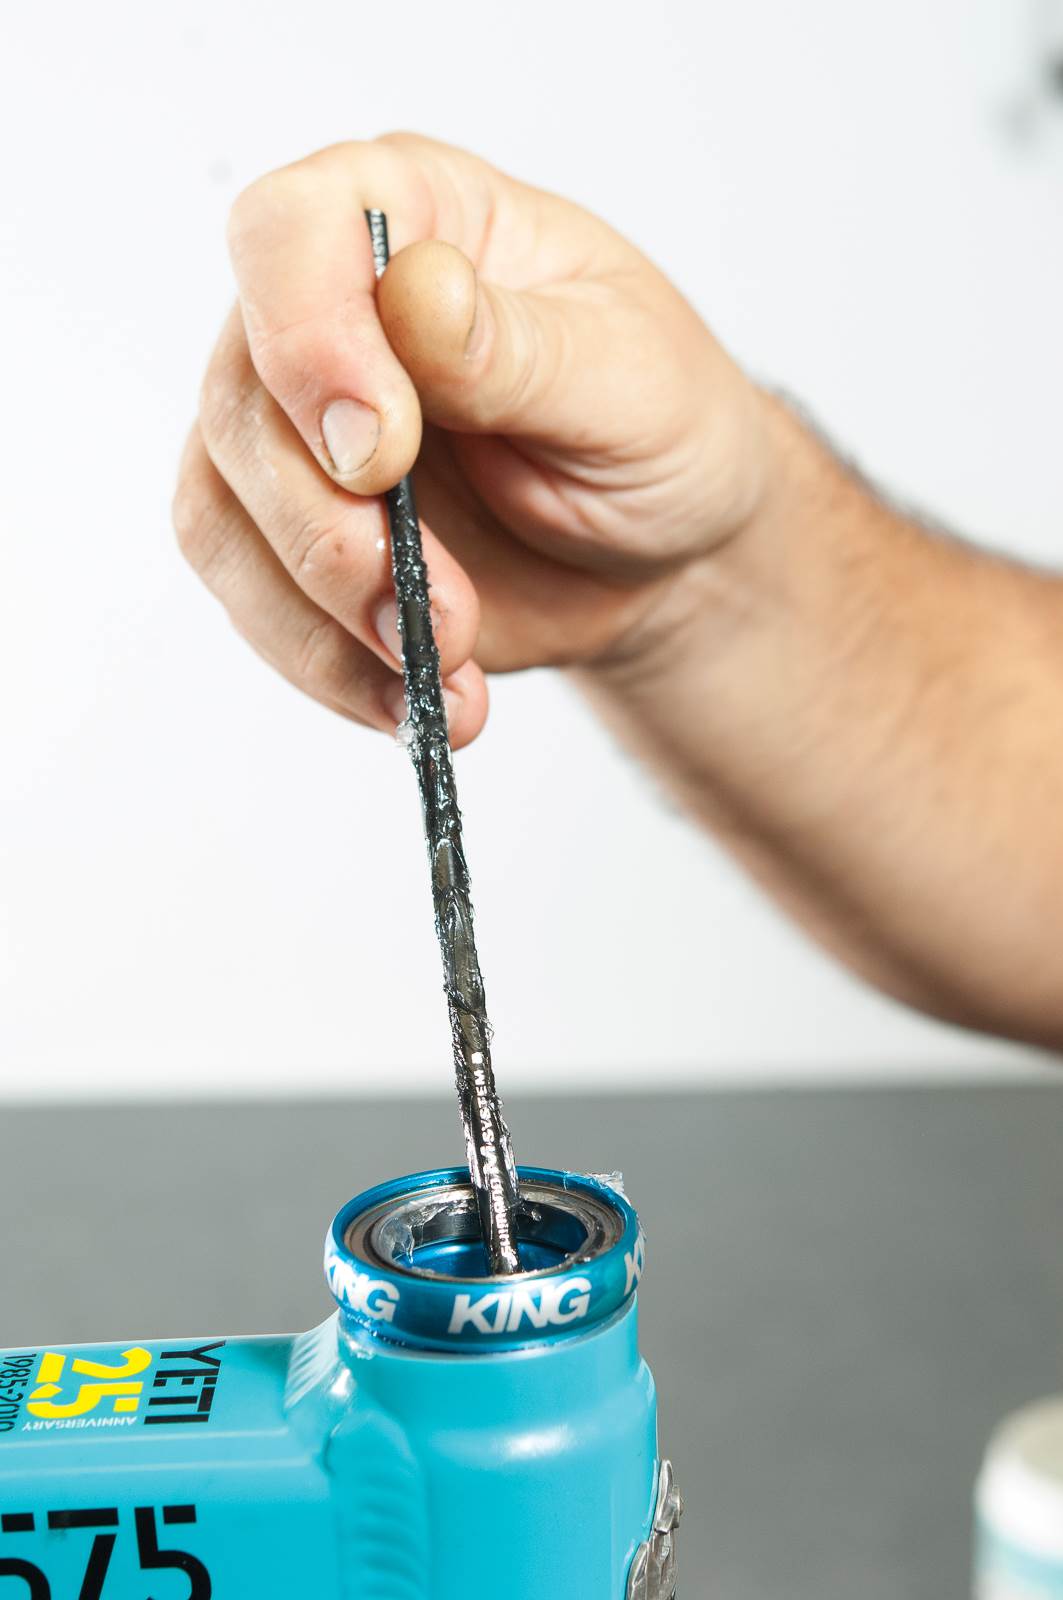
Lightly grease all contact surfaces on the headset. And slide the headset together according to the manufacturer’s instructions. Pop your spacers and stem on in the configuration you require. Grab your top cap and thread it into the star nut.
STEP TEN
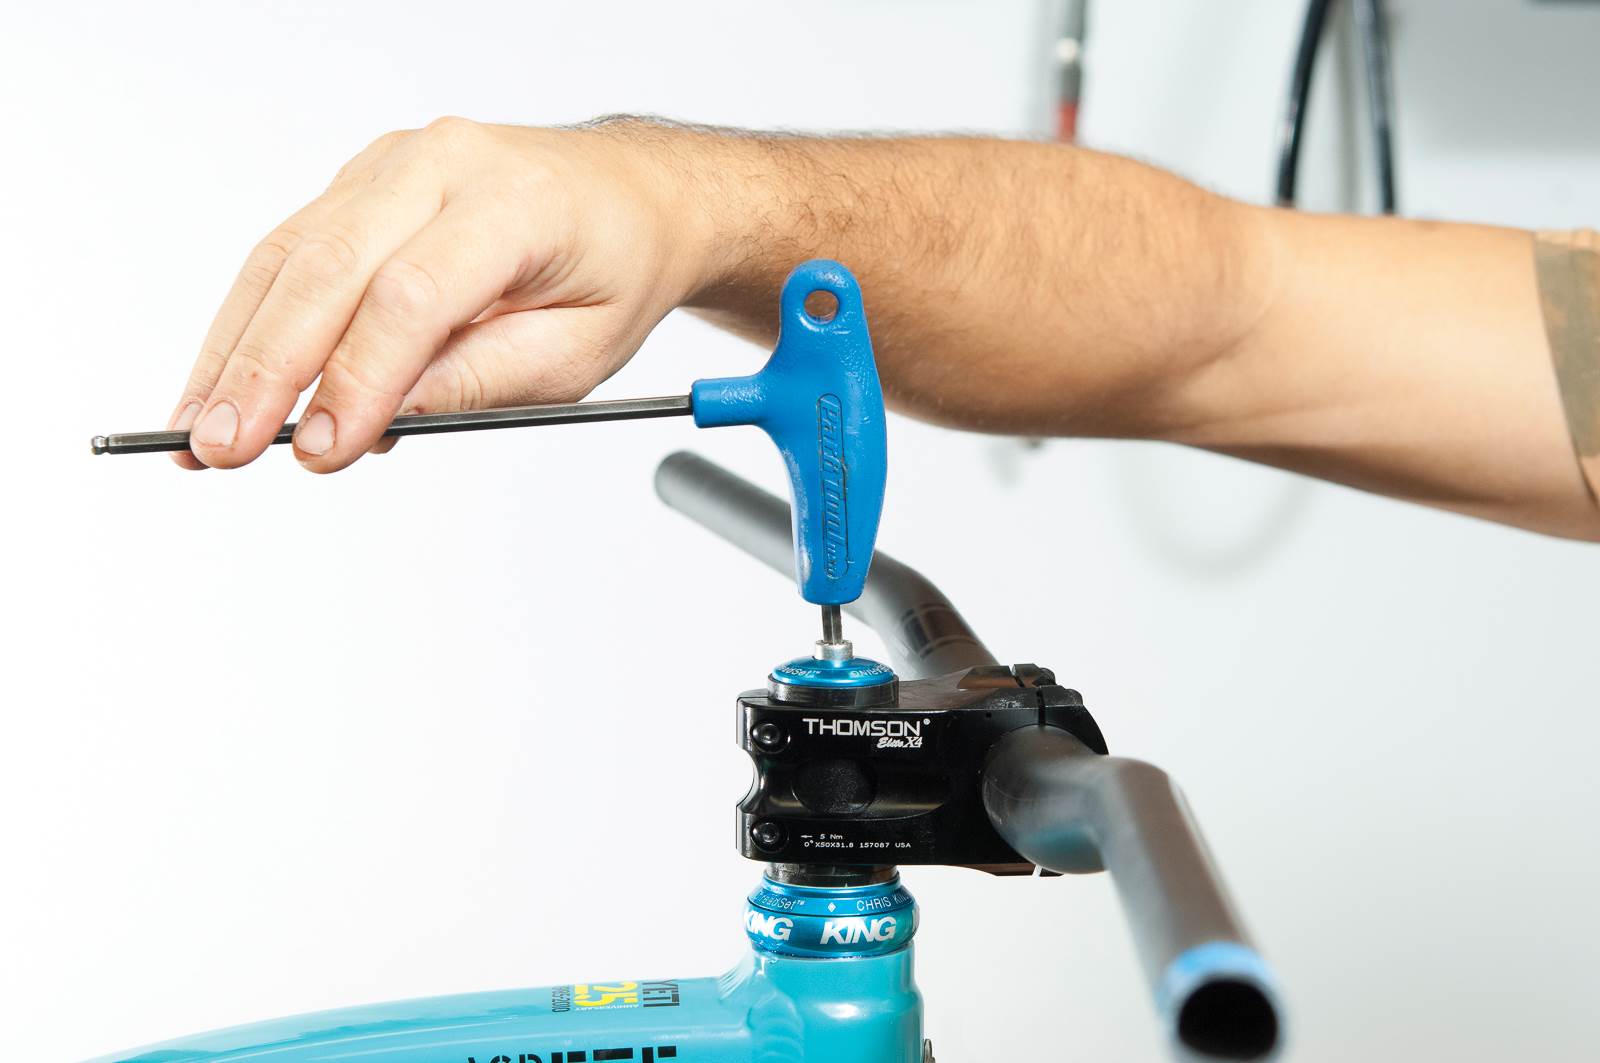
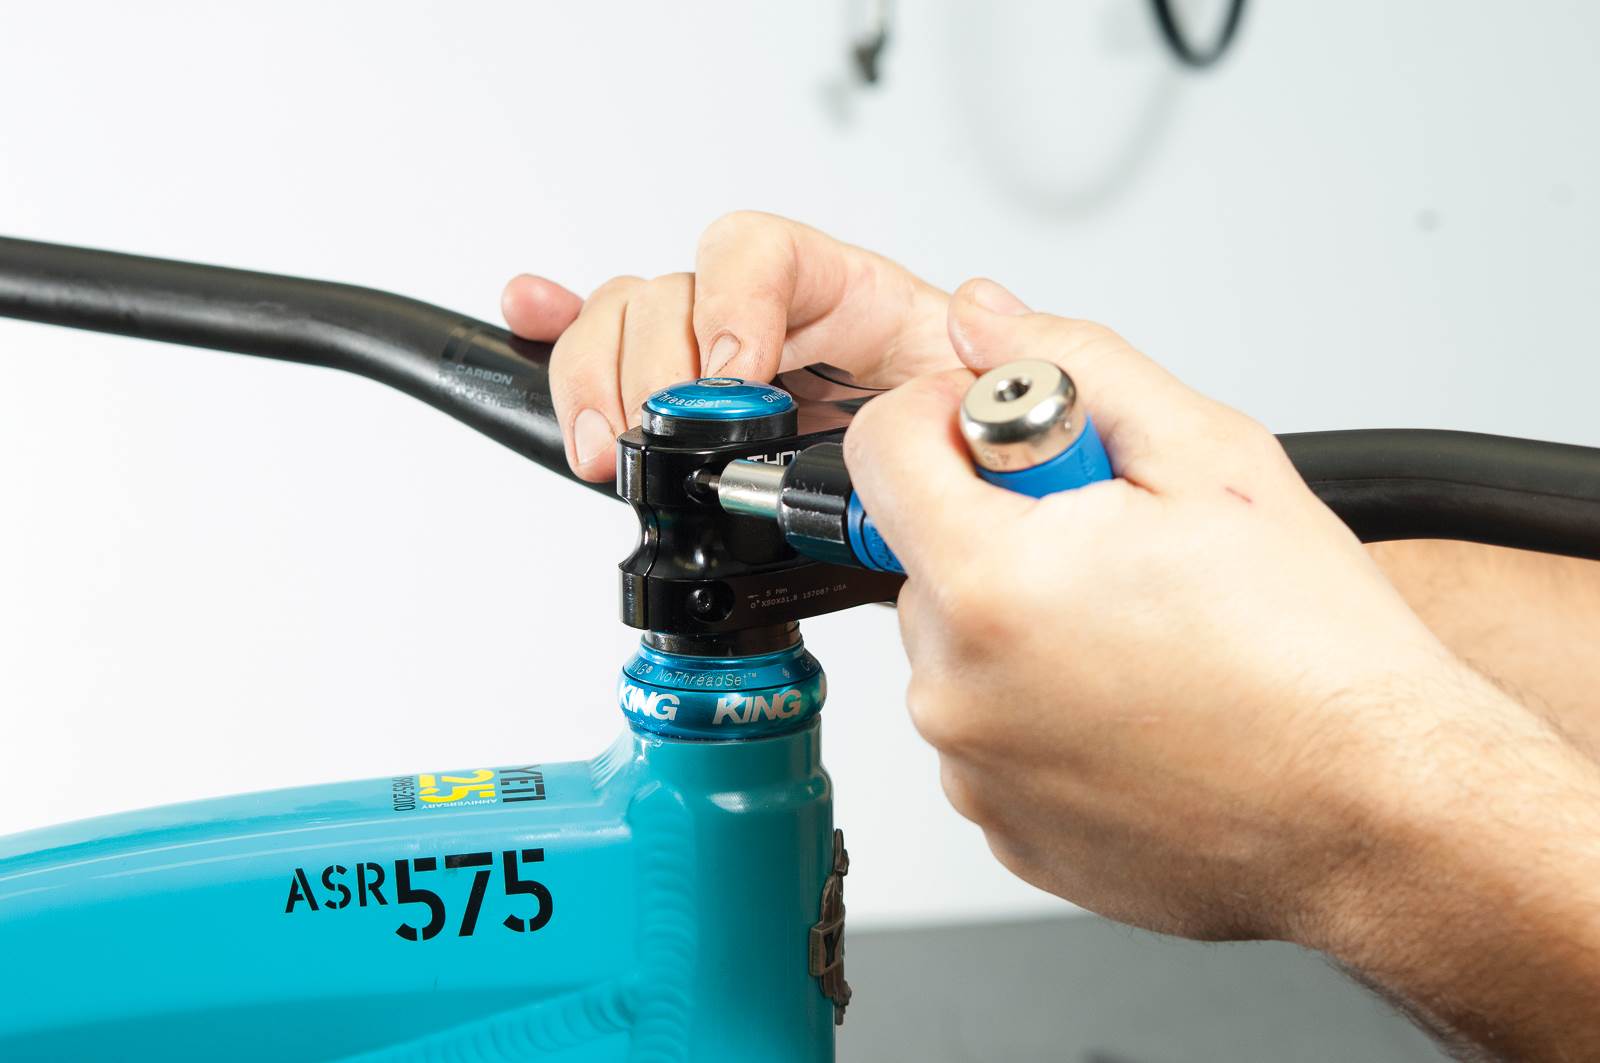
You now need to tighten the headset. This is done by feel. You want to tighten up the top cap so that the headset is tight enough not to have any movement, but loose enough to spin freely. Once you find this spot, make sure the stem is aligned and tighten up the stem bolts to the correct torque.
You’re now ready to setup your new fork and get out riding!
