WORKSHOP: How to make your bike feel like new
Keep your bike clean running smooth and quiet with advice from Australia's top experts
Winter has gone and the days are getting longer with daylight savings just around the corner, so post-work rides might be back on the cards without needing to throw some lights on your bike – or duck out early.
If you live in a part of Australia that has a cold and wet winter, you’ll be pretty stoked to have warmer weather and hopefully drier trails. While we can adapt to the new conditions pretty easily, it is worth thinking about our bikes – they might have had to put up with some pretty filthy conditions over the past few months. So here are some of our tips, and some from the pros, to get your bike feeling like new again.
Clean your bike like a boss
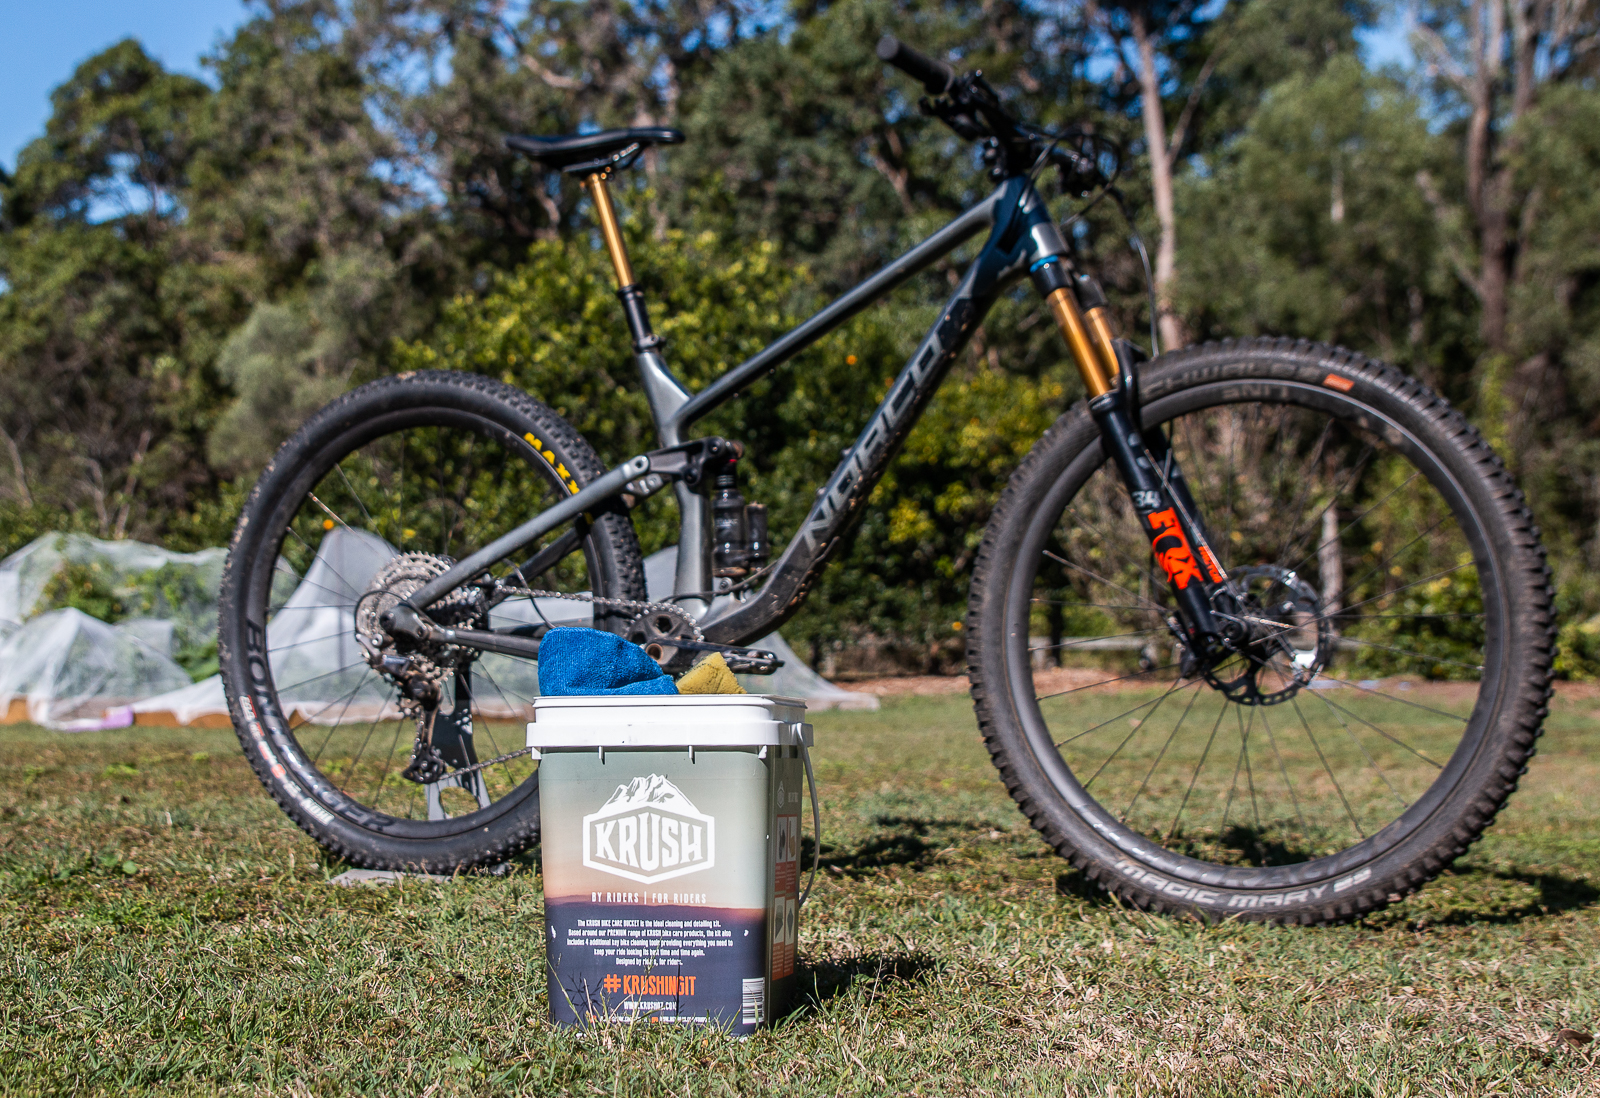
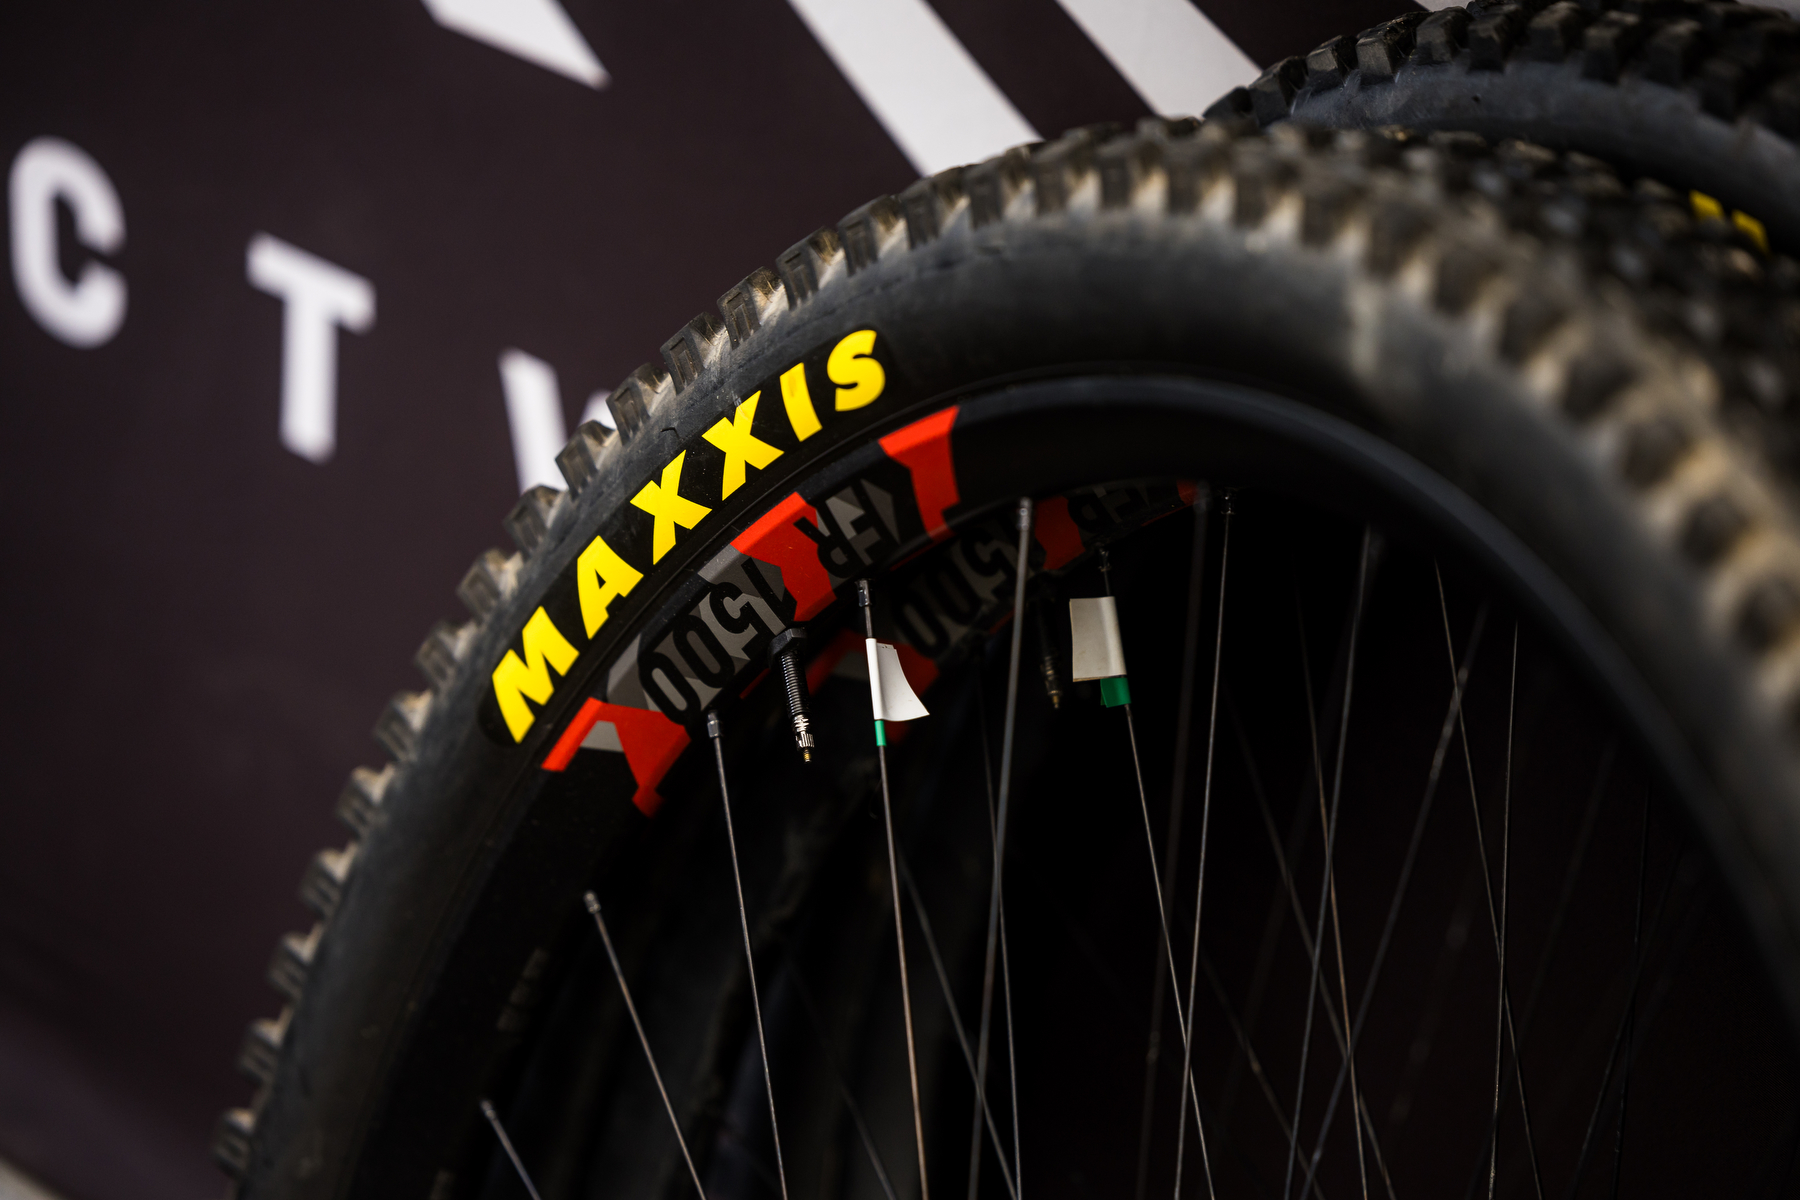
Getting your bike clean should be the first step before any further maintenance – especially if you’re taking it to your local gun mechanic to work on it. While there are those who say never use water, a proper wash with a bucket is required to really shift grime.
The range of products from Krush are a great place to start, especially as they are designed to be used on bikes. Sure, go top up on microfibre cloths and the like from an auto shop, but be wary of their spray on, wash off cleaners, degreasers and even tyre shine. Products made for cars and trucks can just be a bit full on for bikes!
Step 1
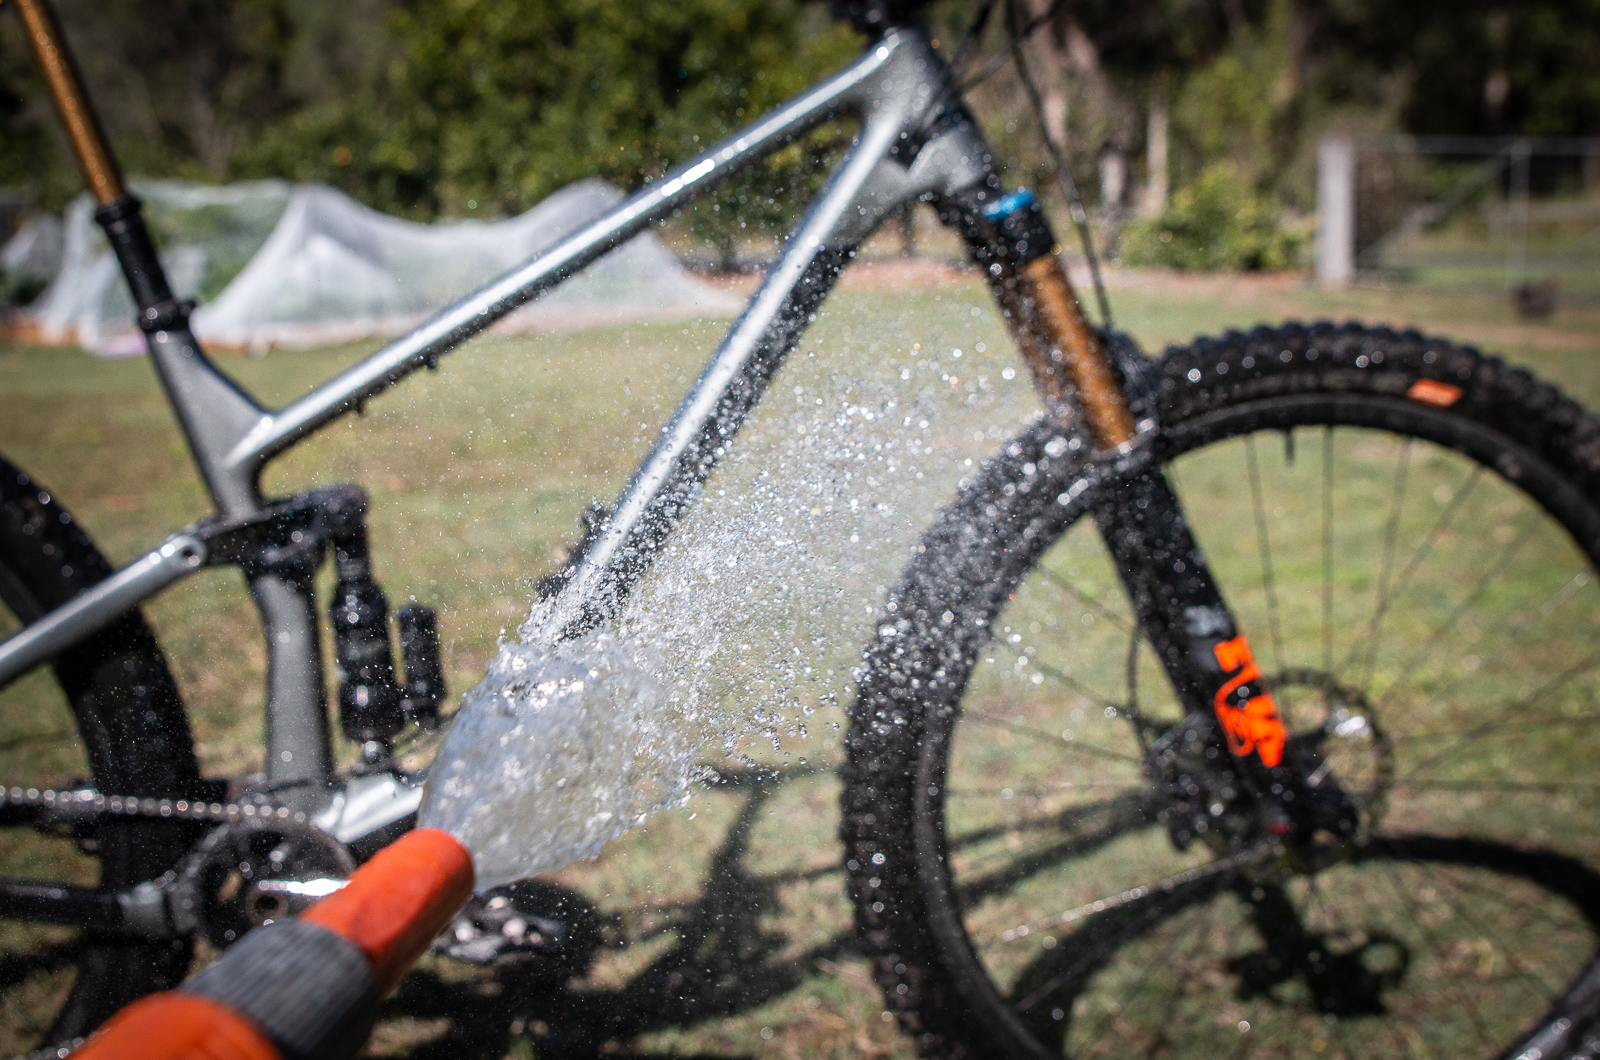
Give your bike a low pressure rinse down with the hose. No need to get up close and don’t blast any bearing locations.
Step 2
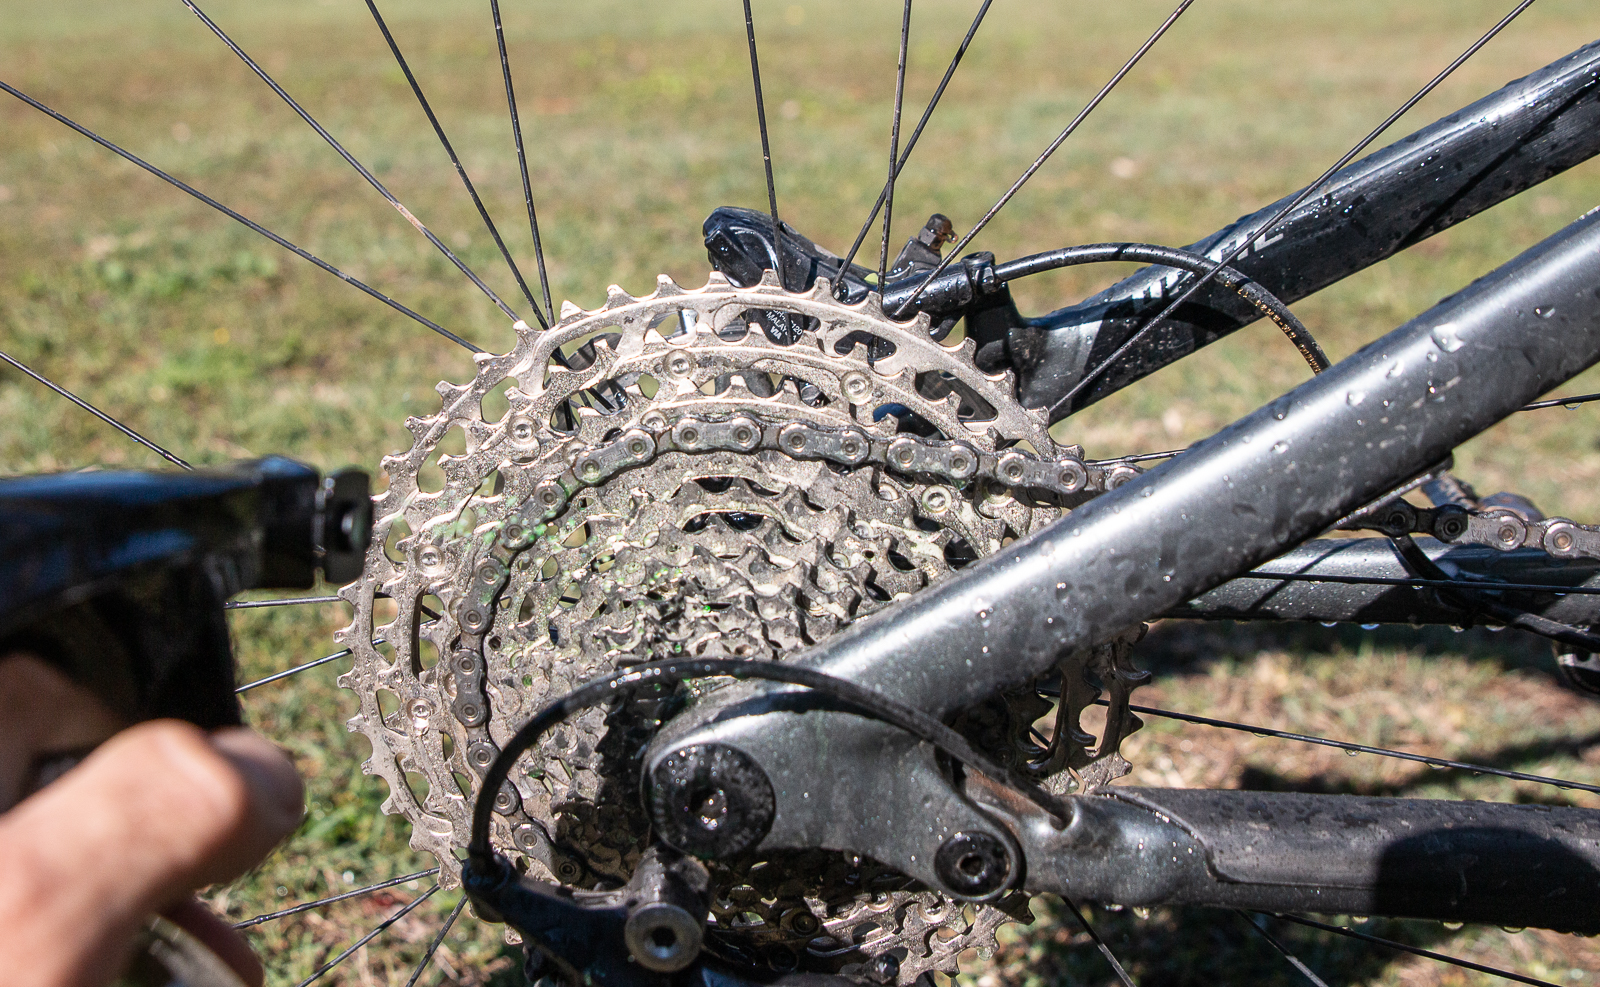
Spray on some Ultra Drive Train Degreaser – just on the chain, cassette, chain ring and jockey wheels. Scrub those parts with a brush, or a even use a sponge. Just really scrub it in to all those parts.
Step 3
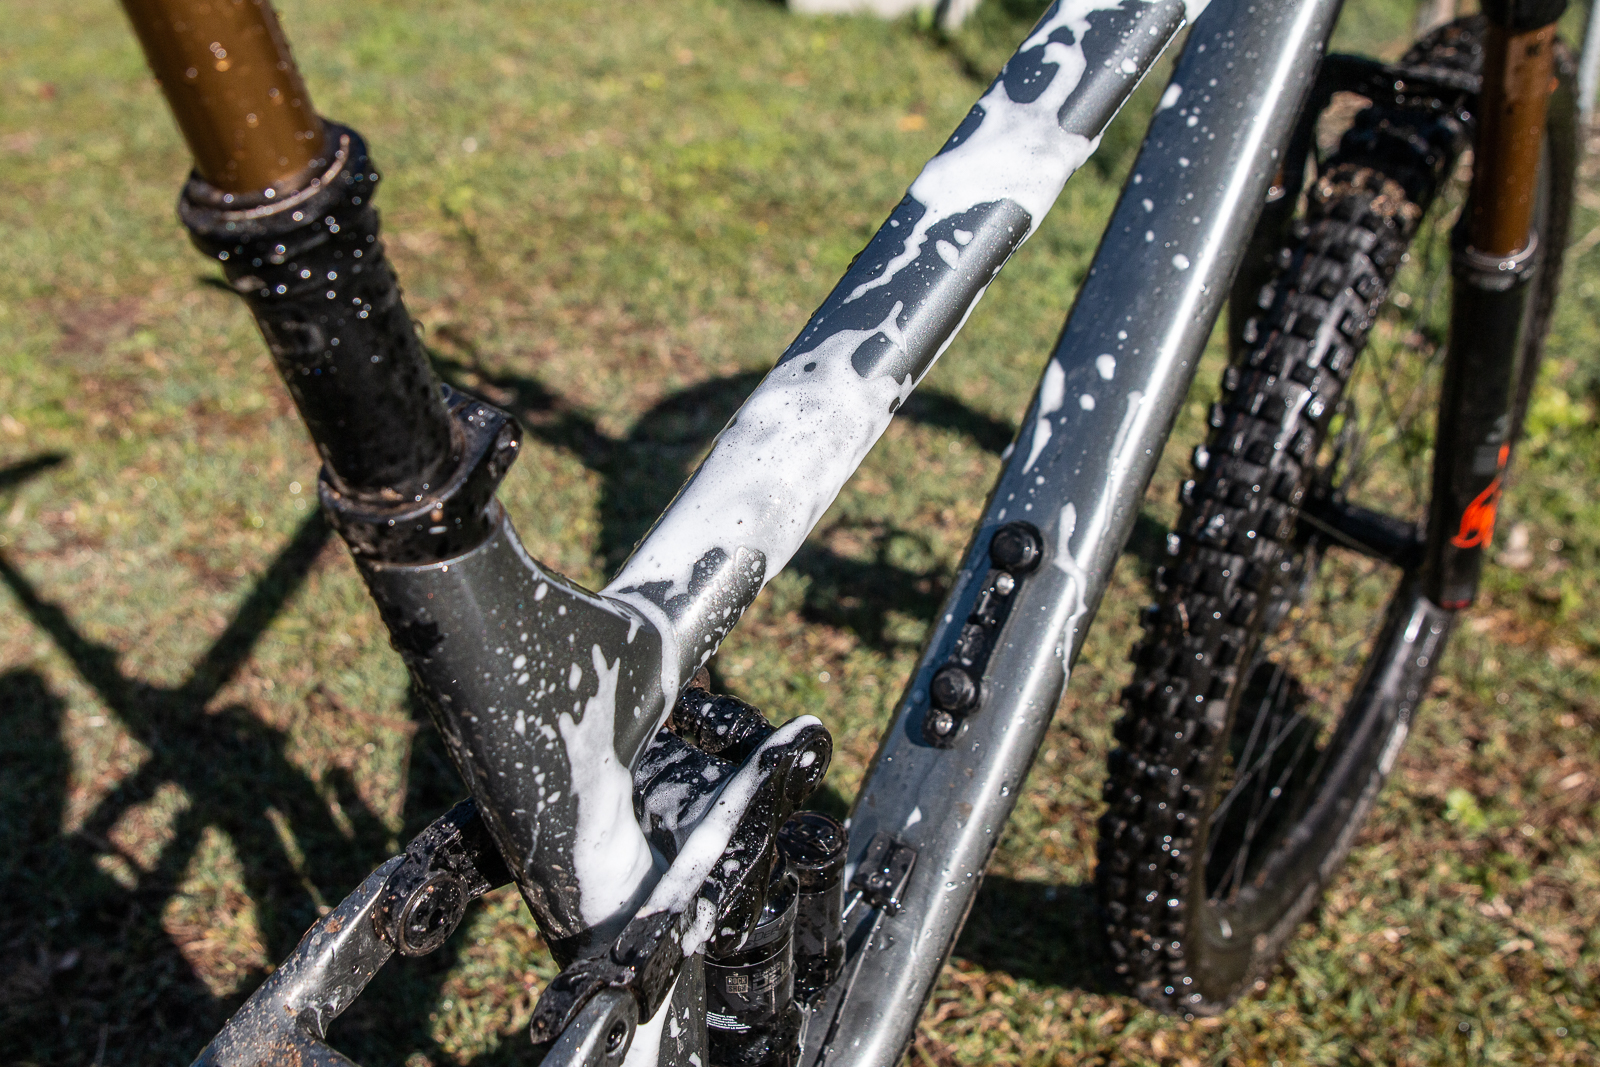
Give everything a spray with the foaming rapid wash. Like the degreaser it helps to have the bike a bit wet already.
Step 4
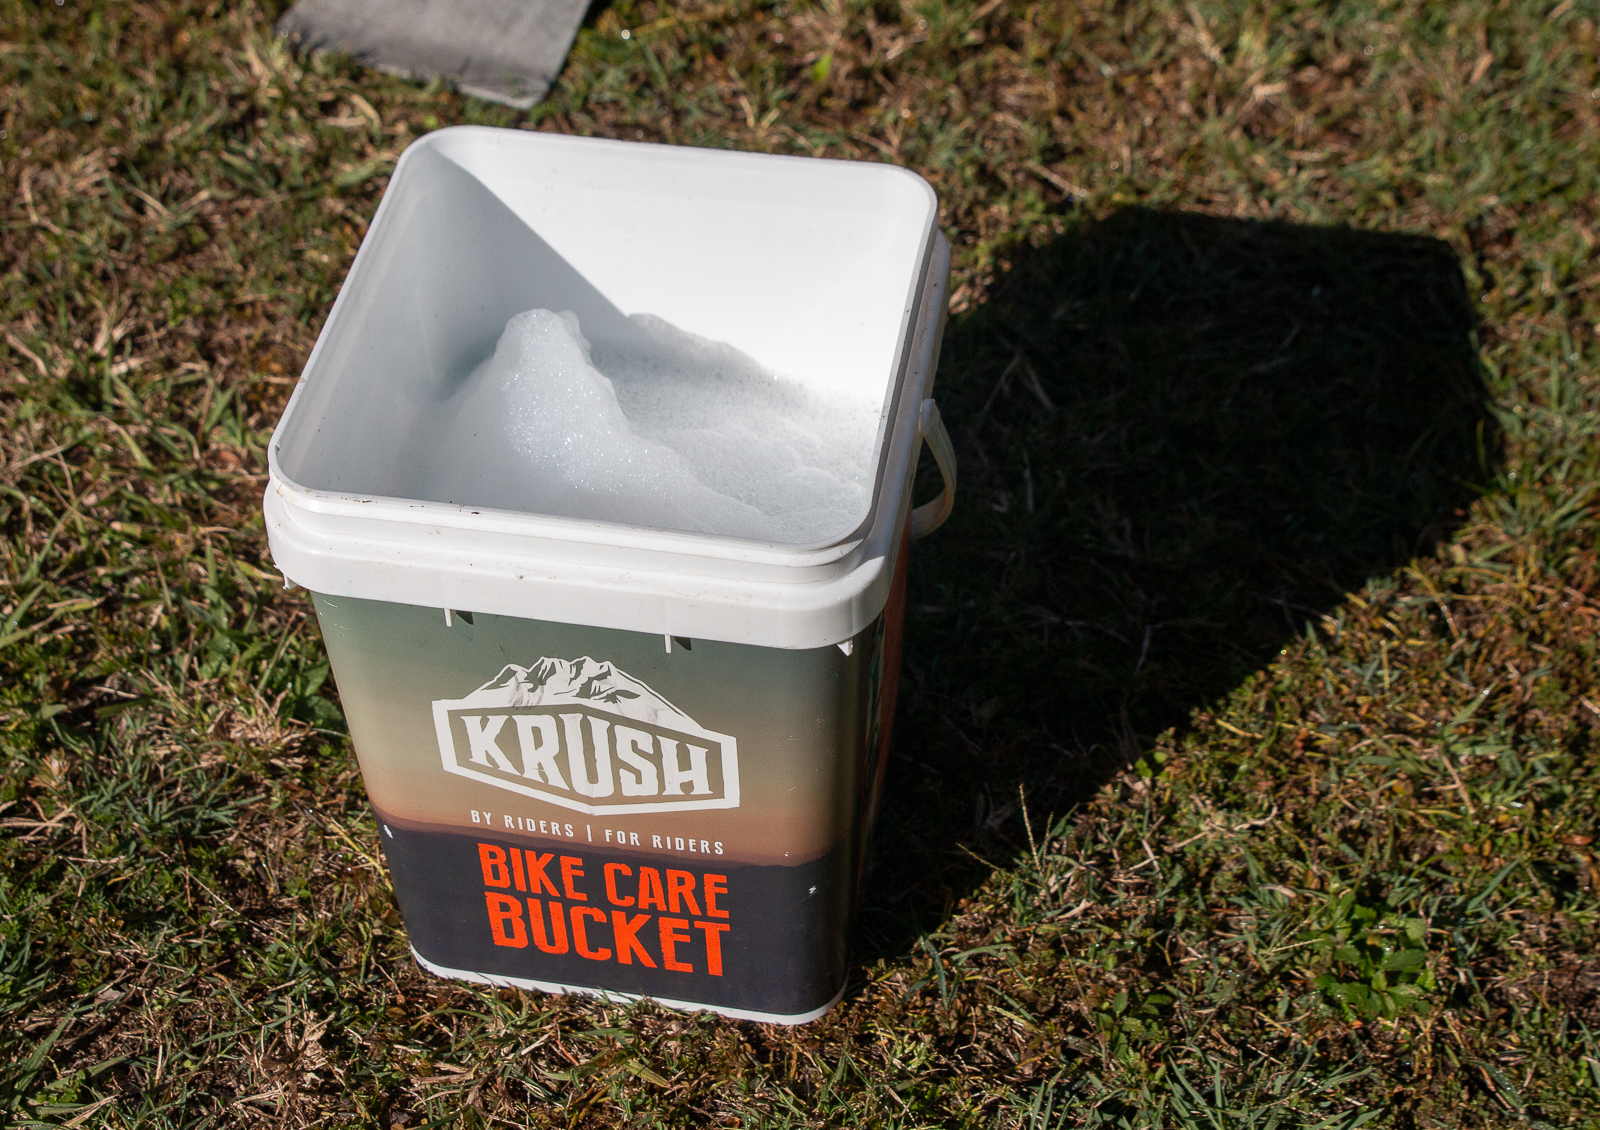
Put some of the Premium Bike Wash in a bucket and fill it about half way, use the included brush to go over everything except your drive train and rotors. Be thorough! Do both sides and underneath all areas. Give everything a light rinse with the hose
PRO TIP: Use an Abbey Bike Tools Wash Buddy if you have access to a workstand, to clean your drivetrain more thoroughly.
Step 5
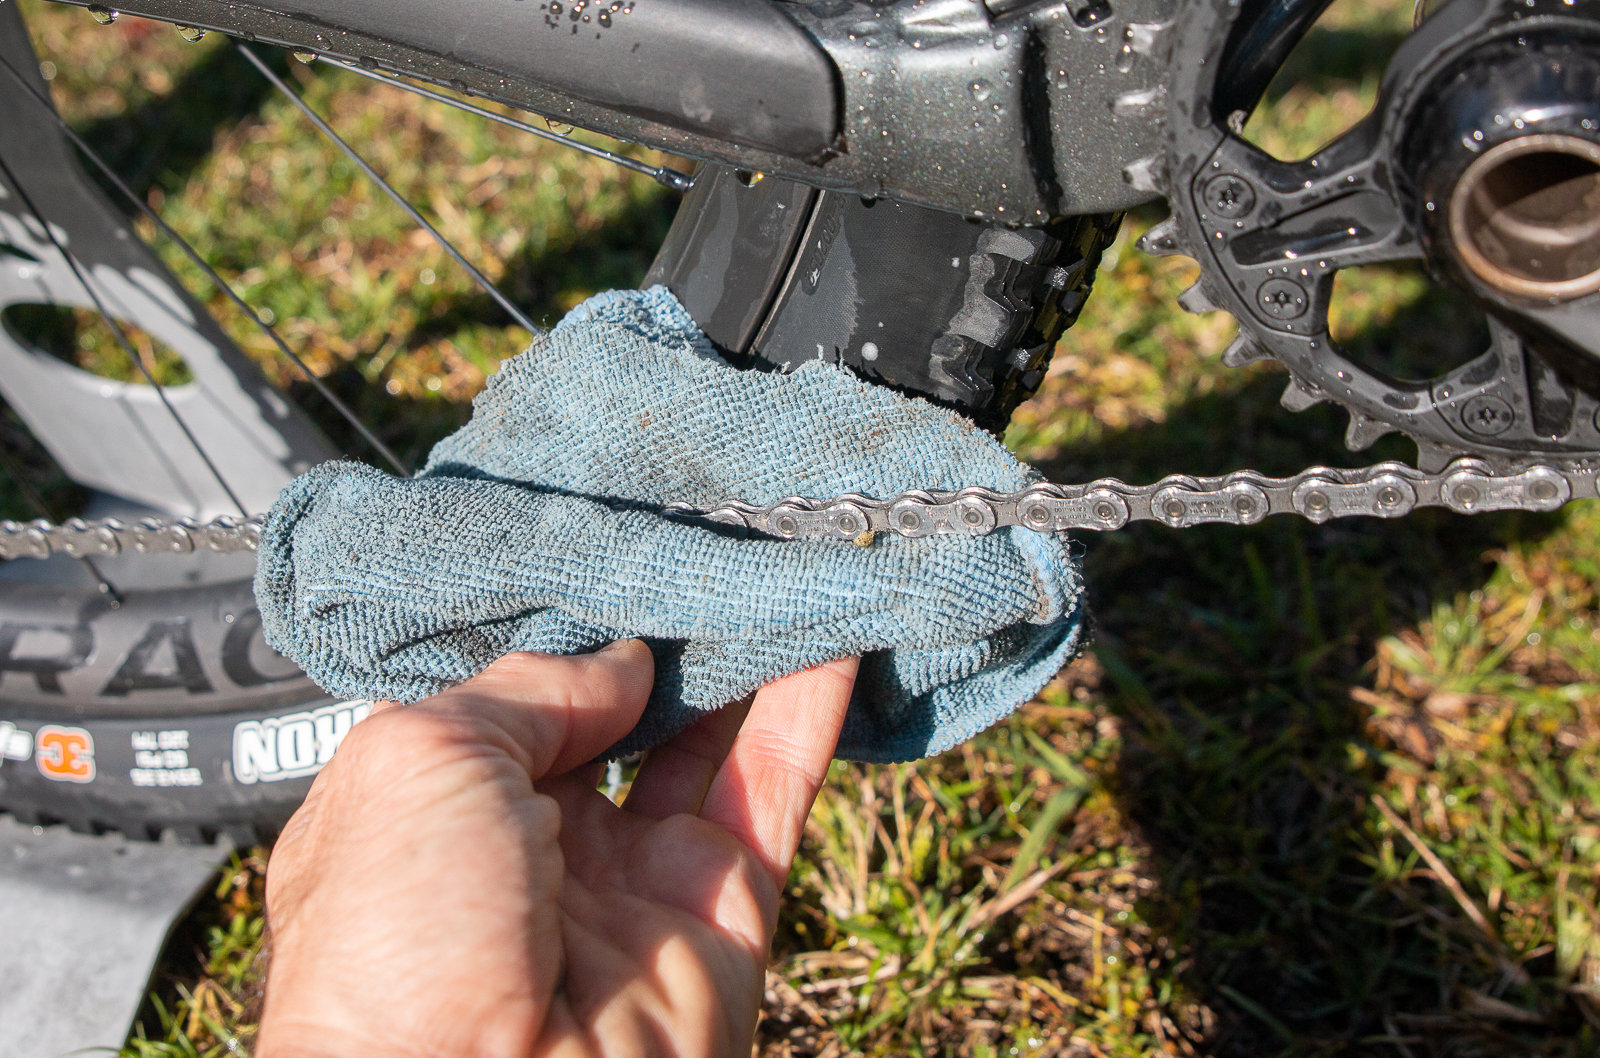
With an assortment of rags, use an old one to dry off all drivetrain items first. Get into the derailleur and around the cassette. Use the chamois in the Bike Bucket to do the frame, wheels and the rest of the bike.
Step 6
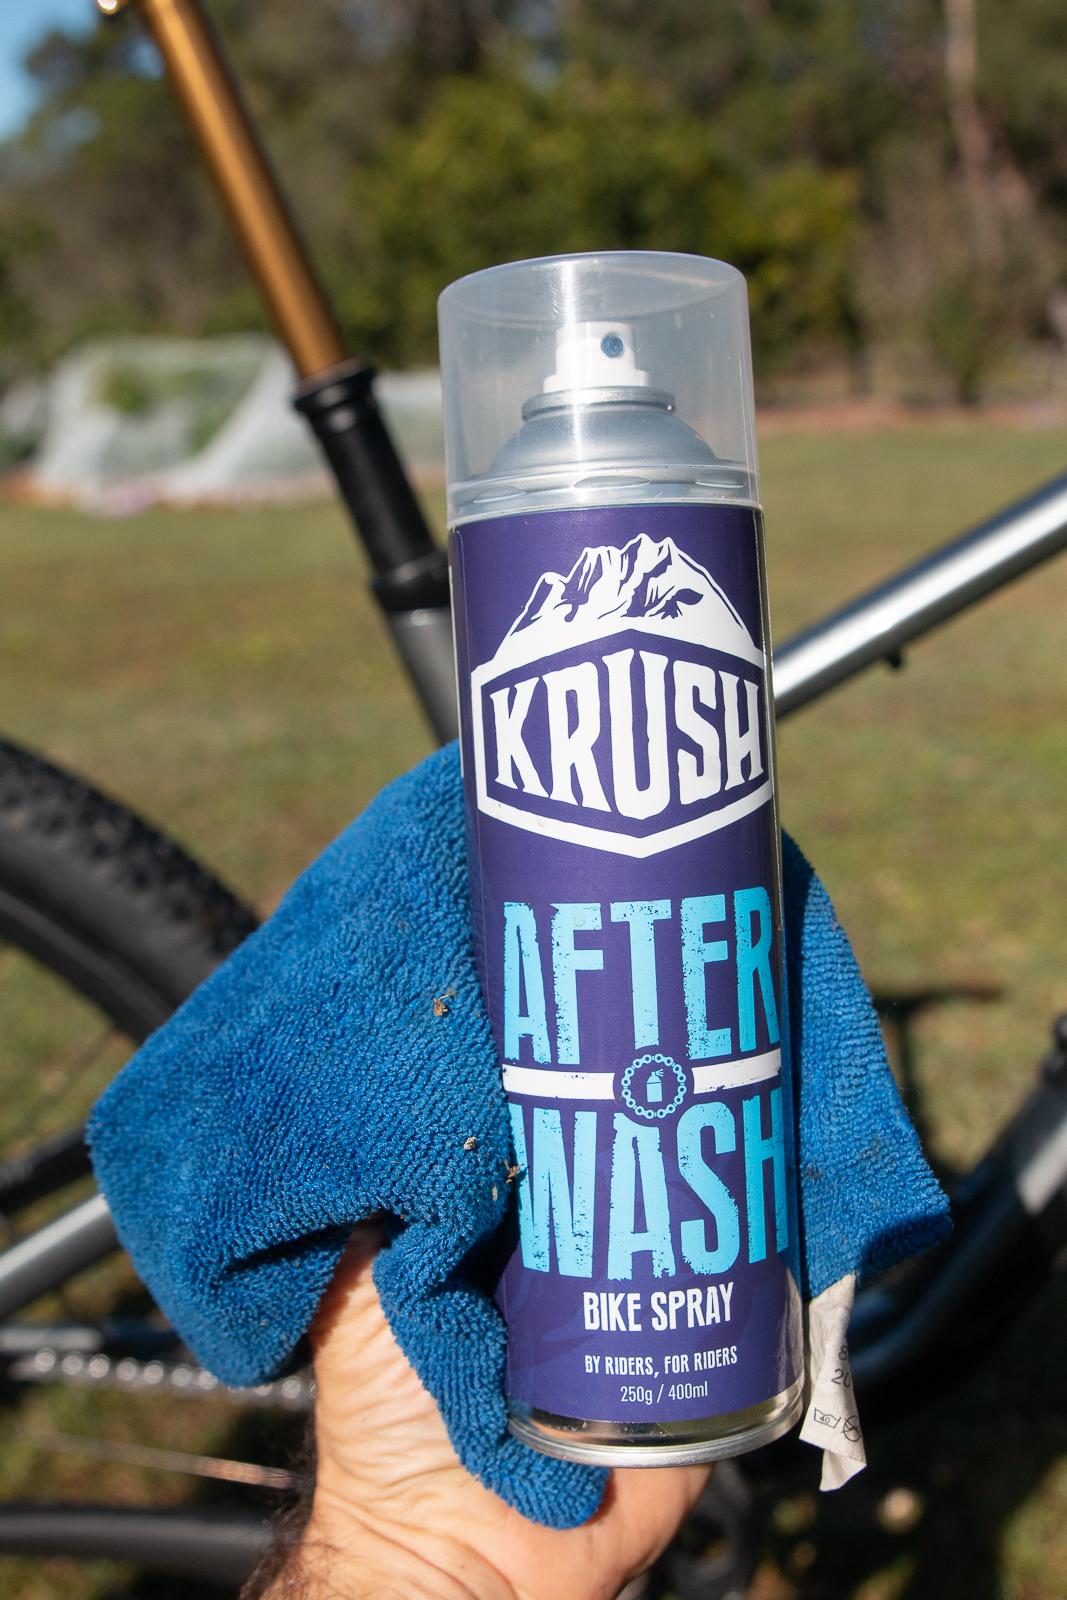
Grab some Krush After Wash Spray and spray it over the frame, forks, rims, bars, your controls and even your drivetrain. Avoid the brakes though. Use one rag to wipe off excess from controls and drivetrain parts, and another to buff the frame and other components.
Step 7
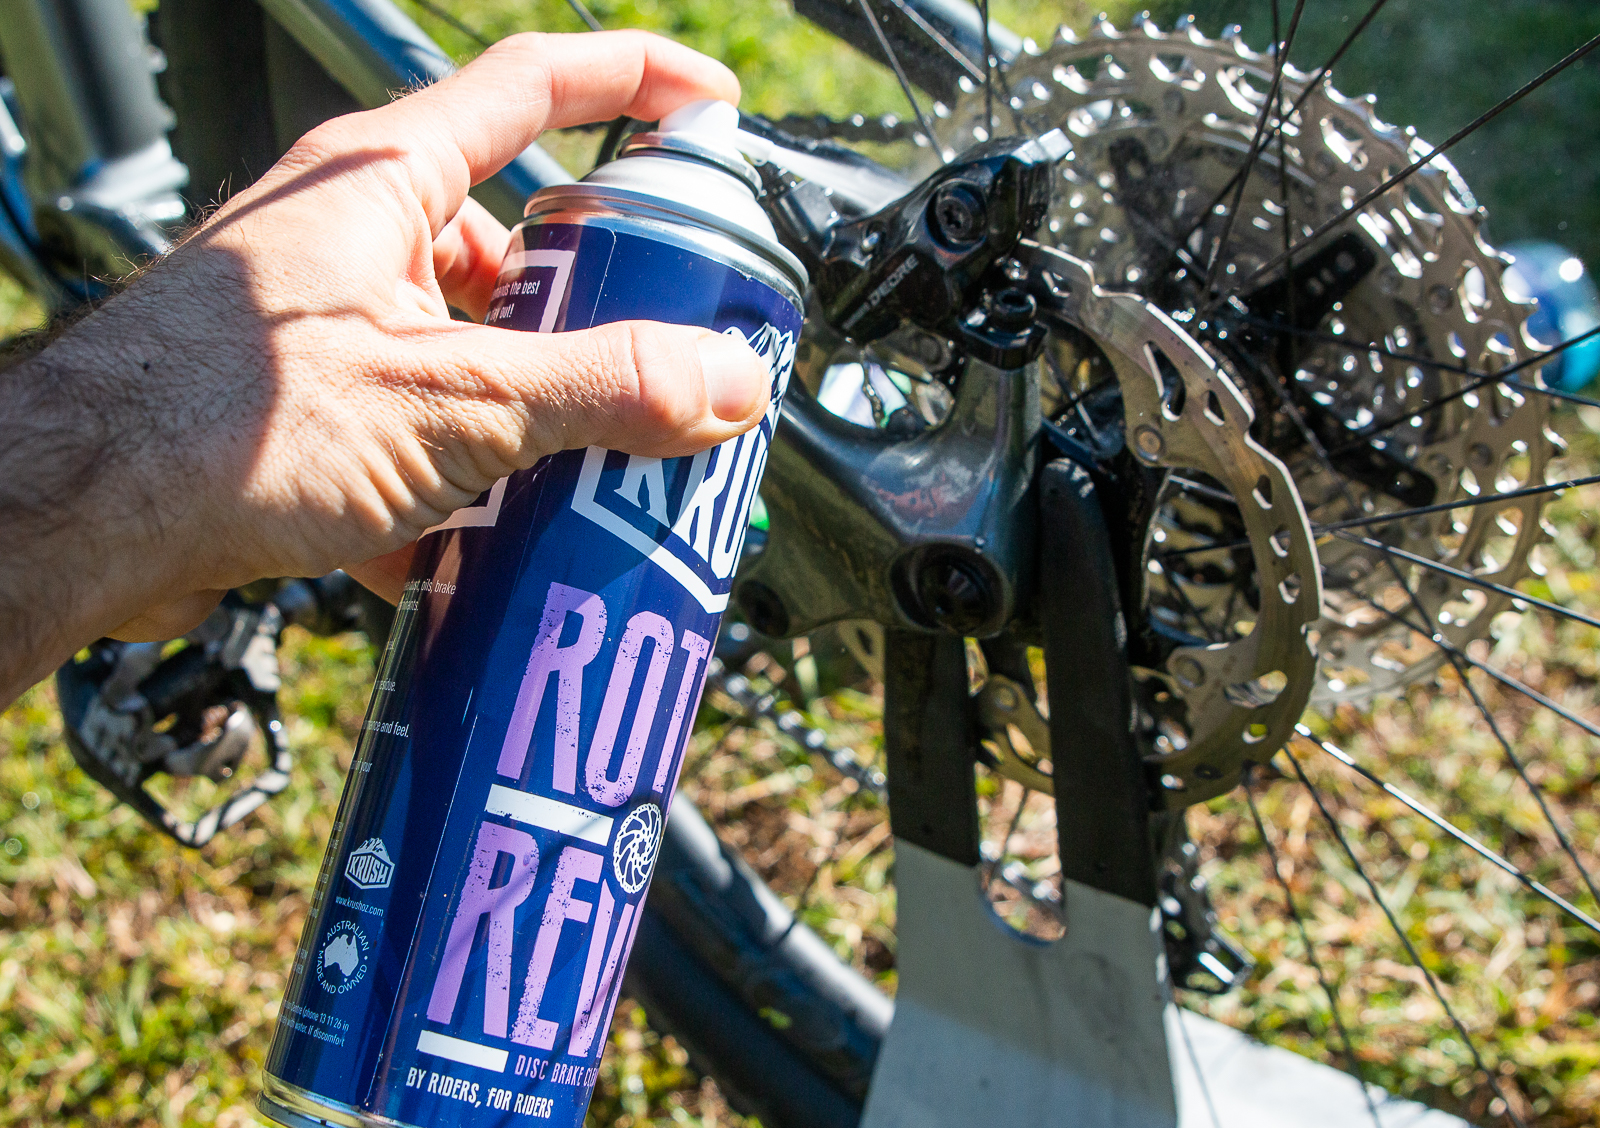
You can wash away any contaminants from the brakes and clean off the rotors with Krush Rotor Revive. For best results, wipe down the rotors with some paper towel.
Step 8
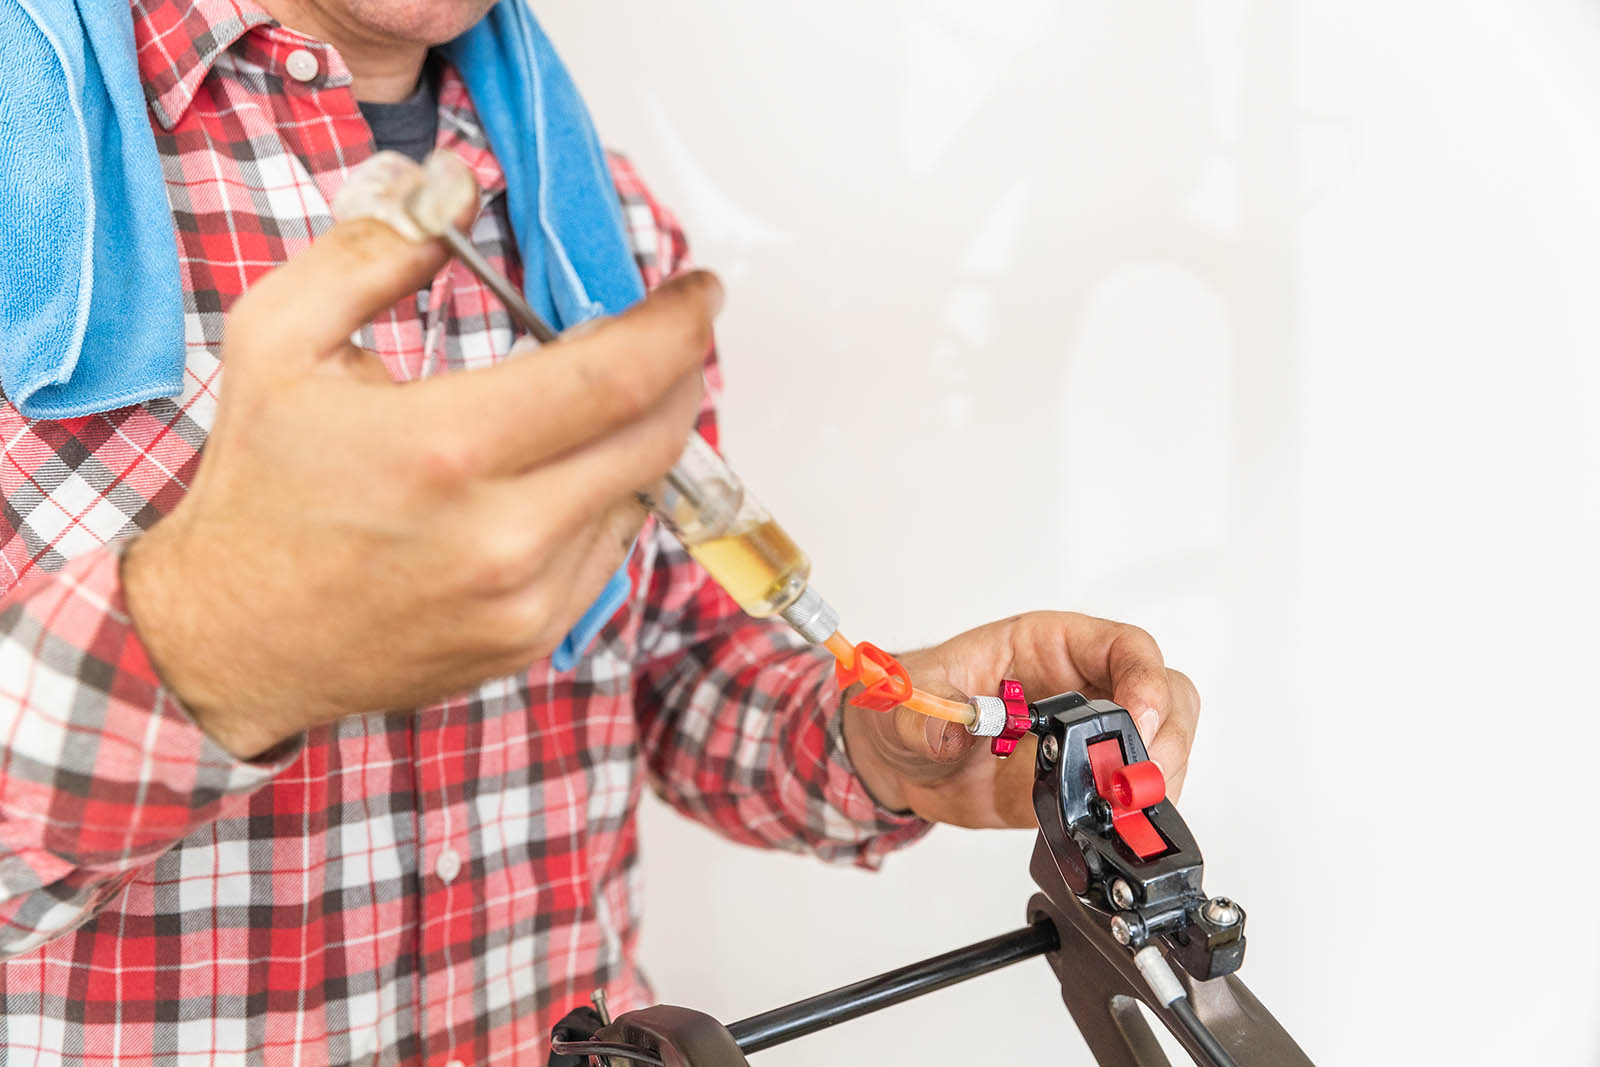
For lubrication, use your chain lube of choice. Krush Platinum lube suits a variety of conditions. Don’t forget all the small areas of your bike, a small syringe with chain lube helps get access to pedal springs, lock out levers and derailleur pivots.
Now that it’s all done, check your suspension settings and tyre pressures – and get started on any fine-tuning with the pro tips on the next page.
David Rome on keeping your shifting crips and accurate
Tool guy for CyclingTips
@romeandstuff
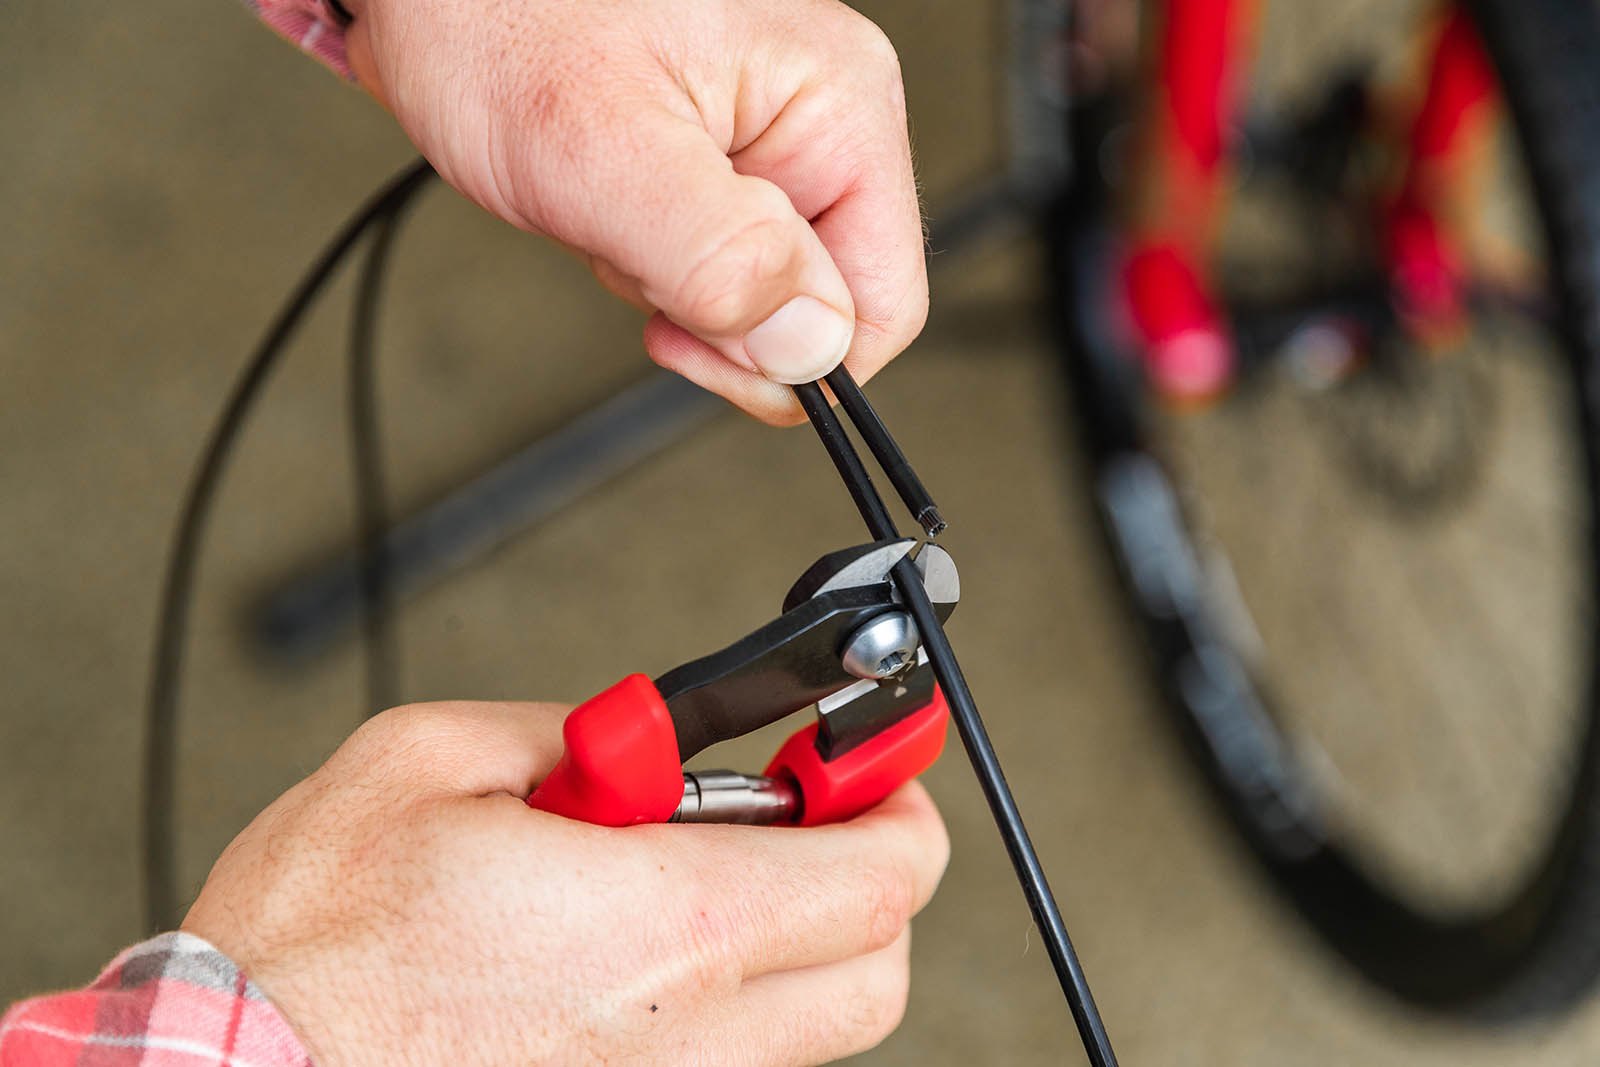
“Few things spoil a ride more than poor shifting. Replacing your gear cable and housing once in a while will go a long way to keeping your shifts snappy and light action.”
“It’s a good idea to check whether your derailleur hanger is straight, those things can go out of shape pretty easily. You’ll need a special tool, but they’re a sound investment.” (NO IMAGE)
“That humble chain deserves some love. Those 118-or-so links of chain go through hell with every pedal stroke, and over time wear will cause the distance between each link to lengthen (aka, chain stretch). This wear stops the chain from sitting at the base of the cog and instead it’ll ride up, and wear, the edges of the cog teeth. Eventually you’ll get the dreaded chain skip and an expensive cassette to replace.”
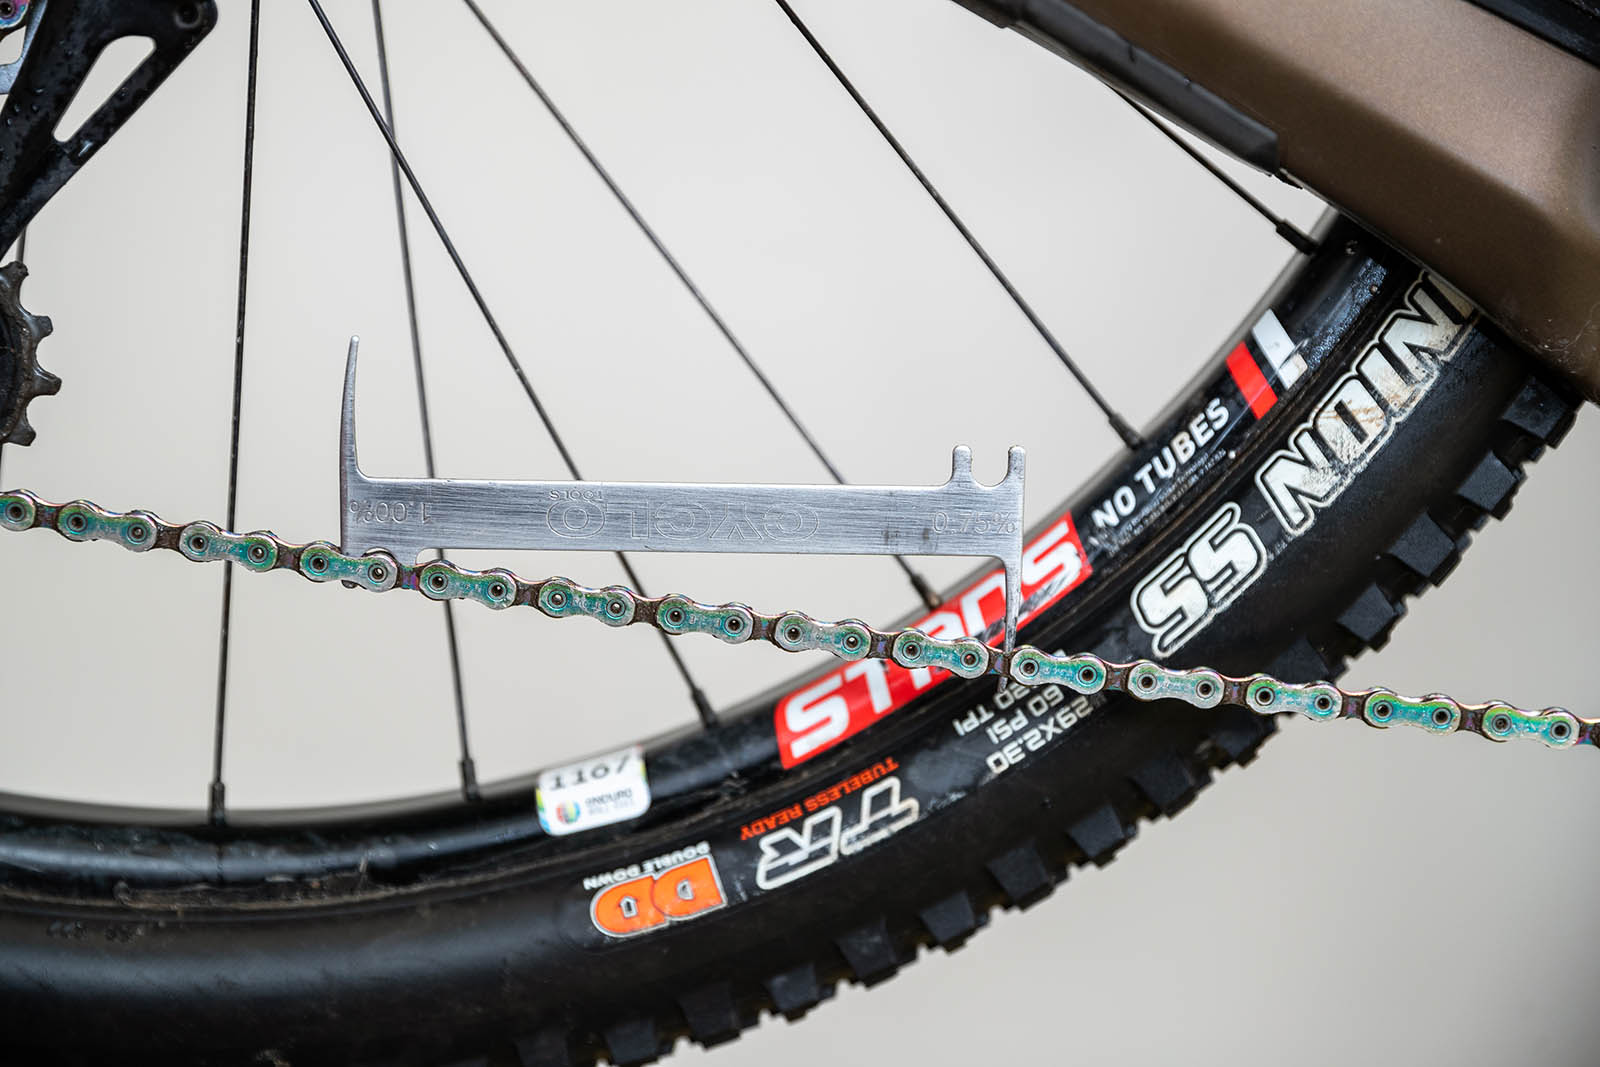
“A fresh chain can be a cost-effective way to get more from your drivetrain, and it’ll most likely improve your shifting, too. Chain wear checking tools are cheap and easy to use, and I’d recommend replacing your 10, 11 or 12-speed chain as soon as it shows .5% wear (this is a little earlier than what most chain manufacturers suggest, but it’ll help prevent cassette wear). For those using SRAM Eagle chains, look into either the Park Tool CC-4 or Pedro’s Chain Checker Plus II which will provide a more accurate reading with the subtly oversized rollers found on those chains.”
Aiden Lefmann on eliminating suspension knocks
Big Cheese at Cyclinic
@cyclinicsuspension
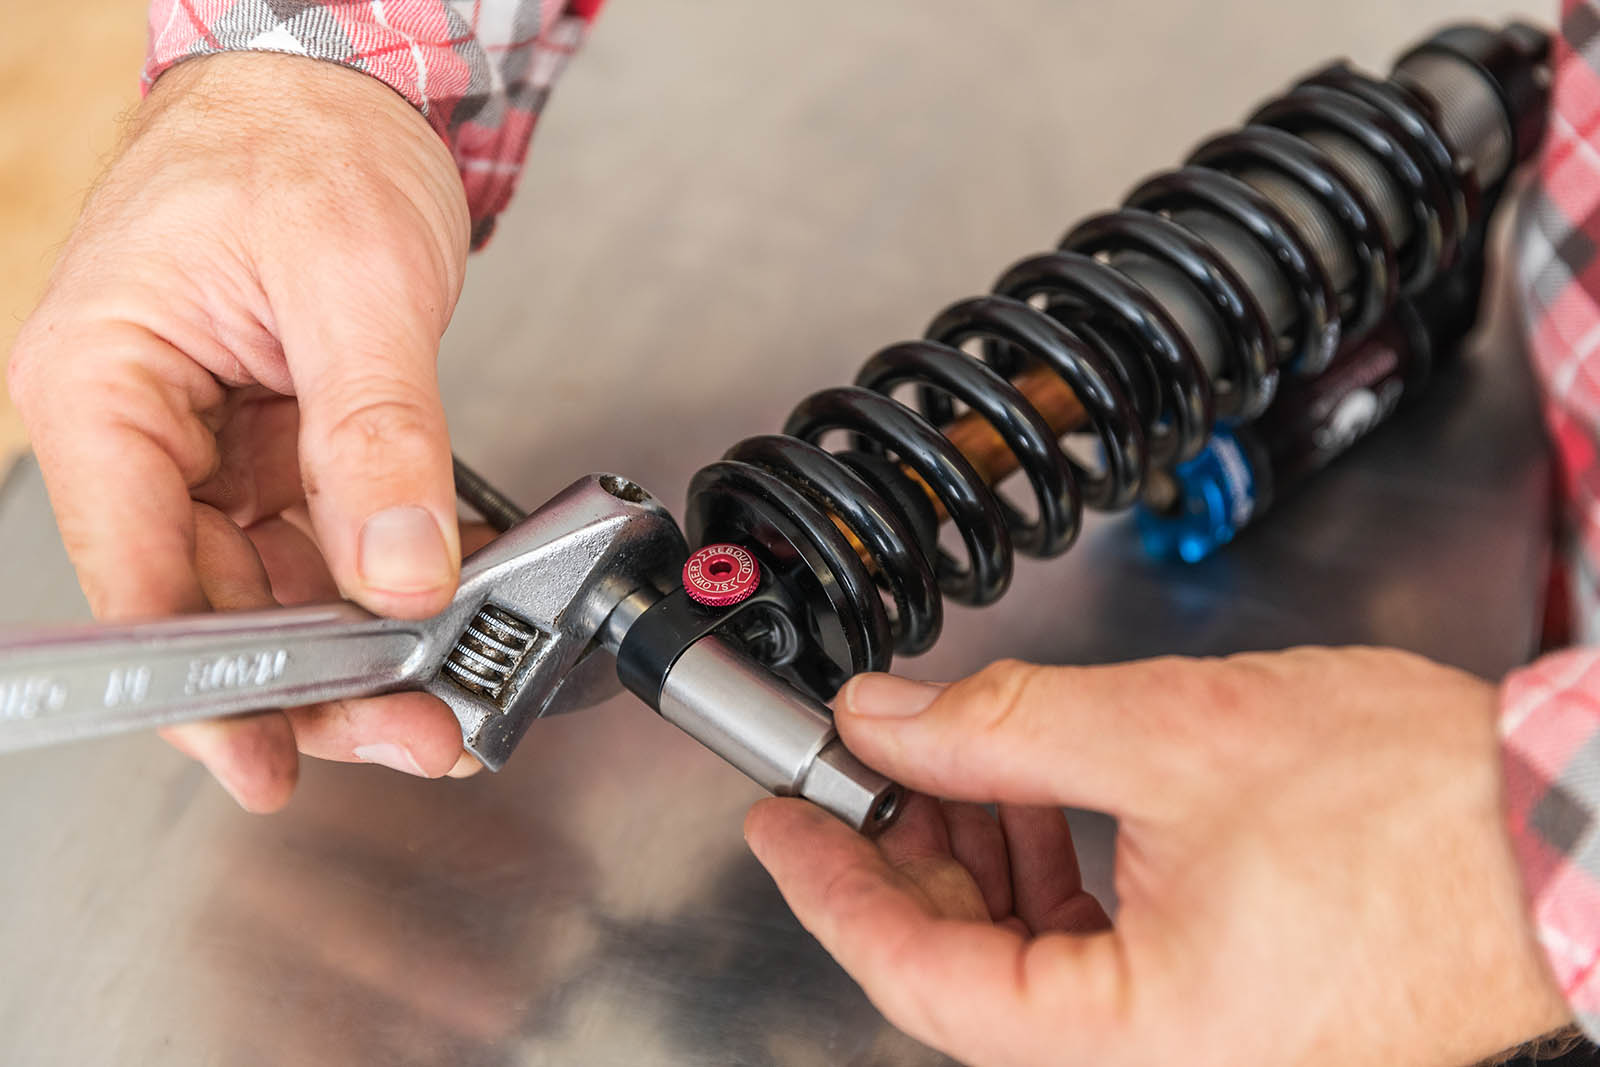
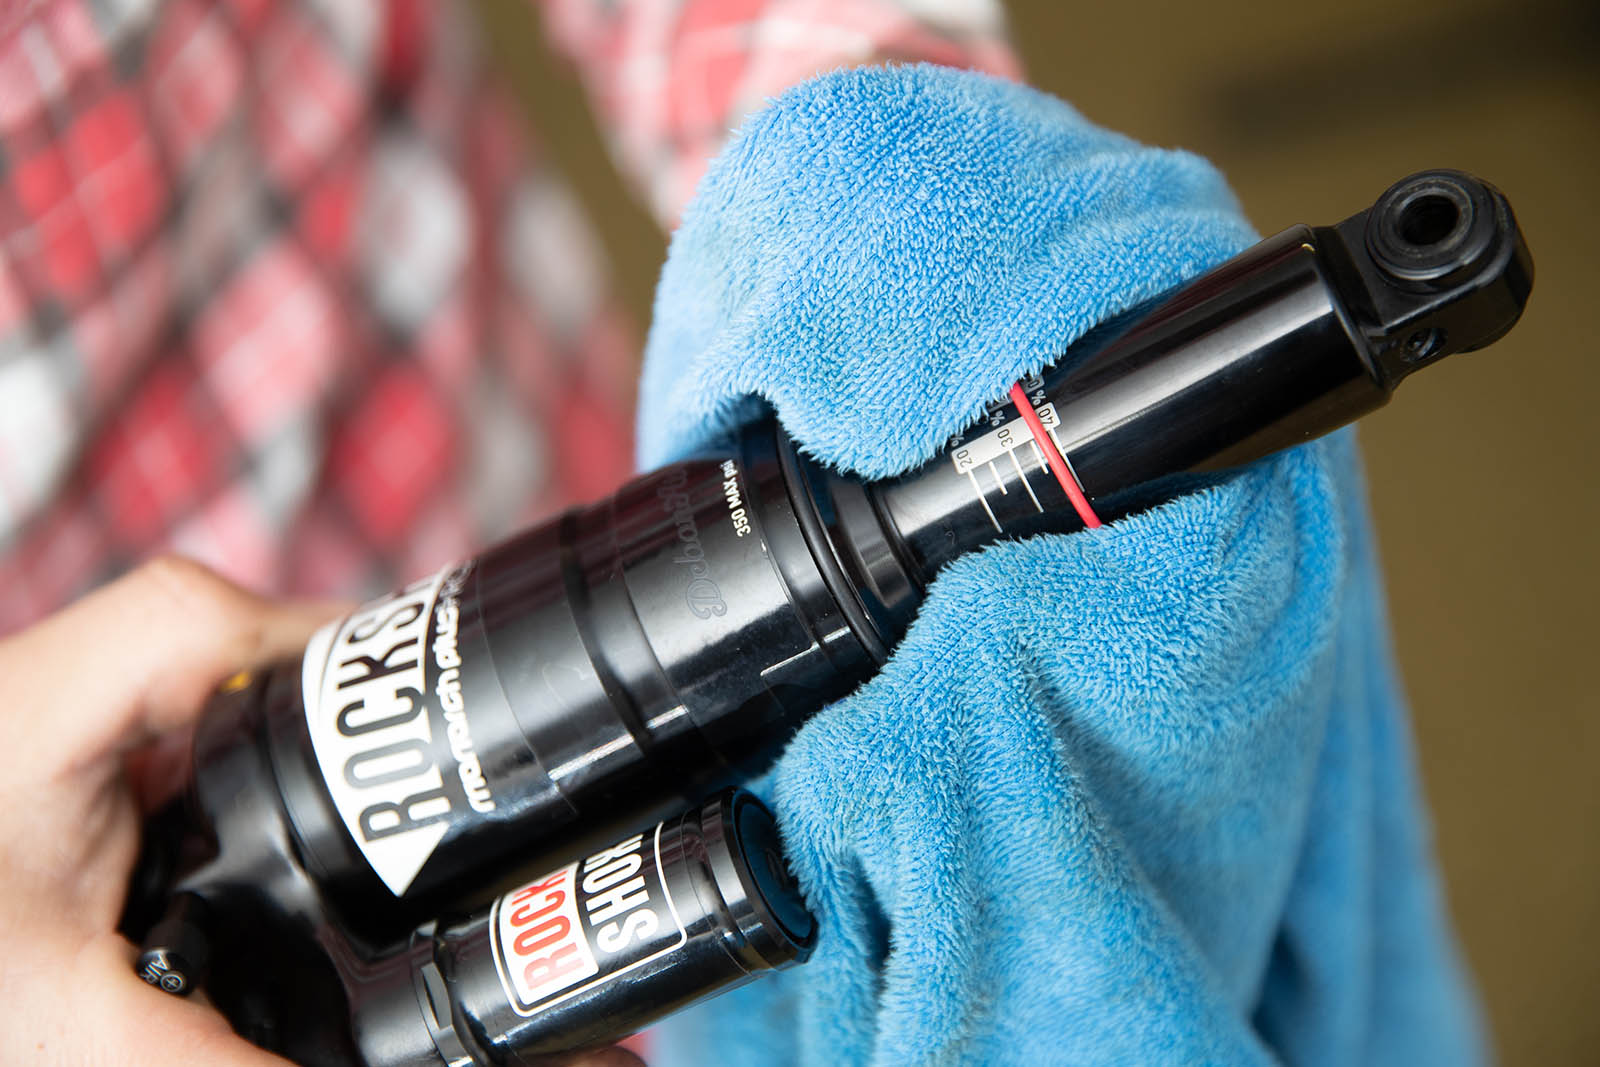
“Shock eyelet bushings will wear out over time, and can lead to nasty knocks or a ‘loose bearing like’ feeling coming from the rear end of the bike. It can even be felt through the headset in many cases. They’re cheap, easy to change, and are used by all the big brands, Replace them every 6-12 months of use, keeping them clean and dry, and have a few spares on hand. Fox uses a clip-in style polymer bush, and RockShox and most other brands use a press in teflon coated type. Basic tools can allow you to change them without even removing the shock from the bike.”
Lachlan McKillop on silencing rattles
SRAM Technical University manager
@spinthatup
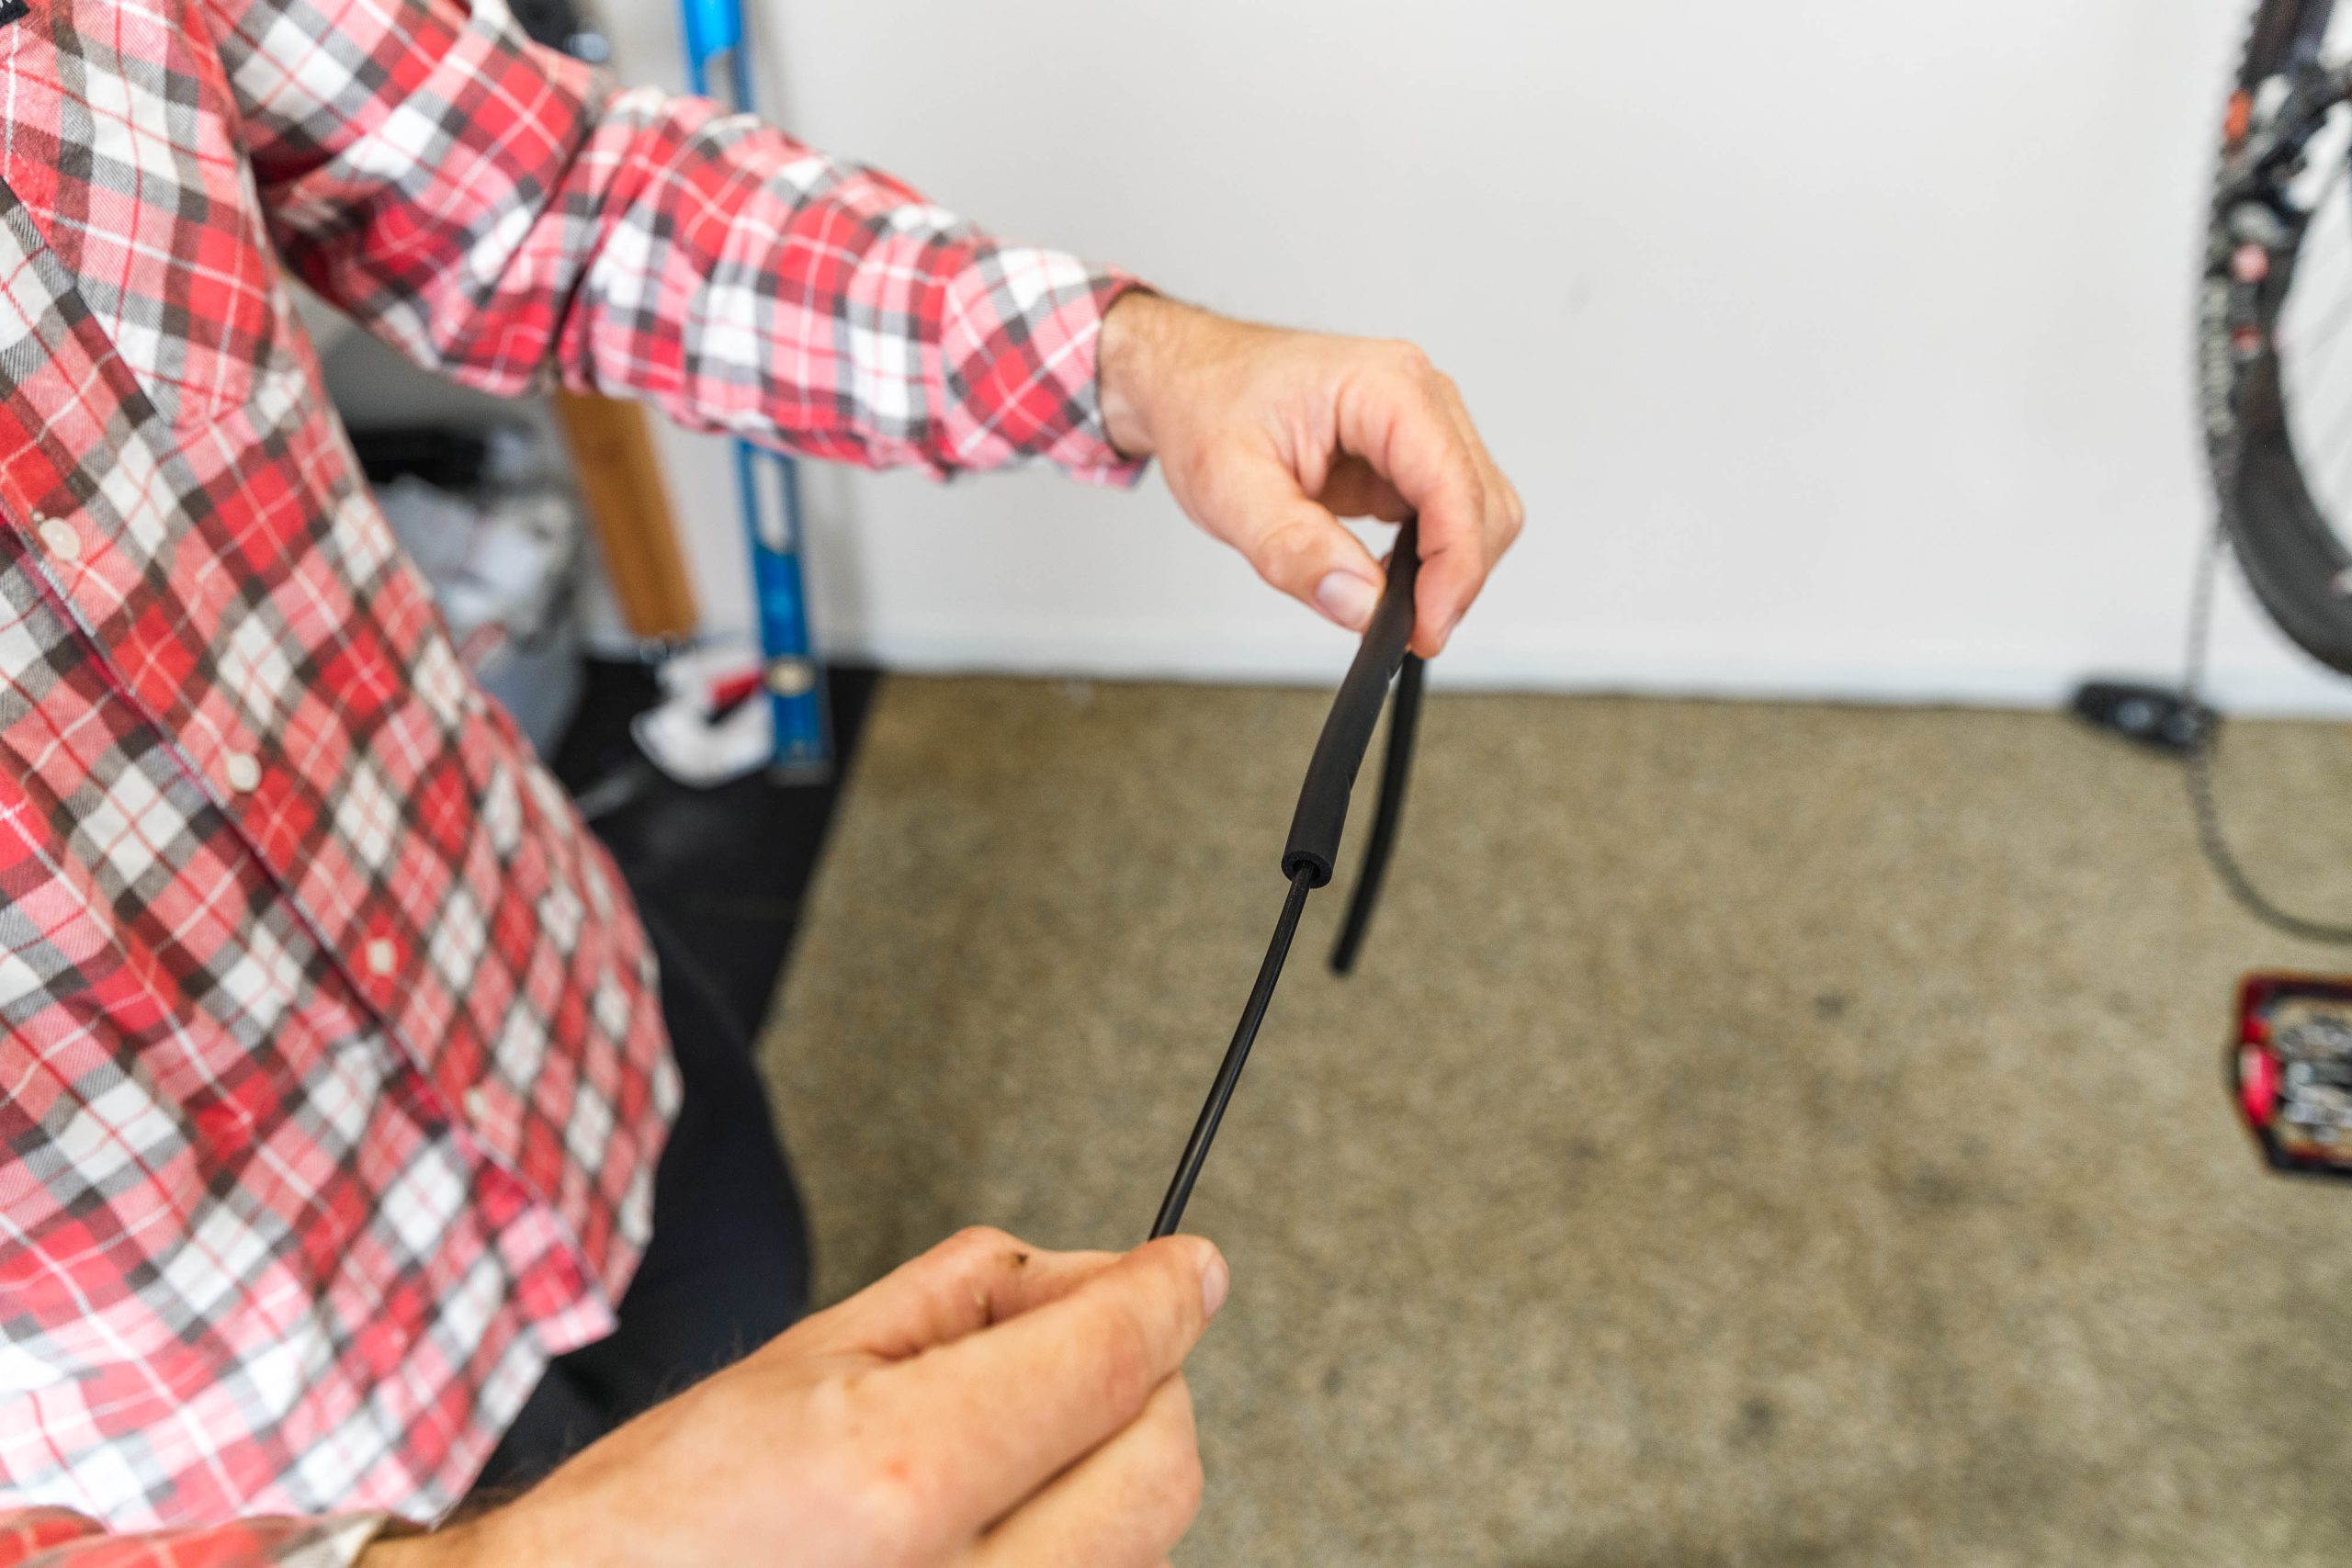
“A new bike for me is a quiet bike. We all remember our bikes before things are worn and start to rattle. Foam tubing on your internal cables is a must, preferably the full length of the frame.”
“3M mastic tape is another quick and easy one. A good place is under the cables where the cable can rattle on the frame. Also ditch the cable clips and replace them with zip ties. Those clips are neat but the cables rattle in them.”
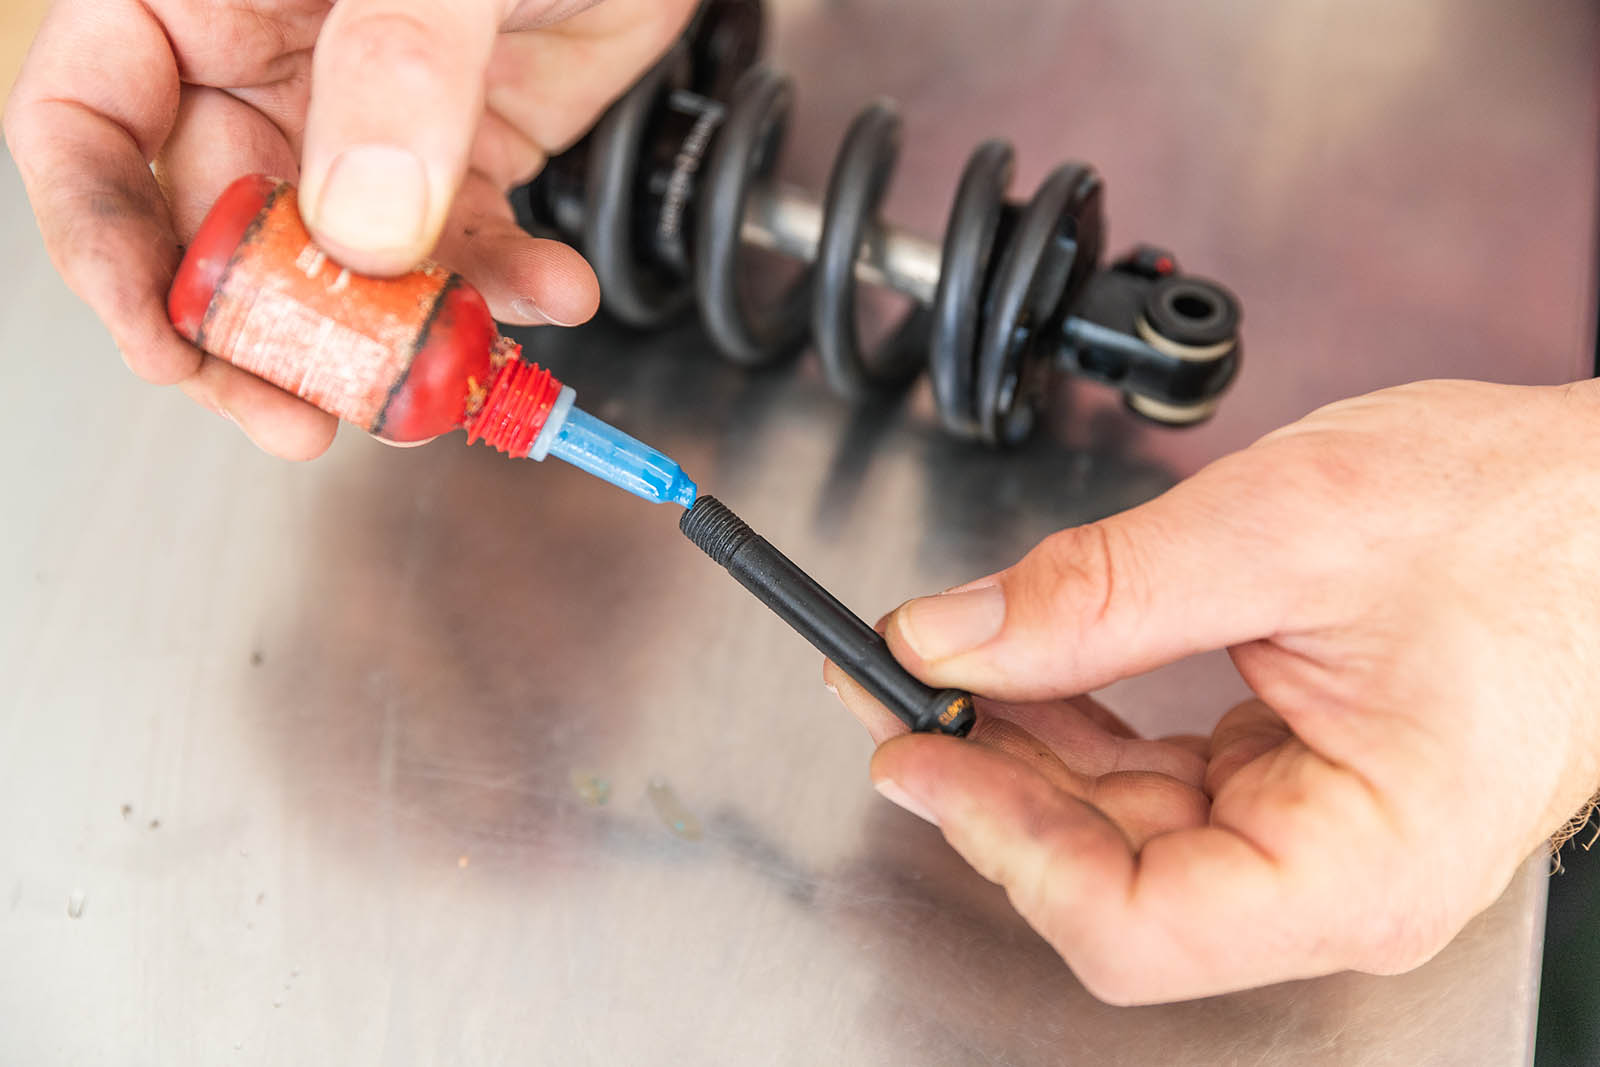
“Confidence in your ride is a big part of making it feel like new. Bolts come loose over time because between a female and male thread there usually 30% of actual contact. Using a loctite or grease will stop these coming loose. When stripping everything down if the bolts do not need a specific loctite I use Morgan Blue aqua proof paste to keep everything in place and quiet.”
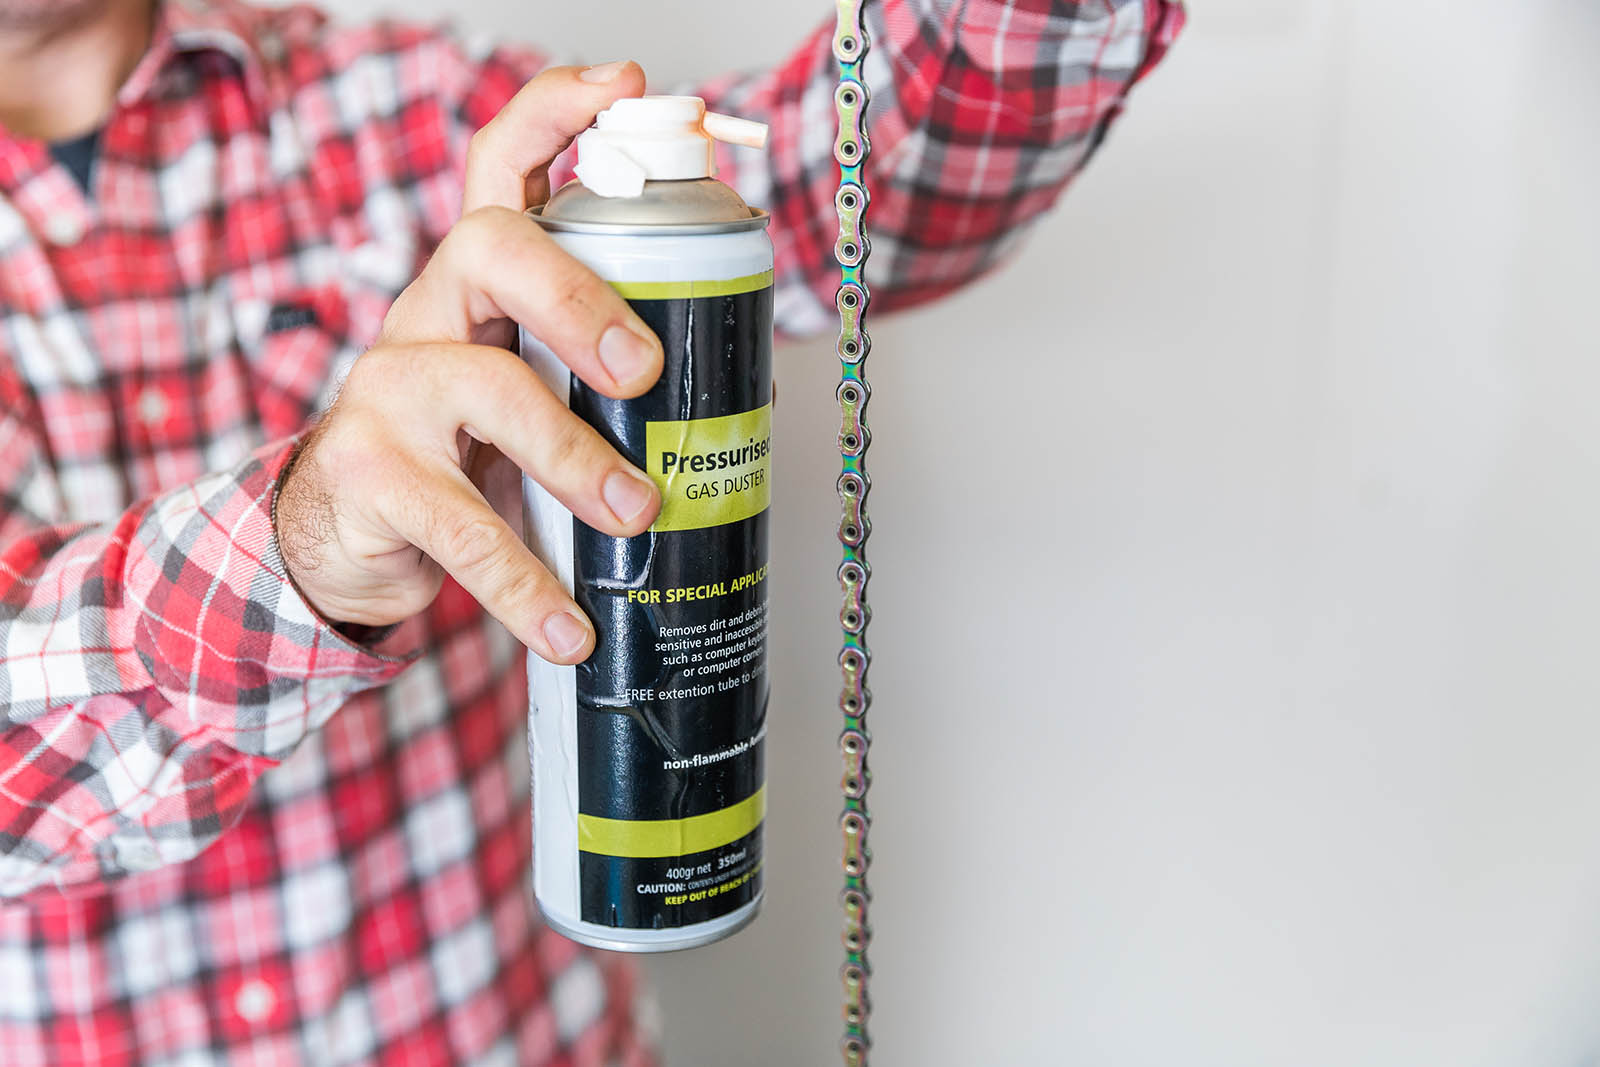
“Having a drivetrain sparkling and silent is a must, keep that chain quiet! I’ve tried a plethora of chain lubes and degreasers and my go to is Morgan Blue chain cleaner (you won’t find anything better, if you do it won’t be rated for bicycle chains). If you have the luxury of an air gun, blow the chain clean too.”
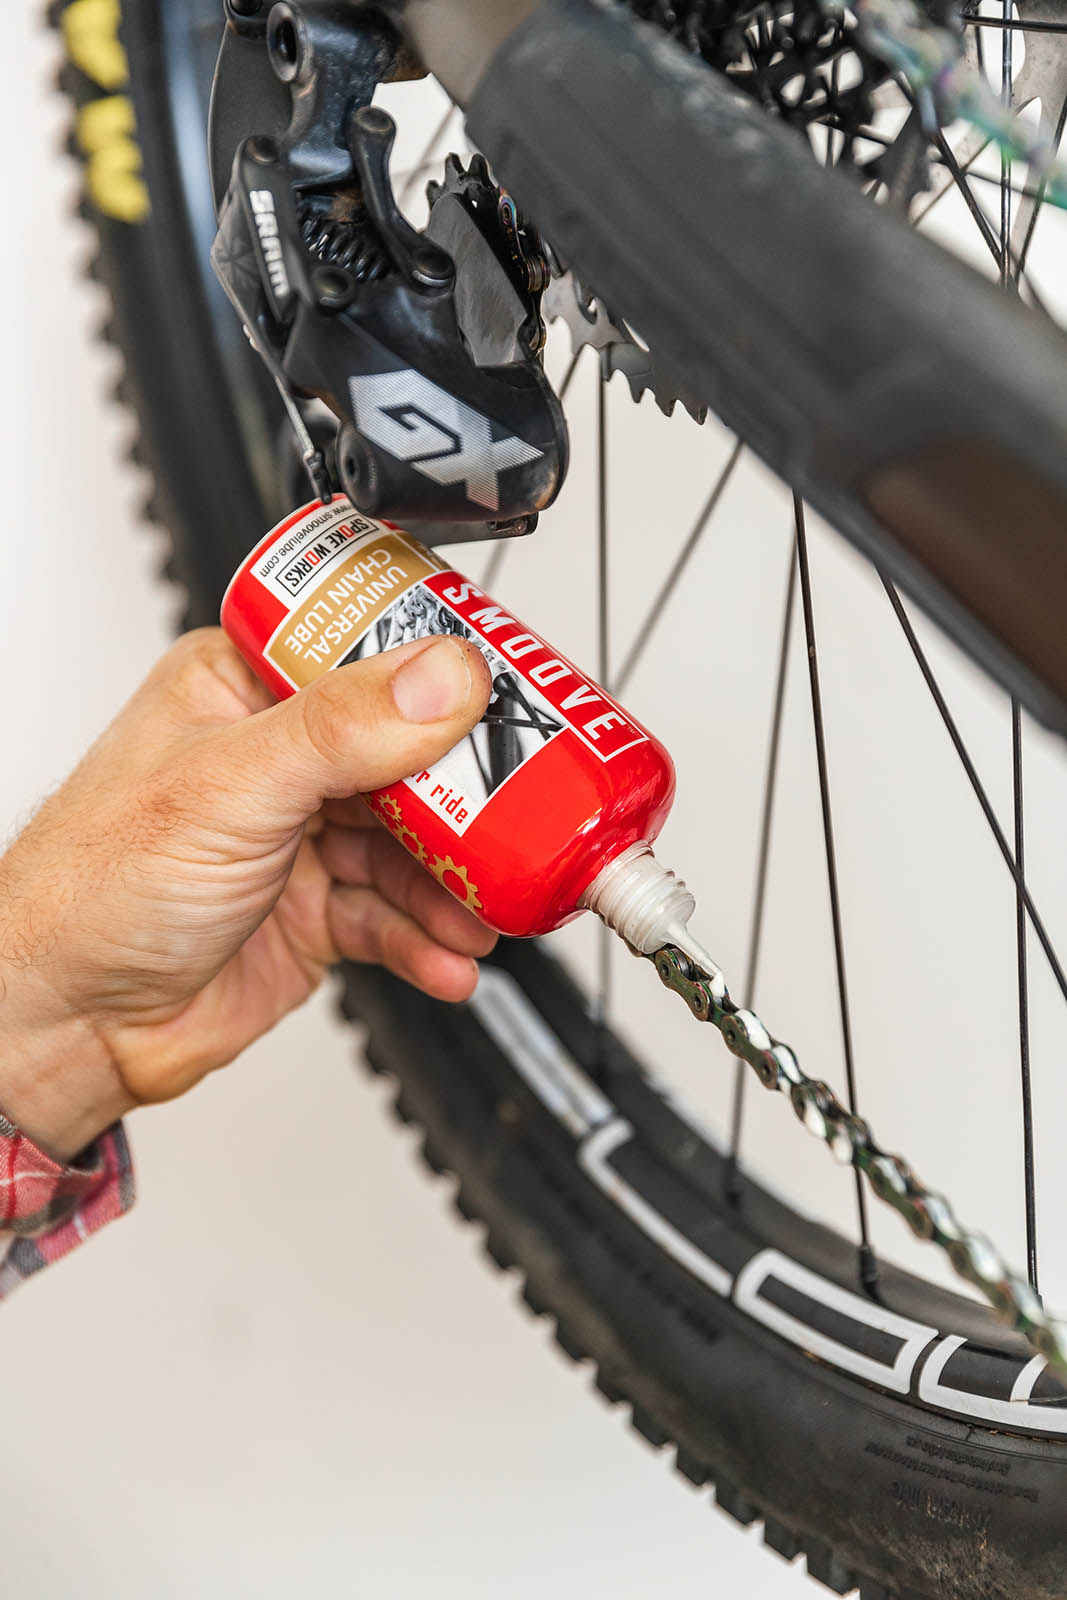
“Do you remember how quiet your new chain is? Smoove lube is the closest I’ve found to getting that back. Once the chain is clean I do one coat and let it set for 20 minutes. Then another coat and wipe off the excess. I let that sit for a few minutes then run a lighter over the links to get the lube to penetrate the rollers.”
Ryan Walsch on general cleaning and maintenance
Bike tester and head wrench for Fixed by Ryan
@ryan.rides
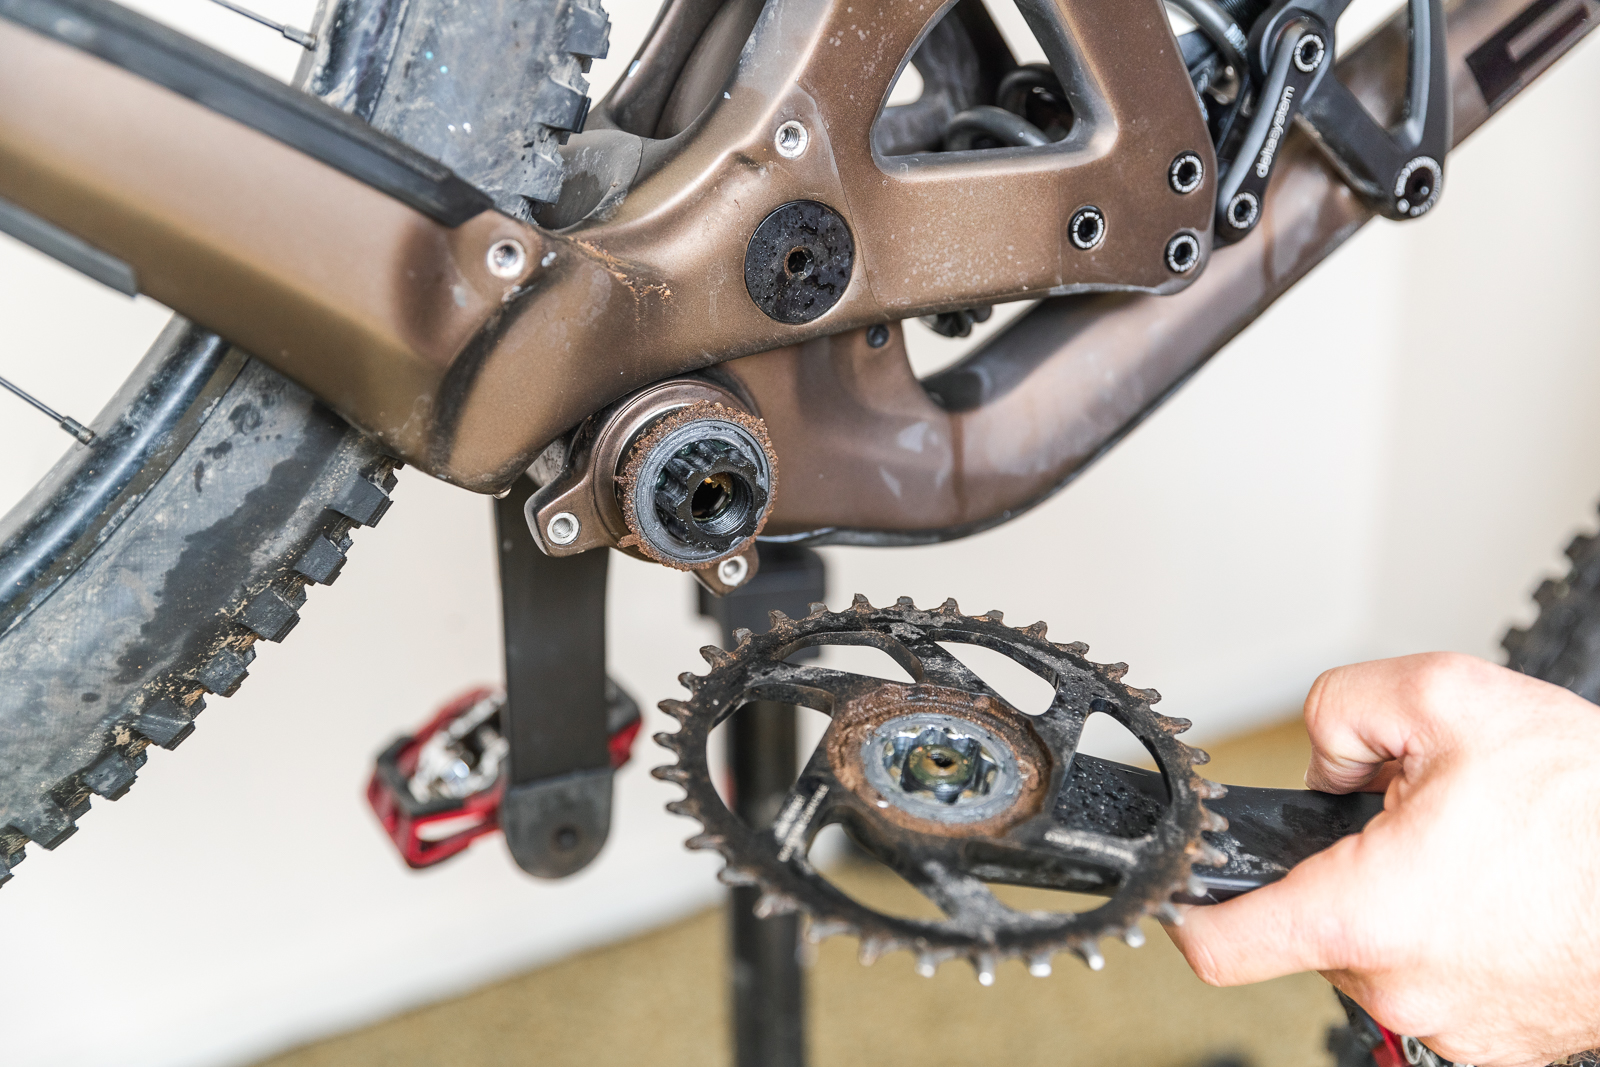
“My bike clean and servicing usually includes removing the shock so I can inspect the linkage bearings and clean around all the moving parts, take cranks off, sometimes the bottom bracket and headset depending on how they feel and the ability to get behind things and inspect how moving parts are going. Chain off and in turps and/or ultrasonic cleaner, rinsed dried and lubed.”
“I make a habit of checking my tyres for damage, and ensure the pressure is exact for each ride.”
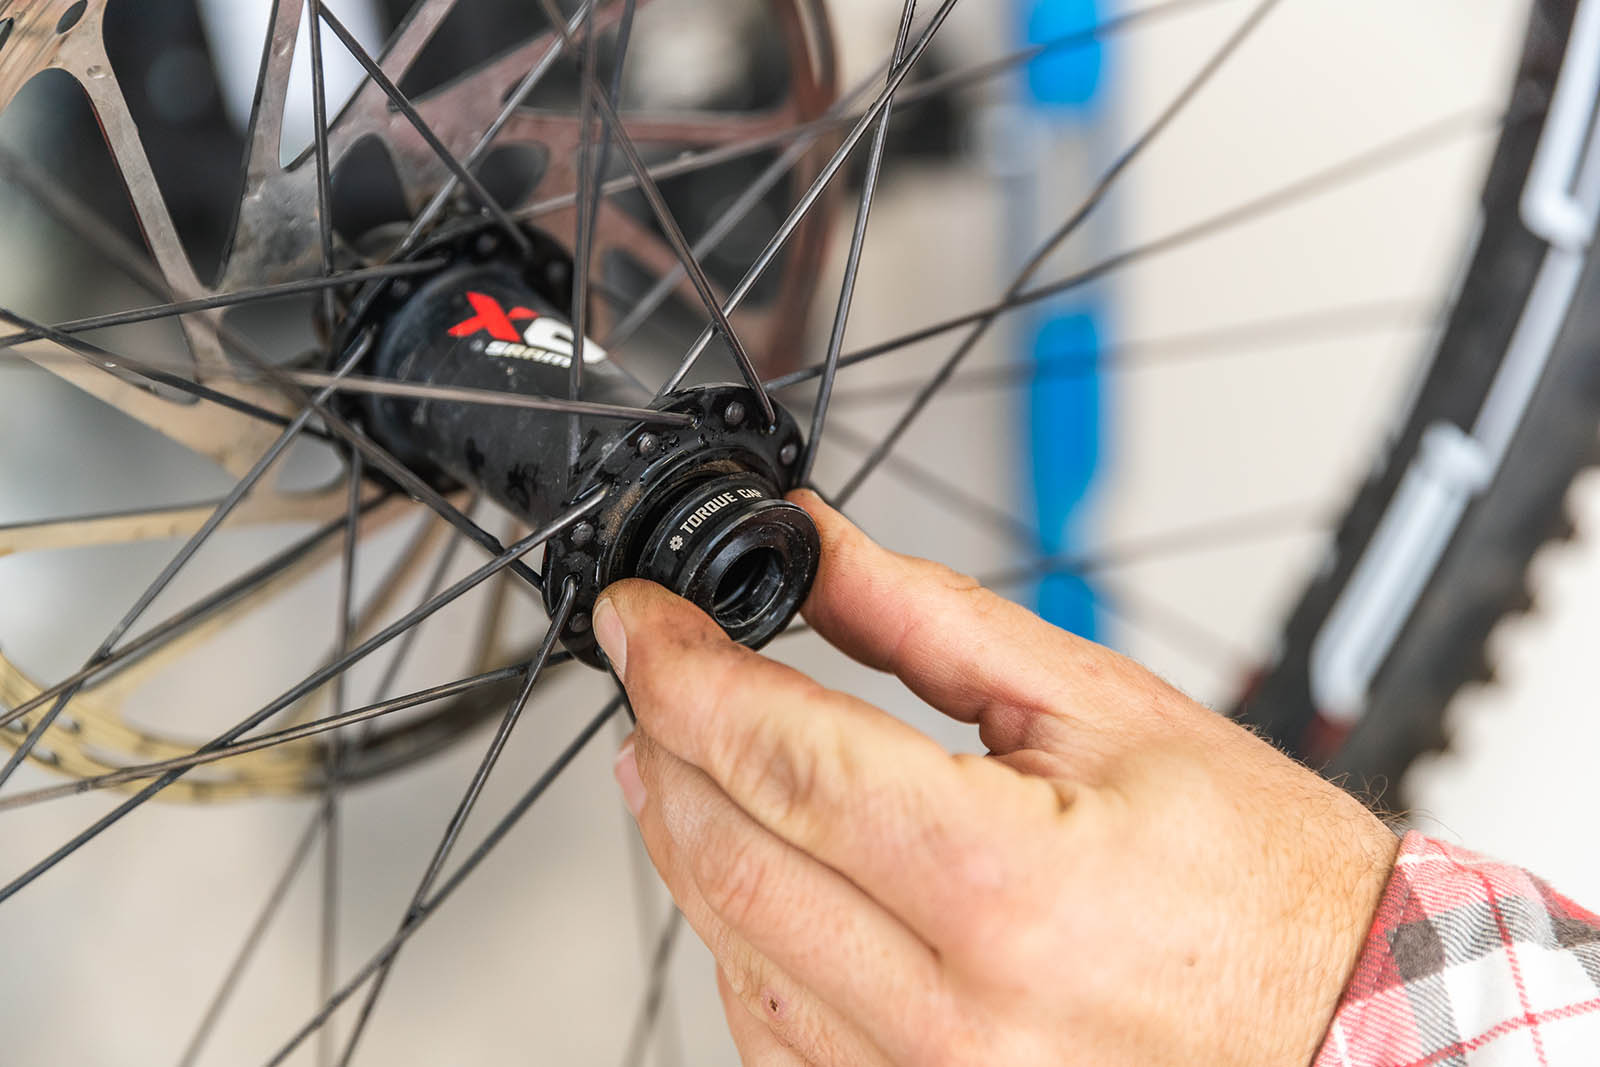
“When dealing with wheels, I take the hub end caps off and check the bearings and freehub BEFORE checking the wheels are true. There is no point truing and dishing wheels and then having to replace bearings.”
“If you’re going all in, a lower leg service and air can service of your rear shock is worthwhile. Otherwise I recommend cleaning the stanchions and shock body each ride if ride was dirty, use a silicon spray or fork juice.
Joe Dodd on making your bike feel new again
Mechanic and potter
@joedodd
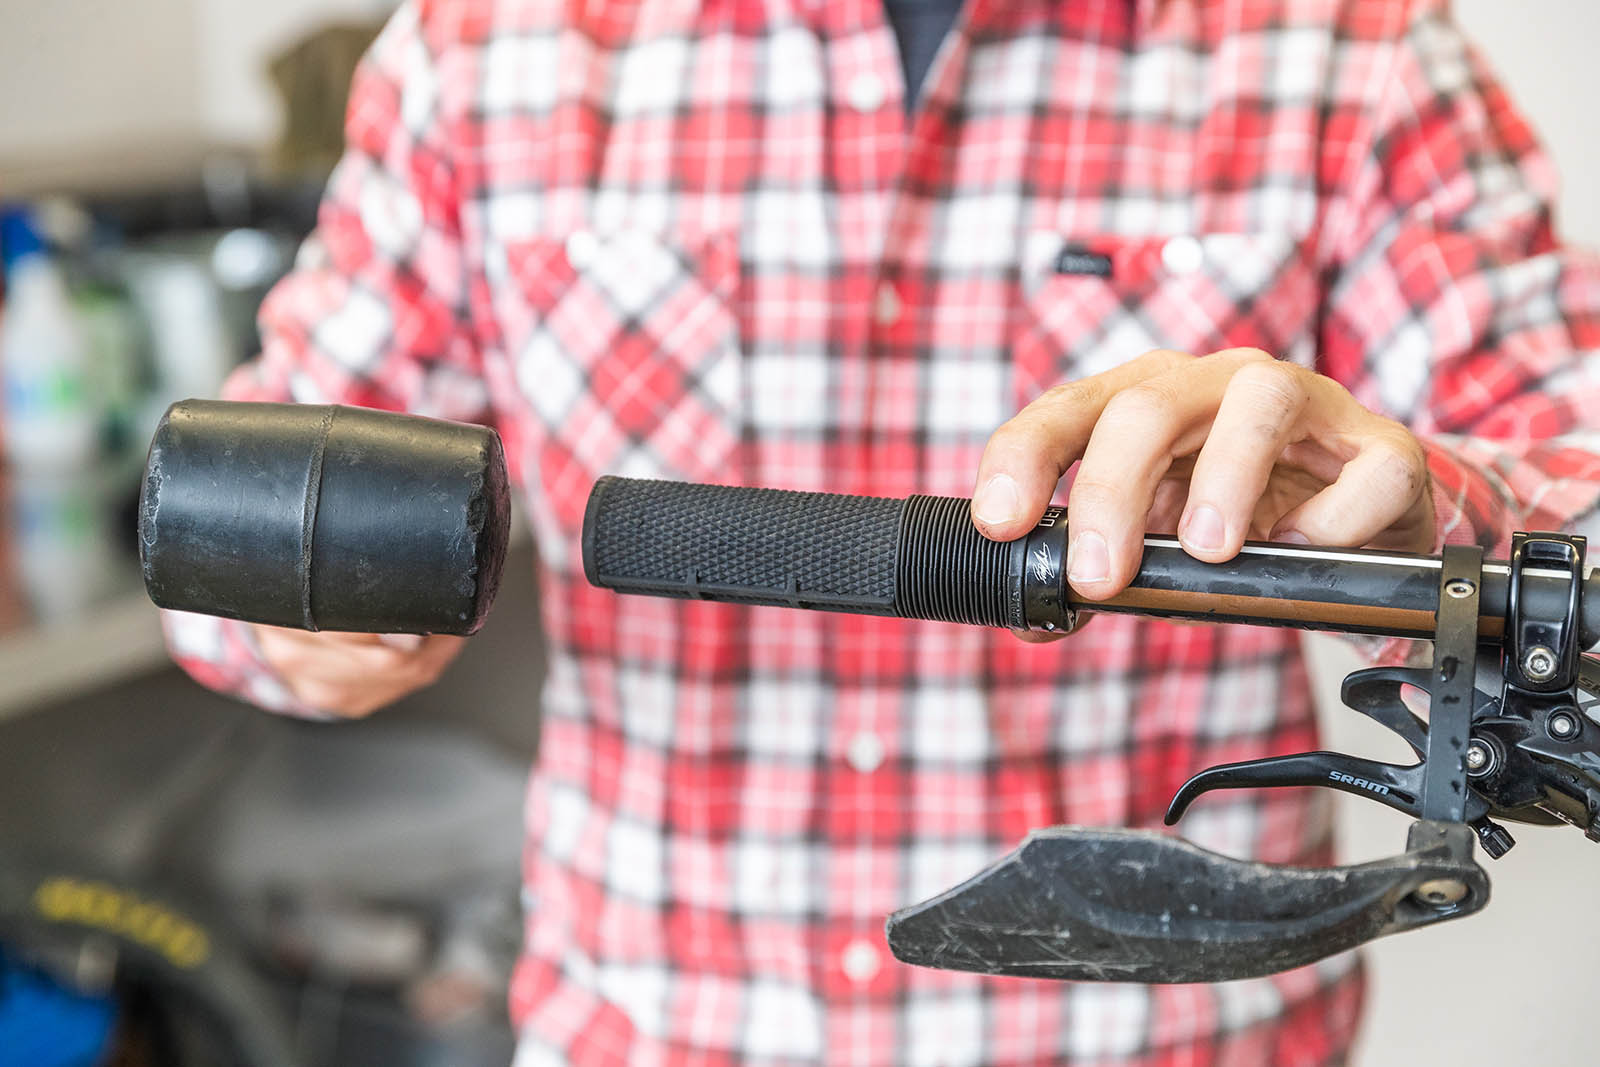
“Switching out your old sticky, worn grips is a little touch to make your bike feel a little newer. Not only does it look better, you’ll instantly feel it in your hands!”
“A quick brake bleed can make a huge difference to how your brakes will feel. A full bleed, and replacing worn out pads will make them feel heaps better. Lubing pistons will also help them move more freely and improve braking performance.”
“After detailed cleaning of your bike, consider using a bike specific polish such as Maxima SC1. These polishes will leave your bike shiny whilst also leaving a protective film over the polished parts. This not only makes future cleaning easier, but makes your bike look like brand new. You can use it on the main parts of your bike (frame, fork and wheels) but be careful not to spray your rotors or brake calipers!”
Chris Herron on proper degreasing and keeping hubs spinning
Head Mechanic at Summit Cycles
@chrisherron
“I have been using Chemtech CT-18 for over 20 years to wash my bike. Using it concentrated on the drivetrain and diluted on the rest of the bike removes even the nastiest grime and grease. A good plethora of different size brushes allow you to get into the most awkward of areas on suspension bikes, especially amongst the linkages and between the hub and rotors. Places most people never clean.” (NO IMAGE)
“Once the bike had been wiped down with a lint free cloth, I recommend hitting the drivetrain with compressed air to remove all moisture so chains and cassettes don’t form any surface rust, especially Shimano drivetrains.”
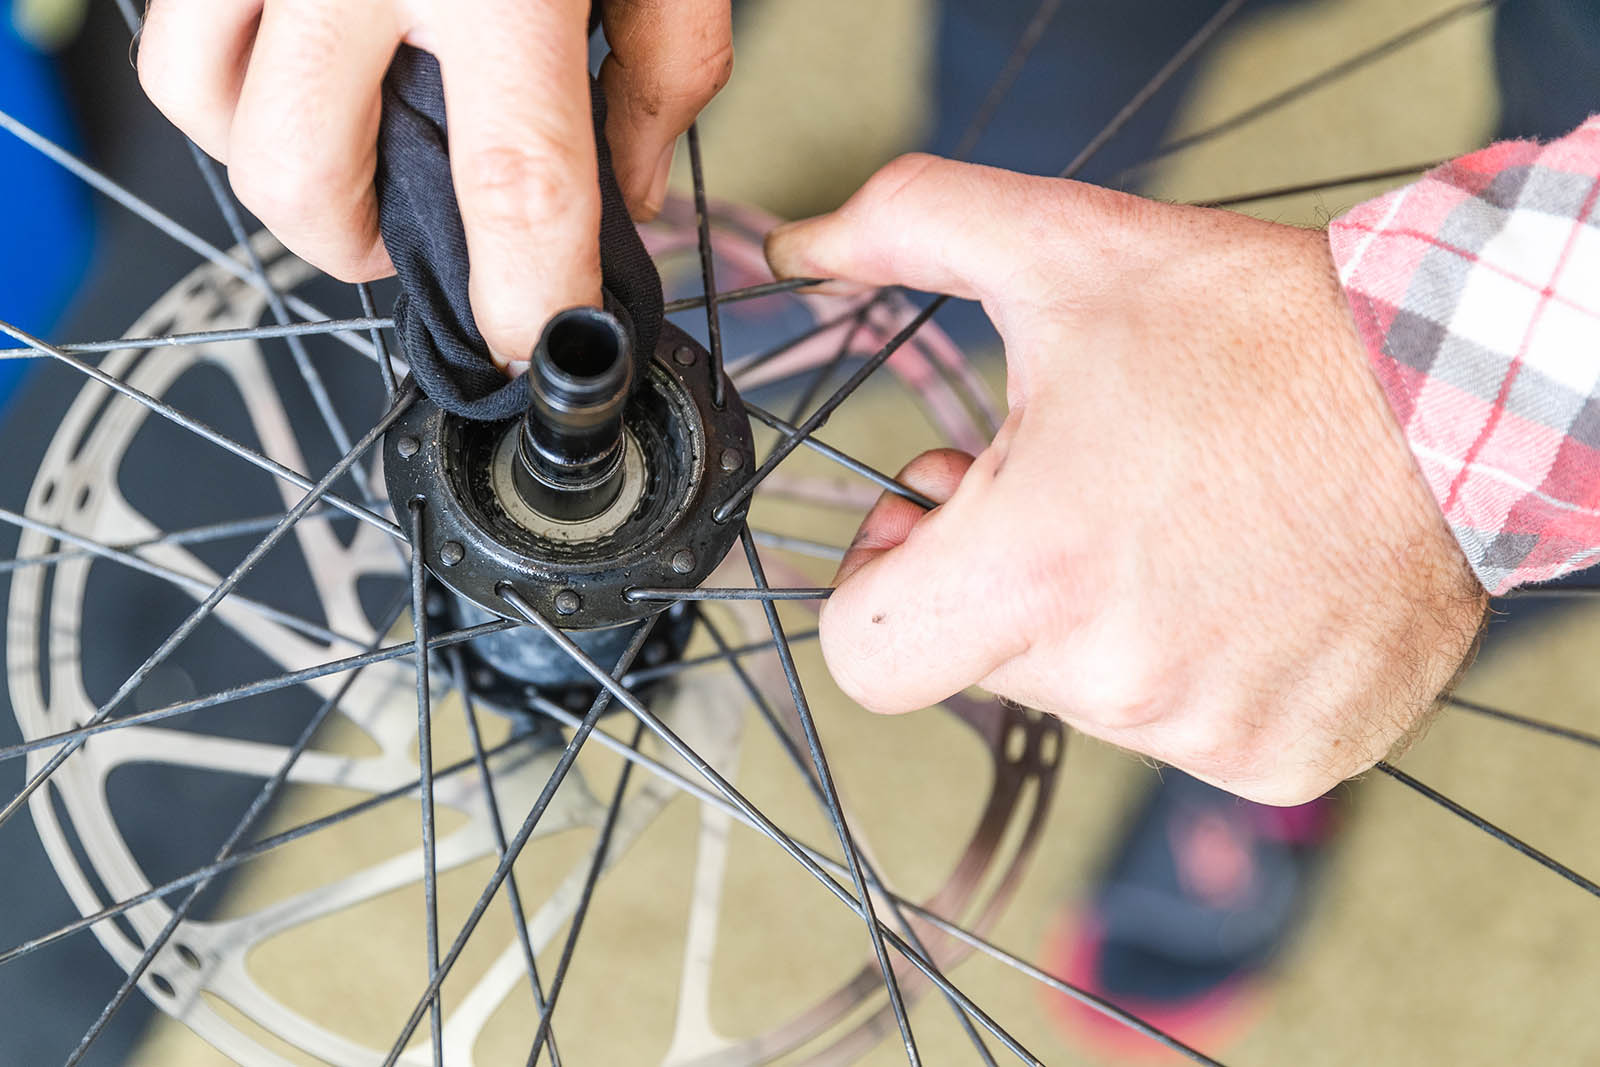
“Give your main drive mechanism in your hubs some attention. This may be a trip to the local for some much needed attention, or an hour or so in the garage after a bike wash. The pawls and springs in your rear hubs freehub will need a good degrease and re lube to reduce the chance of freehub slippage.
If it’s a DT Swiss, Hope, Industry Nine or Chris King freehub or the like, then this is as simple as removing the freehub body and getting all the muck and grime out of the moving parts and reassembling with some freehub compatible grease.This will ensure another 12 months free of knee to stem impacts after the freehub body slips.”