WORKSHOP: Installing an Aenomaly Constructs Switchgrade
In the 10 steps below, we cover the full install process, which should take you under half an hour to complete.
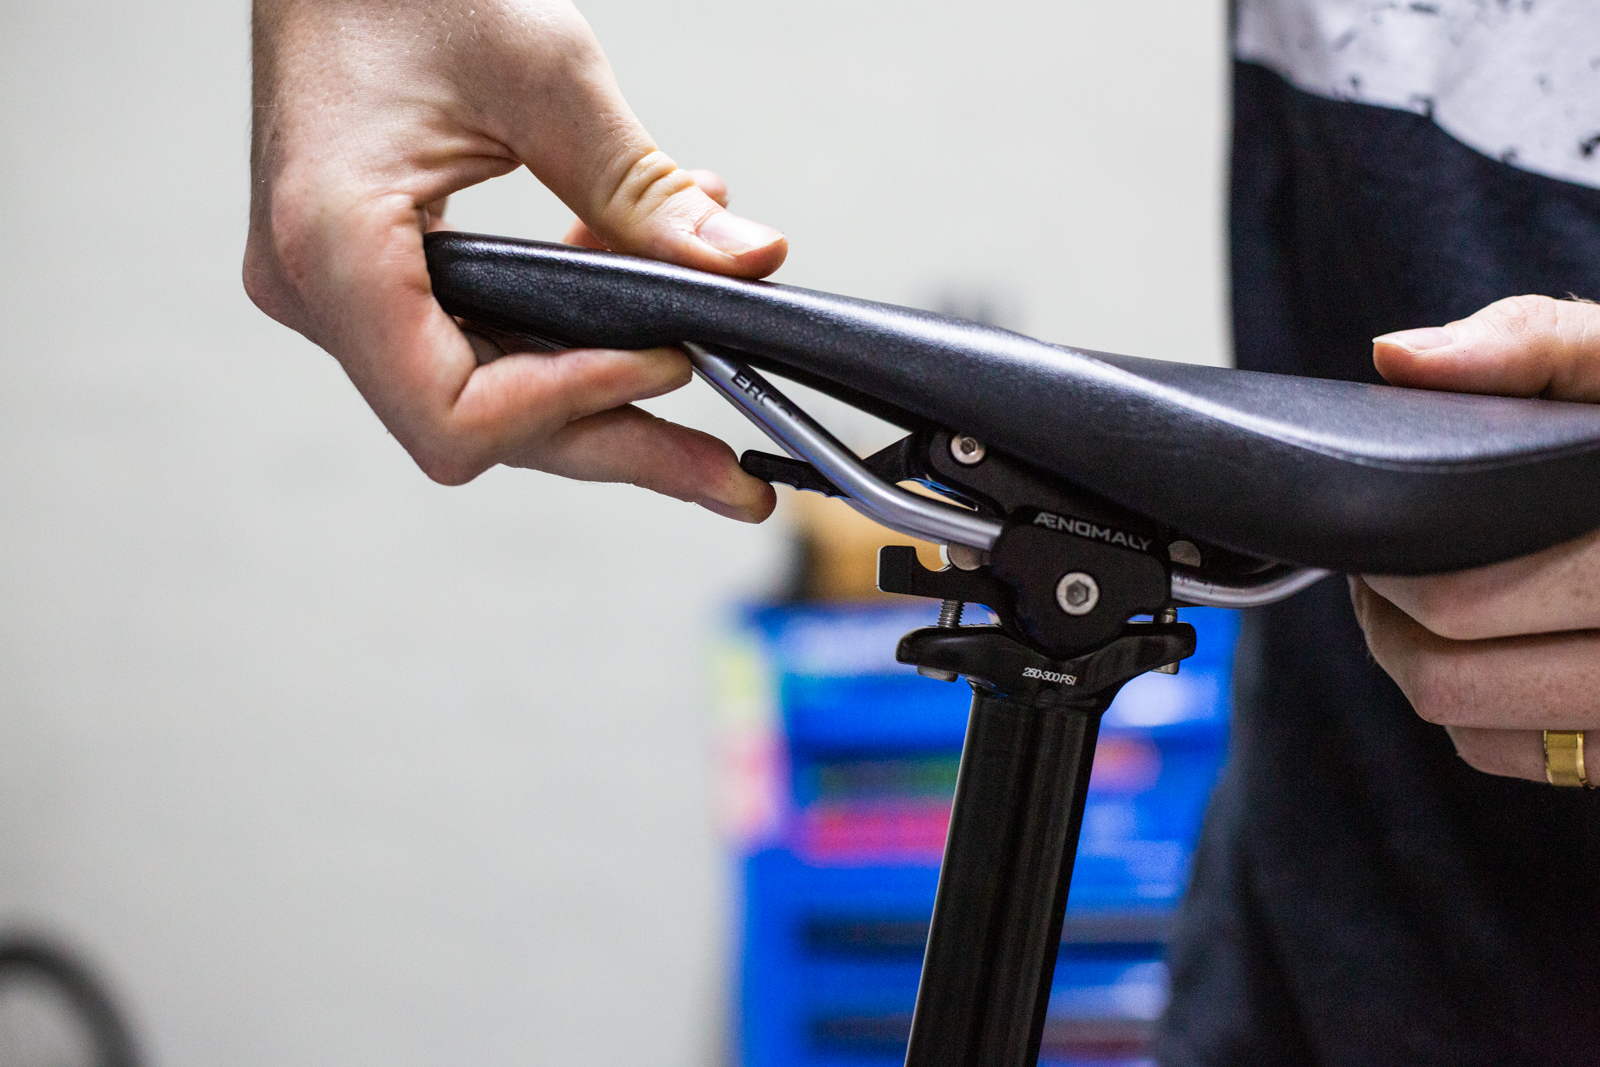
The Aenomaly Constructs Switchgrade is an innovative new product which allows you to adjust your seat angle on the fly. It has allowance for various mounting configurations and is sold with hardware of different lengths to ensure compatibility with most popular posts currently in the market. You should consult their compatability guide prior to purchase to ensure the Switchgrade will fit your seat post of choice. In the 10 steps below, we cover the full install process, which should take you under half an hour to complete.
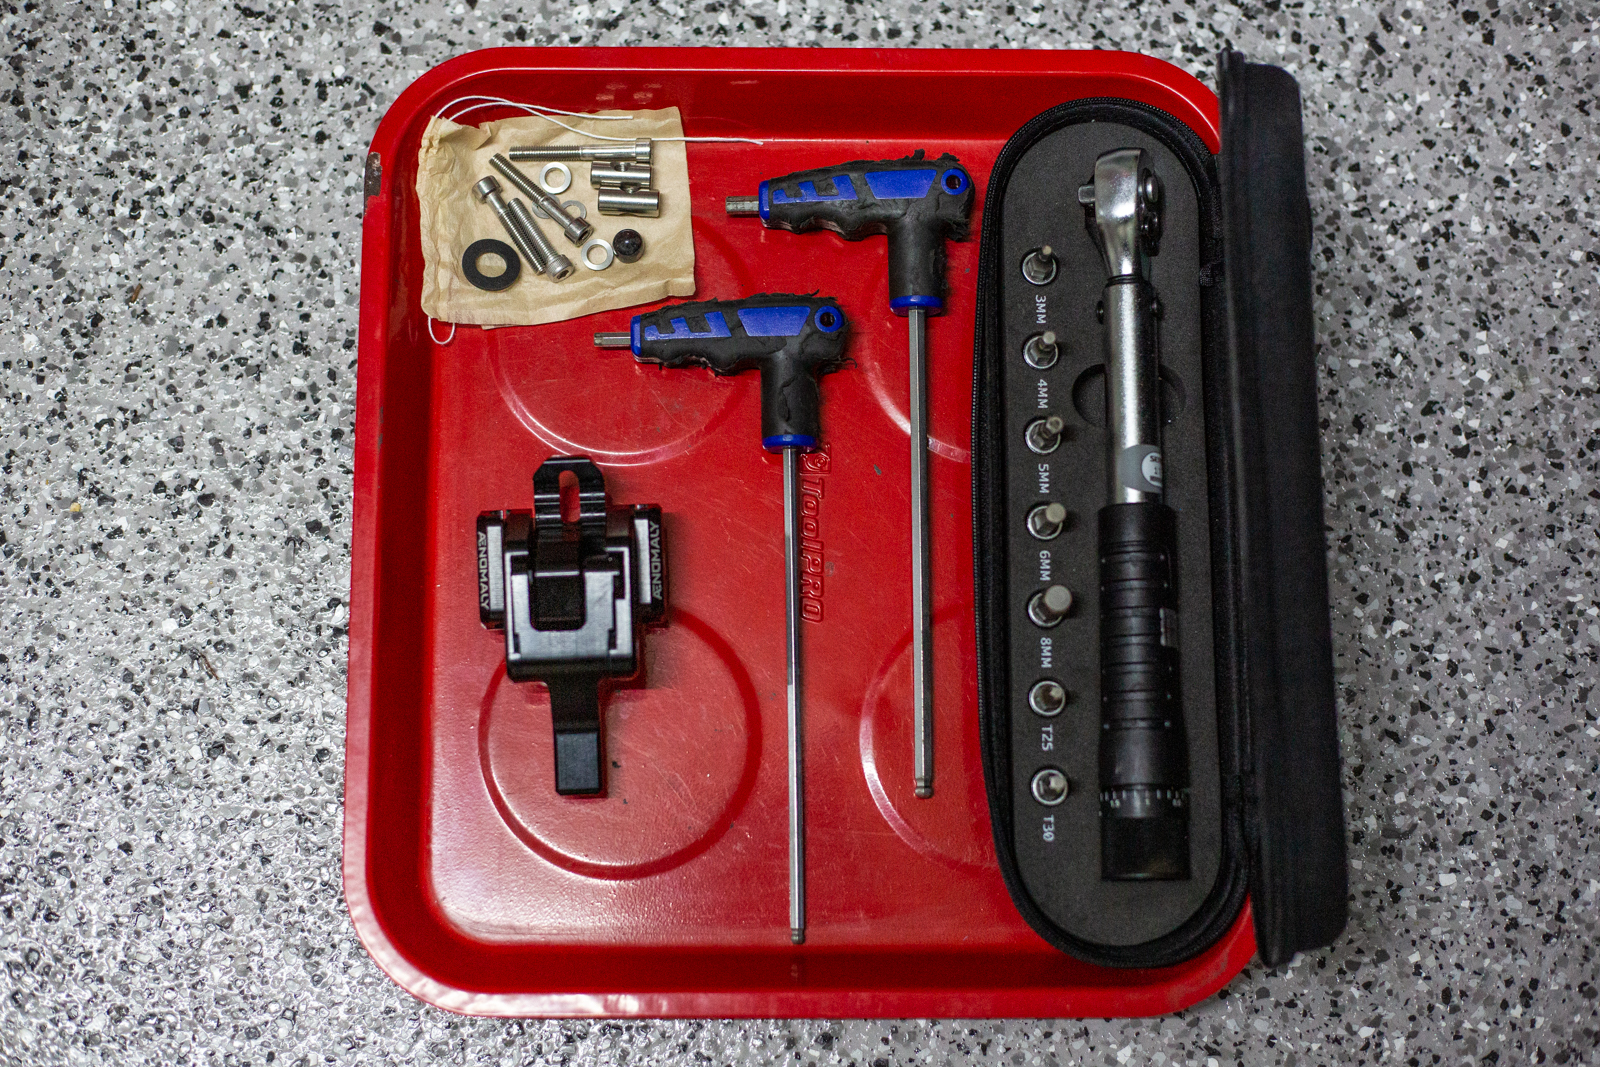
Tools required:
- Torx or allen keys suited to your existing seat post clamp. Typically, this will be either a 4mm or 5mm allen or a T25
- 4mm Allen key for in installation of the Switchgrade
- Torque wrench with bits to match the allen and torx sizes listed above
- A rag and some parts cleaner
Step One: Read the instructions
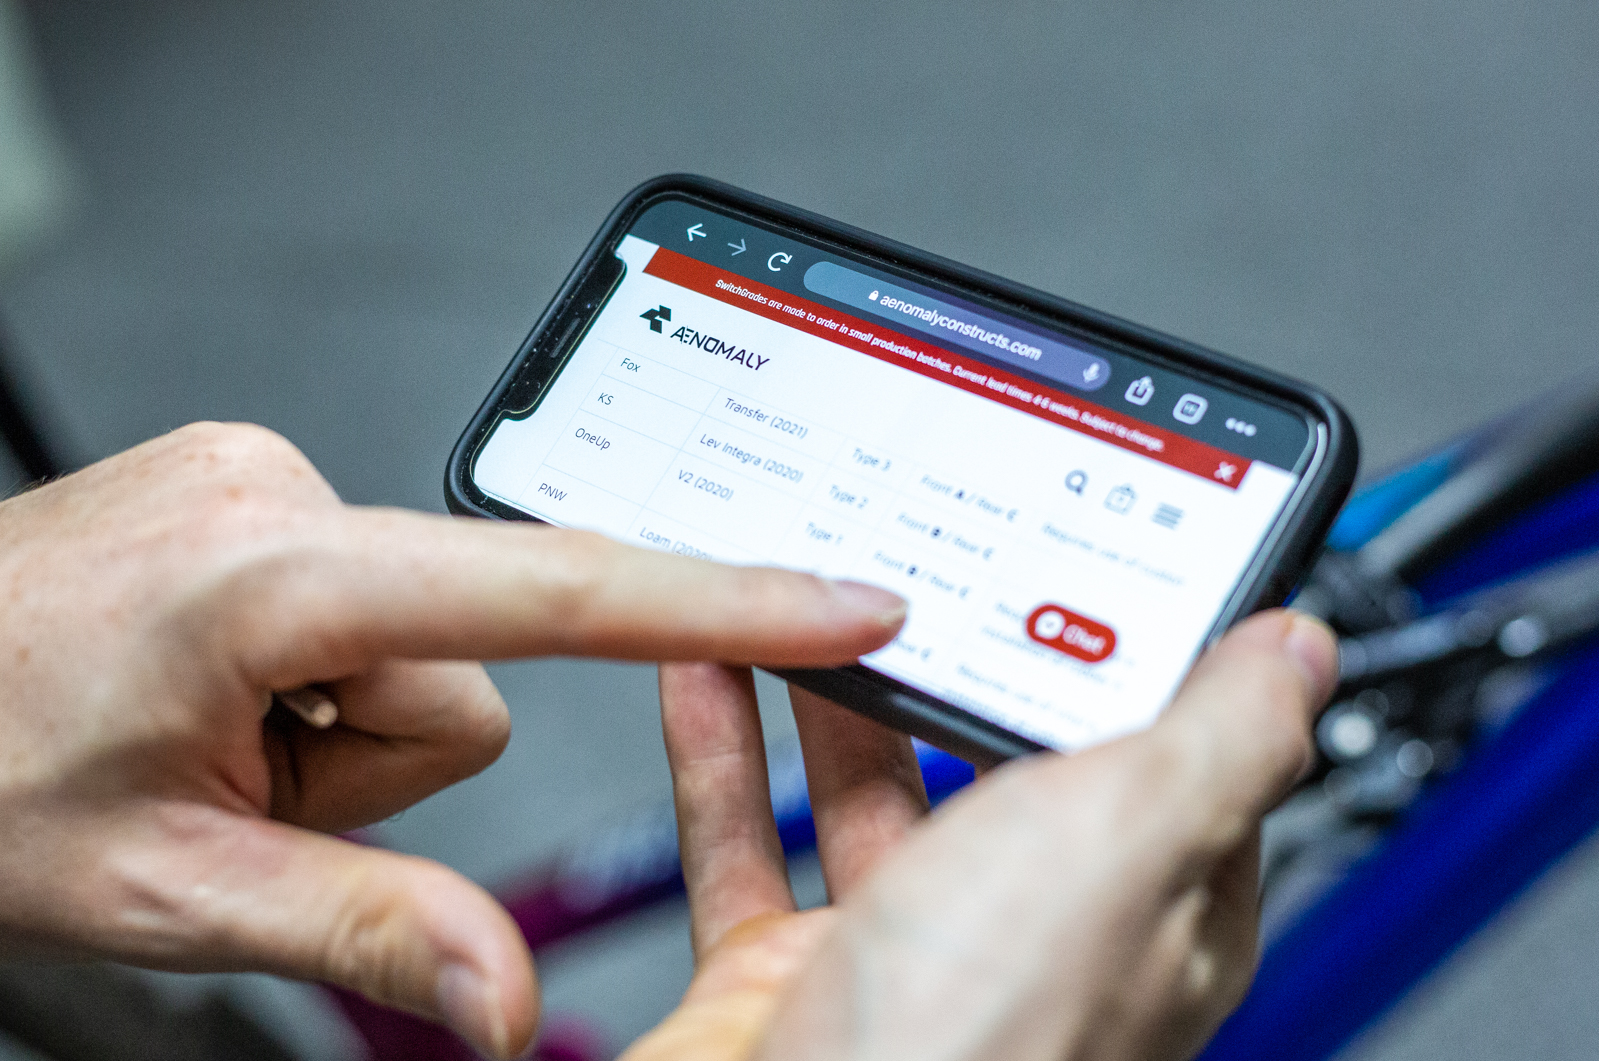
Yes, I know. Typically, the instructions for most products go straight into the recycling bin along with the packaging but in this case, it is crucial that you read them. The Switchgrade has various compatability constraints which are relevant to which seat post you are installing it on, so it’s best to read the instructions to understand the install steps for your needs. You should also consult the compatability guide on their web page and take note of the scallop configurations. This will be used in steps five and six.
Step Two: Prepare your bike

The Switchgrade is most easily installed with your bike on level ground, ideally in a secure position (i.e., with a wheel stand). This will allow you to easily dial in your ‘neutral’ seat angle later in the install. Once you have your ride in place, take note of your seat’s fore/aft positioning and overall seat height. These numbers will be referenced in steps seven and nine.
Step Three: Remove your seat

Next, remove your seat and seat post hardware using the required allen or torx keys. This is a great time to clean those hard to get to spots under your seat and on the top of your post, so give them both a quick spray with some parts cleaner and give it all a good wipe down with your rag.
Step Four: Prepare your seat post
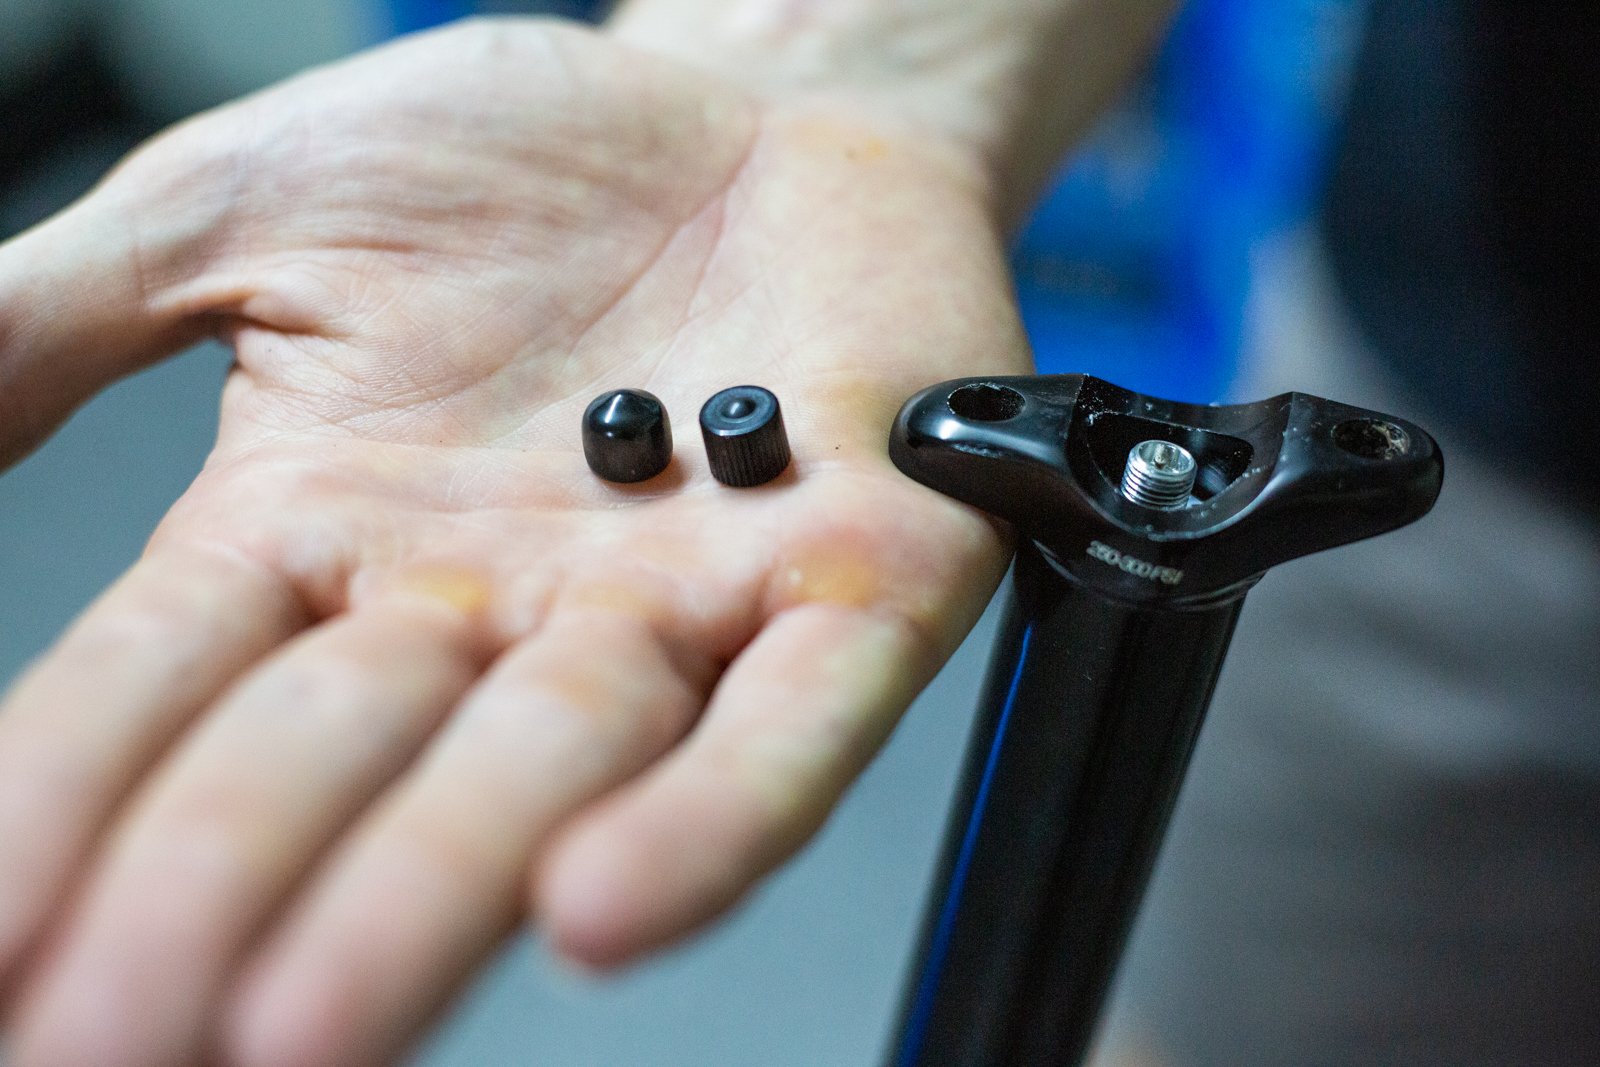
Now is where things will vary a little depending on what brand and model of post you have. Thankfully if you followed step one, you will be aware of any modifications you need to make to either your dropper post cartridge depth or valve cap using the parts provide by Aenomoly Constructs. Once complete the cartridge head should not obstruct the Switchgrade, allowing it to sit flush on the post head with no side-to-side play.
Step Five: Install the rear fastner
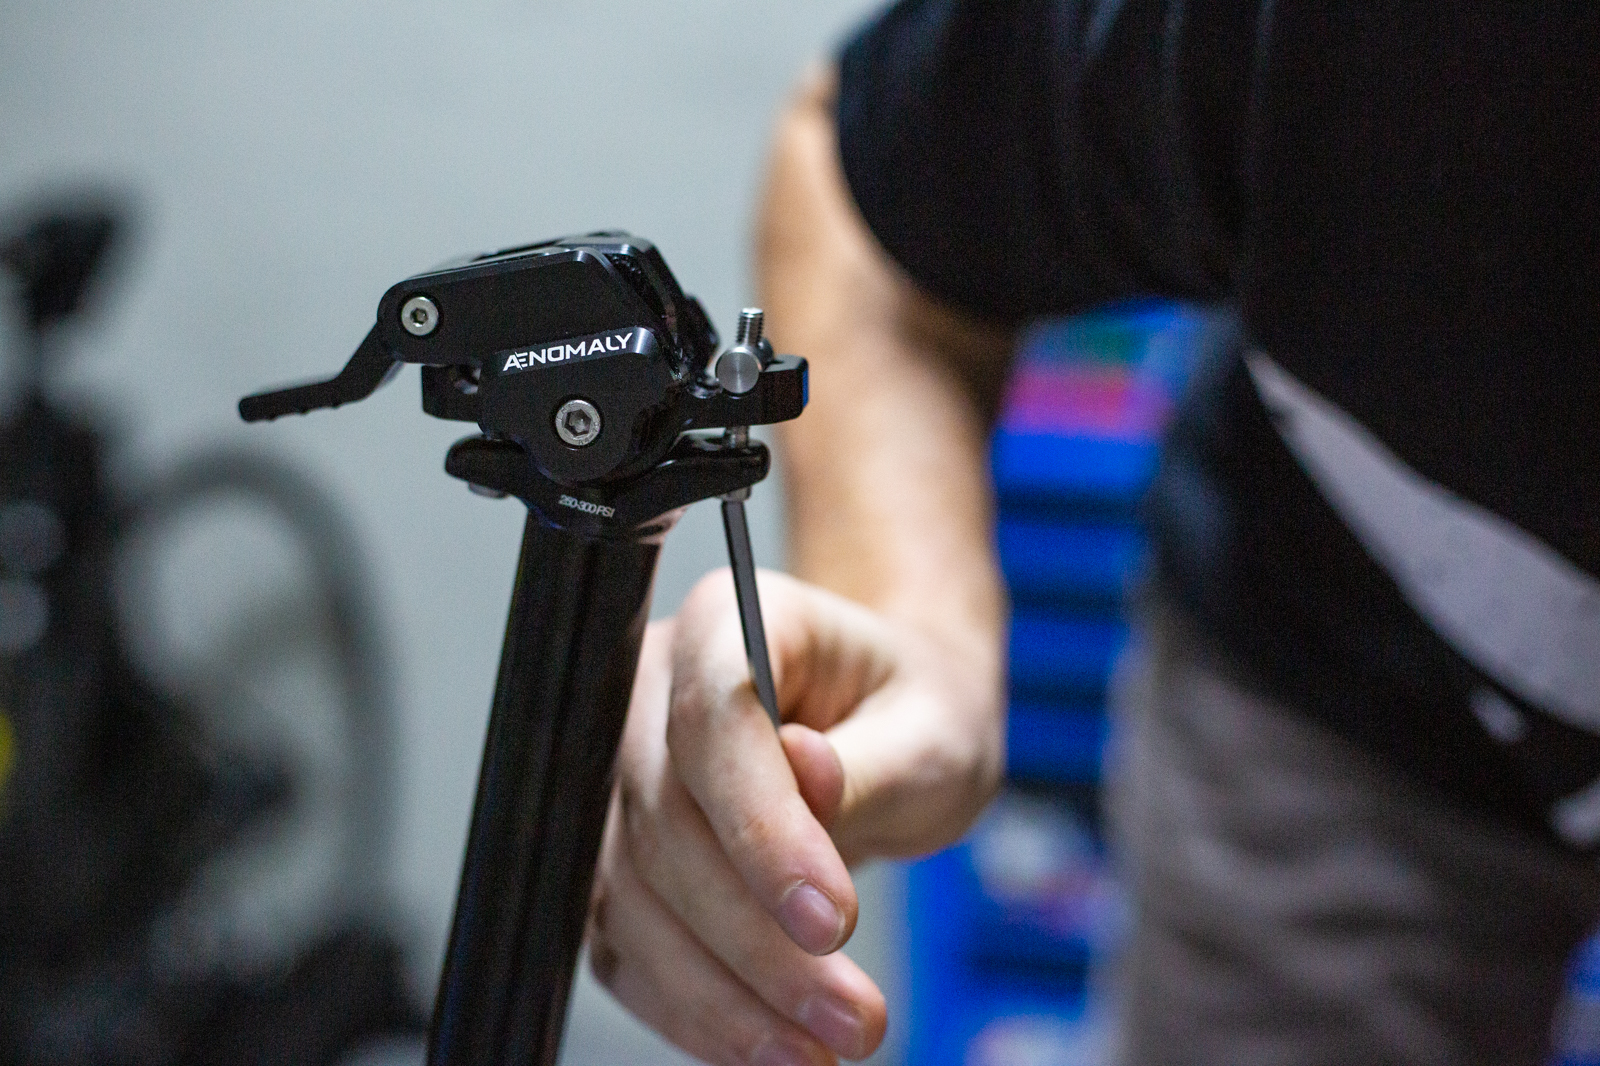
Using your hands, place one of the cylinder nuts in the rear scallop of the Switchgrade as is listed in the compatability guide. While pressing down on it with your index finger, carefully insert and tighten one of the M5 fastening bolts finger tight. There are four M5 bolts provided of varying lengths, and it may take some trial and error to get the ideal combination. In our case we used the second shortest bolt in the rear with the shortest in the front. Ideally, when fully rightened there should be a few mm of thread proud of the cylinder nuts.
Step Six: Install the front fastner
Following the same procedure as step five, install your front fastner into the appropriate scallop.
Step Seven: Install your seat
Now that the Switchgrade is installed on your post, slide your seat into position and adjust it to your desired fore/aft position in the rails. Once you are happy with the location, tighten the rail clamp screw to 4Nm with your 4mm torque wrench.
Step Eight: Set your neutral position

After ensuring the Switchgrade is in it’s neutral (or middle) postiion, you can begin to tighten the front and rear fastners. Do this incrementally, with the goal being that your saddle is parallel to the ground when both fastners reach 5Nm.
Step Nine: Check your seat height
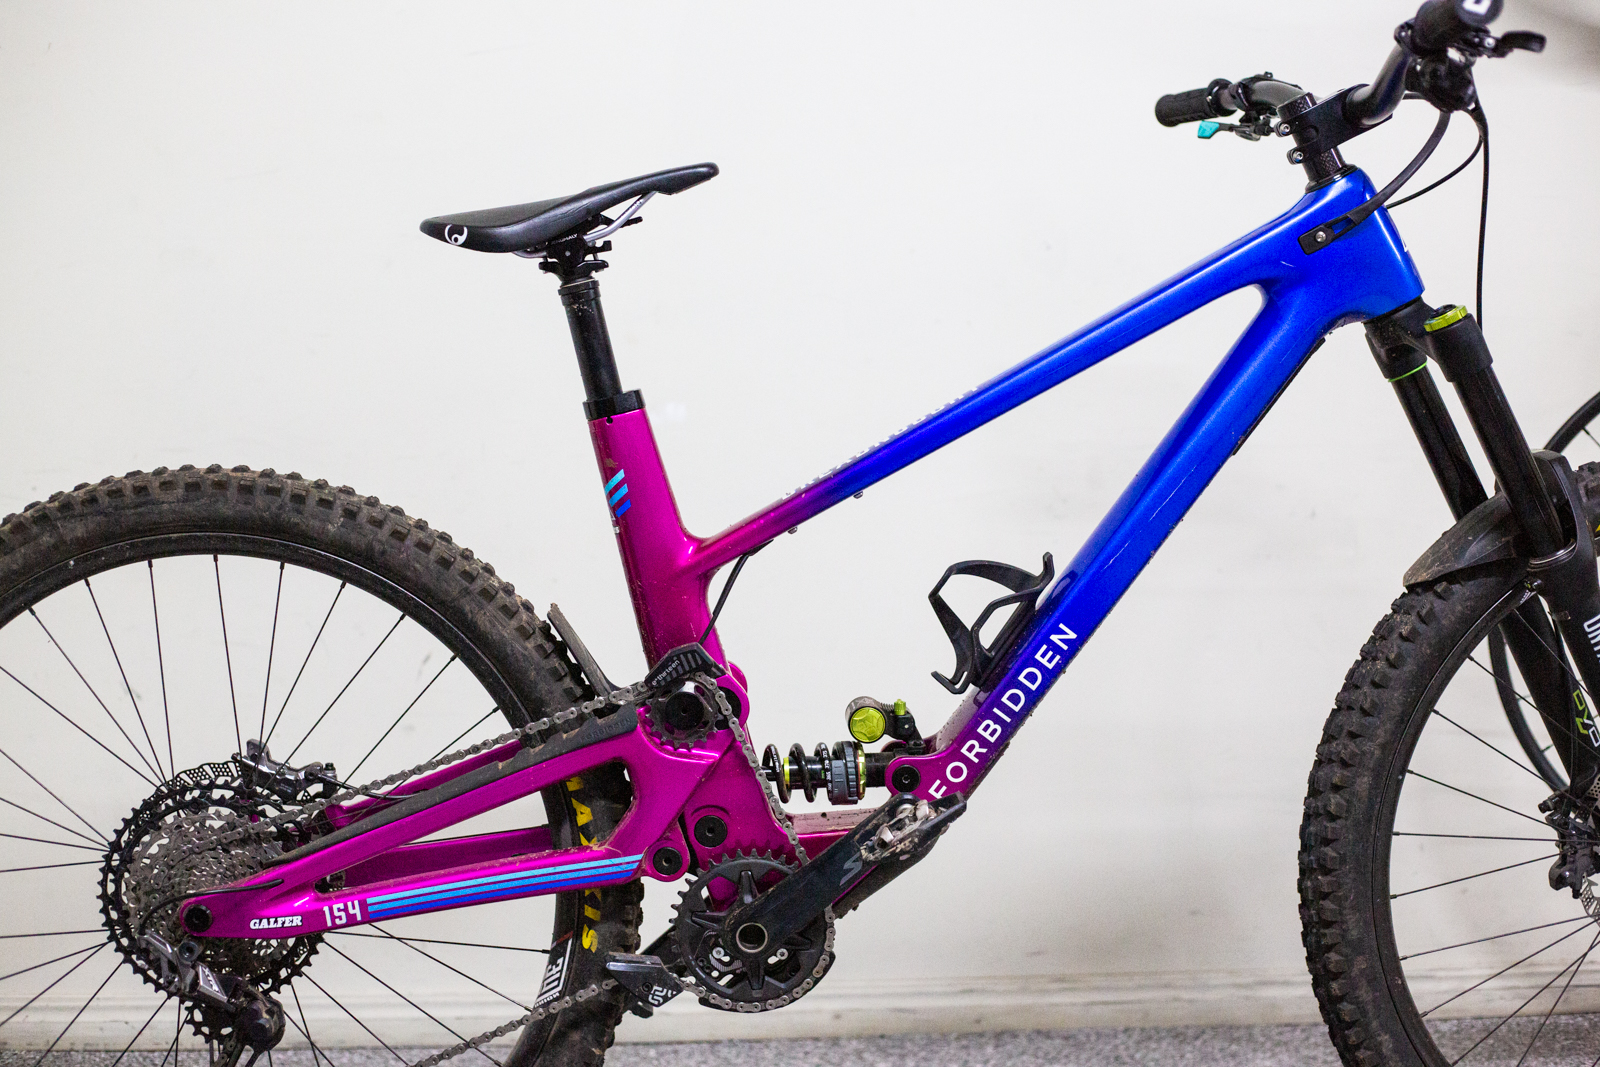
Check your seat height while referring to the seat height measurement you took in step three. Adjust your seat post height as required if there is any variance.
Step Ten: Get out and ride!
Now that your shiny new component is installed go out for a ride and test the positioning and functionality. Take your torque wrench with you so that you can dial in the neutral position to your liking, while also testing the -10° (climb) and +12° (descend) positions.
Want more workshop tips? We’ve got you covered:
How to fit Frameskin frame protection

