Workshop: Minor suspension service
Not maintaining your suspension can end up being a costly mistake. Though the outside your fork may look OK, the only way to ensure no damage is being done internally is to remove the lowers and inspect them.
Check the manufacturer specifications of your fork for the service intervals and oil chart before you attempt to service your own fork.
Telltale signs that your fork might need a minor service include:
– Oil leaking from one of the seals
– Discolouration of the stanchions
– Fork feels sticky
– Fork doesn’t return to max travel
Before you start your fork service you should ensure that all external adjustments work and that your fork holds air. Before you start moving external adjustments and playing with air pressure, note where the rebound dial is positioned and how much air is in the fork so that you can return to its original setting after the service has been completed.
If you’re not confident removing the brake/headset system, you may want to consider getting your local bicycle shop to service the fork until you get a better understanding of the mechanics needed.
TOOLS NEEDED
– 32mm dust wiper seals and foam rings
– 20ml of 30wt suspension oil
– 5mm allen key
– Nylon/rubber mallet
– Metal tyre lever or 17mm spanner
– Piece of dowel or handle of a duster
– Dust wiper seal driver or large socket/stunt peg
– Torque wrench (not vital)
– P.P.E (gloves,eyewear, apron)
– Bottle cleaning brush
– Alcohol or disc brake cleaner
– Suspension grease
– Syringe with hose
STEP 1
Clamp the steerer tube of the fork into a repair stand.

STEP 2
Ensure the lock-out adjuster knob is in the open setting by turning anti-clockwise.

STEP 3
Note down the PSI pressure than release the air from the sprung side (put a rag over the valve before releasing to catch any lubricant that may spray out.

STEP 4
Clean around the dust wiper seals with a rag before removal
STEP 5
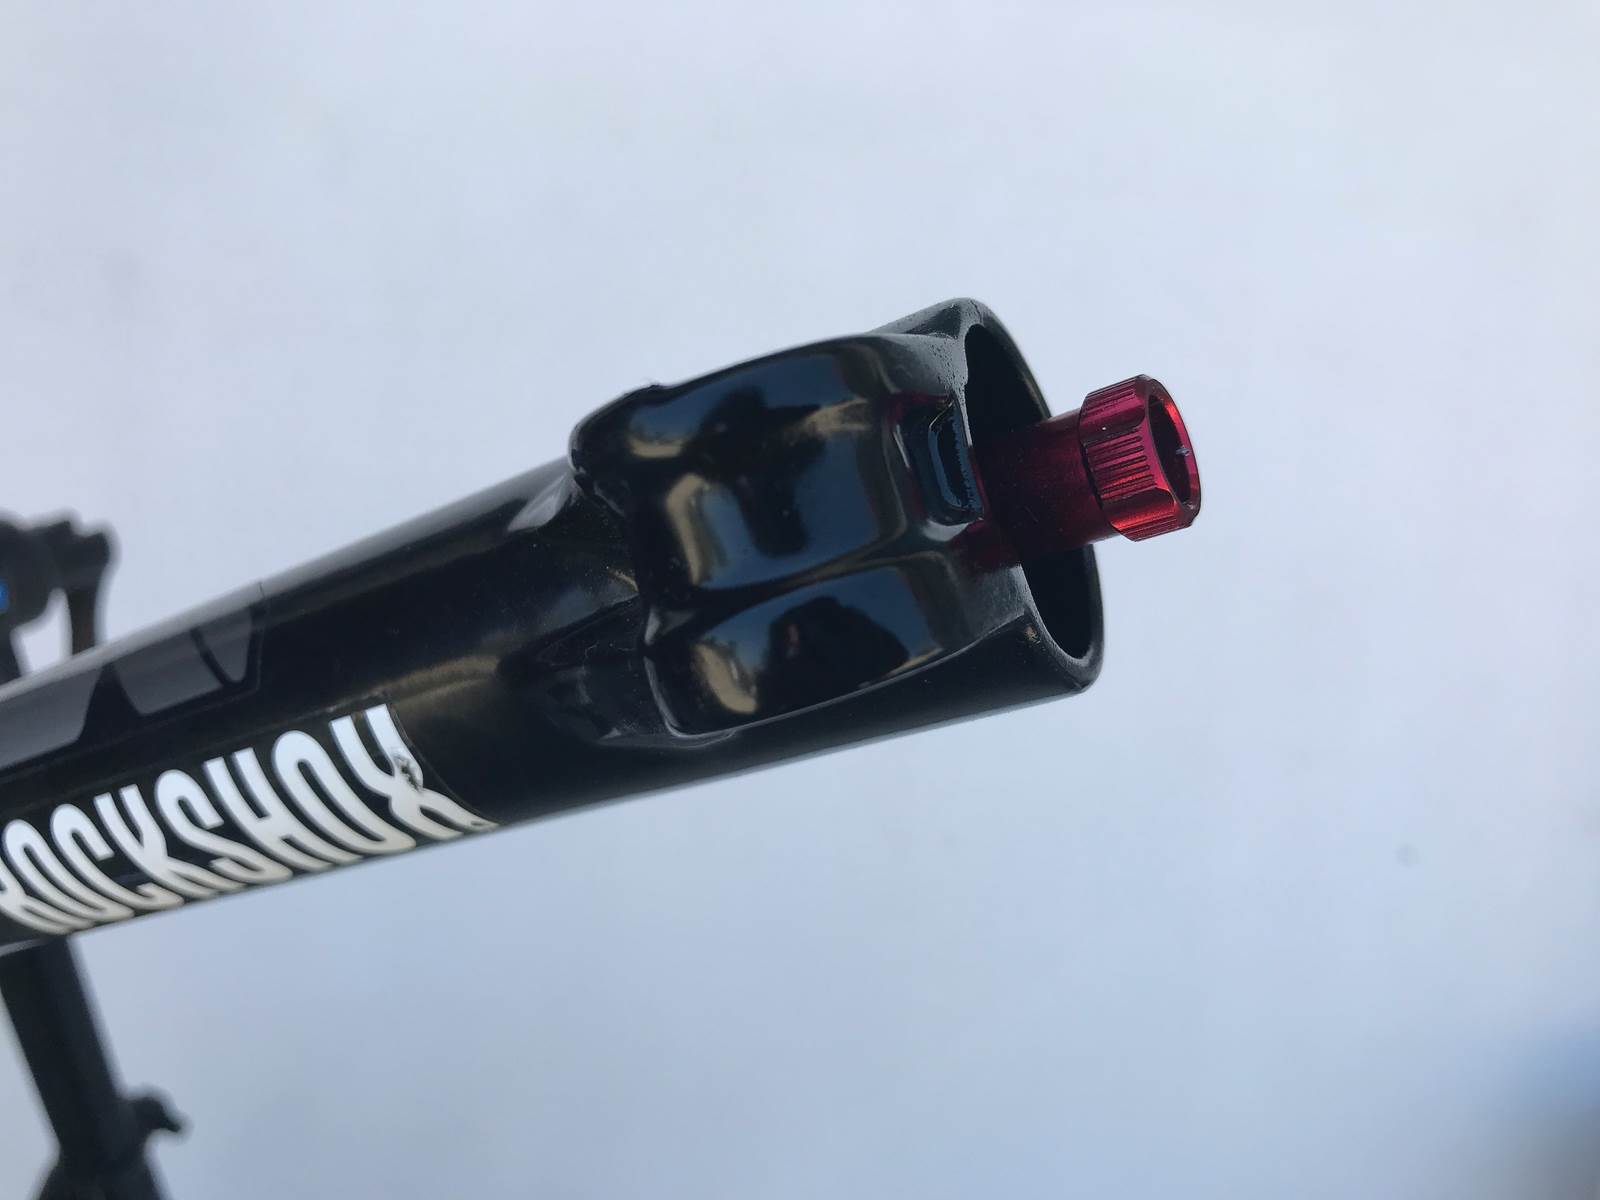
Rotate the repair stand clamp so the fork lowers are pointing slightly above horizontal and remove the red rebound knob which is found on the bottom of the lower leg
STEP 6
Loosen the bolts holding the lowers onto the CSU (crown/steerer/uppertube)
STEP 7
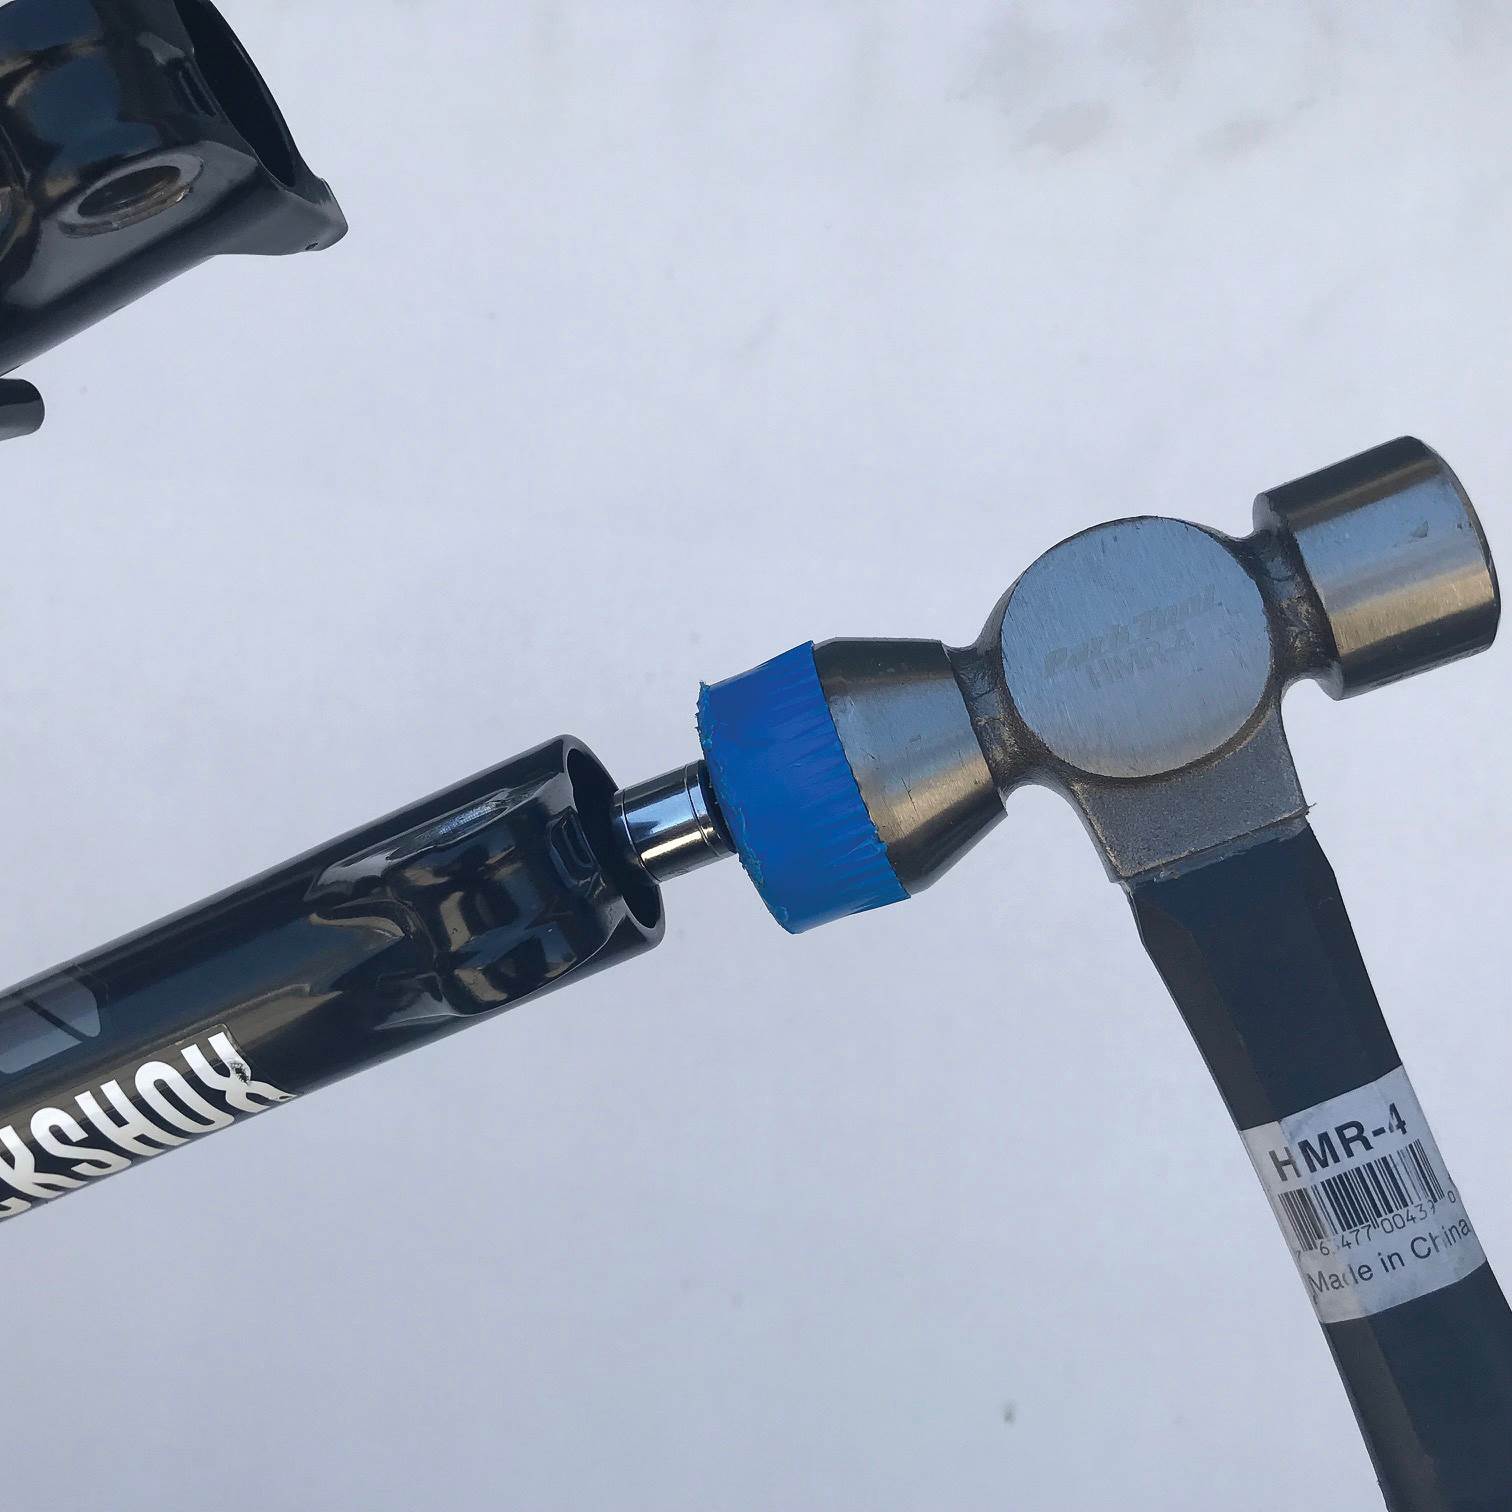
Ensure half the thread of the bolts are exposed and tap them with the mallet until the bolt threads disappear into the fork, this will free up the inner rods. Remove the bolts completely.
STEP 8
Place a container underneath the lowers and rotate the repair stand clamp so the fork legs are pointing towards the ground. Let the oil drain (only about 6-7ml should come out of each side)
Remove the lower legs completely by sliding them down and off the CSU
Wipe clean the CSU’s using alcohol on a lint free cloth.

STEP 9
Use the tyre lever and remove the dust wiper seals and foam ring

STEP 10
Clean out internals of lower legs using alcohol and bottle brush and then wipe clean.
STEP 11
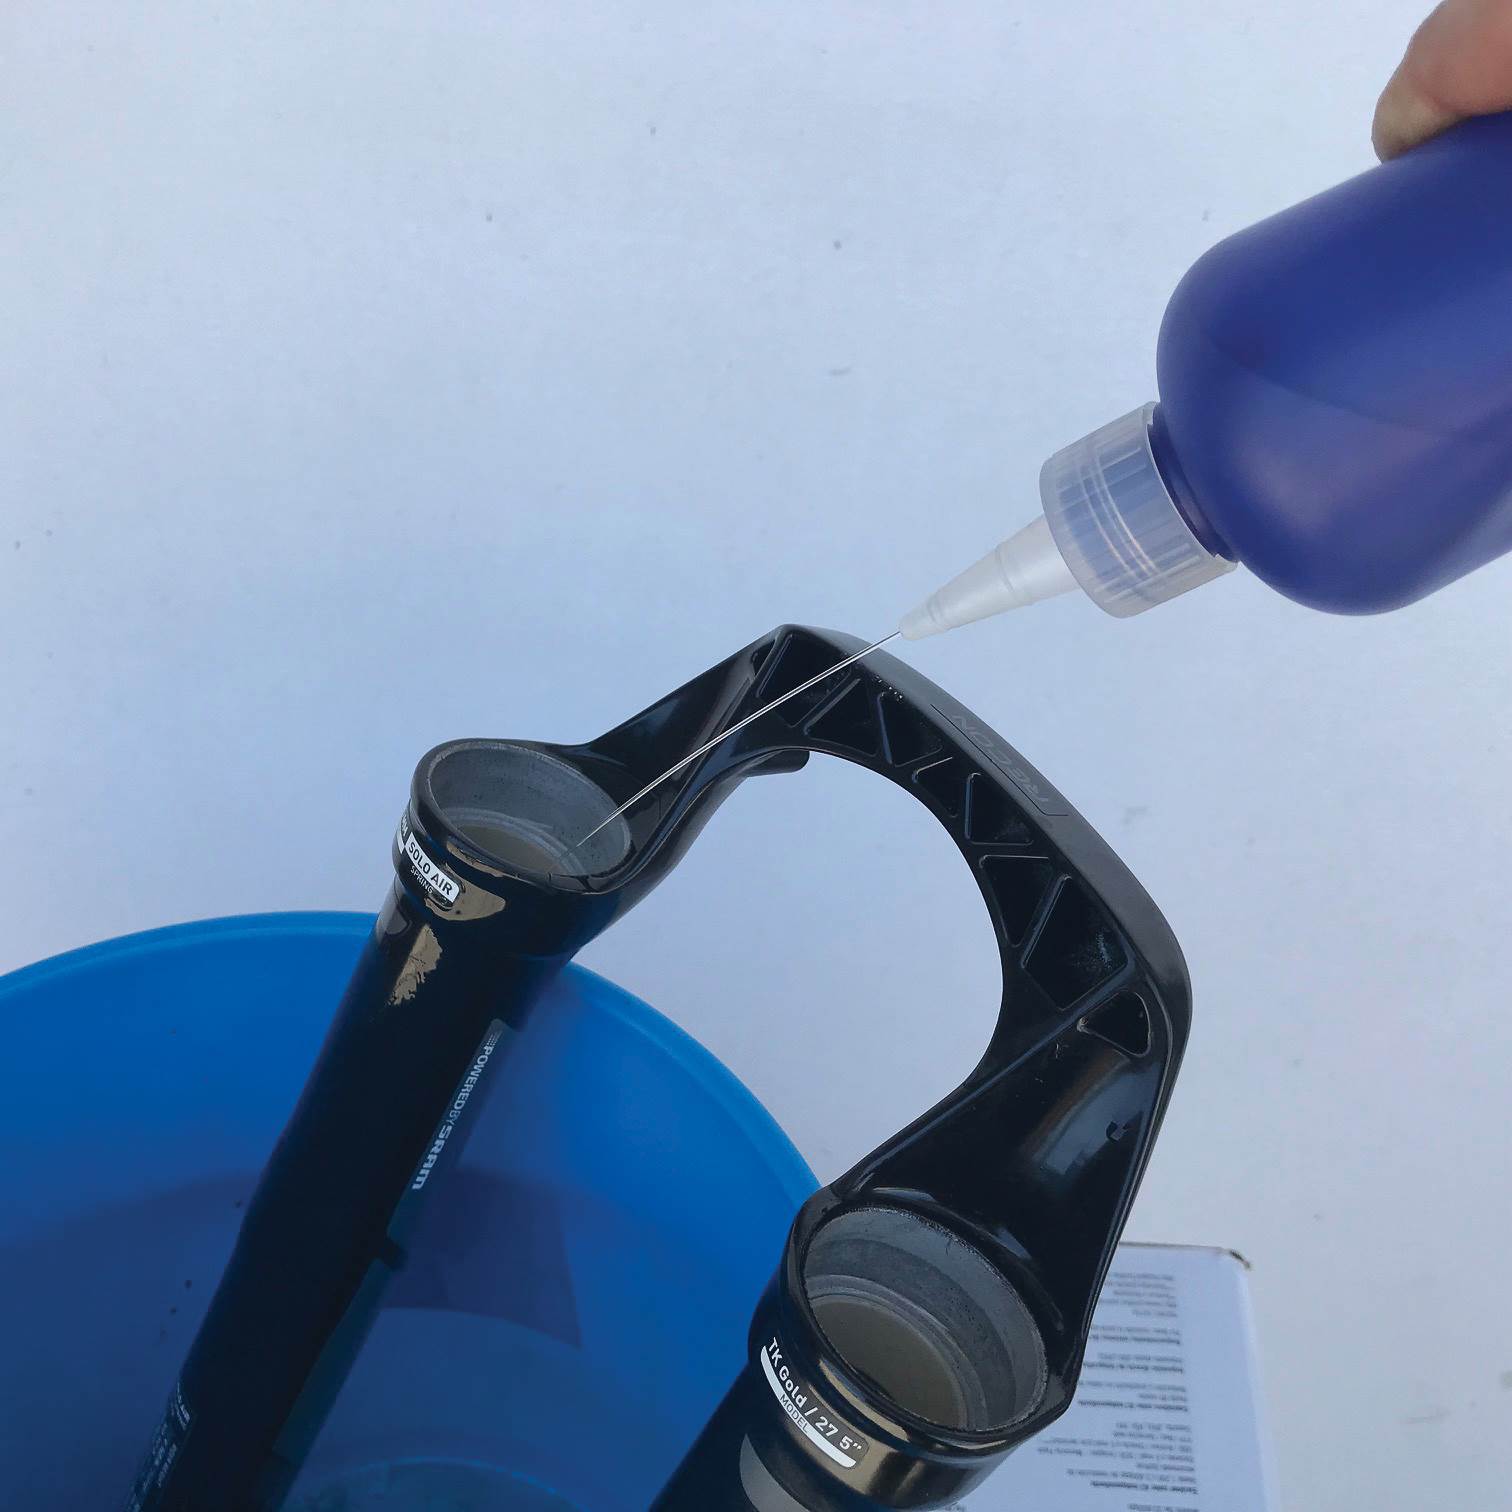
Pre-soak new foam rings in the 30wt suspension oil.

STEP 12
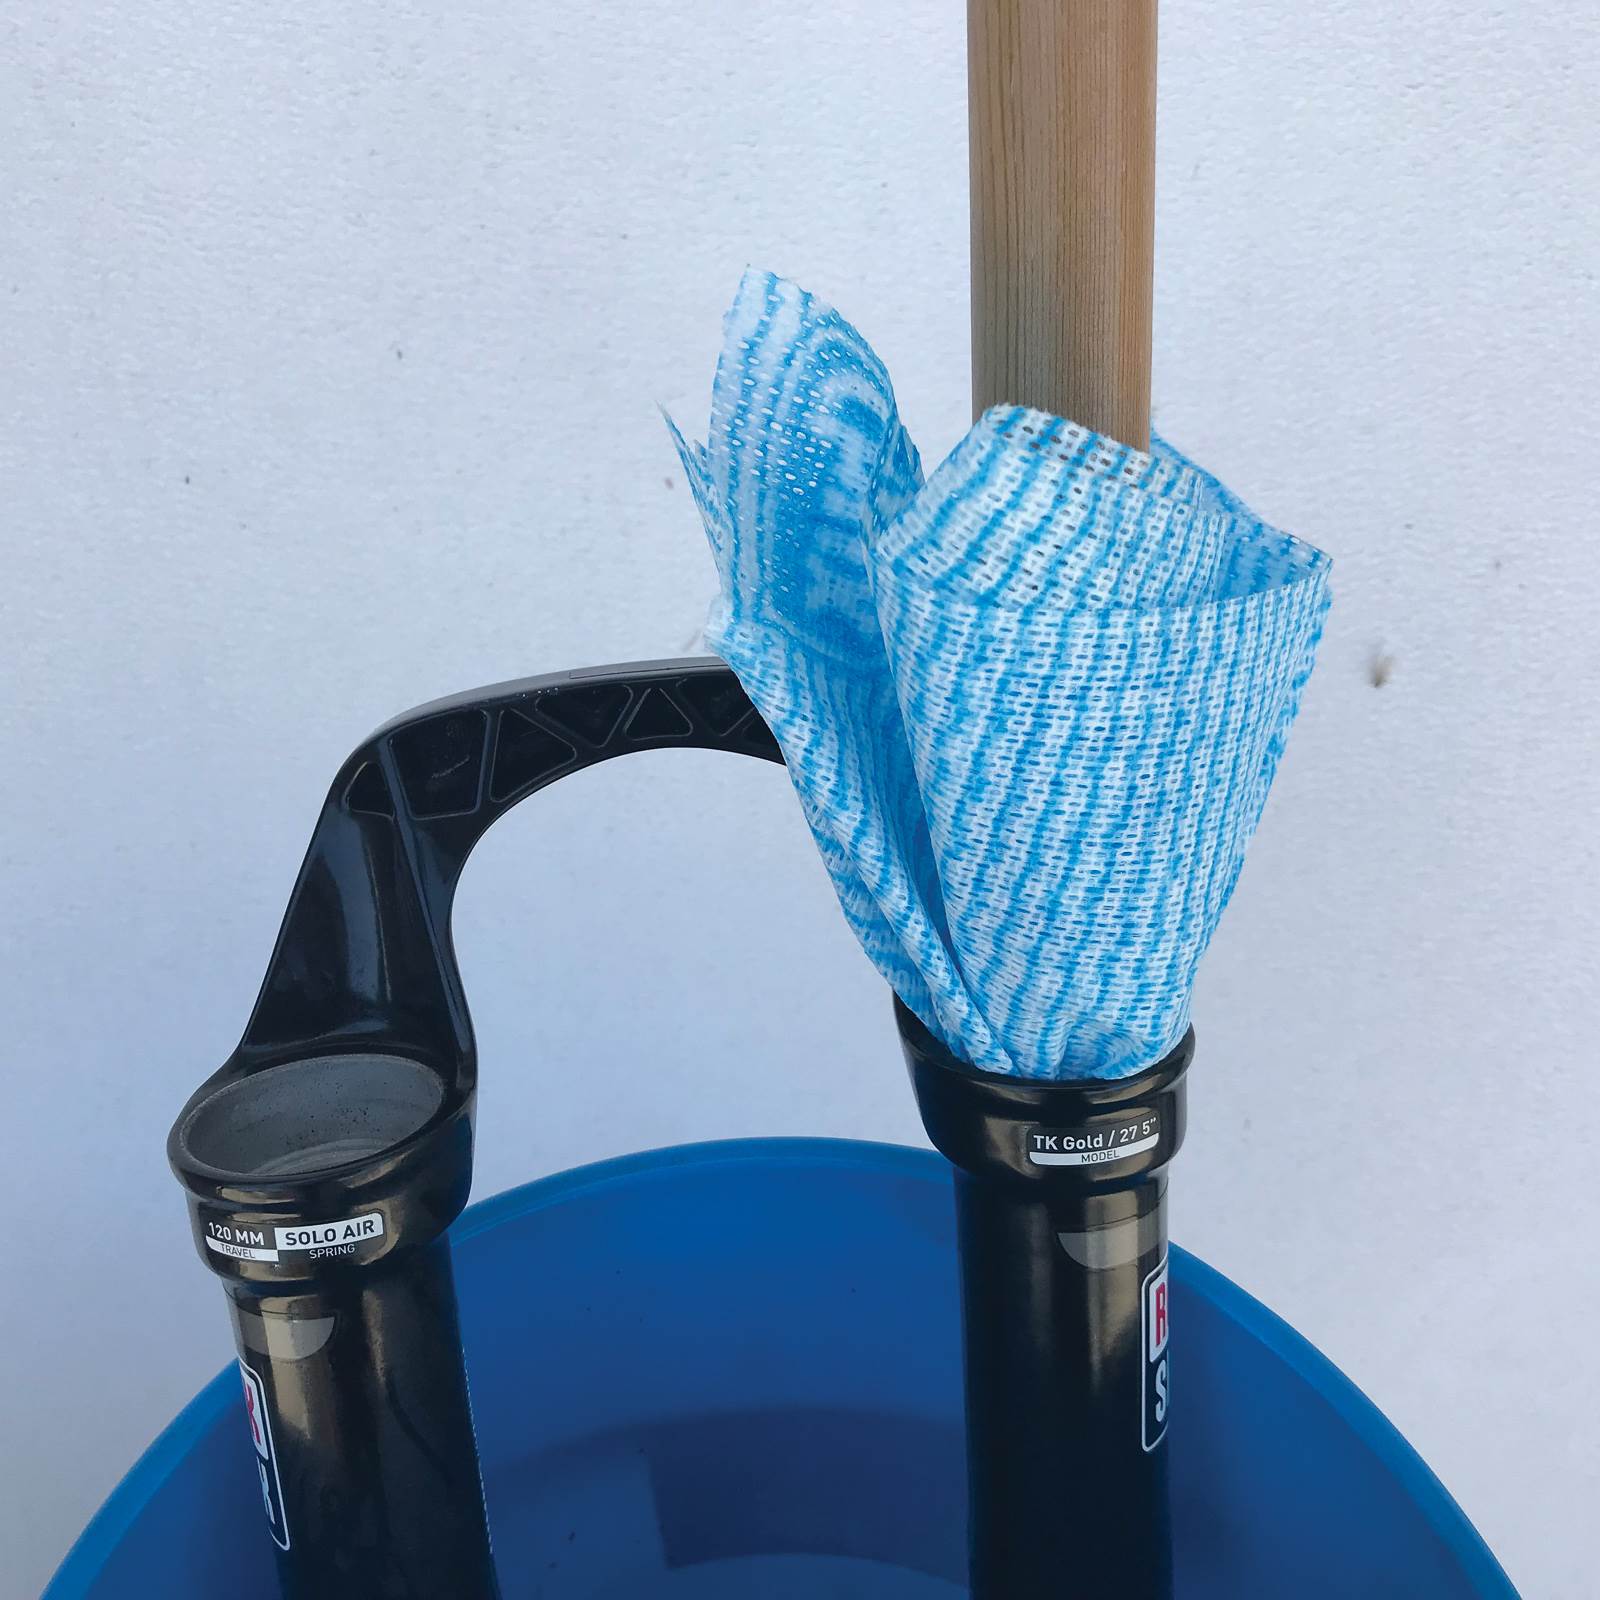
Press in the new dust wiper seals into the lower legs with dust wiper seal driver. Ensure they are sitting flush against the fork lowers. (Ensure you clean the outside of the dust wiper seals with alcohol to ensure they stay in place once pressed in)

STEP 13
Place the pre-soaked foam ring into the fork, between the dust wiper seal and top bush. Smear some suspension grease on the inside of the dust wiper seal.

STEP 14
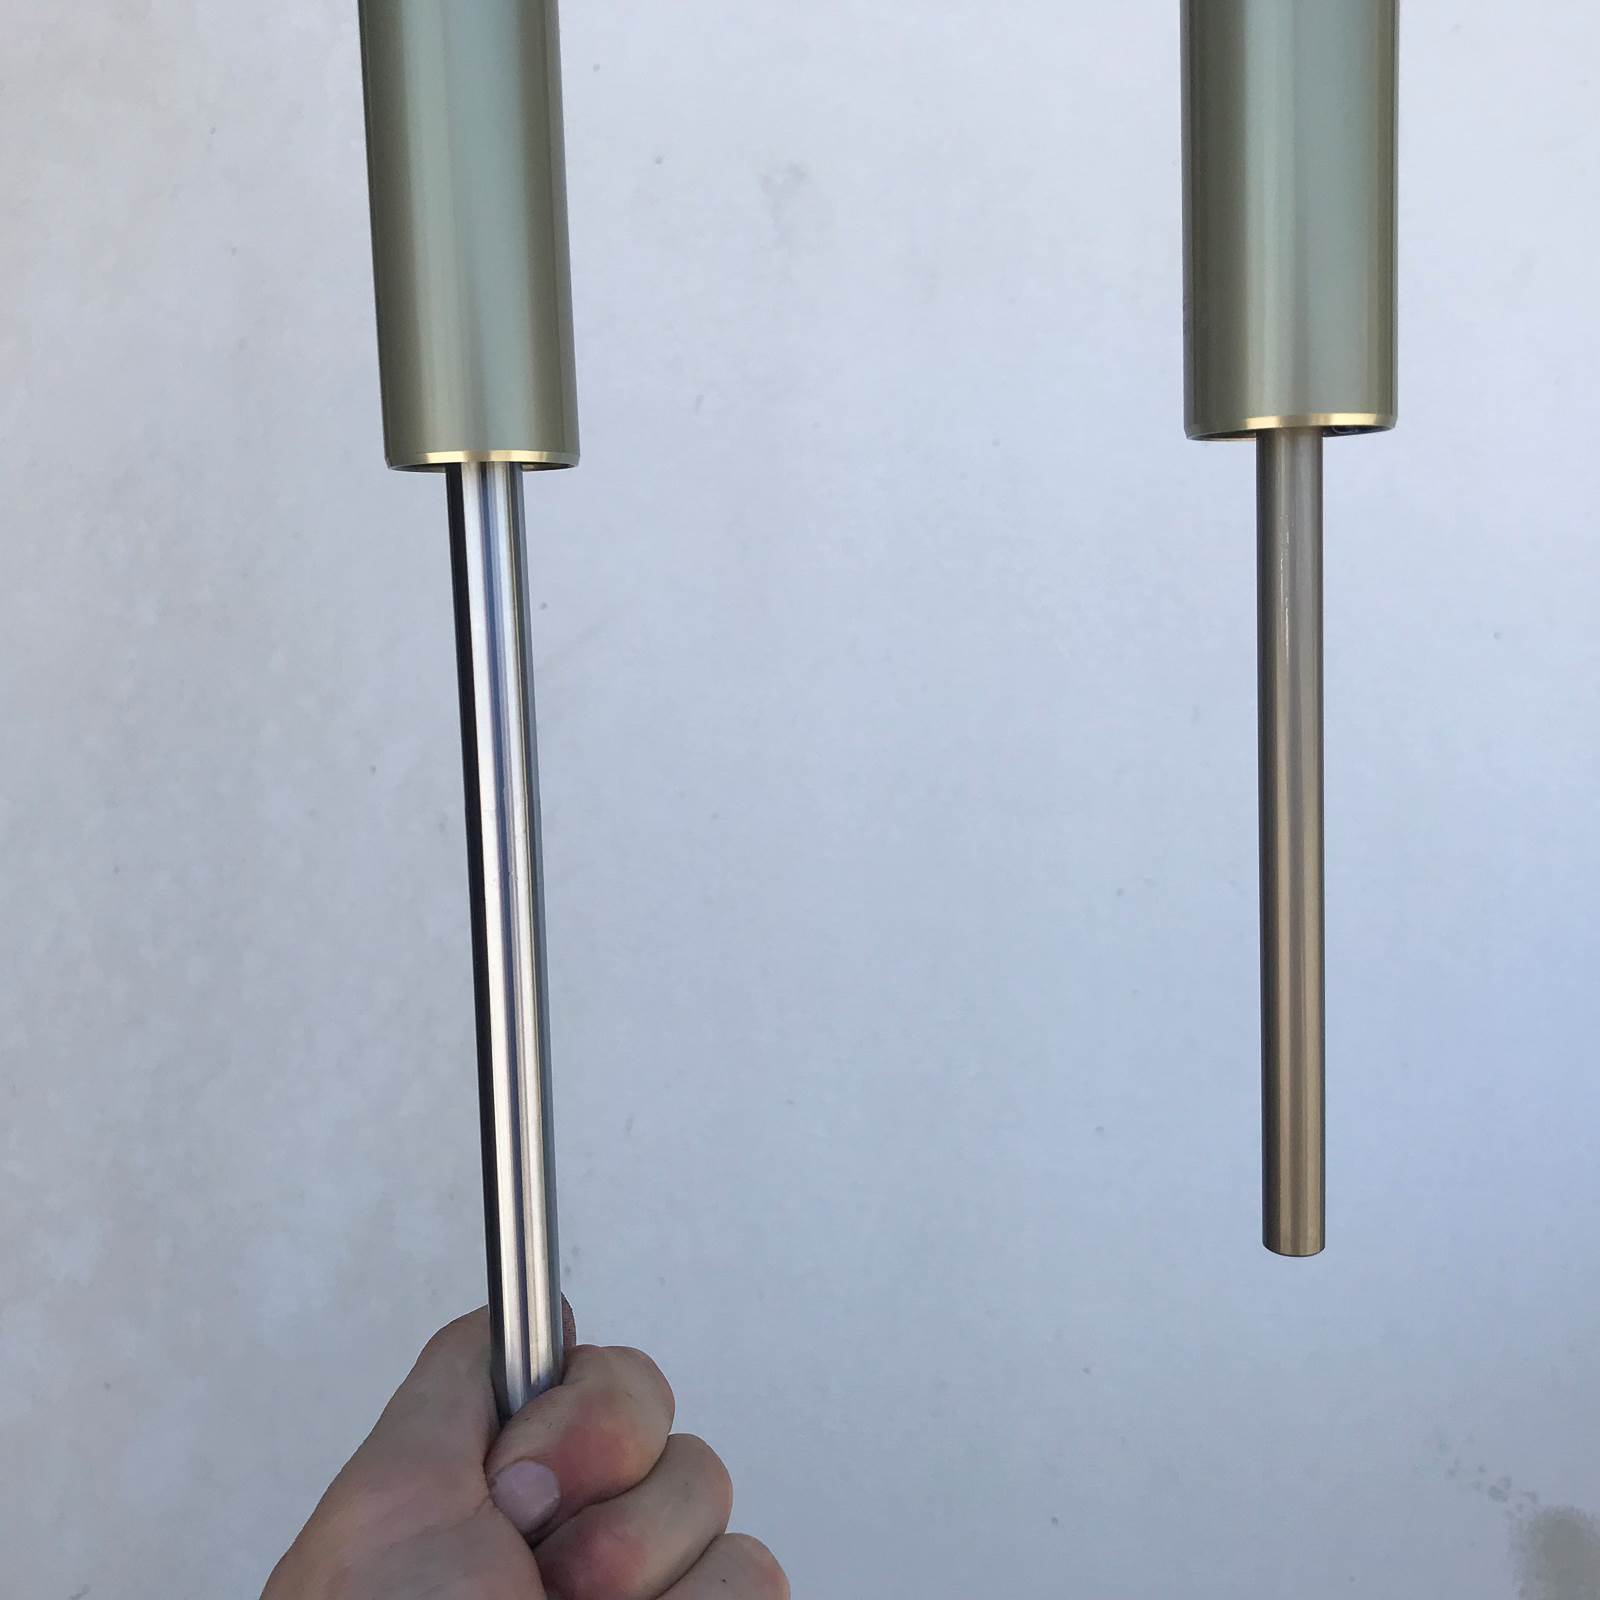
Gently pull down on the 2 rods from the CSU as far as possible. Slowly slide the lowers onto the CSU (Be careful and don’t force anything as you don’t want to damage the new the seals)
STEP 15
Turn the forks upside down and ensure the rods aren’t pressed against the bottom of the lowers. Inject 7ml of 30wt suspension fluid into each leg using syringe.

STEP 16
Tighten each bolt to 8NM
(the bolt with a hole through the middle threads onto the rebound side)

STEP 17
Press the rebound knob back on. Wipe fork clean with alcohol and inflate air chamber to original PSI using a shock pump. Insert into bicycle, tighten headset and re-attach brake system.
Words and Photos: Ben Milivojevic (Bicycle mechanic training institute)


