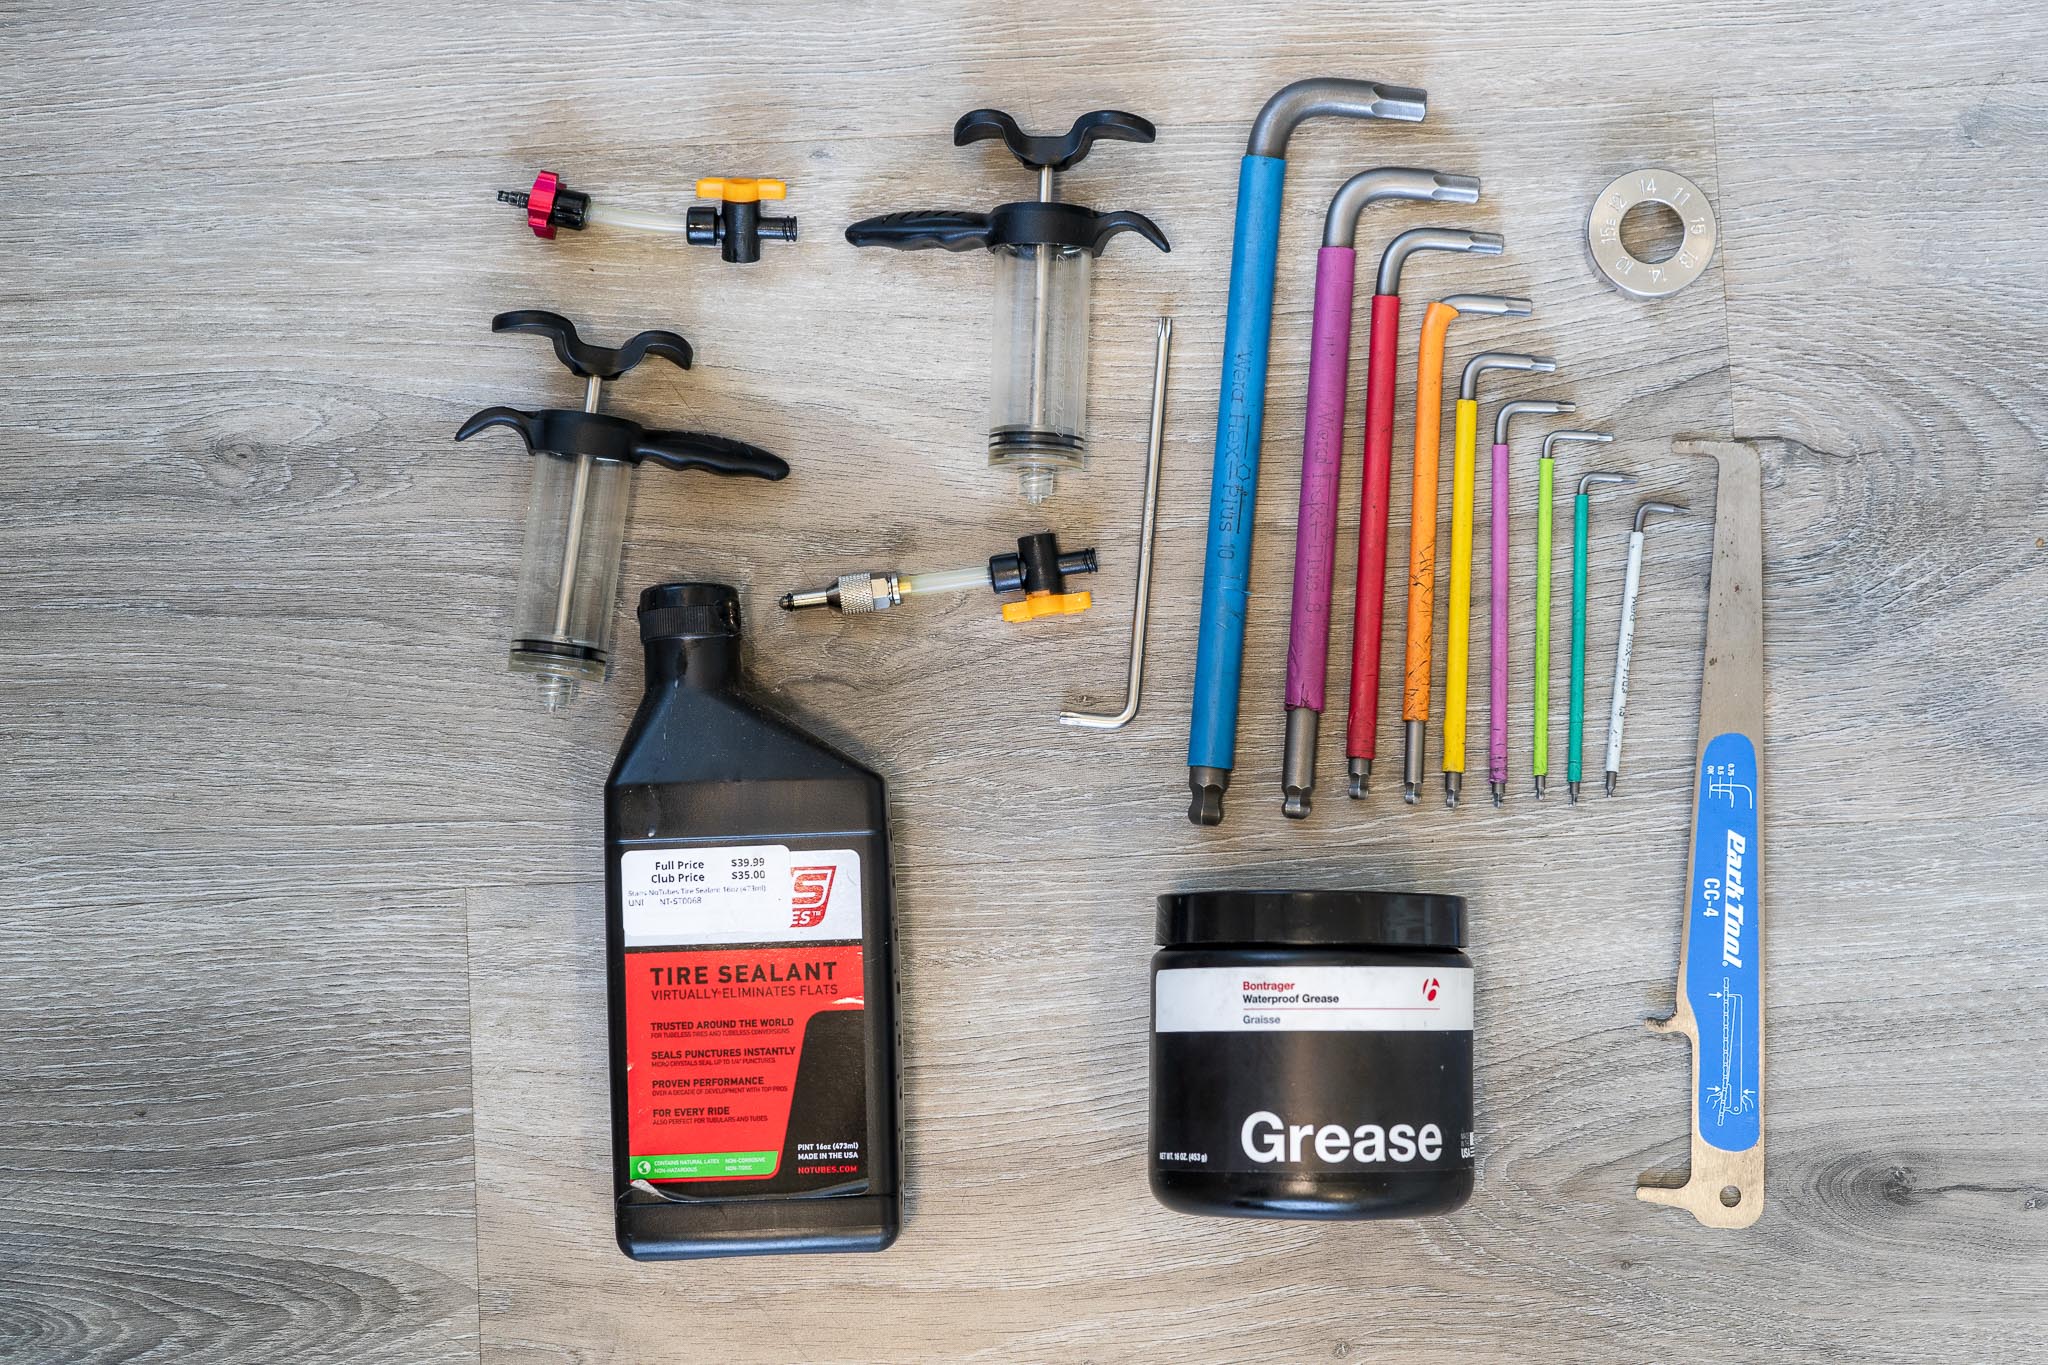
Words and photos: Darren Mallard
You have done the training, paid the entry fee, and booked your flights, everything's in place to race, right? Wrong! There is nothing worse than seeing riders rock up to a race weekend after months of preparation and their bike is in dire need of care. One small check over that takes less than an hour can save you the disappointment of a failed race due to mechanical issues. Here are some of the major things to check before heading off for the big race.
Chain and cassette
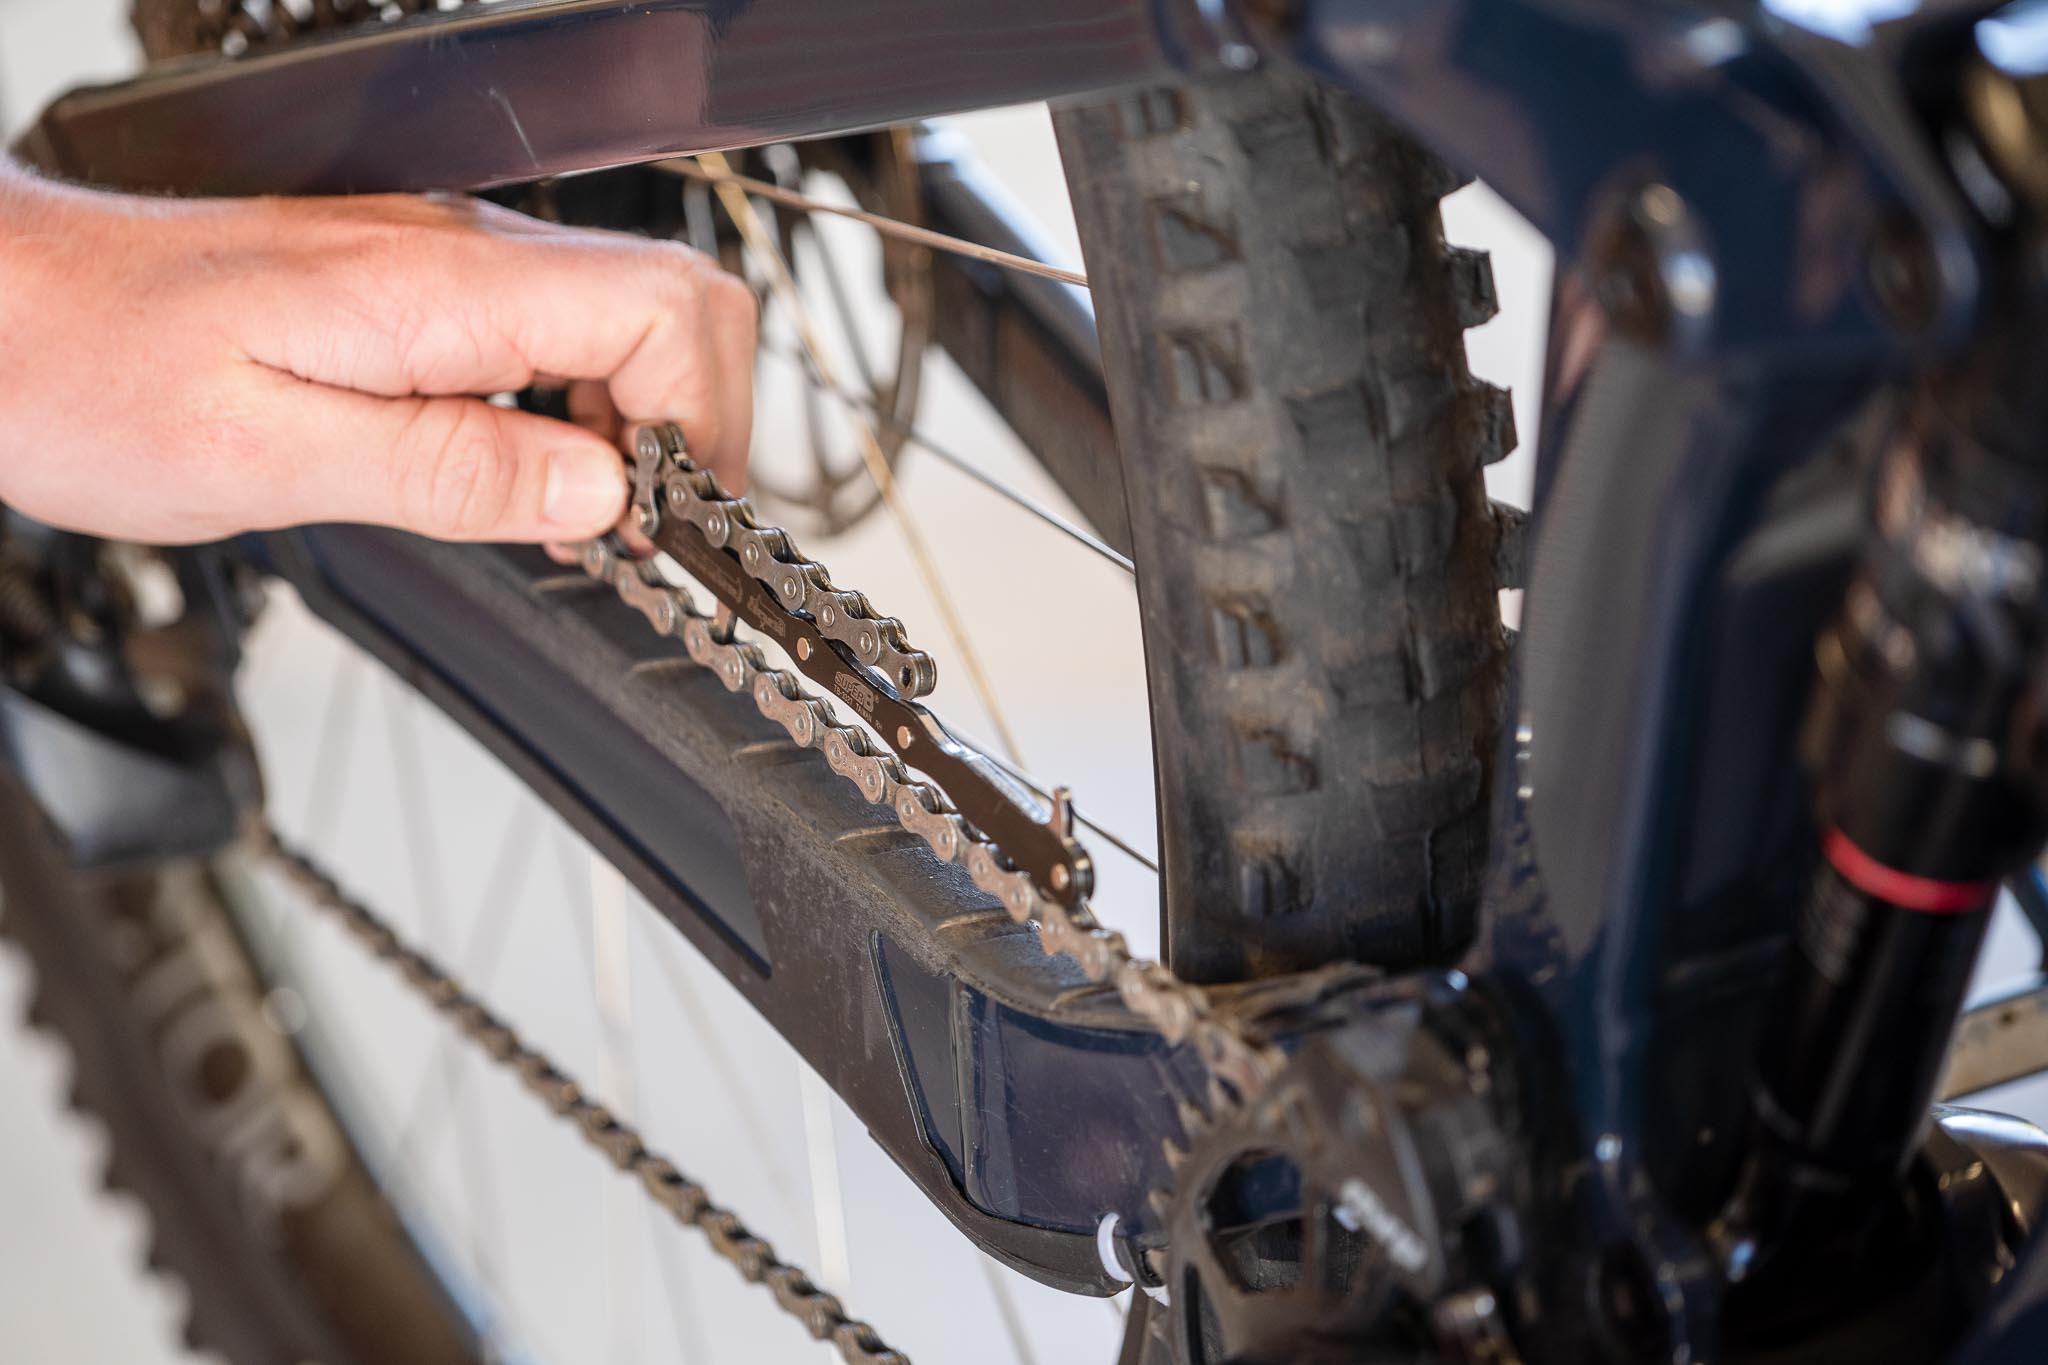
Before looking at your shifters, cables, and rear mech, it is important to ensure that your chain and cassette aren’t too worn. If they are worn then no matter how good you are at tuning gears, they will never be 100% perfect.
Purchasing a chain checker is cheap and will save you from spending hundreds of dollars down the line. If your chain is 50-60% worn and it is the original chain used on your cassette then you are OK with just replacing the chain. If the chain shows 60-100% or it is the second chain to wear to 50+% then we recommend replacing the cassette as well.
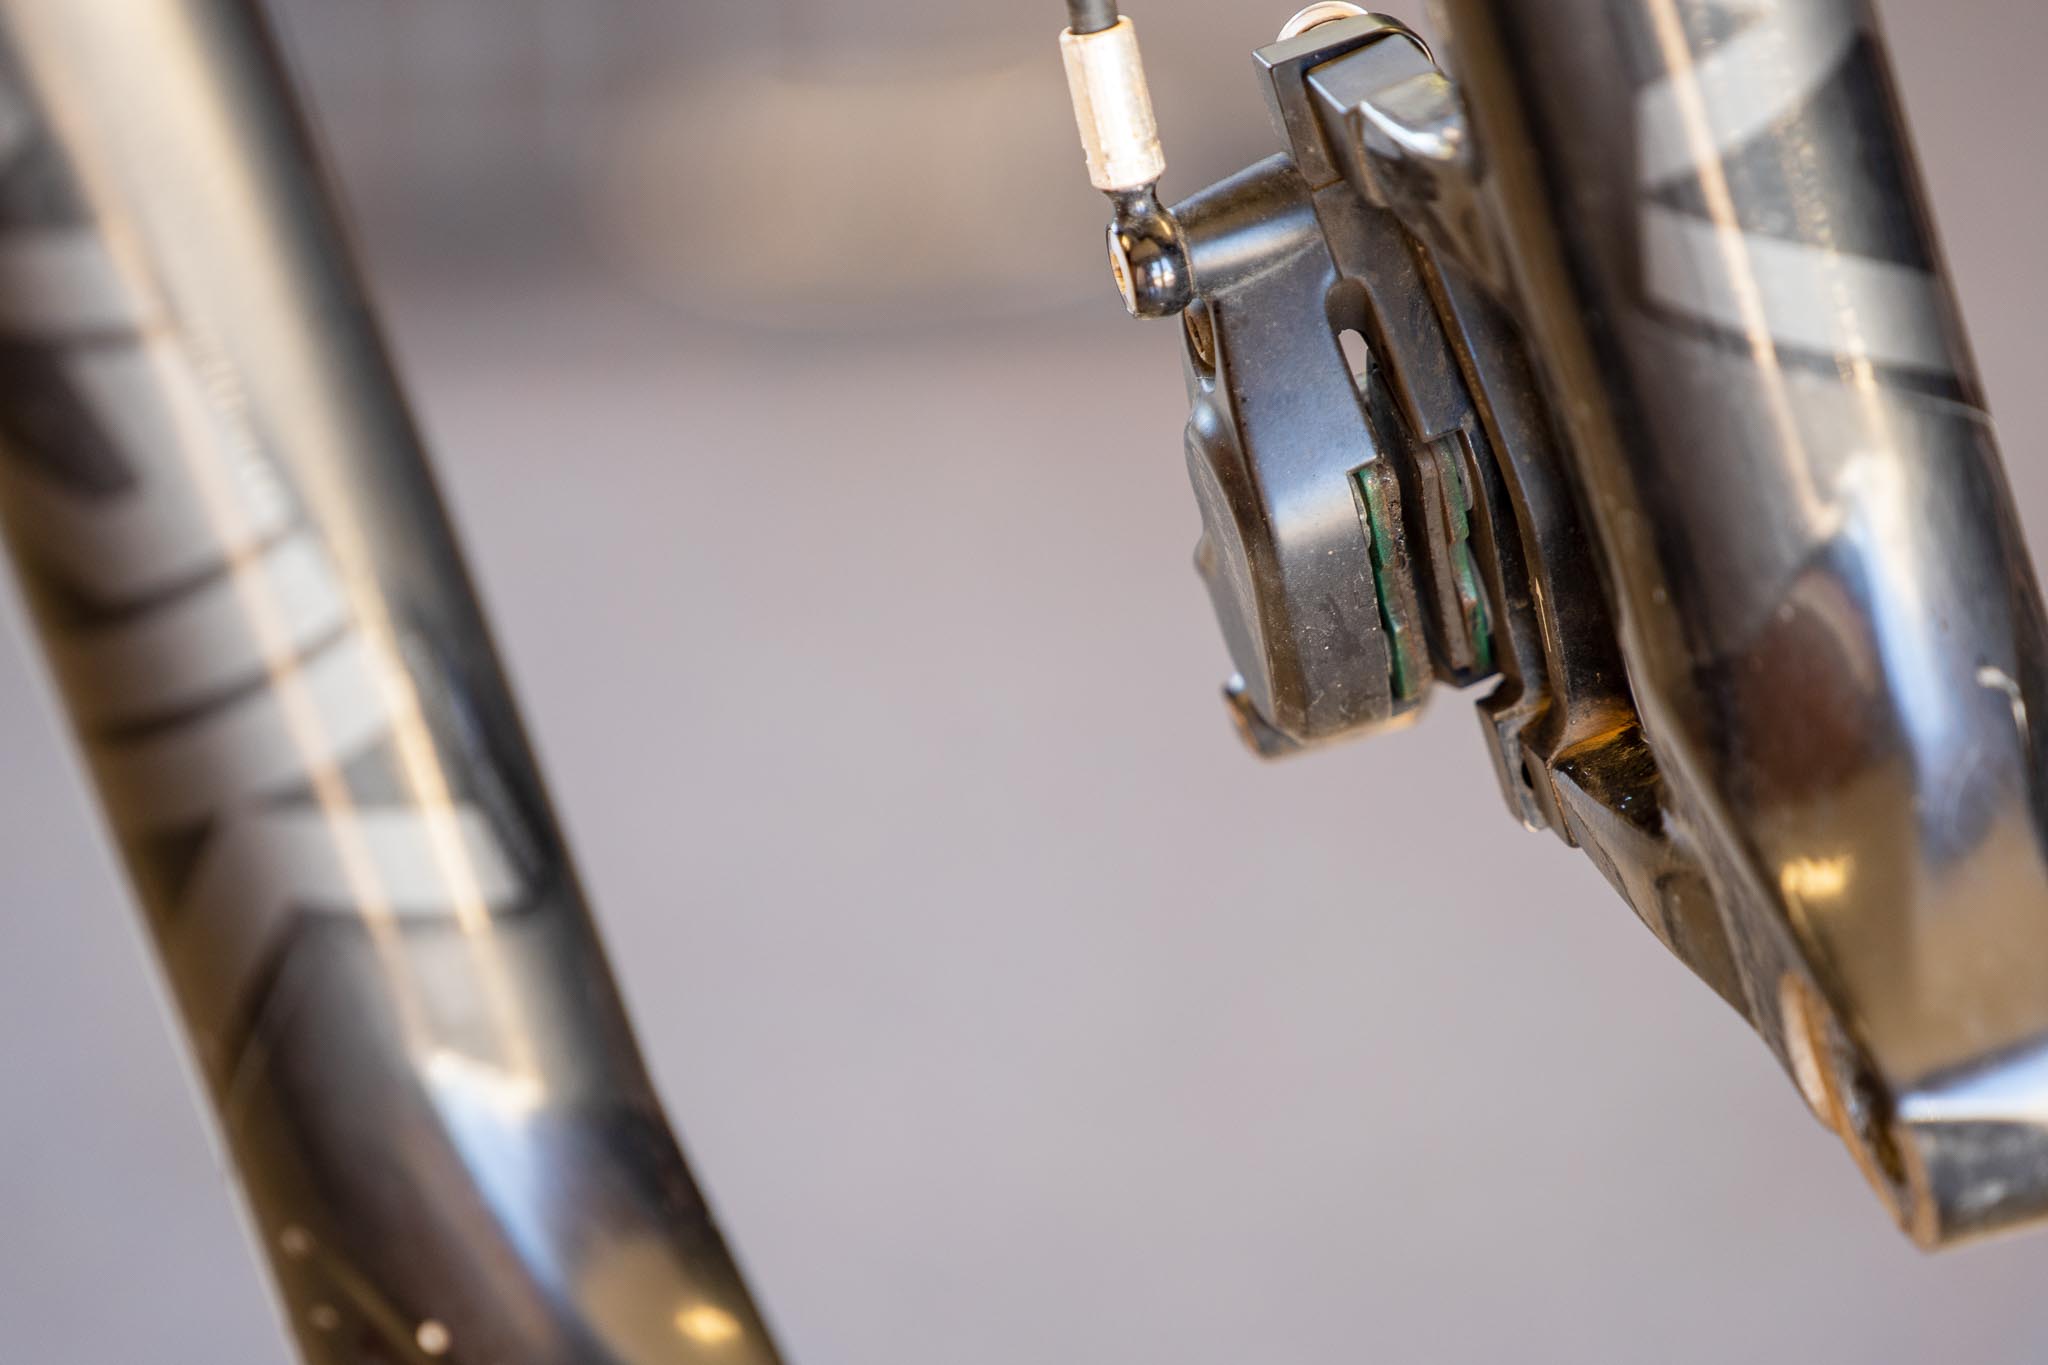
Shifter, Cable, and Derailleur
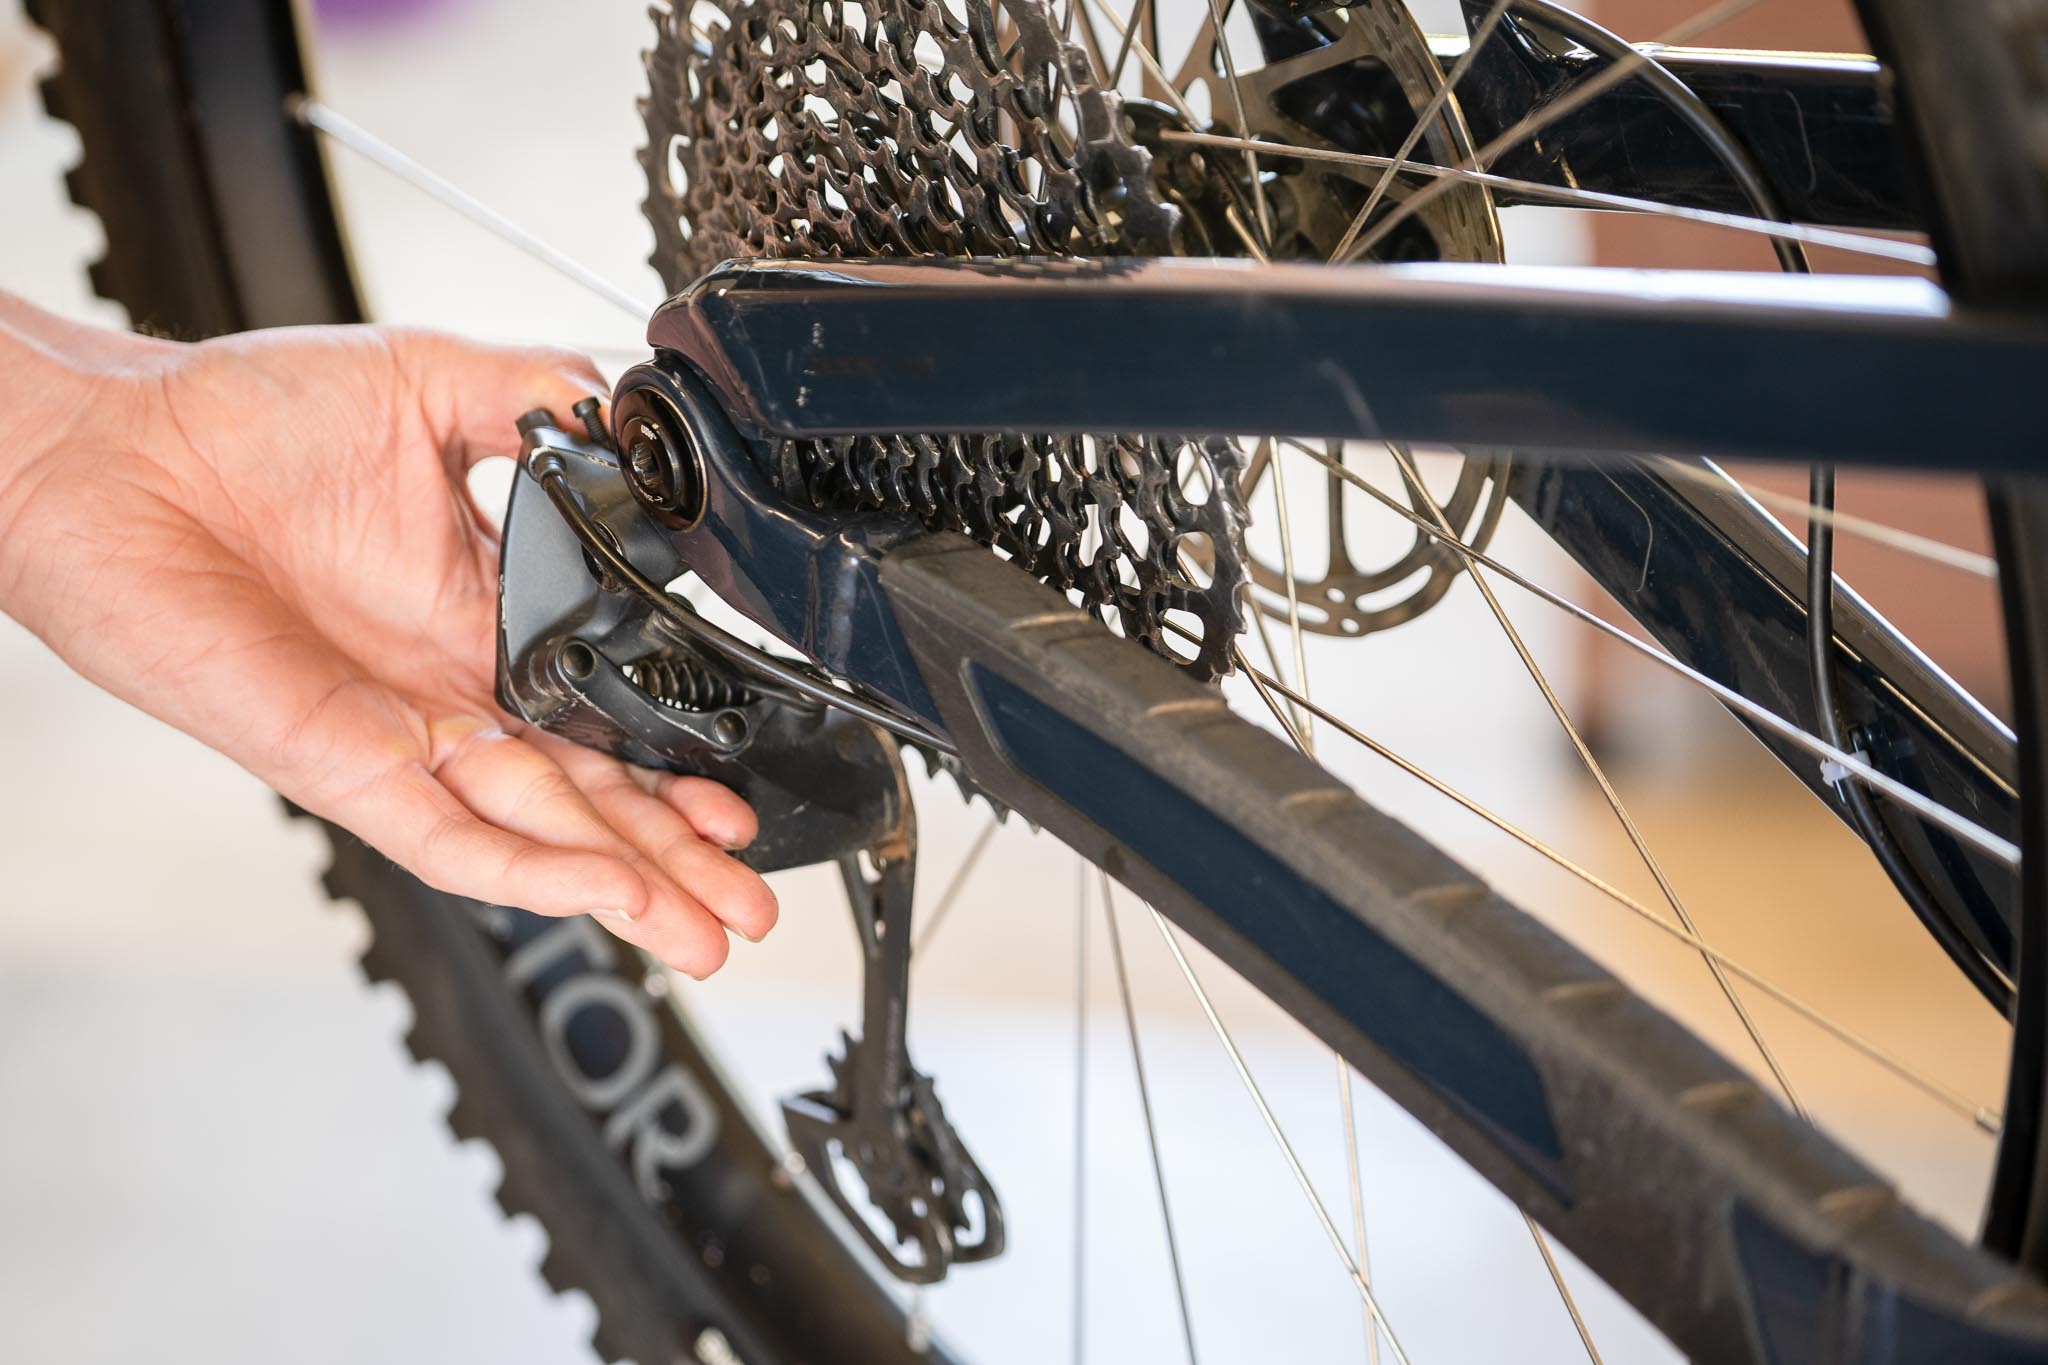
Now we know your chain and cassette are in the best condition, it’s time to check your shifter. If it’s a big race then I usually recommend replacing your inner and outer cables at least a week before the big event. This allows the cables to bed in and you can adjust the shifting accordingly. If you are running AXS or Di2 then it is a good time to check batteries, wires, and connections to ensure they are 100%.
When removing the old cable it is a good time to inspect your shifter and make sure that it clicks through the gears crisply with minimal force. If it is gummed up or extremely dirty then it may need a flush with degreaser and lube up. If you are not confident in this then remove your shifter and take it to your local mechanic.
While your cable is disconnected check that your rear mech hanger is straight and not misaligned. If so, align it with an alignment tool or take it to your mechanic. Once it is aligned, run it through the gears using your hand to make sure it moves freely. Check your pulleys to make sure they spin freely and that there are no obvious signs of damage.
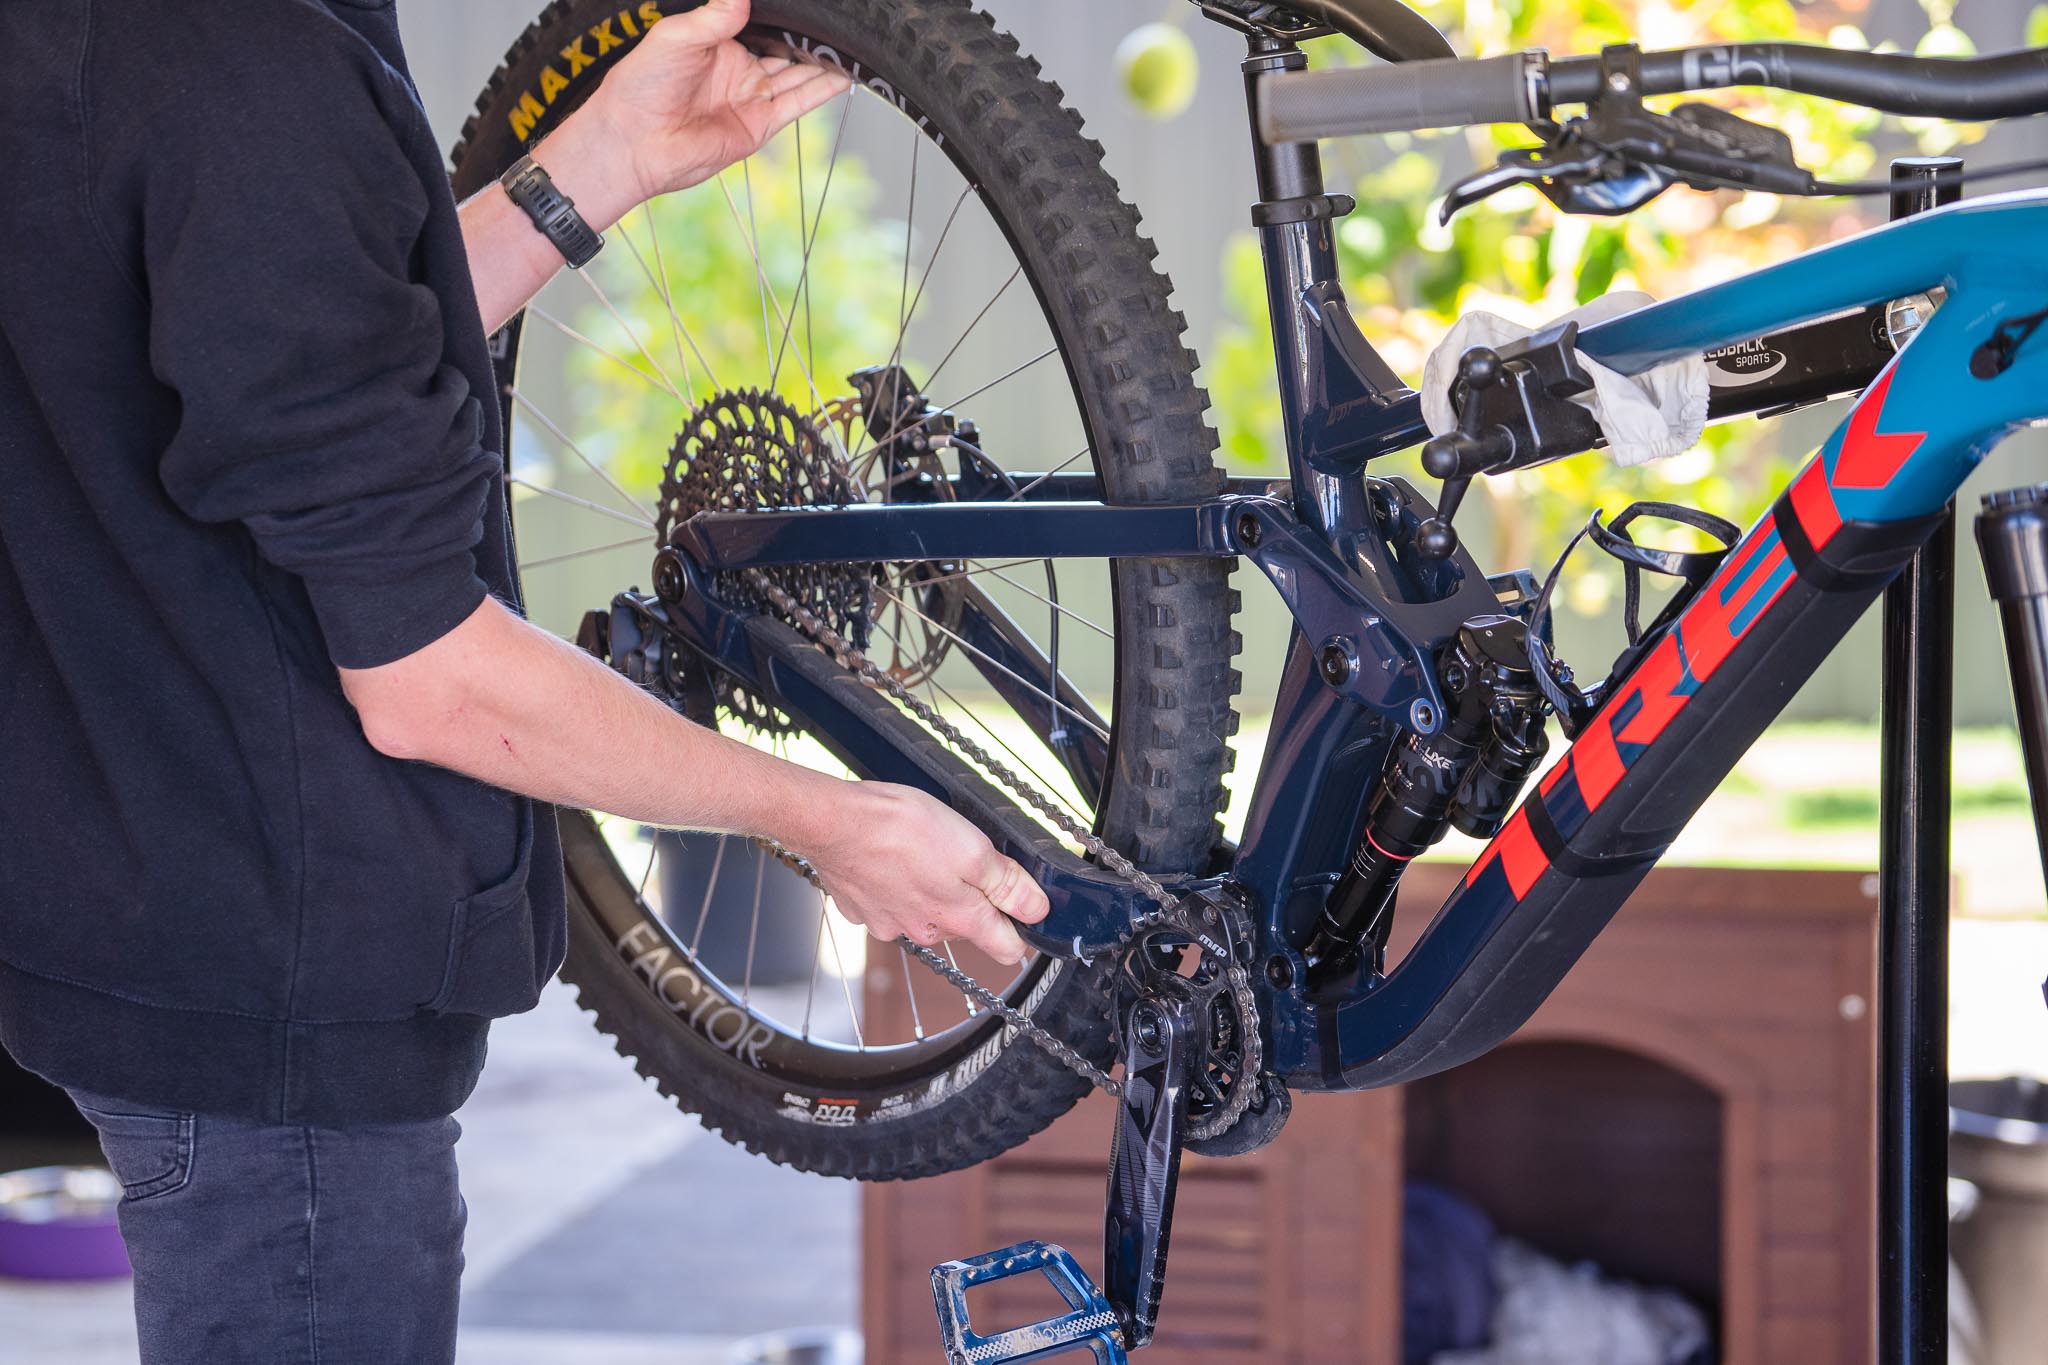
Bottom Bracket
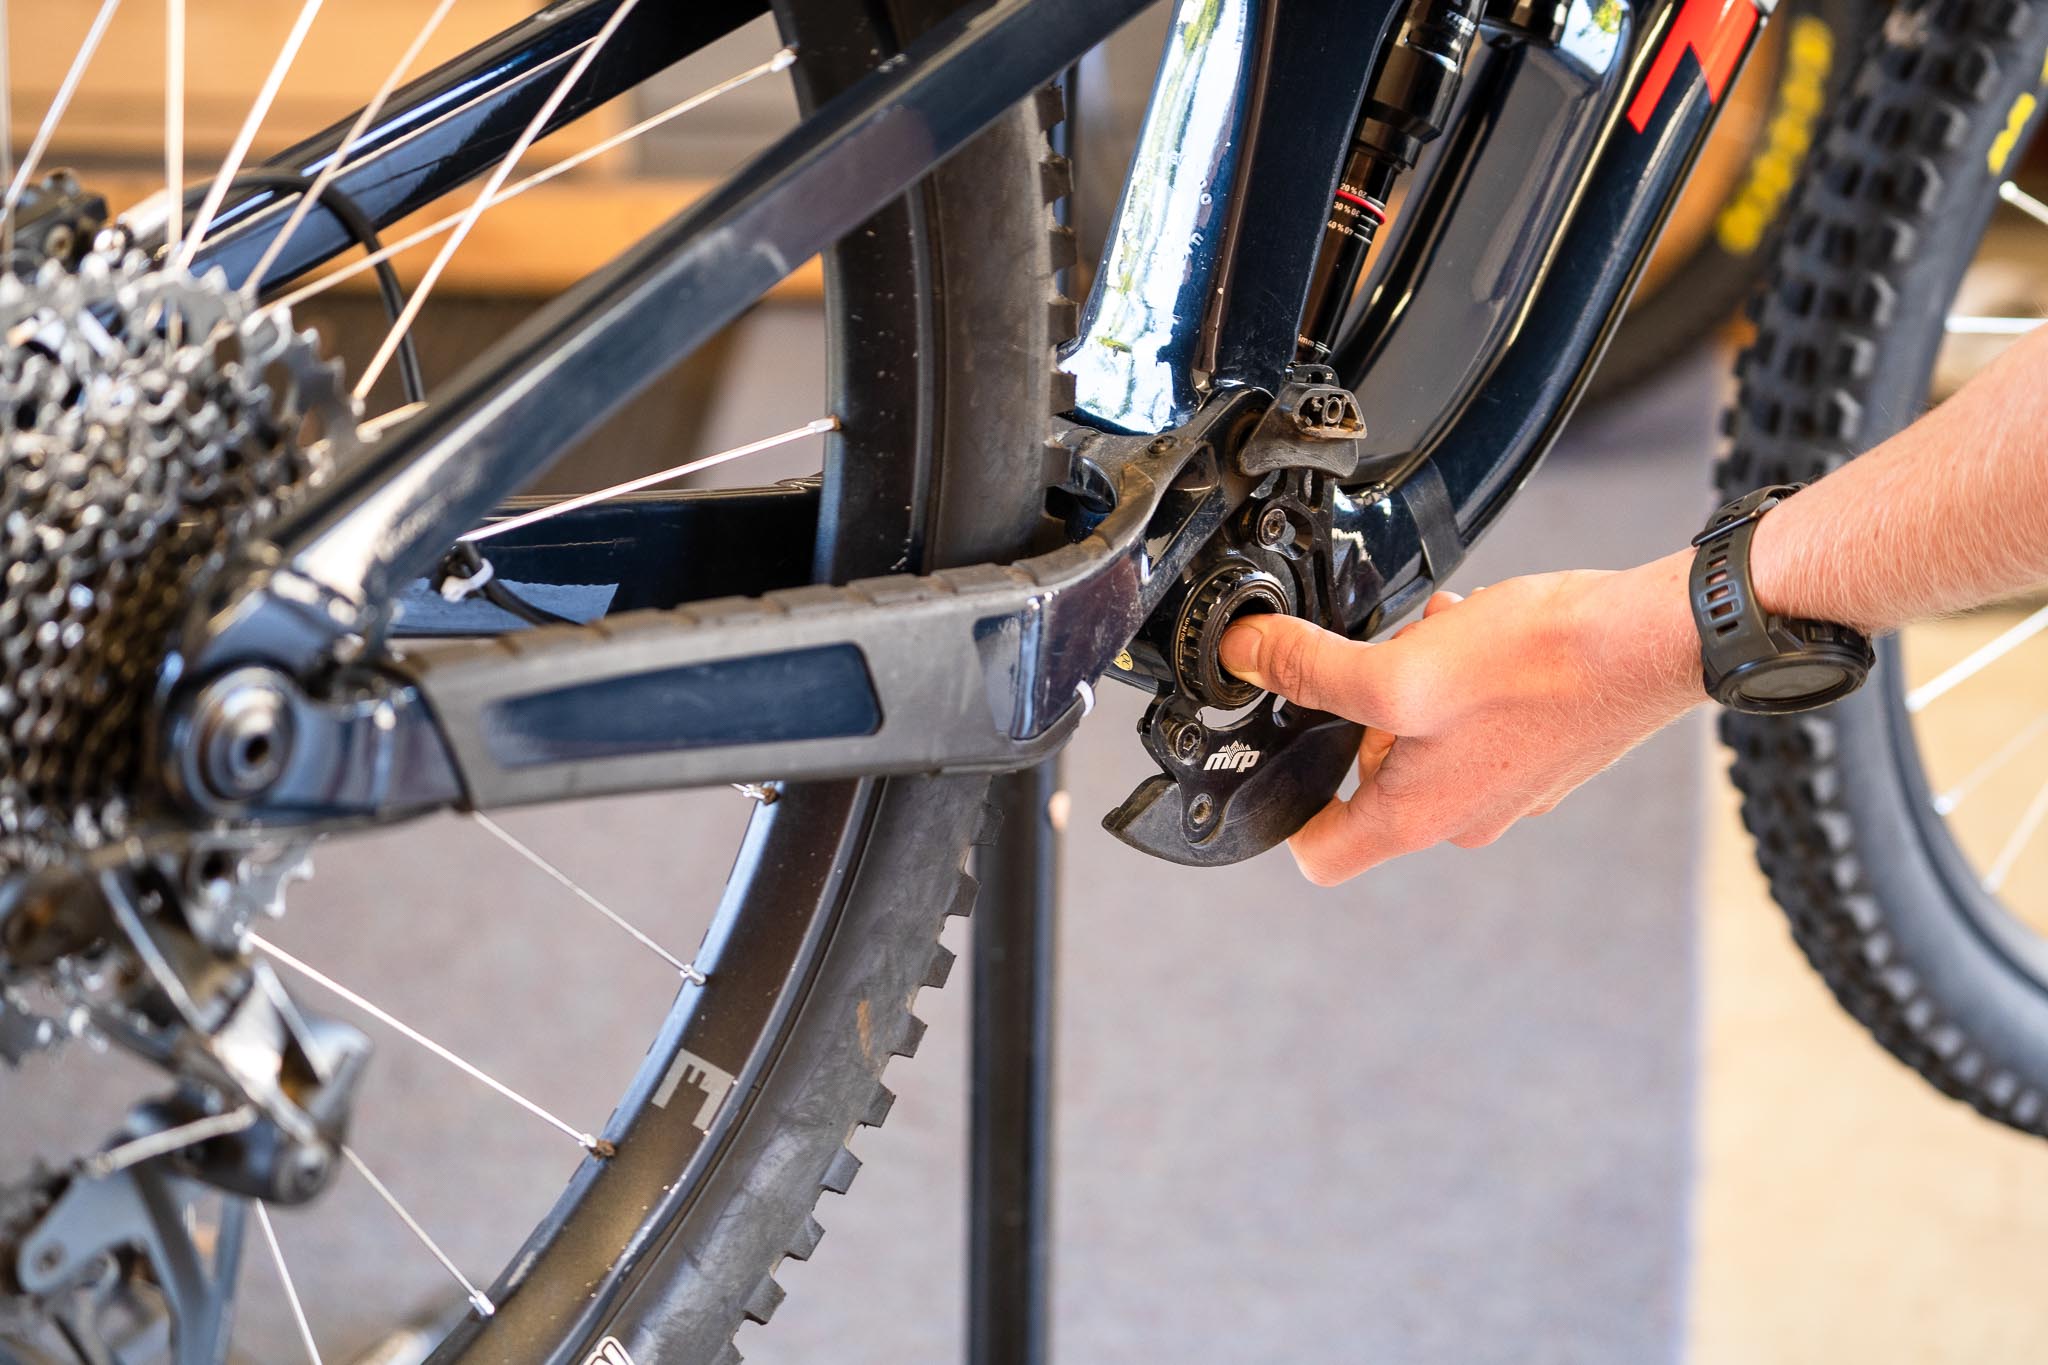
Remove your chain from the chain wheel, spin the cranks, and check for any noise or if the bearings feel crunchy. If you are unsure, remove the cranks and spin the bearings by hand to check the resistance. Bearings should spin free and without any crunch or excess resistance. Be aware, you can spin the cranks and they rotate freely over 10 rotations and make a metallic noise, this doesn't mean they are prime. This is an indicator they are dry, worn, and about to implode. Replace the BB if you discover any of these symptoms.
Wheels and Tyres
Spin your wheels to check that the rims are true and not moving side to side or up and down. Using your hands, squeeze each set of parallel spokes to check for even tension around the wheel. One loose spoke can cause catastrophe on the race course.
When it comes to the hubs and bearings, spin your front wheel while holding your fork legs. You will feel any notches or noise through the legs. Do the same for the rear while holding the chain stays. If you are unsure, remove the wheels and use your fingers to check your wheel bearings move freely. Your axles should spin freely with no lateral movement.
Tyres
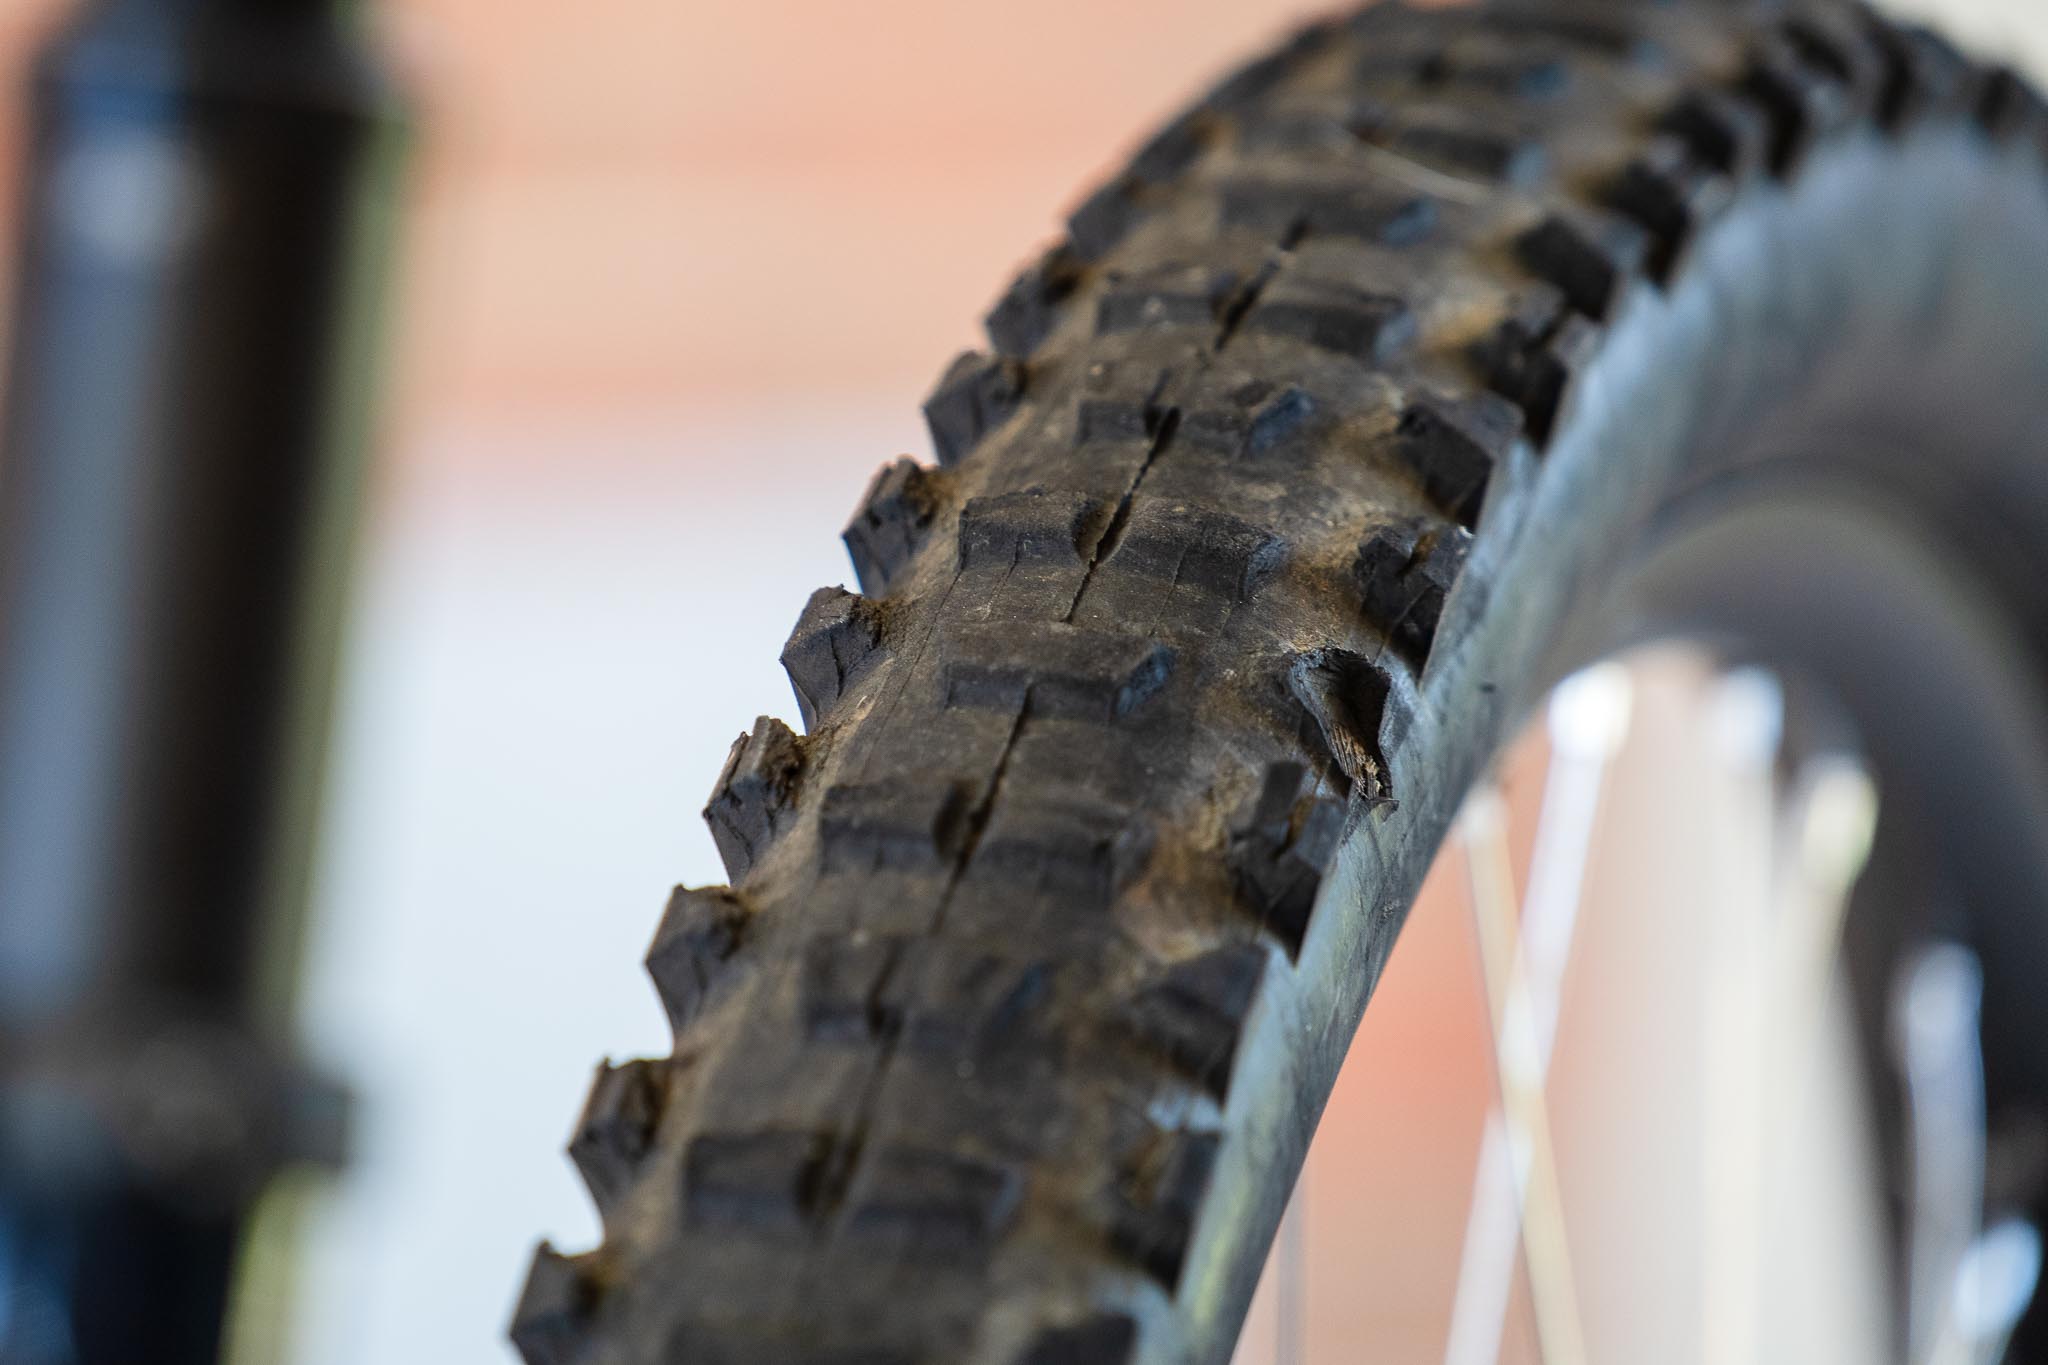
While you have your wheels out it is a good time to check you have enough sealant in your tyres (if your tyres have no tread and are flogged, replace them). Pop the tyre off enough to see if you have any sealant and replace it if it's low, or more than a month old. Once they are re-inflated, check for any big leaks, cuts or damage that could cause deflation and replace the tyres as necessary.
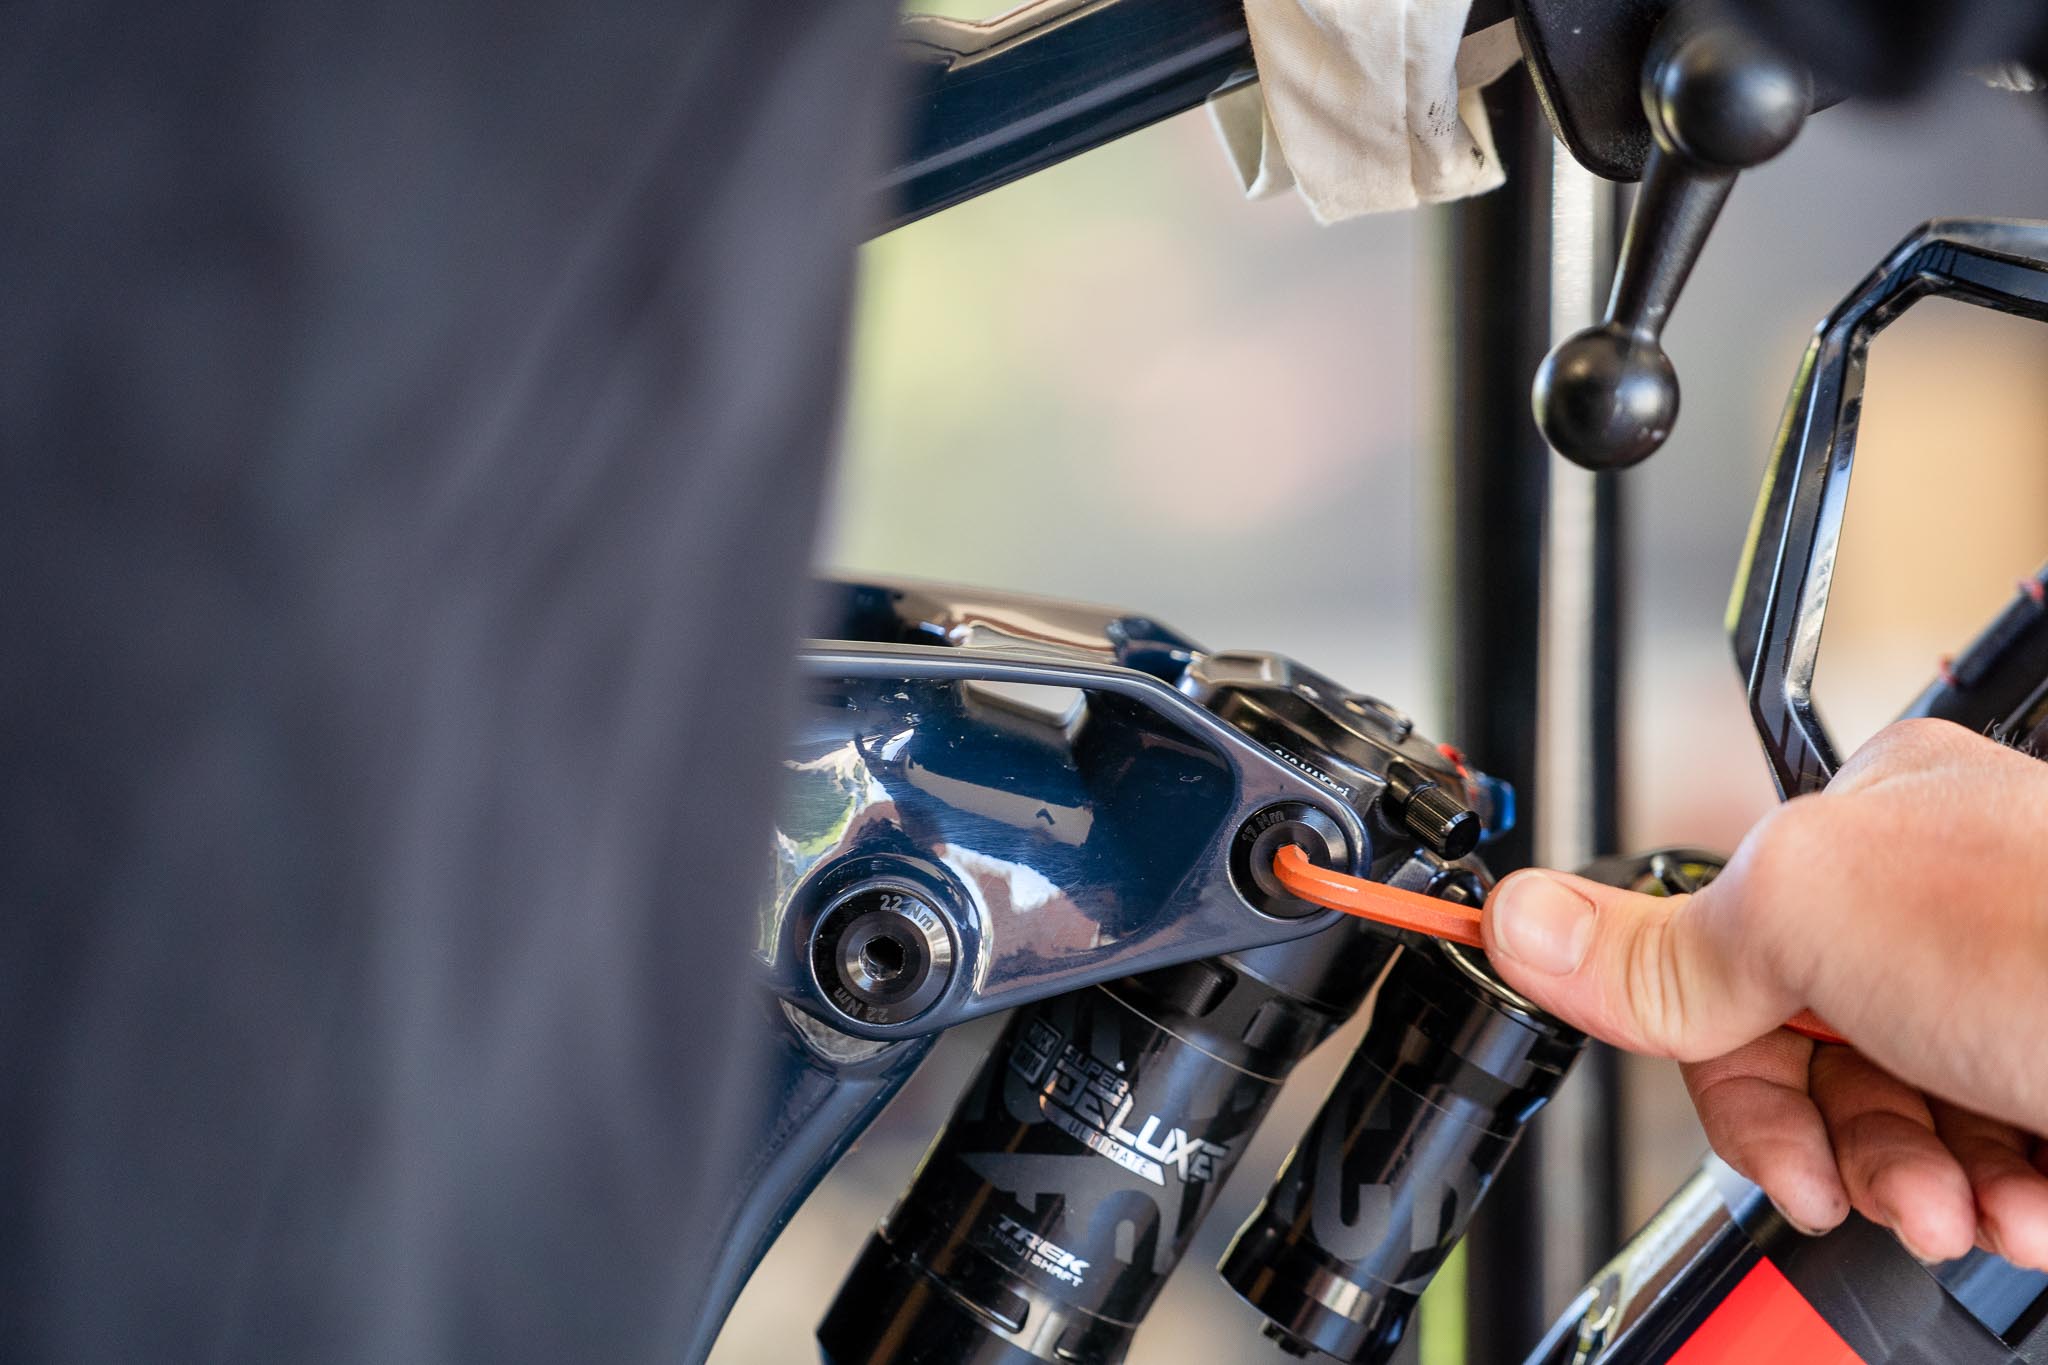
Headset and linkage bearings
Tight bearings that don’t move freely can hinder suspension performance and steering. By removing the bolts from one end of your shock you should be able to cycle the bike freely through its travel. While doing so you should look for any tight spots, wobbles or notchy feeling bearings. If you do feel some roughness or resistance, then a linkage rebuild and possible bearing replacement are in order.

Holding your head tube and rotating your forks or bars will indicate any bearing issues. However, we recommend inspecting the bearings by removing your head stem, spacers and bearing cover. If you have any rust or debris in the headset, or if it looks dry then you should clean and re-grease the bearings. If they have collapsed, feel notchy or are extremely resistant to move, replace them before your race.
Suspension
I always recommend at least an air can or lowers service before any race. It gives you a chance to check all the seals and make sure nothing is damaged inside. Suspension that moves freely and easily works at its best. Inspecting your suspension will also help you identify potential damage that may end your race on the first lap.
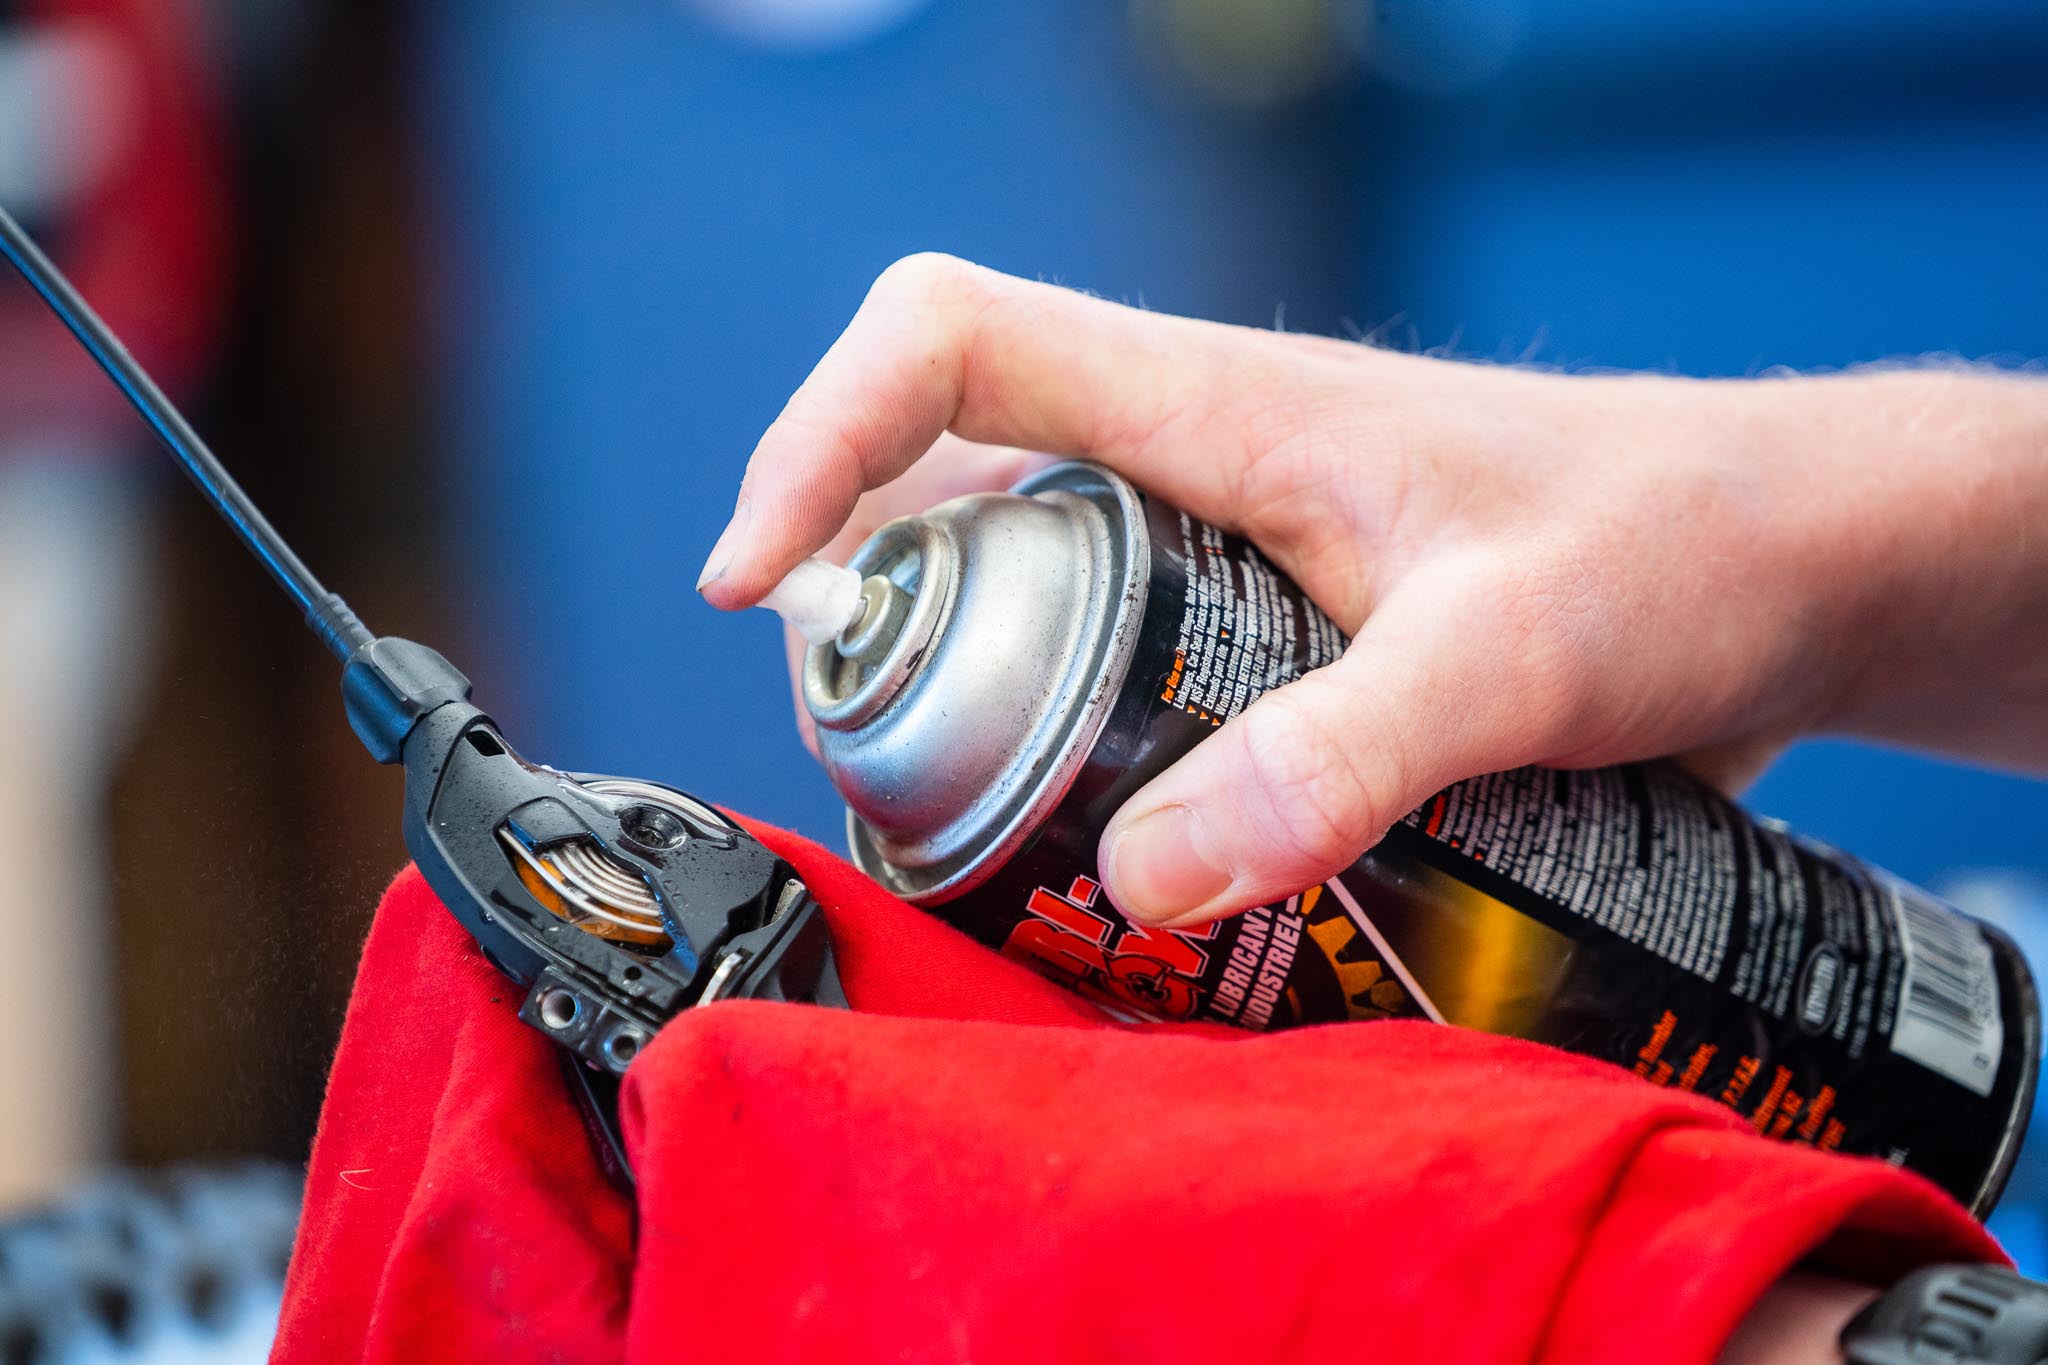
Dropper
There is not much involved with a dropper so all you need to do here is make sure the cable is clean and the dropper is going up and down, with no binding or sagging.
Brakes
While the brakes' main task is to slow you down, brakes that work well will enable you to ride faster. The first thing to check is that you have plenty of pad material left to contact the brake. We recommend removing the wheel and checking for even wear as well.
If you have a vernier or can visit a bike shop easily then you should also check the wear on your discs. Discs that are worn too thin won't dissipate heat and their performance is severely hindered.
Bleeding most brakes is a simple process that is not done often enough. We recommend bleeding them at least every six months. Bleeding and checking the oil before a race means you can guarantee fewer inconsistencies or unusual braking tendencies while you are pushing your limits.
Pedals
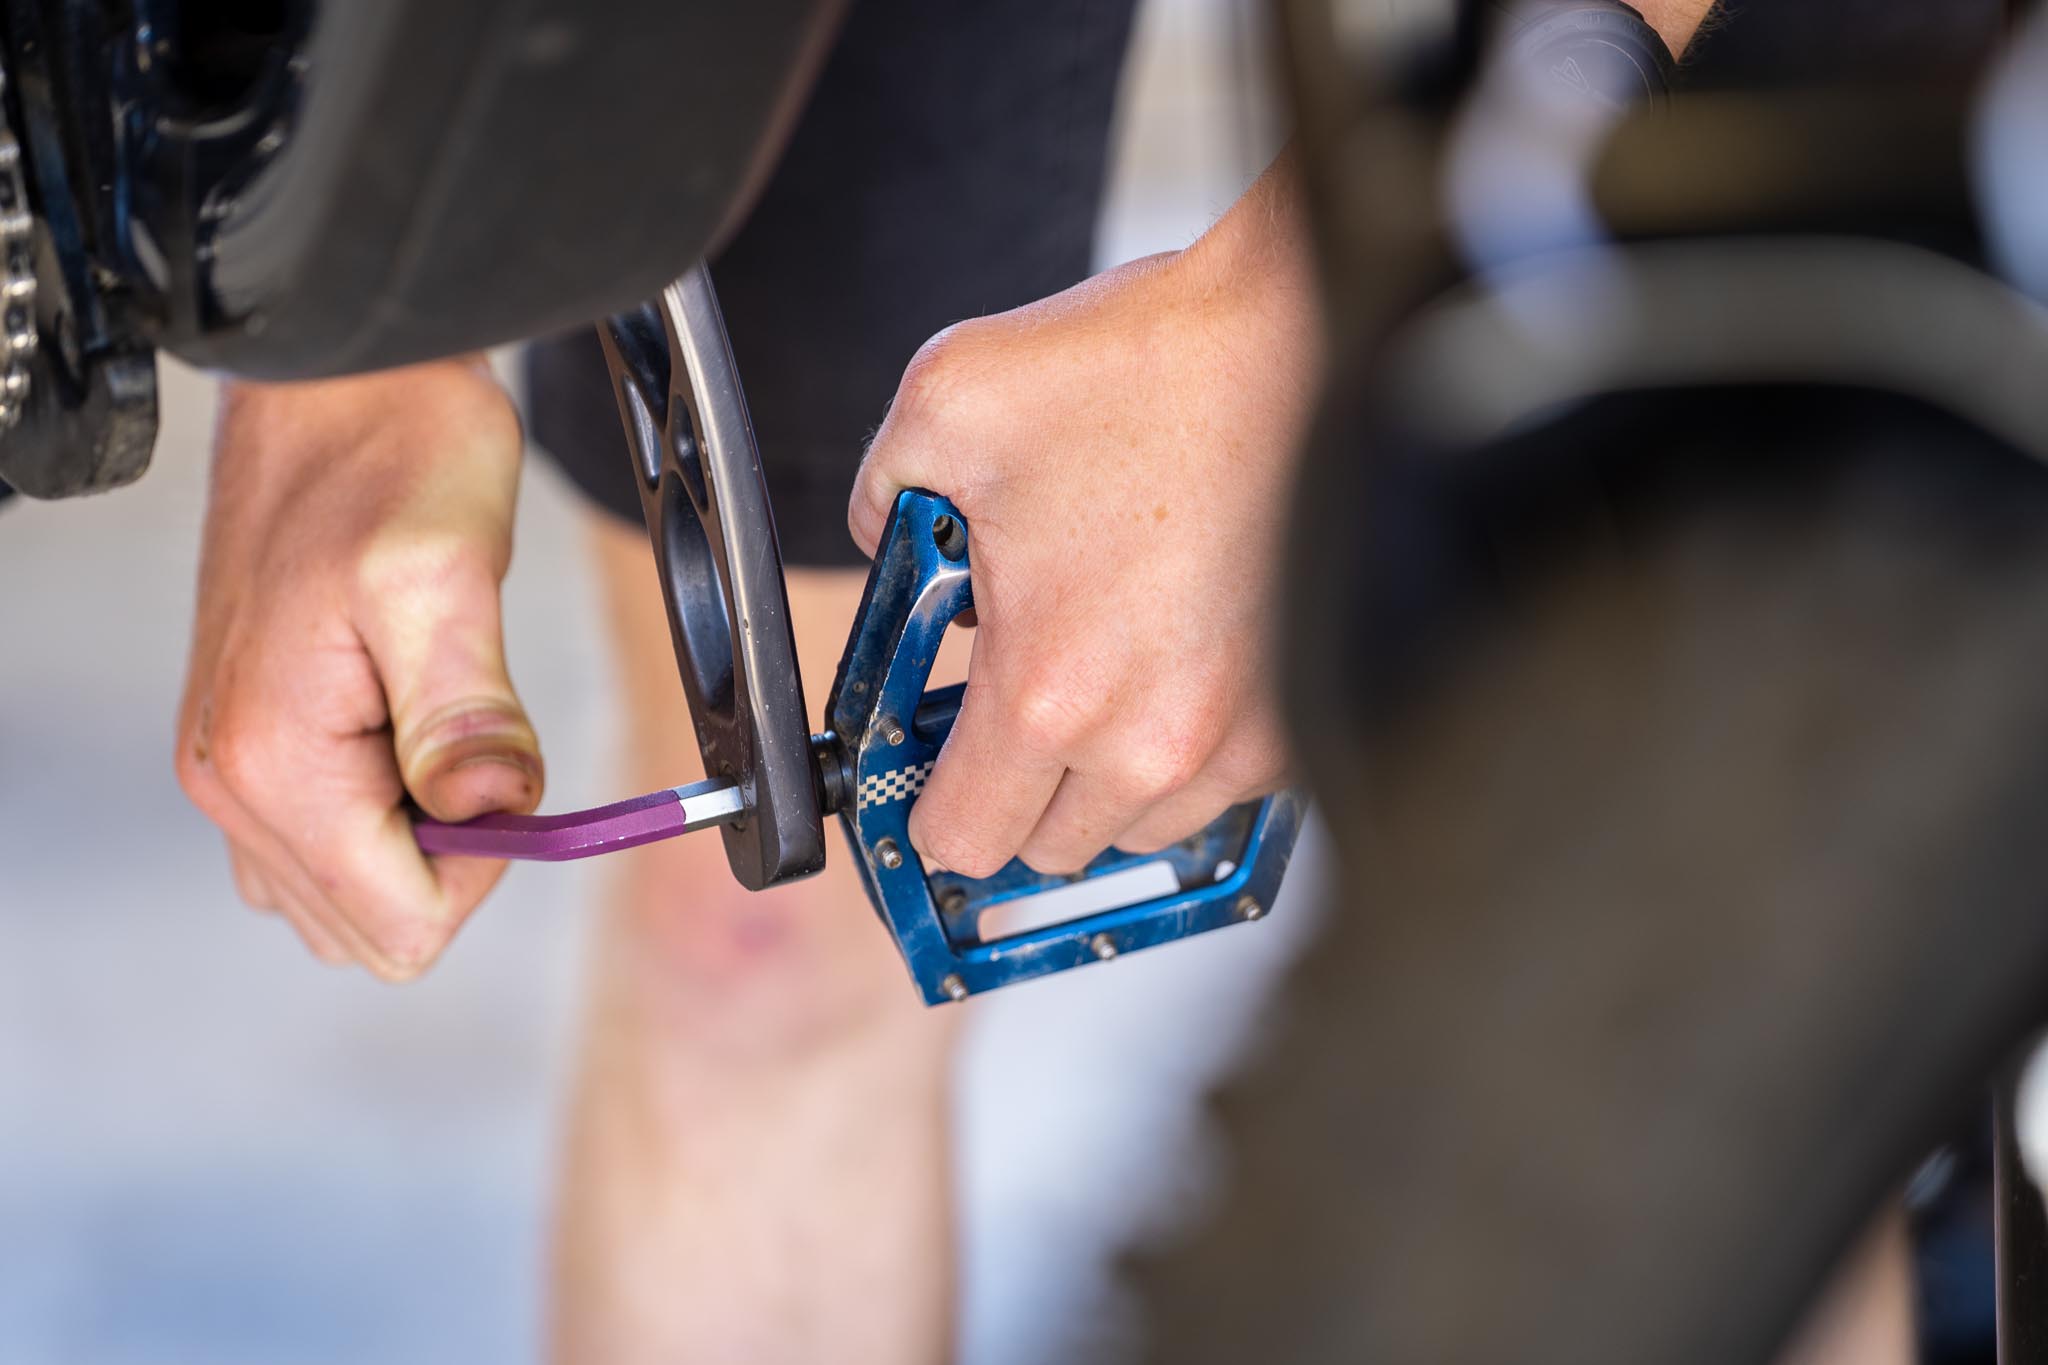
I once had a friend spend months training and over $5,000 to ride at an event only for his pedal to fall off at the start line. First off check that your pedals are tightly screwed into your cranks and check for any bearing play or excessive resistance.
Once this is all checked and you have finished on your bike, take it for a quick test ride to double check your work is good. Make sure everything is feeling smooth and fast. It is good to do this process before any big event and once you have done it a few times it should only take an hour, and it might save your race weekend.