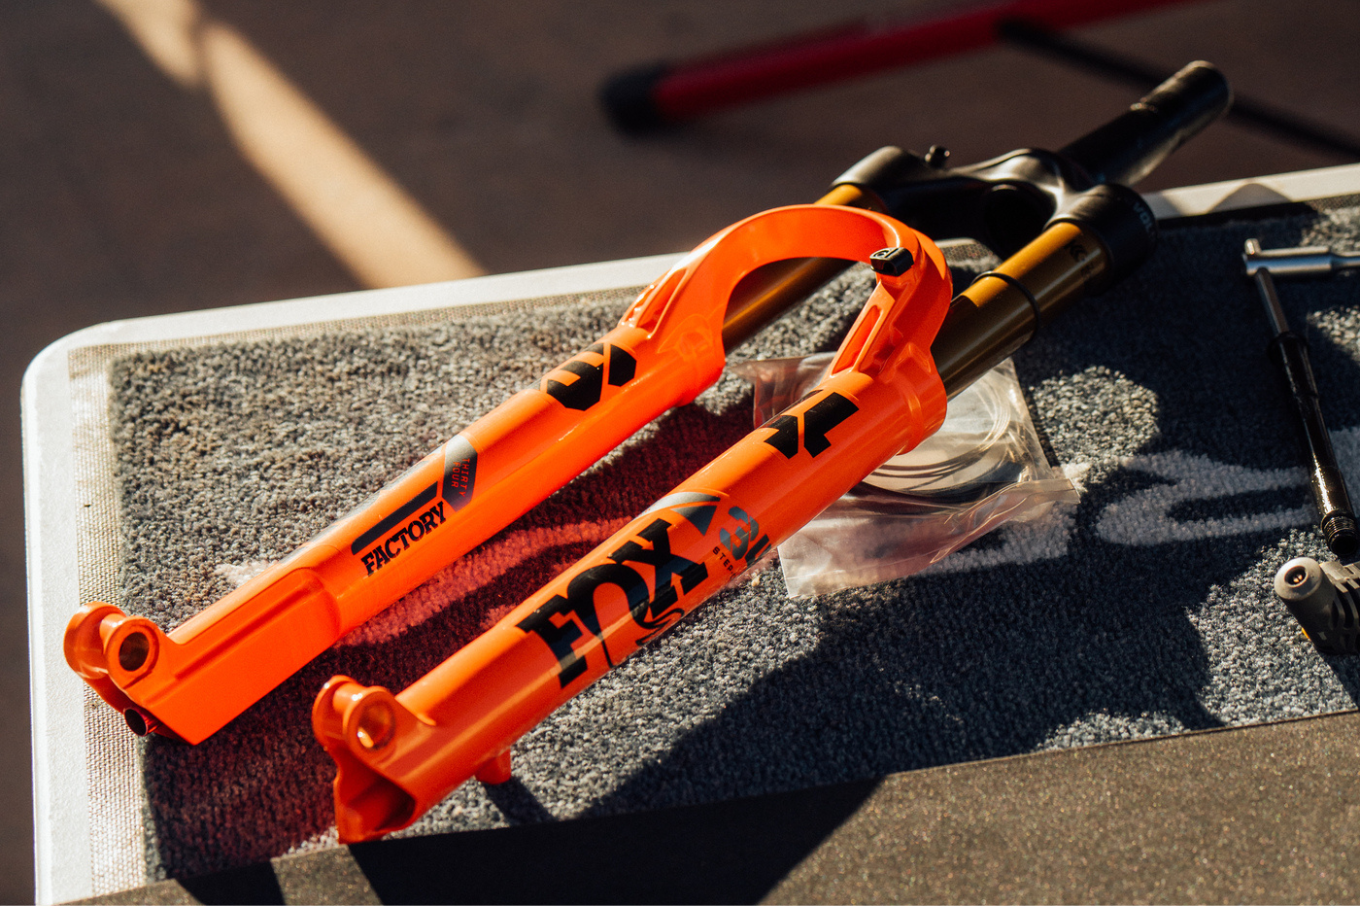
WORKSHOP: RockShox 50 hour service
50-hour lower leg services are one of the most neglected services on a bike.
Words and photos: Darren Mallard
To some, it may seem that the inner workings of suspension forks are composed of black magic or extremely complex tiny pieces. While shim stacks and valving the parts are quite complex, the basic servicing of the lower legs and air shaft is easy to perform for any competent home mechanic. 50-hour lower leg services are one of the most neglected services on a bike and with this quick 20-40 minute procedure you can save you hundreds of dollars while keeping your forks super plush.
Suspension 101: Why your suspension needs servicing
Tools needed
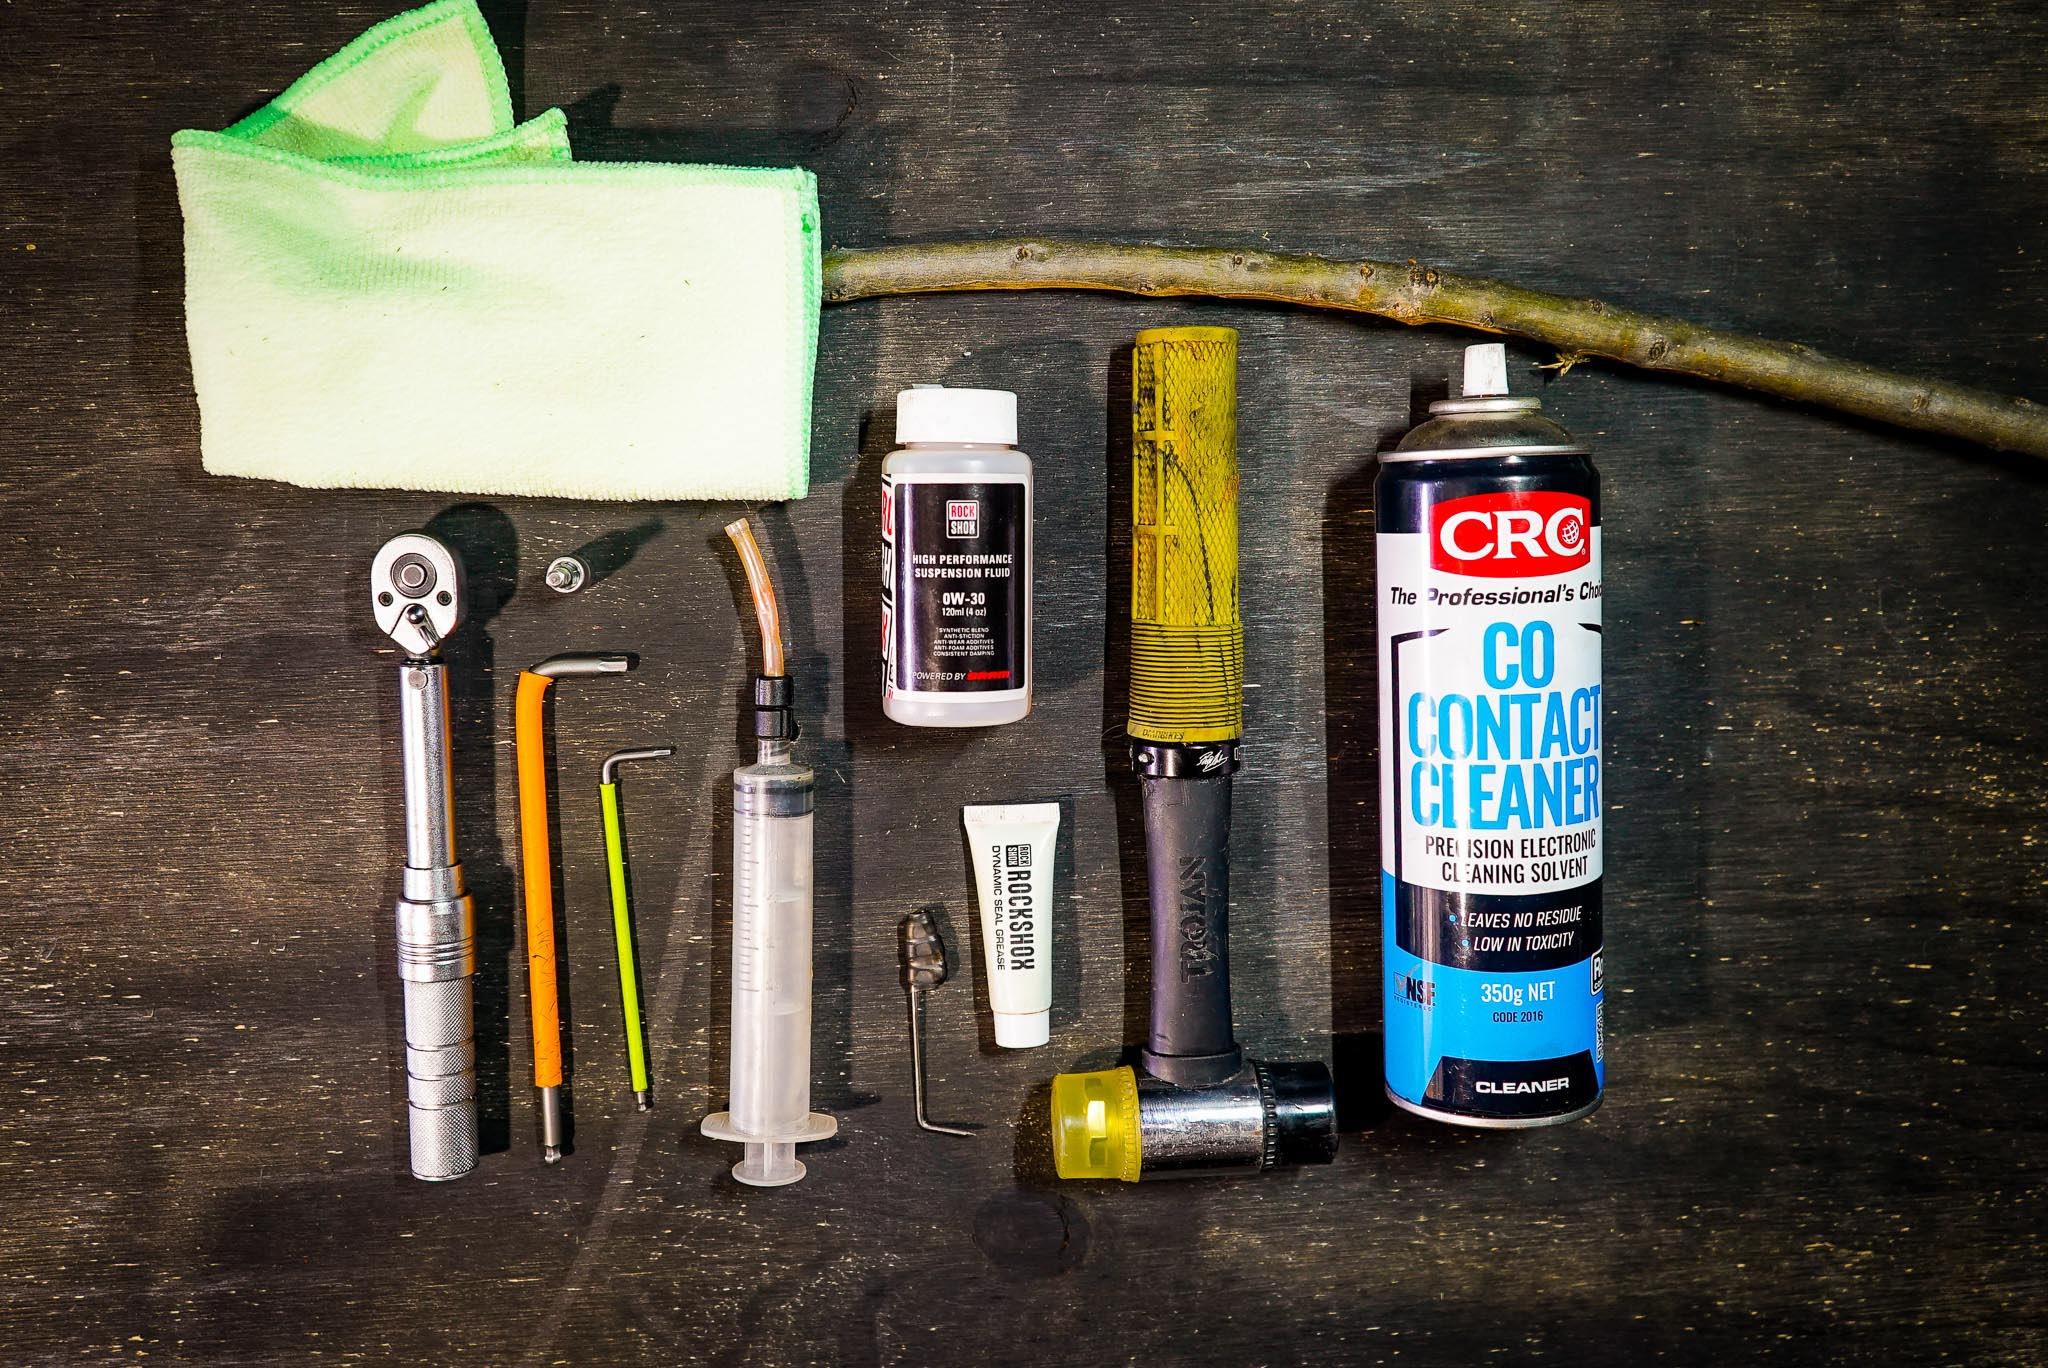
- 5mm allen key
- 2.5mm allen key
- Hammer
- Torque wrench
- Pick
- Suspension oil to suit your fork.
- Seal Grease
- Isopropyl alcohol or Suspension Cleaner
- Lint Free Rag on a dowel.
- Lint-free towel.
Remove all the air from your fork before beginning.
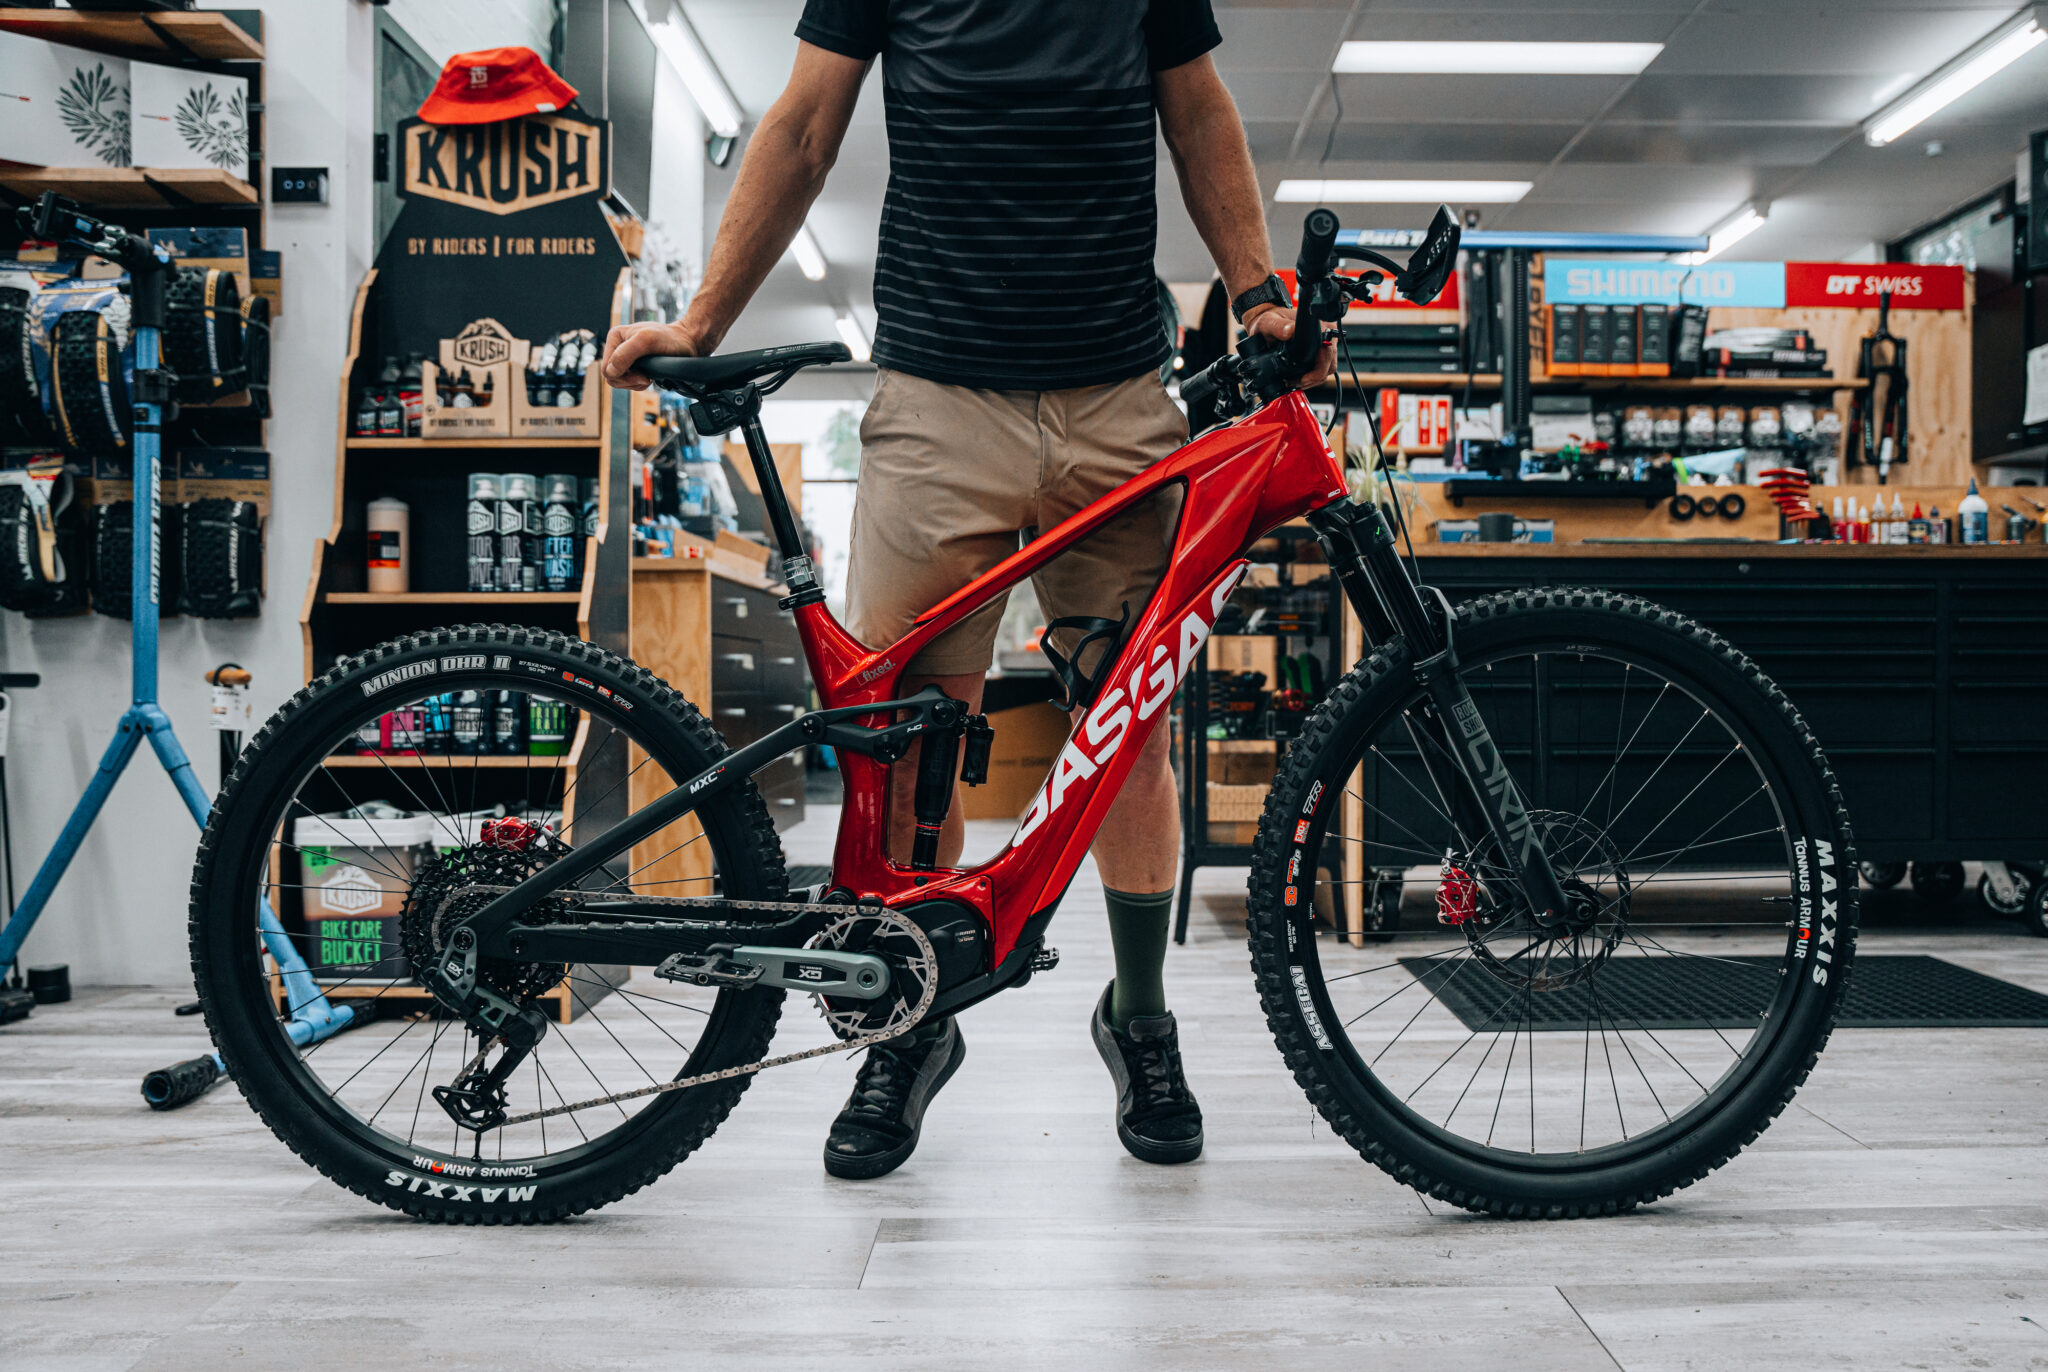
I like to remove the fork from the bike when servicing my forks as it gives me a chance to inspect my headset bearings at the same time. However, it can be done easily with the forks mounted on the bike as well.
Step 1
Remove all the air whenever working on your suspension. This prevents the air spring from shooting out at you if the retainer spring is damaged. While not 100% necessary it is a good safety procedure to make a habit.
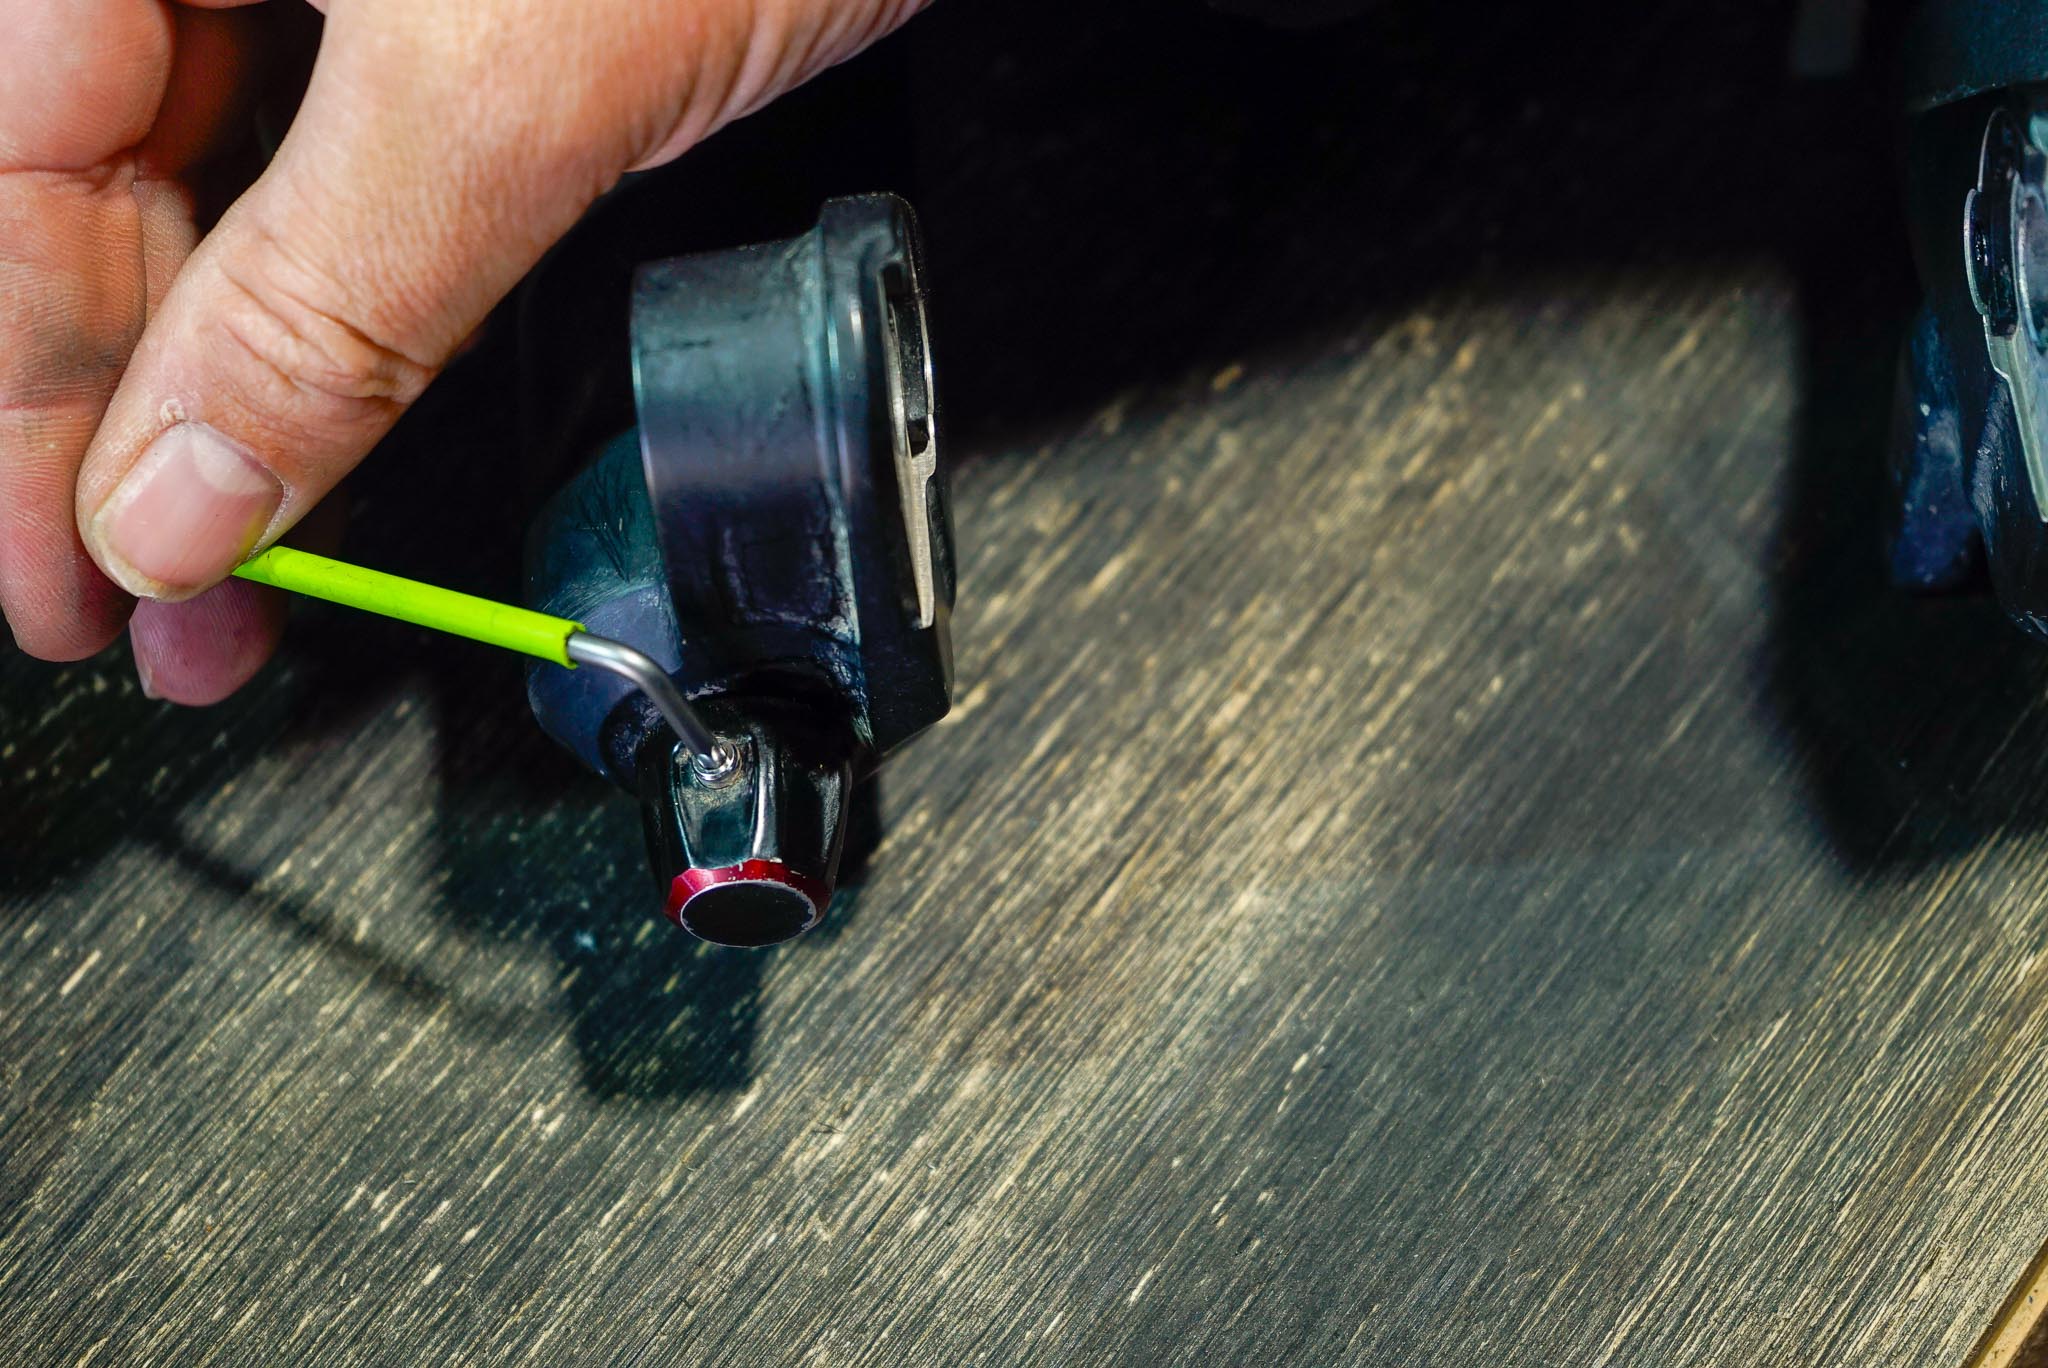
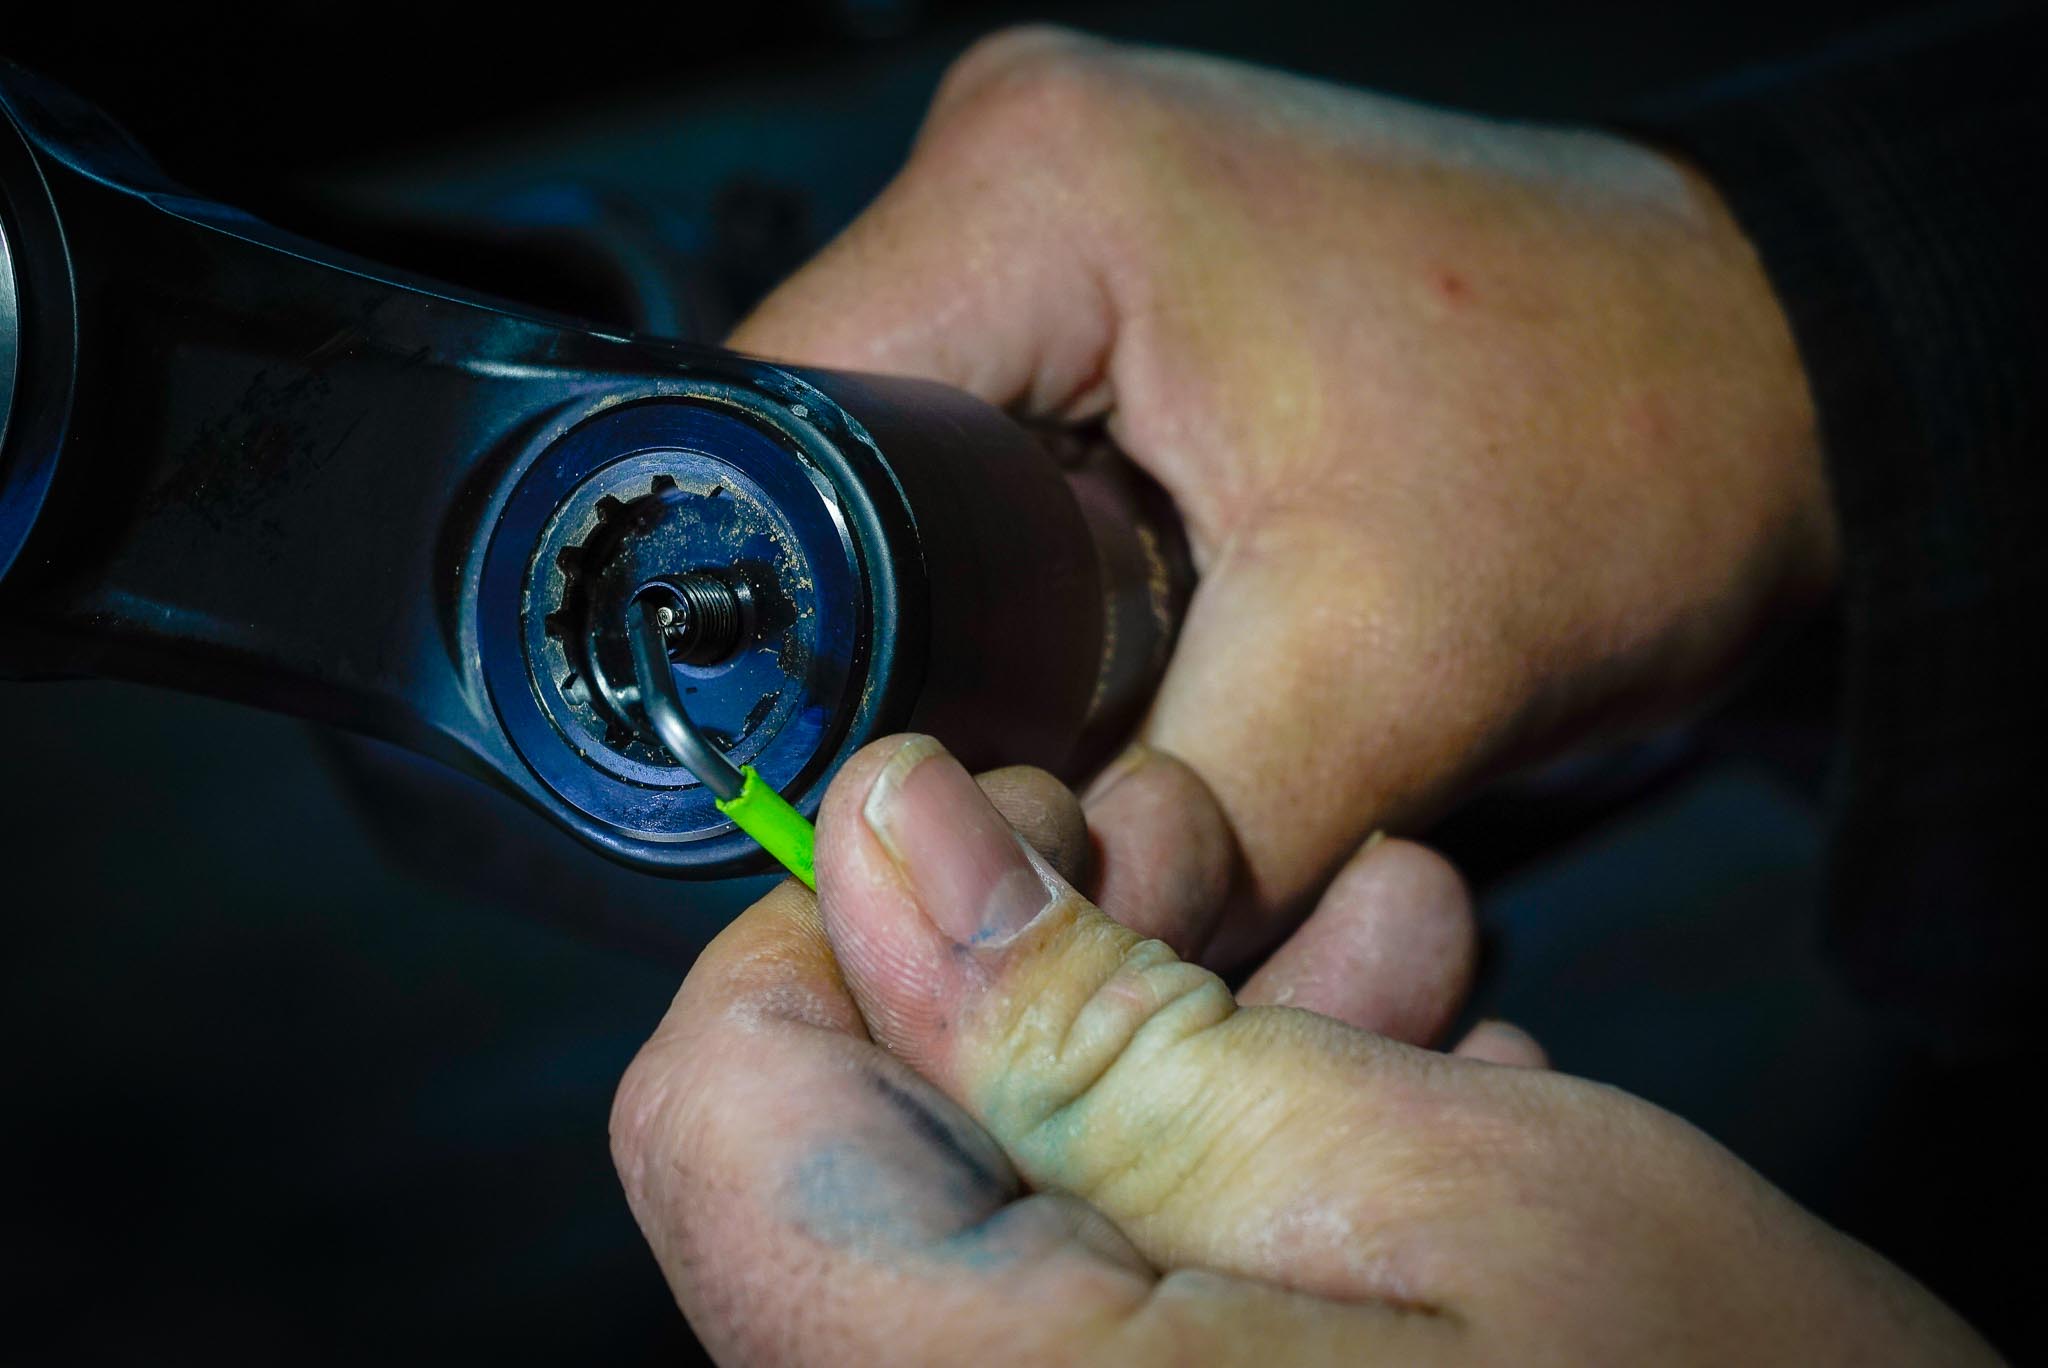
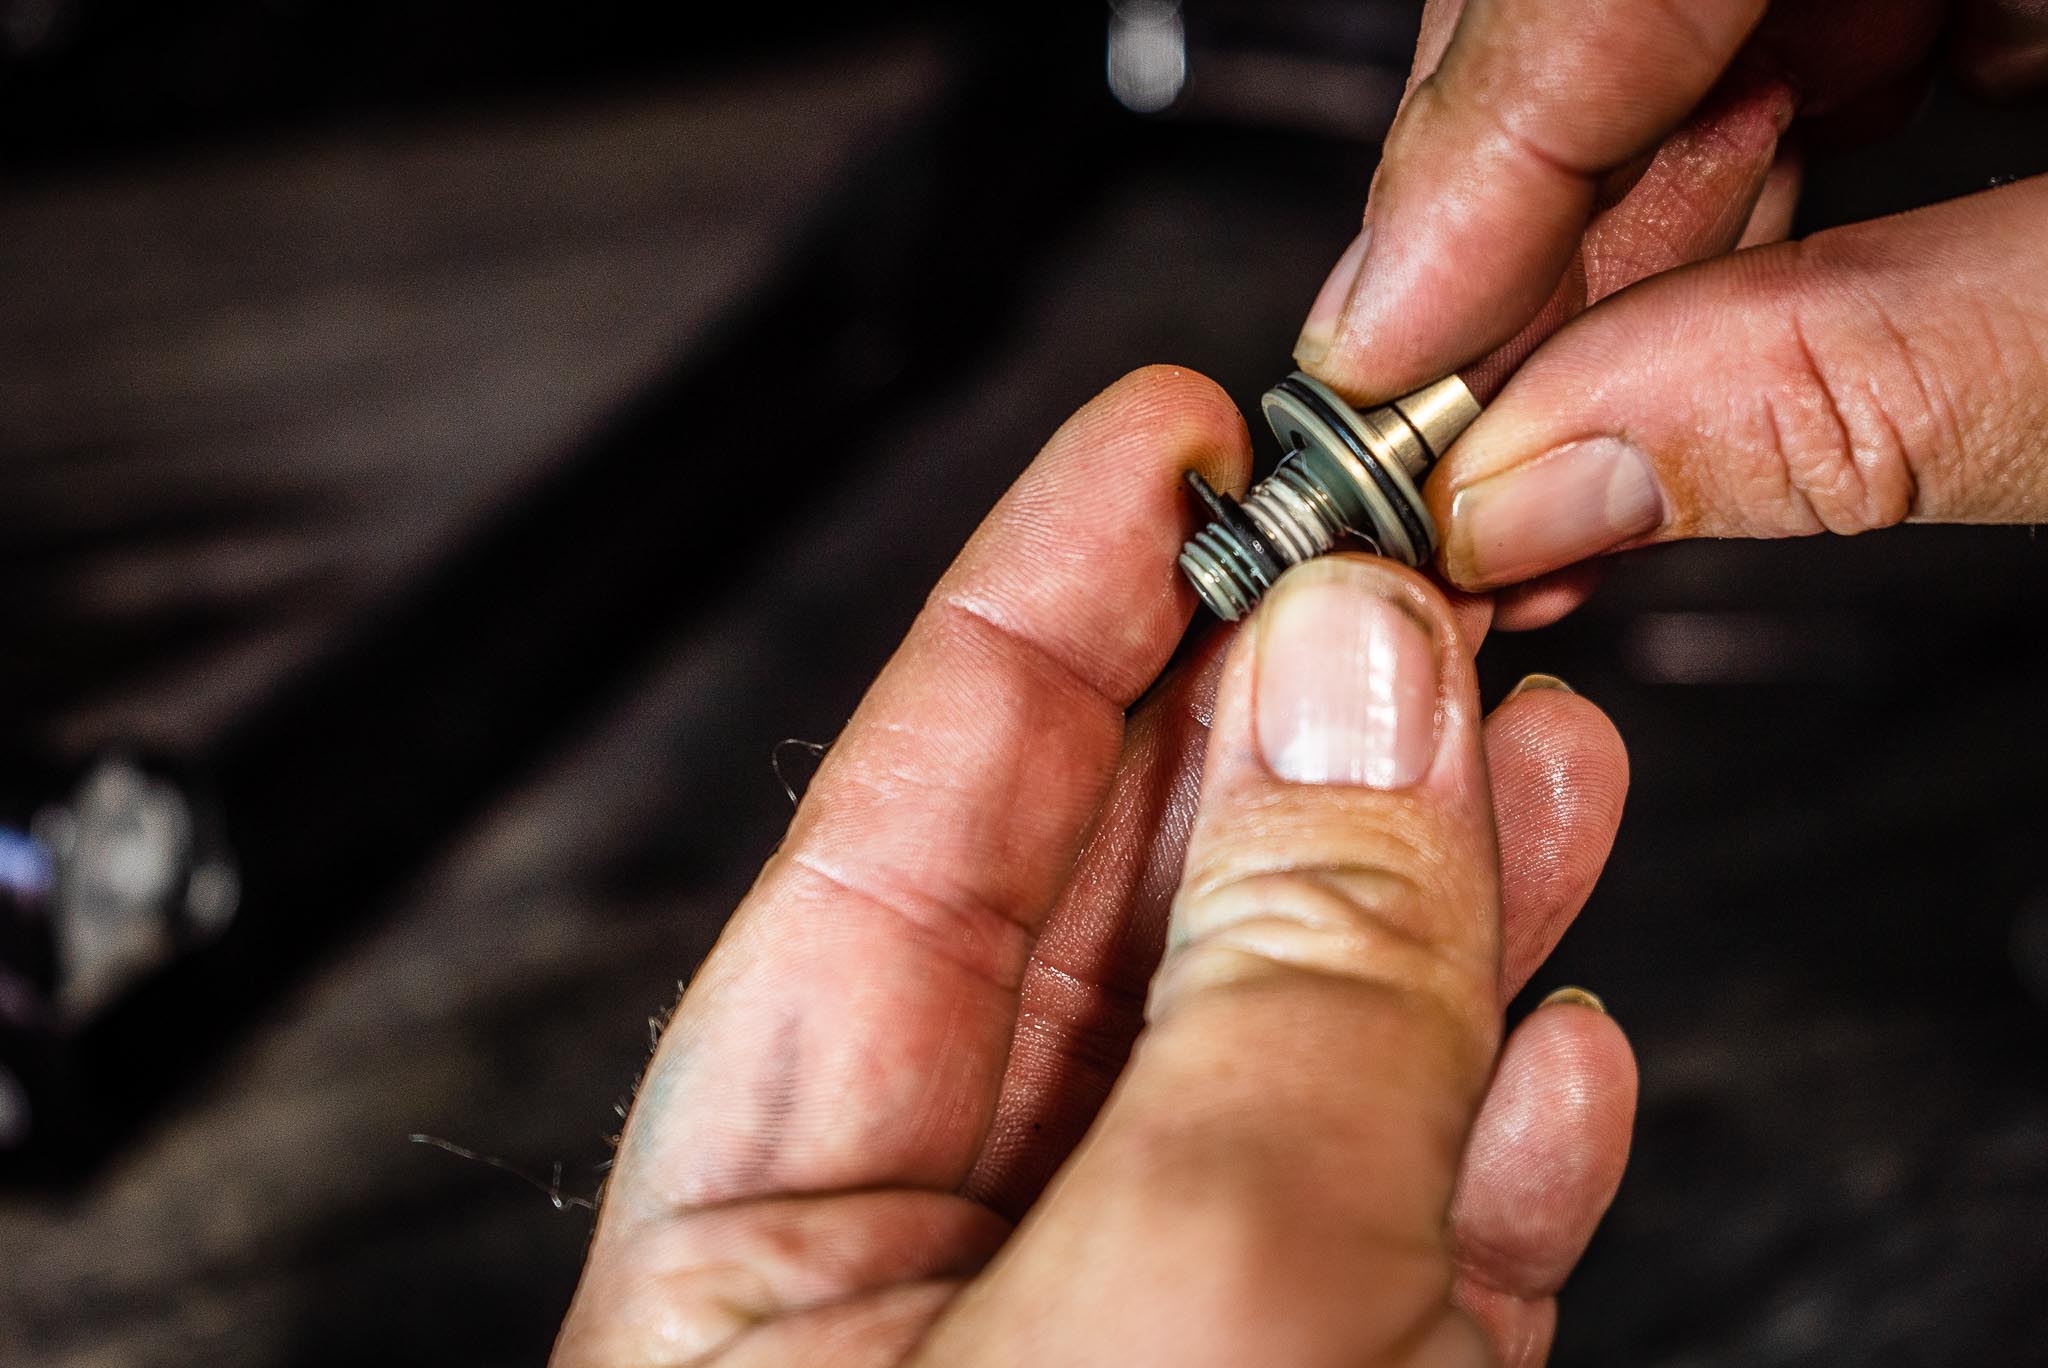
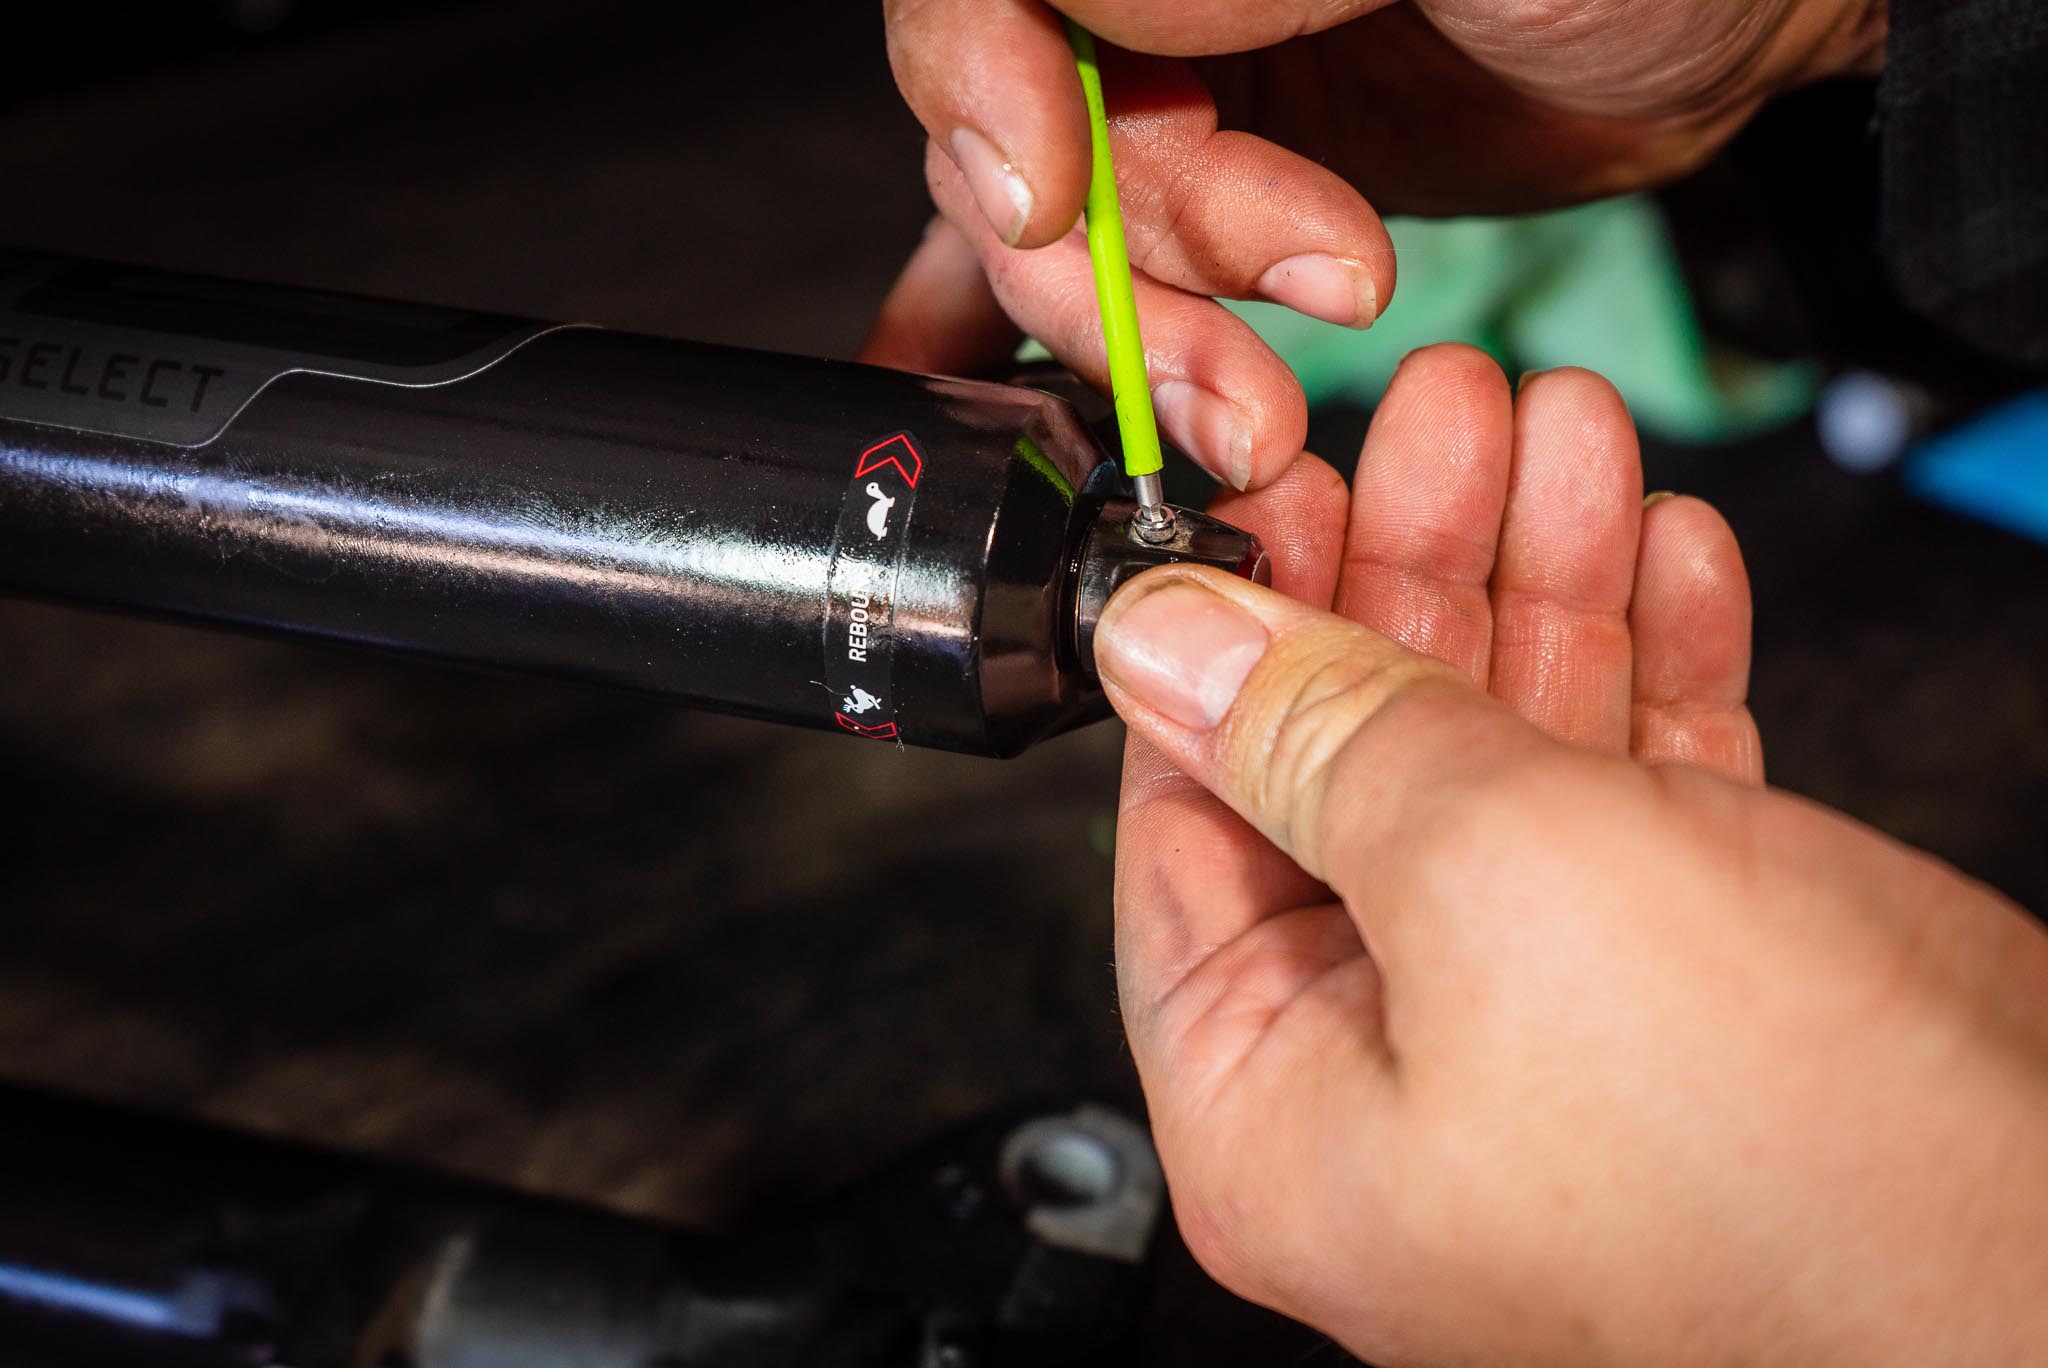
Use a 2.5mm allen key to remove the rebound knob.
Next, wind your rebound knob all the way open (anticlockwise) and keep note of how many times the dial clicked as you will want to reset it to the same position after the service.
Now grab a 2.5mm allen key and loosen the retainer screw enough to remove the rebound knob and place it somewhere safe. I recommend avoiding the use of ball-end allen keys for this screw as the interface is small and can cause damage.
Step 2
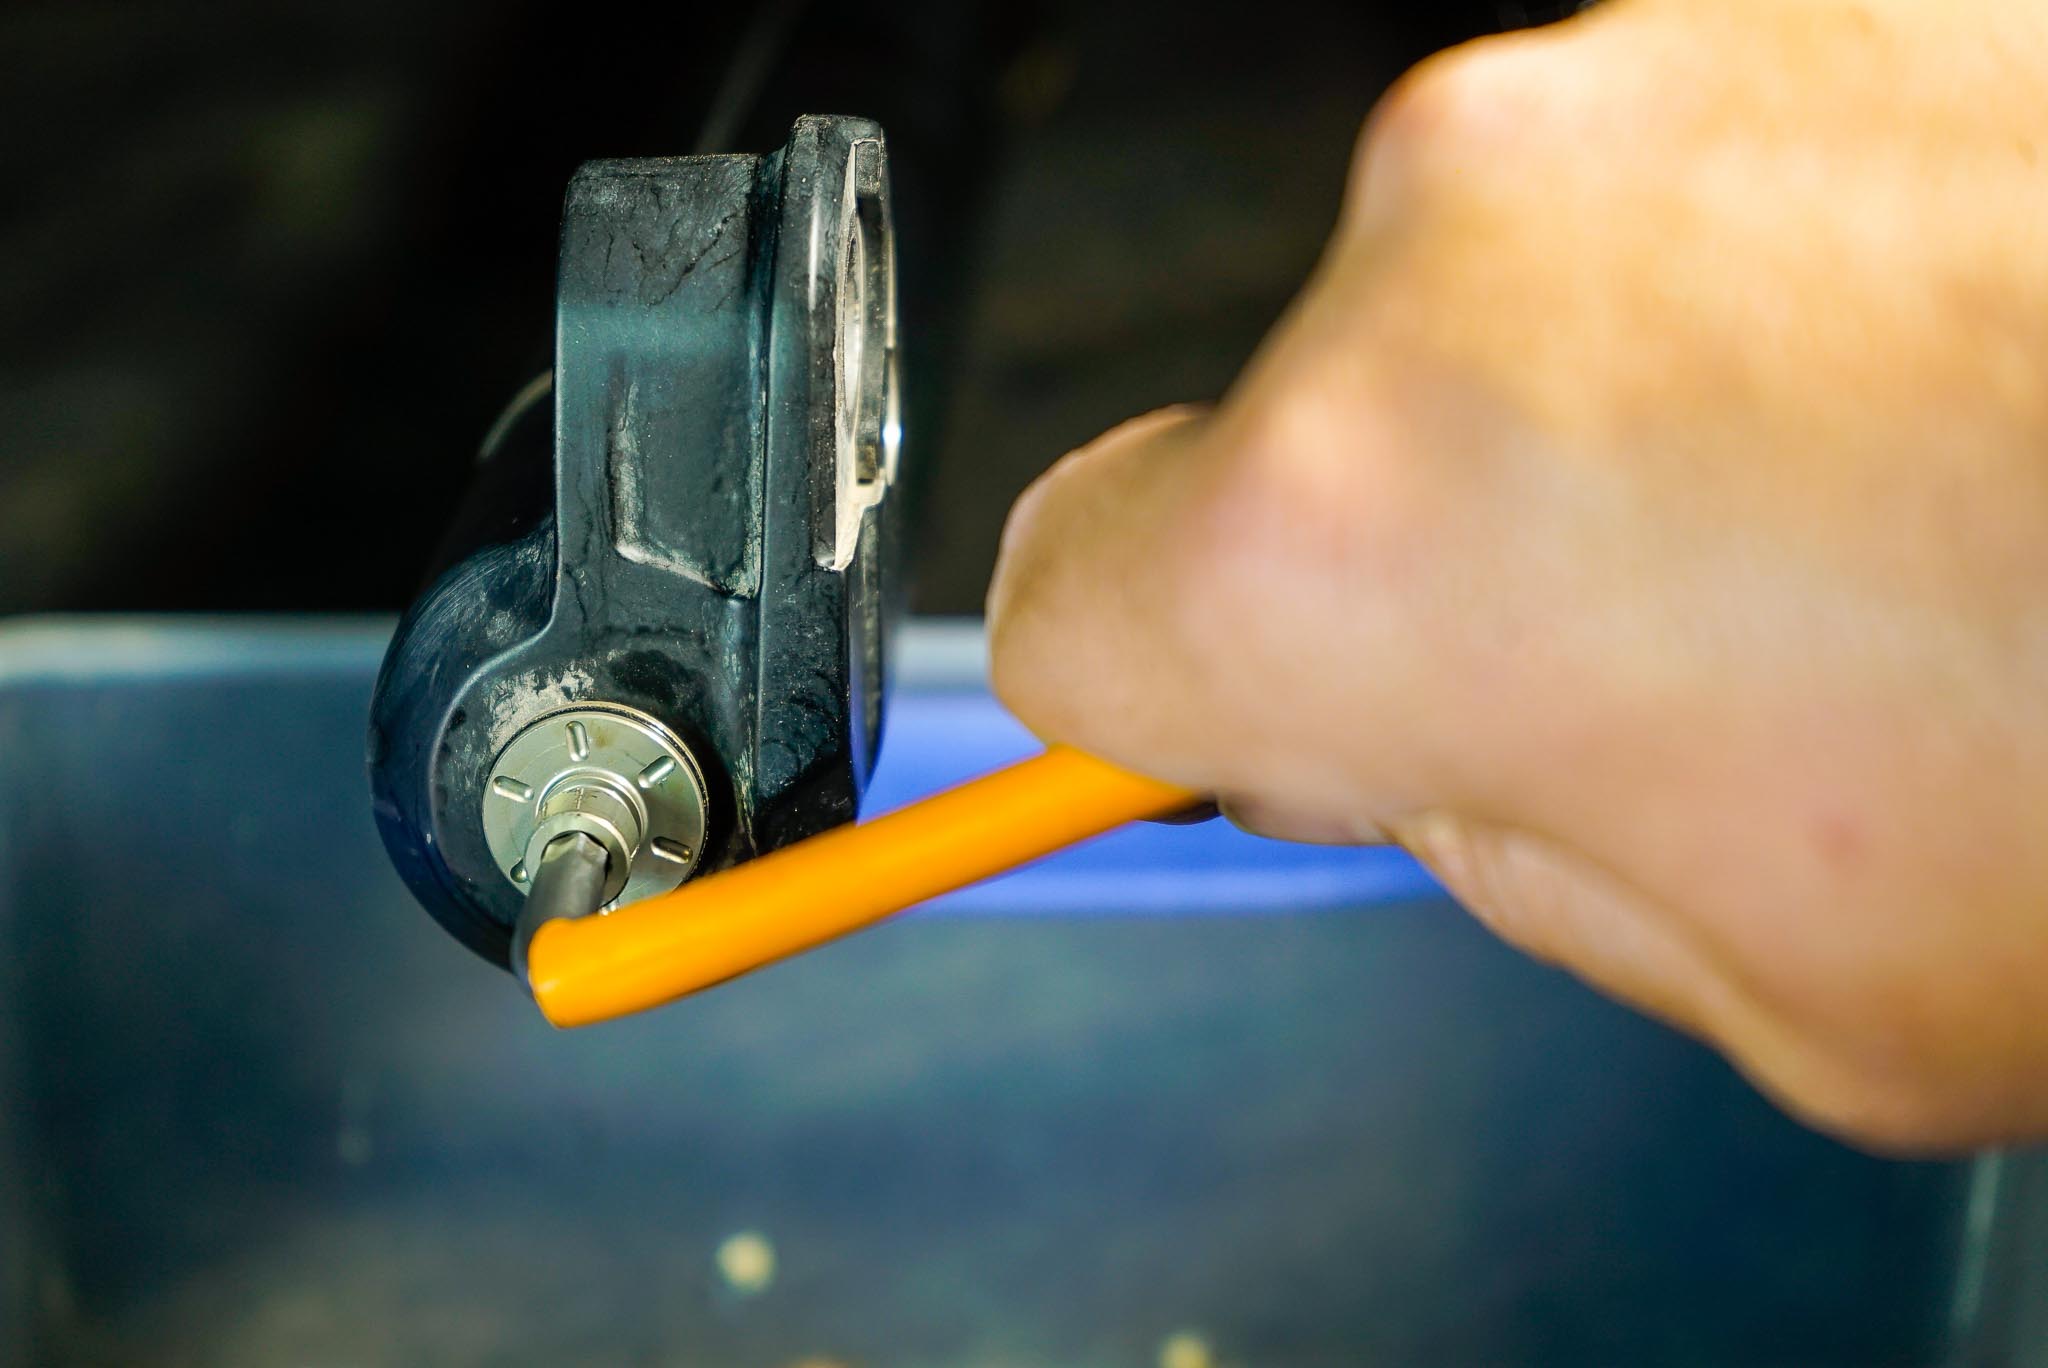
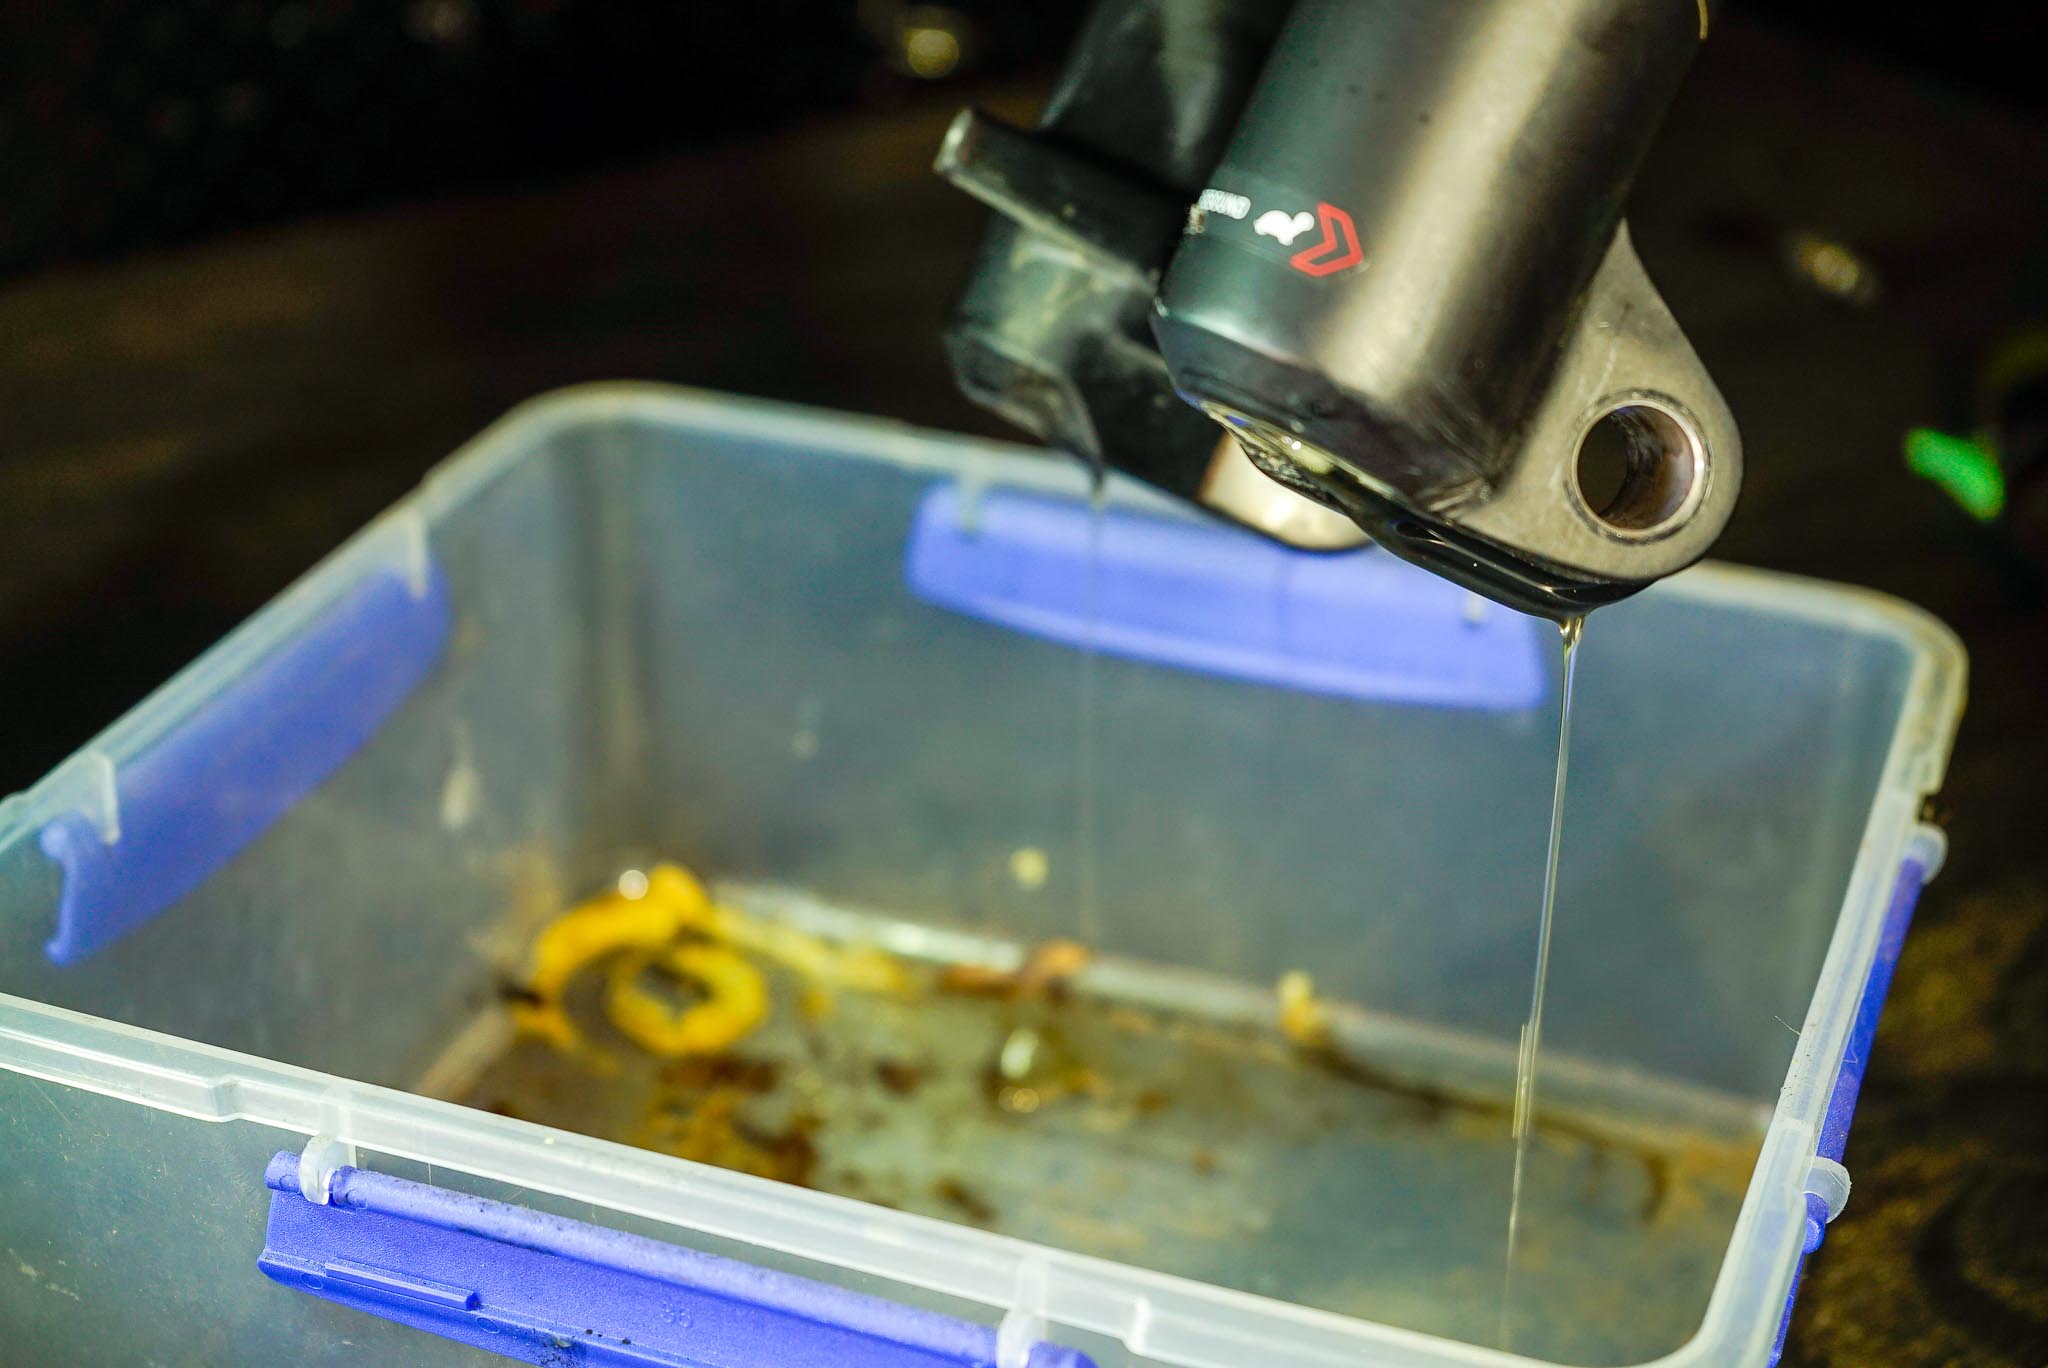
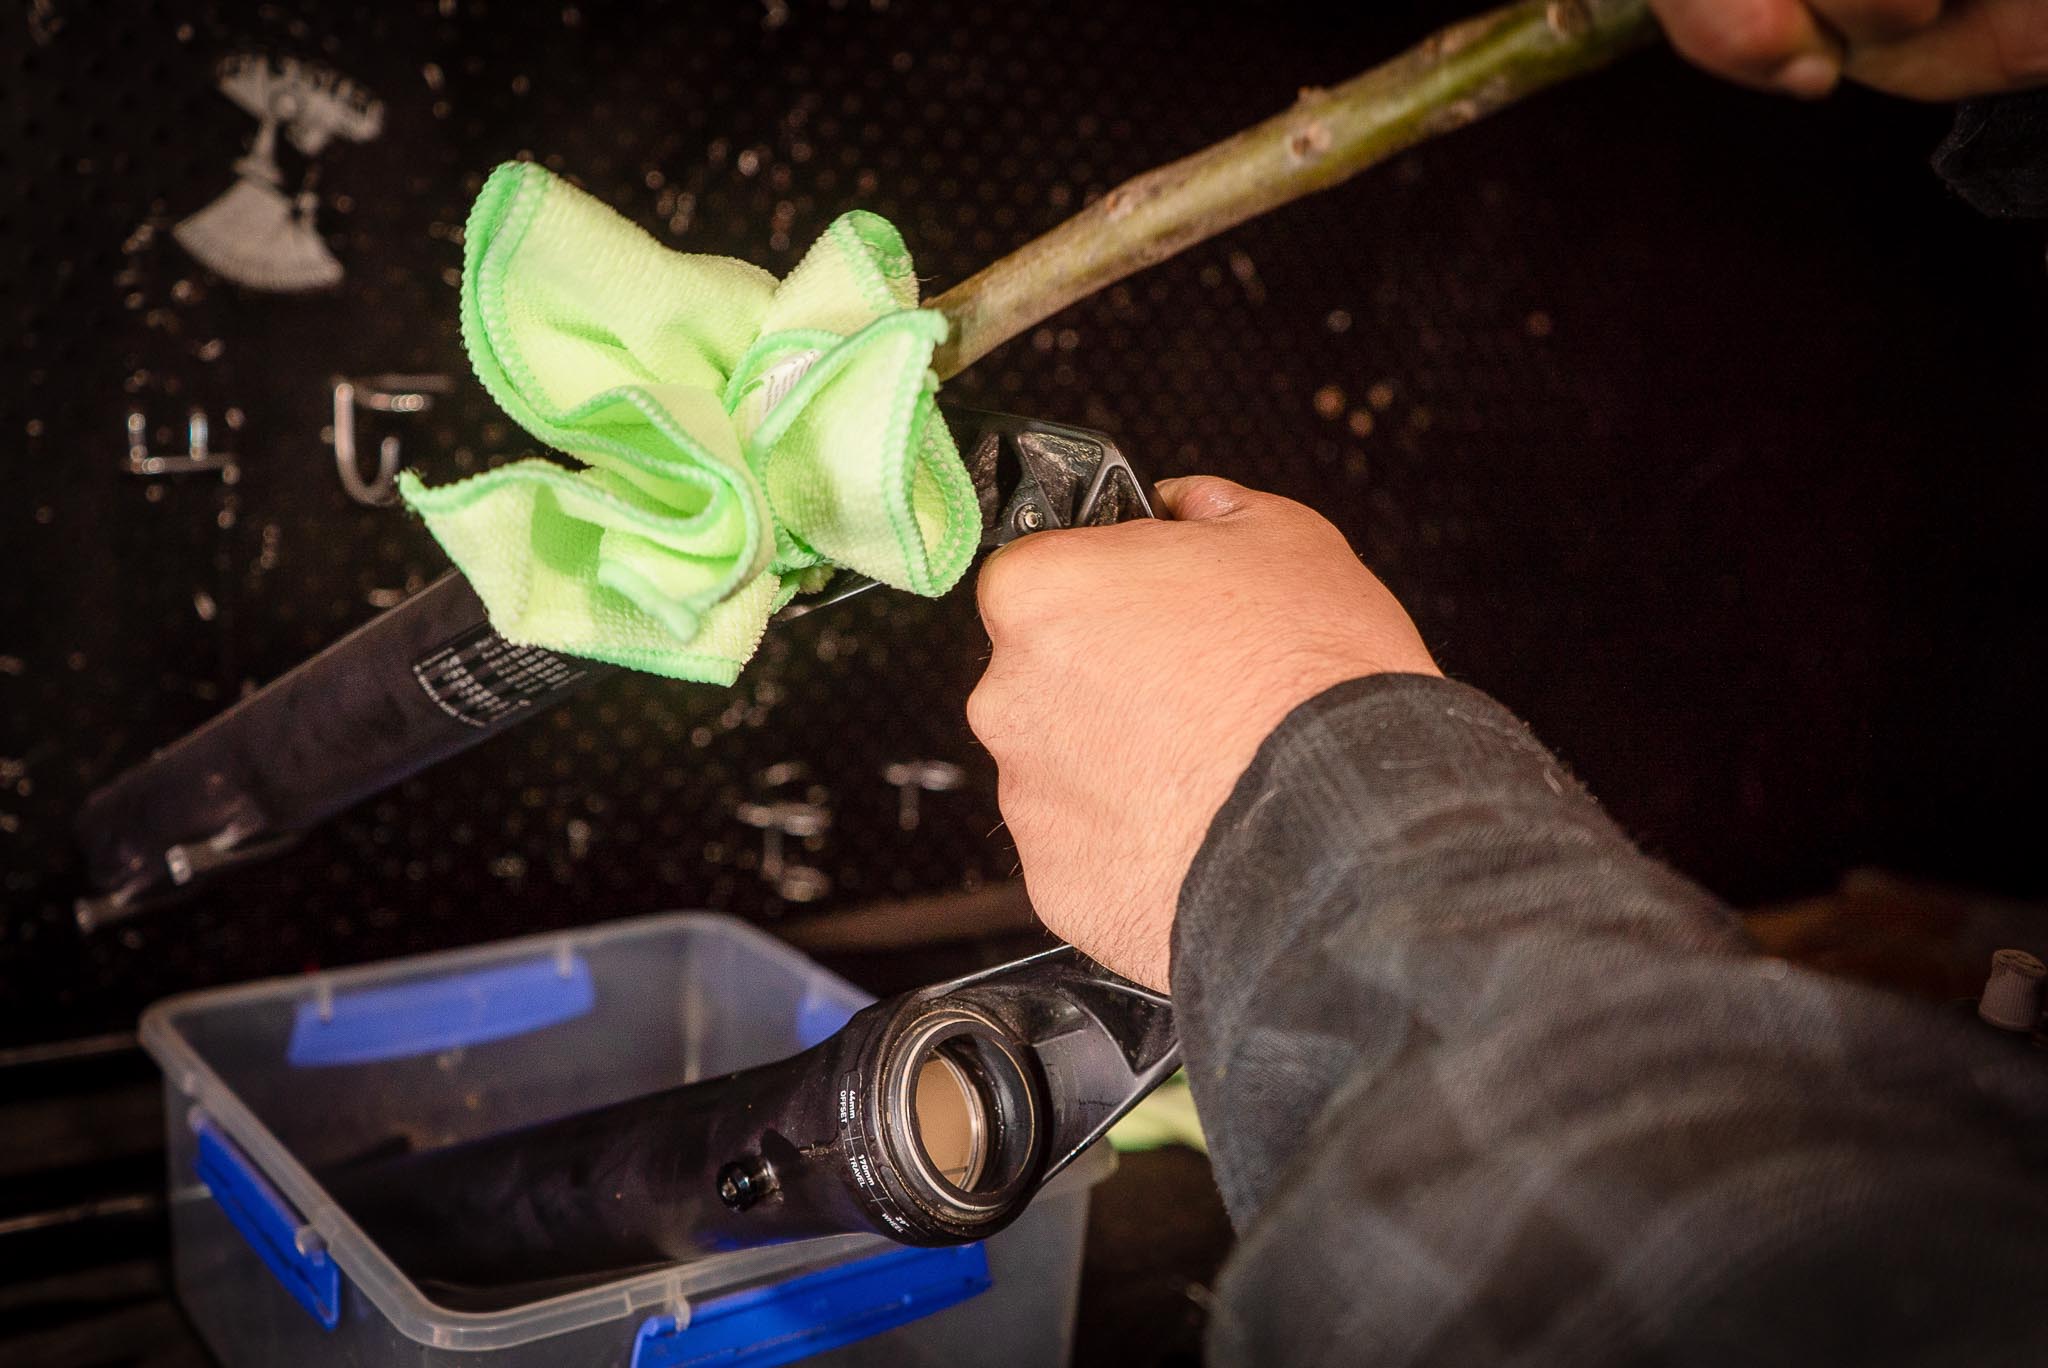
Grab your 5mm allen key, oil catch tray, and rubber mallet, things are about to get fun. Using your 5mm allen key, undo the bolts at the bottom of the forks 4-6 turns so there is a small gap between the cap and the fork.
Step 3
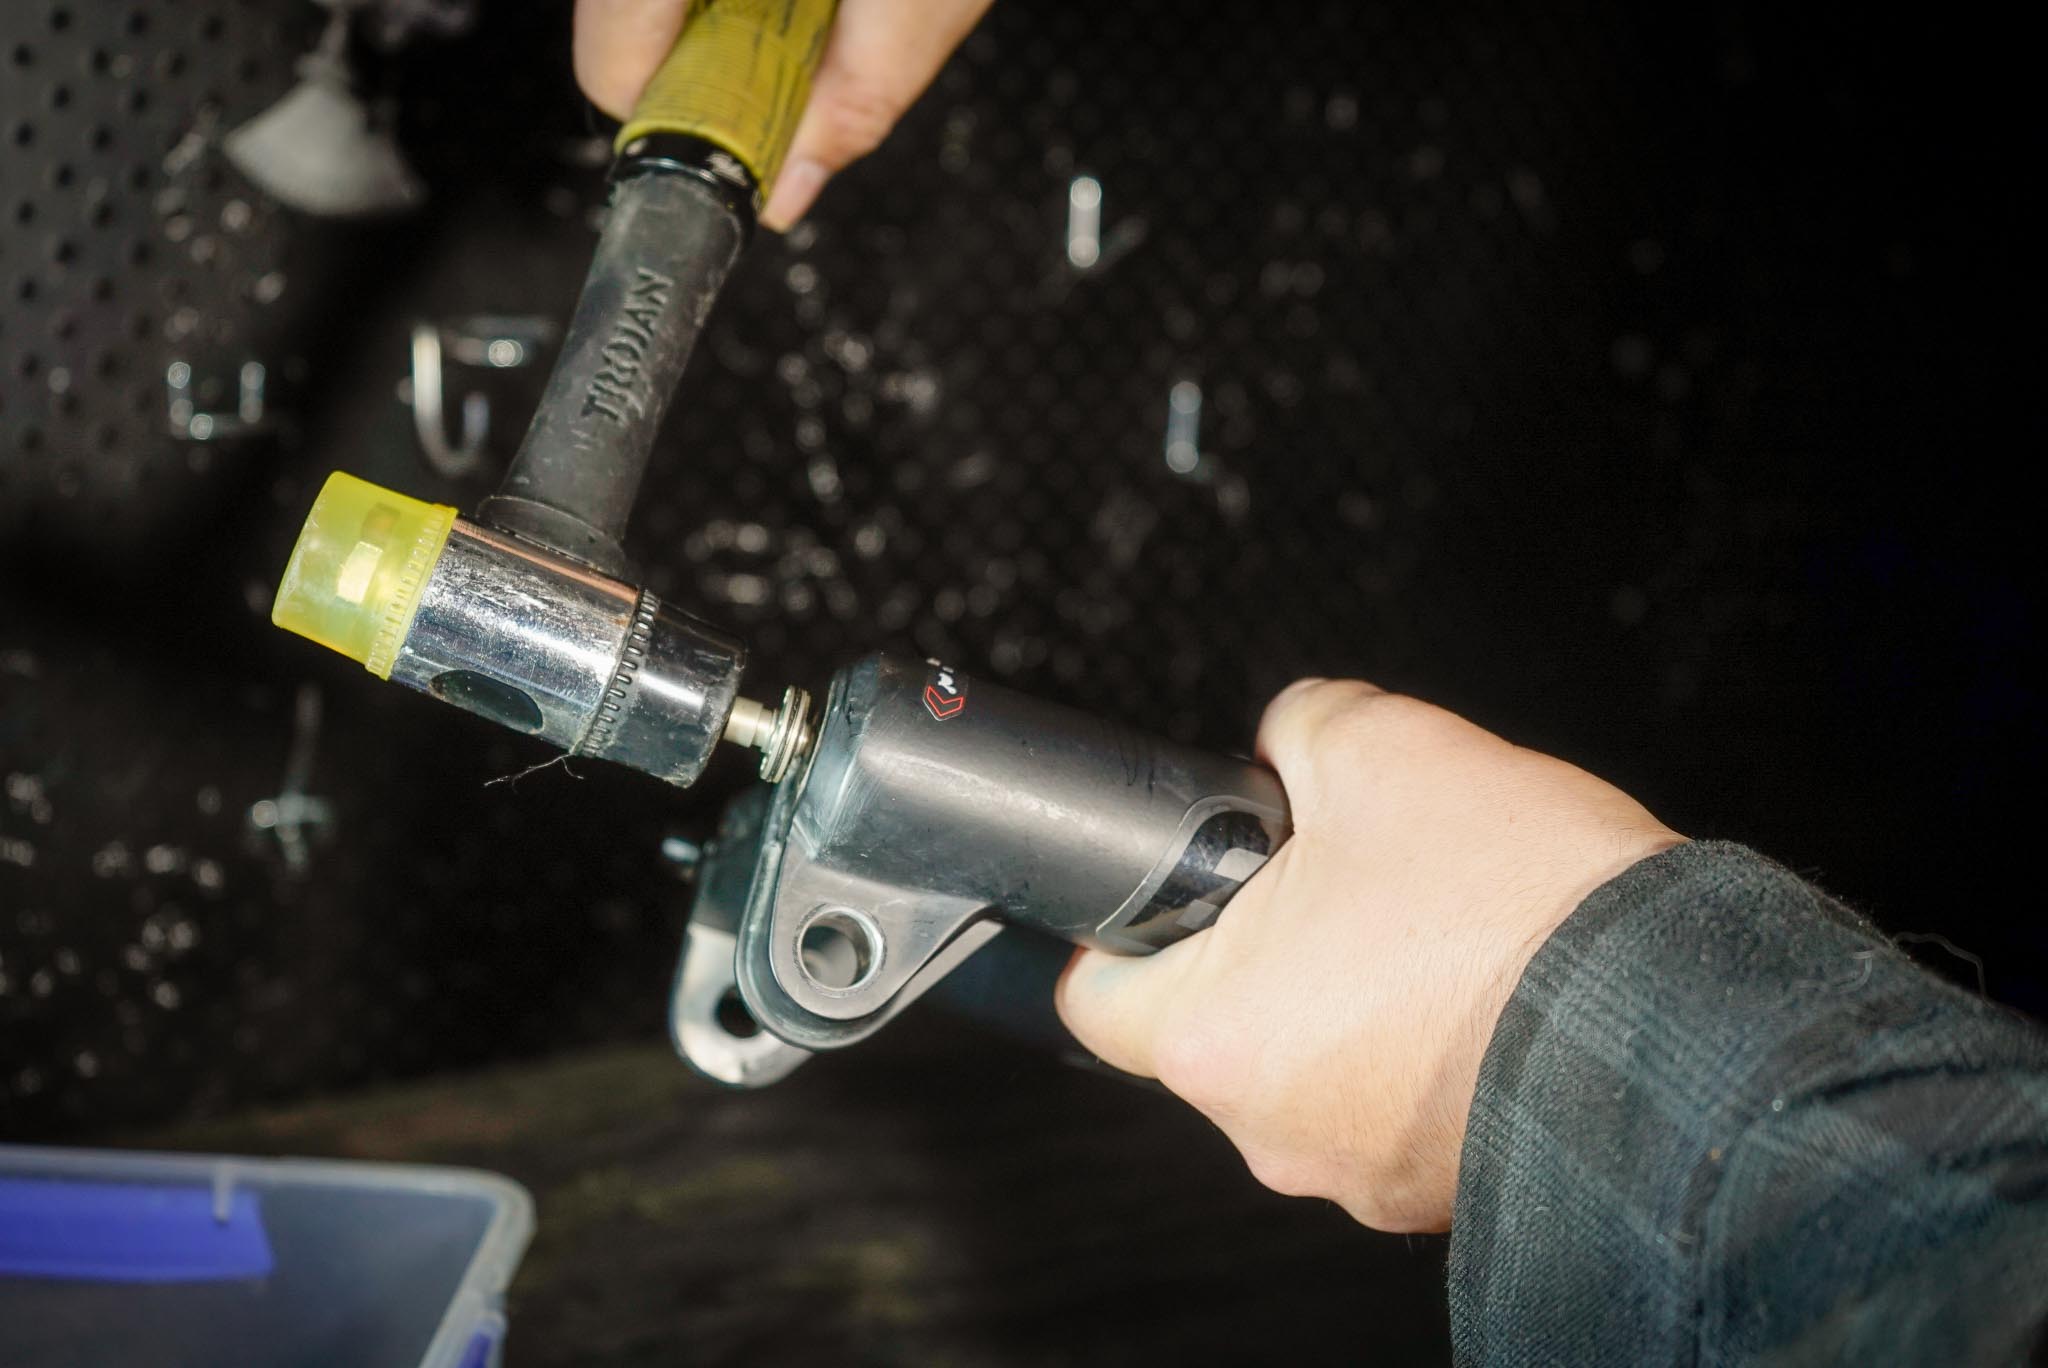
While holding the lowers with the fork upside down over your oil tray, strike the bolts with your hammer until the heads hit the lowers. Flip the forks back around the right way and completely remove the bolts while holding the forks over your oil tray.
Step 4
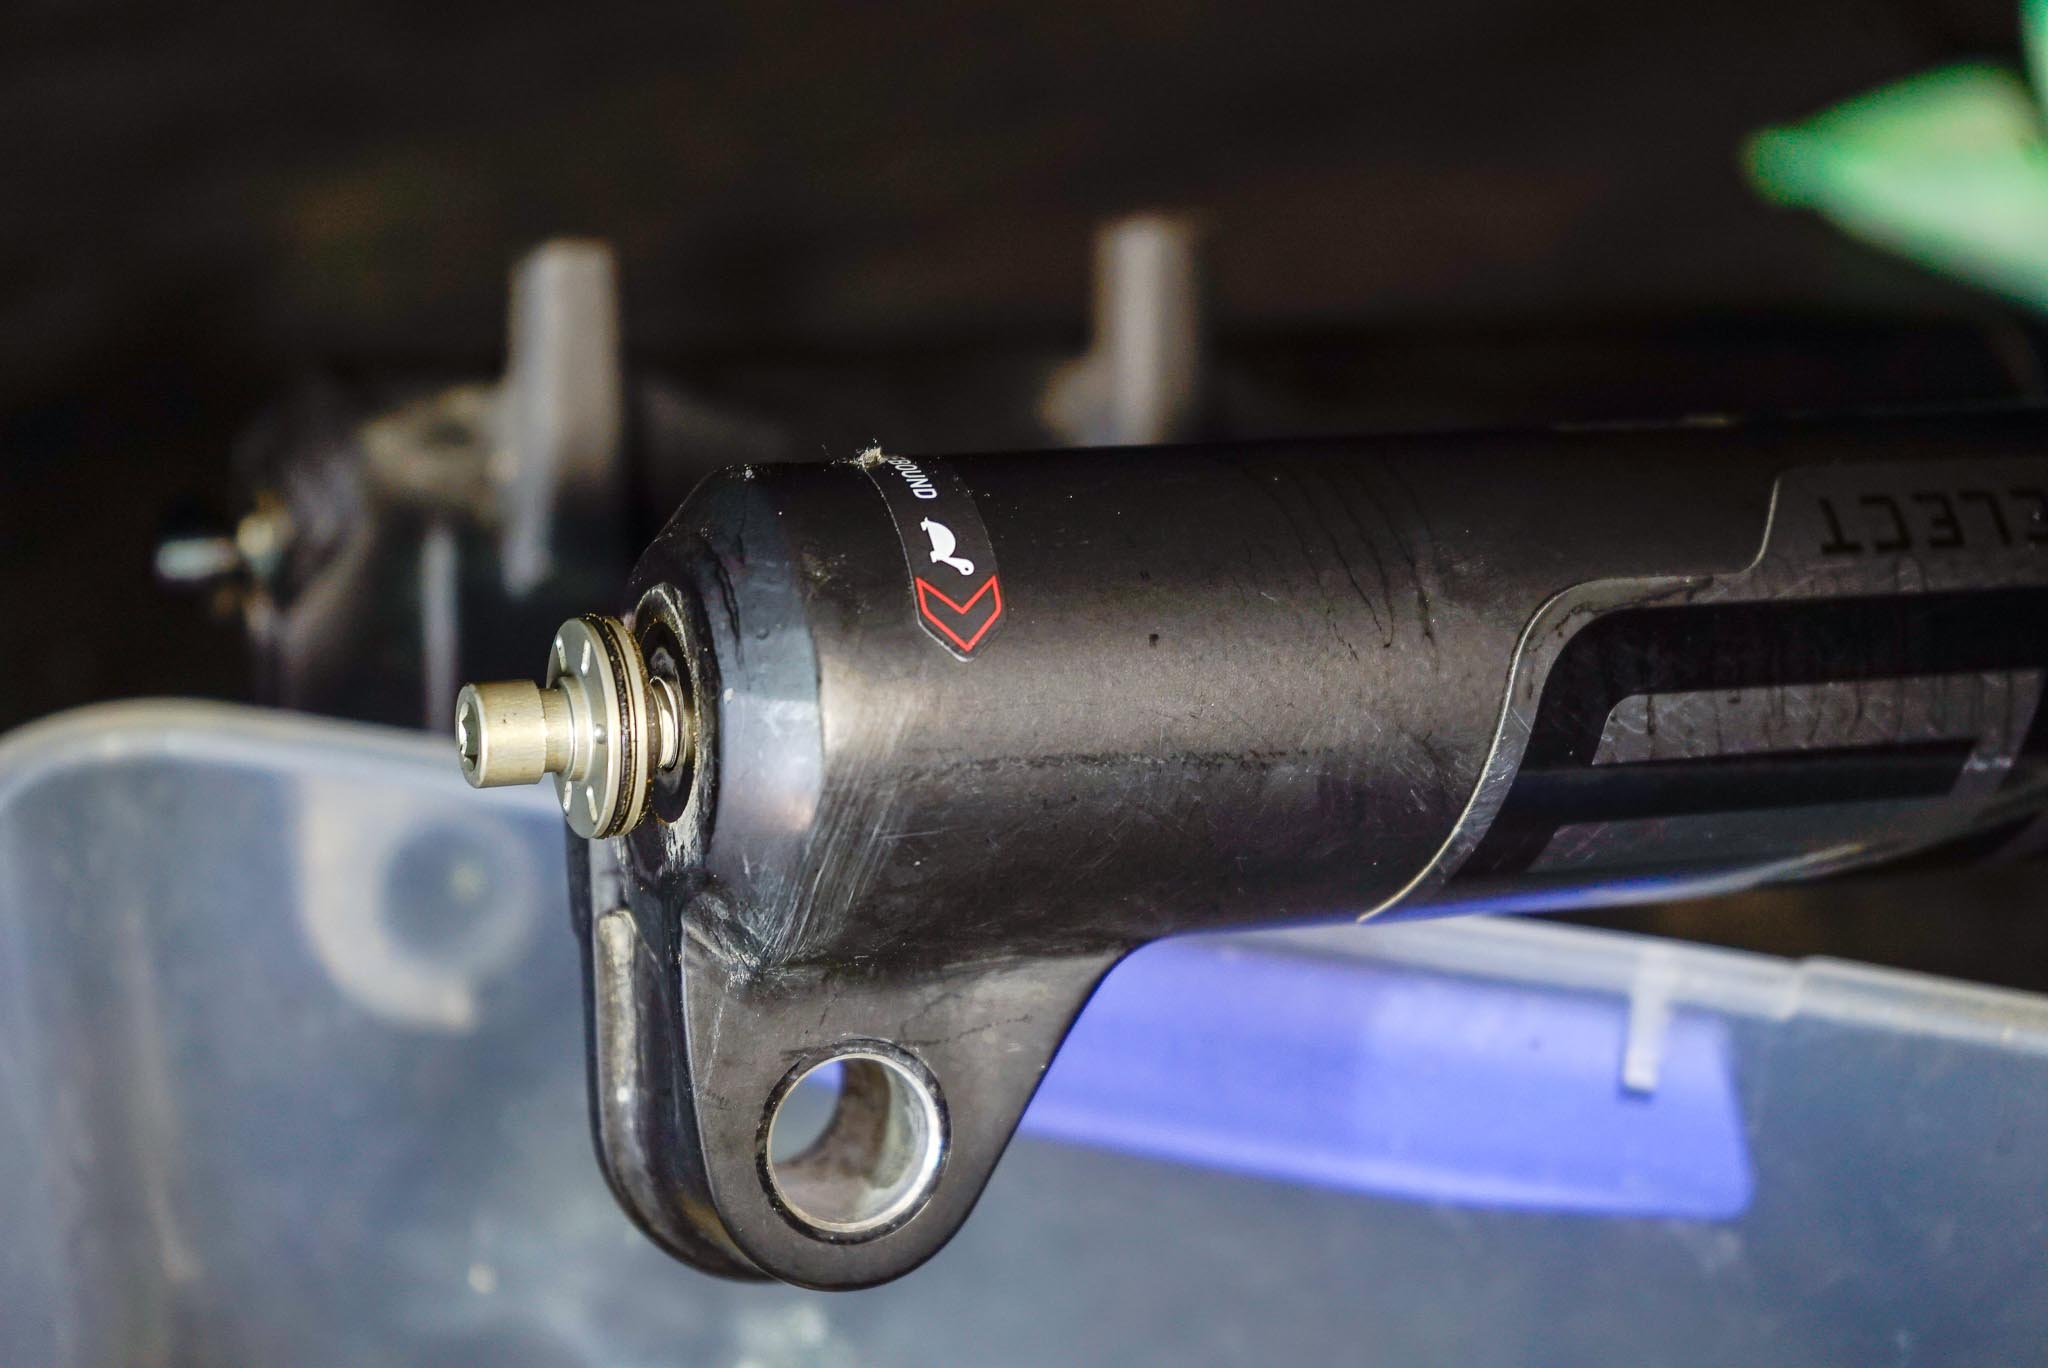
Hold the upper legs or crown firmly as you pull the lowers away from the stanchions. You should see oil begin to flow out of both legs. If there is no oil coming out of the lowers or you are struggling to remove the lowers then they may still be engaged. Thread the bolts back in 2 -3 turns and hit them again to separate the lowers from the uppers.
Step 5
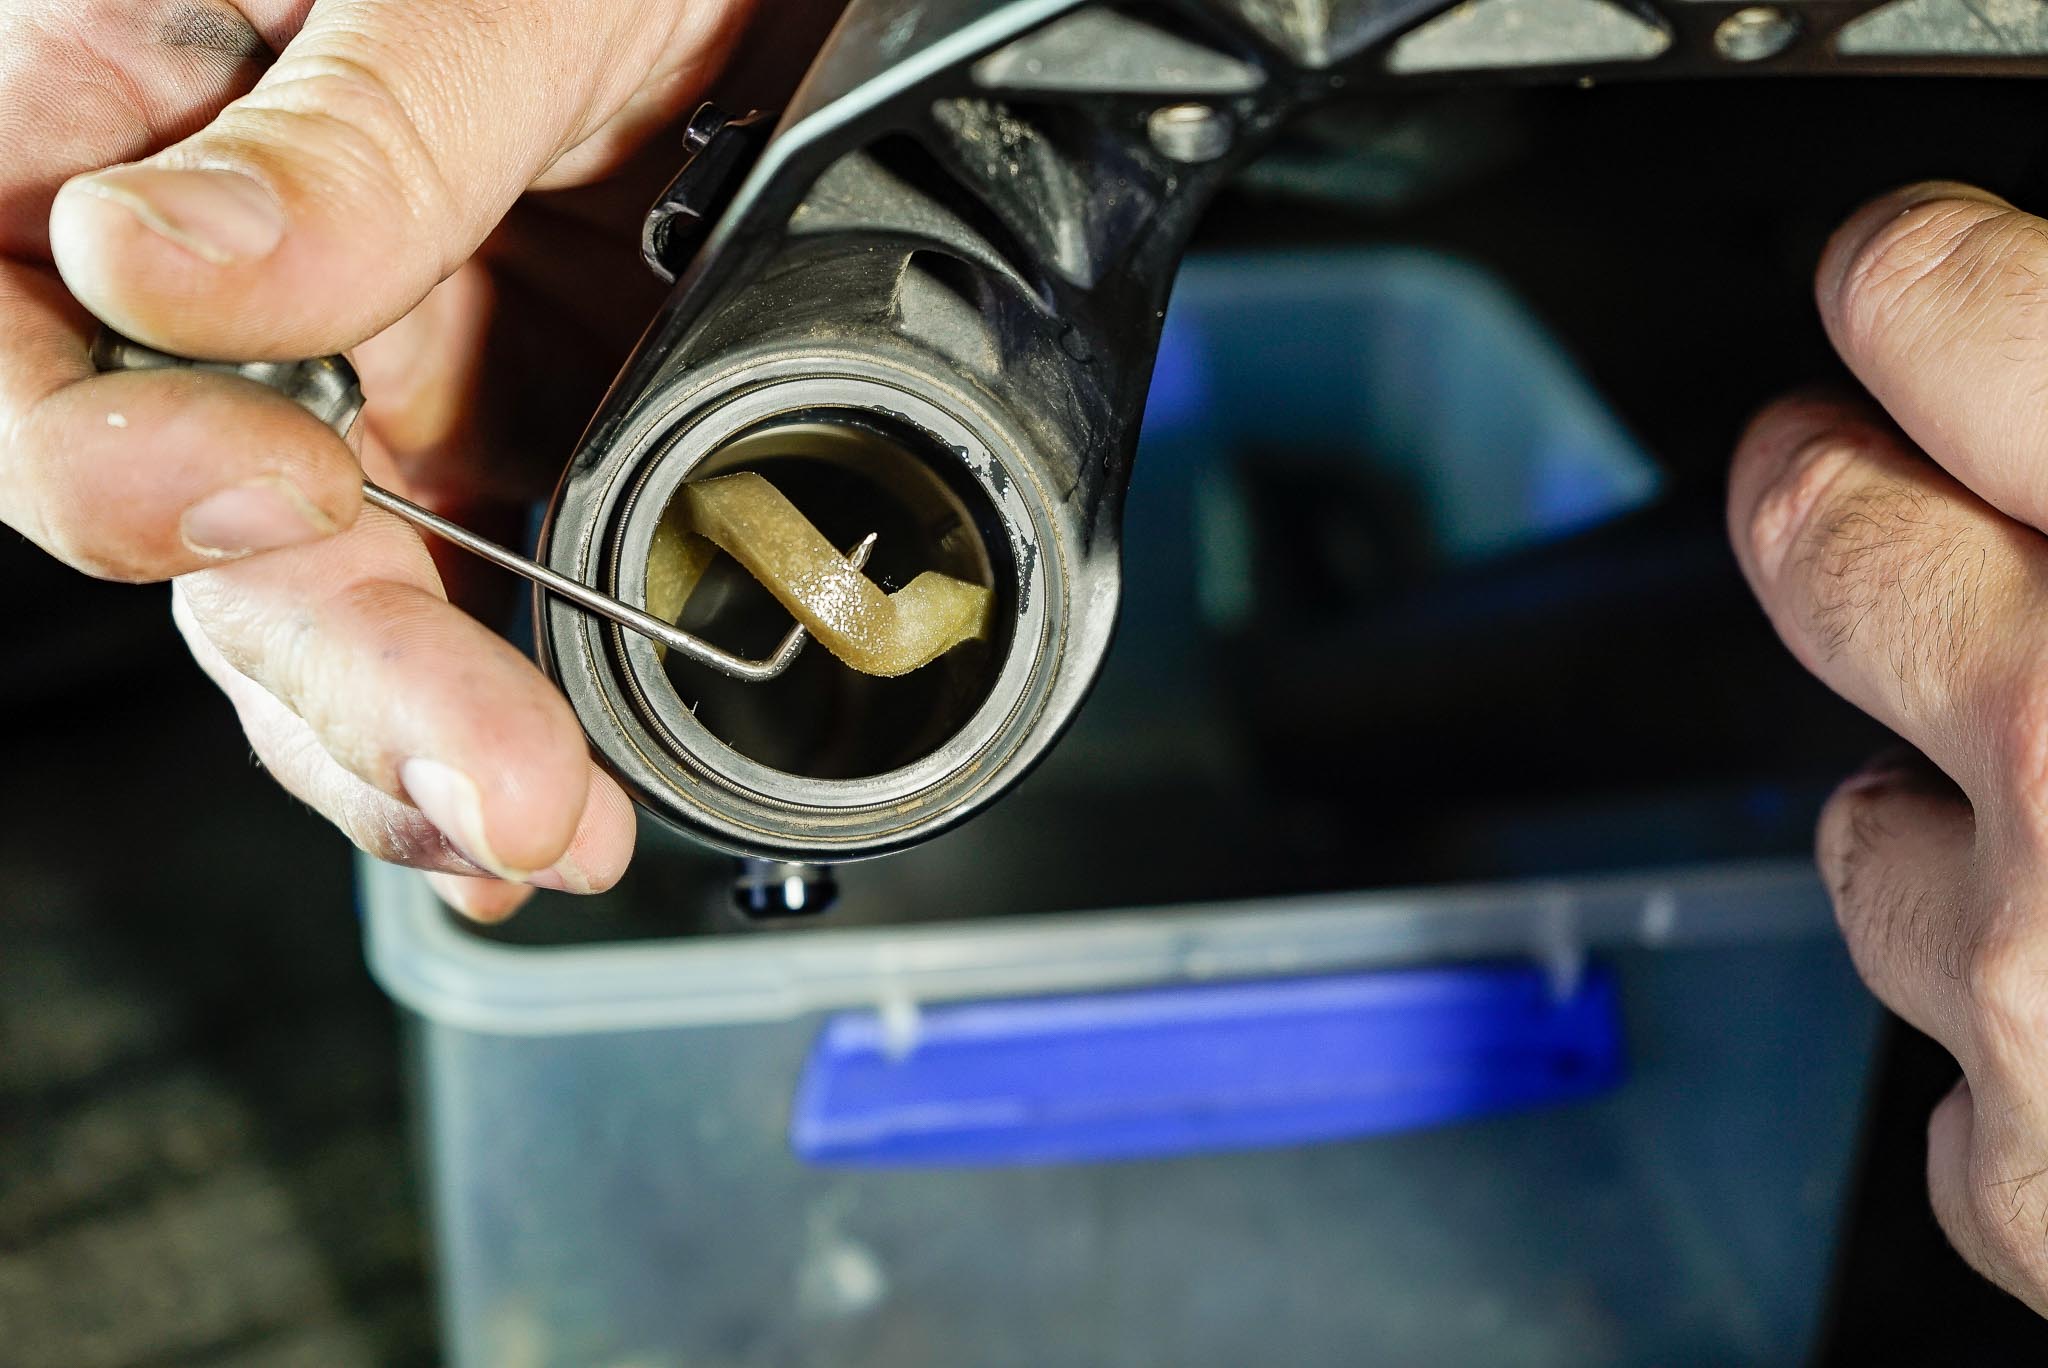
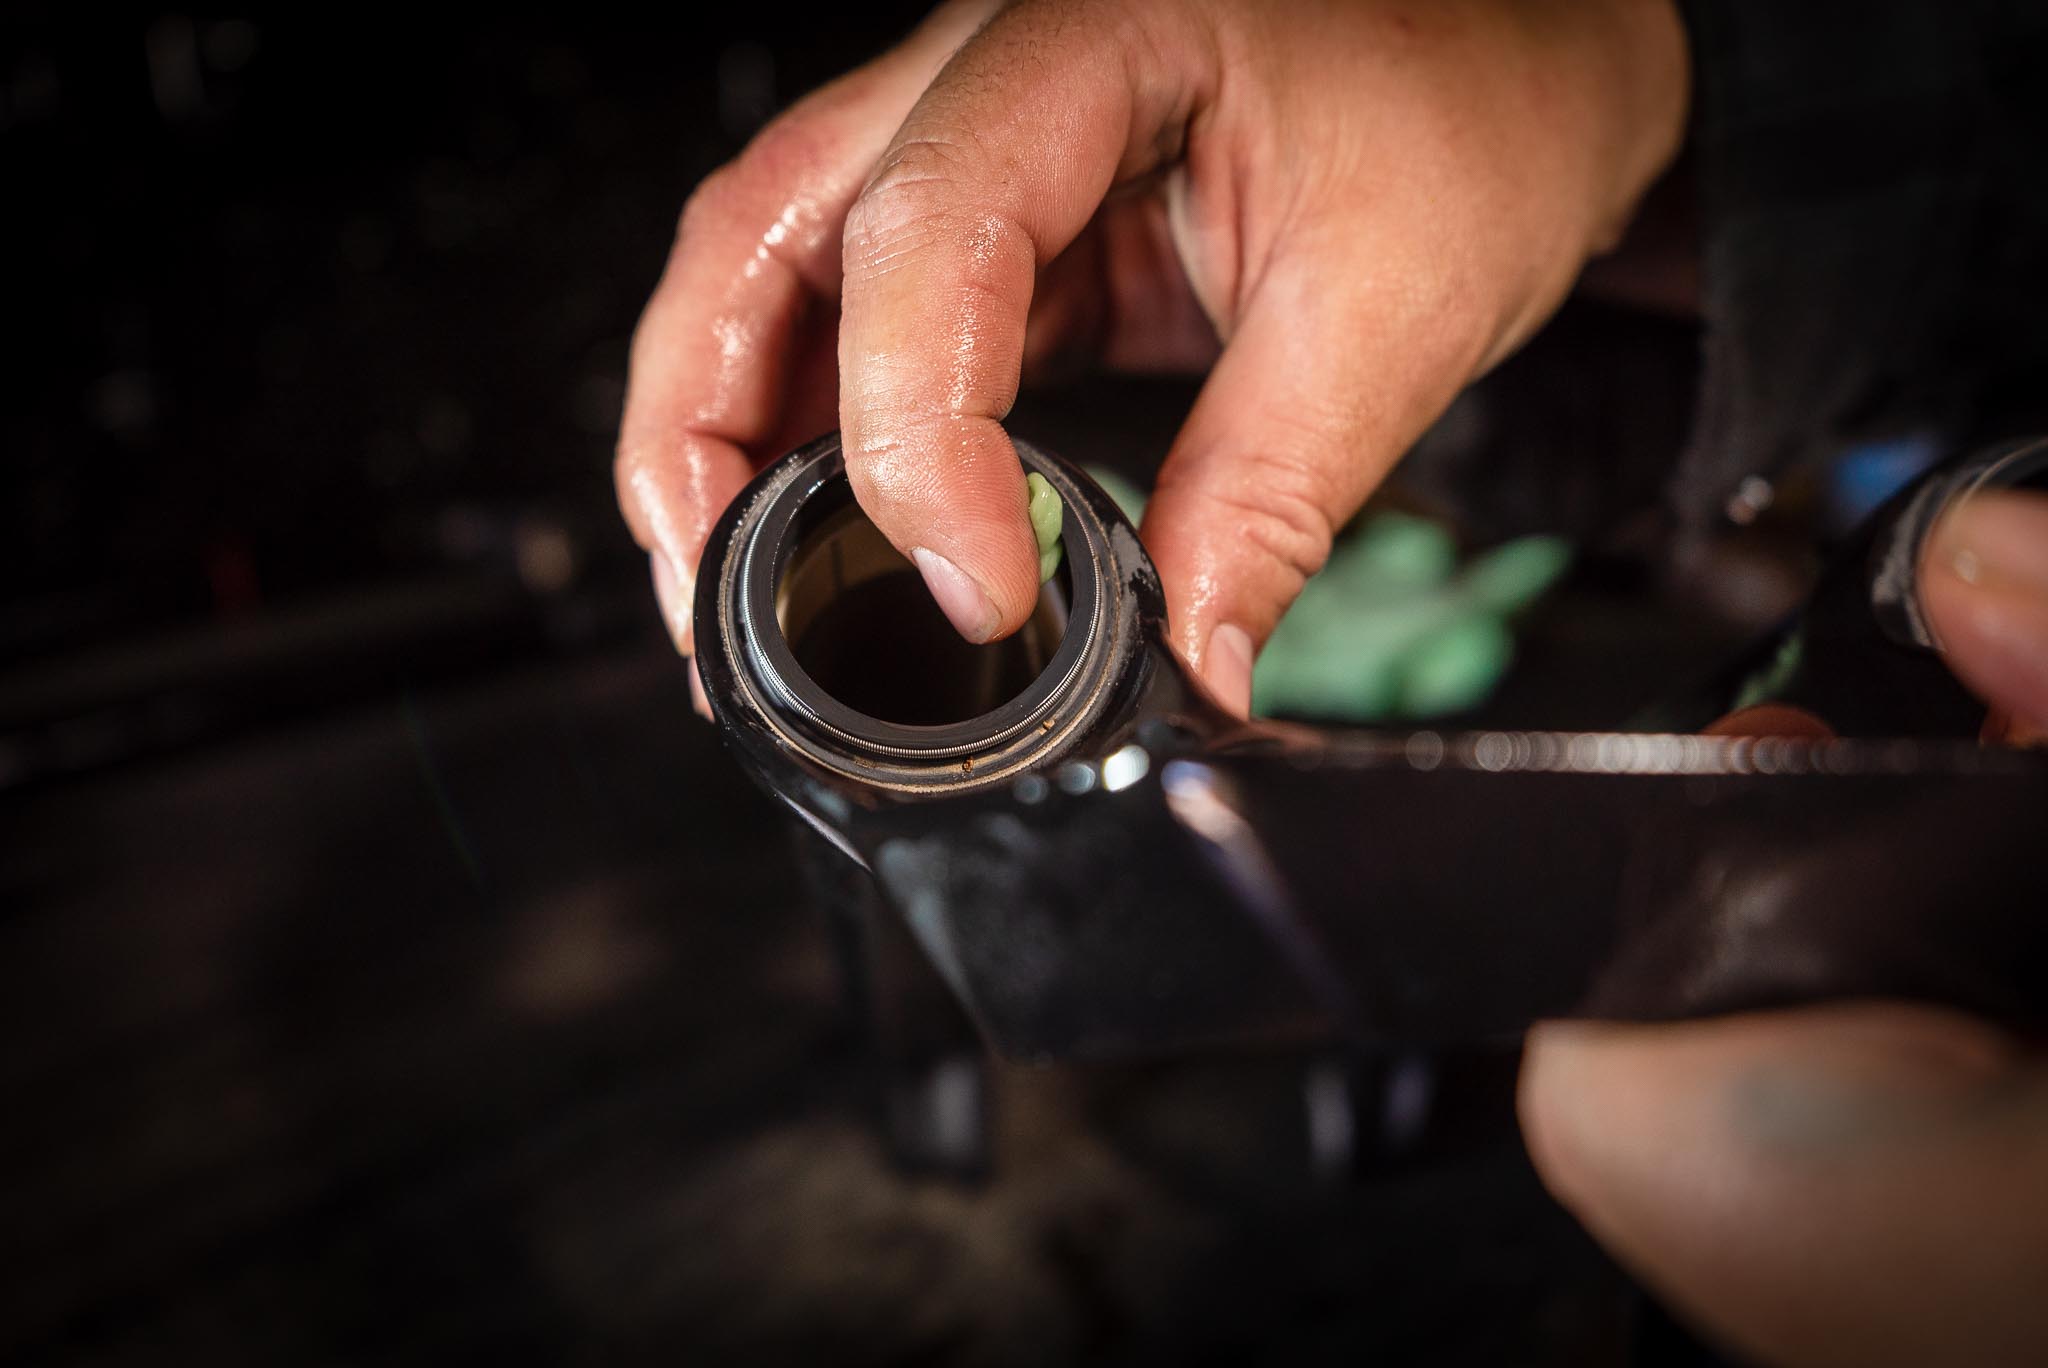
Using your pick or tweezers, remove the foam rings that sit below your seals and clean them with some isopropyl alcohol or suspension cleaner. If the foam rings are torn or extremely contaminated then they will need replacing. If they are in good condition then it is time to throw them in some oil to soak them after cleaning.
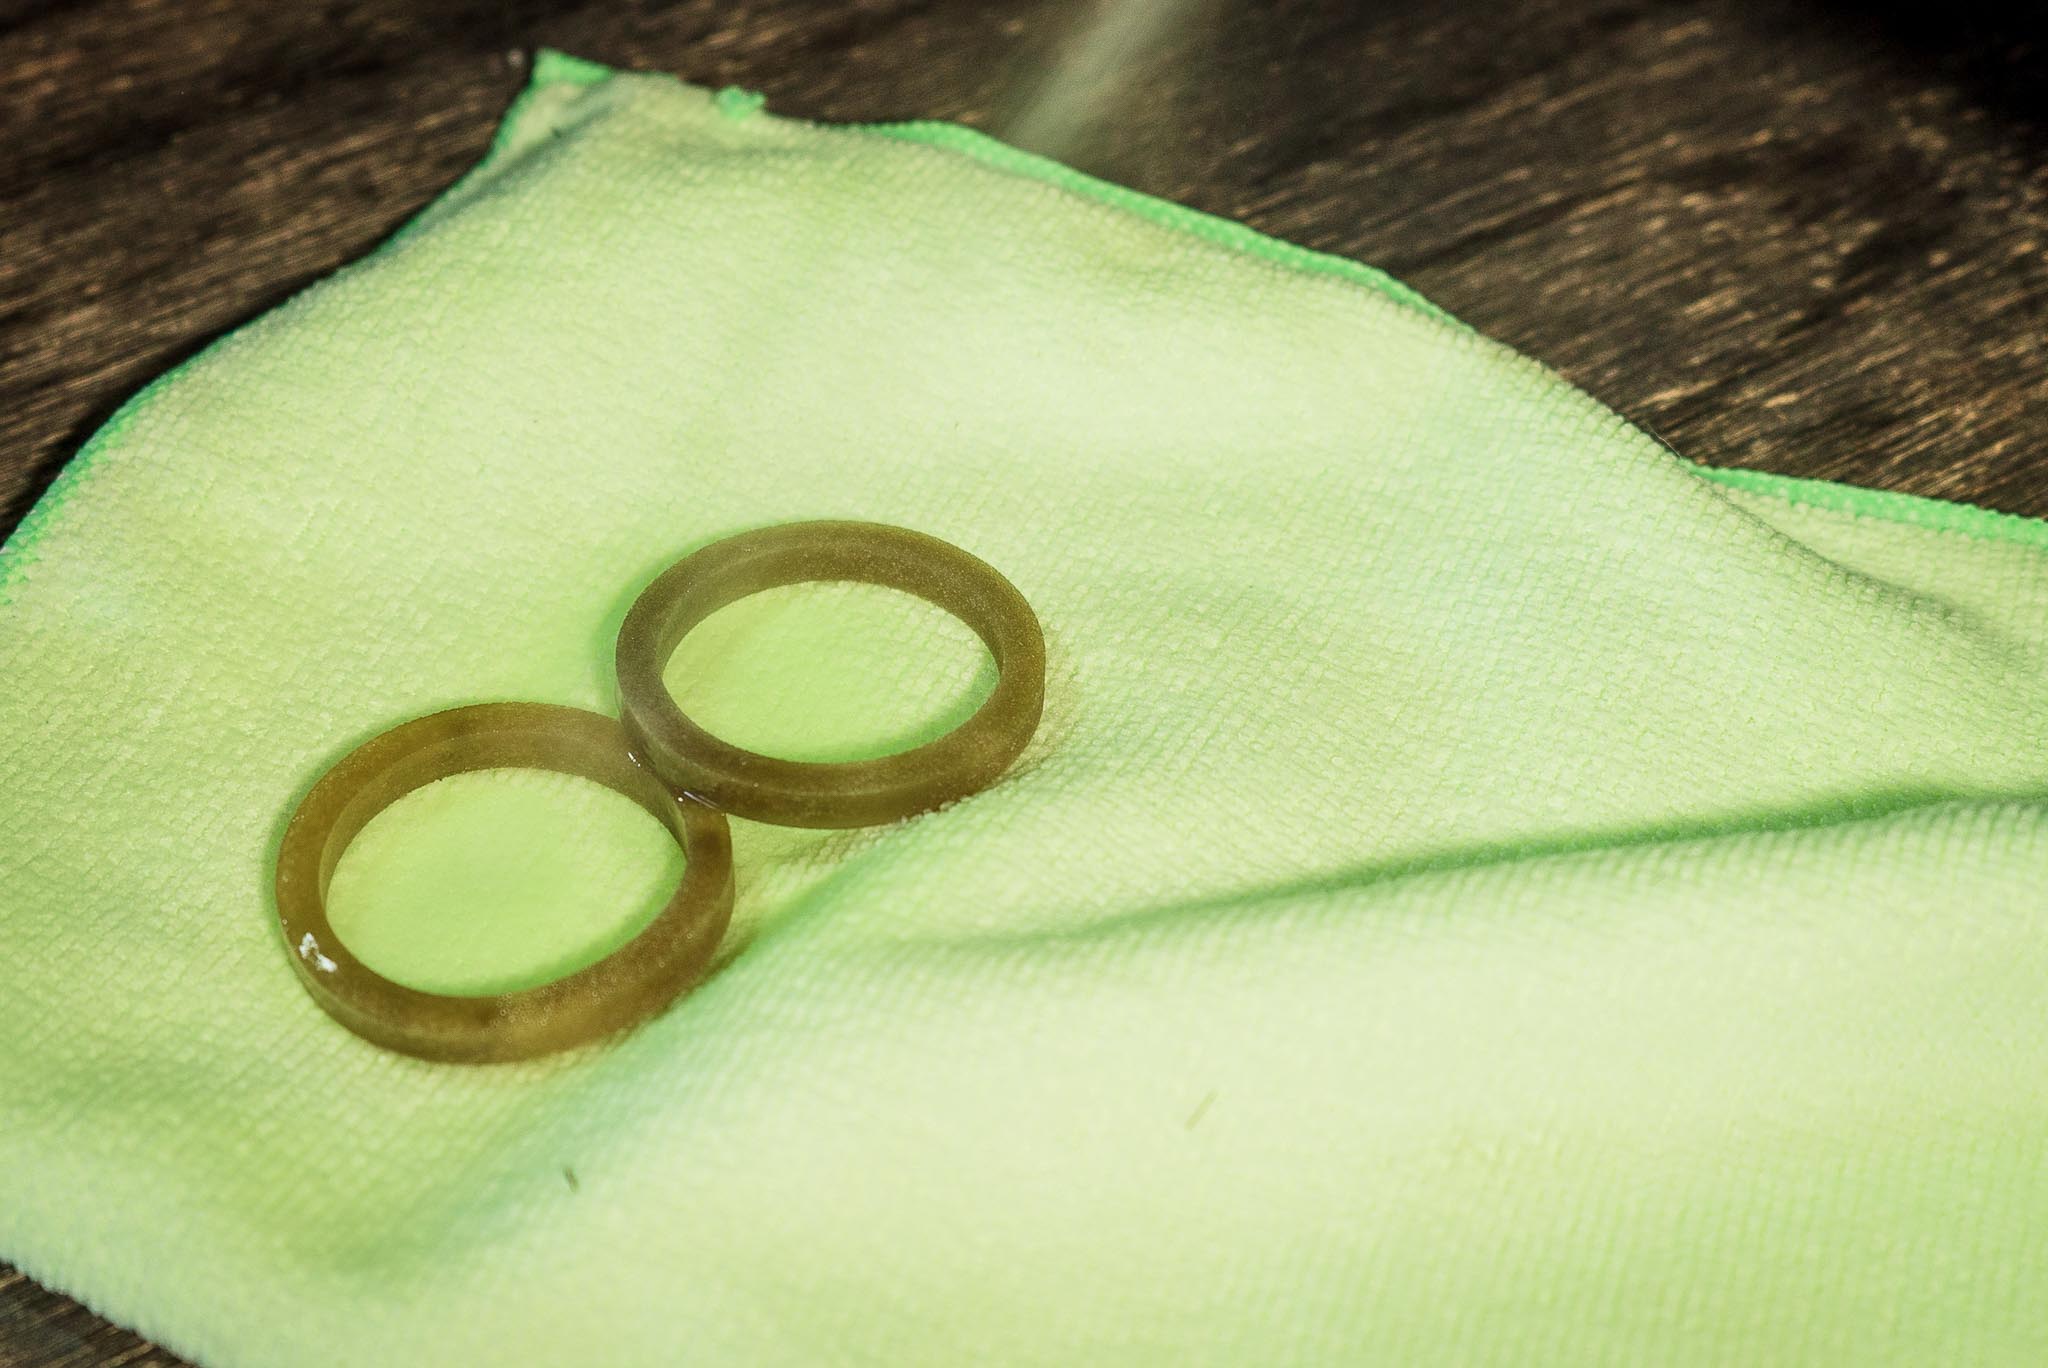
Clean the rings with a cleaning solution.
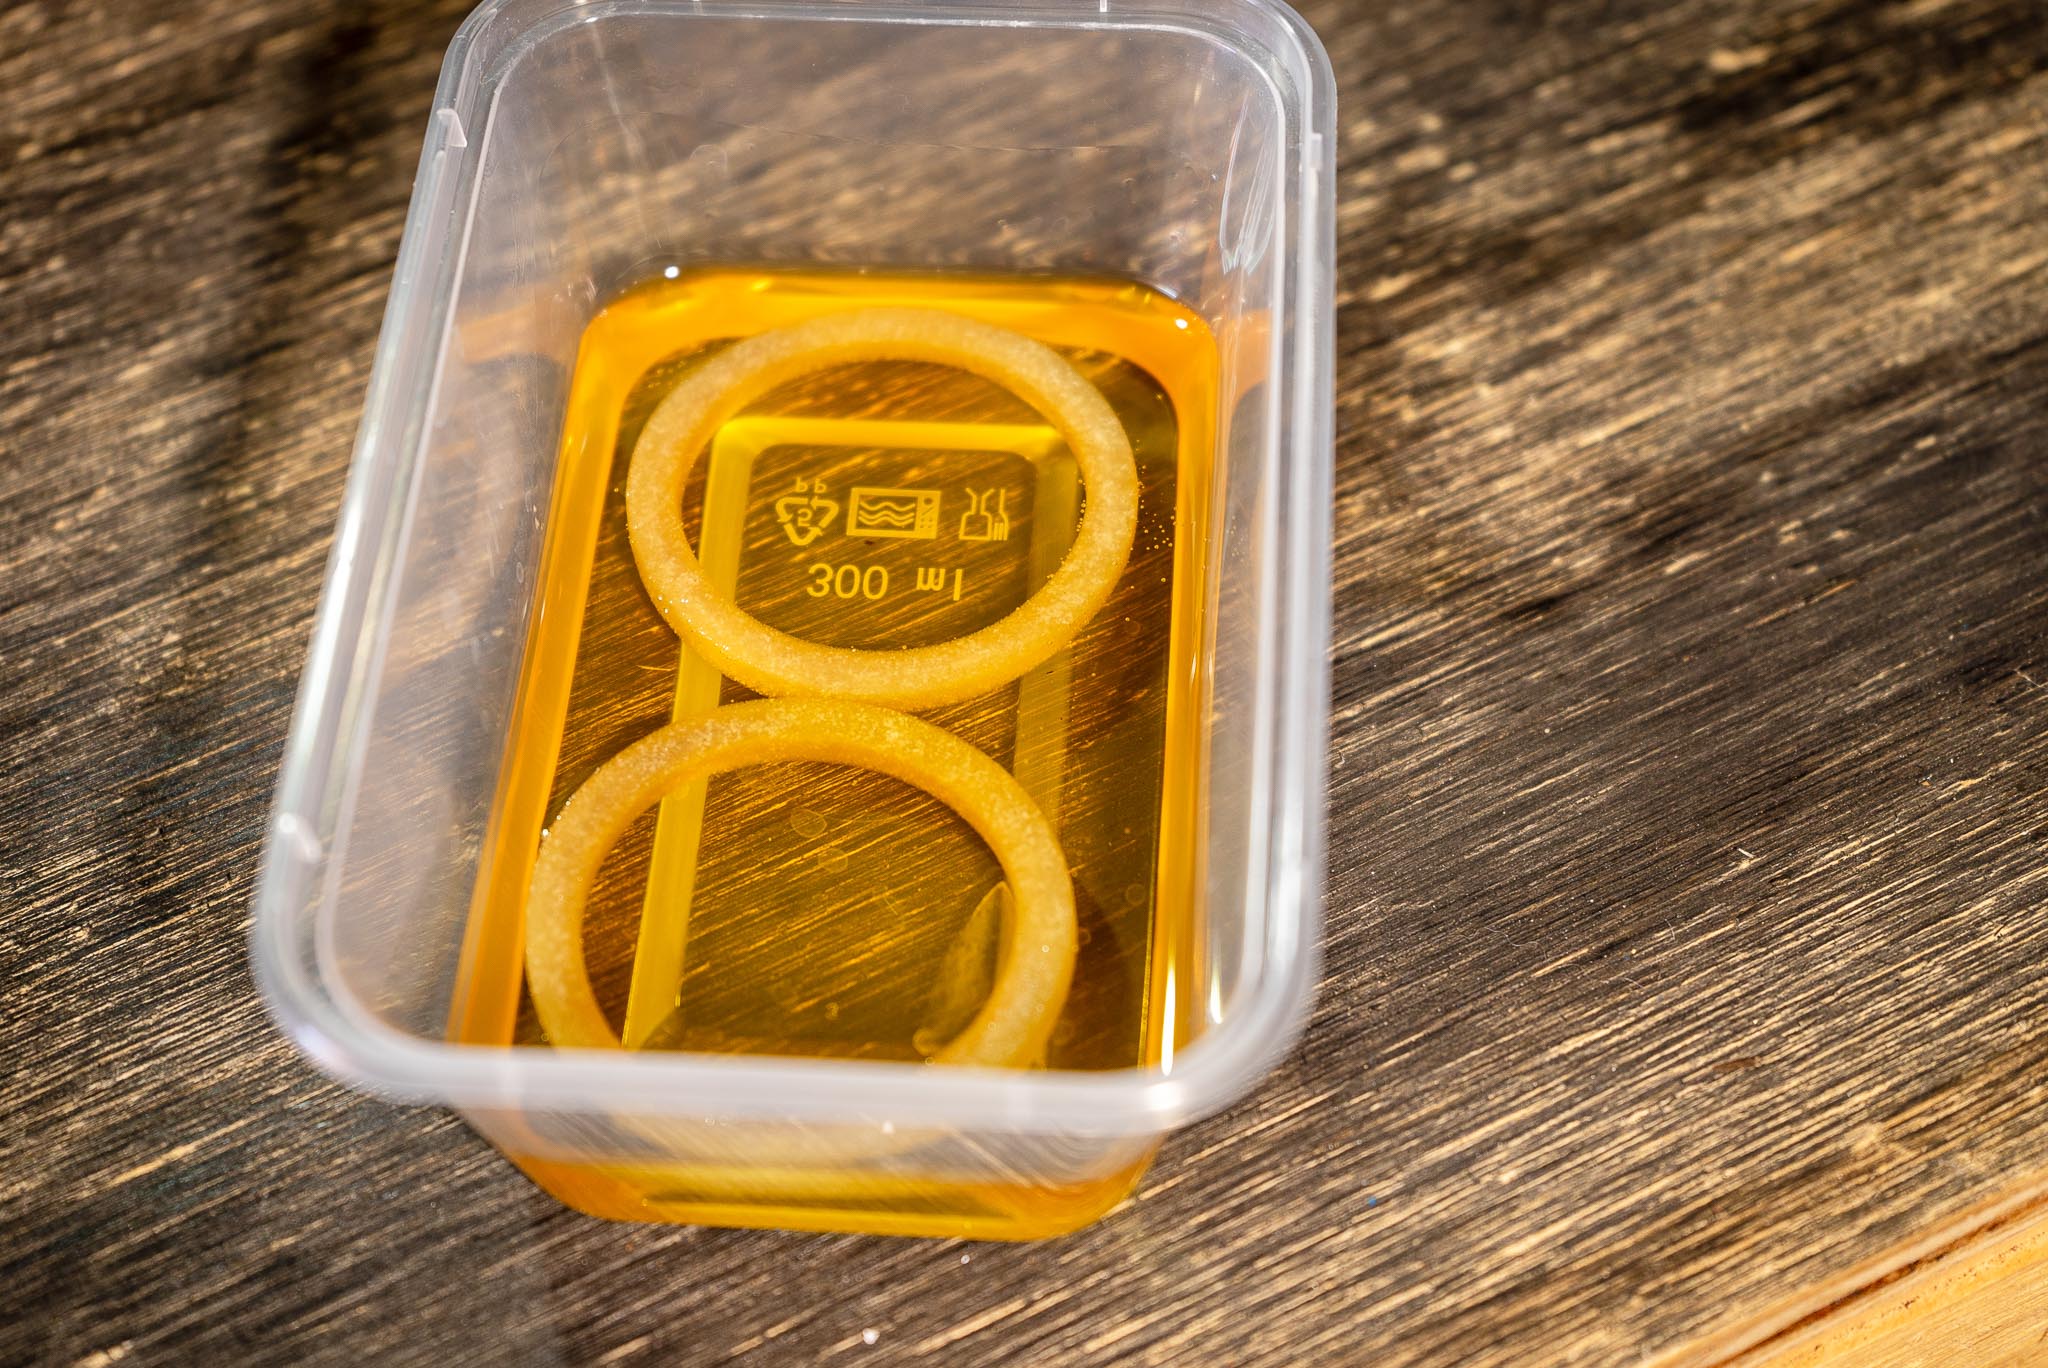
Soak the foam rings in oil while you clean the lowers
Step 6
Spray the inside of the lowers with your cleaning solution and use your technical rag on a stick to wipe the inside. Once it is clean and dry inside, re-install the foam rings underneath your seals.
Reinstall your foam rings.
Step 7

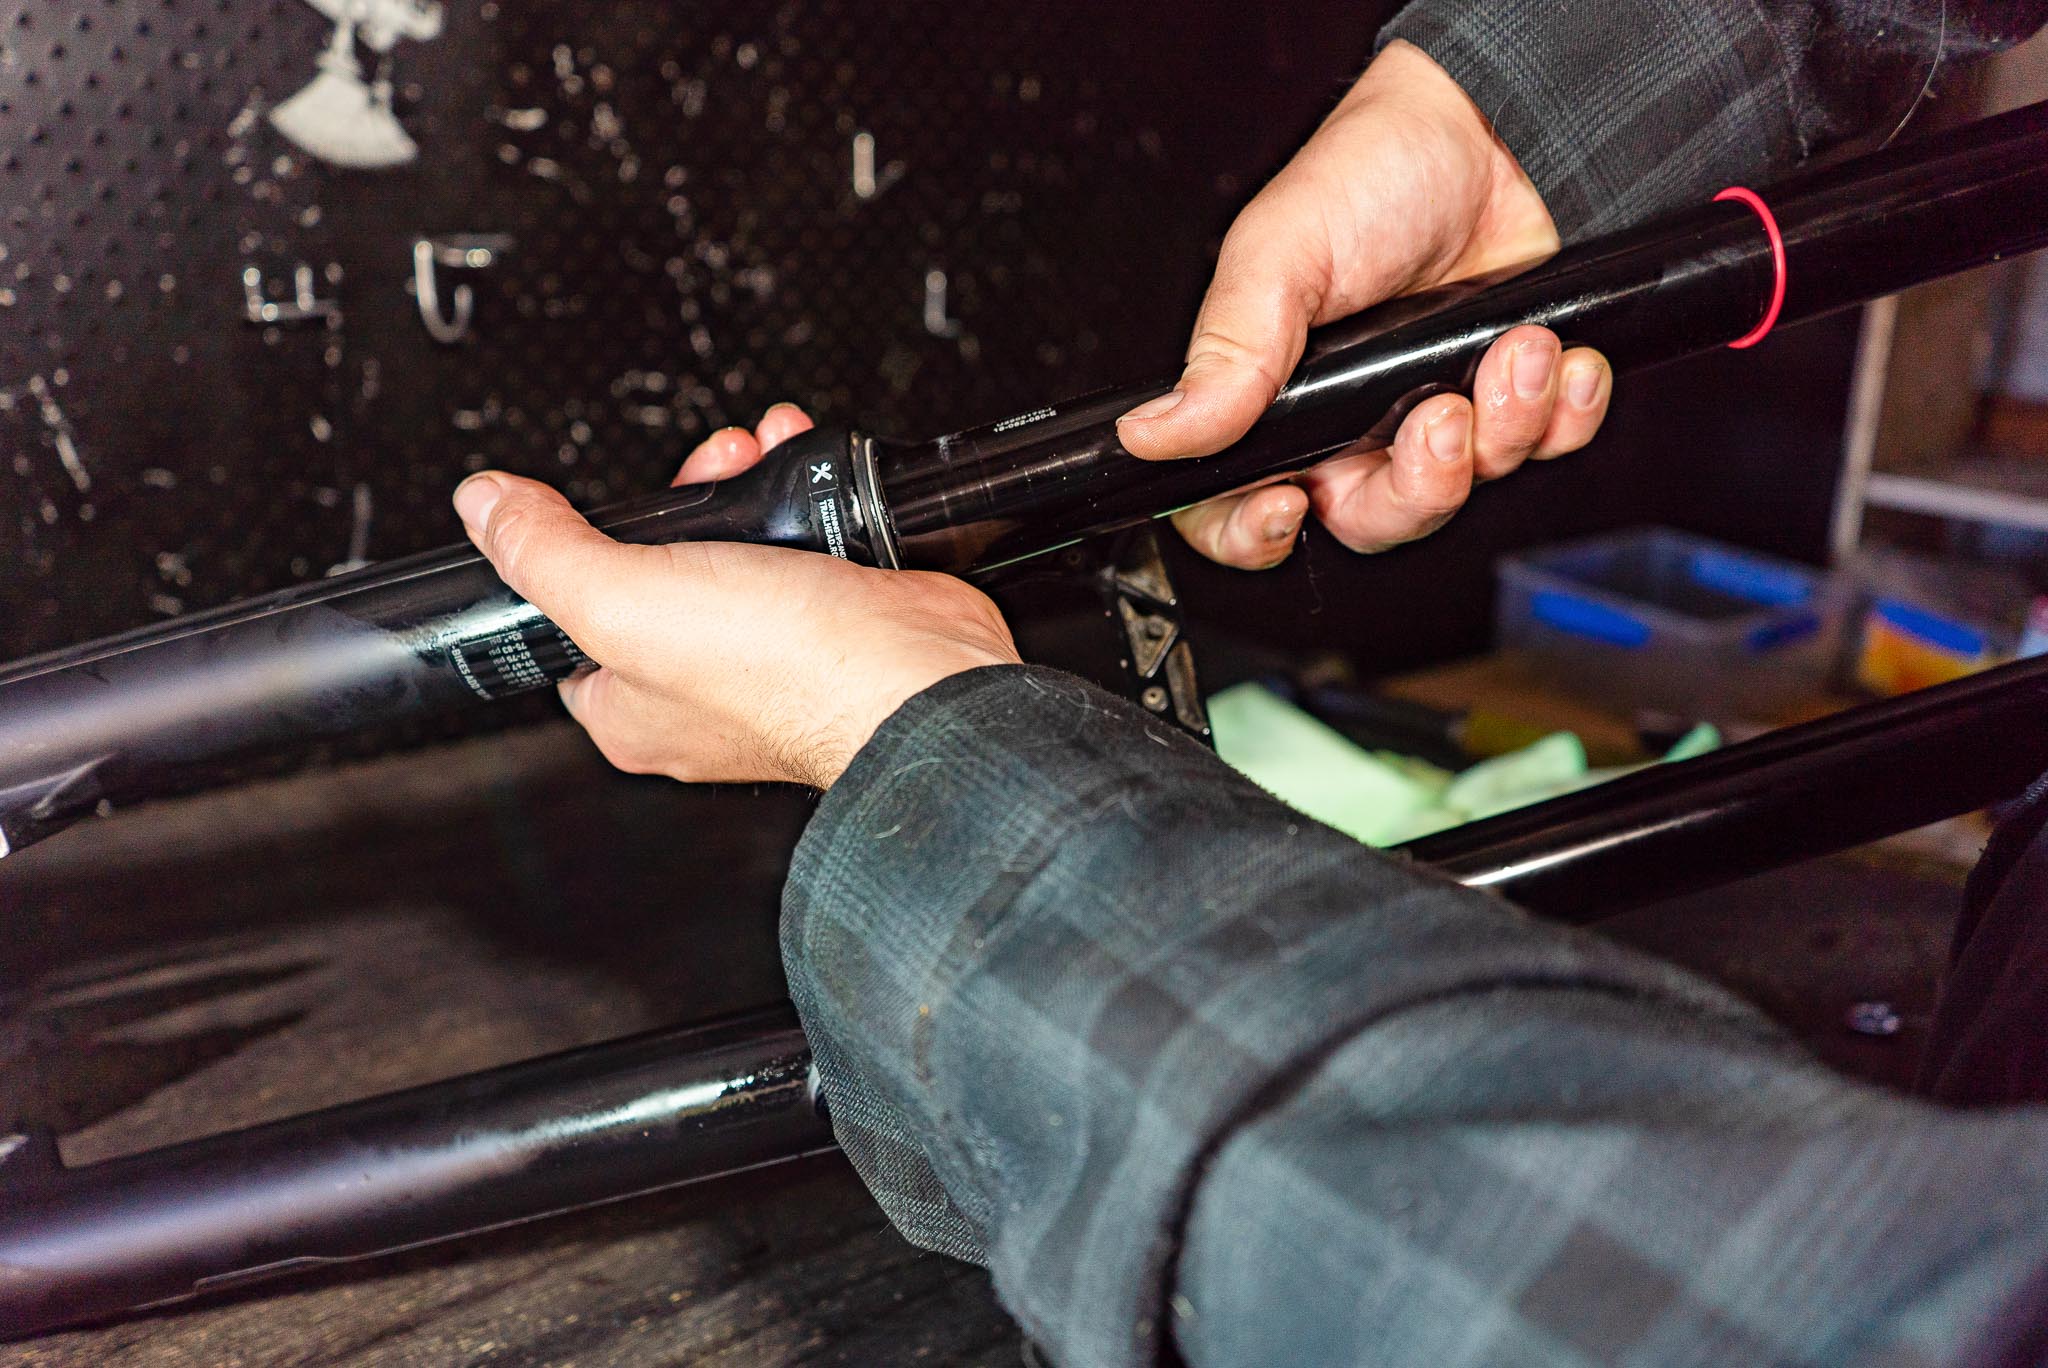
Clean and wipe down the uppers with your cleaning solution, apply dynamic seal grease to the seals, and carefully mate the lowers up to the legs. Ensure the seals aren’t pinched or folded in any way and proceed to slide the lowers onto the uppers. There should be a small gap between the air/damper shafts and the bolt holes
Step 8
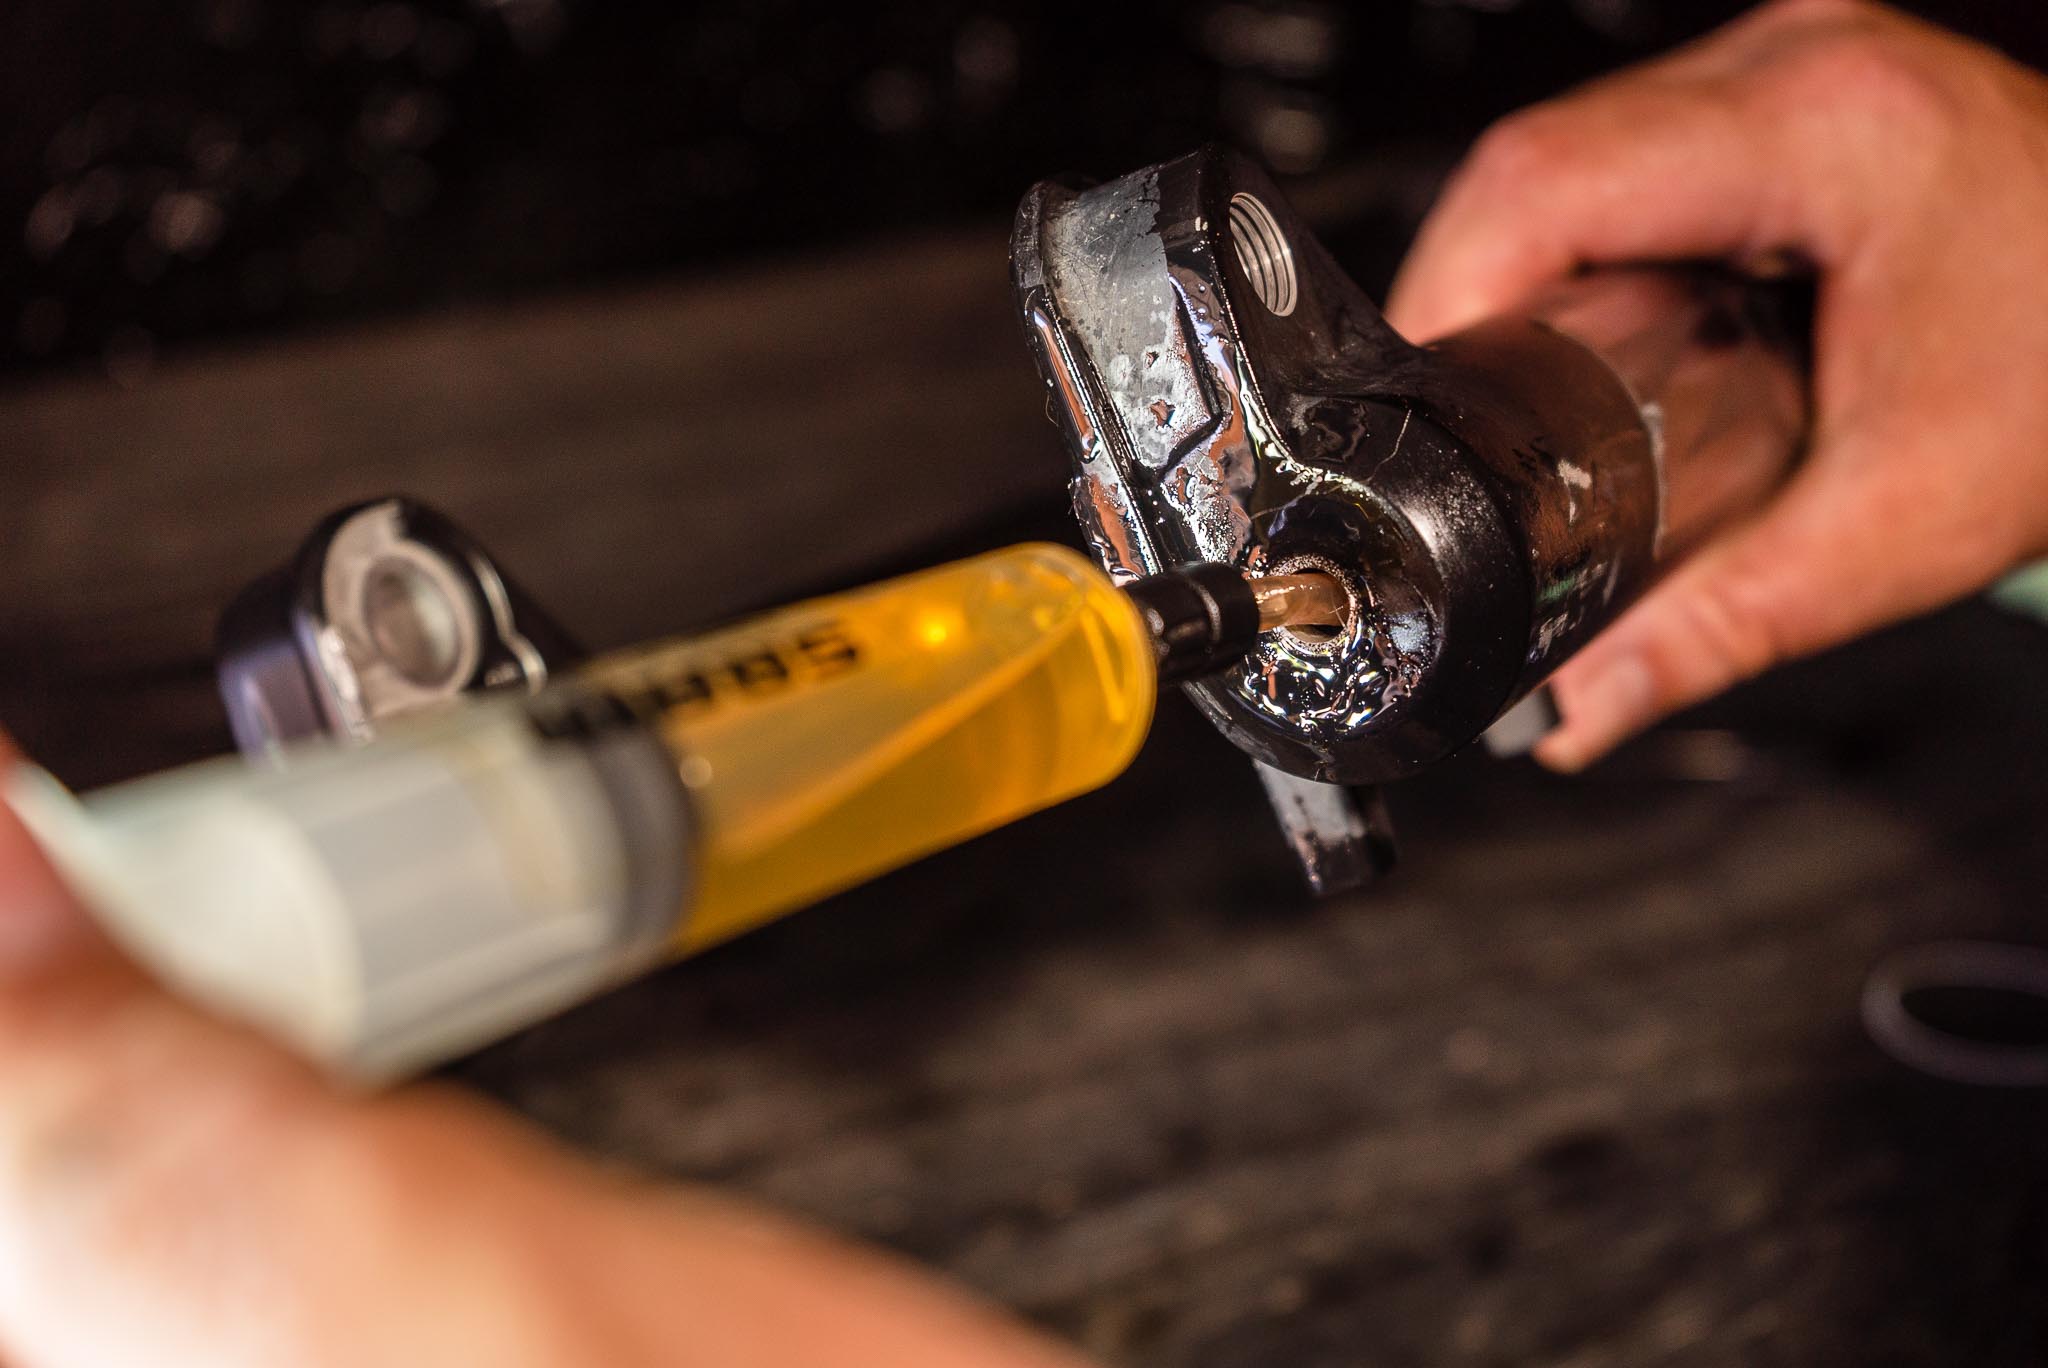
Fill up your syringe with the correct amount of oil for your forks and with the forks at a 45-degree angle, insert the syringe through the gap and push the oil in. Slide the lowers back all the way onto the uppers and the thread is visible through the holes in the lowers.
Step 9
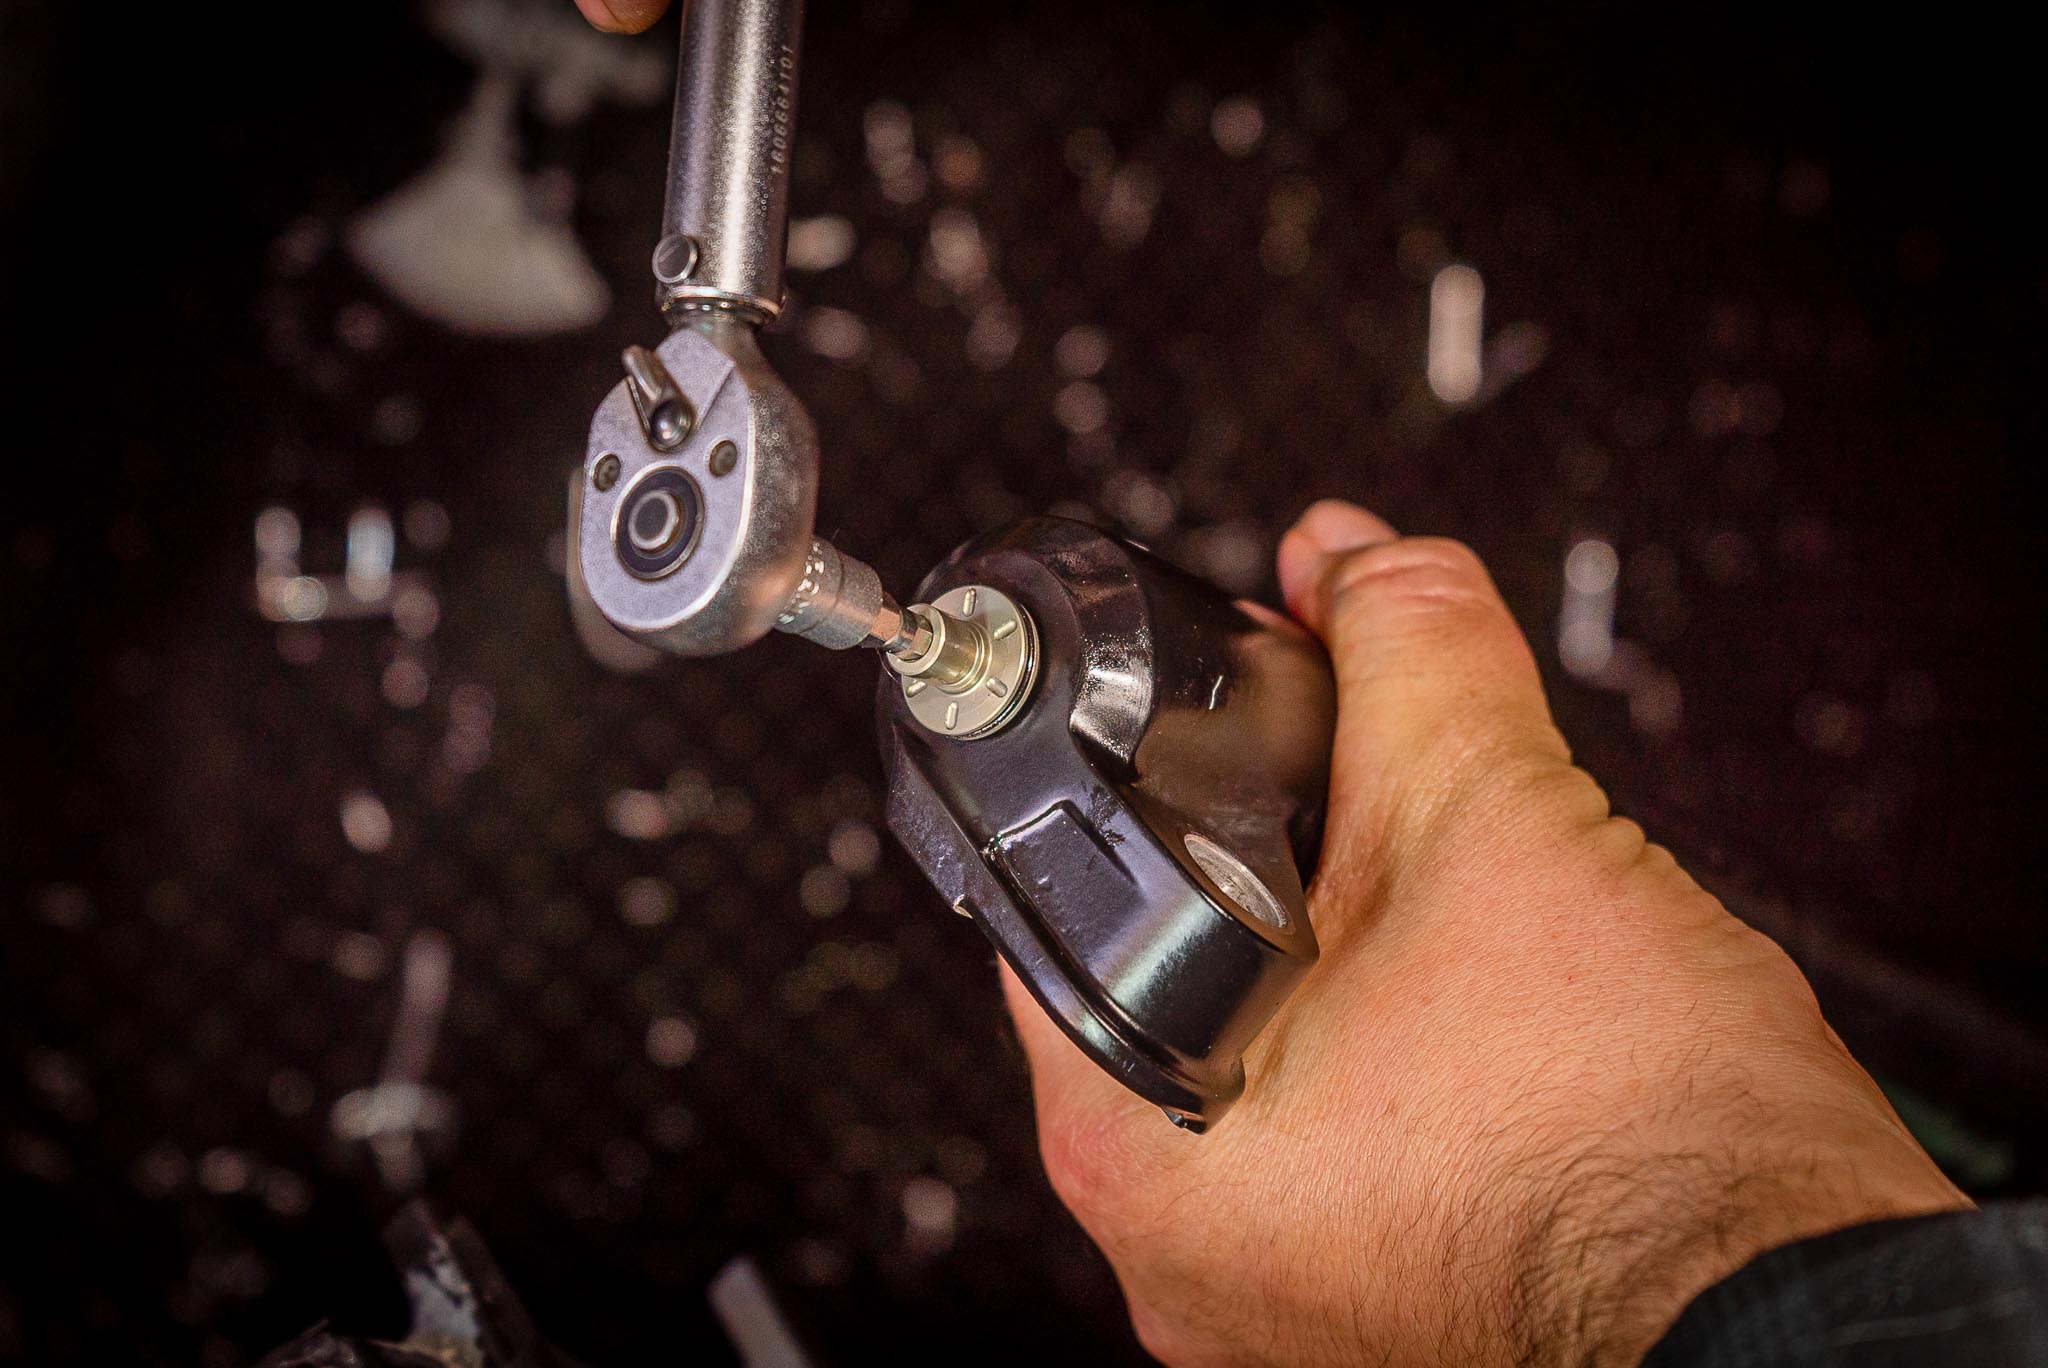
Remove the old crush washers from the lower leg bolts by holding the washer with needle nose pliers and unthreading it from the bolt. Put new crush washers on and install the bolts into their respective holes (solid on the air spring, hollow on the damper side). Torque up the bolts to their correct settings (6.8Nm for these forks).
Step 10
Re-install the rebound knob and give your forks a wipe-down to remove any excess oils and dirt. Now your fork is running at its full potential, head out and rip some trails.