WORKSHOP: Servicing a Shimano Micro Spline freehub
Get your Micro Spline free hub running smooth with our servicing guide!
Words: Joe Dodd Photos: Chris Herron
Micro Spline was released when Shimano released XTR M9100 in 2018. Since then many hub manufacturers have jumped on board and made the new style of freehub. Micro Spline was created to allow Shimano to squeeze a 10t cog on there 10-51t cassettes.
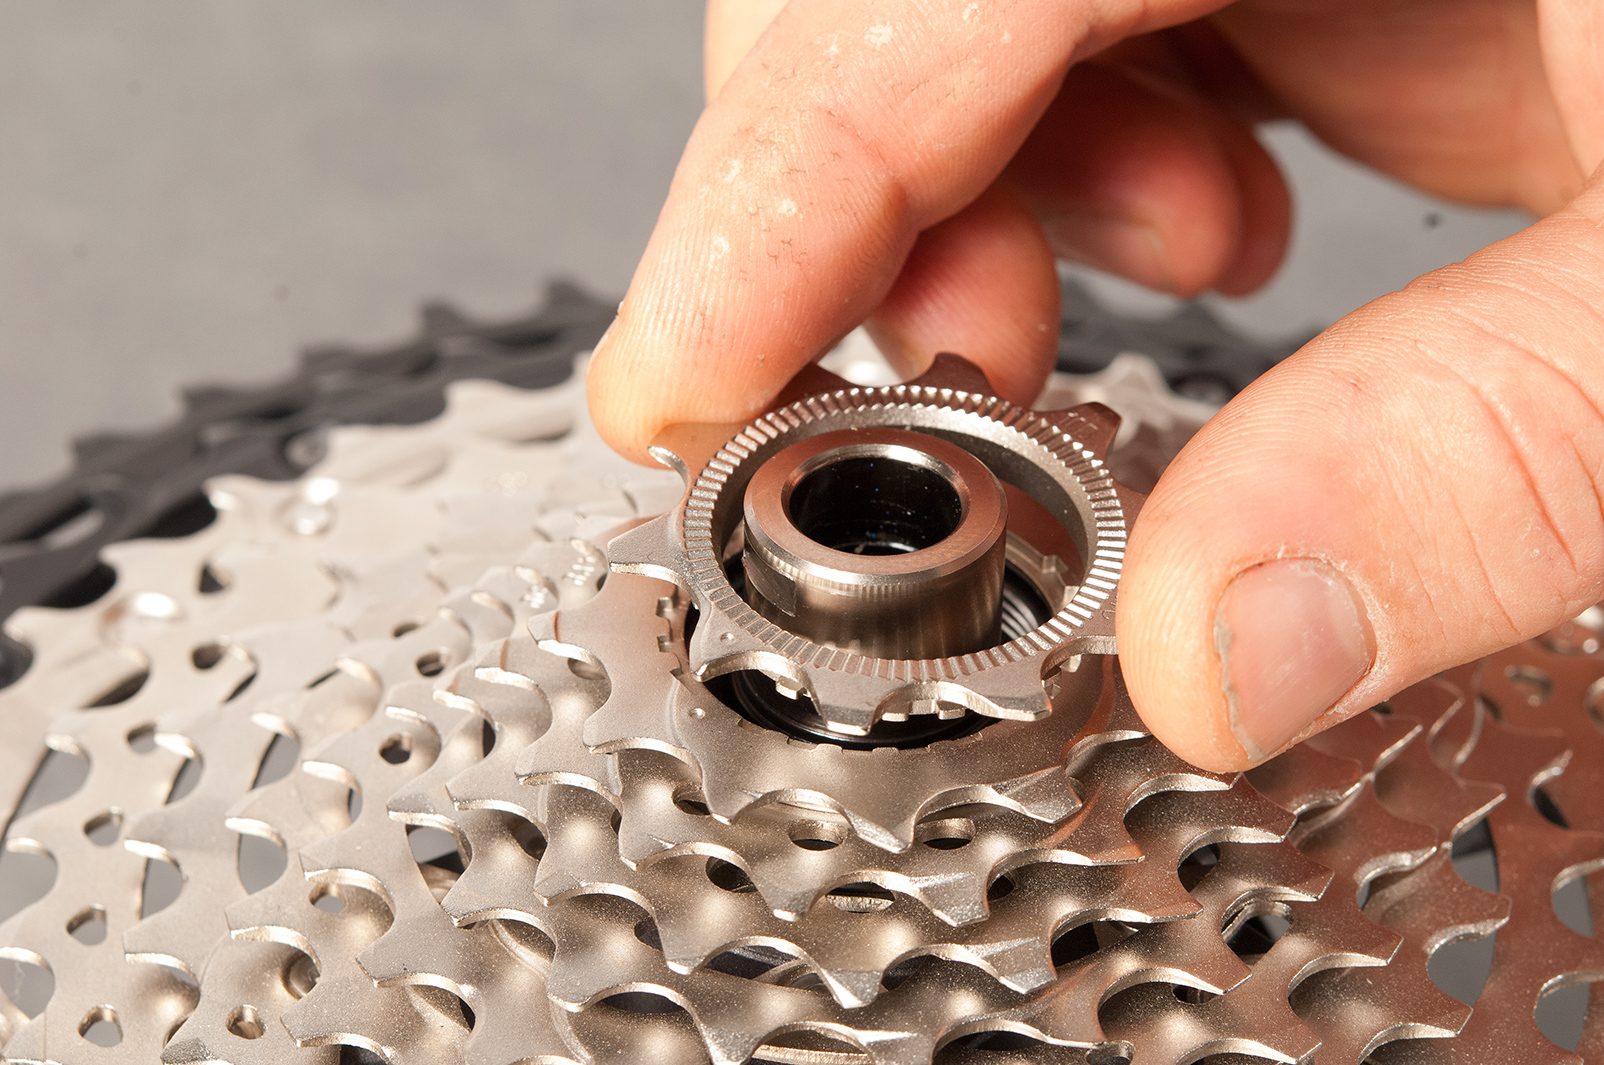
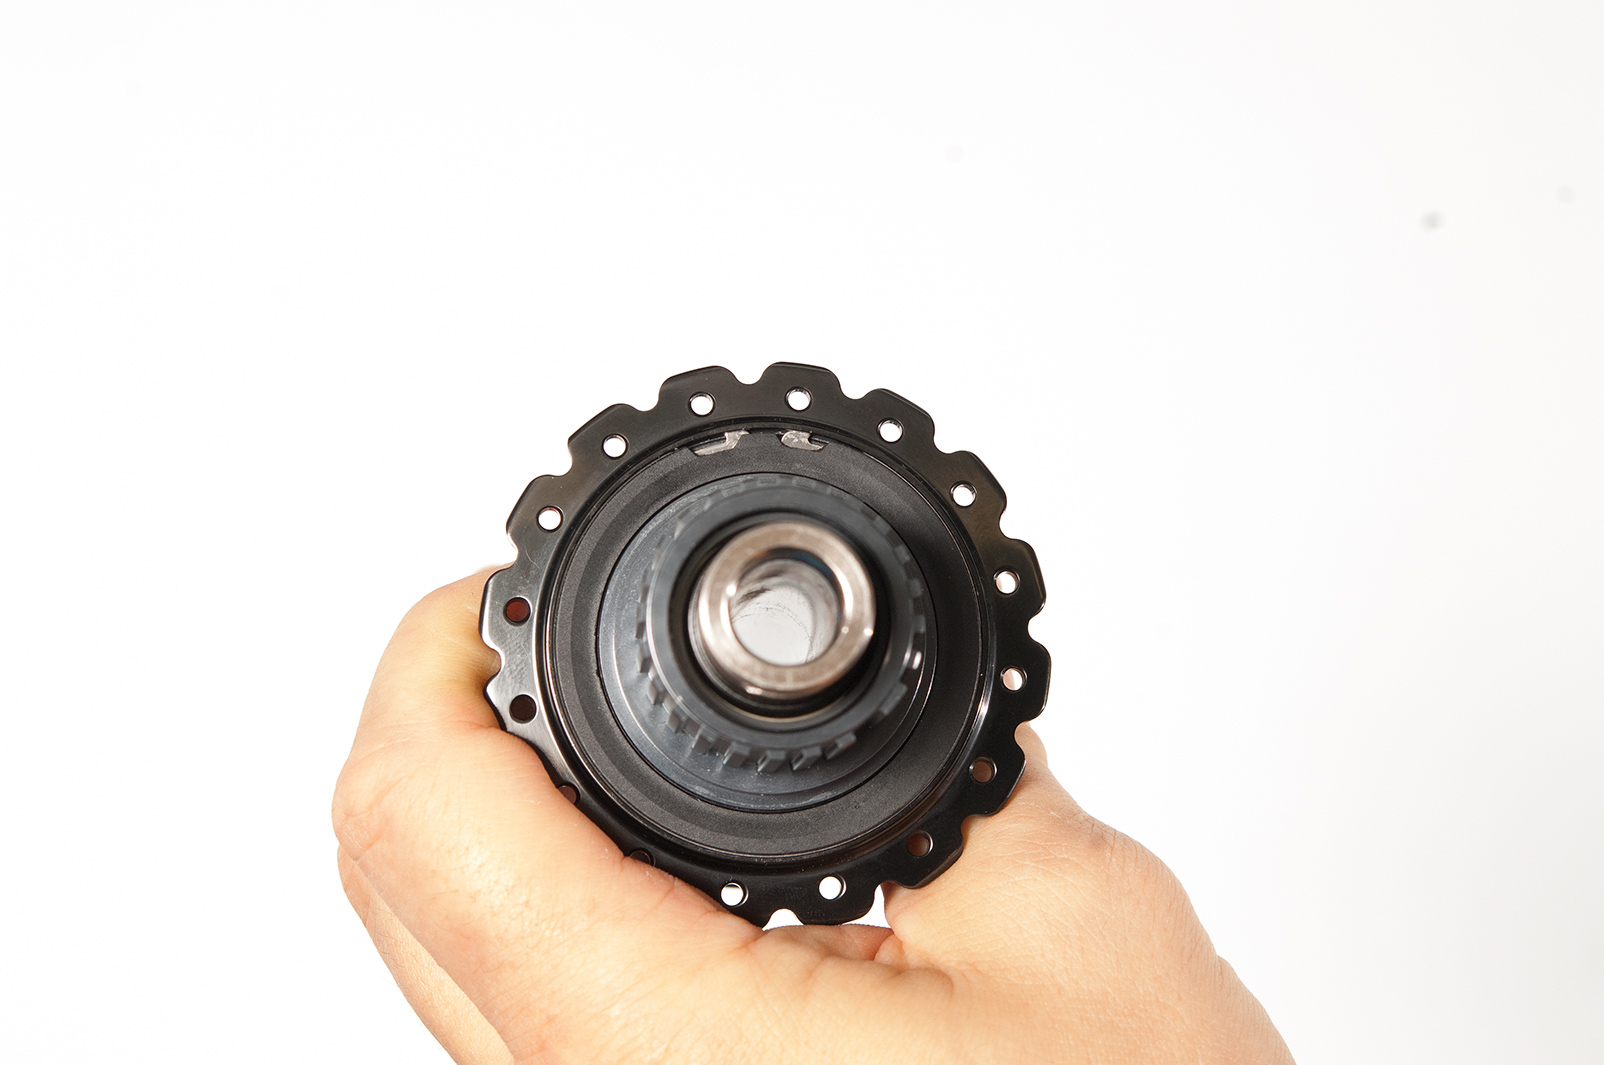
This Issue we are going to look at what’s inside and how to service a Shimano XTR M9100 hub.
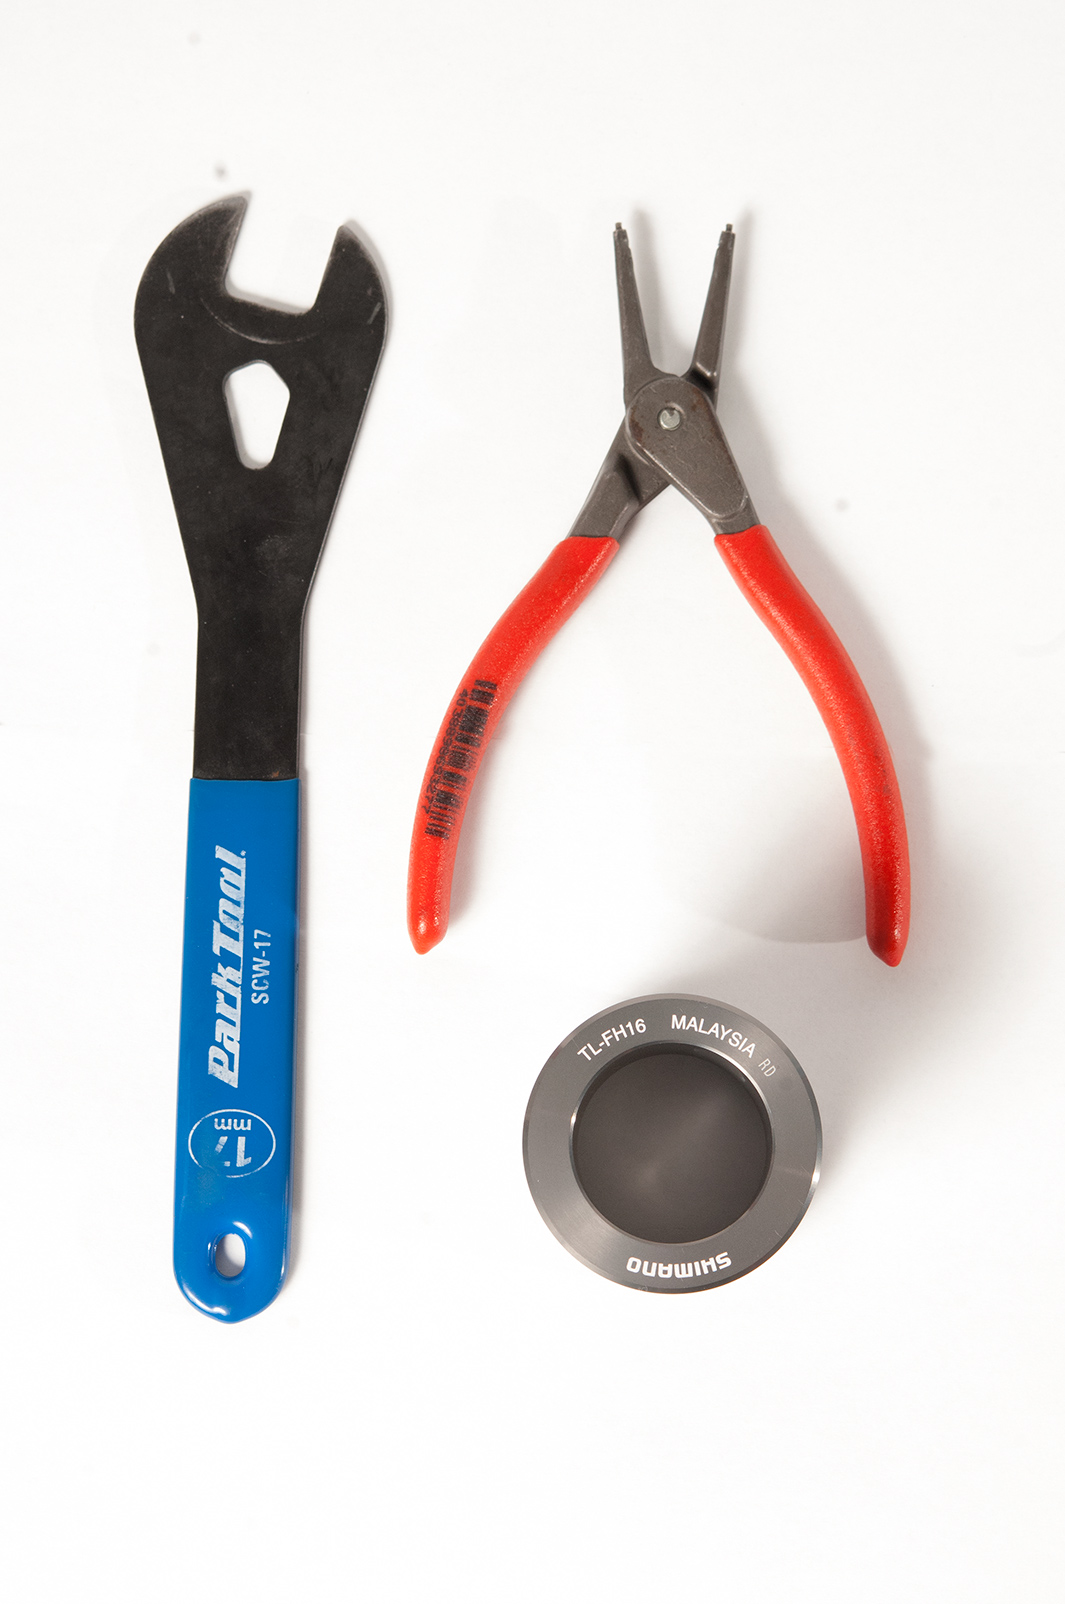
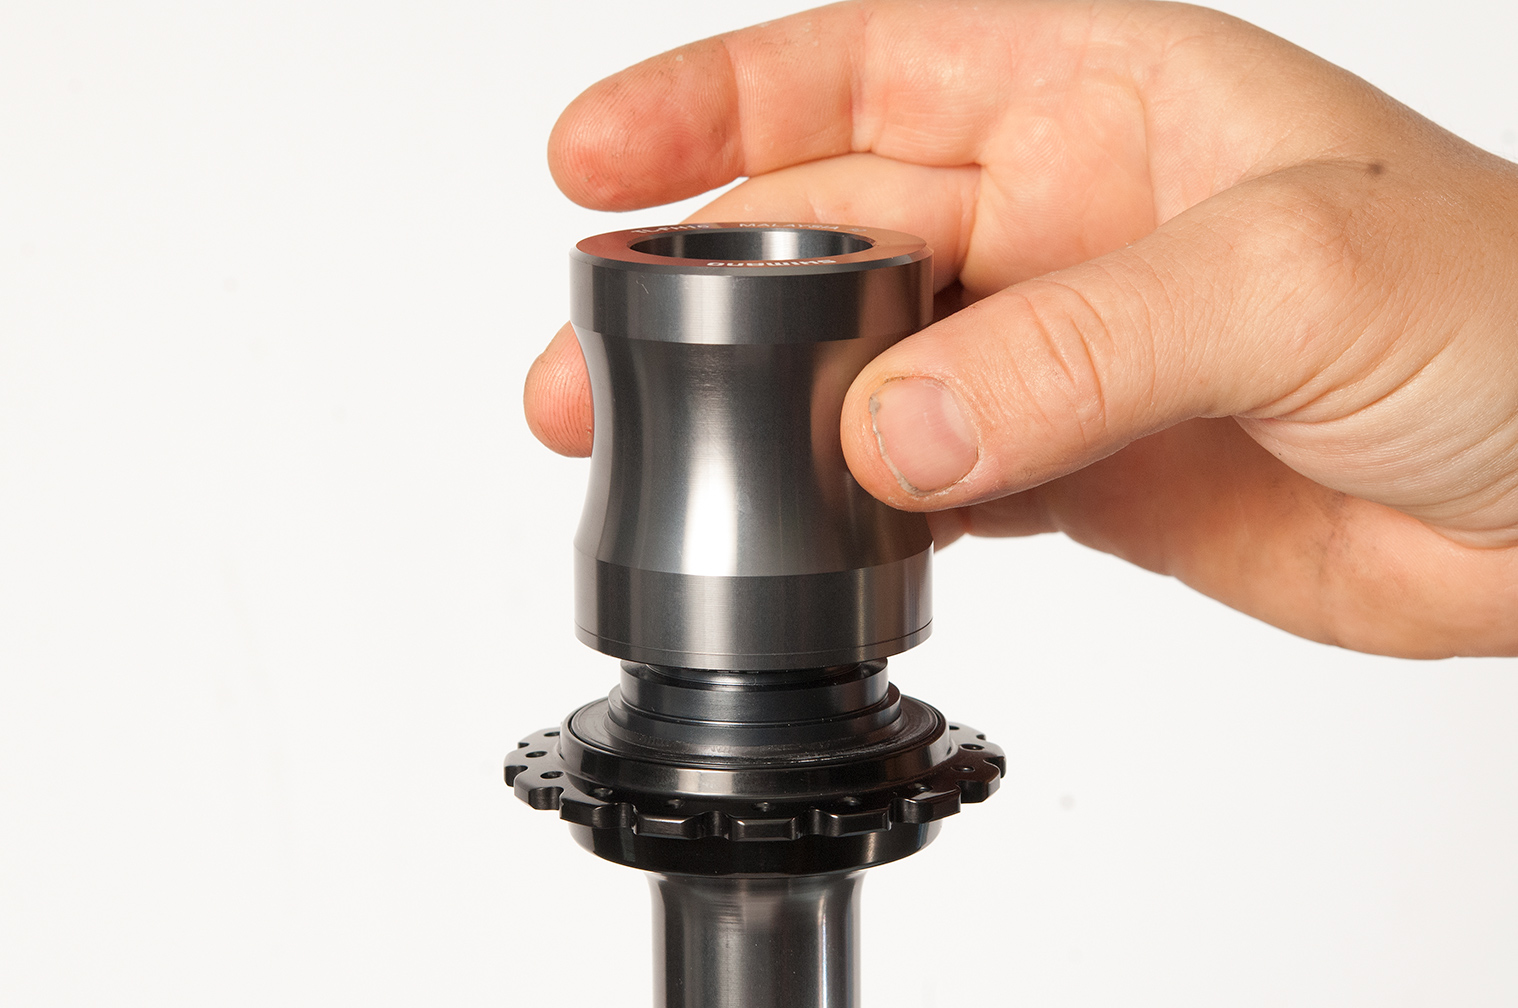
You will require a few tools to pull the free hub body off. You will need a good set of small circlip pliers, a 17mm cone wrench and a TL-FH16 Shimano seal pressing tool.
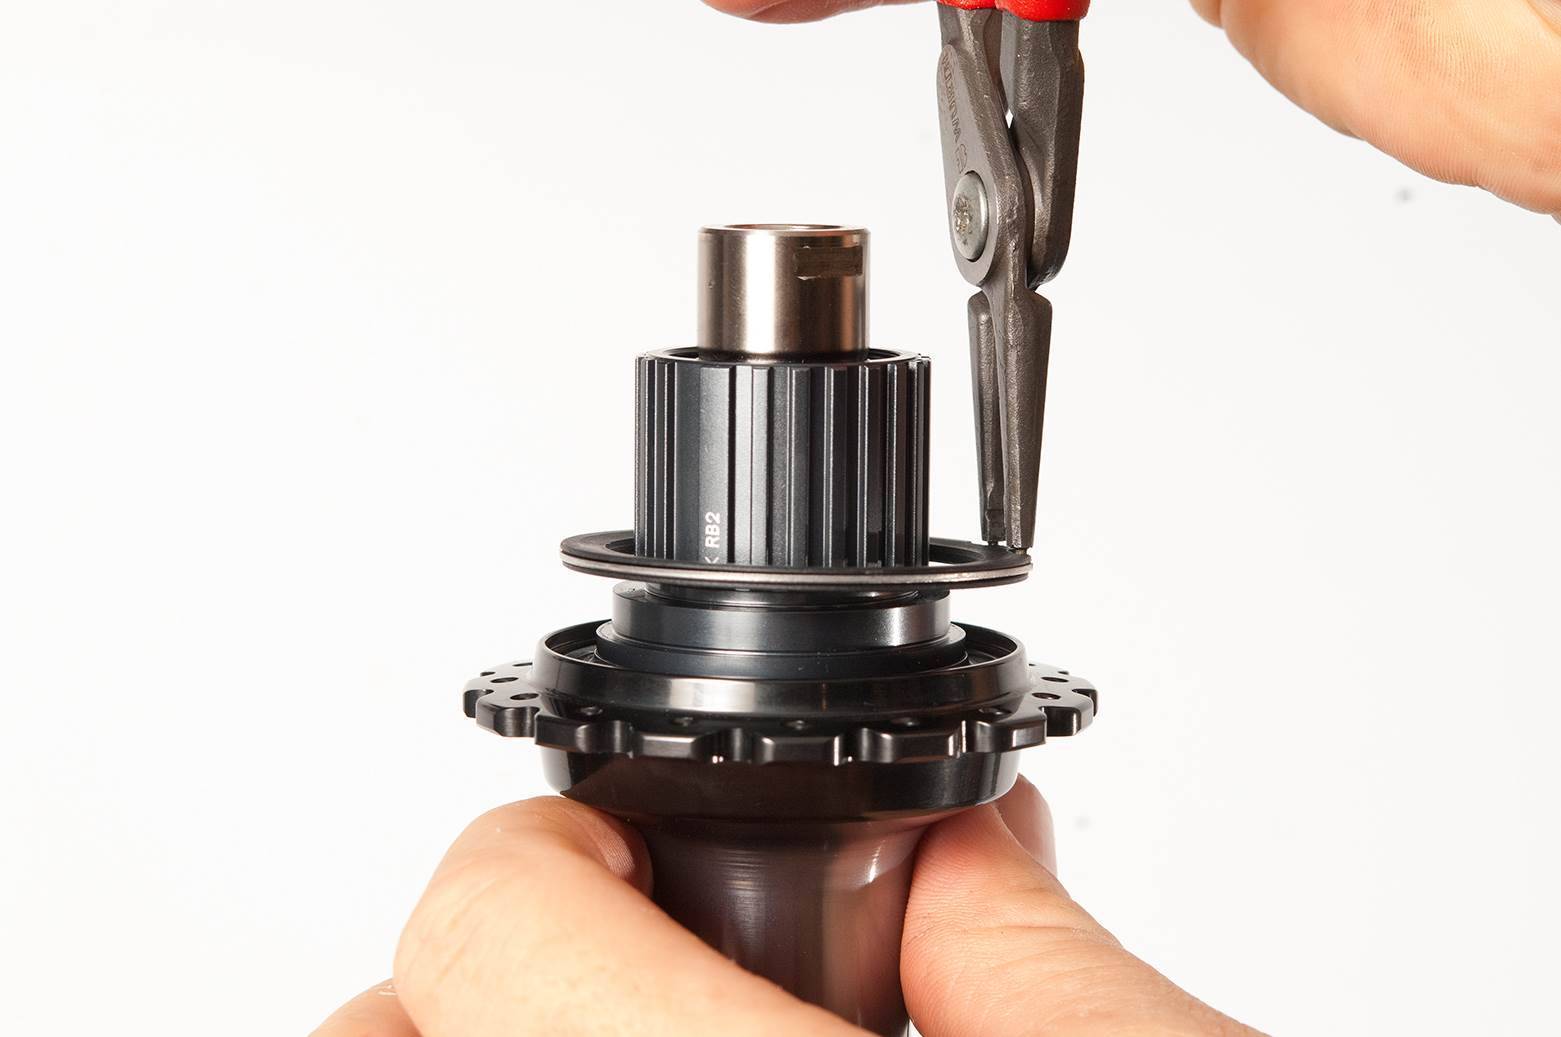
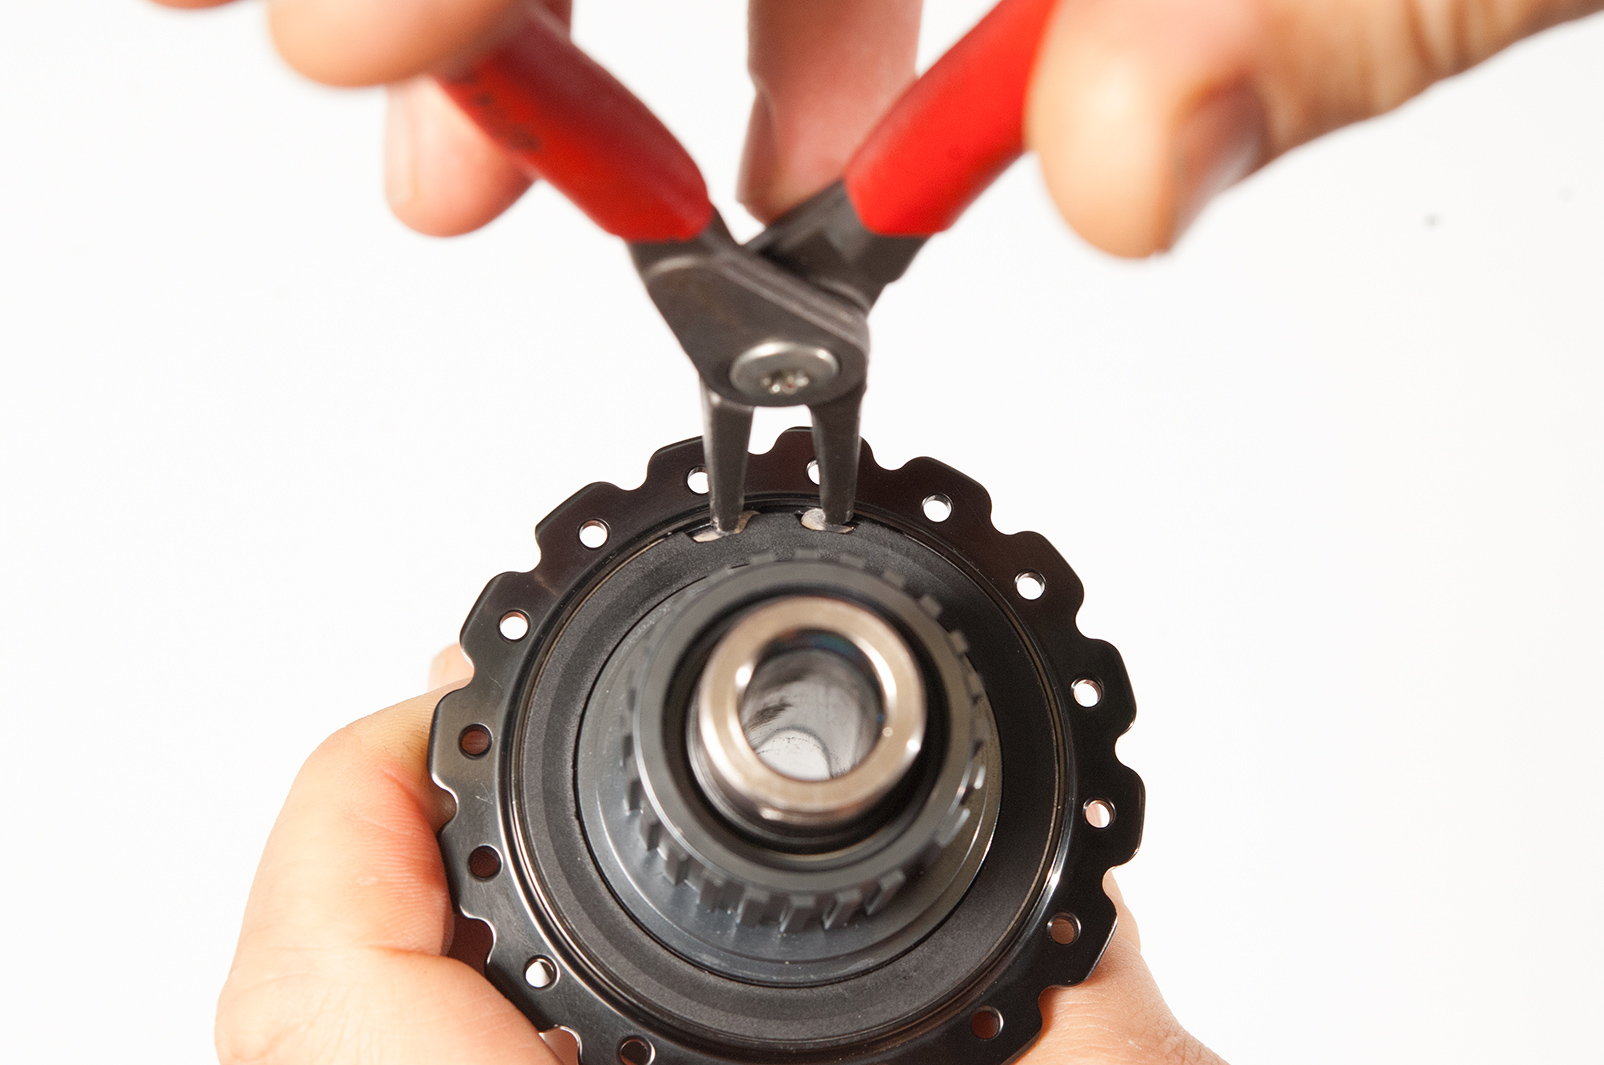
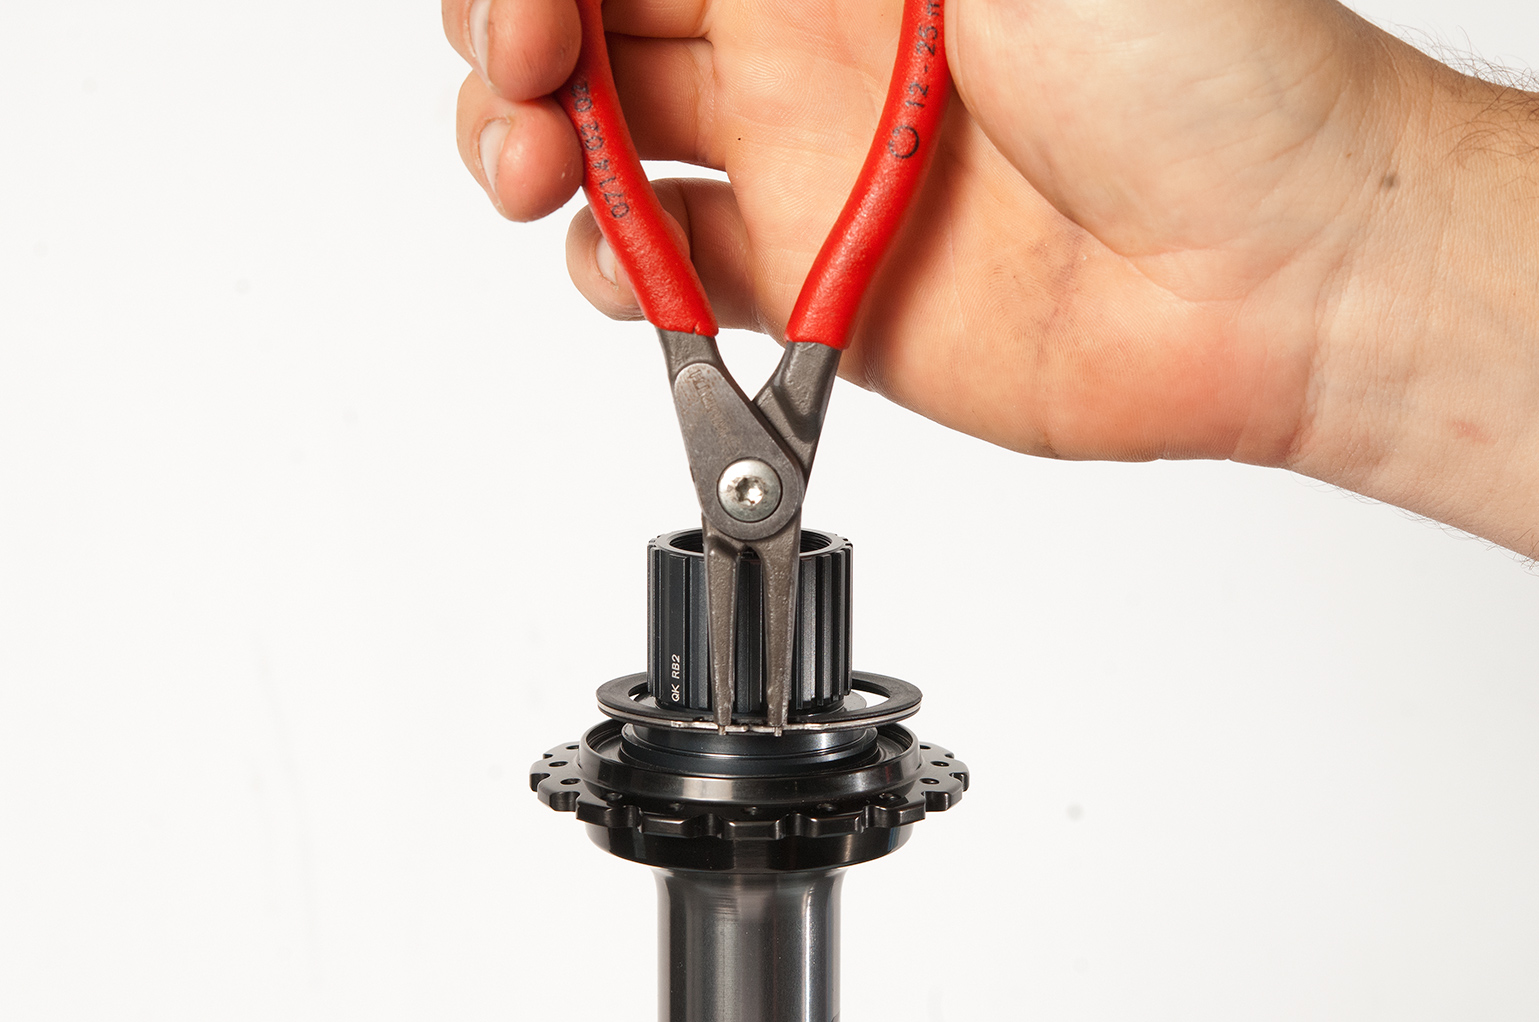
Using your circlip pliers, remove the outer cover and set aside. I like to line things up in order when doing a job like this. It make life easier when rebuilding.
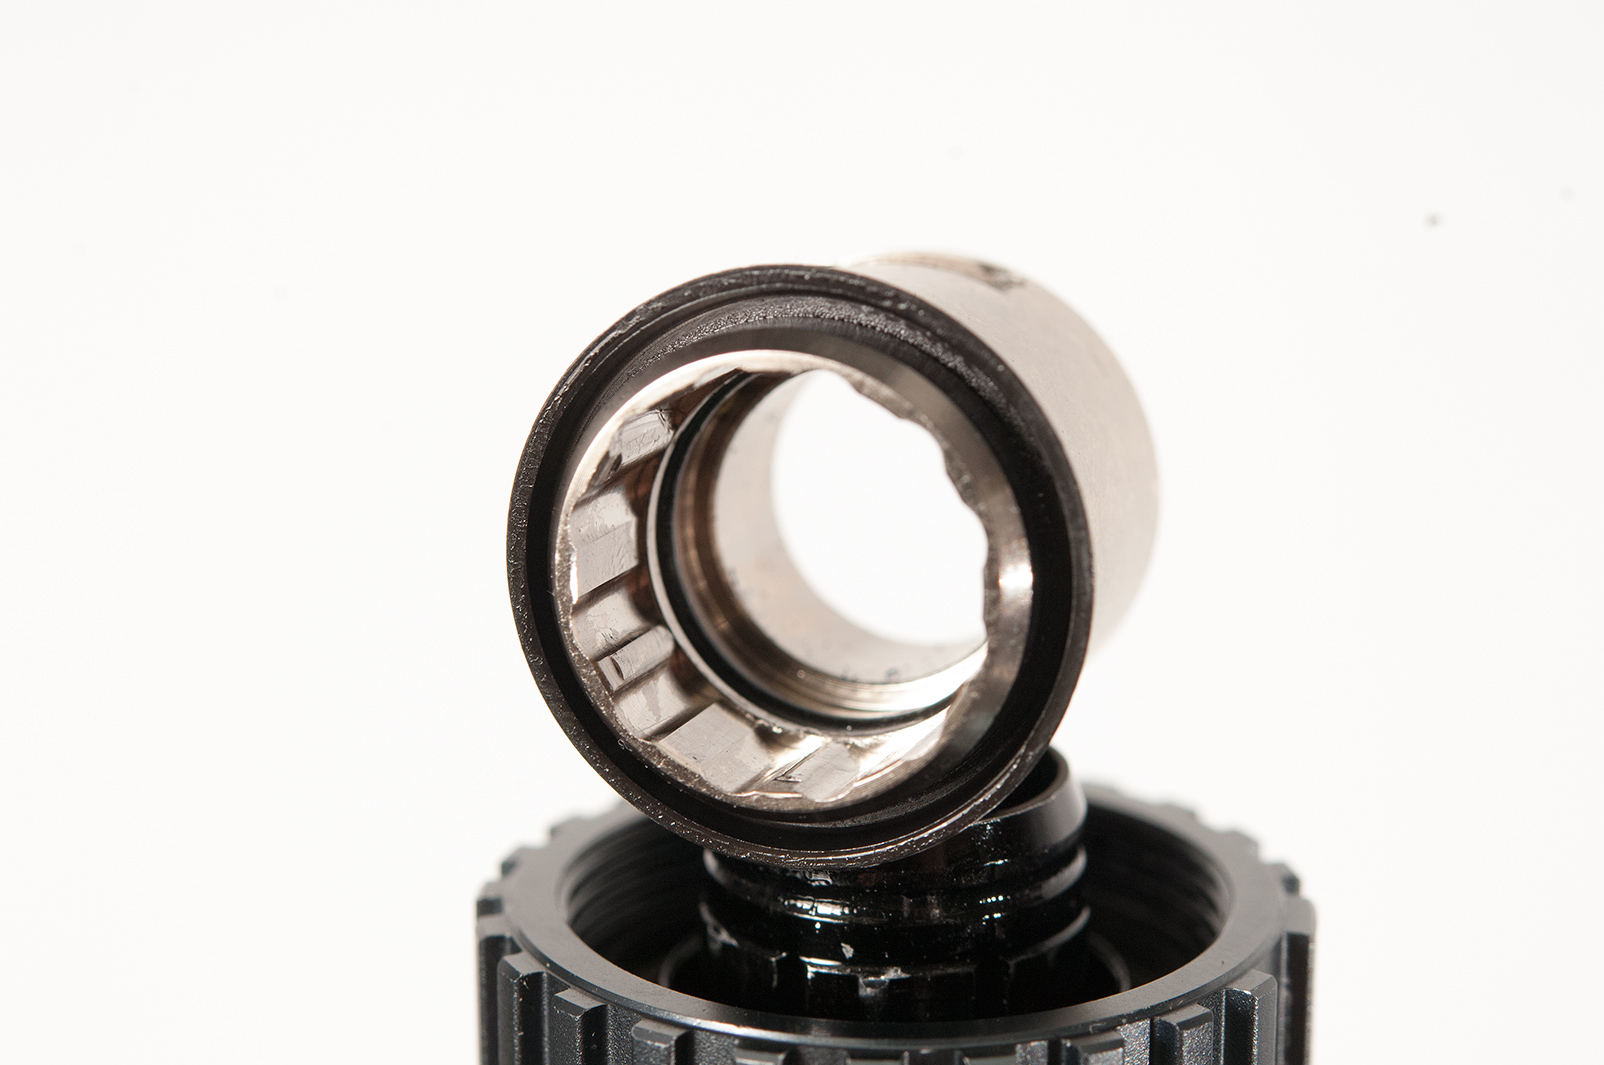
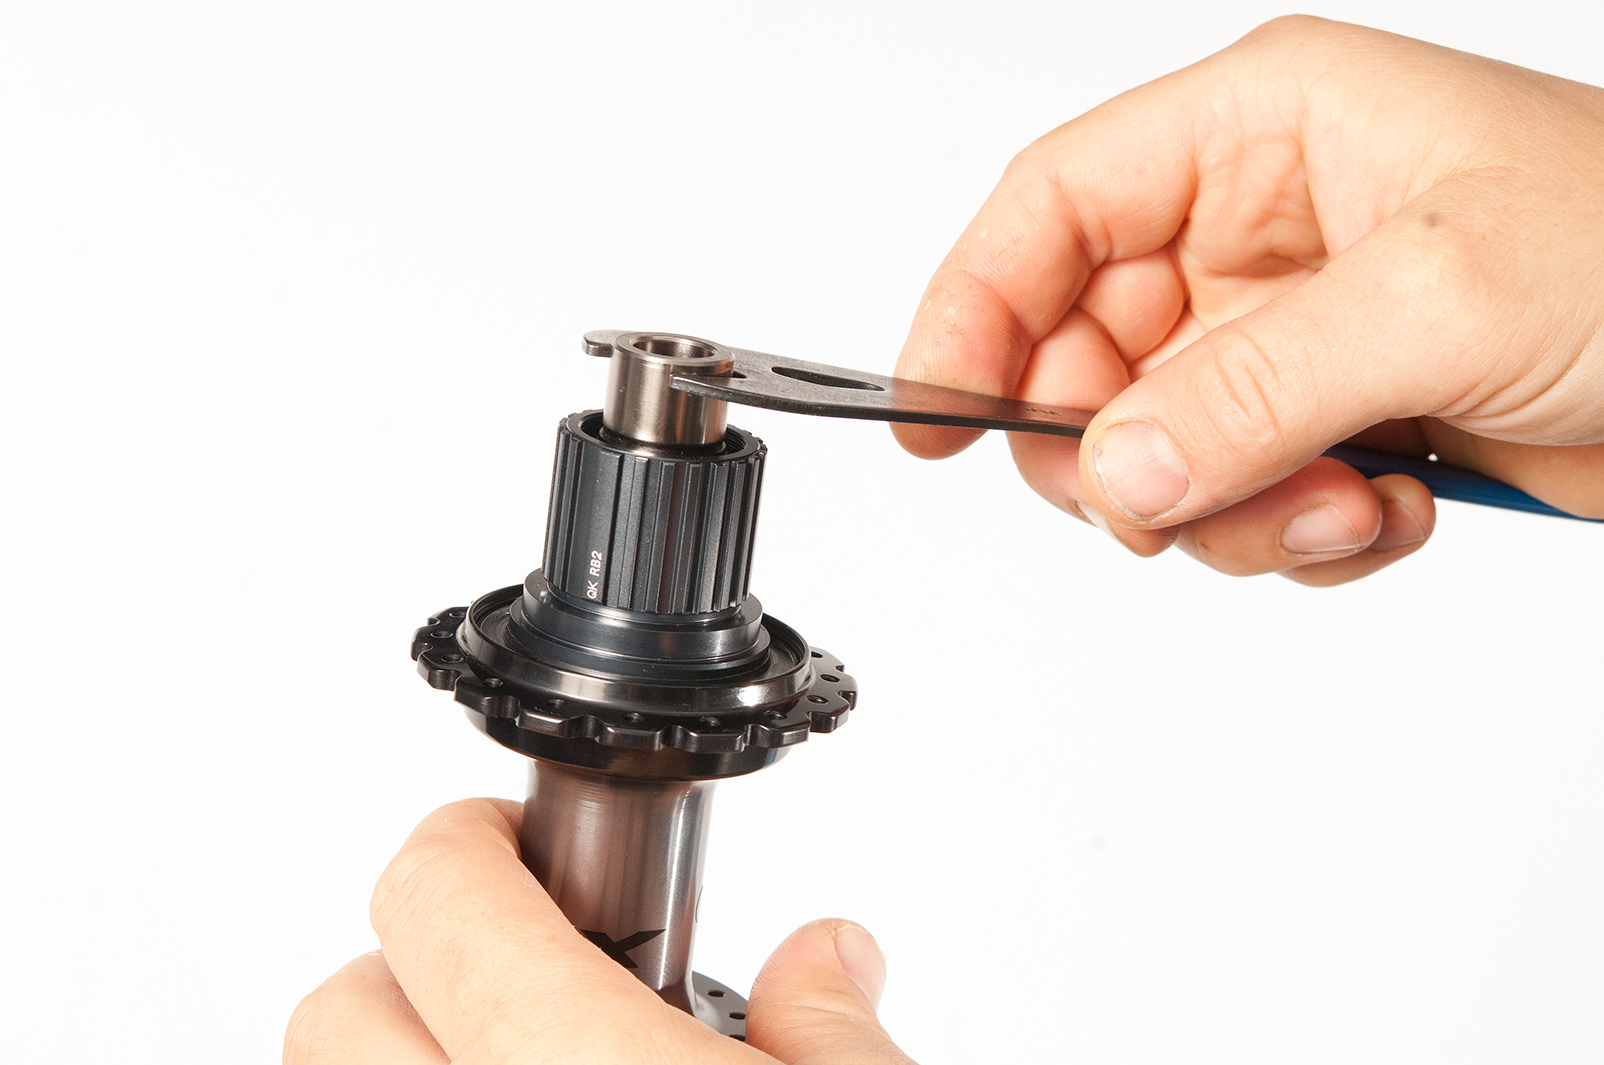
For this next step you will need your 17mm cone spanner. Unlike previous versions of Shimano hubs, this end cap is not threaded. Slide it onto the cone nut and pull the end cap off. Be careful not to twist the cap when removing. This can cause damage to the cap or axle.
You can now gently pull the free hub body off.
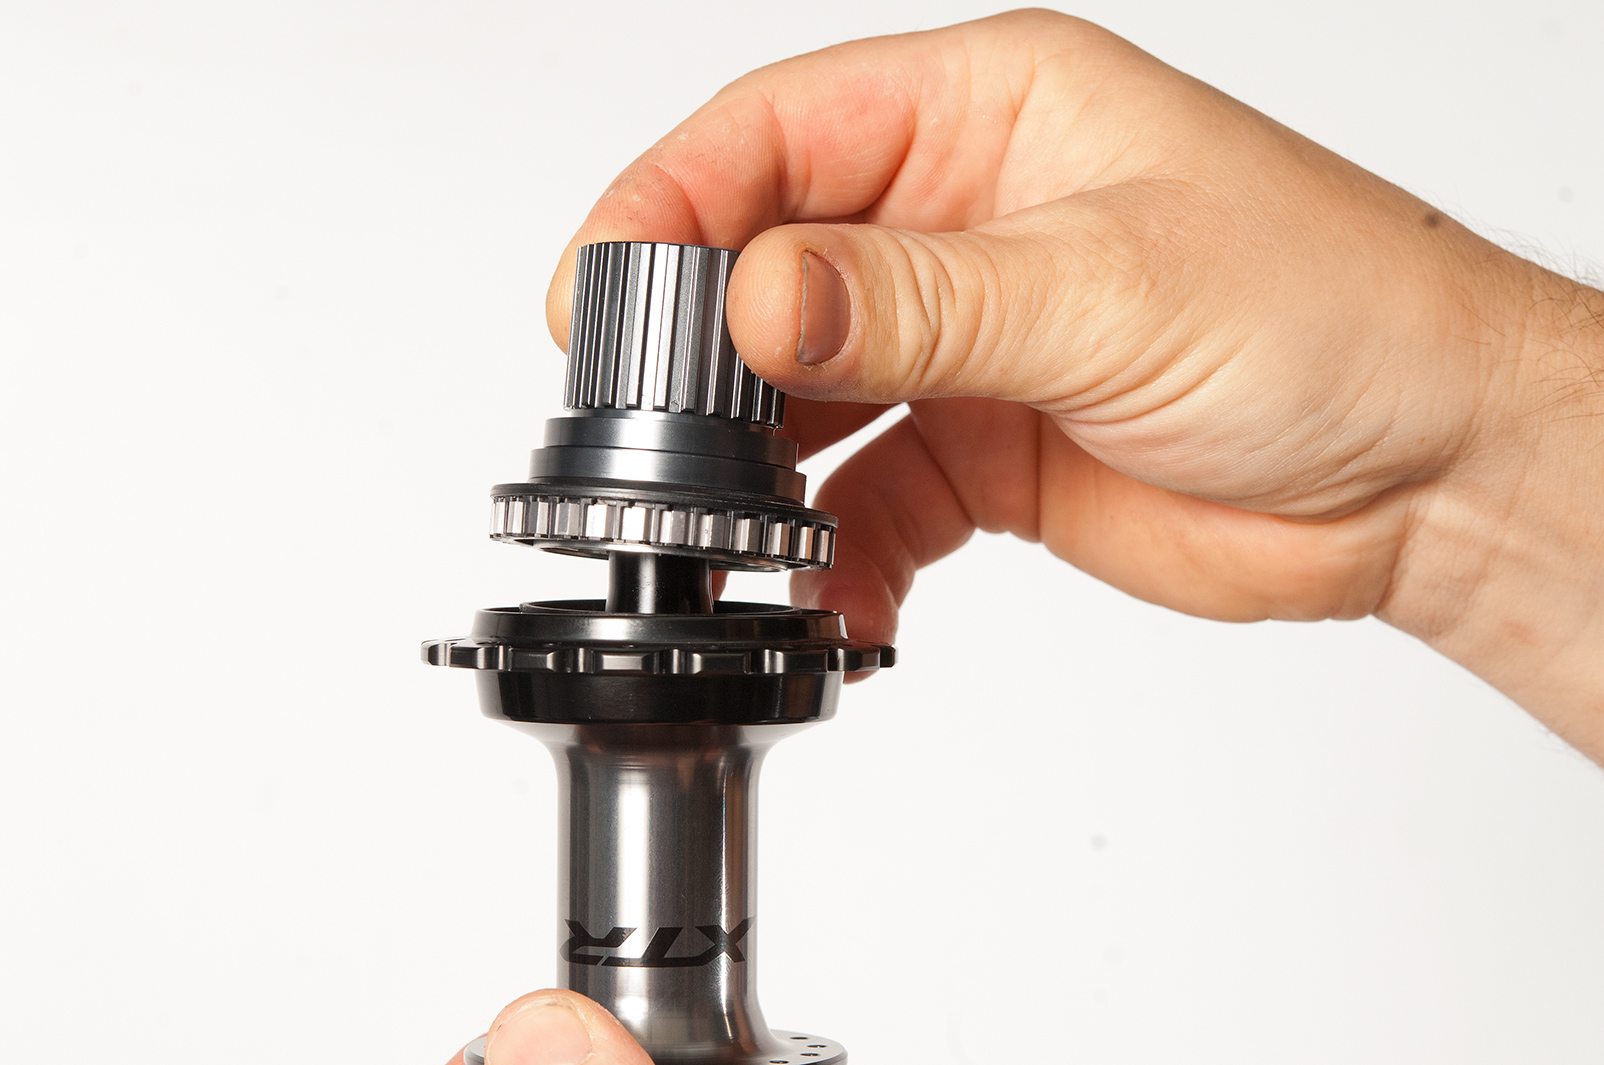
When removing the free hub body, you will notice a plastic spacer and seal will also come off with the body. Remove these carefully and set aside in order with the outer cover and end cap.
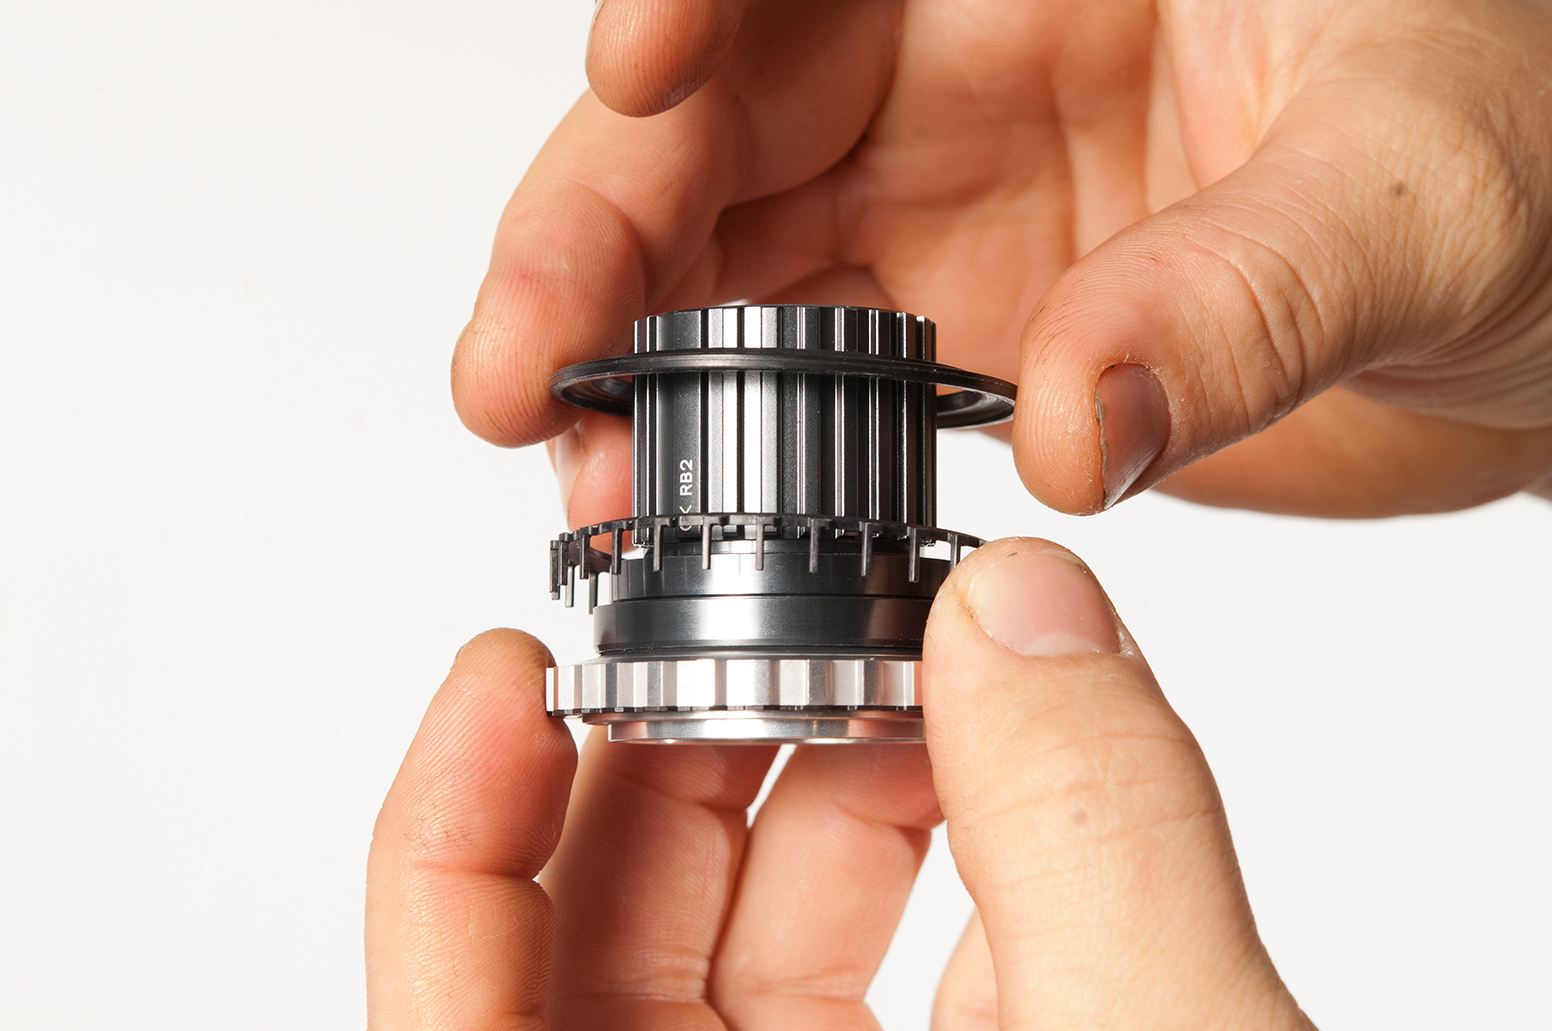
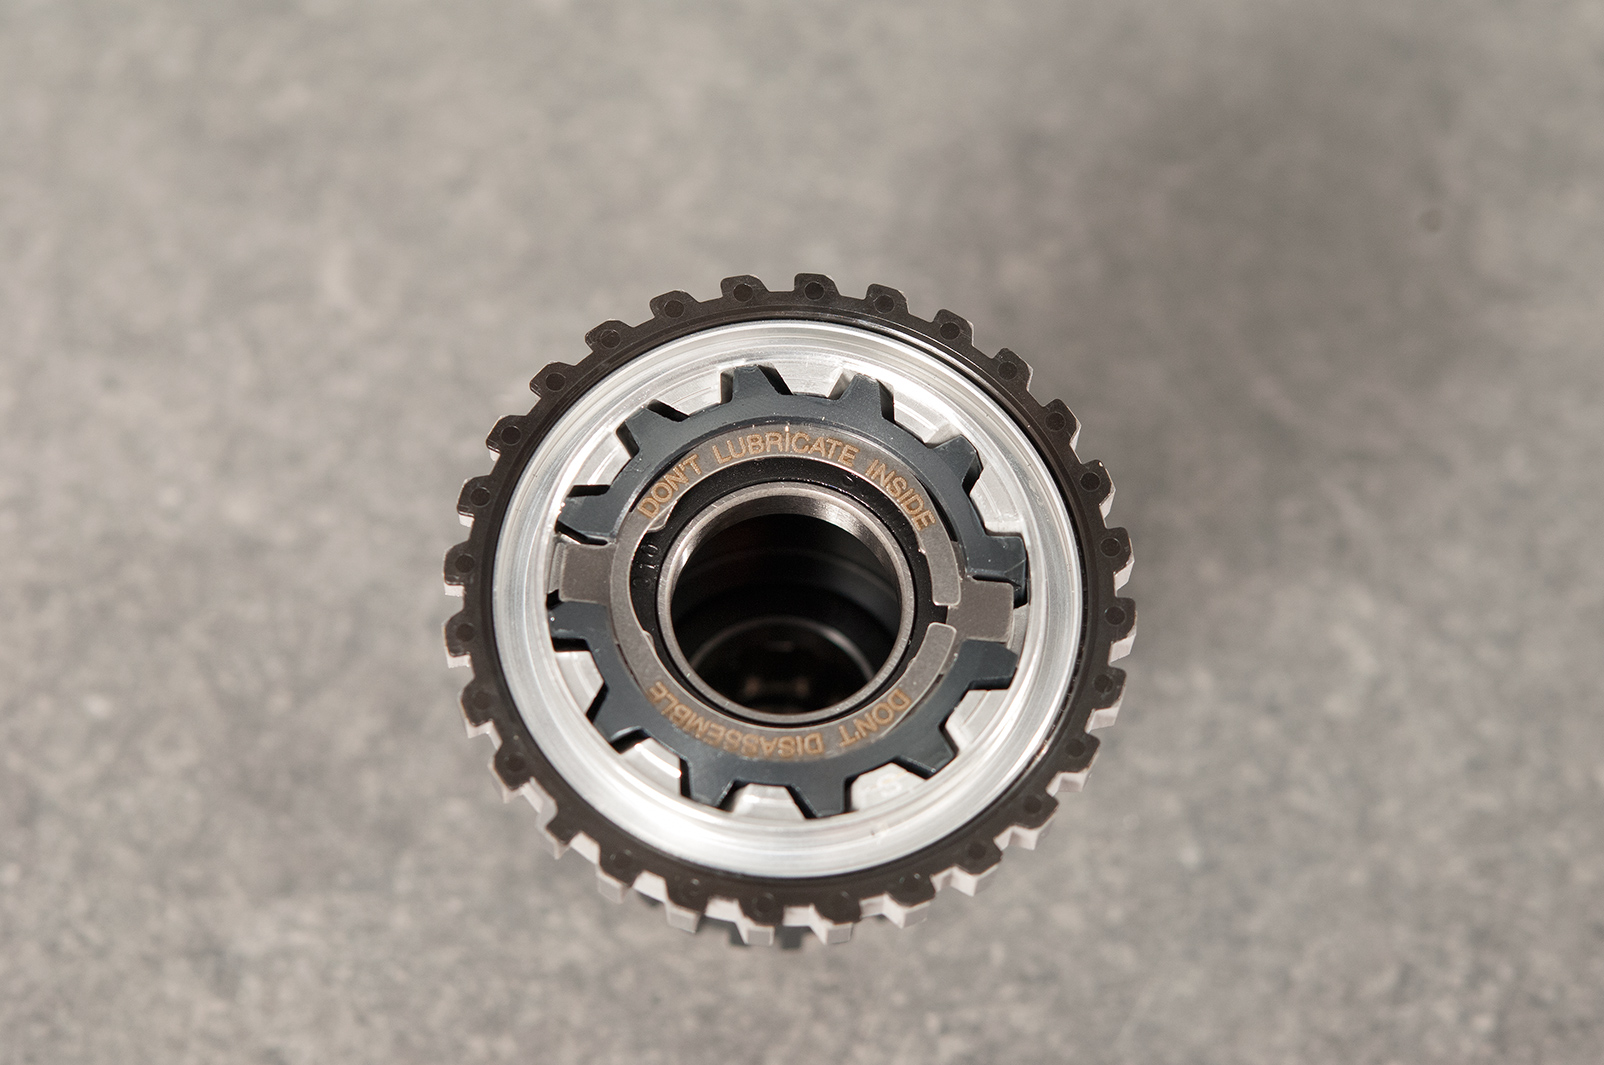
Once you have the free hub off, you will realise its a sealed unit. You must not lubricate, grease or disassemble this part. Check the free hub body is engaging correctly, by placing the body on a flat work bench and pushing down on the outer ring and rotating clockwise. You will feel the freehub engaging.
Back to the hub shell, remove the coil spring taking note of the ‘slider’ sat on top of it.
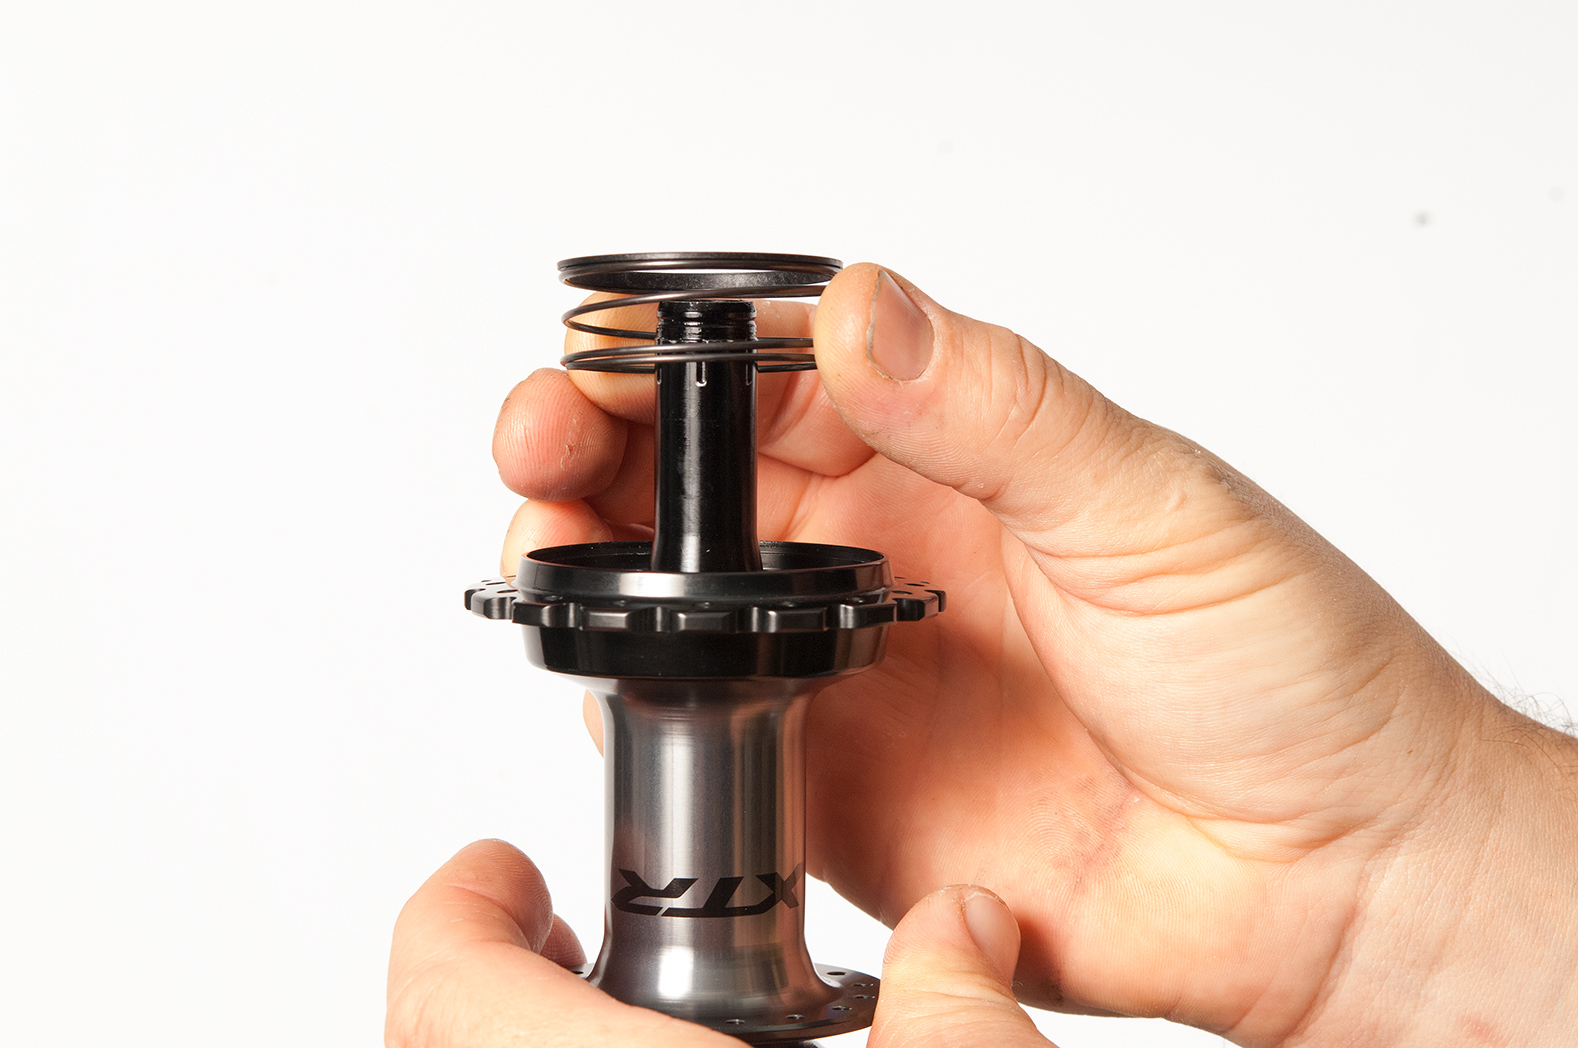
Now remove the larger spring.
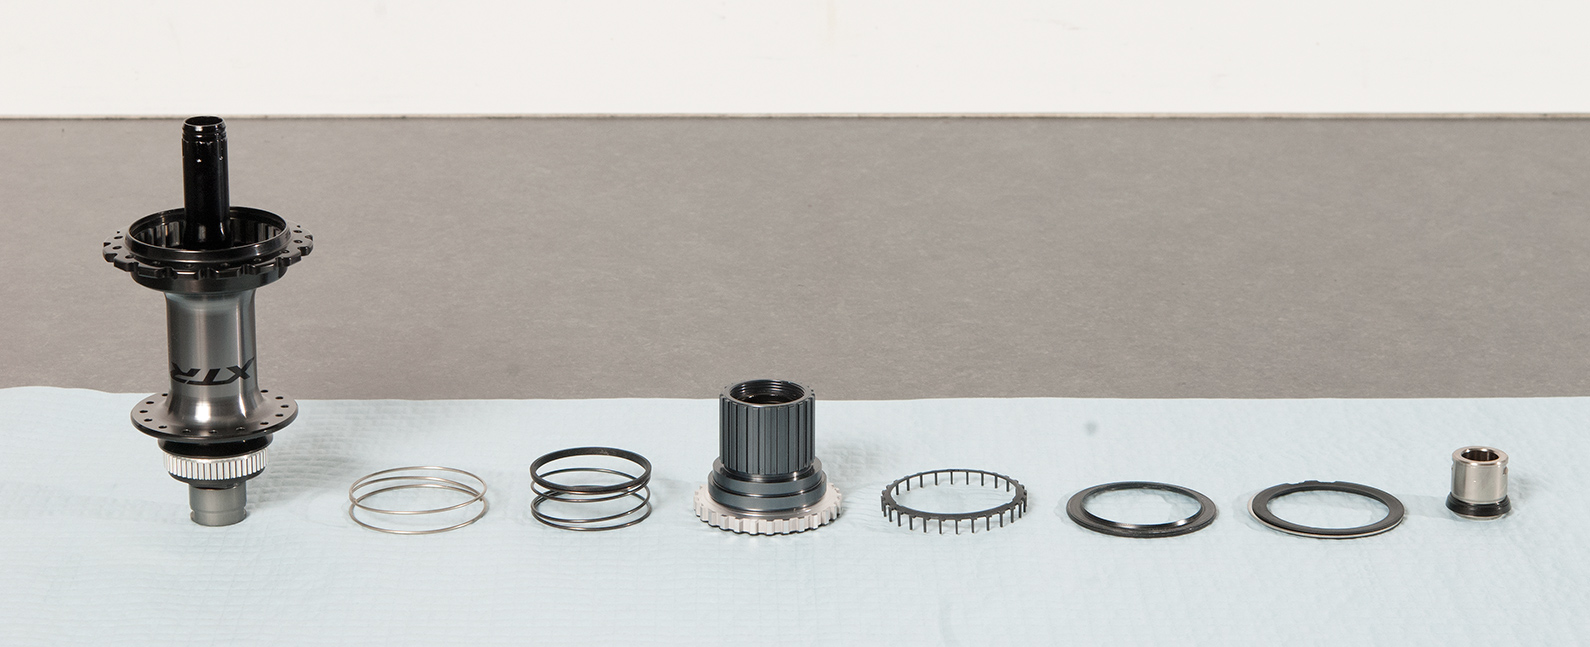
You should now end up with all these parts lined up in order. Make sure these parts are clean before reassembling the hub. Give the inside of the hub a clean as well.
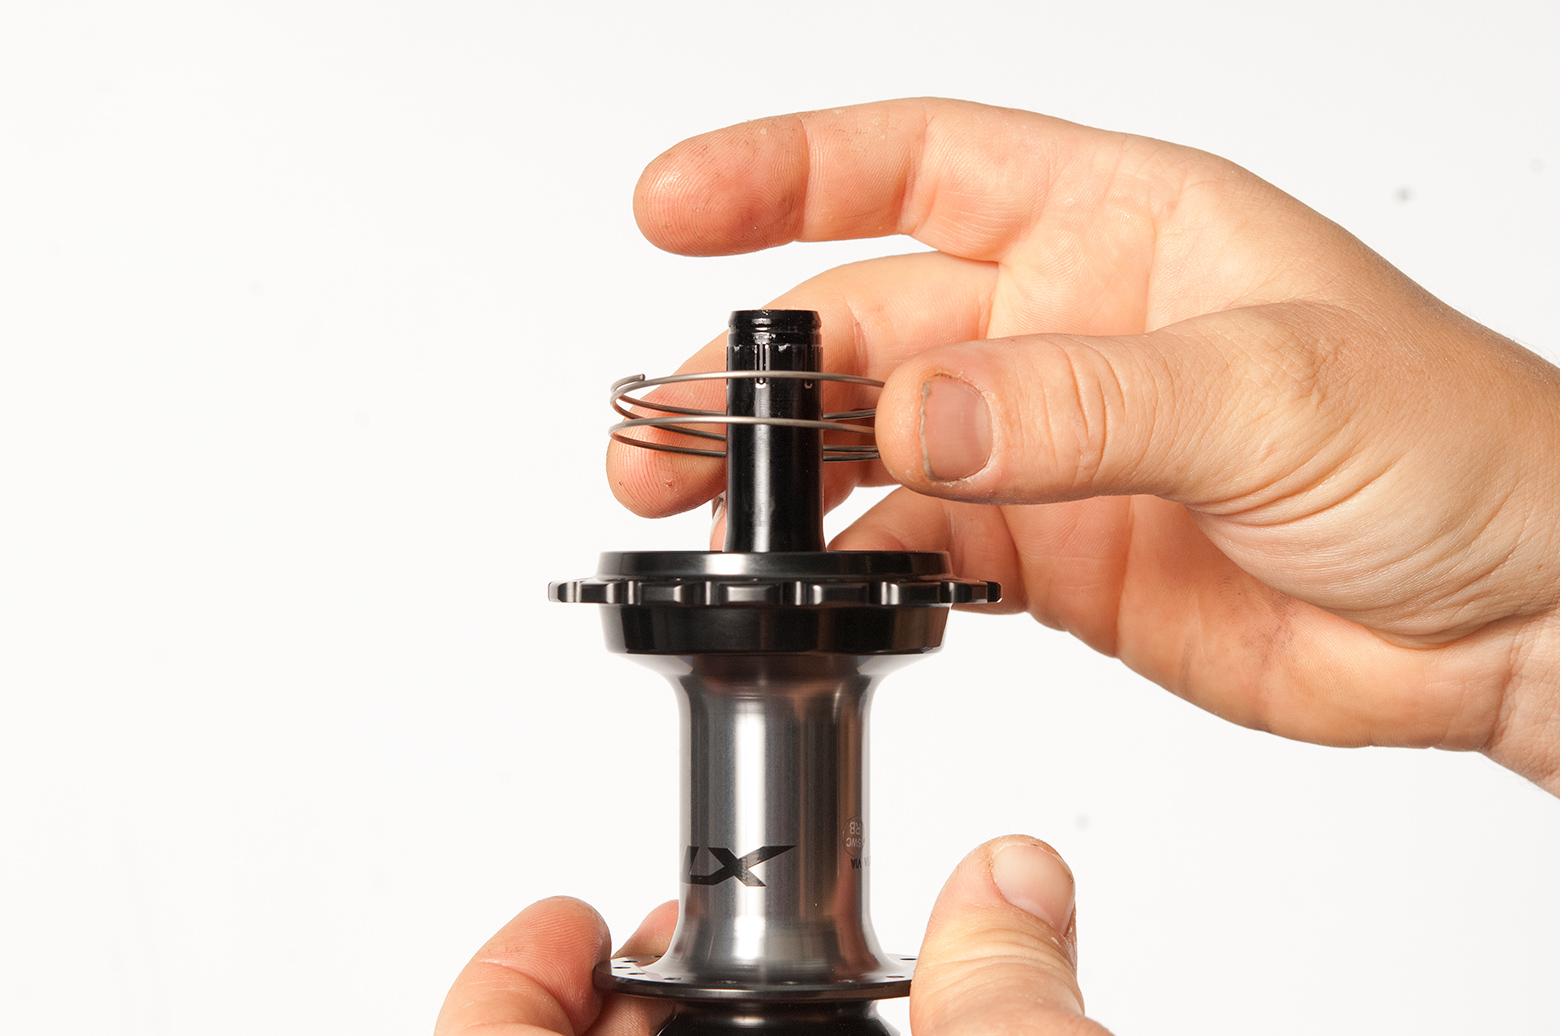
Start with the larger spring. Drop it into the hub shell. It will sit on the outside of the shell in a groove.
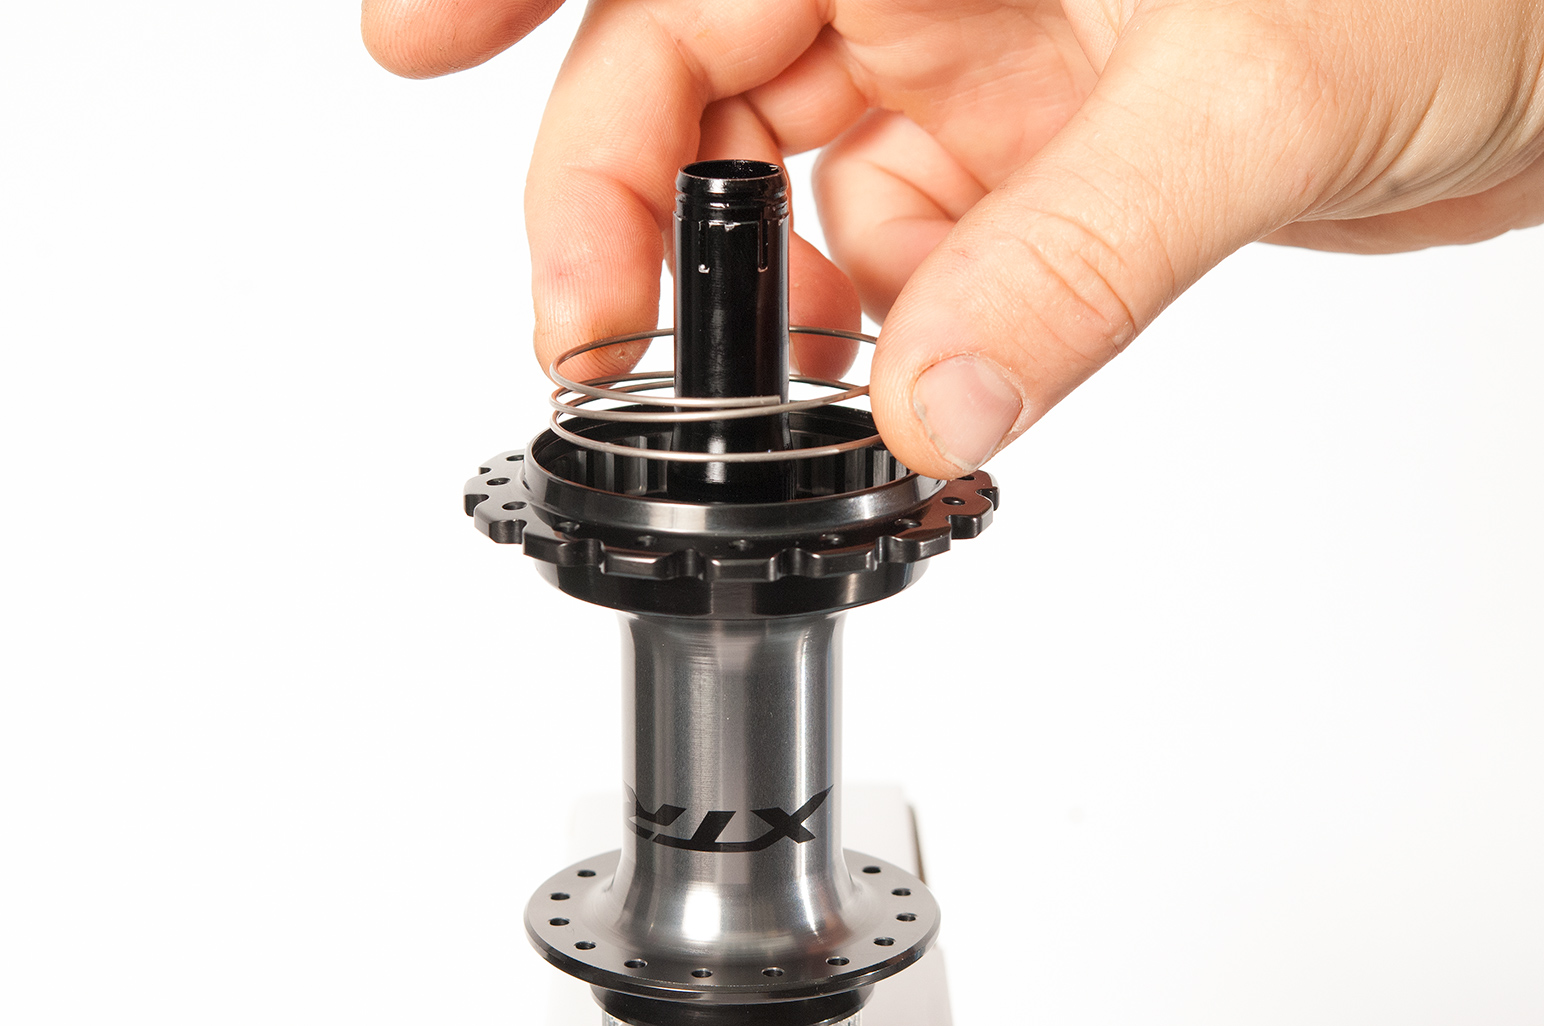
Next drop the smaller coil spring into the free hub body. Make sure you have the ‘slider’ the right way around onto of the spring.
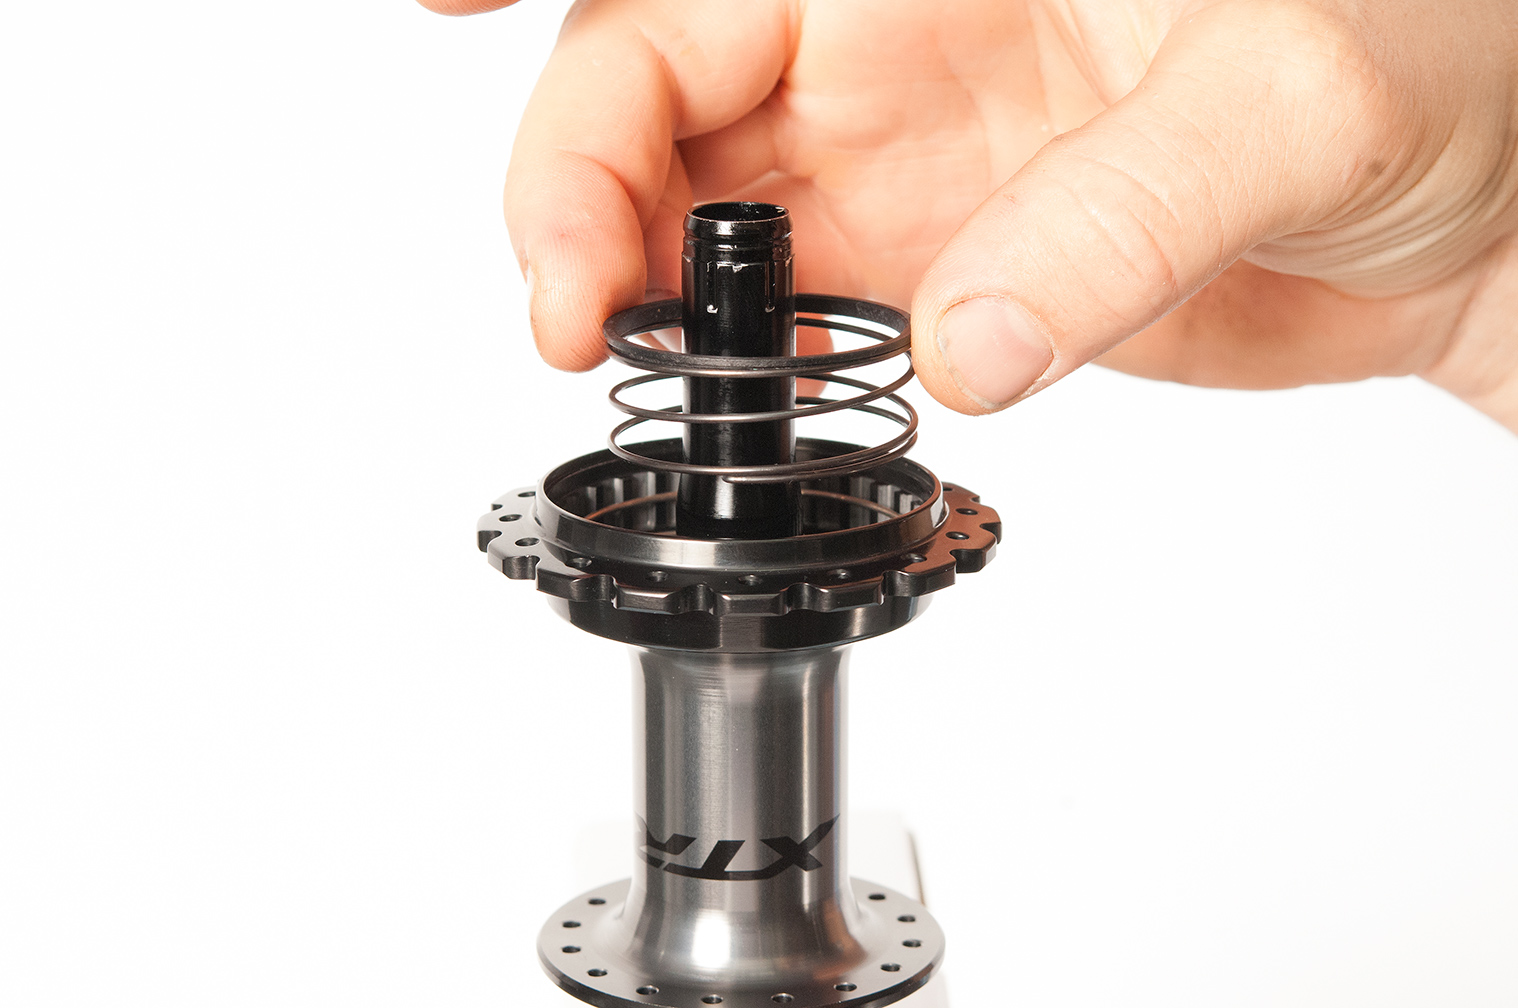
You also might notice that there is a hook on the bottom of this spring. This needs to sit in one of the grooves in the bottom of the hub.
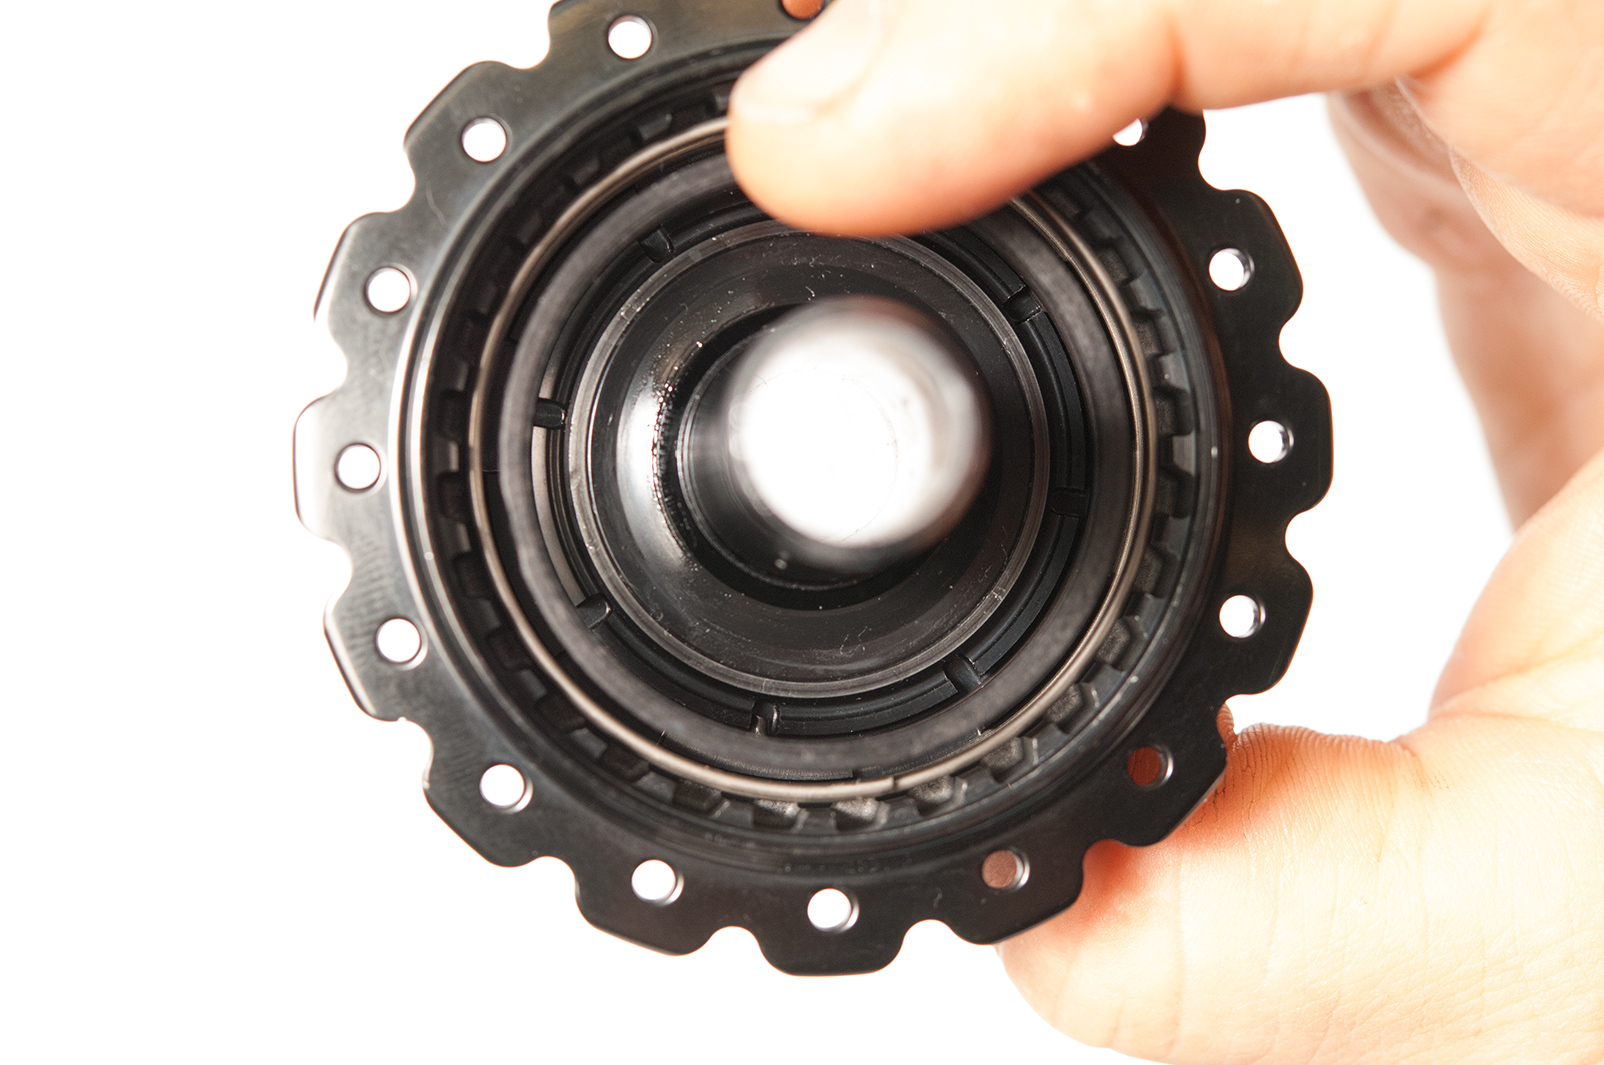
Slide the spacer onto the free hub body. Make sure it is butted up against the teeth of the free hub body. You can then gently slide the free hub back onto the axle and into the hub shell. Be careful not to damage the spacer whilst doing this.
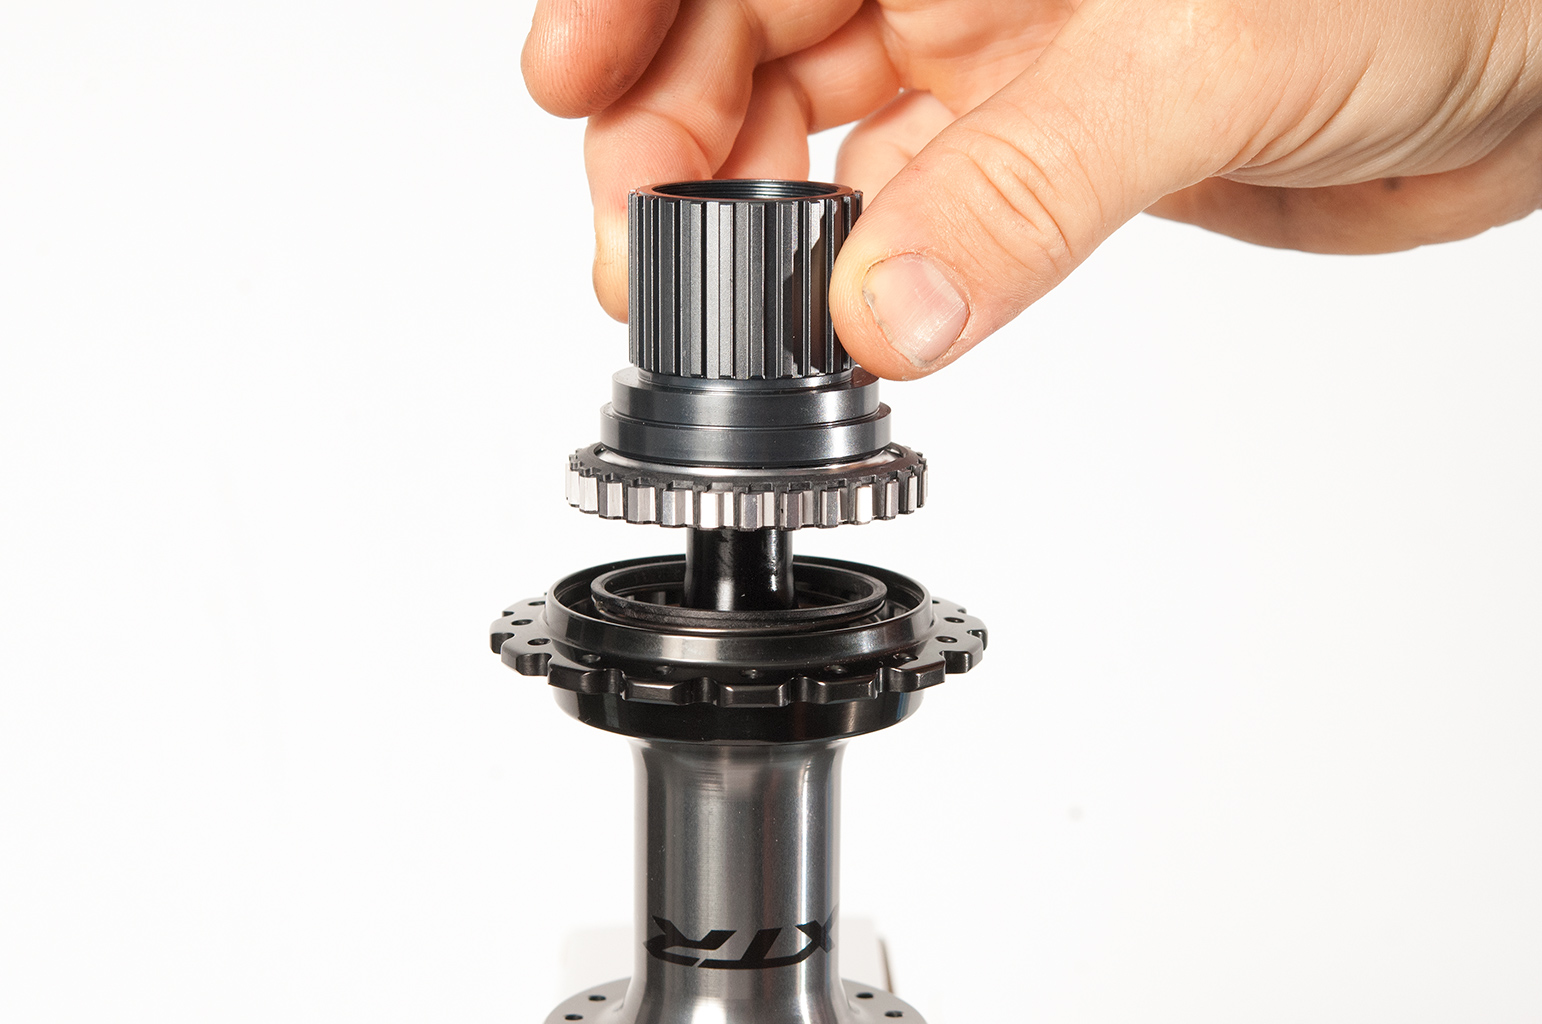
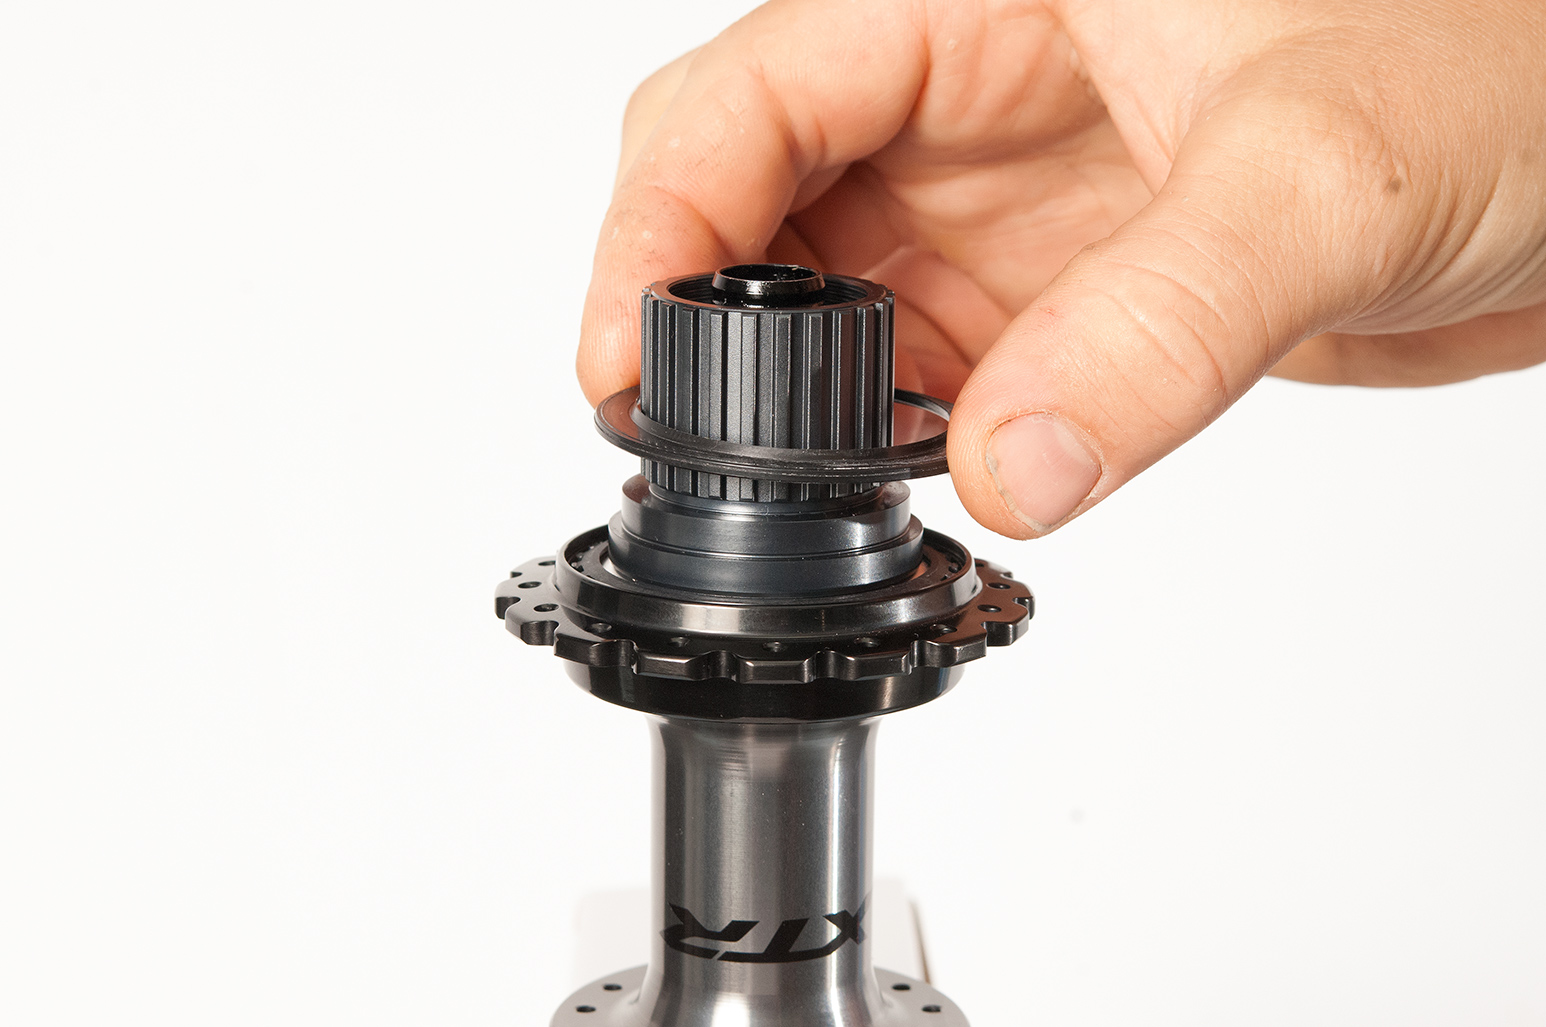
The next part to be refitted is the seal. Making sure it is the correct way around, slide it over the free hub.
Using the Shimano seal press, gently pop the seal into place. Be careful not to damage or misshape this seal.
Pop the outer cover back into place and make sure the clip is solidly in place.
Looking inside the end cap you will notice the splines are big and small. You need to line the smaller ones up with the grooves on the axle. The smaller splines also have a little indent on them making them easier to identify.
