WORKSHOP : Shimano Di2 setup tips
Di2 is still pretty new on the mountain bike scene, but now it’s at an XT level and on more bikes, there are also more people making an upgrade. So we thought we’d talk you through a few pointers to get it set up neatly, make sure it’s running up to date and what to look at as a new user.
It can be hard to make a non-Di2 ready bike look neat and tidy, but following a few of these tips should make a huge difference.
Words: Joe Dodd Photos: Chris Herron
KEEP IT TIDY
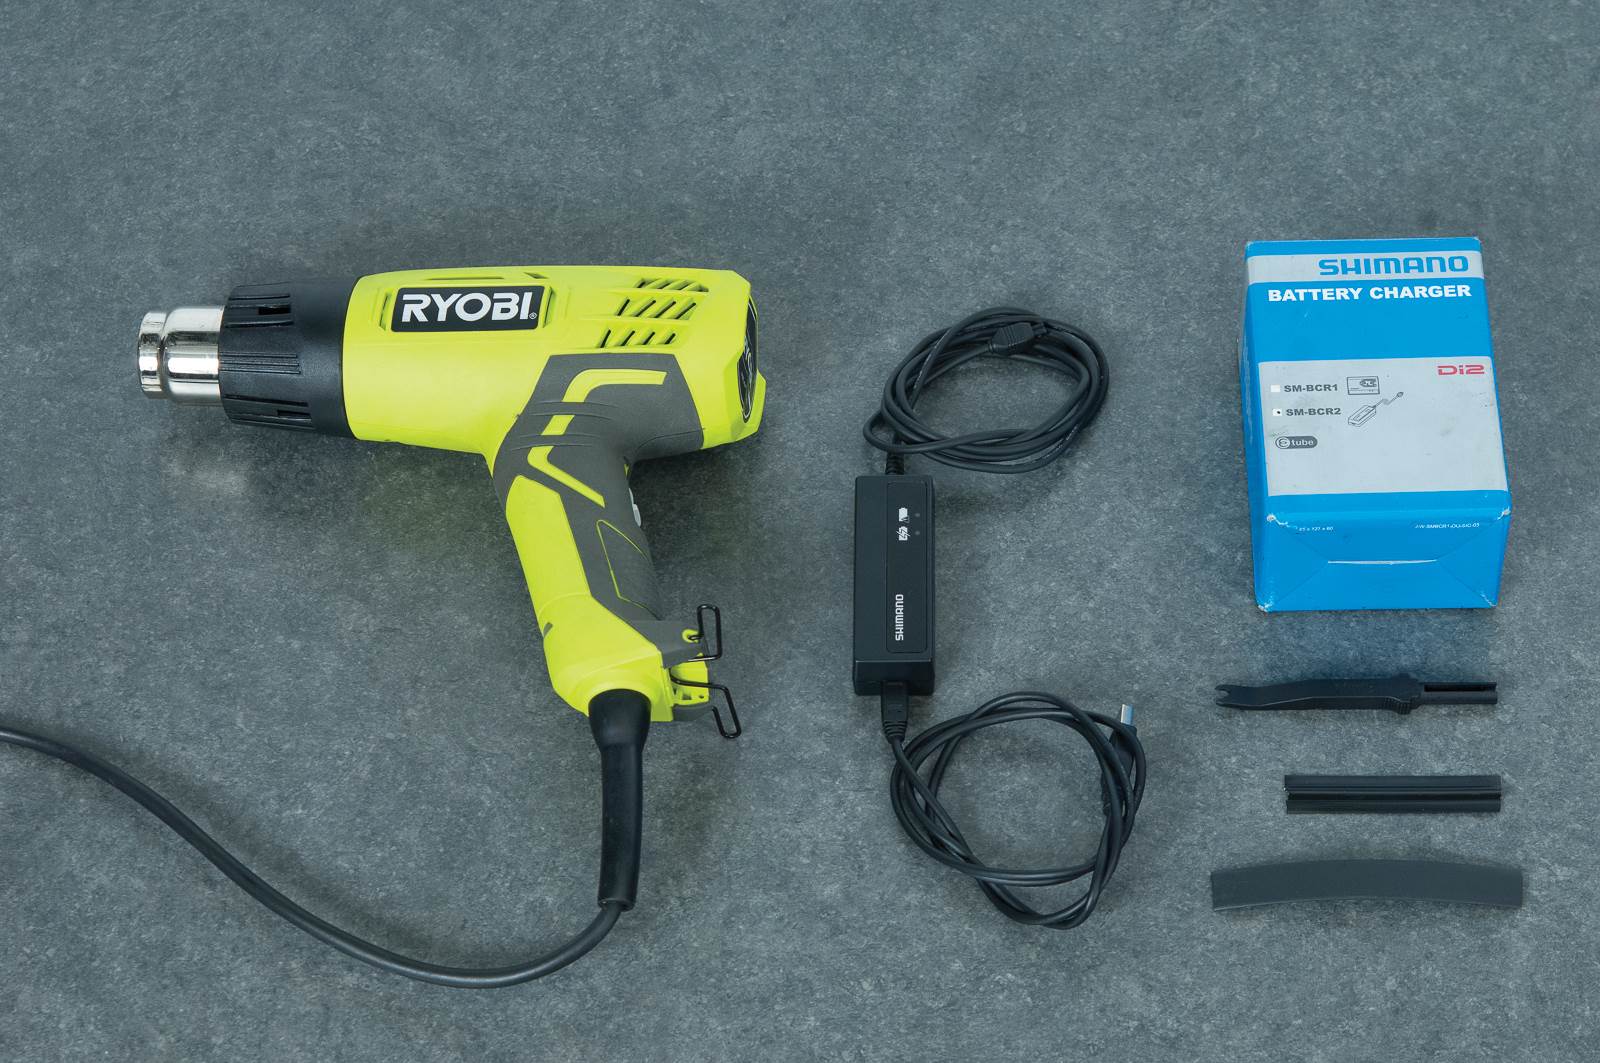
I tend to use a lot of heat shrink while setting up Di2. It keeps the cables out of harms way and also adds more rigidity to them. Always be careful with your heat source and remember that it doesn’t take much heat to shrink.
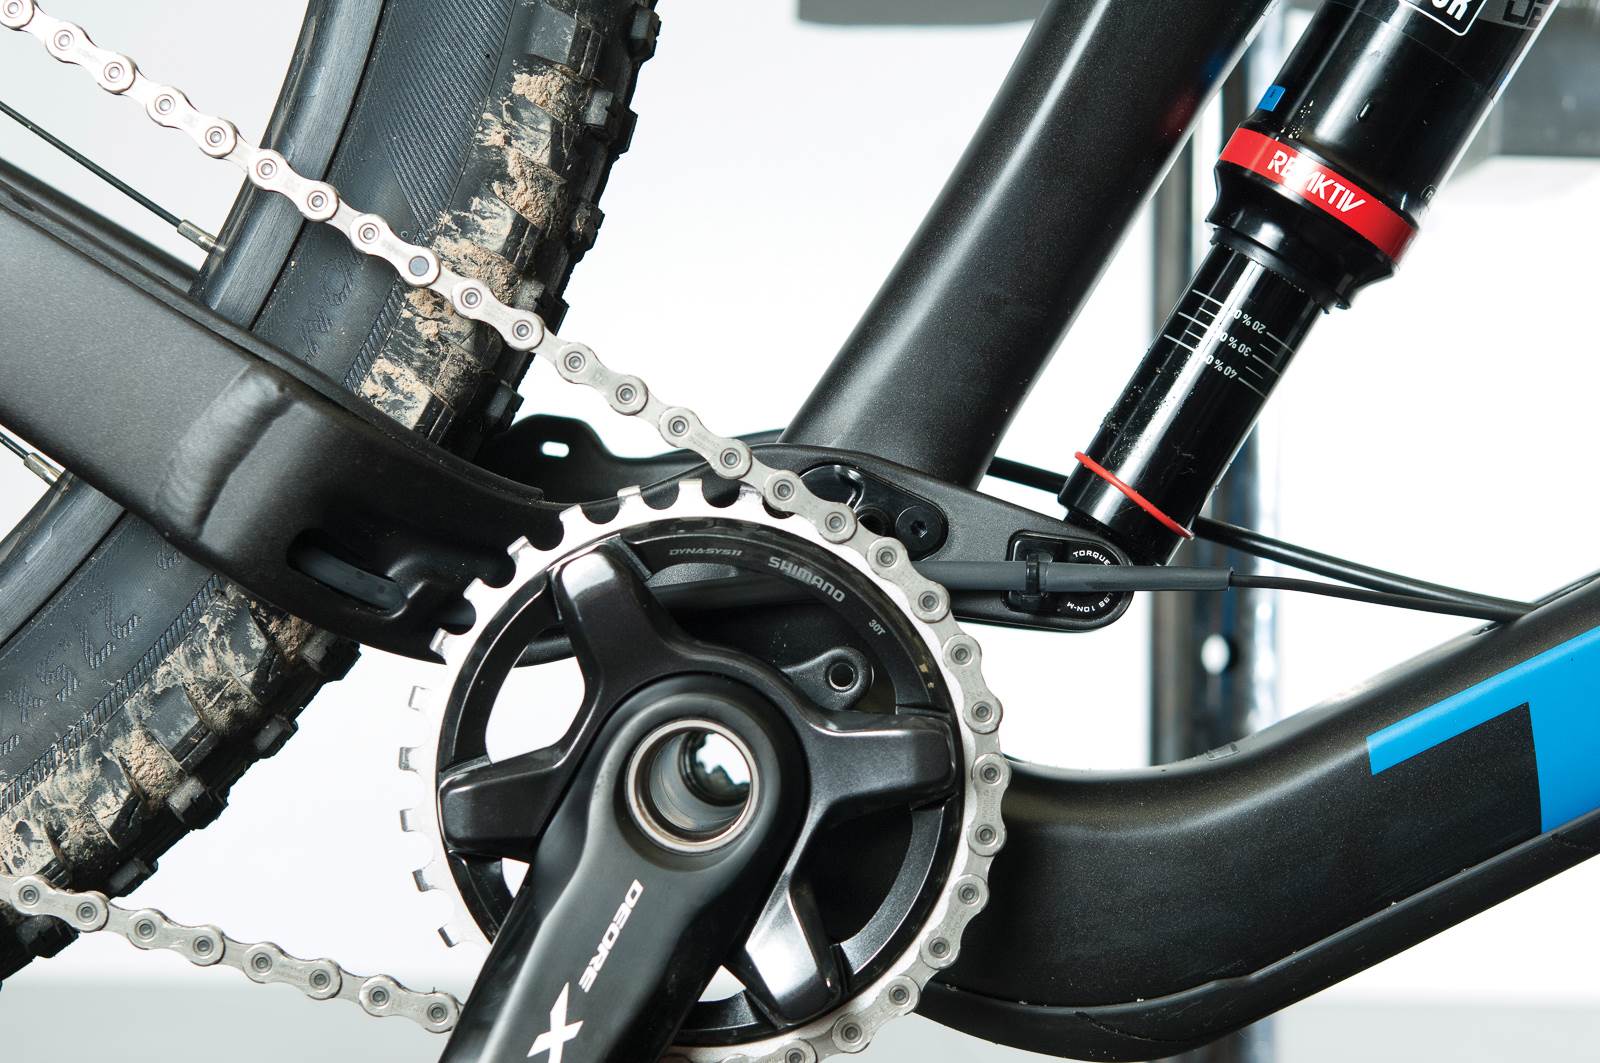
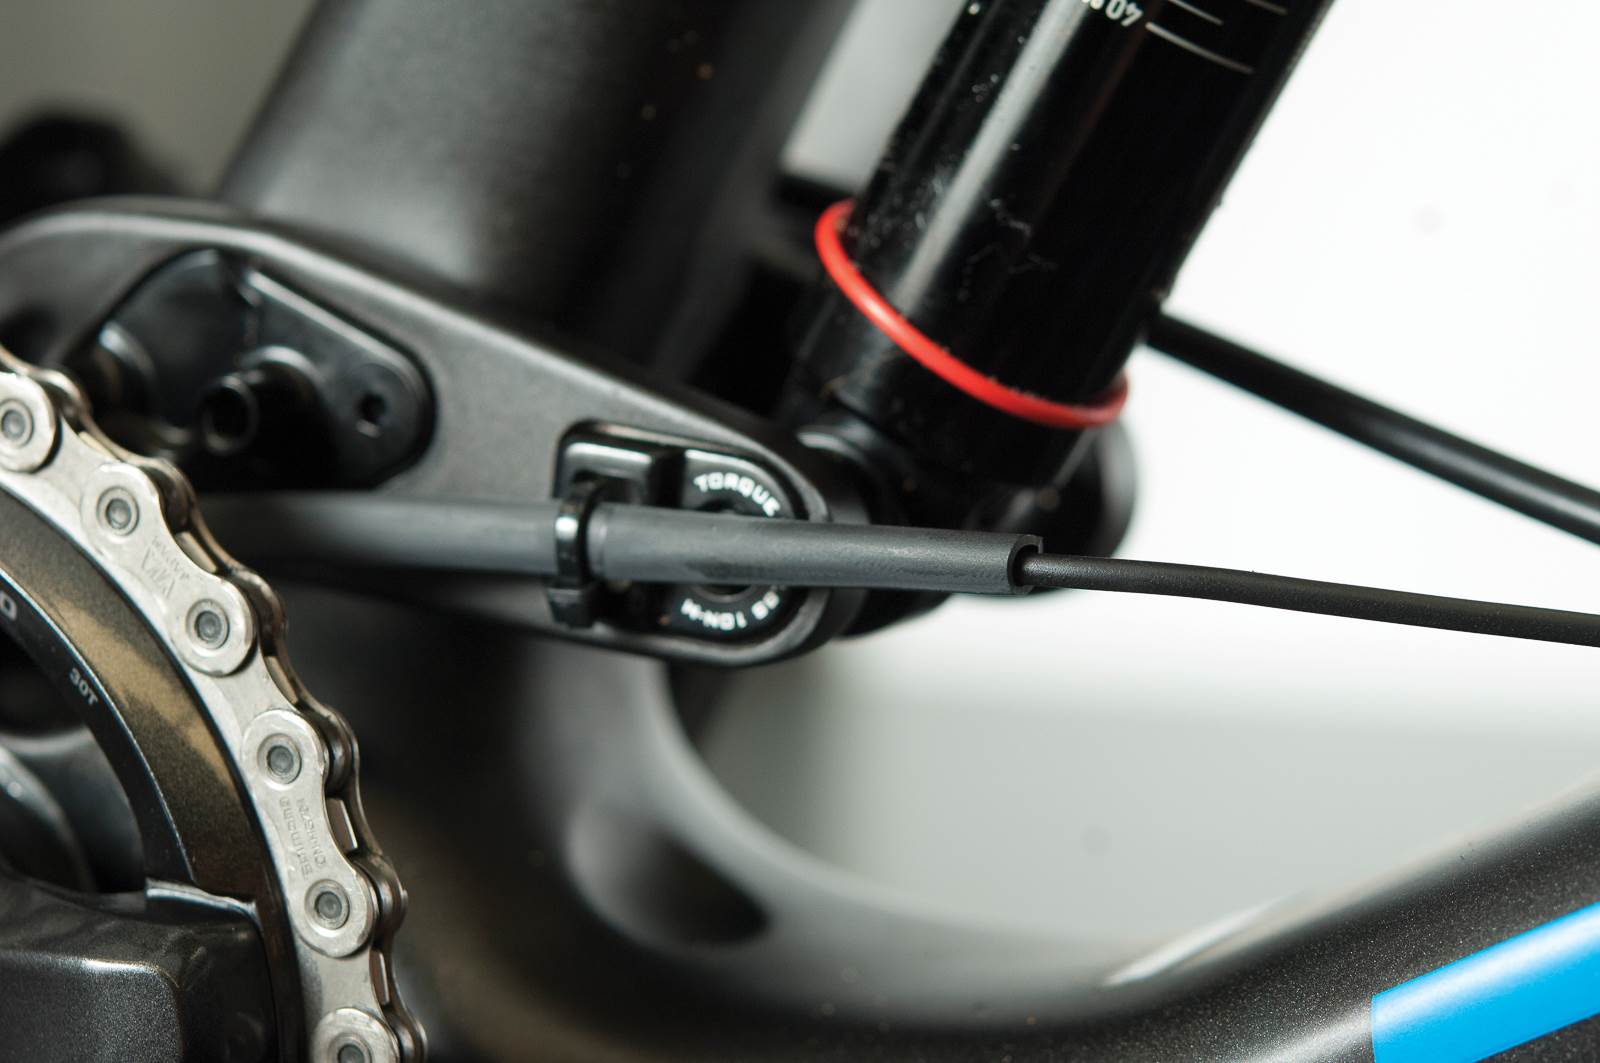
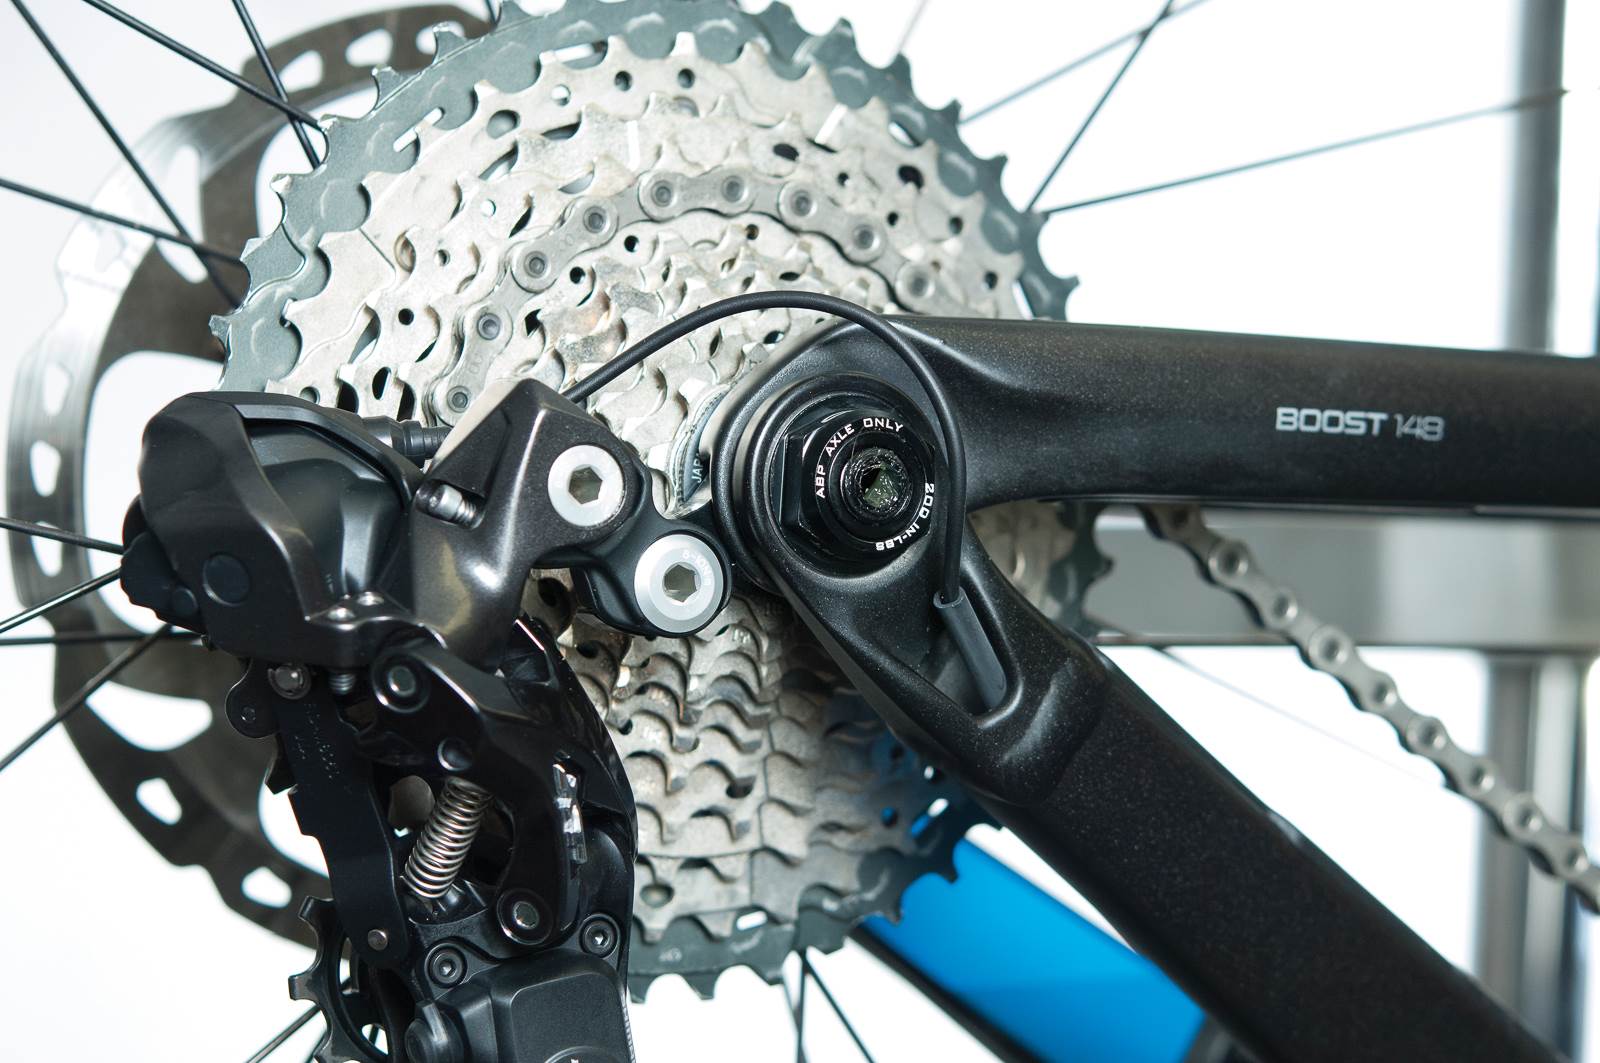
In this example, we fitted the new XT 8050 to Kath Bicknell’s Trek Remedy test bike. It has quite a long exposed section until it hits the internal routing of the chain stay, and also a small cable tie guide just behind the crank set. Wrapping this section makes the cable more rigid (less likely to get caught in the chain ring) and also reinforces the section that is cable tided to the swing arm. For long exposed cables that are common on externally cabled bikes, I would heat shrink them as much as possible.
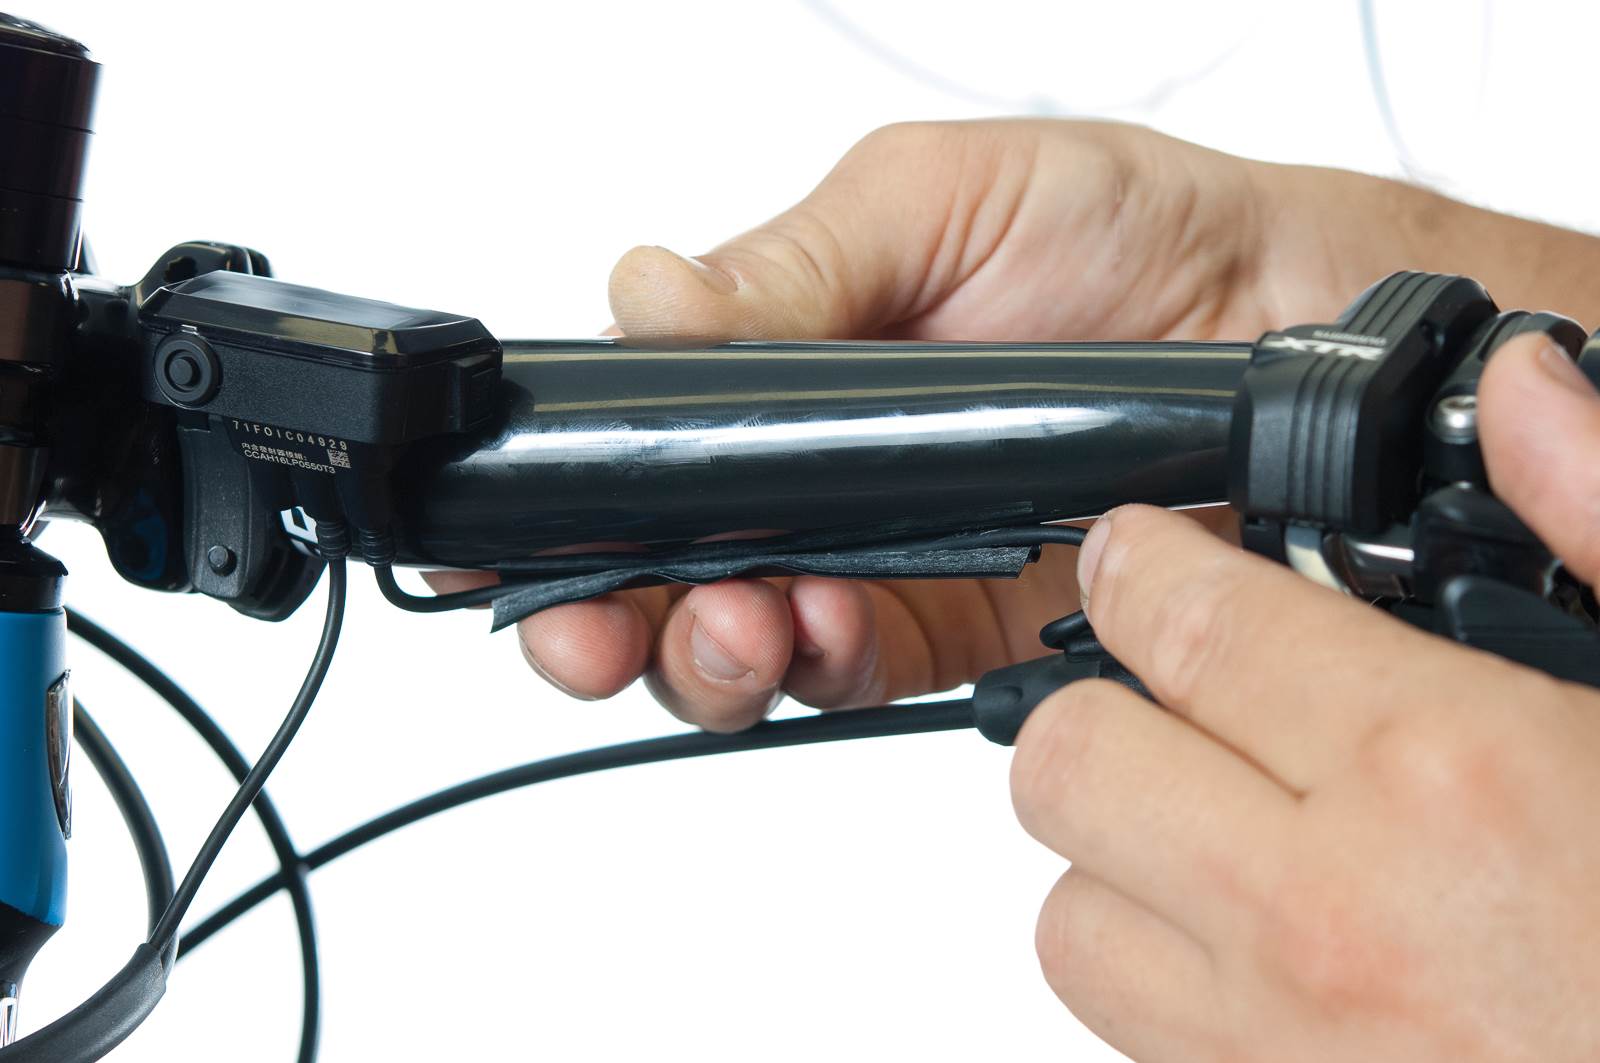
The other section I use heat shrink is from the system display into the frame. I usually combine the brake hose or dropper cable. Make sure to leave enough room for the bars to be turned. Too short and the cable will pull out of the system display. Too long and it will flap around, possibly getting caught on things.

LET'S GET DIGITAL
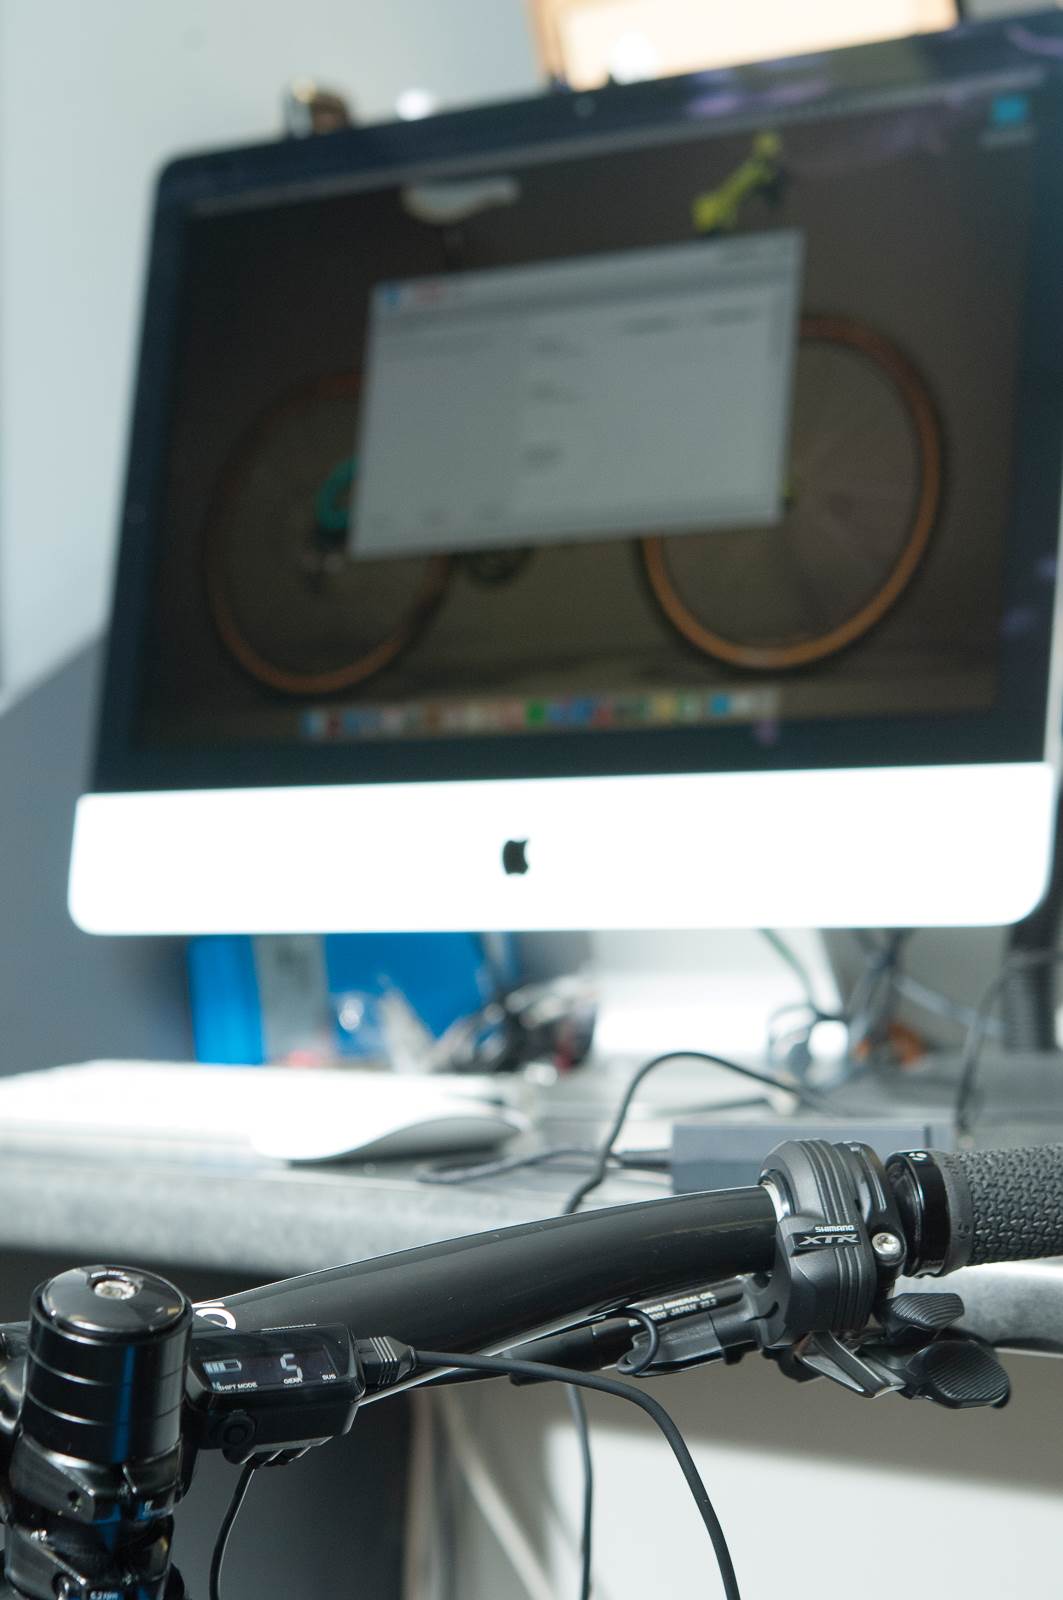
Once you’ve got all the parts onto the bike and looking neat, it’s time to plug it into Etube on your computer, or your Bluetooth device (if you have the newer Bluetooth unit).
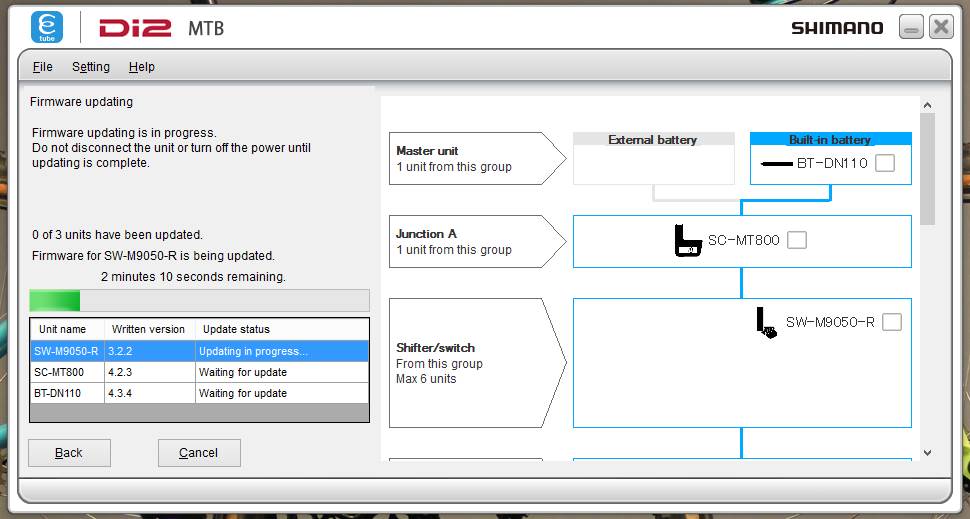
The first thing you will have to do once you have everything connected is get all the parts updated. Etube will guide you through this and it is really straightforward. Check for updates periodically as they do release new features and tweaks from time to time.
Etube allows you to customise your groupset, from shifting speed, the amount of gears you shift during multi shift, how the synchronised shifting works (if using a front mech) plus much more. Most of these are very personal tweaks, but definitely worth having and interesting to experiment with.
One last thing to keep in mind – once you’ve got your Di2 groupset looking neat and tidy and it’s up to date, don’t forget to keep an eye on the battery!
