Yakima FullBack vs Yakima HalfBack
The Yakima FullBack and Yakima HalfBack are economical and secure bike racks - but who do they suit and what is the difference?
Getting your mountain bike in or on your car can be one of the last hurdles to get to the trails safely. If you're not lucky enough to live an easy or short riding distance to the trails, a bike rack system will be something you use a lot. If you only need to drive for weekend rides or holidays, you probably won't use a rack system that much at all. And that would be just one of the reasons there is such a broad range of rack types and prices around. We put a guide together which also has a lot of the racks we have reviewed in there, while also looking at the pros and cons of putting your bike in the back of your car, putting them on the roof, or mounting your bikes on the back of your car.
AMB's guide to bike racks on your car
The Yakima Fullback and HalfBack
If you don't have cross bars on the roof, or a towball or hitch receiver, all is not lost! There are a wide range of bike racks that don't require those for carrying bikes on your car. This style of rack, often called a boot rack or trunk rack (or strap on by some uncouth people) will attach via straps, using a system of straps to hook into the boot seam high and low, and often with stability straps on the side.
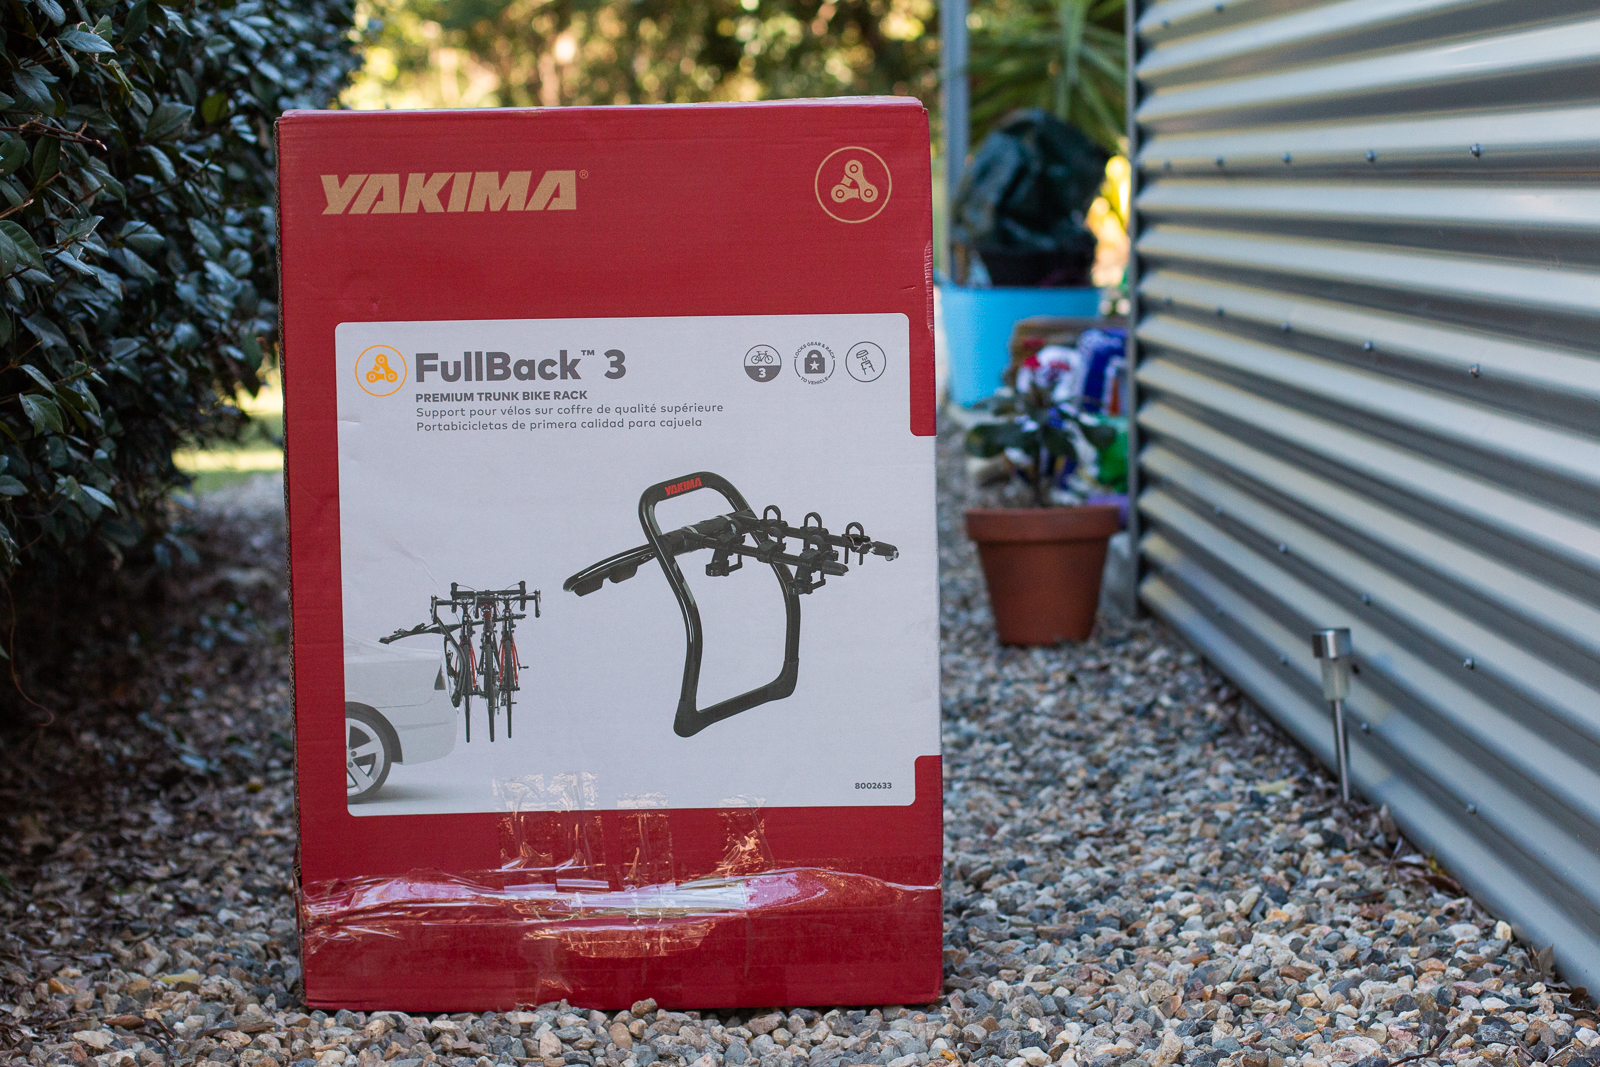
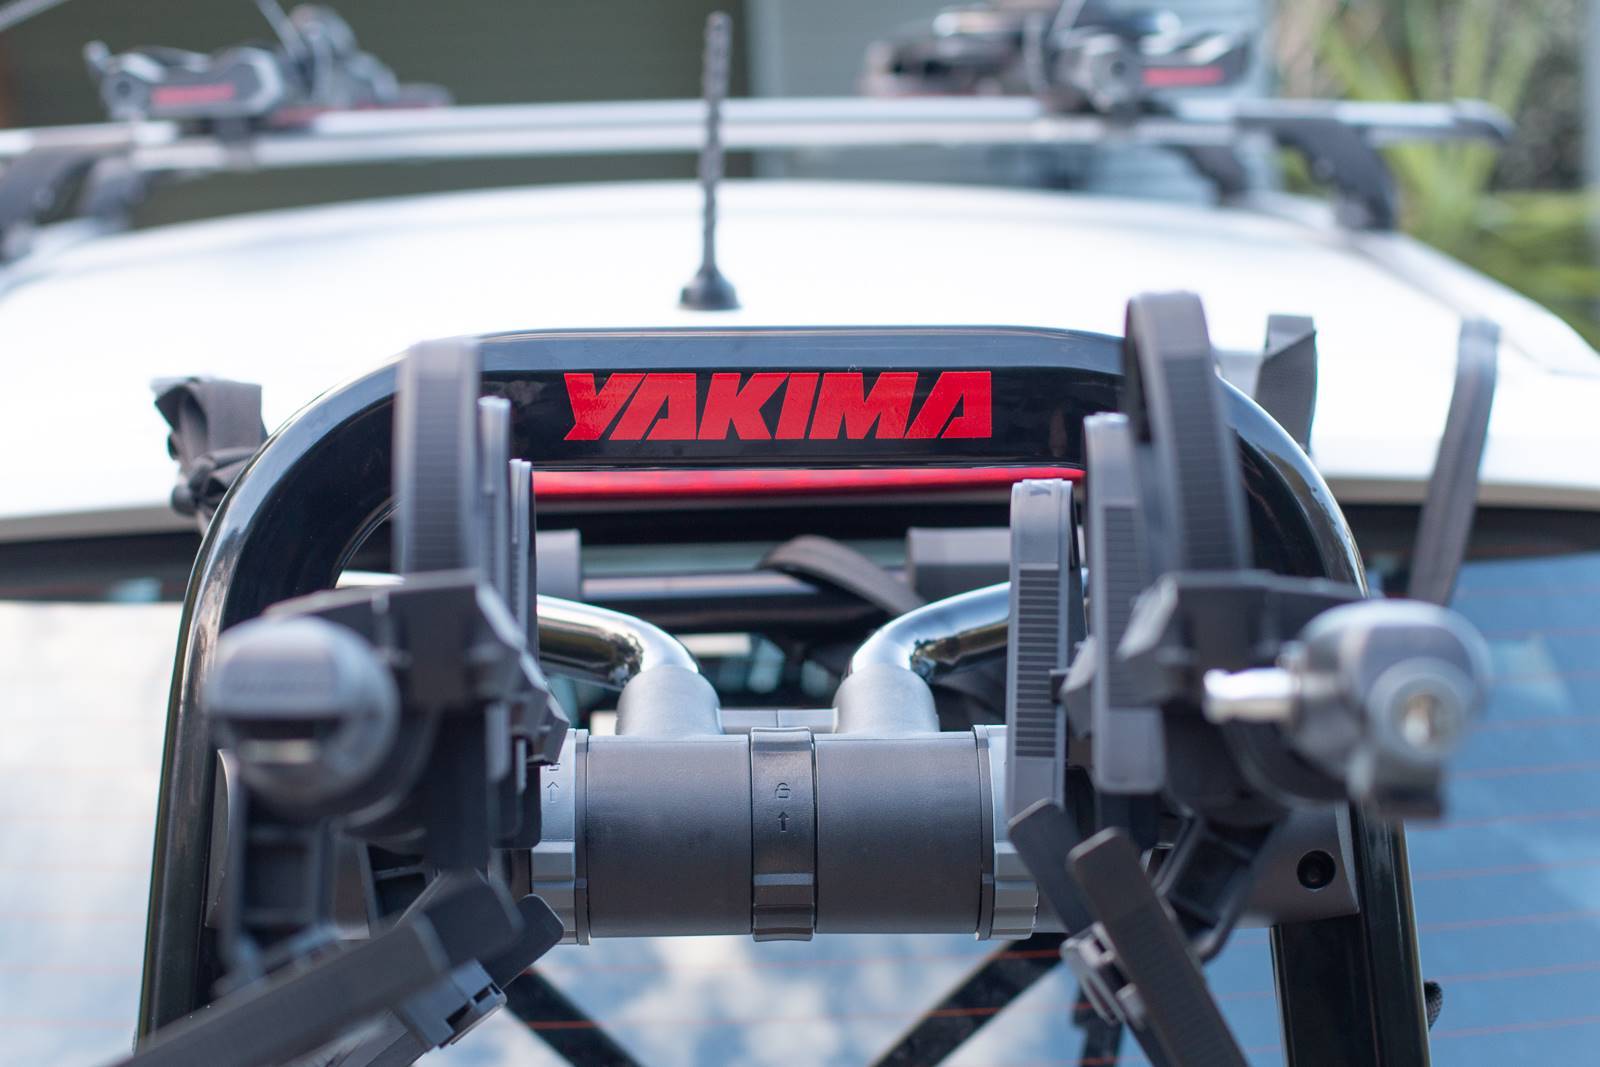
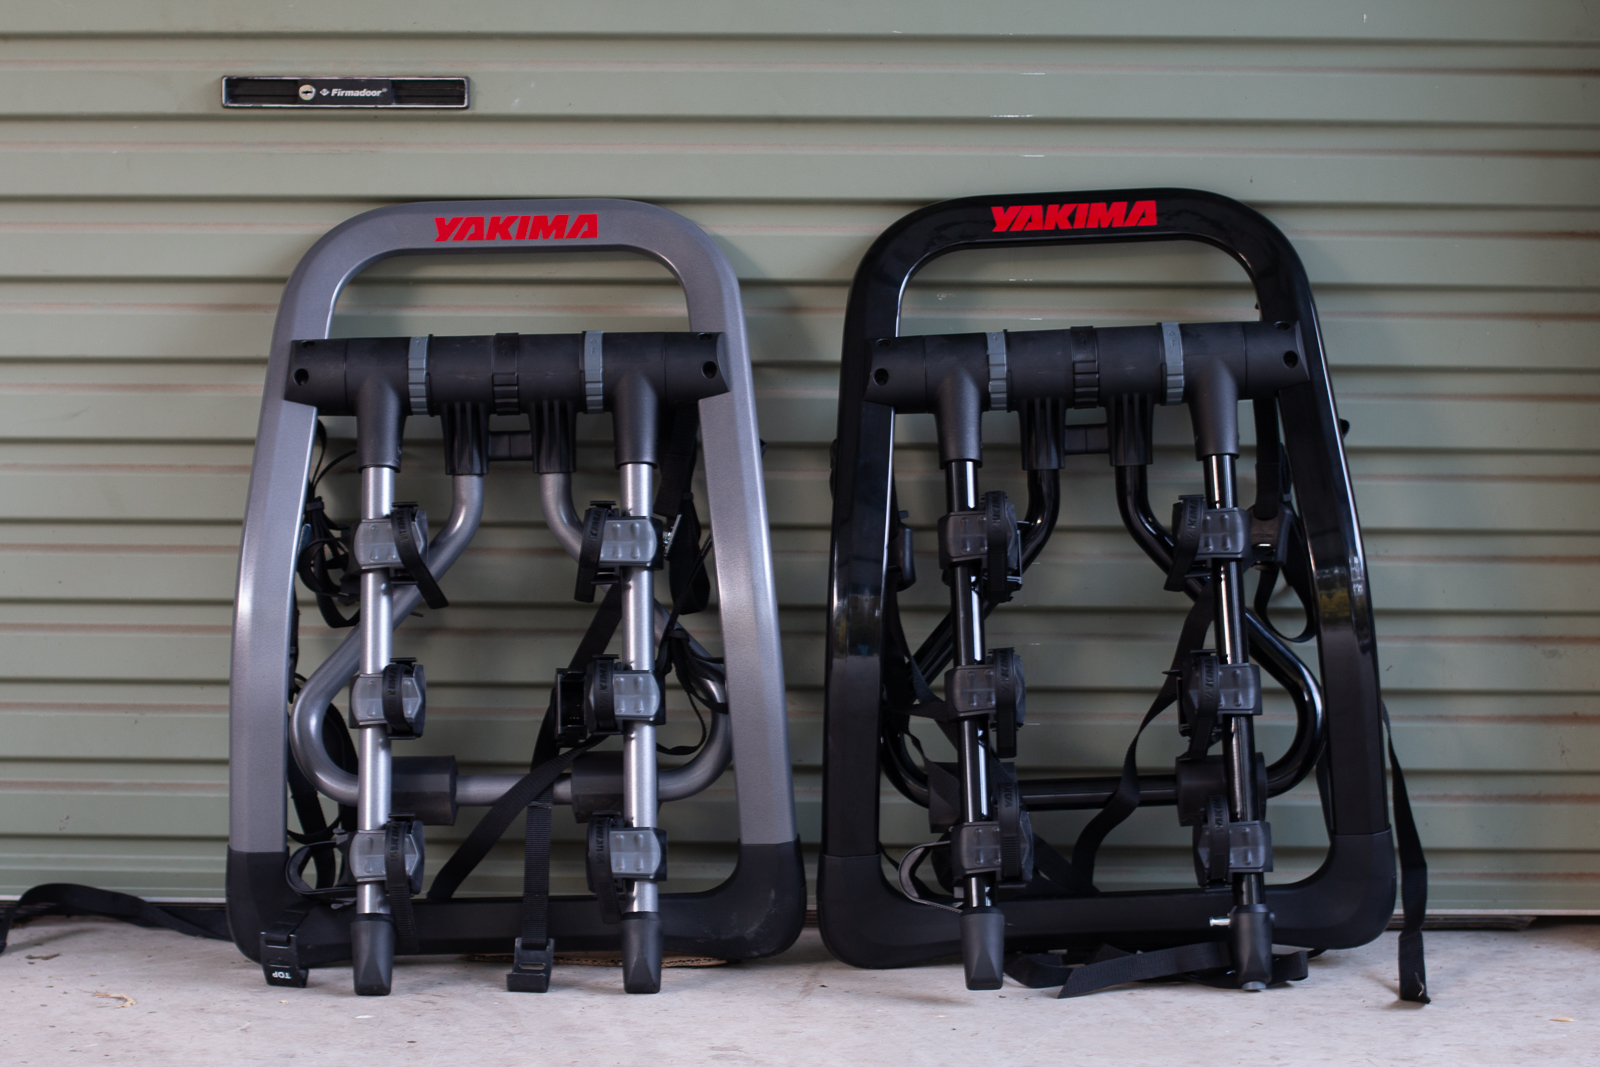
This is where the Yakima FullBack and HalfBack fit in. There are two-bike and three-bike models in each. The three bike options are shown here, and the FullBack 3 sells $449, while the HalfBack 3 is $399. The two bike options knock $40 off each price.
They FullBack and HalfBack are really very similar racks, with just a couple of small differences.
How do they attach?
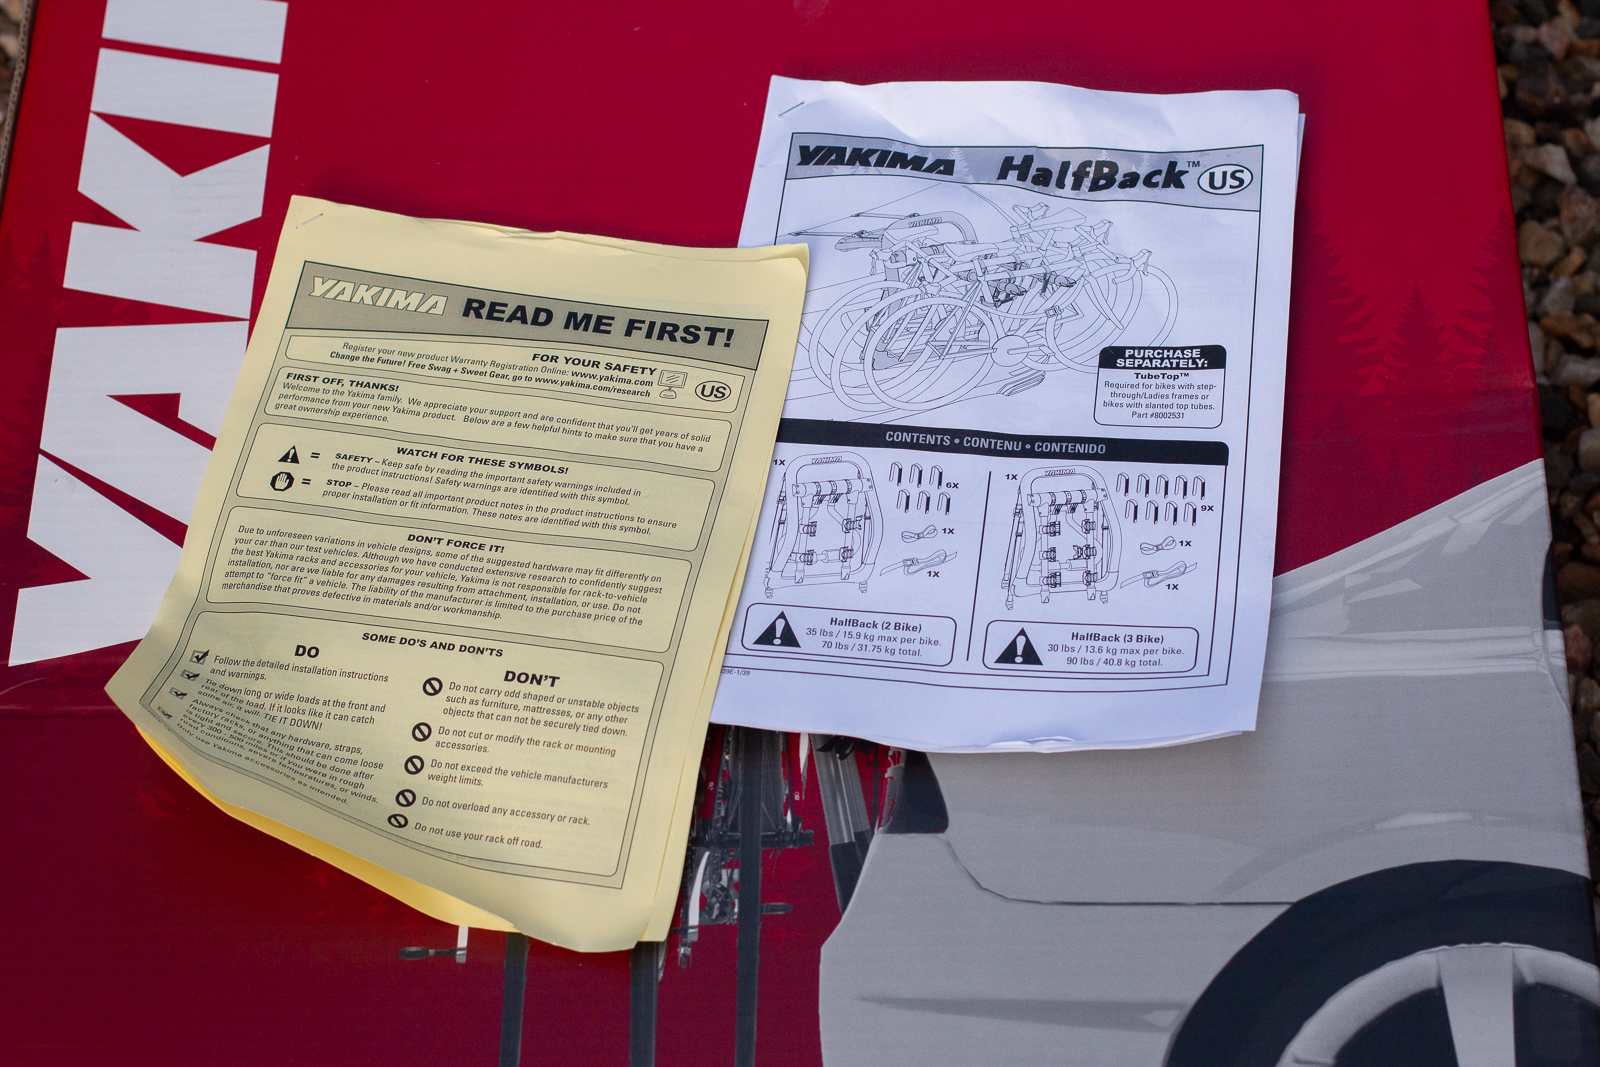
Yakima include plenty of instructions with the rack, and there are guides online to show how to fit the racks in a safe and secure manner. They also have videos to talk you through it. They state that it is a 5 minute setup and I can't argue with that – it is pretty quick.
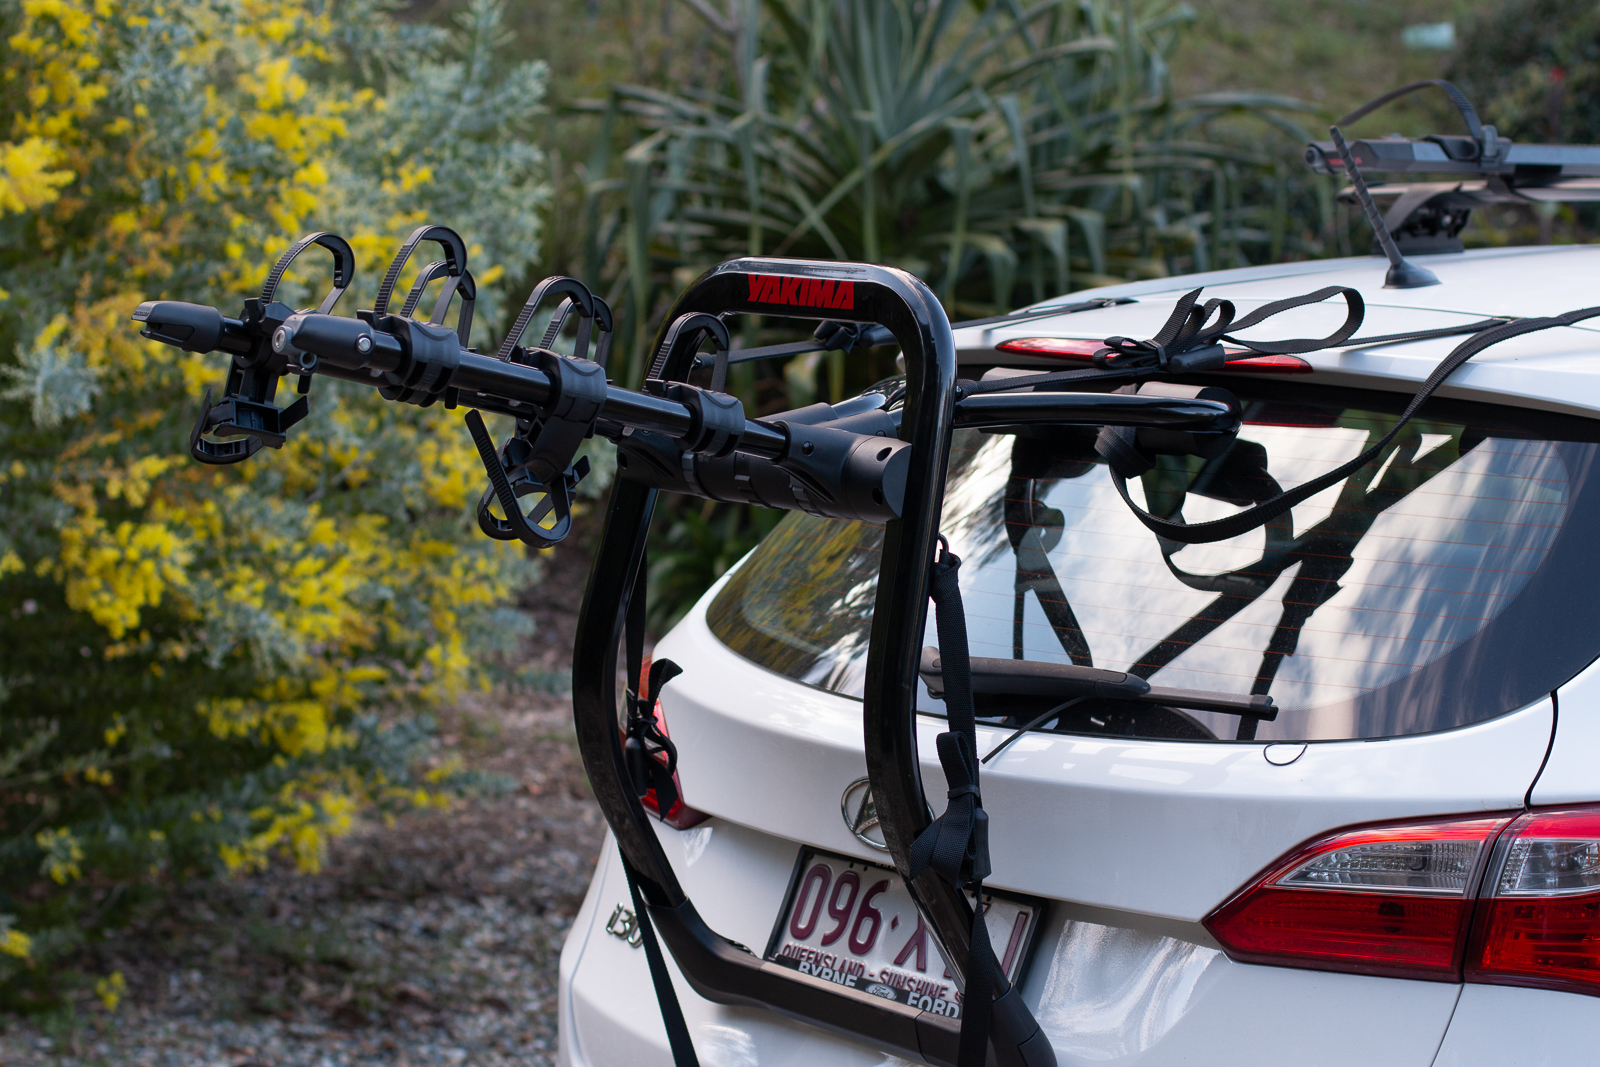
Both racks use 4 straps, two that go up, and two that go down. The rack itself folds open to the correct angle to suit your vehcile, which is set by you. It's a pretty simple mechanism where a collar is unlocked, you rotate the arm, and lock it in again.
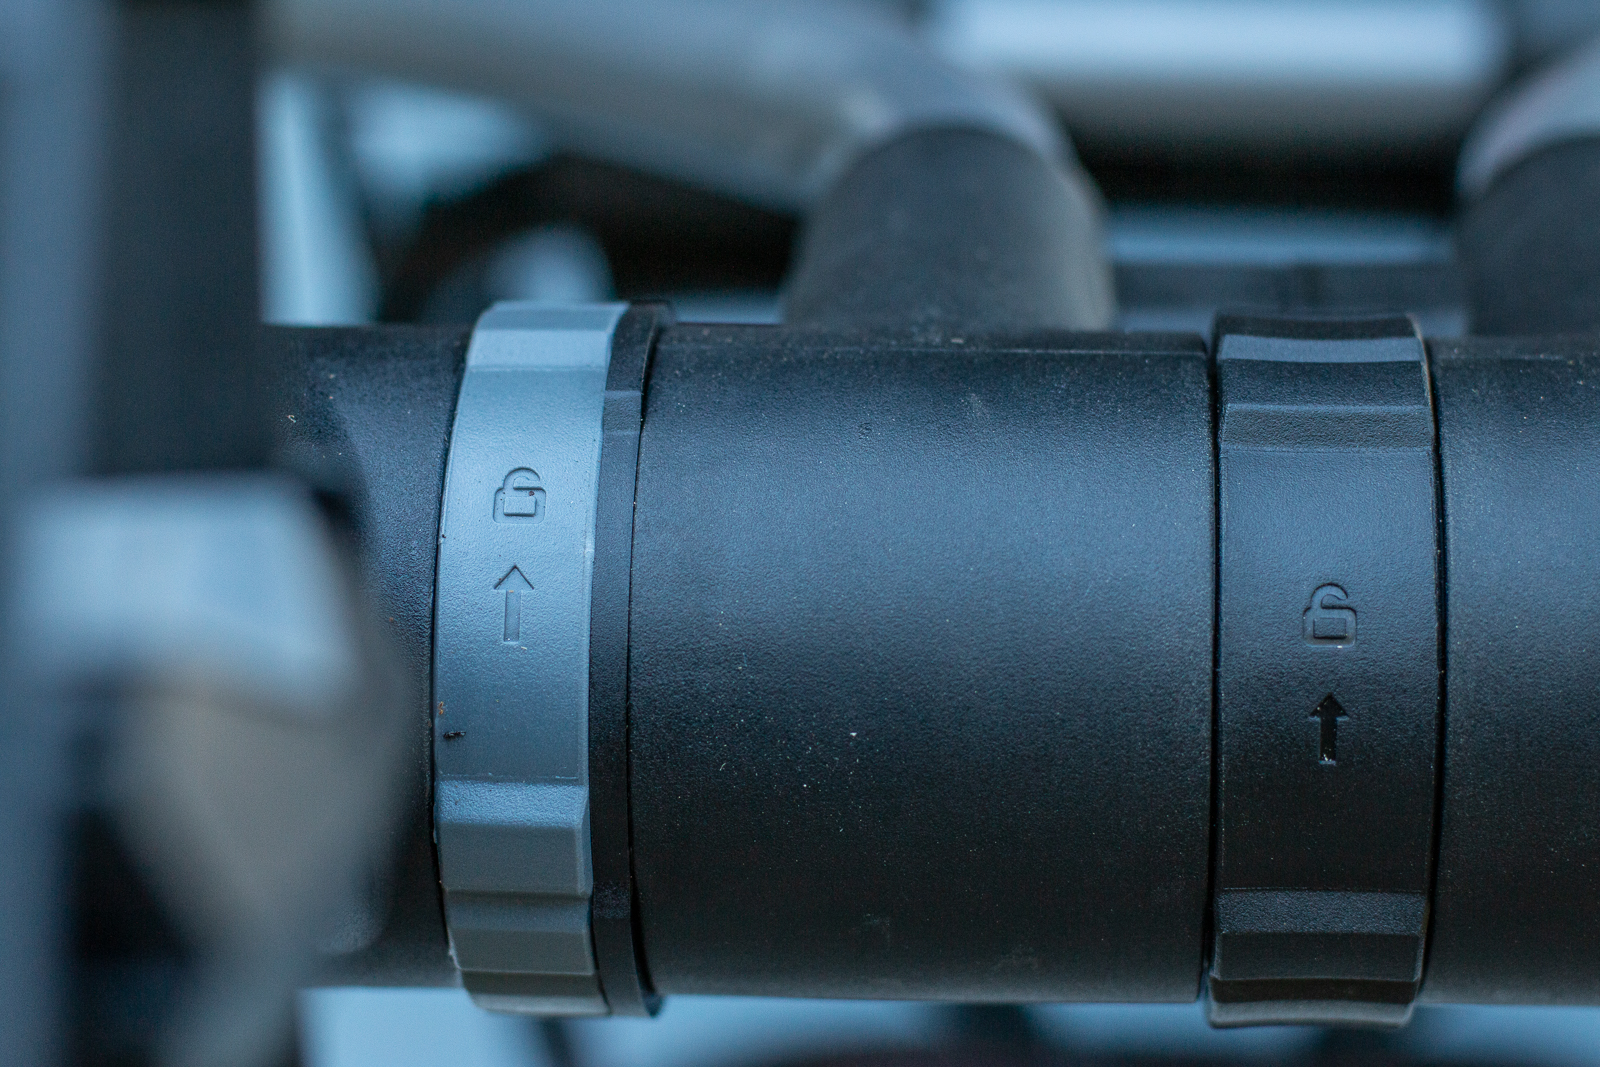
To save guess work, Yakima have a whole website to help you find the right setting. I couldn't find my car on there but really, the guess work wasn't that hard.
Fitting the straps is a little trickier the first time. The hooks are rubber covered metal, so they won't mark your car. Some cars might need you to open the boot to slide the hook end in. Mine had a small recess that they sat in perfectly. Yakima also supply a safety leash with the higher priced FullBack. There's a holder that sits inside the car, and a leash that secures around the rack.
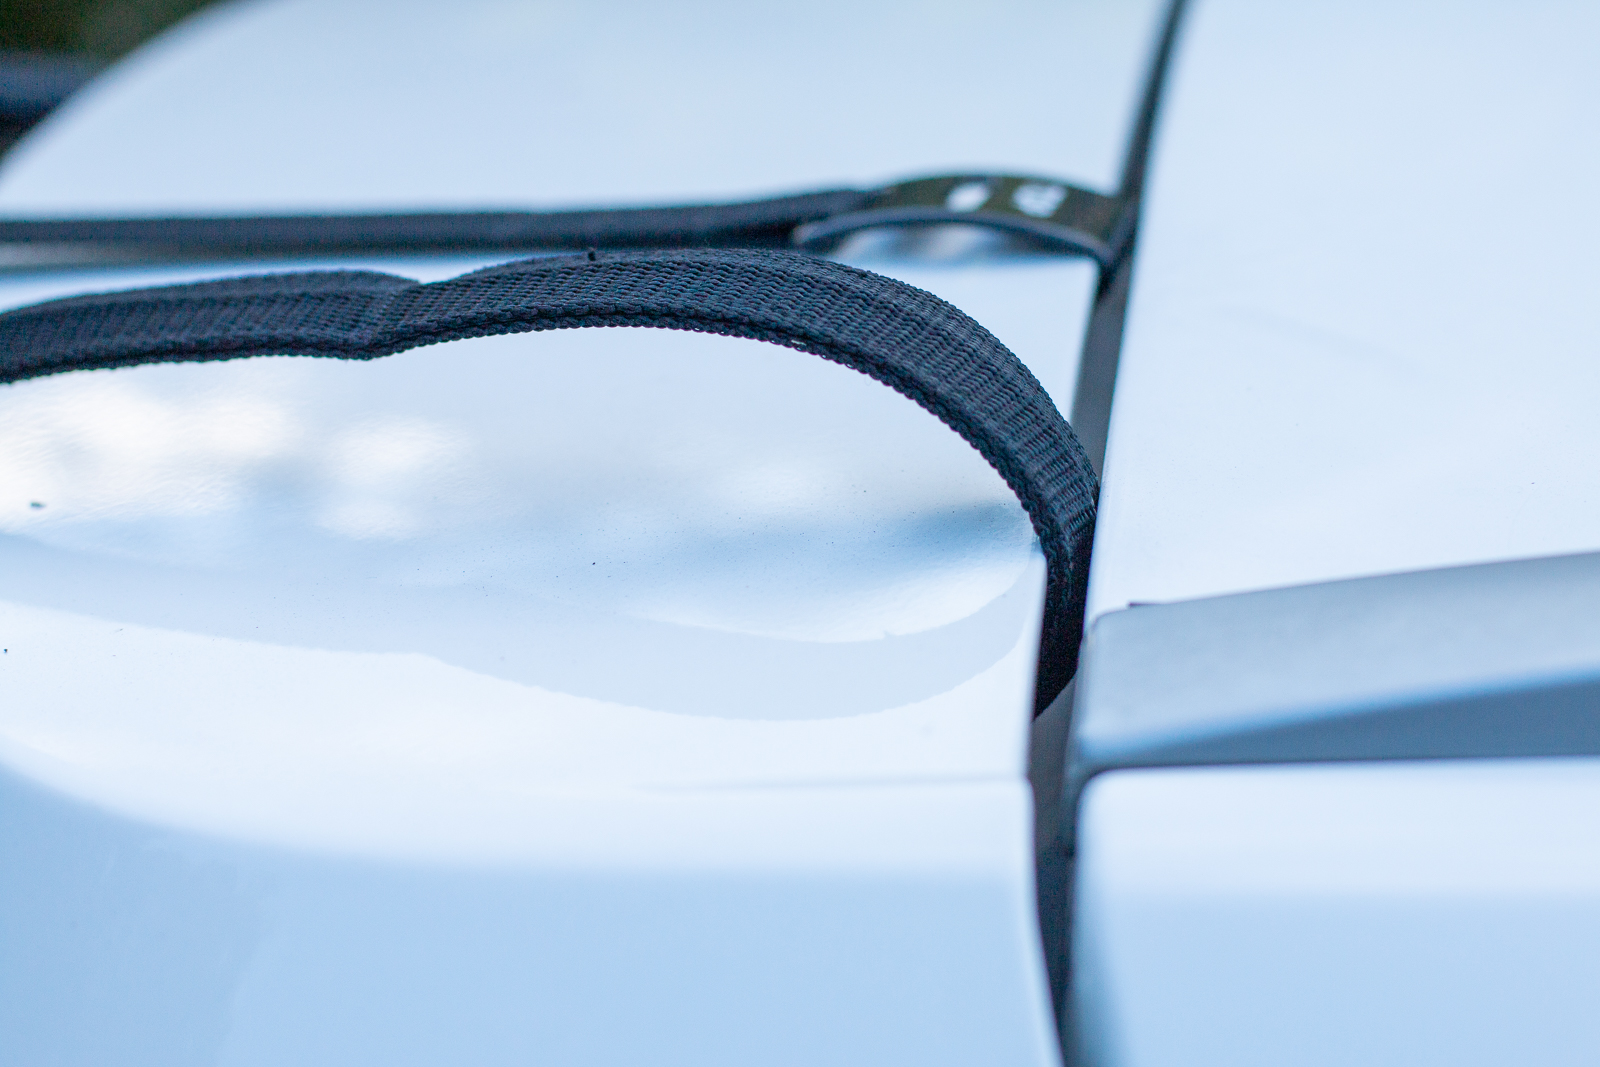
Yes, the idea of your rack (and bikes!) dragging behind your car isn't pretty. But it's a security measure and might save you backtracking a few hundred kilometres if you don't attach the straps properly. Besides the leash isn't that long, it would probably just sit quite low.
Let's make sure you do it right! Keep the straps sitting flat, and get the rack level using the top two straps. There is an inbuilt holder to keep the excess straps in place.
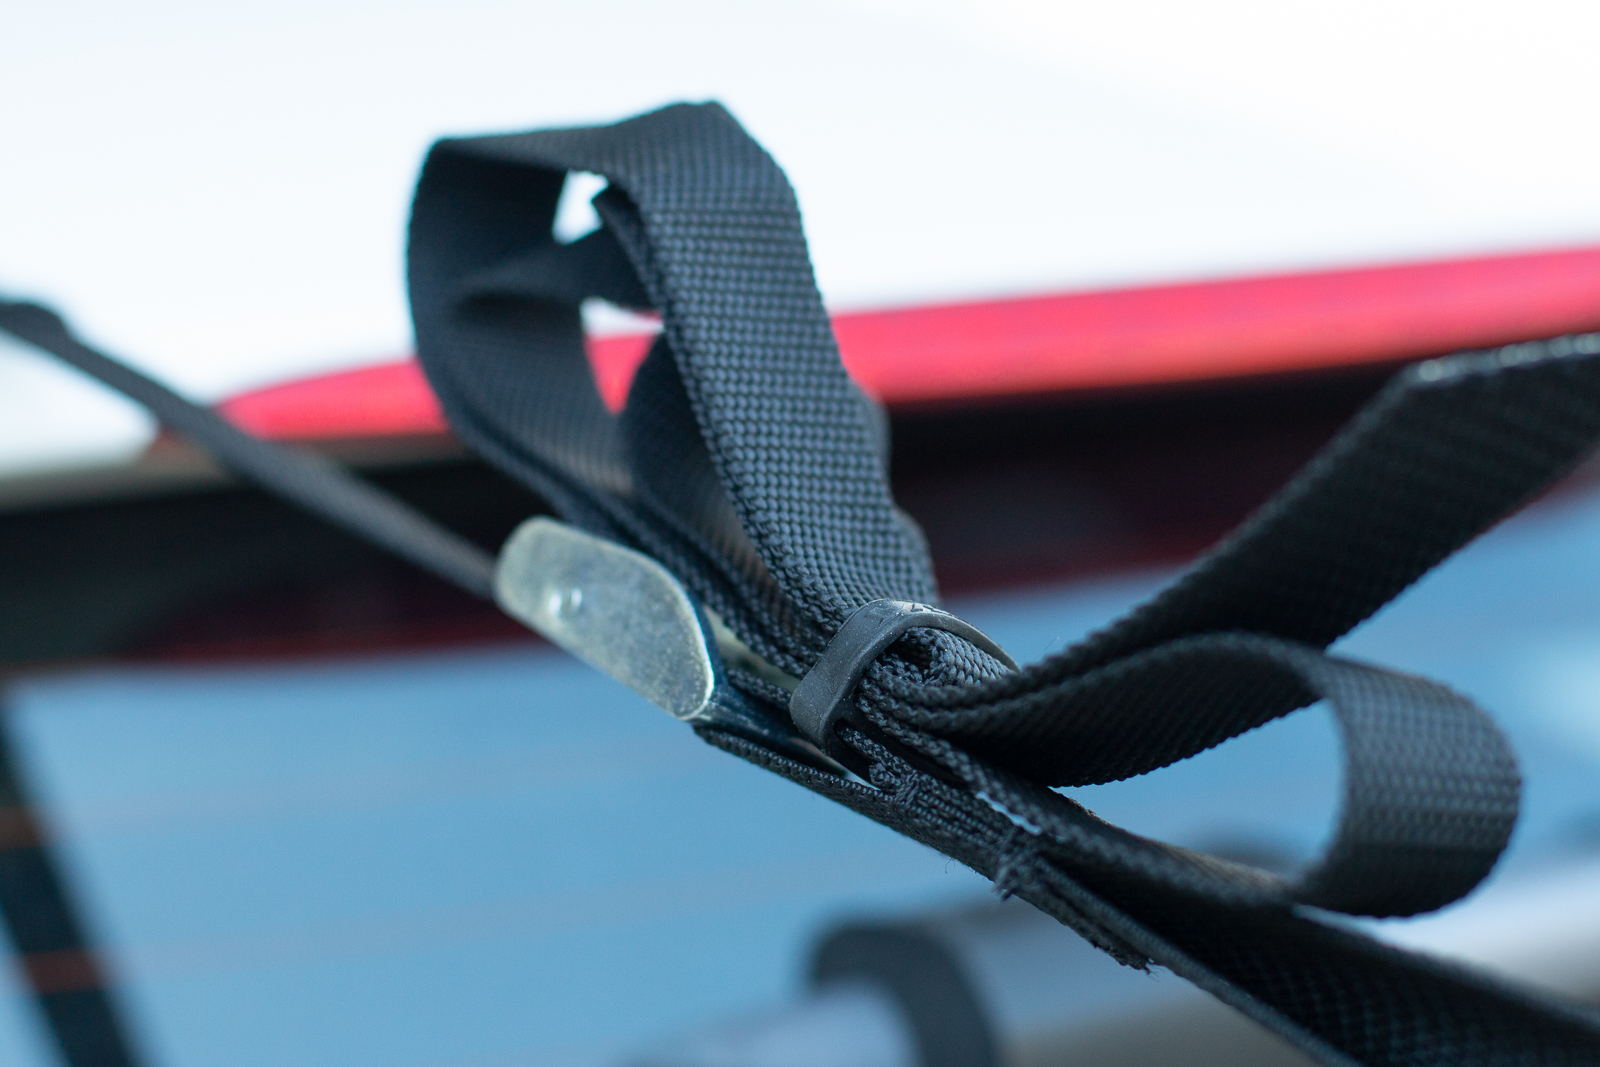
The lower straps should attach to the lower boot seam, and then of course be tightened down. So the pressure of the rack pushes onto the boot panel, and is held by two points at the top, and two at the bottom. The lower part of the rack is rubber, and the dense foam pads on the top keep the rack really stable, negating the need for straps on the side.
I did find that my lower boot seam could not hold the hook, so I went way past the plastic bumper to a rubber hook on the chassis. This meant I couldn't open my boot, but it also meant the rack was secure.
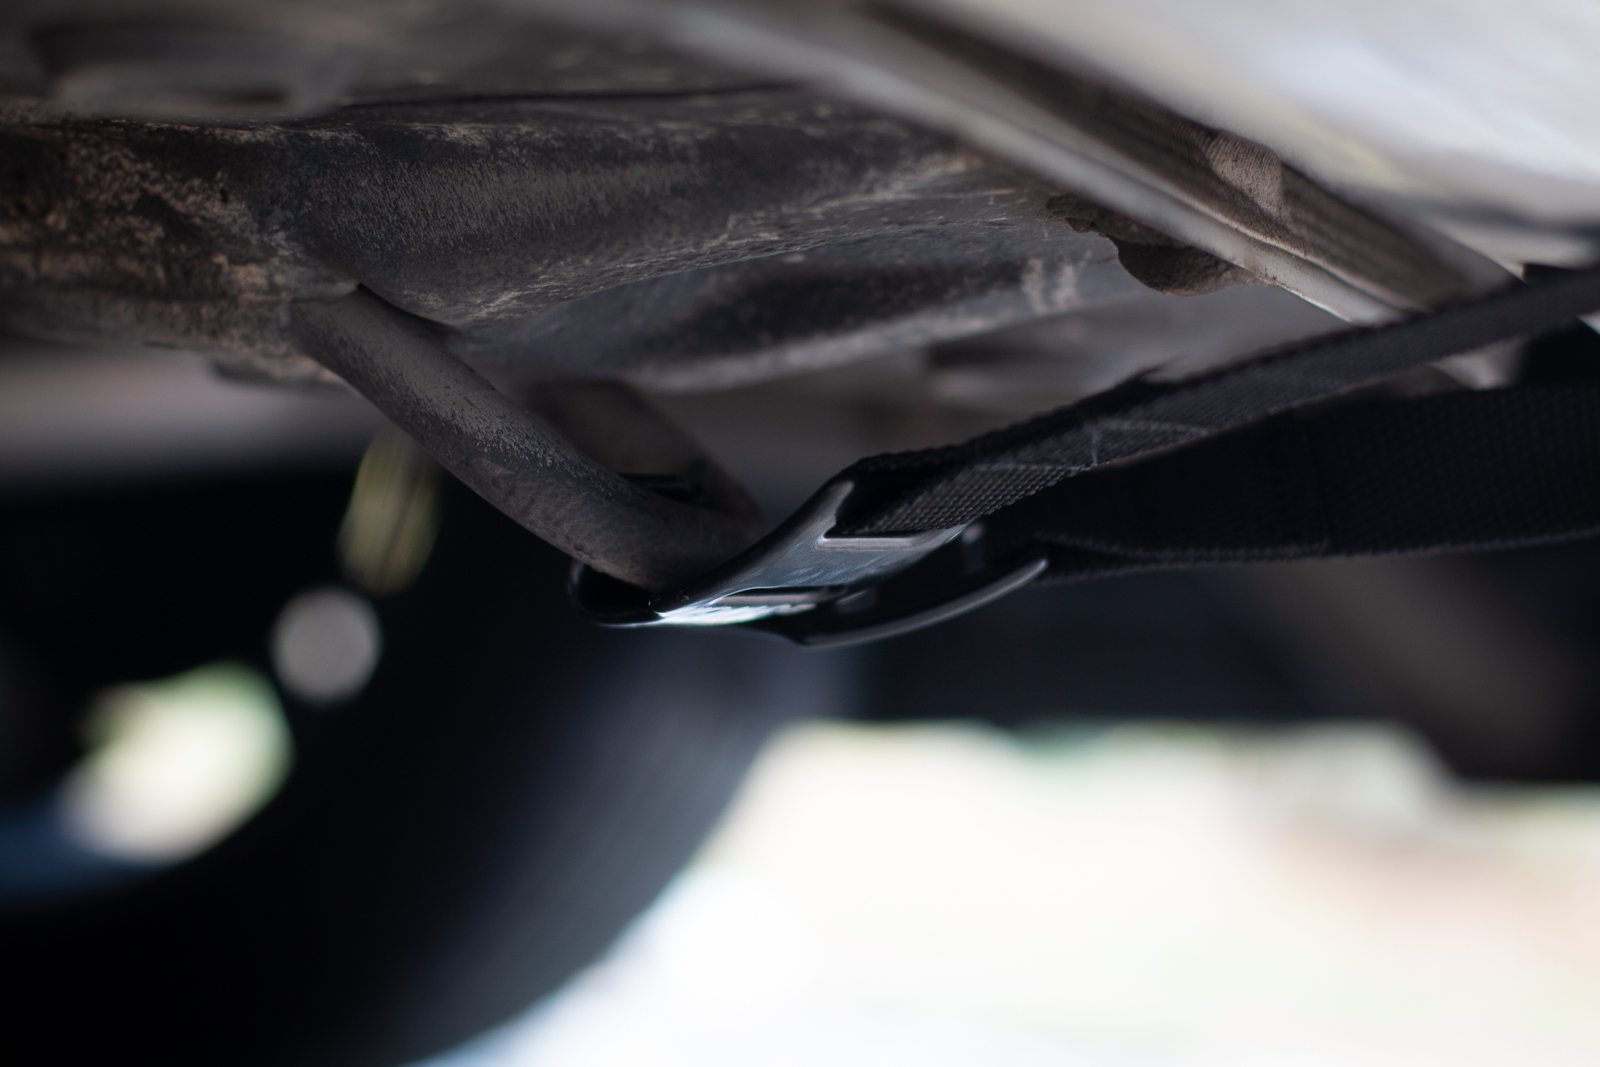
Again, secure the extra strap length through the rubber loop. And then give it all a good couple of yanks to see that it's secure. Cinch the straps down a bit harder if needed. I'll be honest, I feel really nervous with this style of rack. But the thing didn't budge once tight!
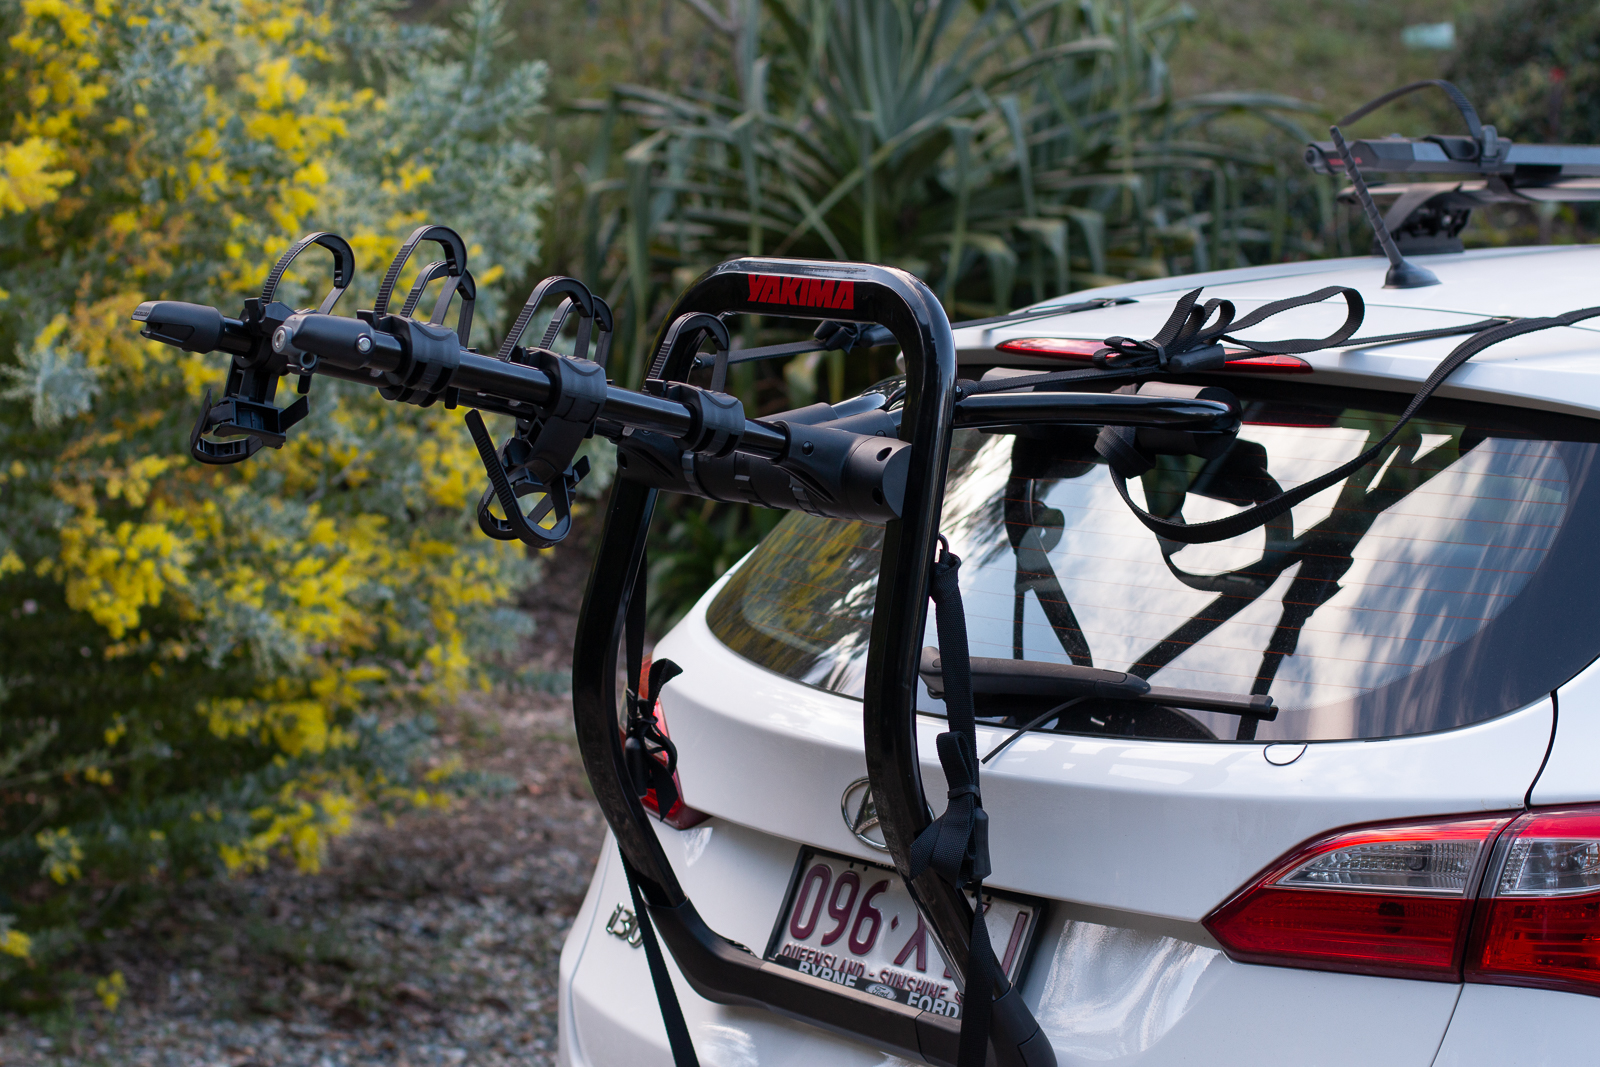
Is that secure enough?
It's a fair question. The design itself is secure enough. But if it's not fitted properly it won't be. Watch the video and be certain you have done it right. The security of the rack fitting to your car is up to you – this goes for any type of bike rack. This is one of the most robust racks of this type I have ever used, and compared to the ones that sell for a fraction of the price, I would have no qualms about recommending either of these Yakima options. They're not for everyone, but more on that later.
How do I attach bikes?
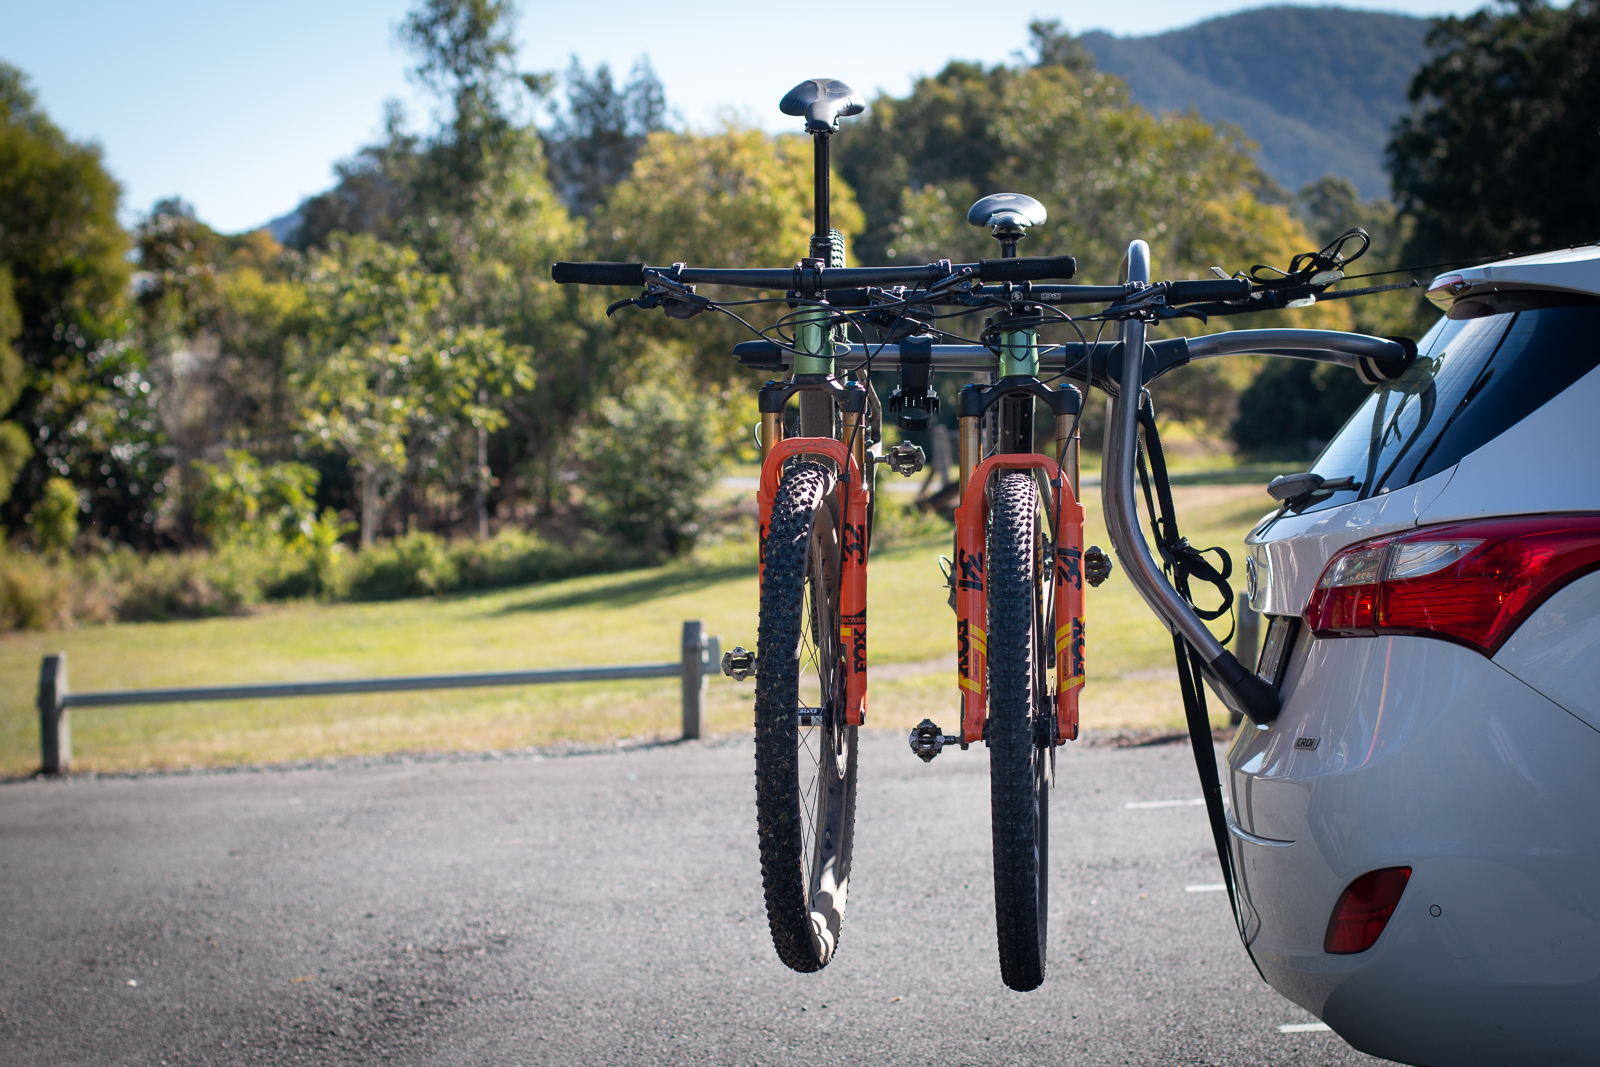
Both racks are exactly the same in this regard, and the two bike options have two cradles, instead of three as shown here. Just like the rotating and locking system used to set the angle for the rack, the same system is used to place the two arms with in-built cradles. I opted for just above horizontal. This also can help put handlebars at different heights, which can make the 3D tetris game of fitting handlebars, pedals and saddles together with a few bikes on a rack a whole lot easier.
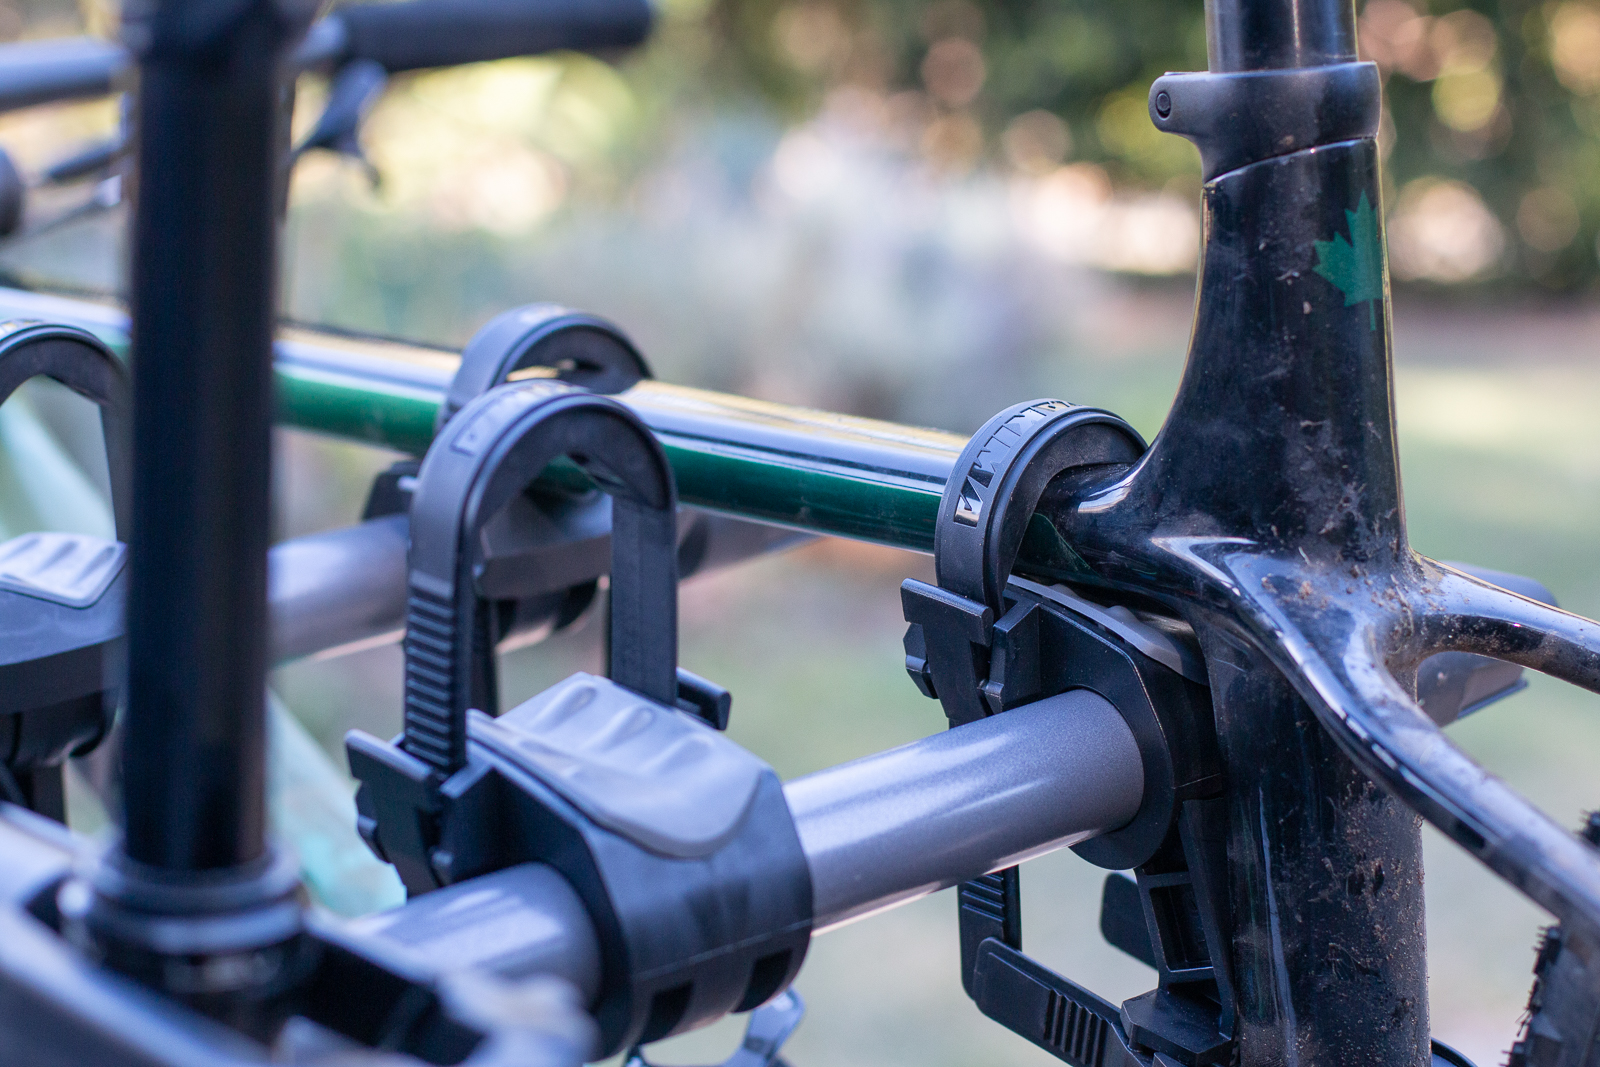
The cradles are padded, with two cradles and three straps for each bike. They should go top to tail, and the cradle for near the top of the seat tube and back of the downtube is designed to secure that area to prevent fore and aft swing while driving. I skipped the middle one in the photos, as two bikes on a 3-bike rack is easier.
Of course, these are best suited to horizontal top tubes – and some bikes might need a false top tube if the tube shapes are wild, or they just have a small front triangle. Yakima make the TubeTop, that sells for $55, and there are plenty of other options out there.
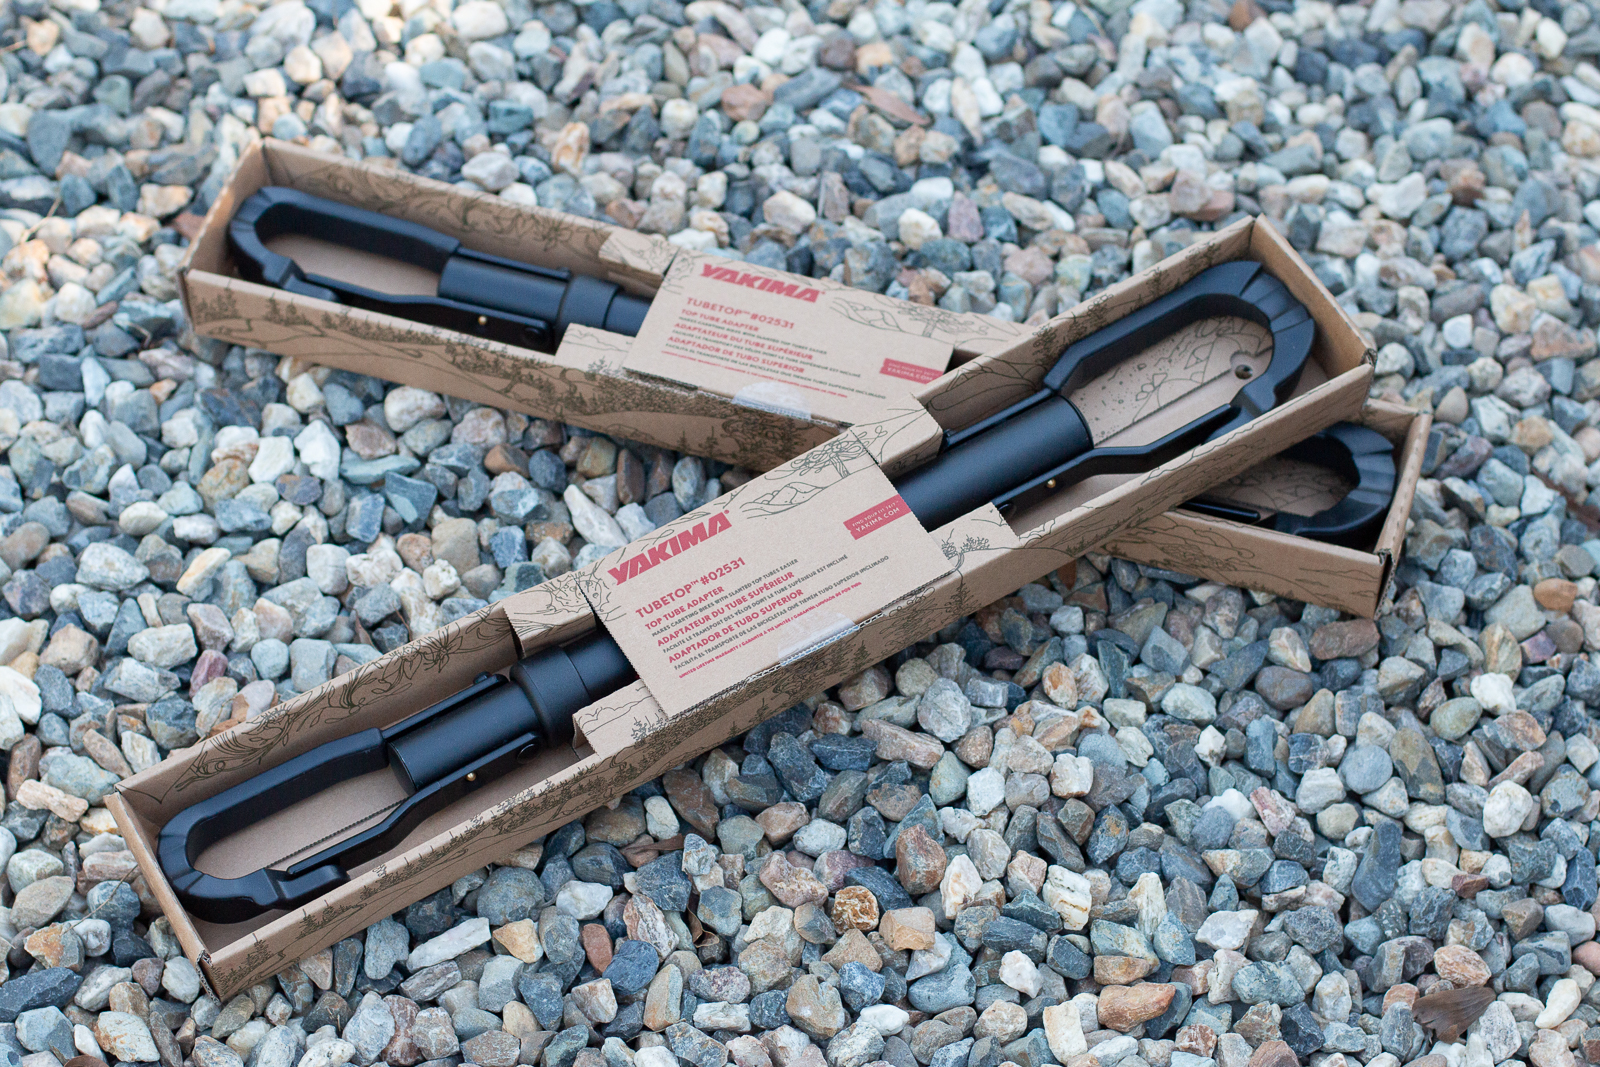
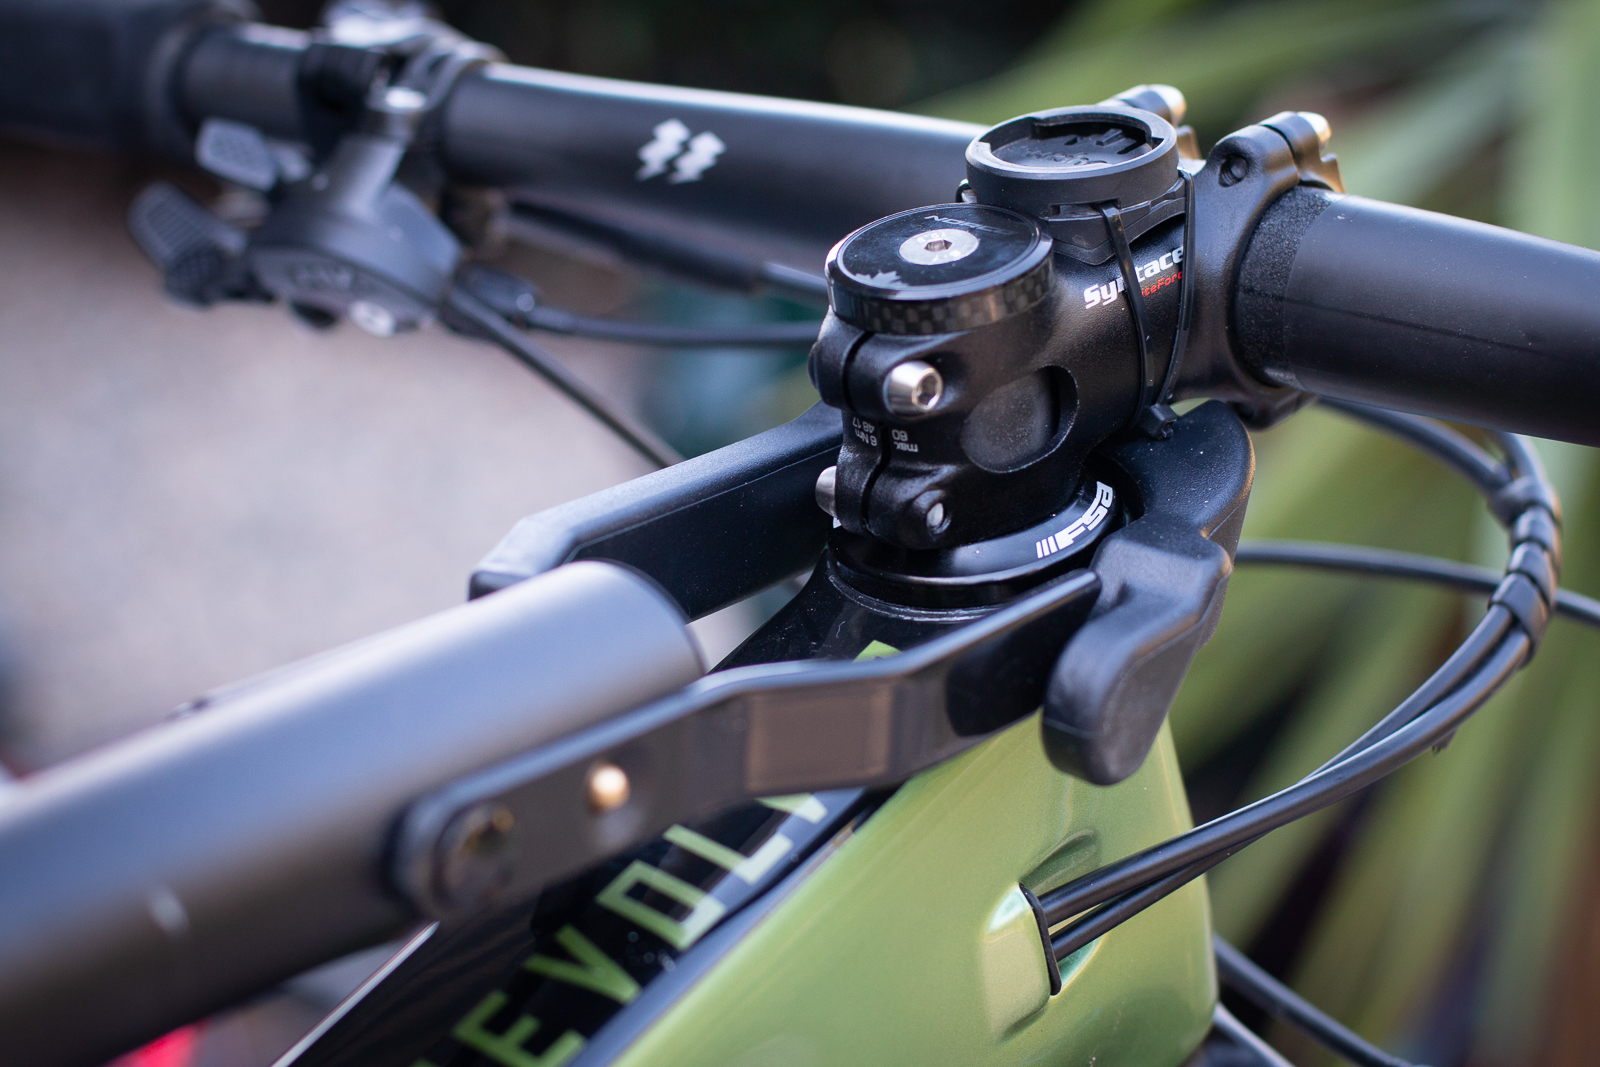
This one is easy to use and adjusts to fit just about anything. It was still a pretty tight fit on a short, slammed stem on one bike.
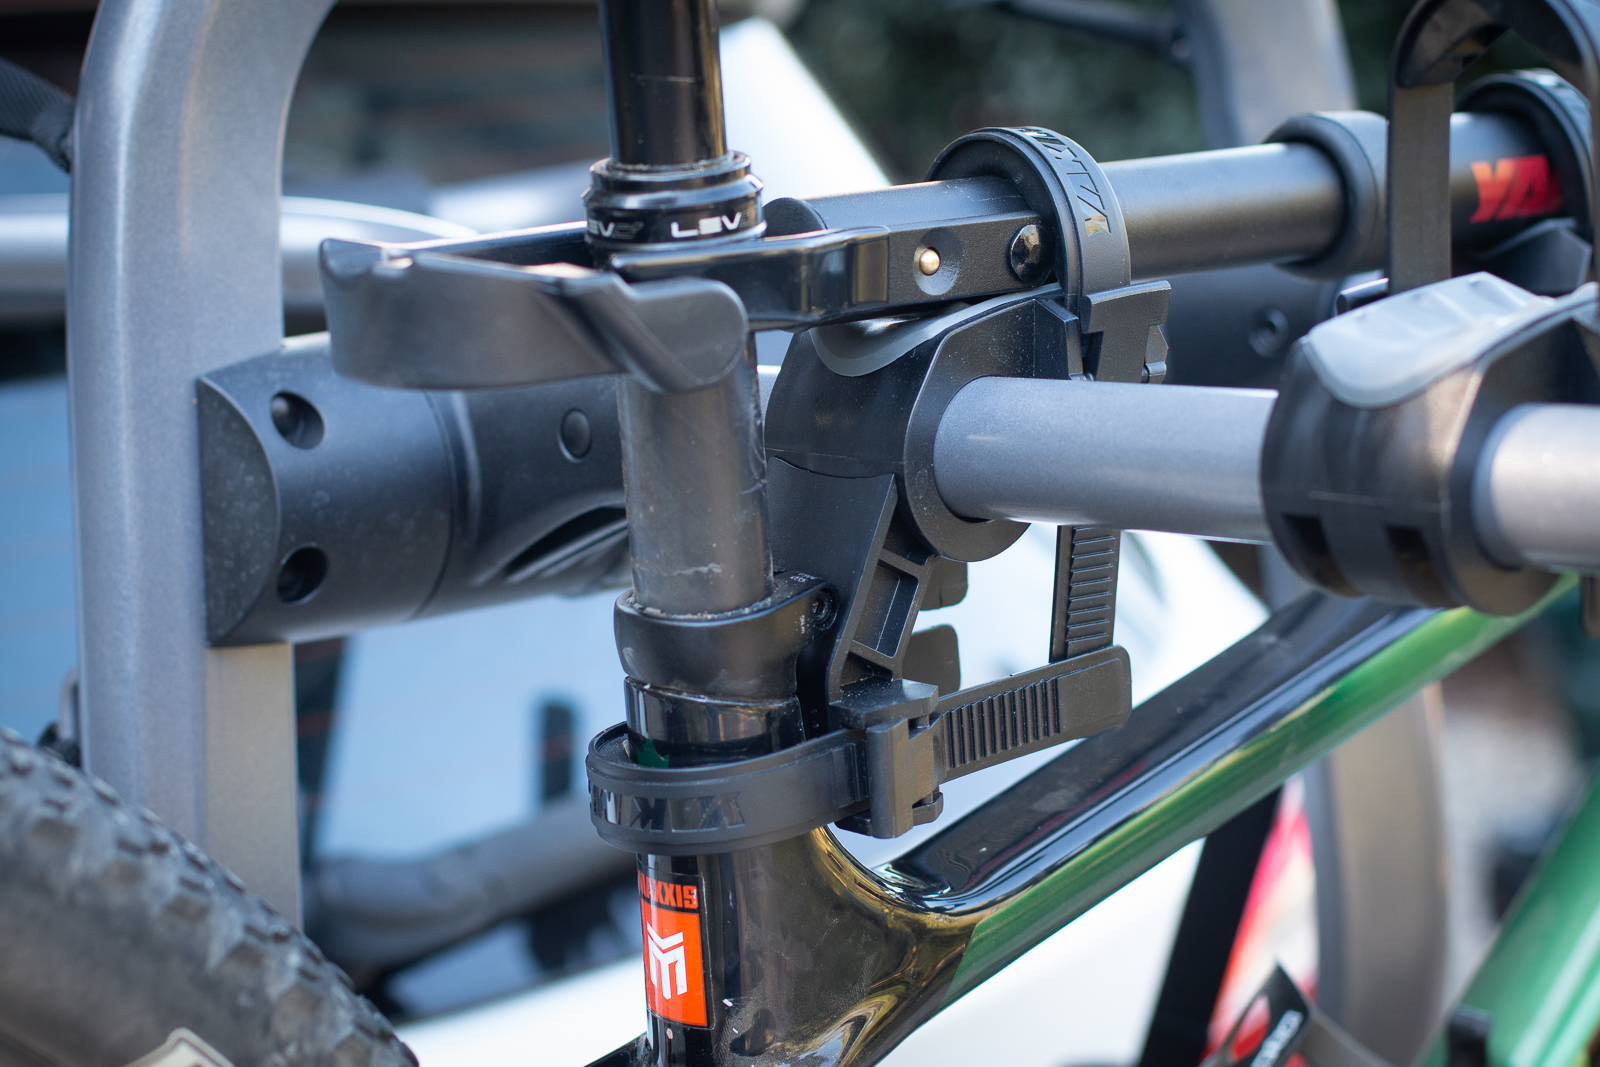
The TubeTop does make everything hang a little lower, so keep ground clearance in check. On this steeply sloping frame the collar would sit well enough under the dropper post collar, but the 2-point cradle helped hold it there – while also stopping any swinging.
Are the bikes secure and safe?
Just like with fitting the rack to your car, this is also up to you. I did try a couple of different mounting options, like with and without the TubeTop for both bikes, just to see what would be the best. And this is something you will need to do with your own bikes, and chances are once you have a system, it will be easy to load and unload. It's a very versatile rack, being suitable for a lot of cars and bikes. But changing bikes and cars will take a bit of fiddling each time to see what works.
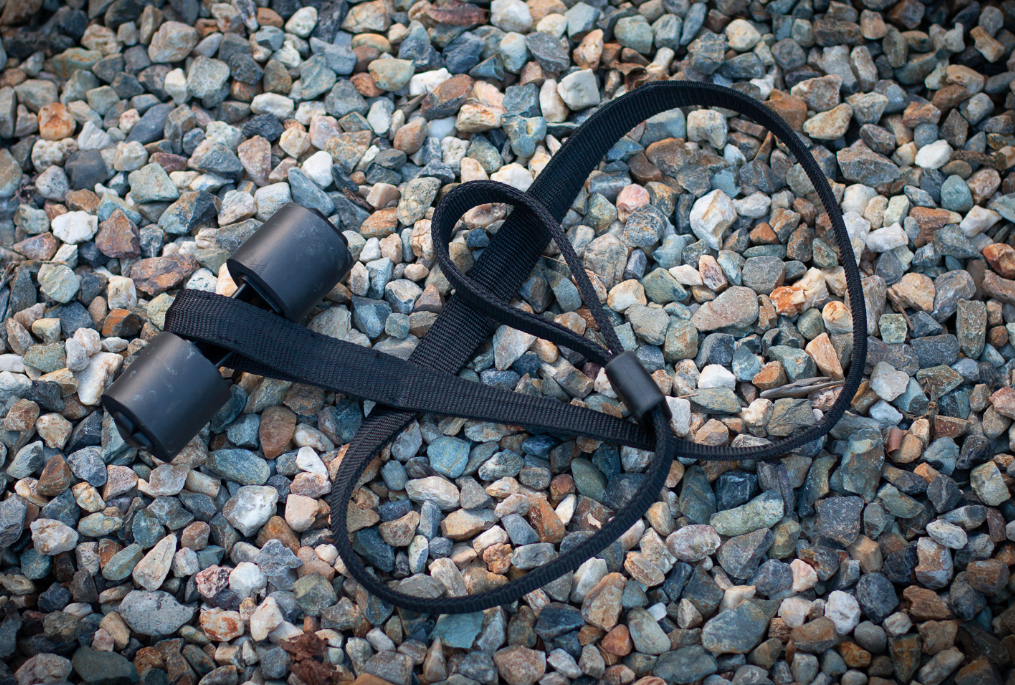
Yakima do have some small ties included to stop your front wheel and handlebars flopping around, and the FullBack also comes with a cinch strap to hold everything in tight.
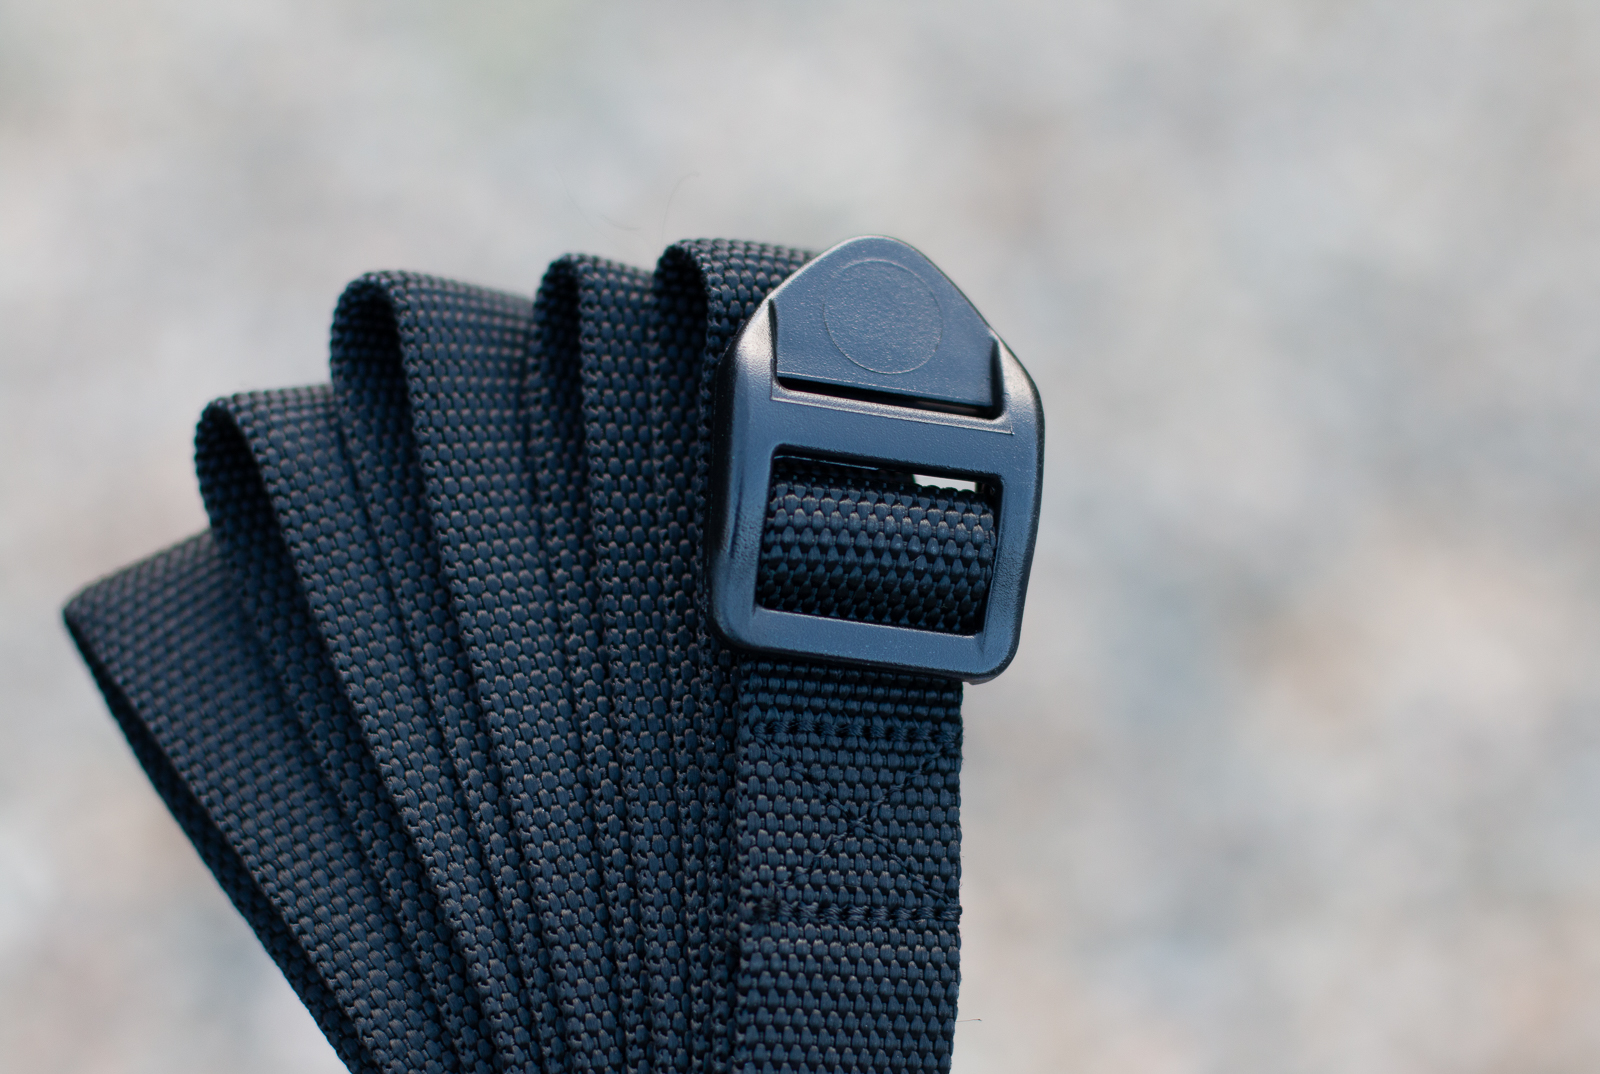
With these two bikes fitted as shown I didn't need to use this strap for where I tested the rack. But if I was venturing onto rougher roads and travelling at speeds over 80km/h, I reckon I'd put it on for piece of mind. Do be aware neither of the racks are rated for off-road use.
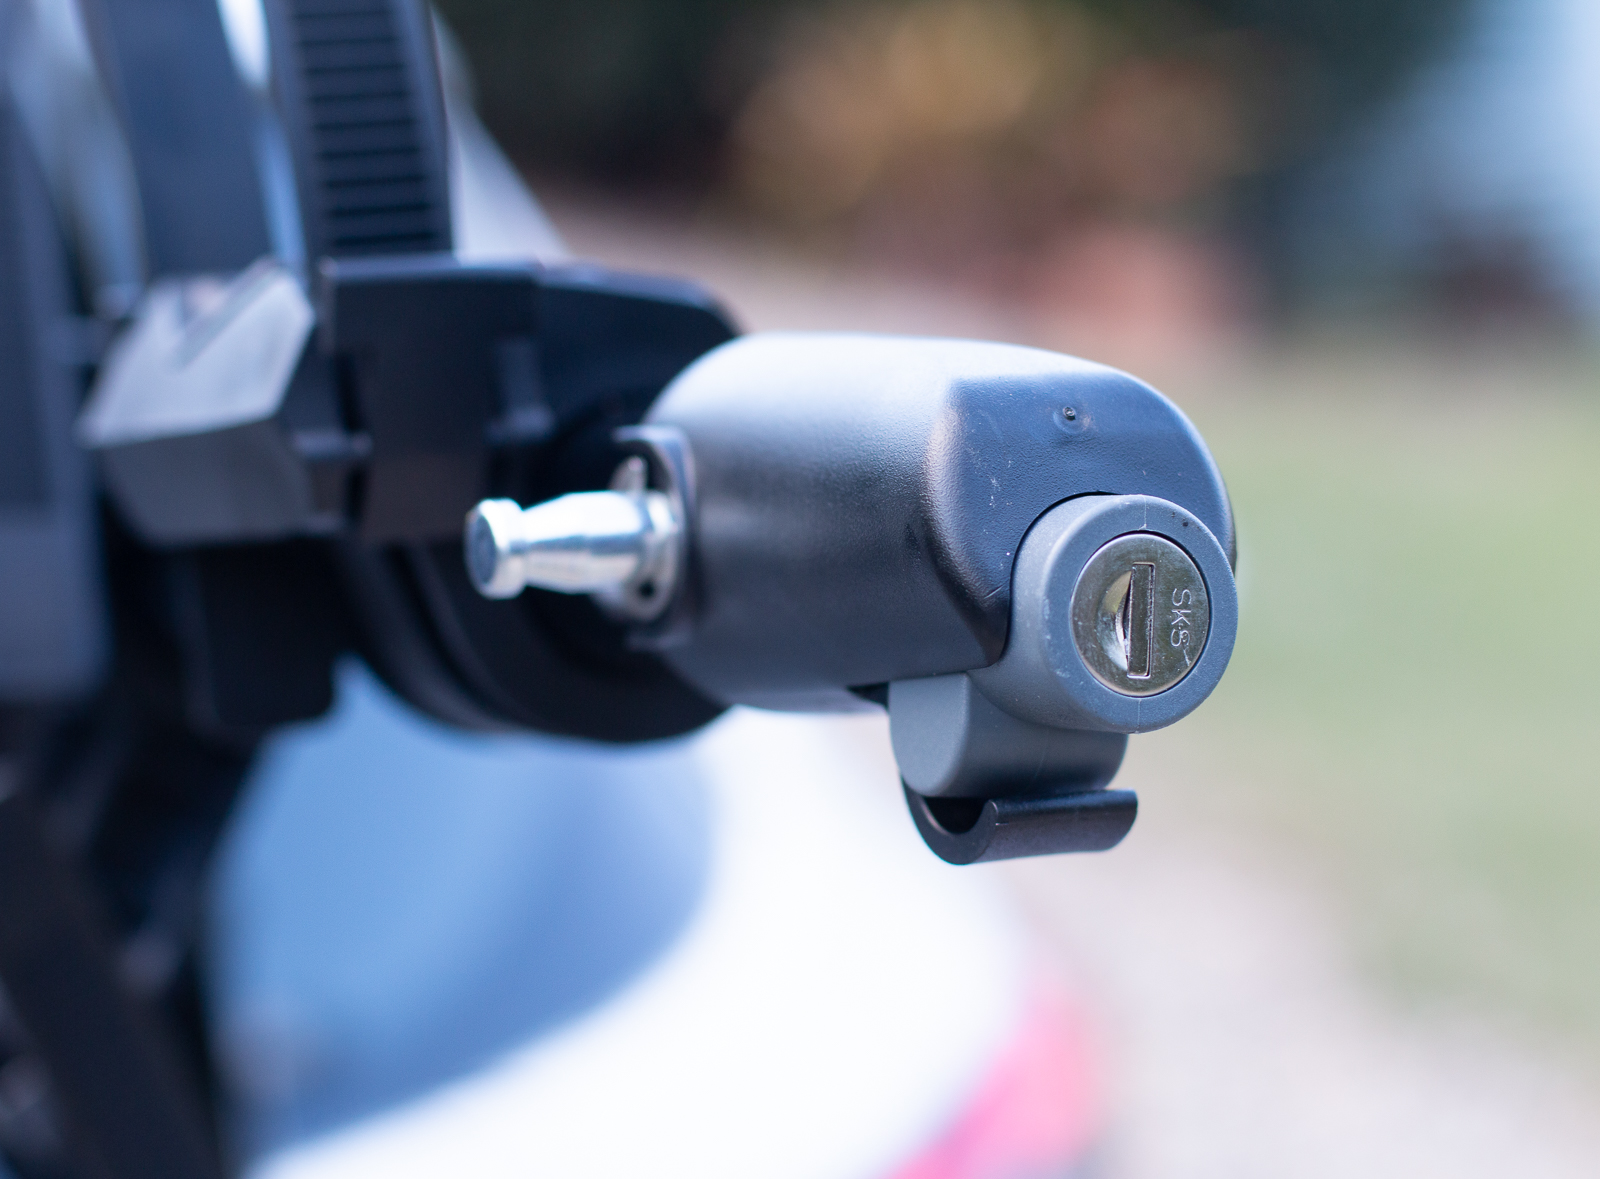
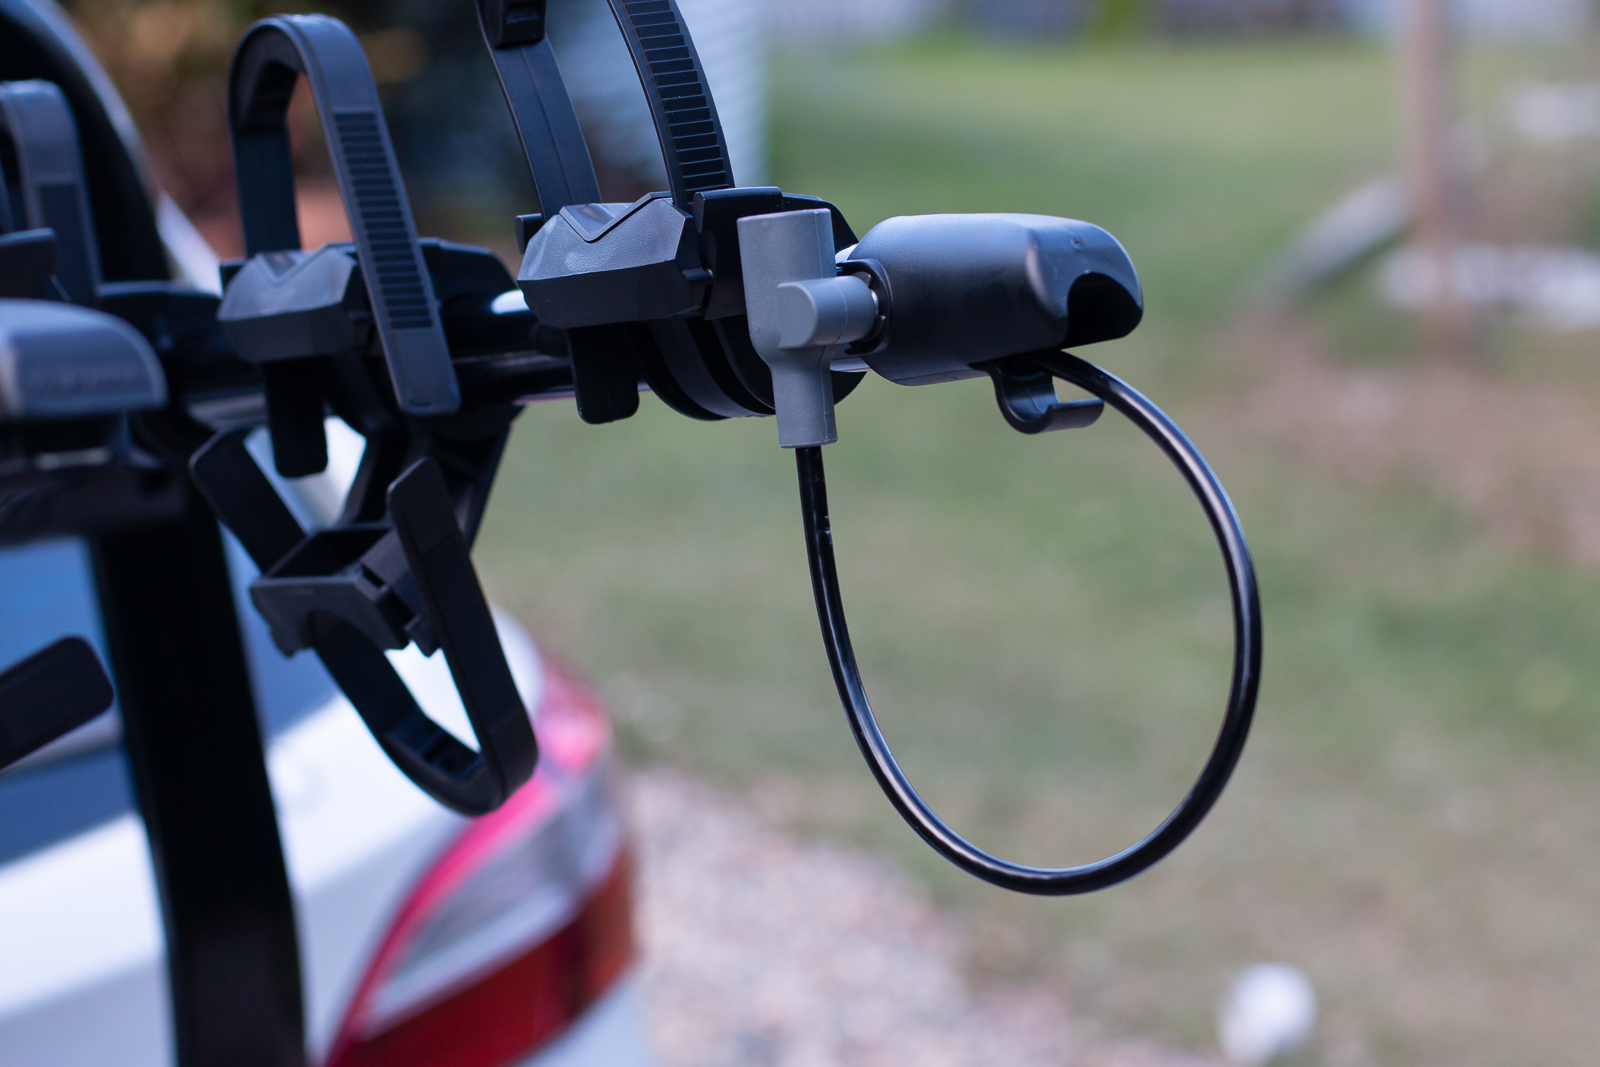
The FullBack has an included SKS lock as well, which is another part of the high price. There is a small inbuilt lock onto one arm, with two keys included. By locking the last bike on getting the others off won't be possible. But you can BYO lock or extra lock of course.
Am I limited by what I can carry?
Yes, like any rack there are weight constraints. And with this type of rack they are lower than you might think, at full bike capacity. The FullBack and HalfBack 3 have a total max weight of 40.8kg, so that's just under 14kg per bike. Don't forget those false top tubes weigh over 1kg when factoring in bike weights.
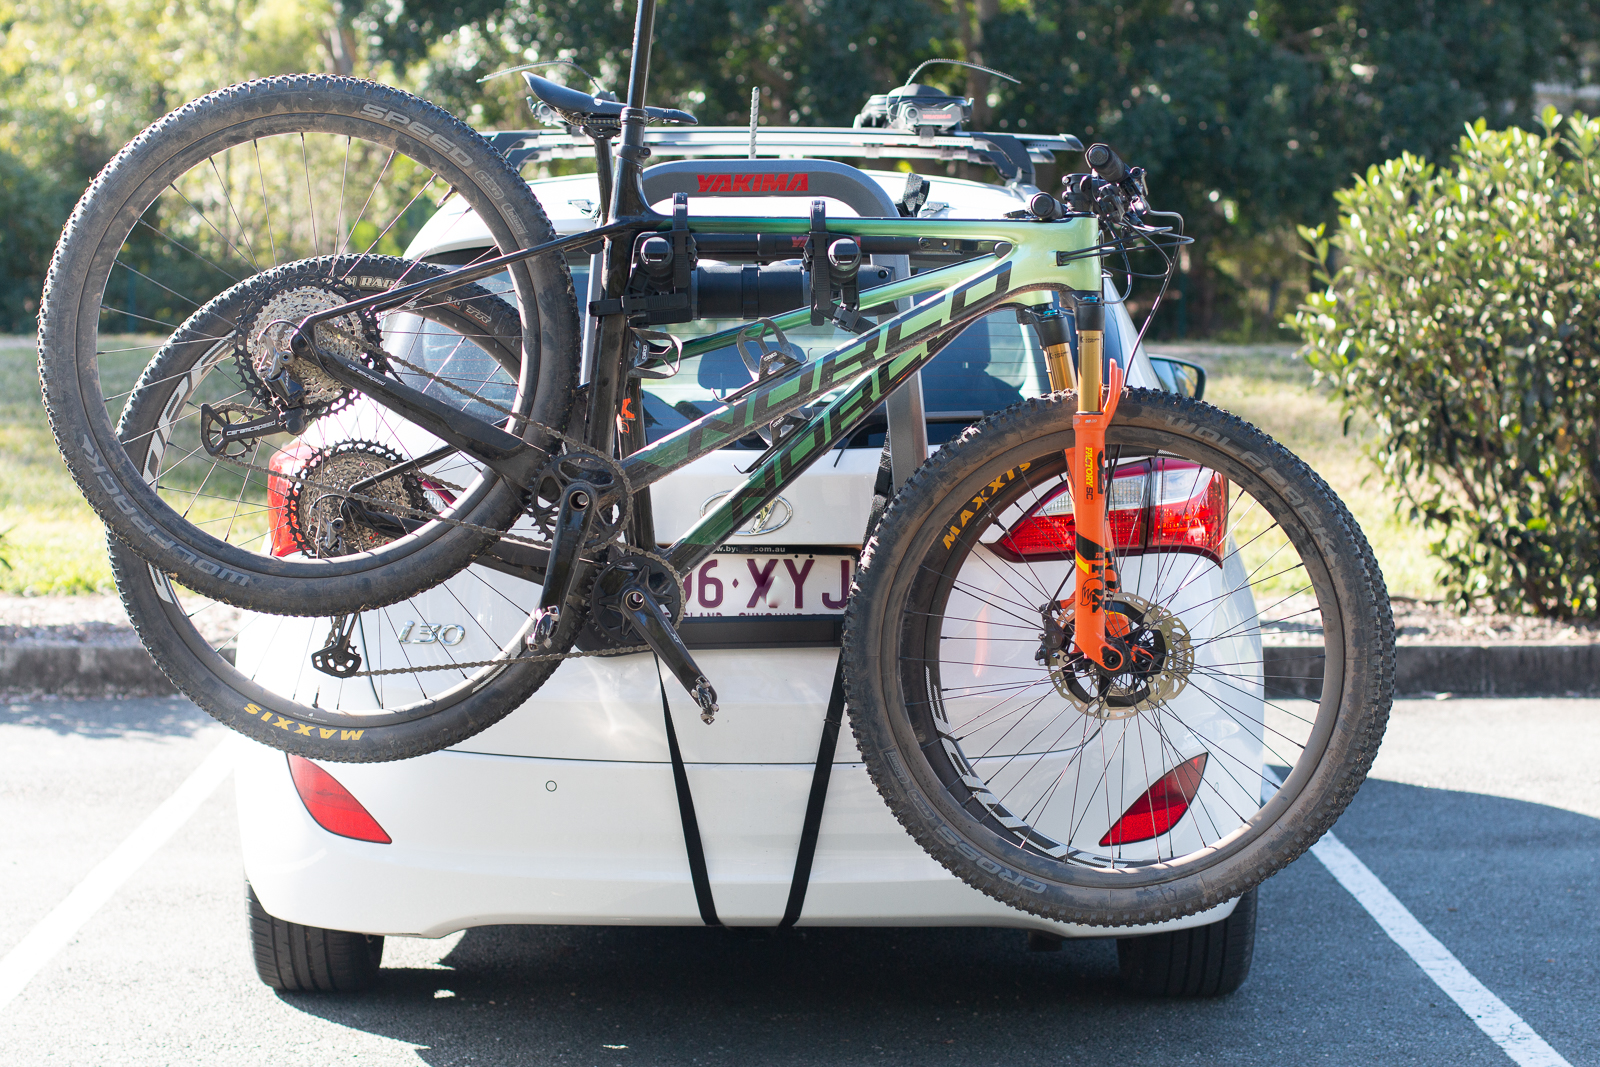
The FullBack and HalfBack 2 have a total weight limit of just under 32kg, so per bike it is 15.9kg.
So as a guide, these racks aren't your choice for an eMTB or full-noise gravity rig. You will probably find them cumbersome to load, even if they came in at the weight limit. One of the platform racks that mounts on a hitch or towball would be a better option, although a lot more expensive. That could be the Yakima FoldClick, EziGrip E-Rack or Thule Easyfold XT. Even if you have the towball or hitch receiver, these racks start at nearly twice the price of the HalfBack or FullBack.
Do I need a number plate holder?
Check on your state laws, but there are requirements for visibility of your number plate, brake lights and indicators. Yakima make the PlateMate, which is a handy backing board and velcro mount for an accessory plate. You can probably bodge something up, but this accessory is easy to fit and remove.
There are also laws about how far attachments to a vehicle can protrude beyond the rear axle. I've only heard of a couple of instances of people being pulled up on that, and it's unlikely to be a problem for this type of rack.
So, what were they like in use?
As already stated, these are not my preferred method of bike transportation. When I didn't have a real job I was a bike in the back of the car kind of guy. I trashed the interior of many reasonably nice cars that way. But for about 7 years I have used roof racks. Dirty bikes don't go in the car, they're super fast to load and unload, and the ones I use don't clamp the frame so the chance of damage is zero – and I don't need to fuss around when fitting a trial bike, plus bike, XC bike, road bike or cross bike. They just all fit fine.
But, roof systems are expensive, and if you have a carport or carpark to enter the inevitable will happen. I use my racks about 4-5 times a week, and the easy use really adds up. The racks stay on 24/7 in all the elements of Queensland (ie baking sun).
I was glancing in the rear view mirror too much after first loading up the HalfBack, and then FullBack. But after taking a considered approach to see how best to load some bikes, it was stress free. My car beeped incessently when reversing, so I had to actually use my mirrors and common sense again!
Ground clearance was fine for urban use, and I also liked how small the racks pack up when not in use. They only weight a little over 10kg, so putting them on and off is easy, and storage in your garage shouldn't be an issue, unlike some of the bigger racks out there.
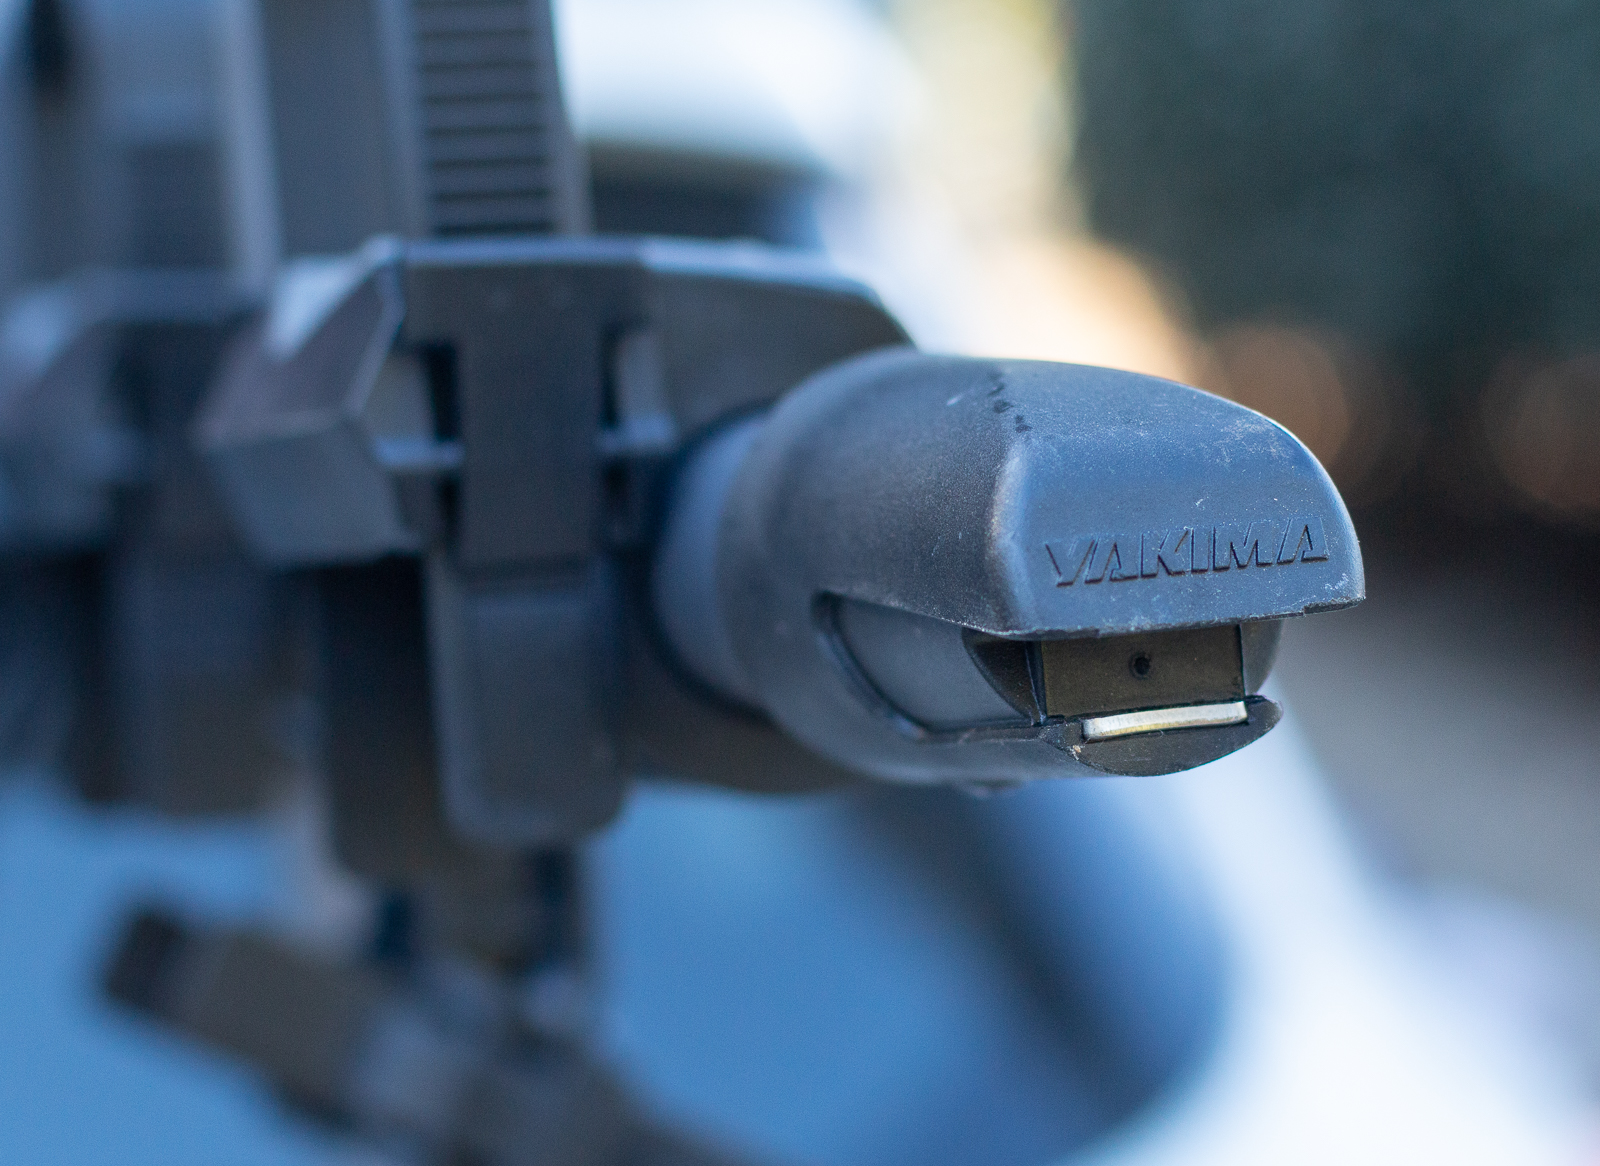
I did scratch one bike when fitting, as although I like the nifty bottle opener end of the rack, given it's held in place with a rivet on the underside, maybe just a rubber end would be better. My fault, but I don't like needless damaage (especially when I've caused it).
How do I know which one is right for me?
From between the HalfBack and the FullBack, you really only pay more for the latter for the extra security of the lock, and that emergency strap. And it's black. I think for the extra $50 it's an easy choice.
How well each secures a bike, and secures to your car, is the same. And as pointed out, it comes down to you. The systems are reliable, but they need to be used correctly.
If this is going to be a bike rack you will use almost every day, you might find fitting and removing it a bit time consuming. If it's just for casual use to take your bike to the shop, or to trails on the weekend – then it's a really good value option.
These are one of the most secure racks of this type that I have used, and considering the cost involved in having a hitch added to a car AND the racks that suit, these options will get you and your bike where you need to go at a much lower cost.
That said, if riding is something you do now, and will do for years to come, consider the investment in a roof or hitch system. A roof system you can keep on all the time, but most hitch systems will still be faster to fit, and able to carry a wider variety of bikes – especially eMTBs.
For full rack options from Yakima, head to their website. And for reviews of Yakima and other brands, take a look back at our (always evolving) bike rack guide.

