How to fit Frameskin frame protection
A Frameskin helps protect your frame from light damage - here are some pro tips from Cycle Culture Brisbane on how to fit it.
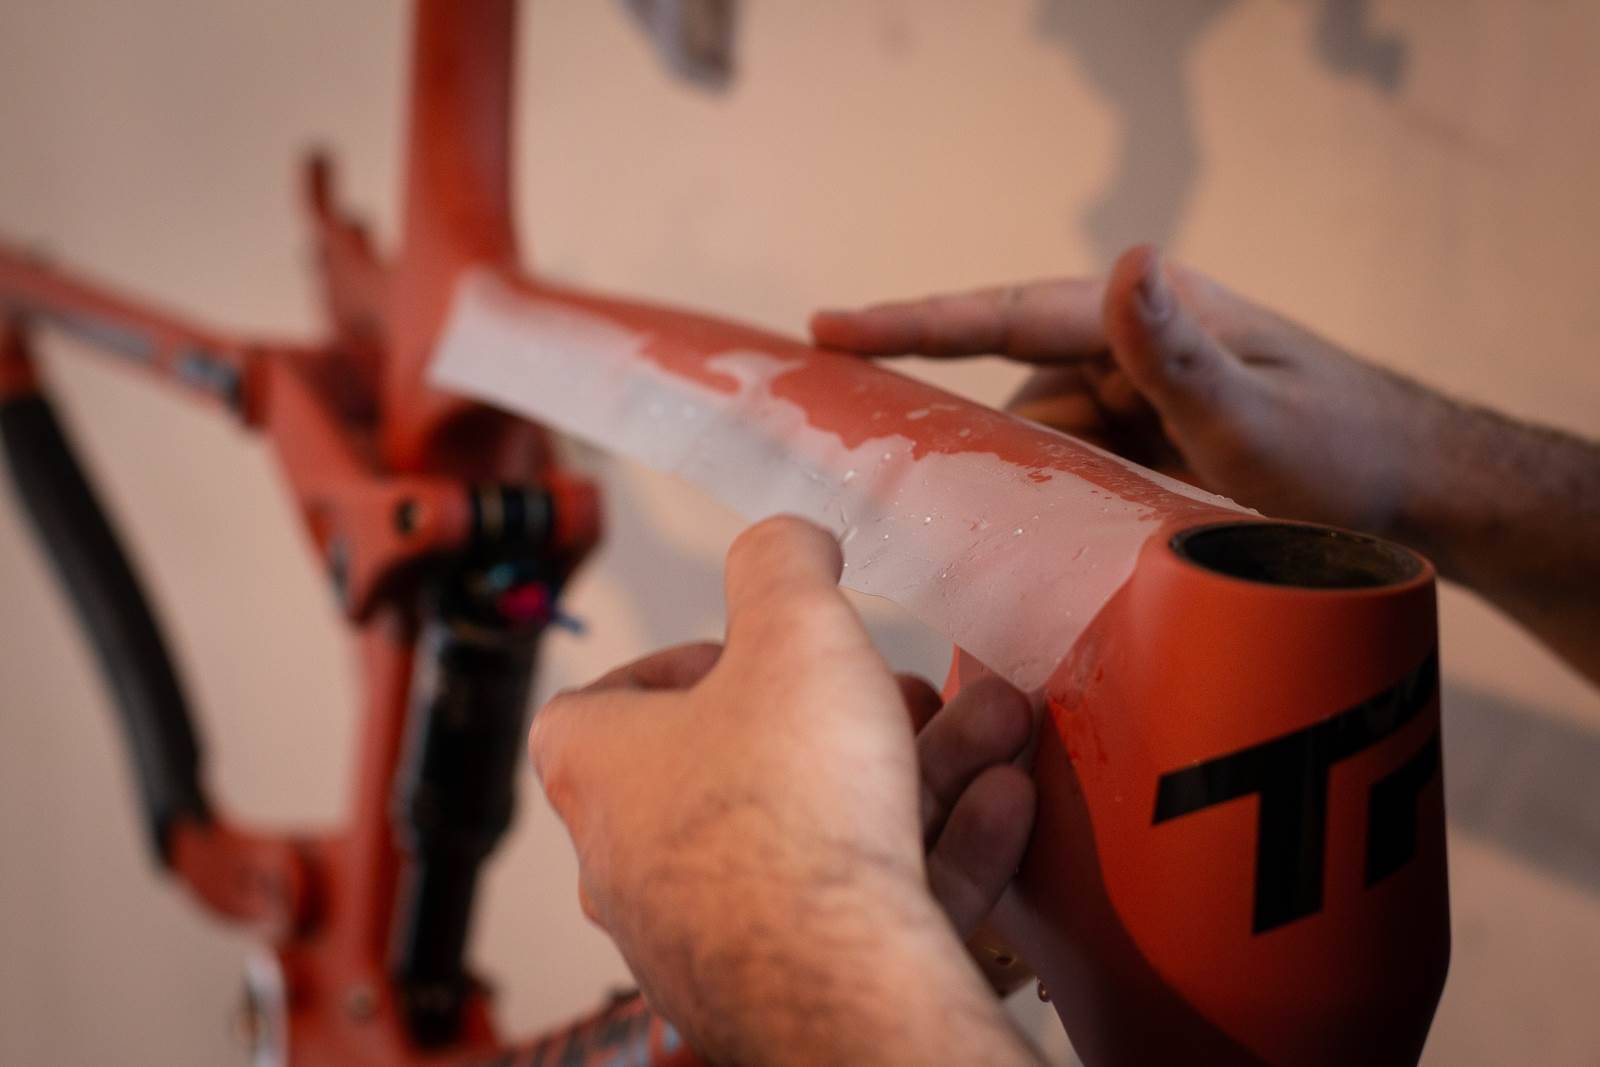
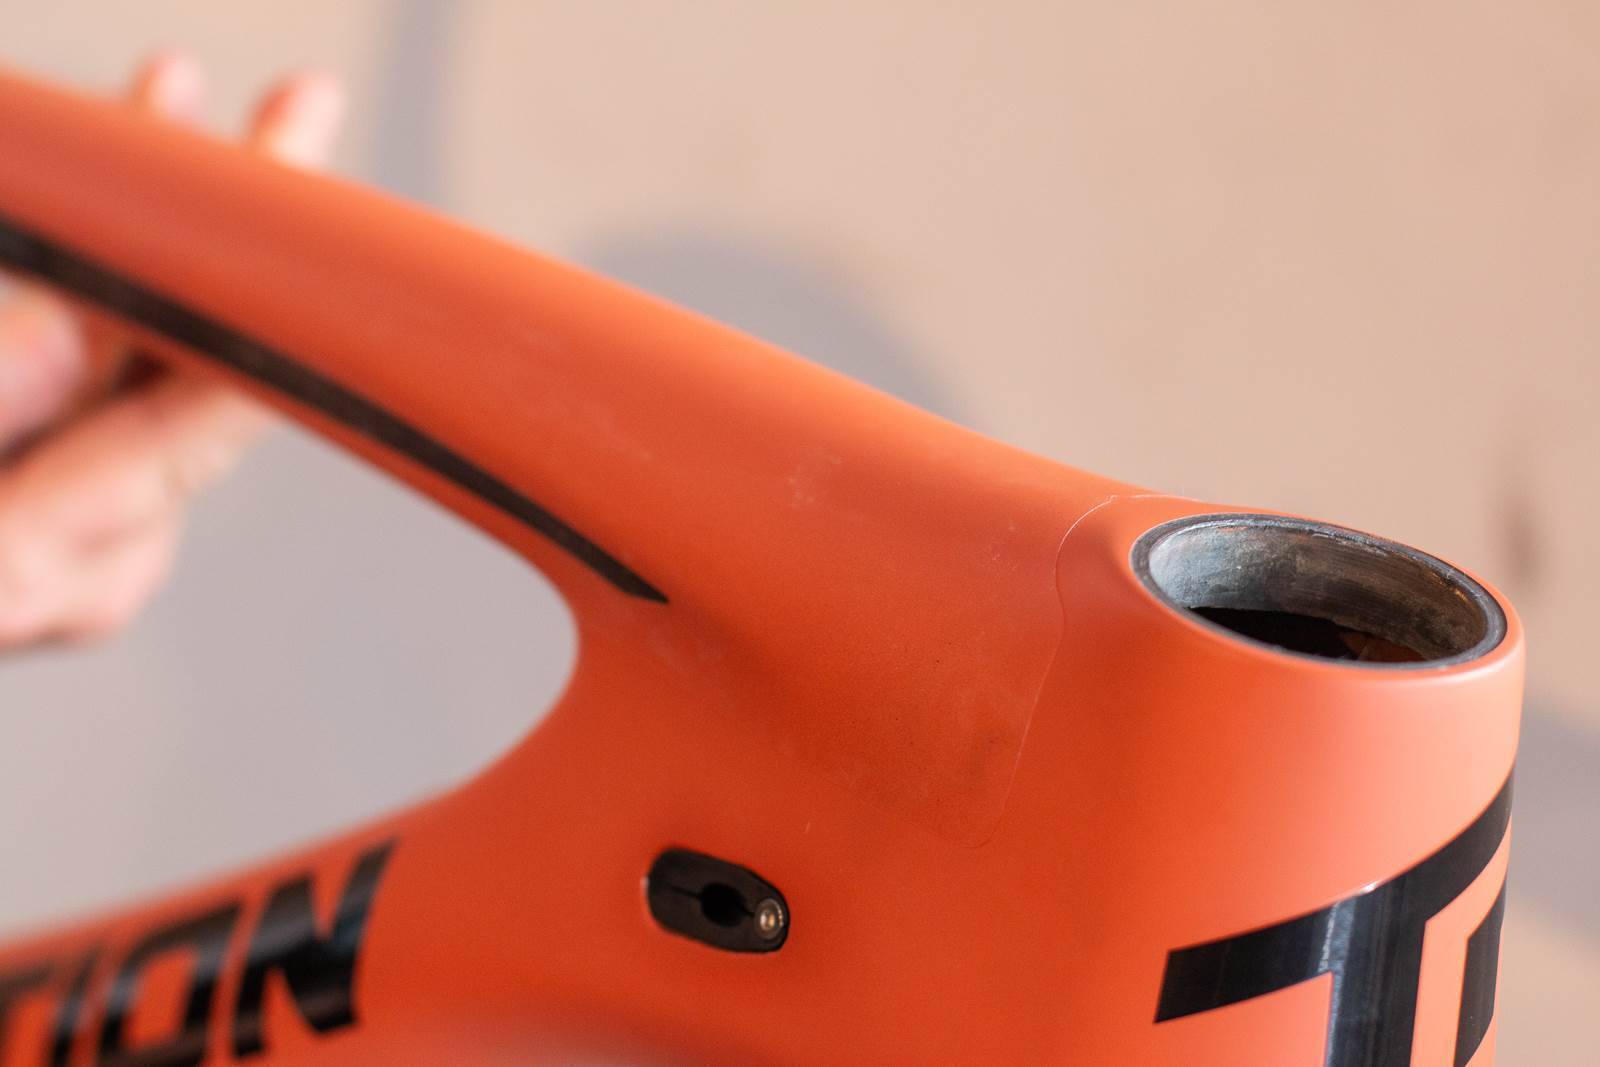
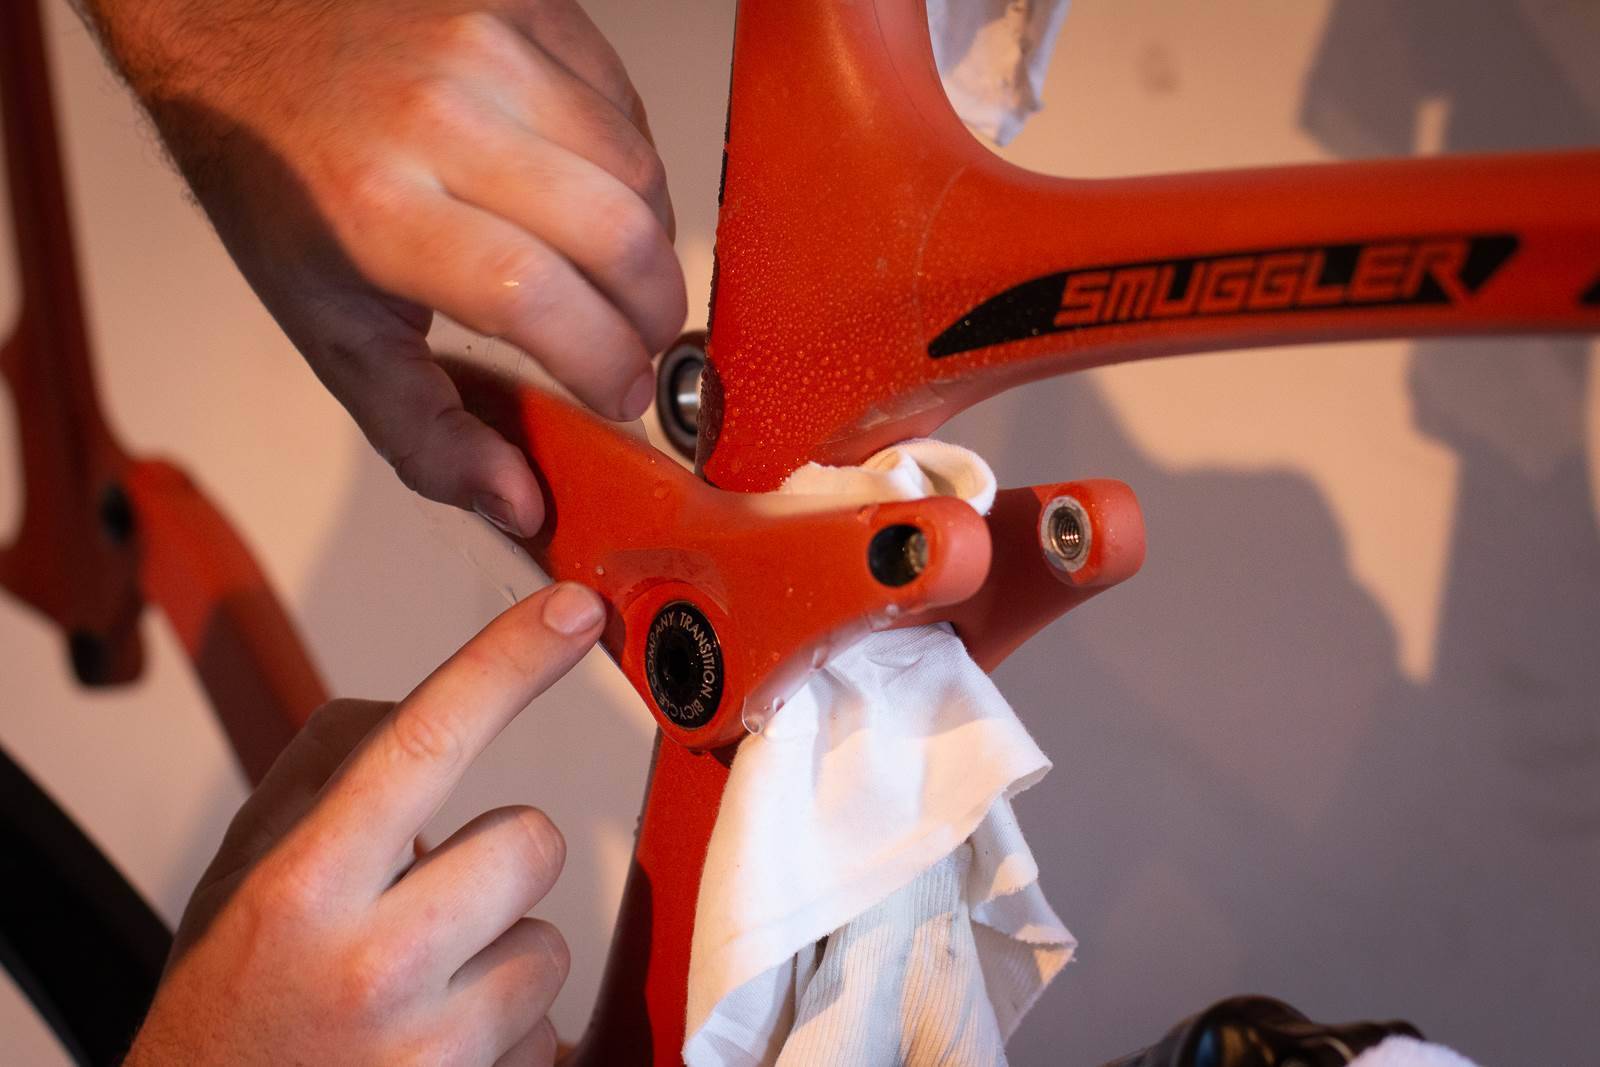
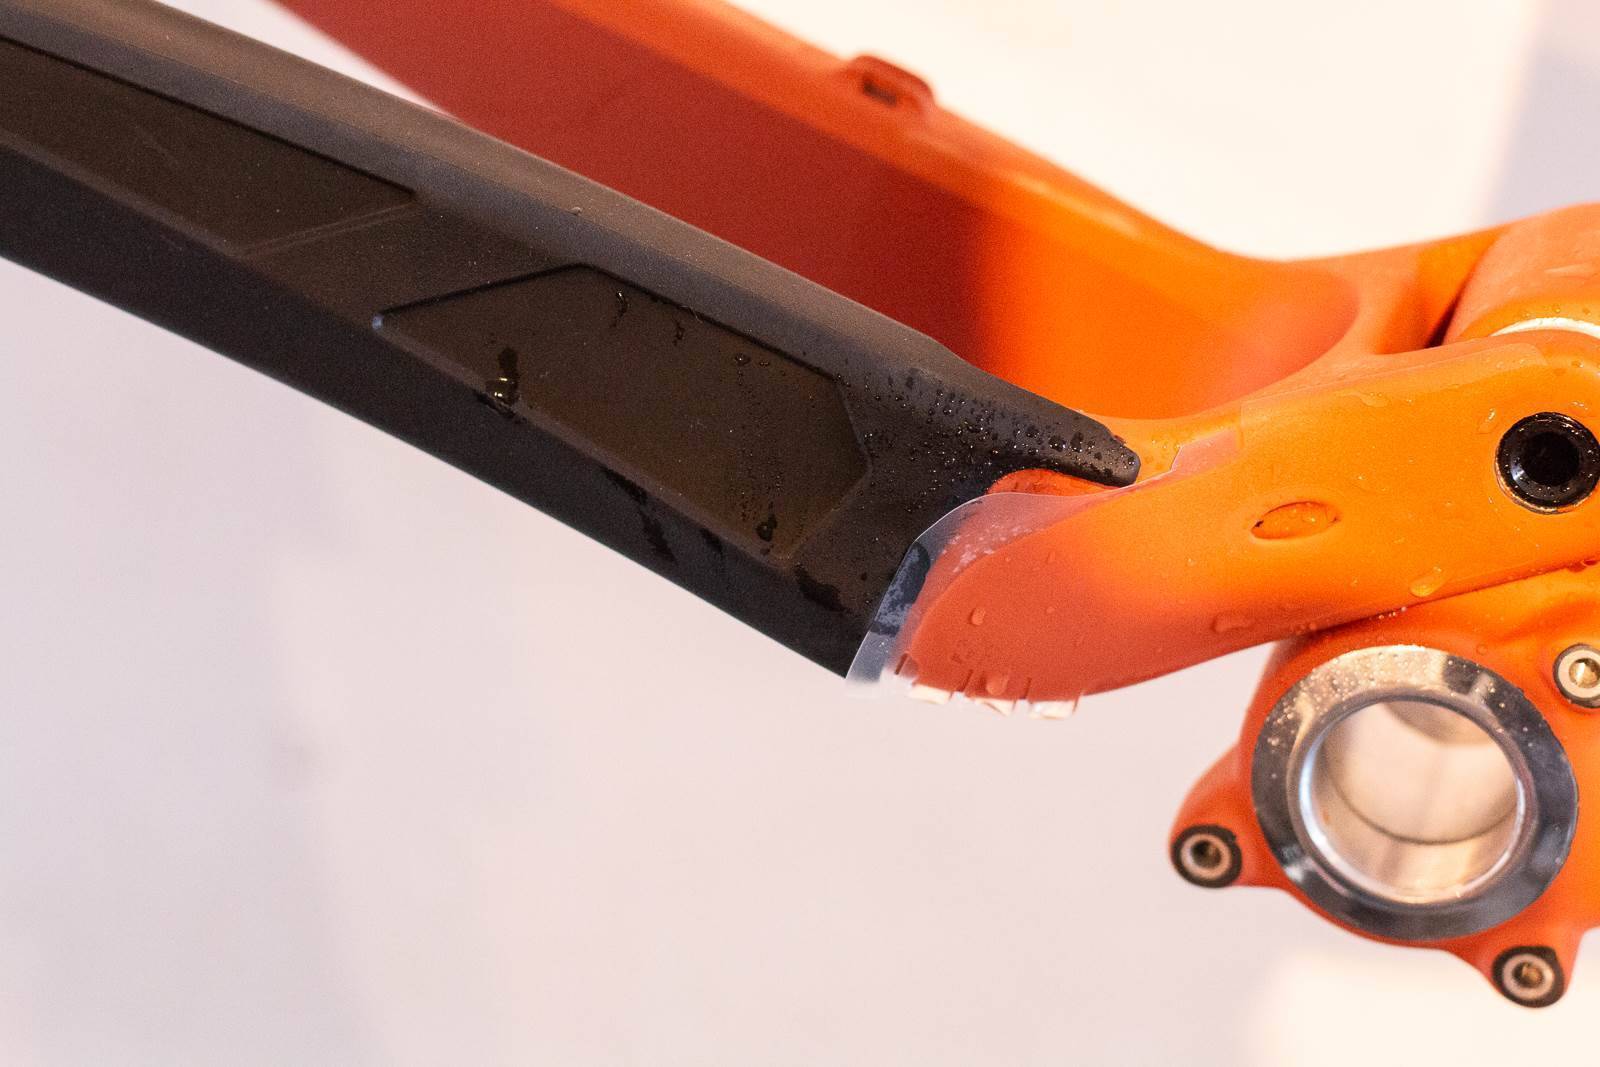
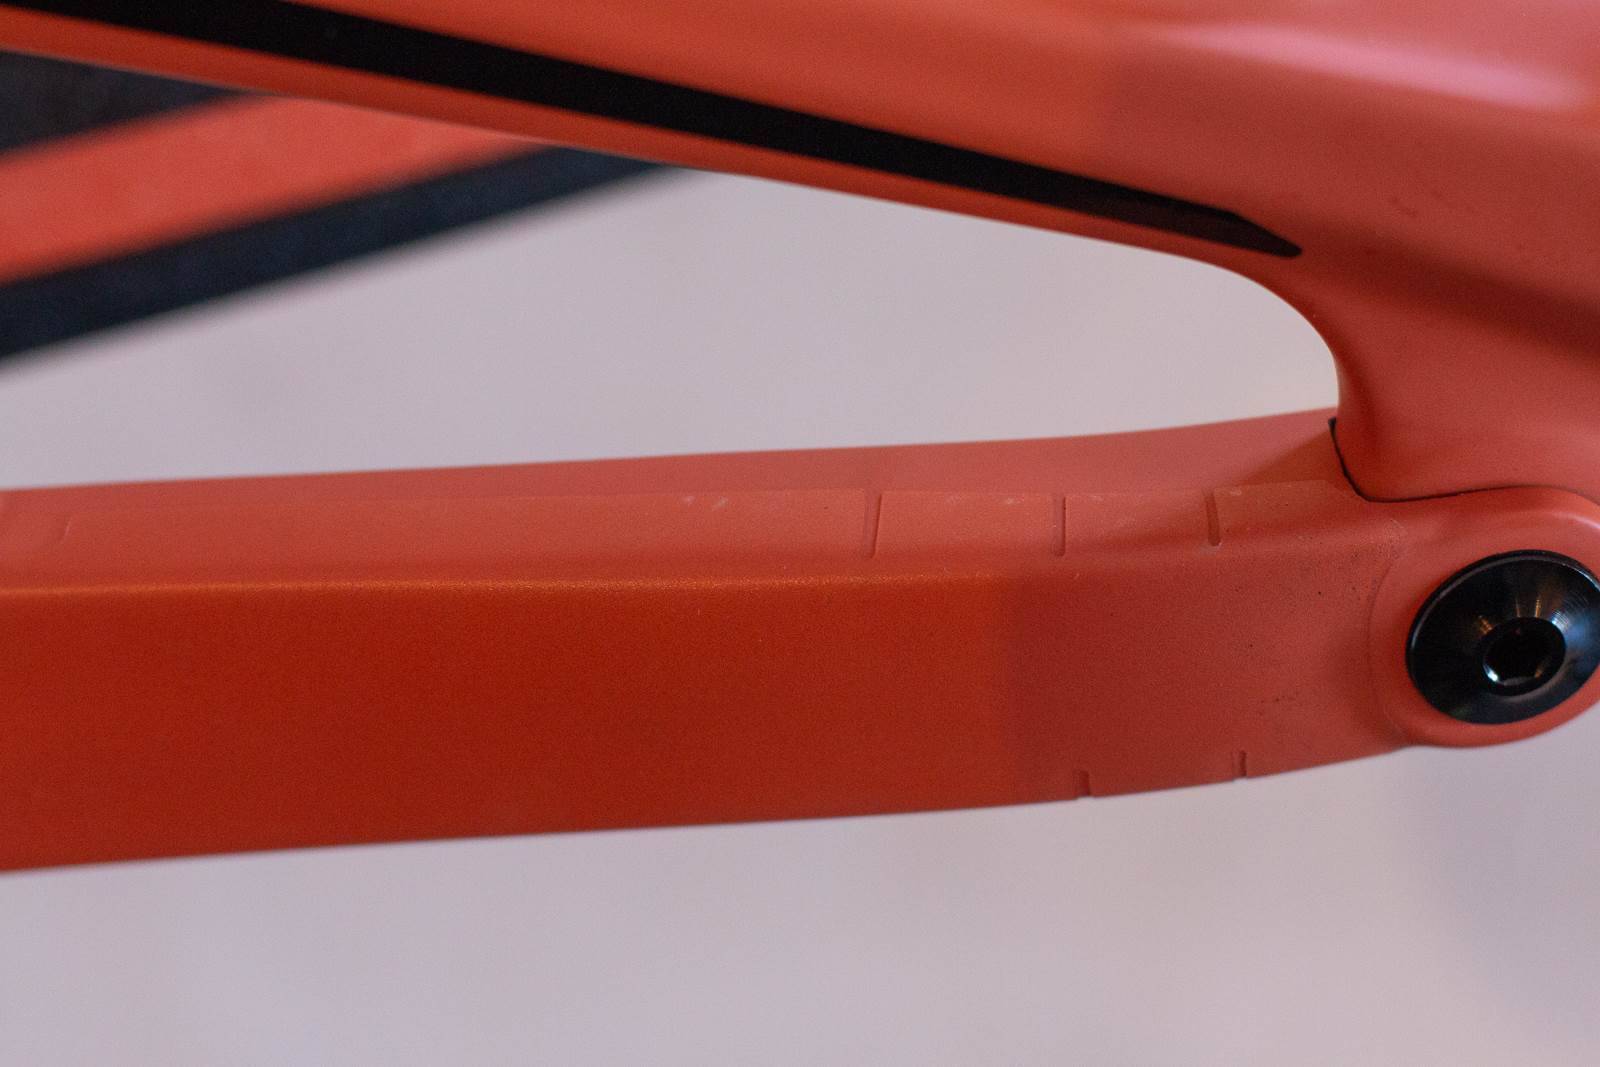
Fitting a Frameskin is a great way to protect your mountain bike frame from minor damage. Scrapes, stone chips, neglectful shuttling and just the general wear and tear of mountain biking. Fitting a Frameskin can be a hassle though, if you don't put the time aside to do it properly and follow the instructions.
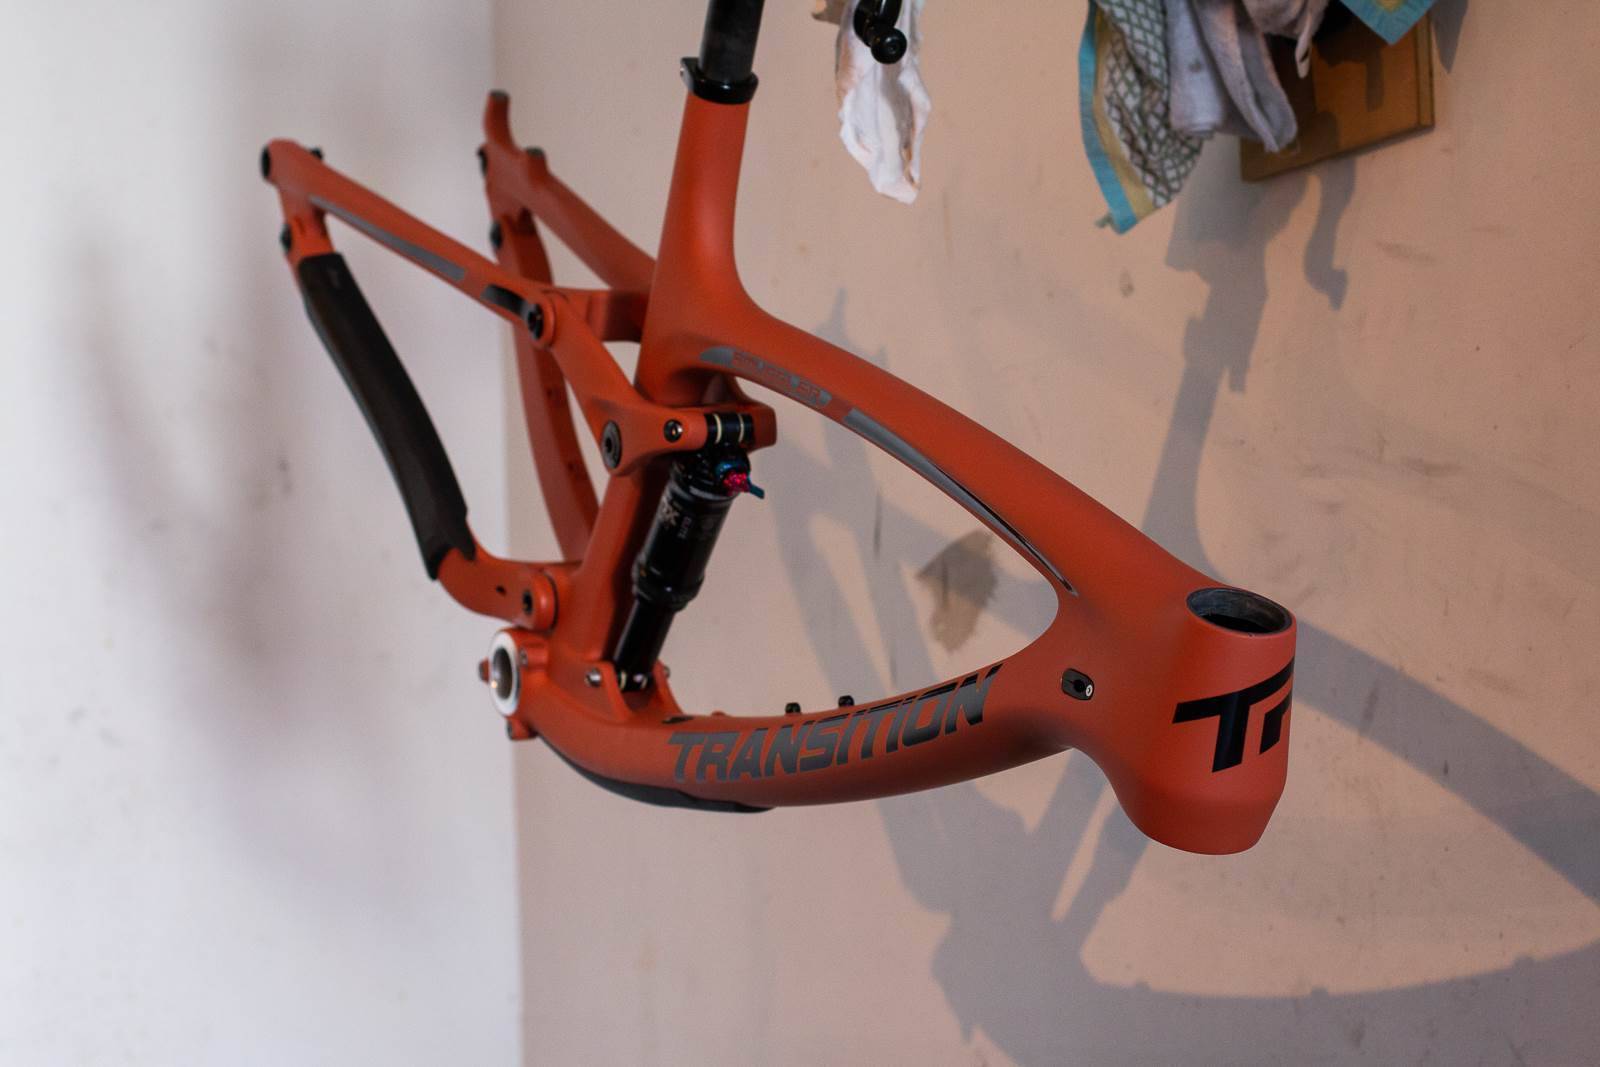
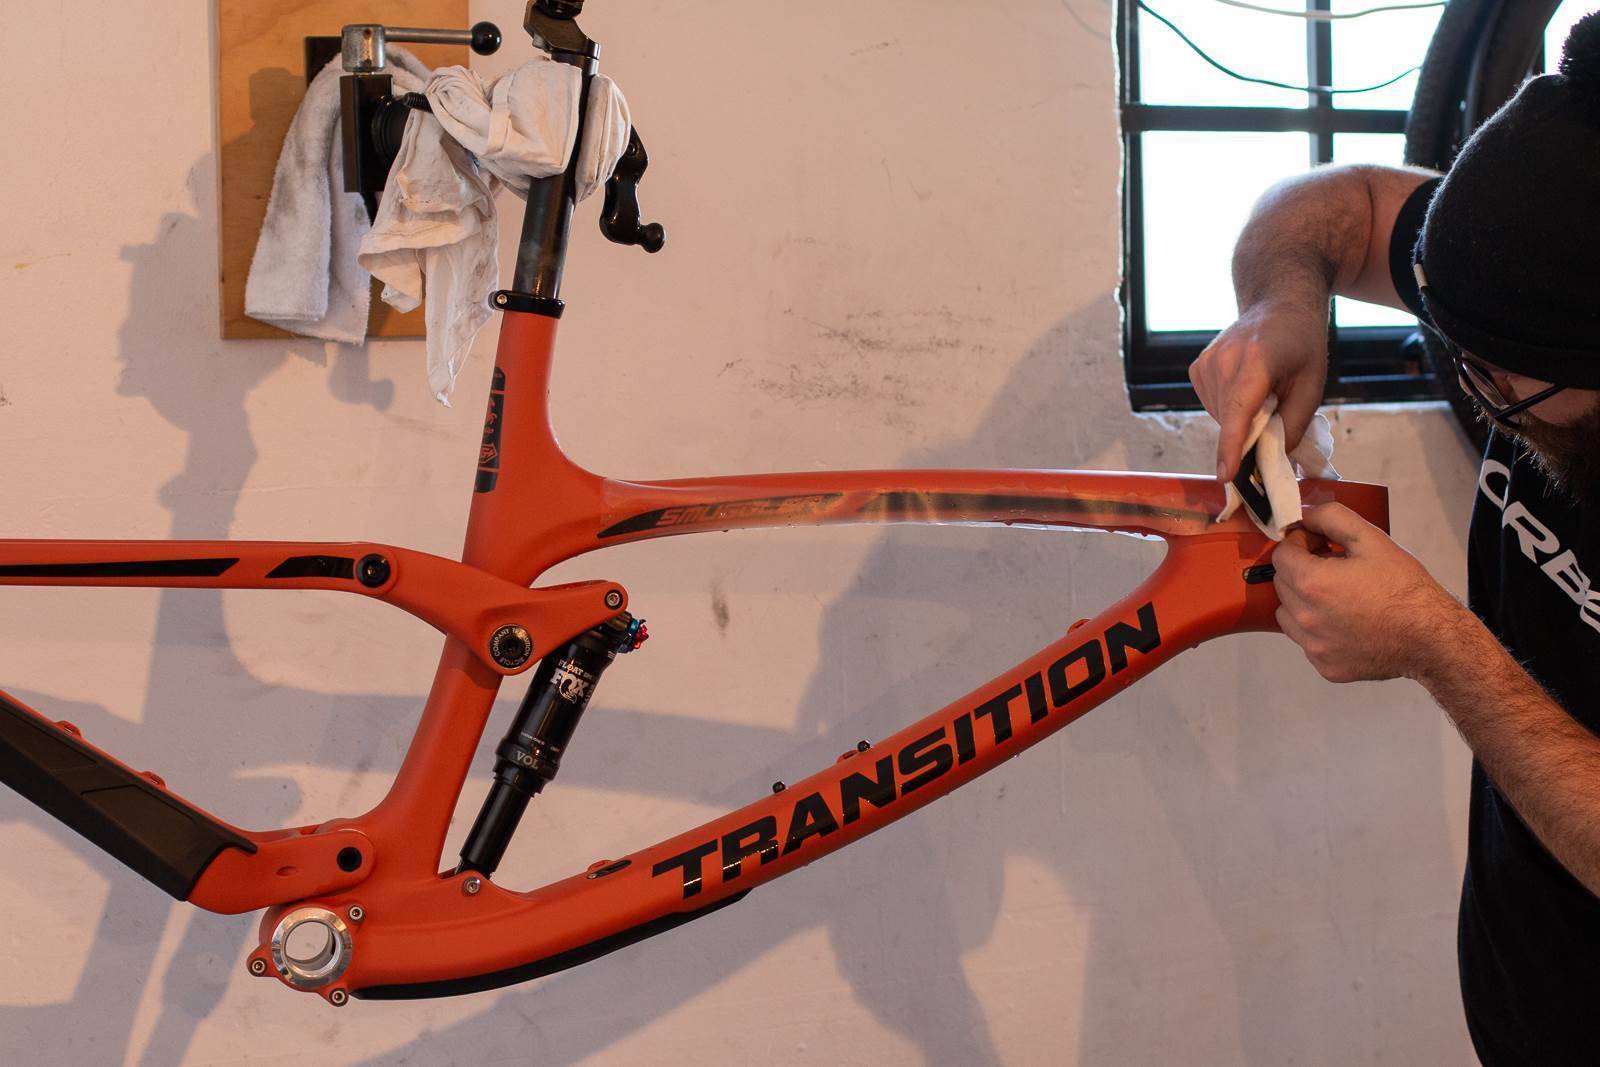
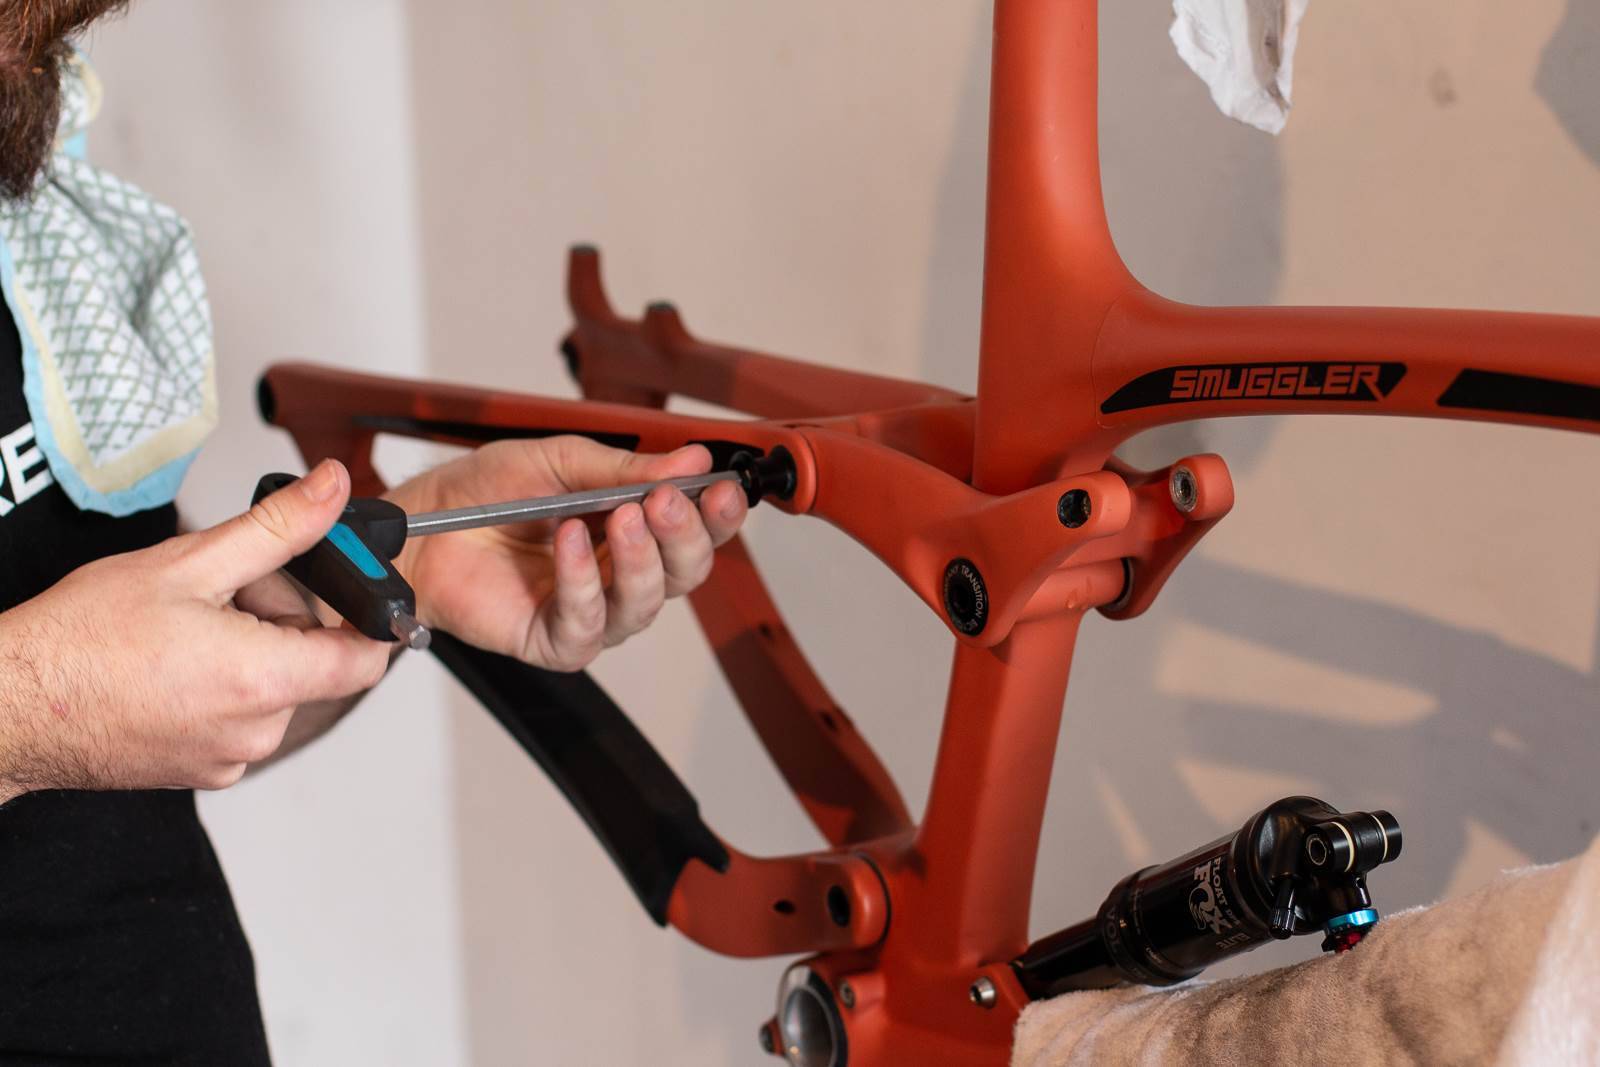
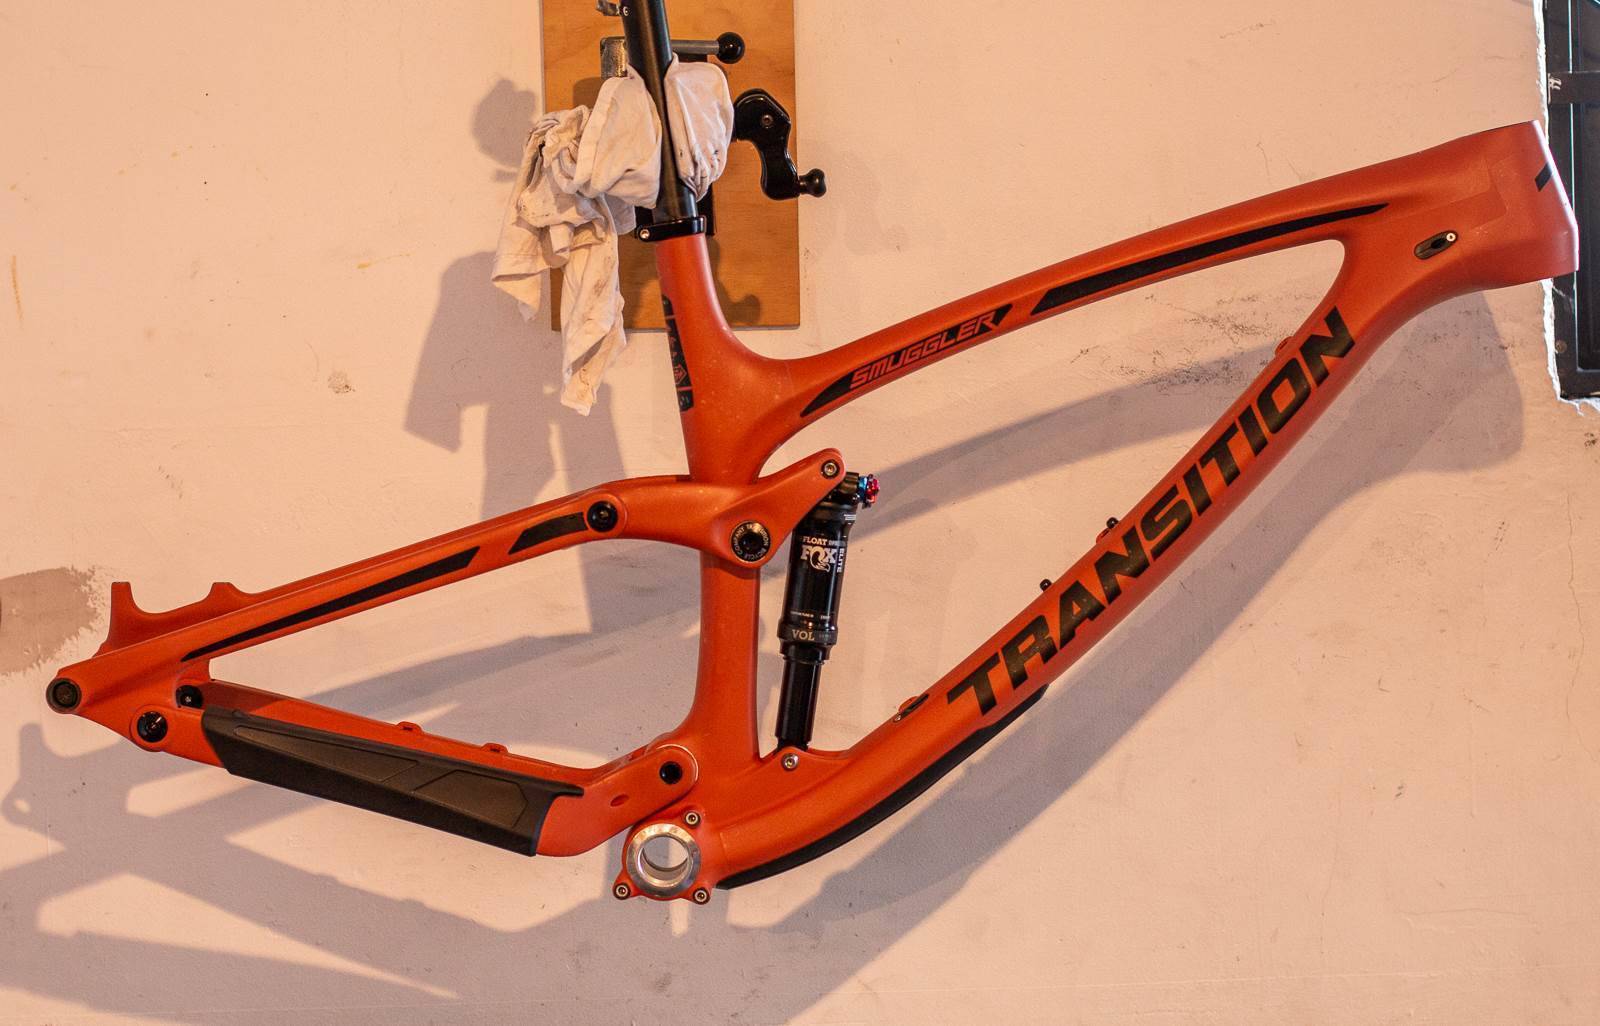
With a brand new Transition Smuggler being built up for a long term test bike, it is the ideal time to fit a Frameskin. I put my trust in someone else to do the job, and got their tips incase you plan to fit your own Frameskin.
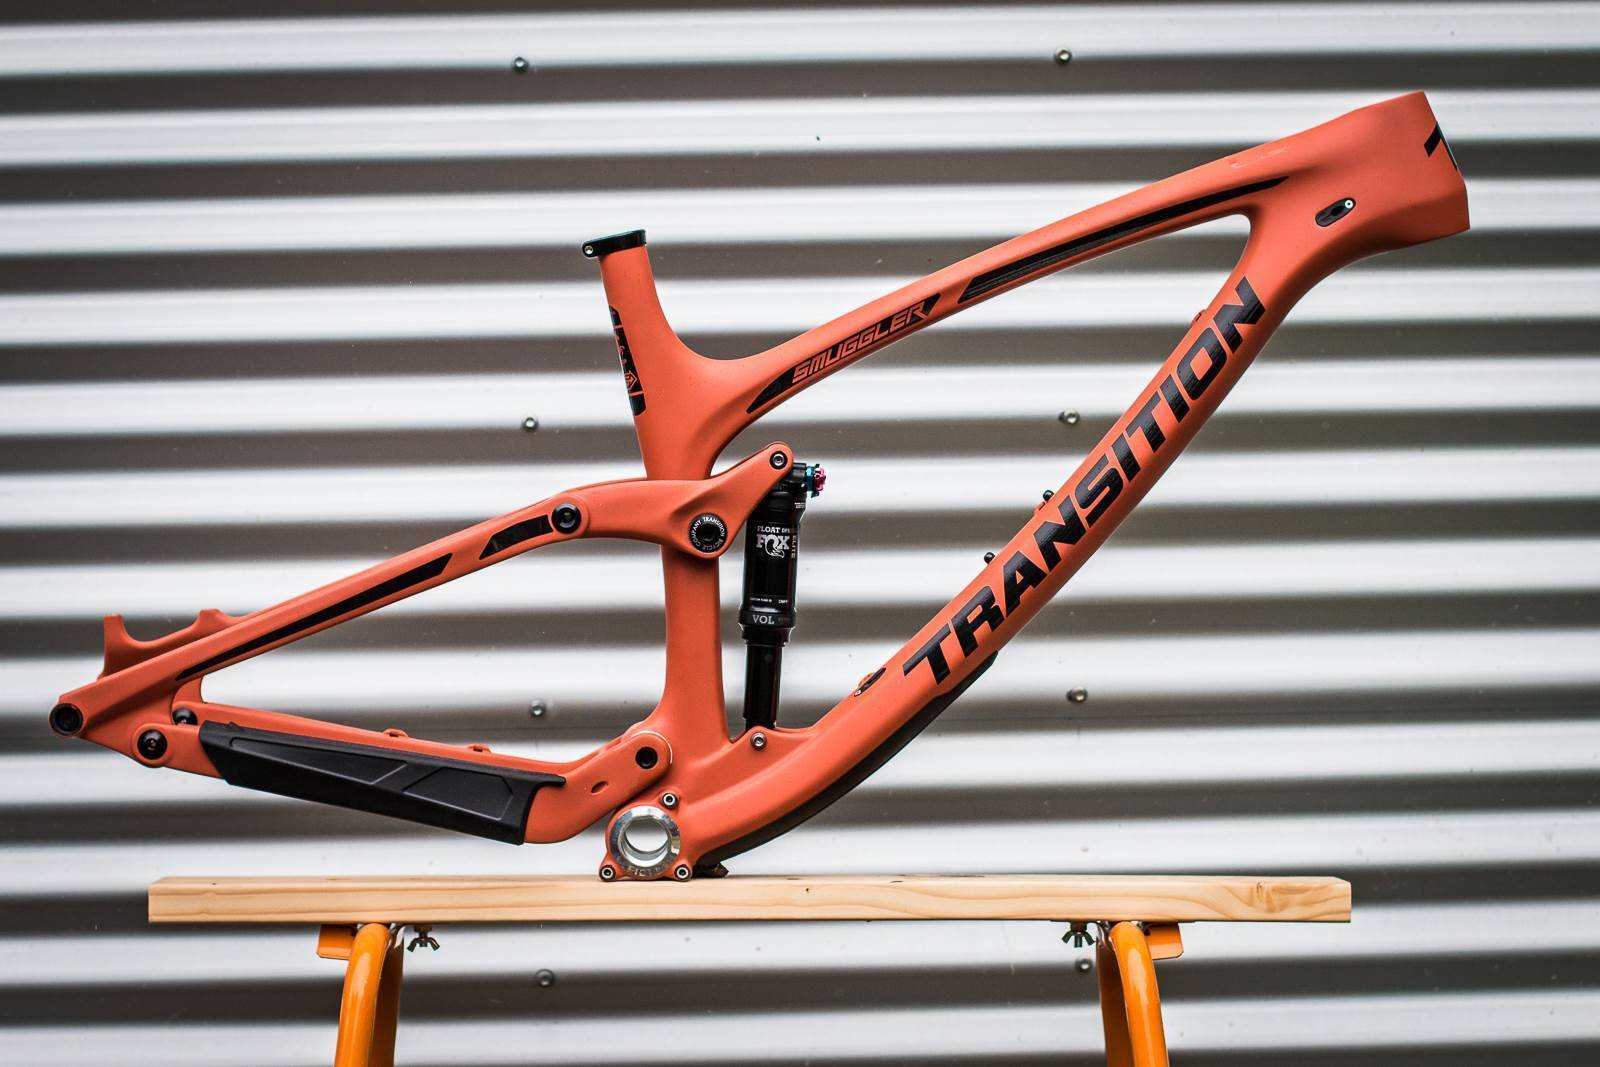
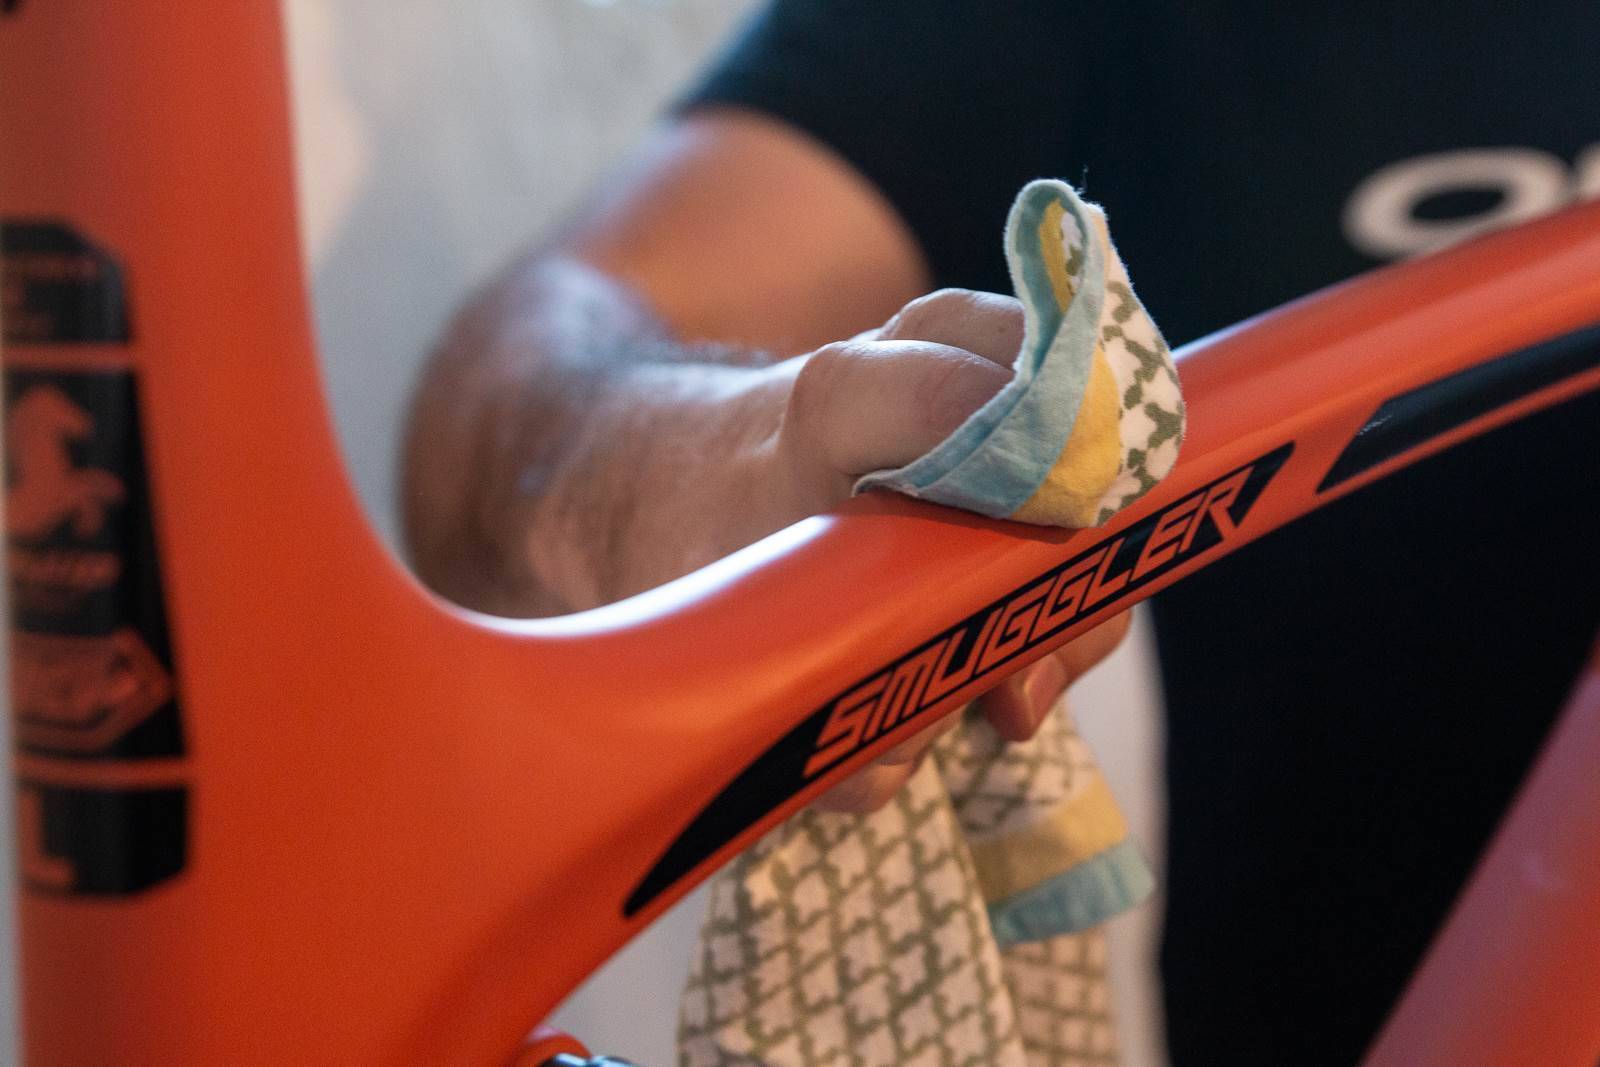
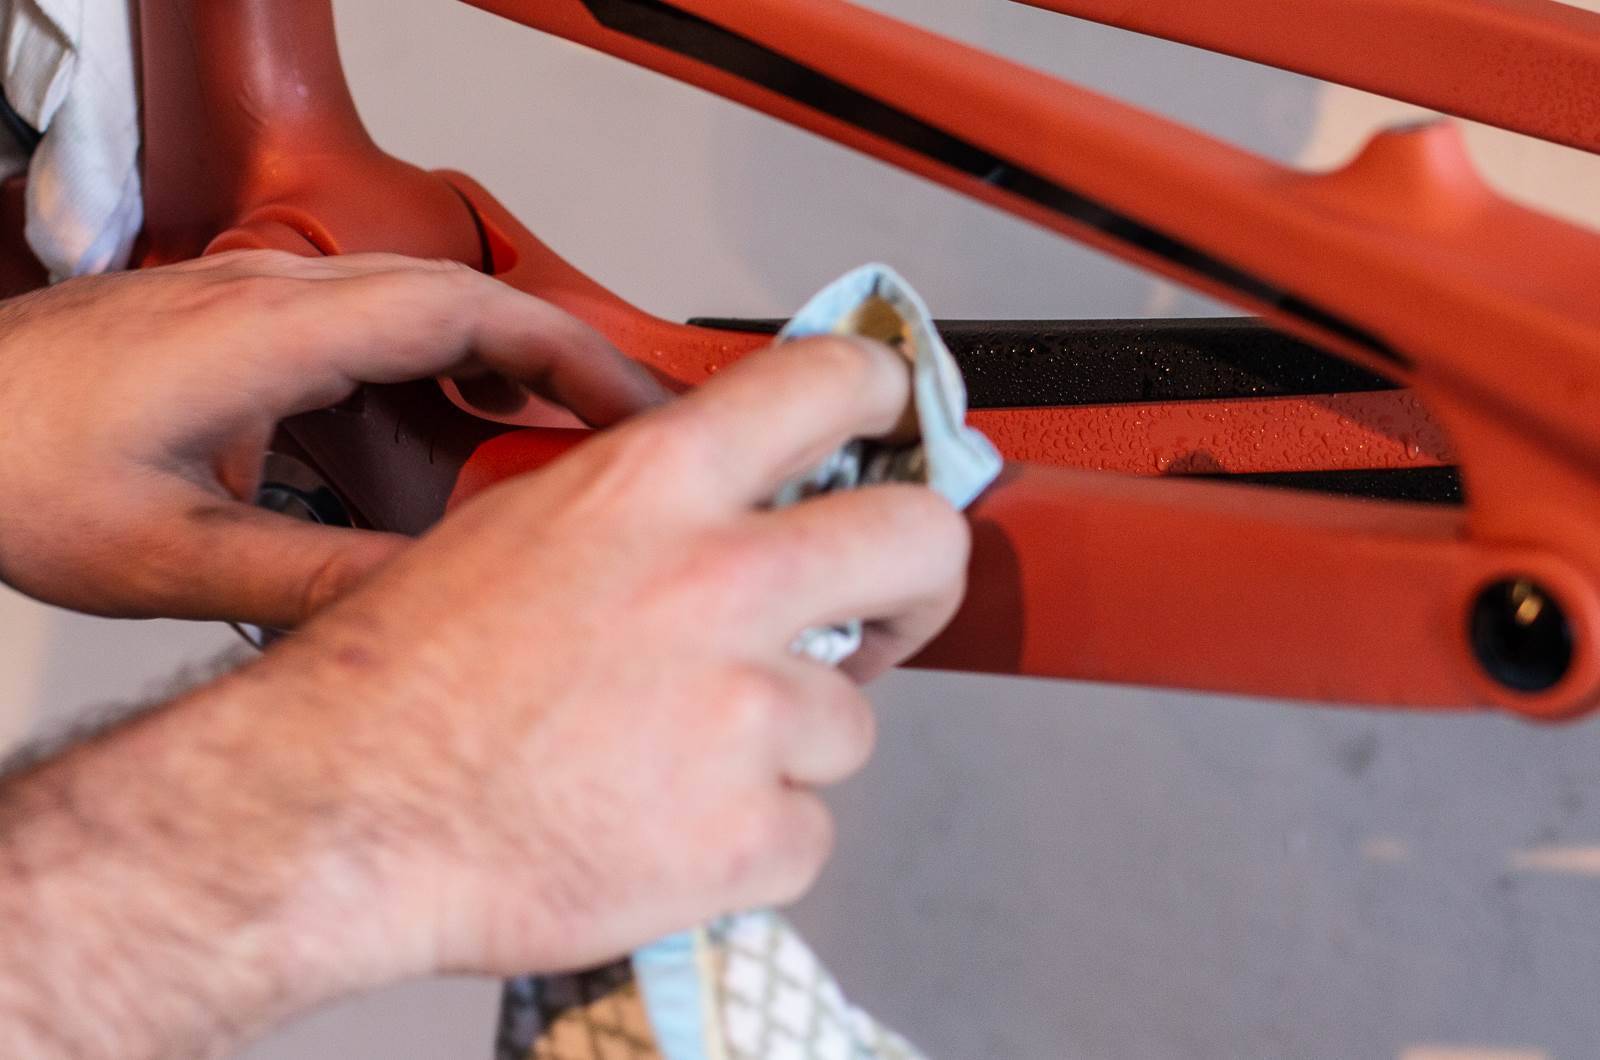
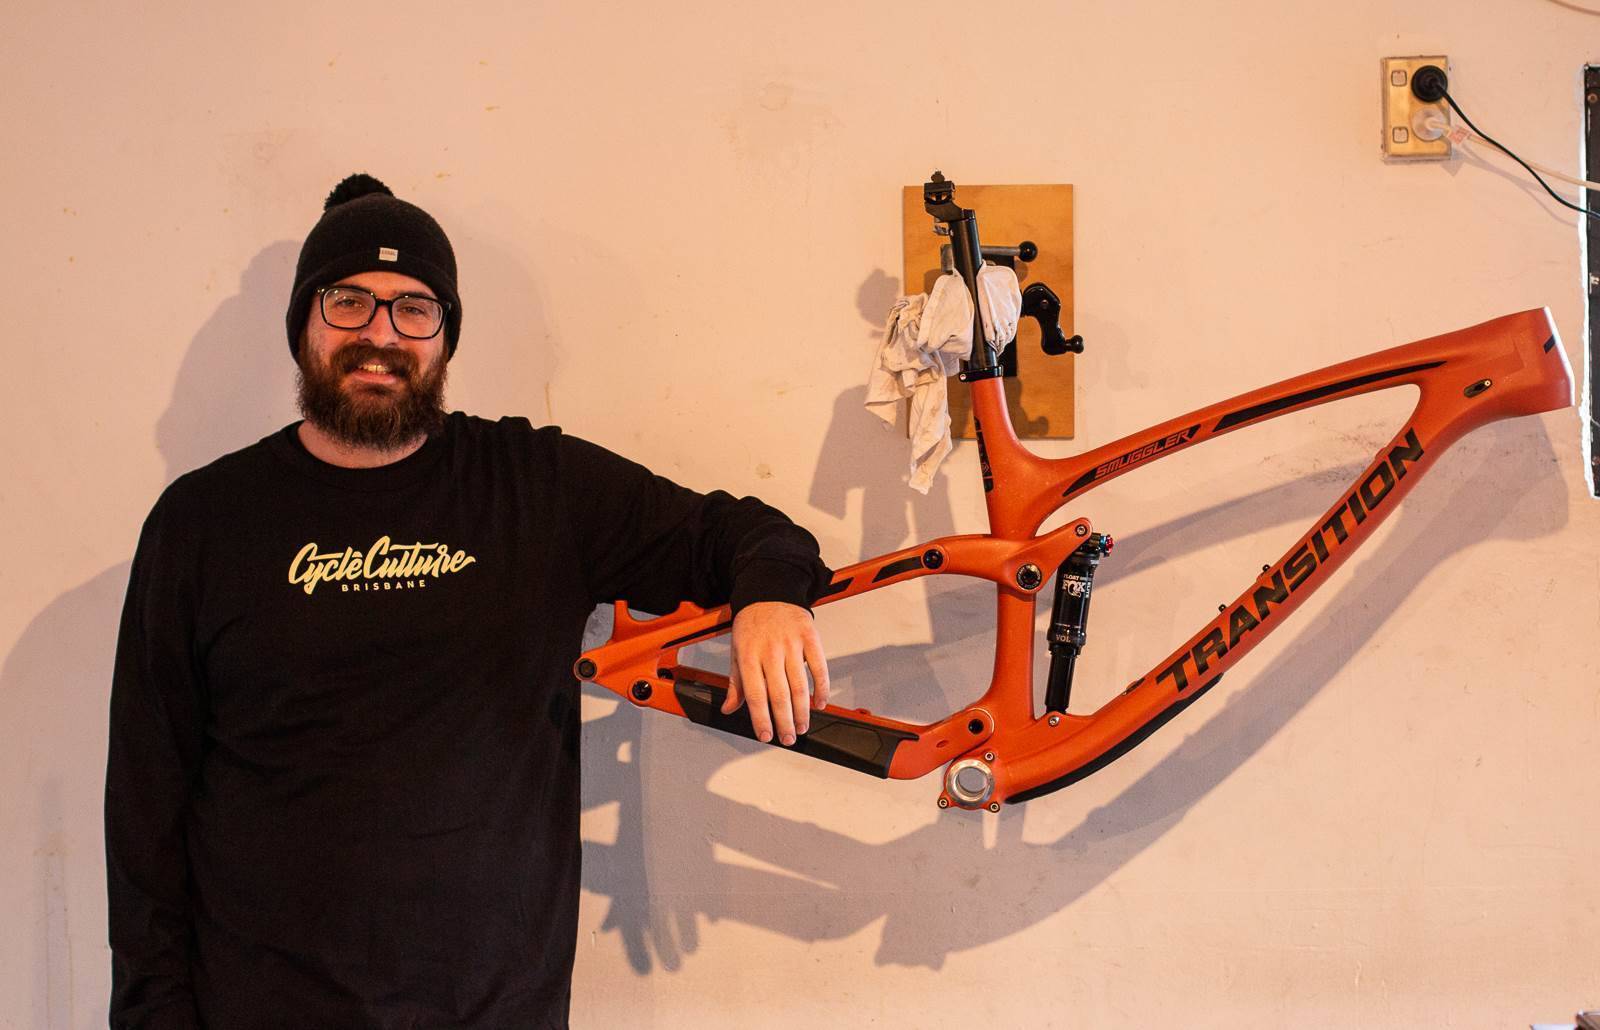
“A bare frame that is brand new is the best case for fitting,” says Mitch from Cycle Culture Brisbane, who was happy to see the Smuggler was brand new, without trail grime and abrasions. “If a frame has been used, it's still possible, but you need to just get it really, really clean. Otherwise the Frameskin just doesn't adhere as well, in my experience."
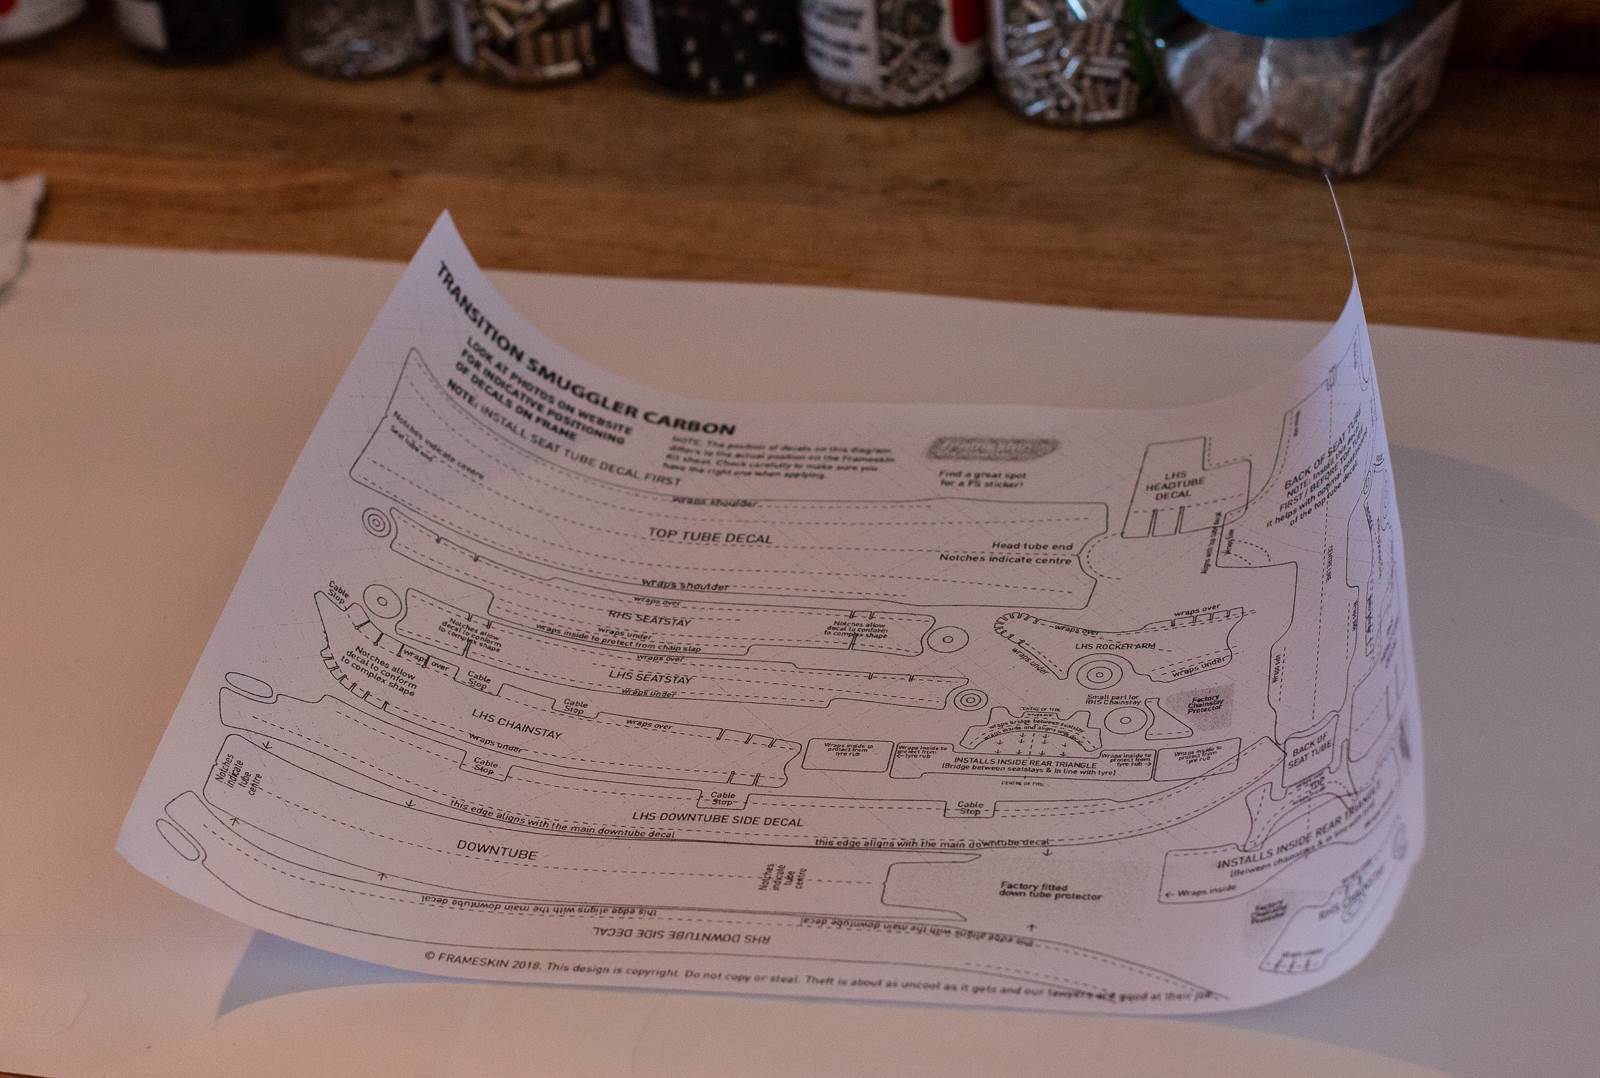
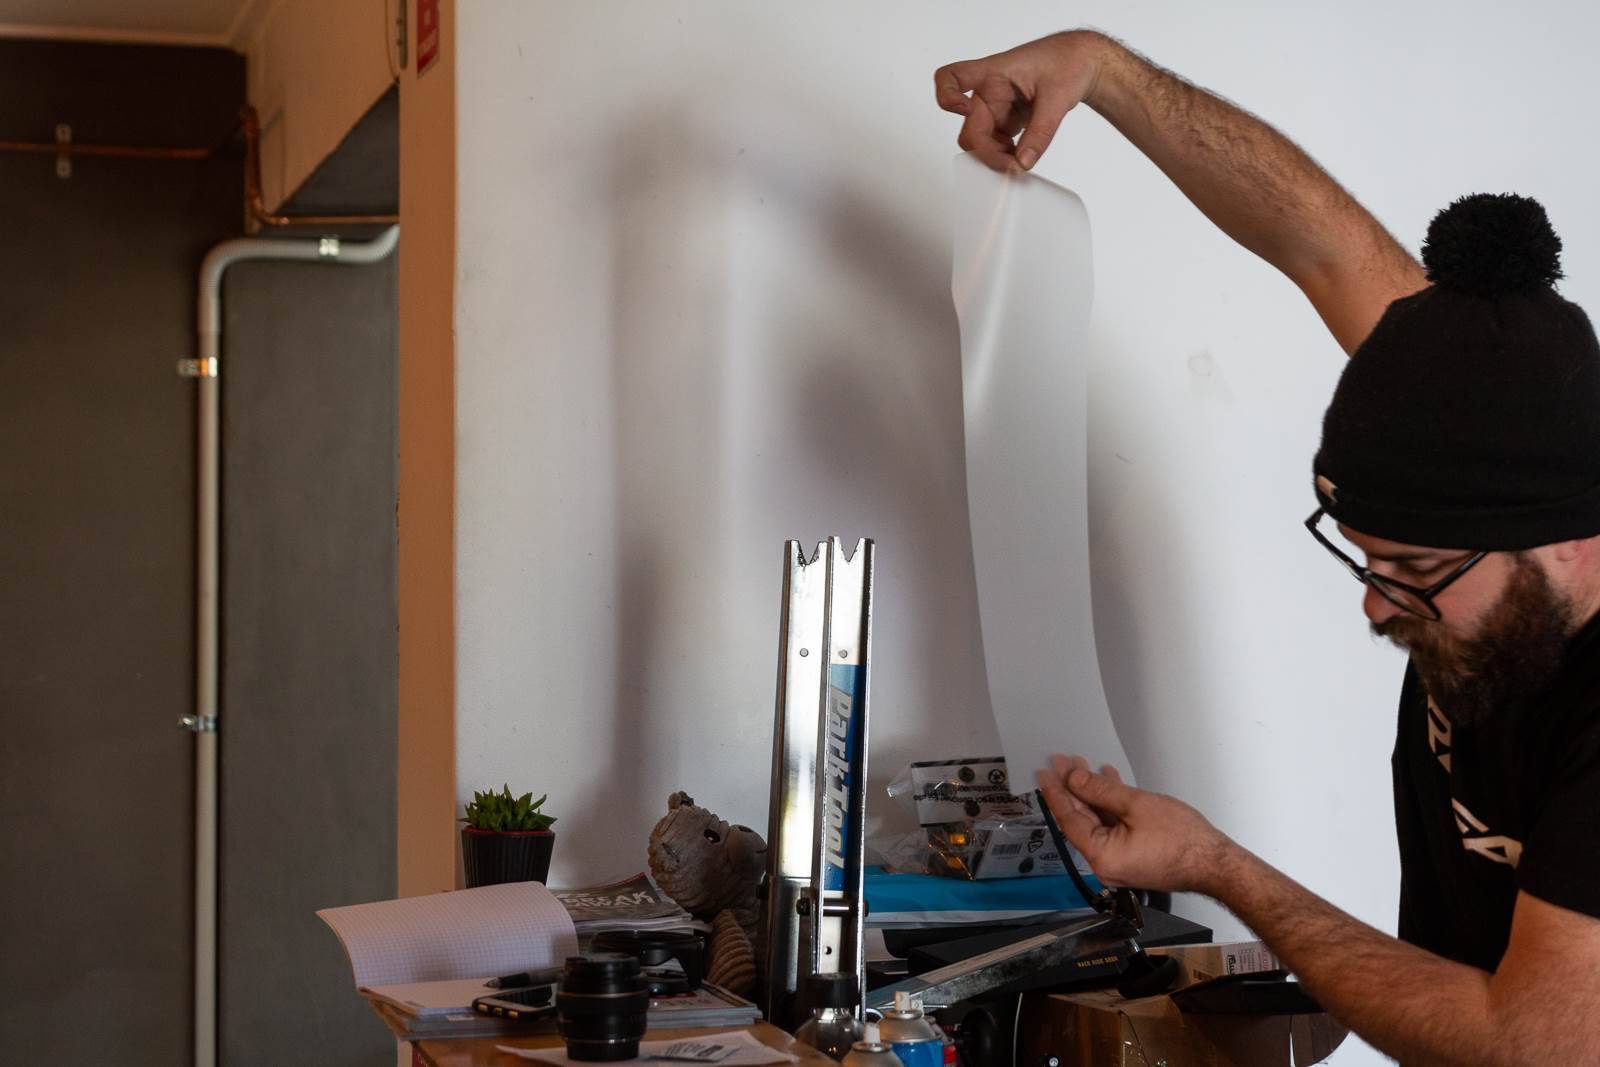
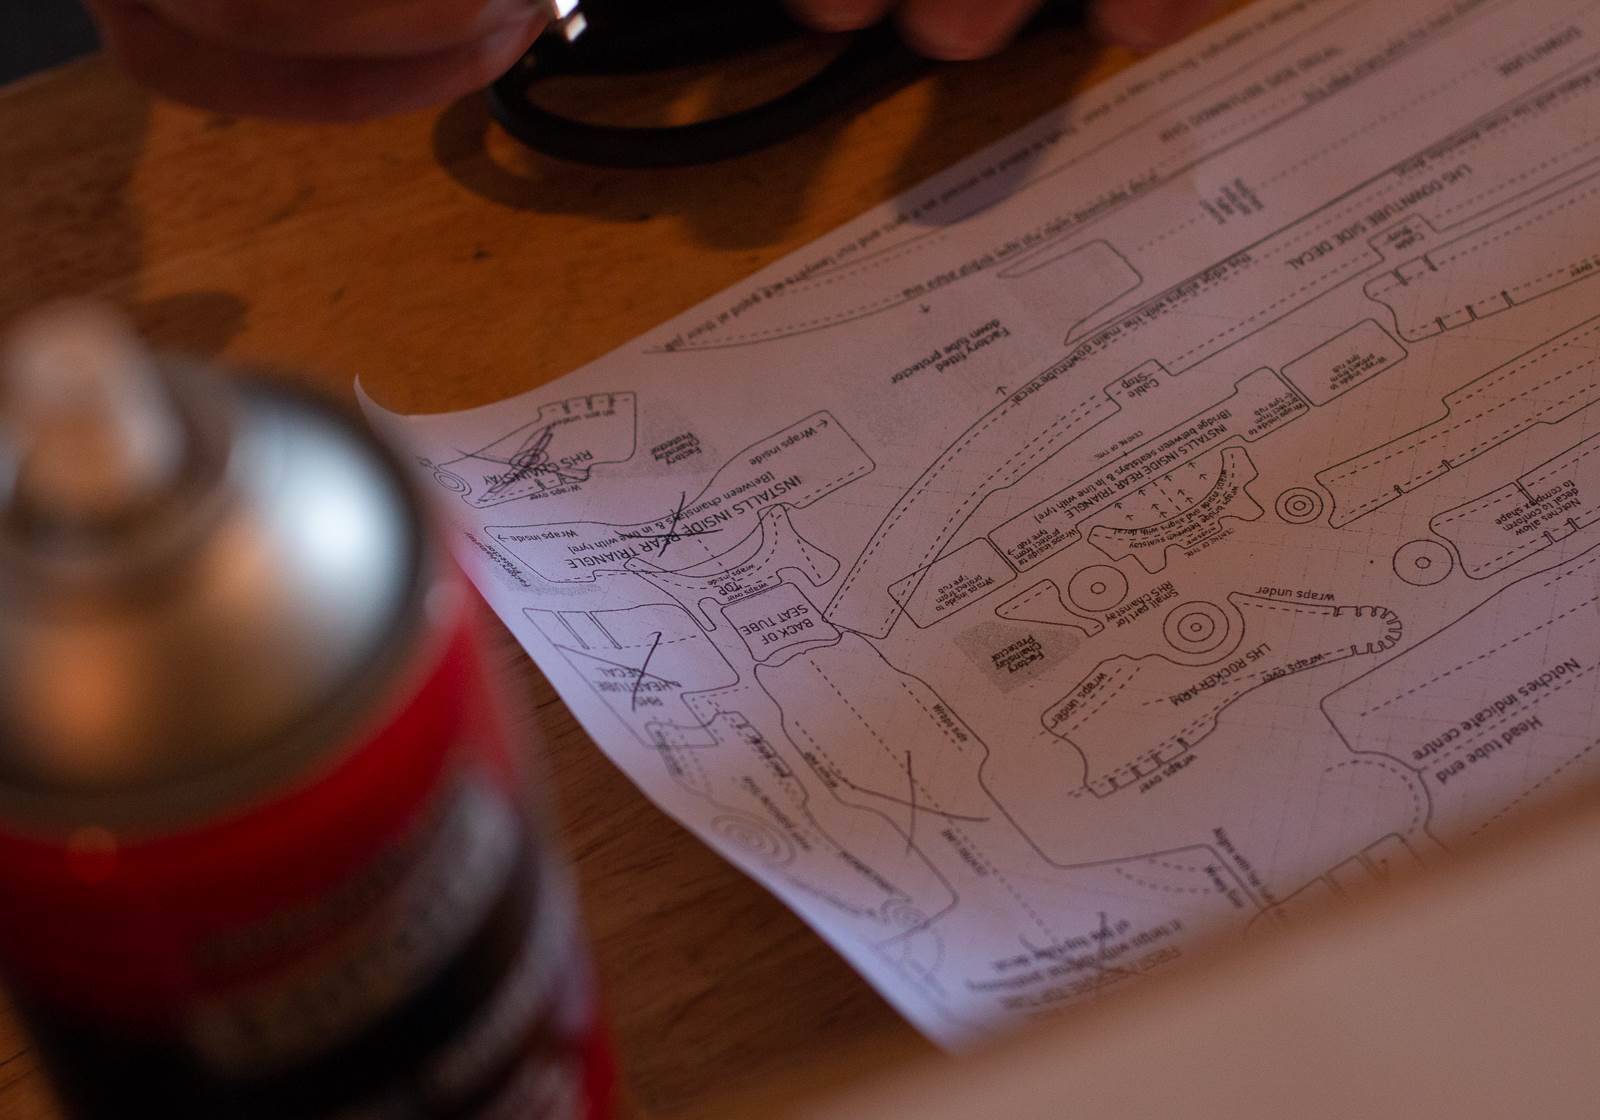
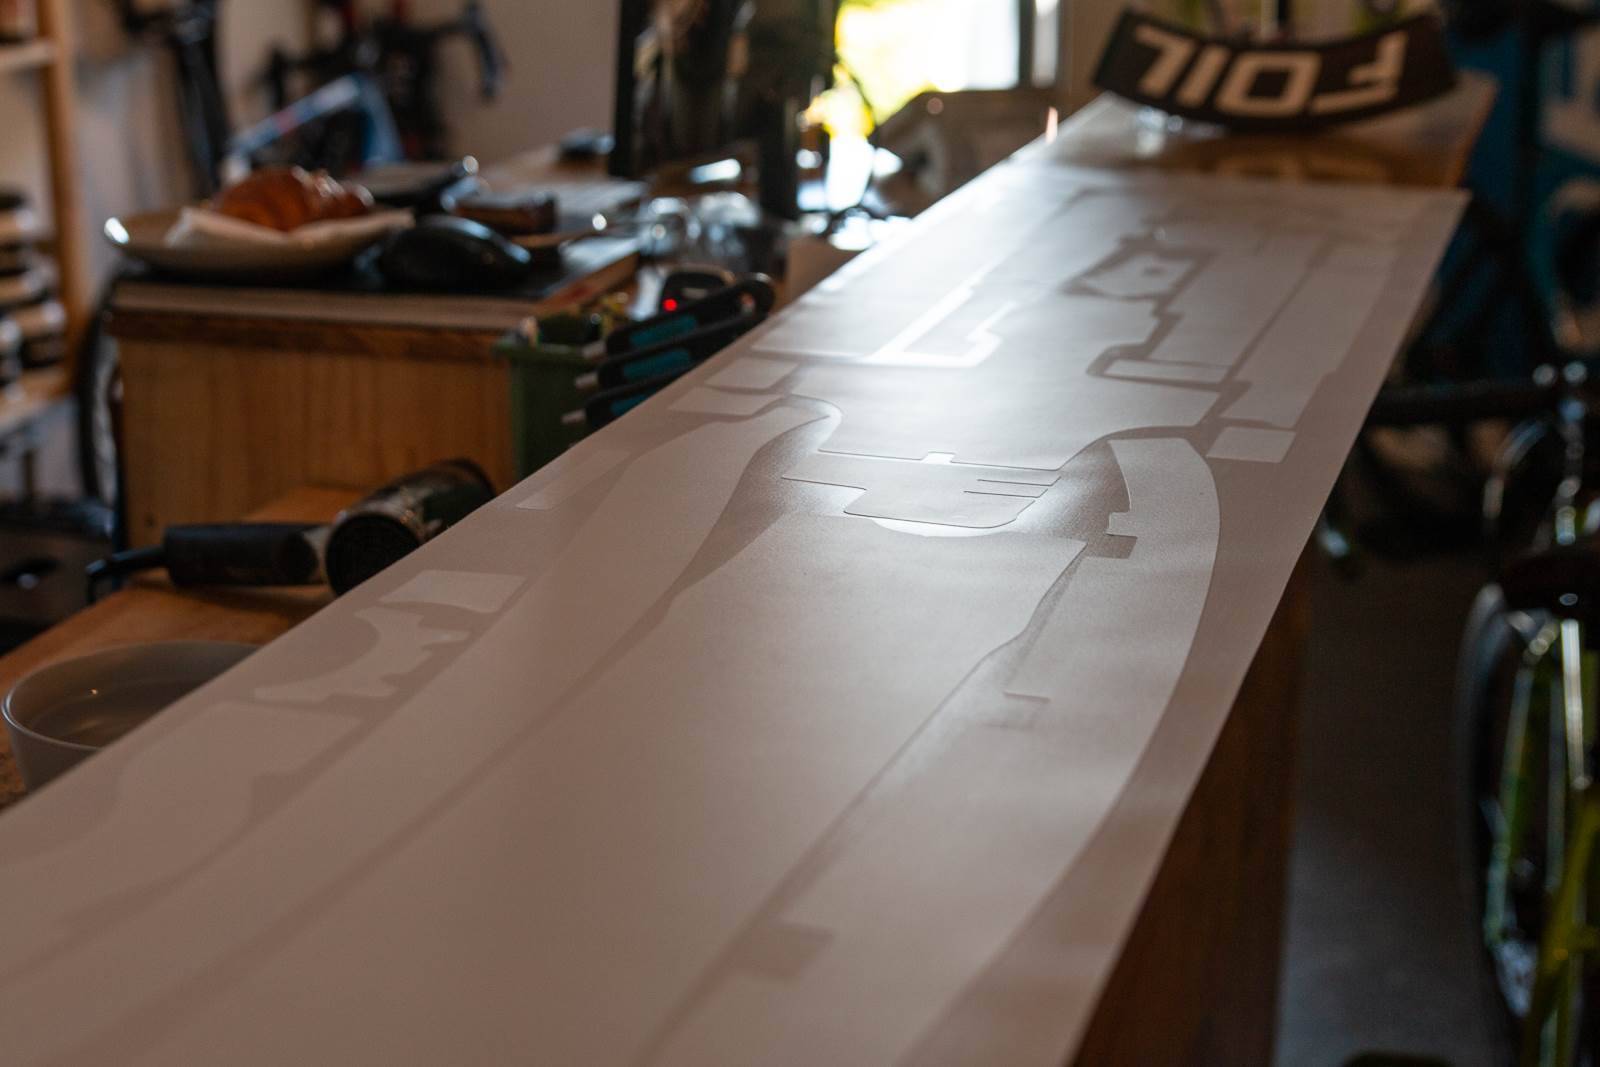
Frameskin have kits that are templates for your frame, so it's a case of laying out the sheet with the protective pieces, and lining them up with the provided guide. That, and read the instructions.
You'll need:
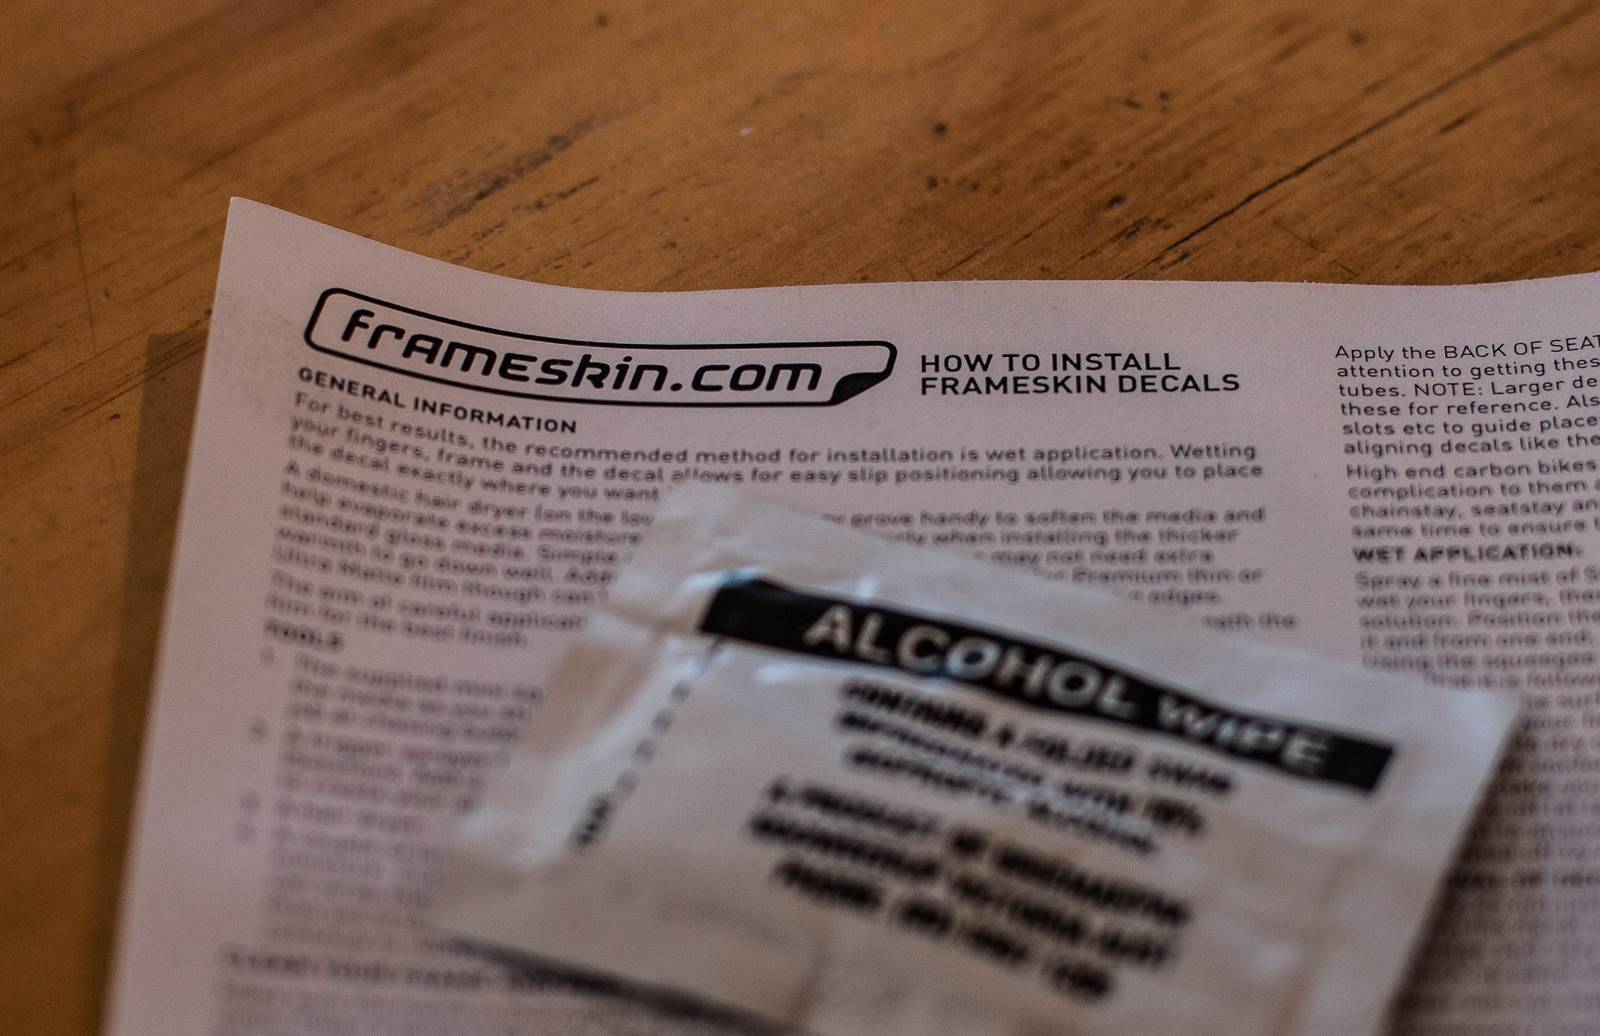
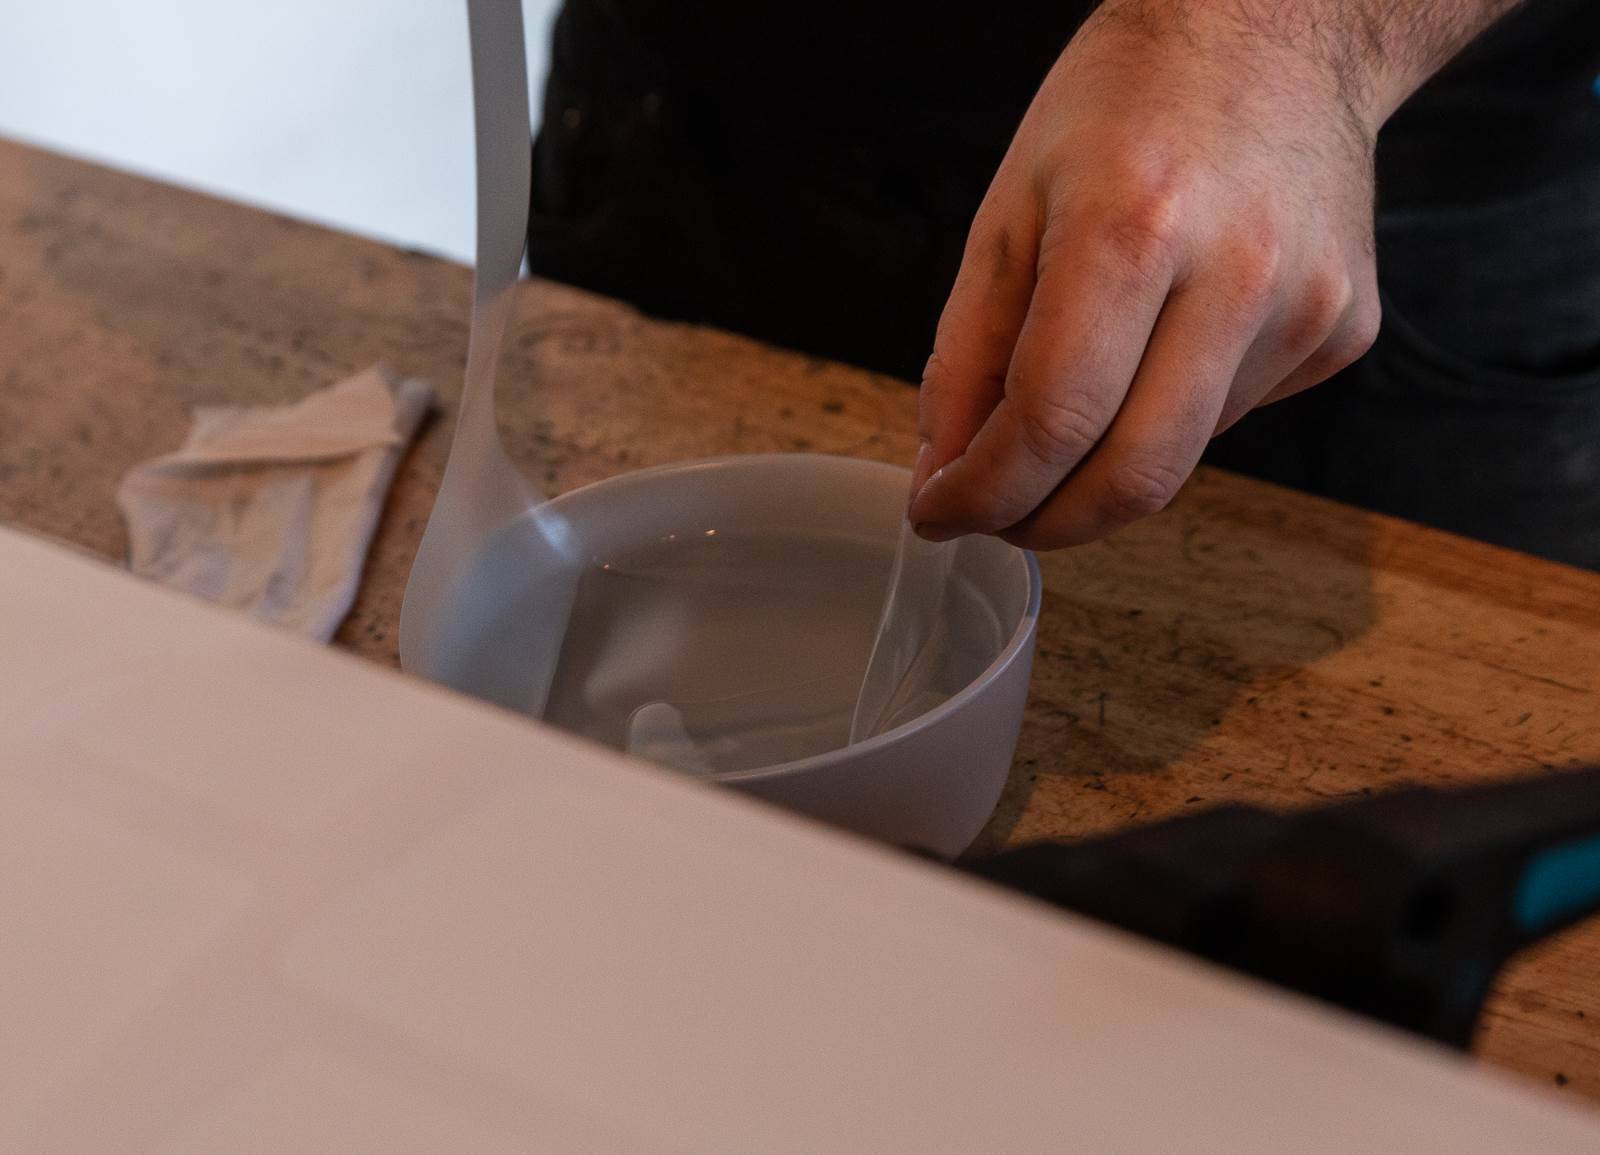
Obviously, a kit from Frameskin comes with instructions including a list of things you'll need. Make sure you have a clean work space, somewhere without dust blowing in. Lay out the following:
Instructions
Frameskin sheet
Frameskin section guide
Bowl of warm water
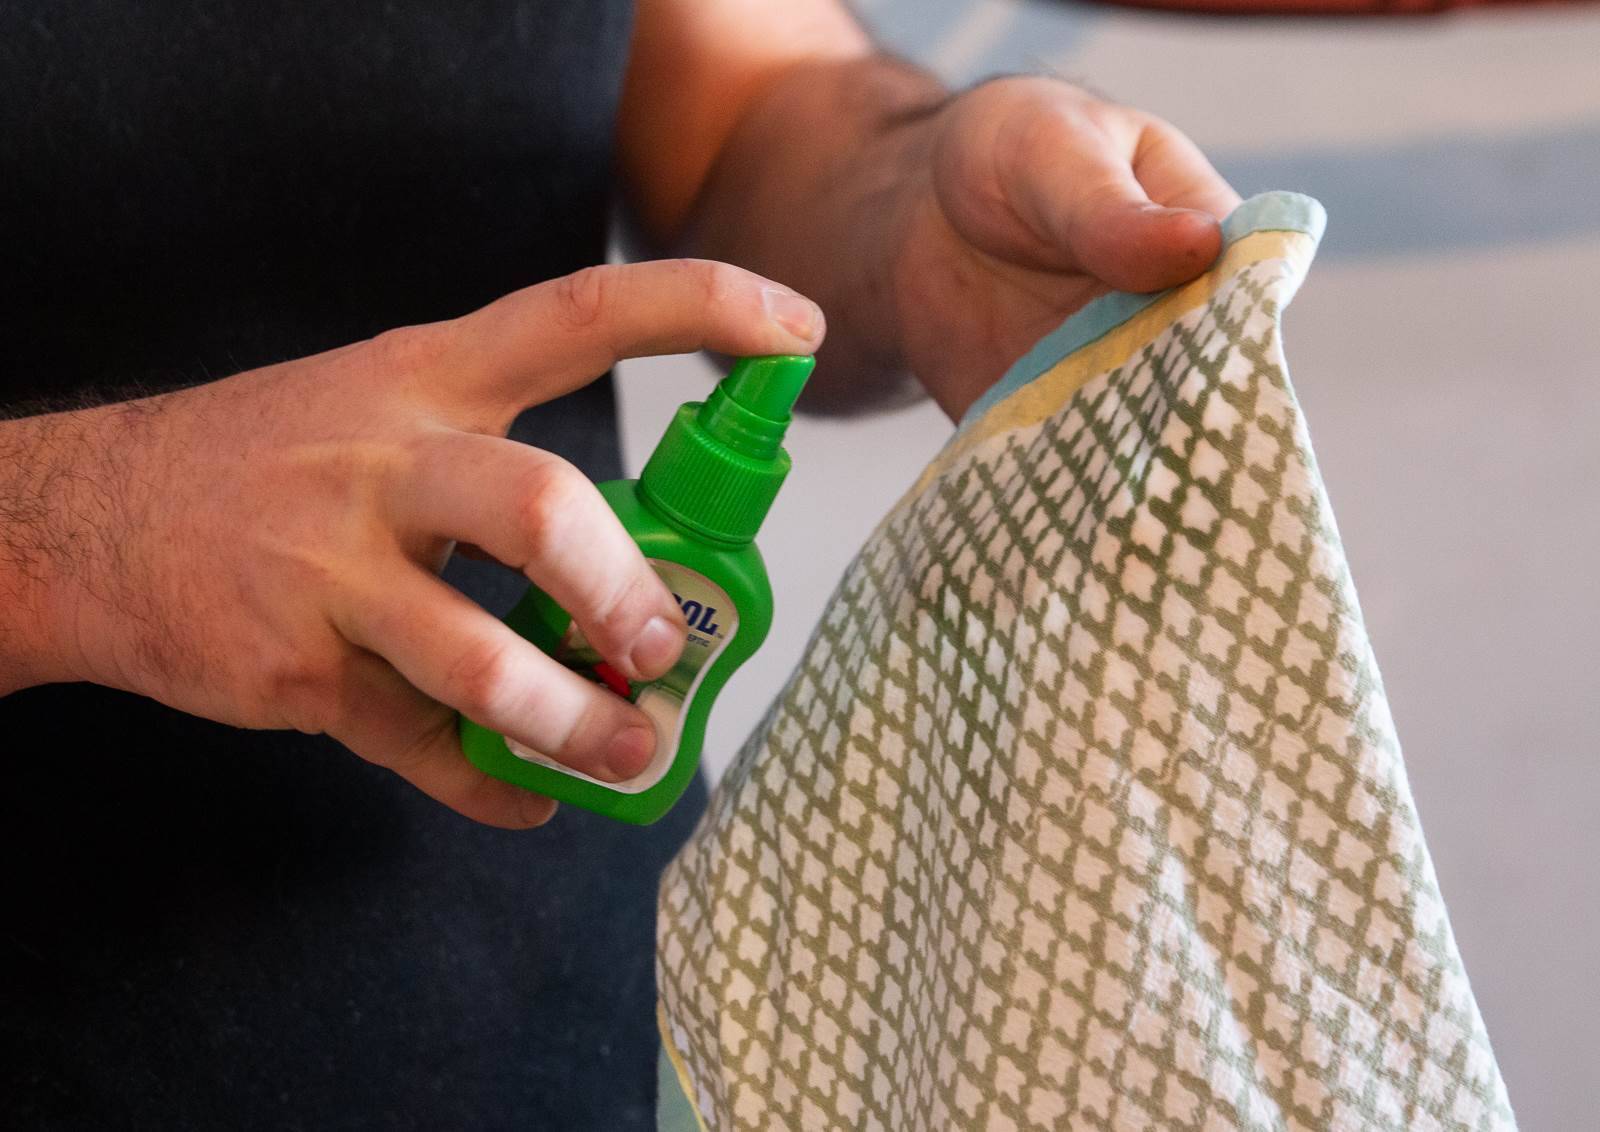
Isocol spray
Spray bottle of water (can have a tiny bit of baby shampoo as per the Frameskin instructions)
Two lint-free rags
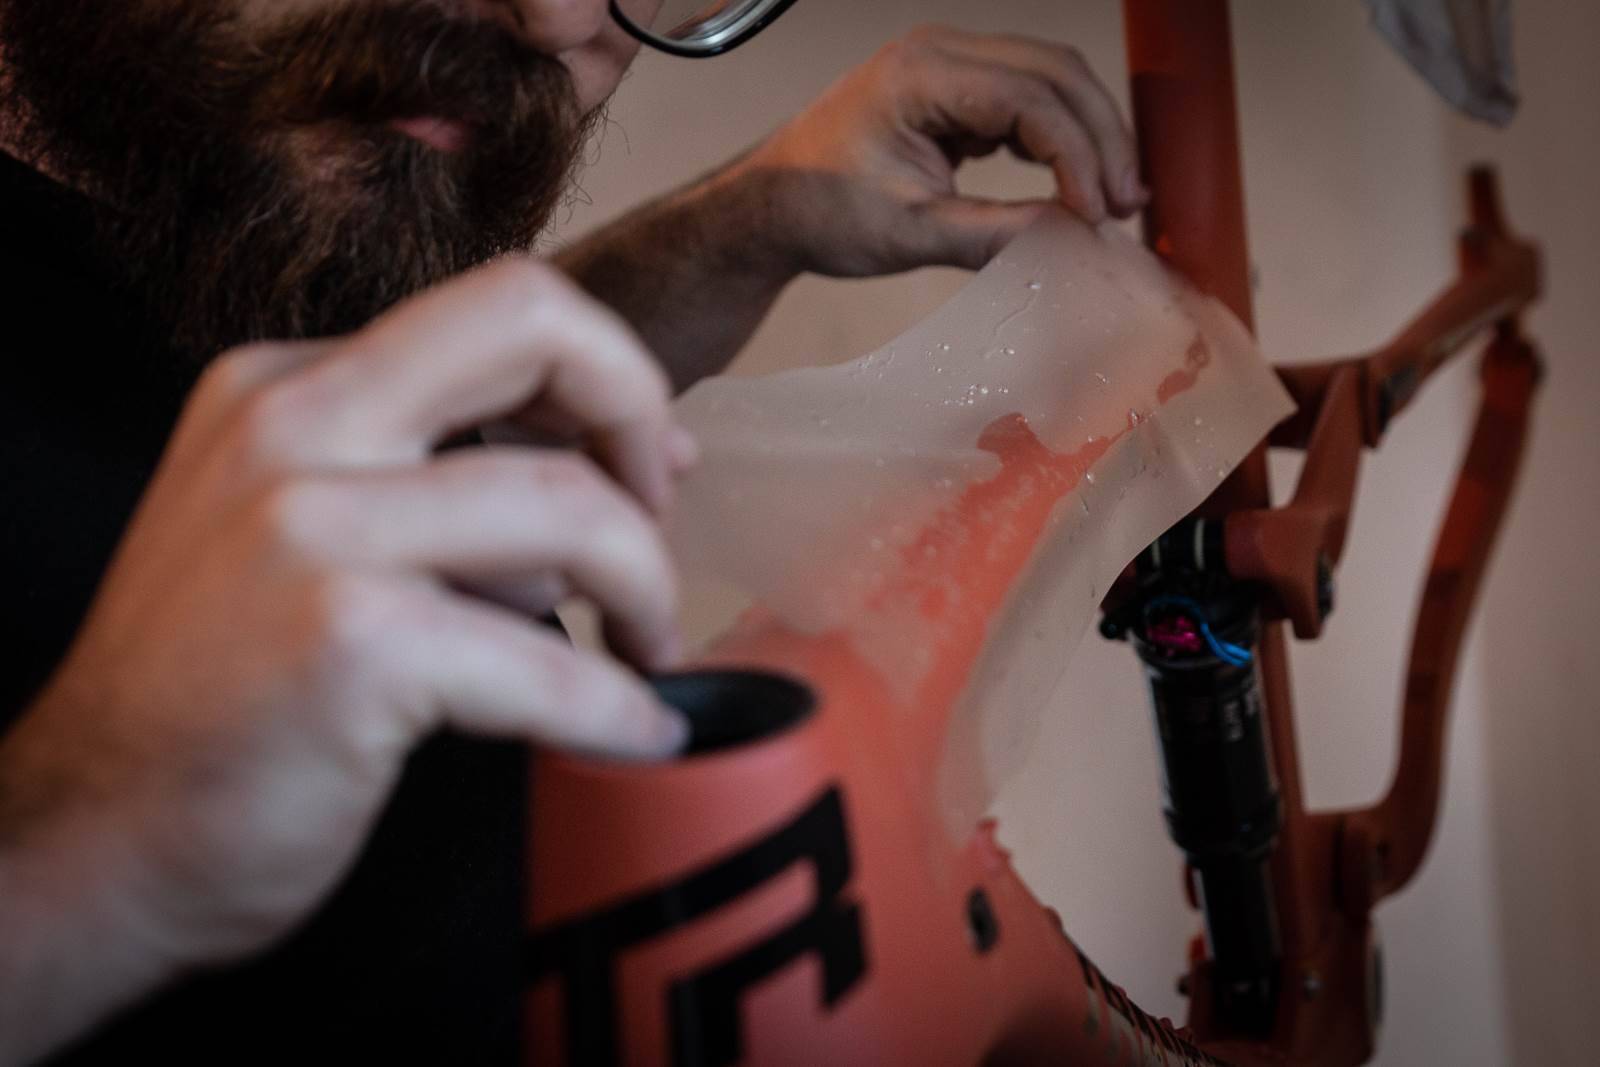
A smoothing tool – something like a swipecard in a rag.
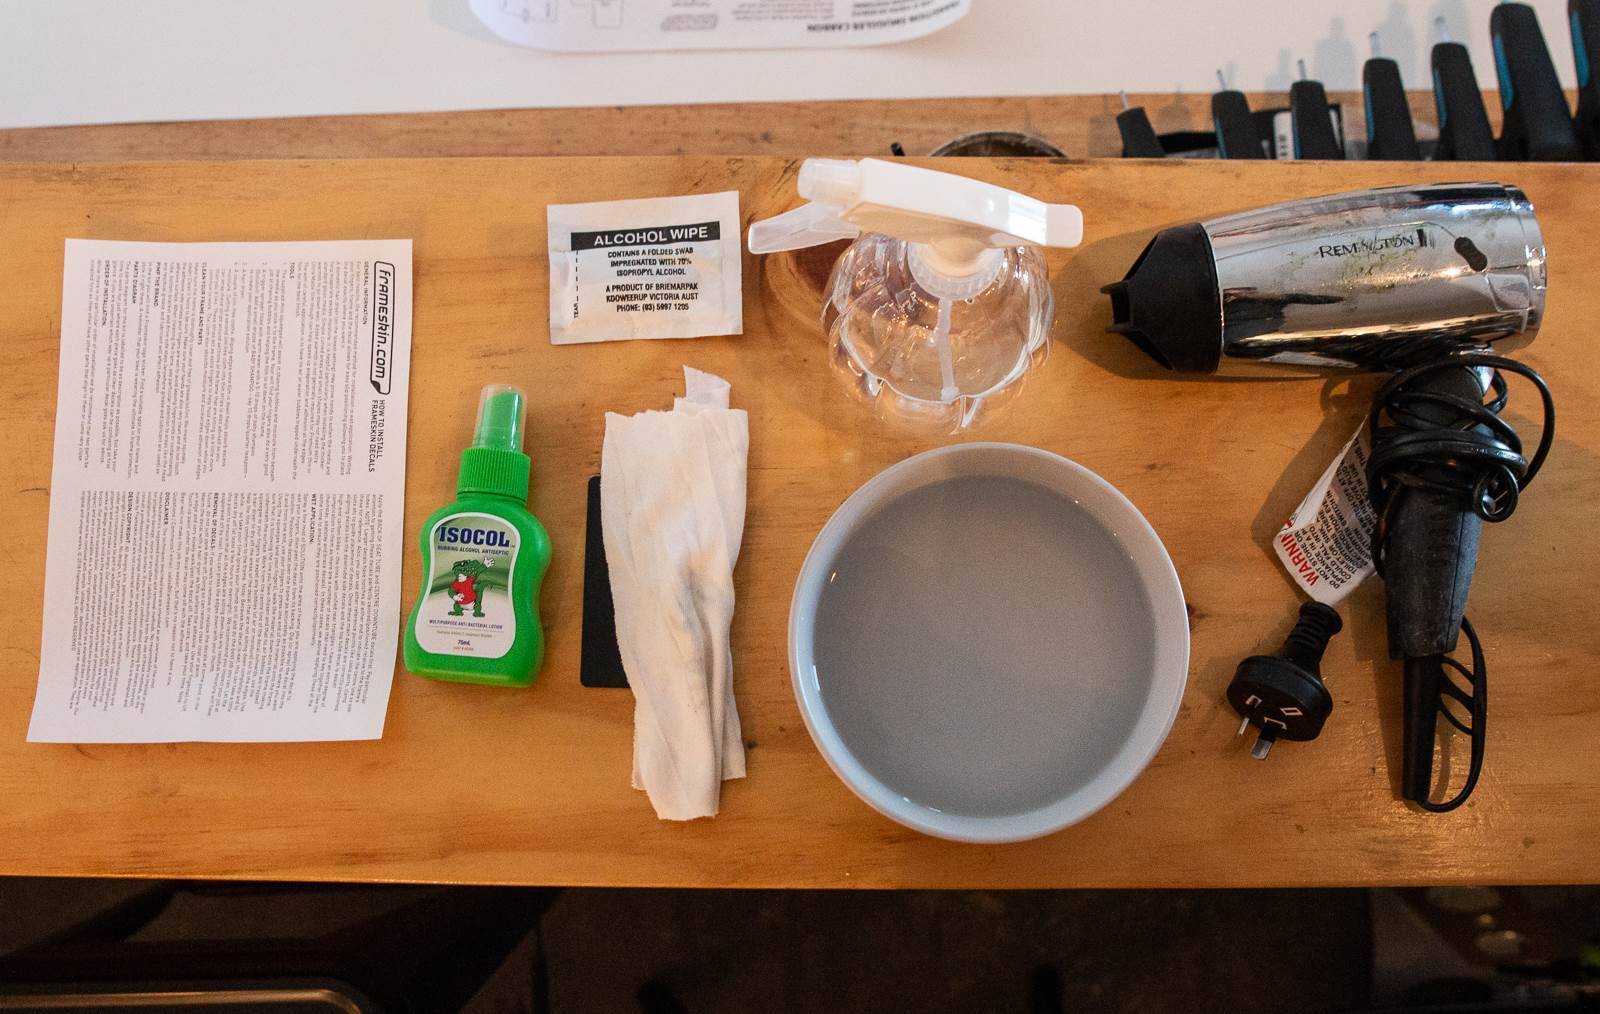
"I don't bother with the shampoo in the water," says Mitch. "It's just going to make it all a little bit more slippery. I did it once but have found that the water gives me plenty of time to get everything in the right place before drying."
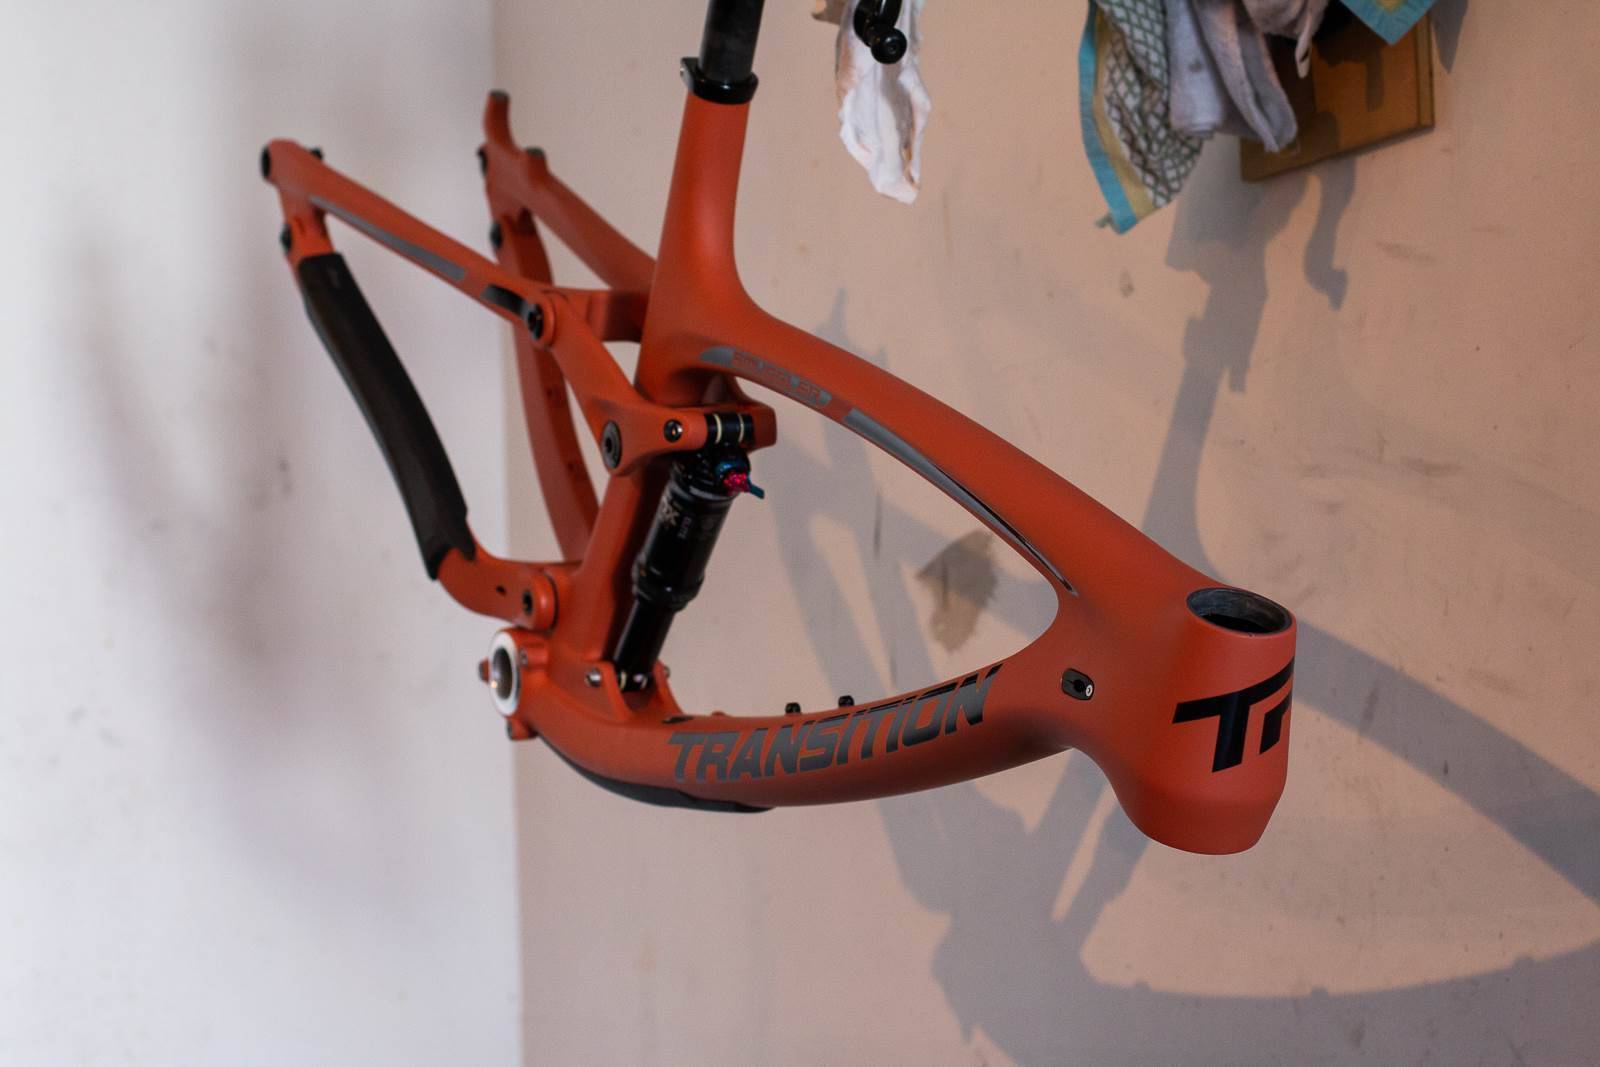
We used a wall mounted workstand and a collapisble one that Mitch has at Cycle Culture.
“If you can, use a stand with adjustable height,” says Mitch. “It helps for when you're doing underneath the downtube so you can flip the frame over and work at a reasonable height.”
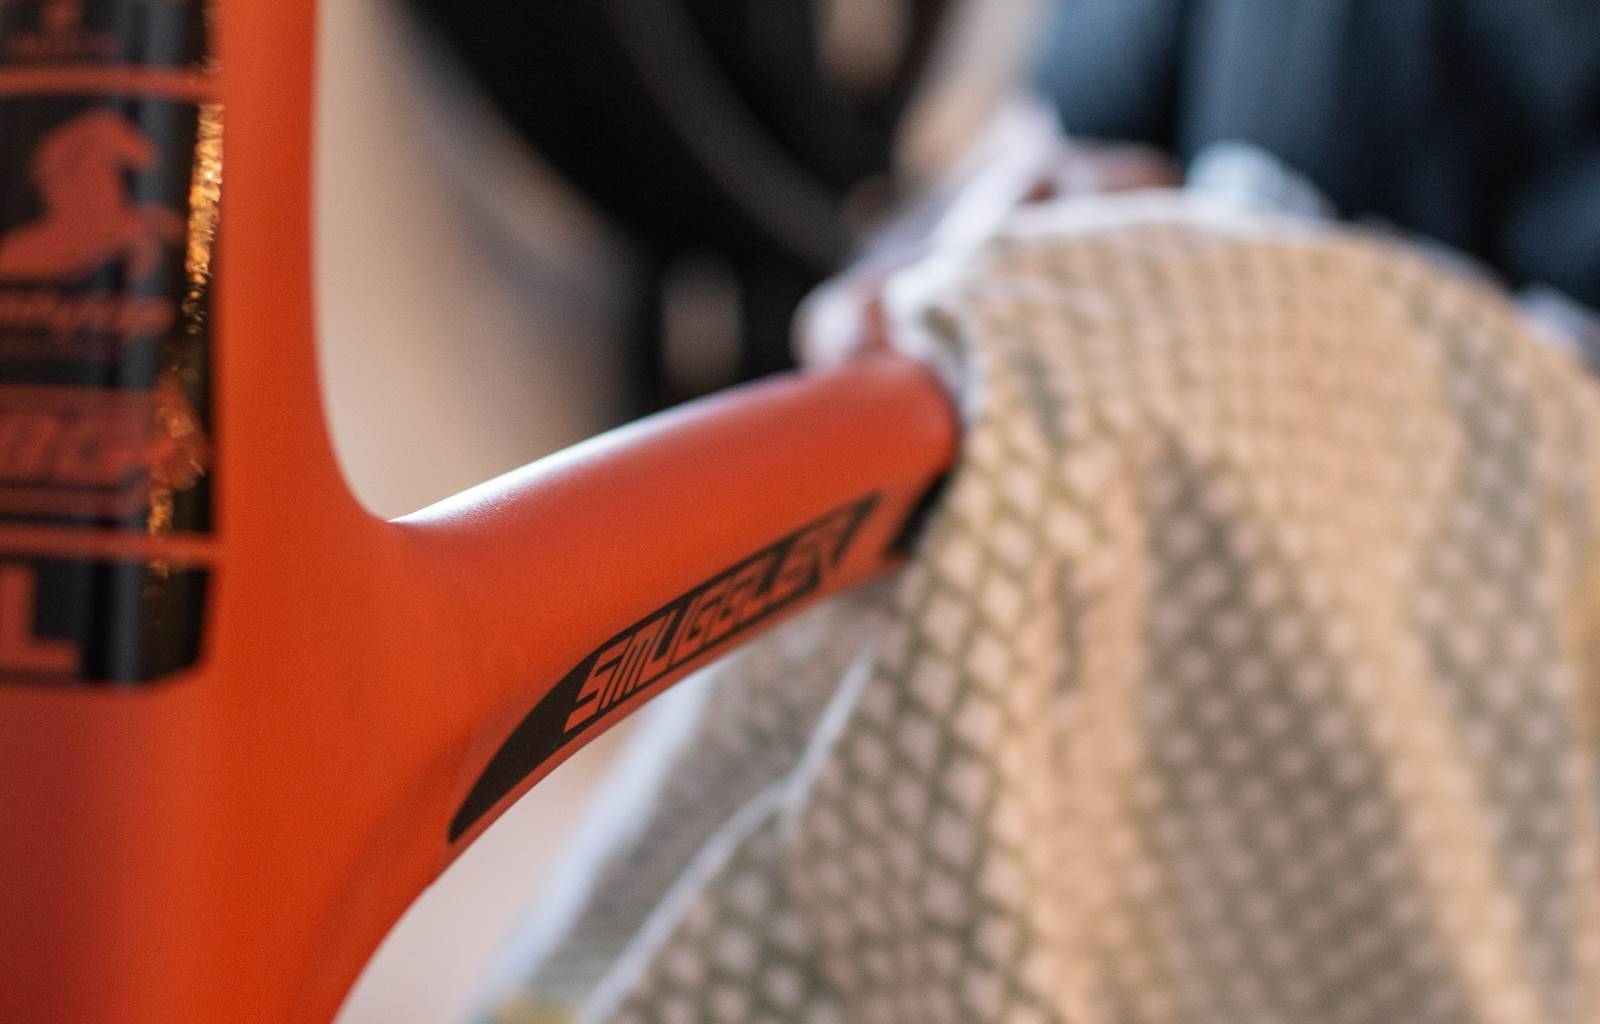
Click through the gallery to see the process – and a big thanks to Mitch at Cycle Culture for his time and #protips.


