TESTED: Panzer EVO XC Inserts
Tyre inserts for XC are gaining in popularity. How do Panzer's EVO XC Inserts stack up in the market?
Words and photos: Mike Blewitt
Tyre inserts are not just the domain of those who huck to flat, with cross-country and marathon racers using them for a number of years. There are a few notable riders like Marco Fontana and Tiago Ferreira who were early adopters of tyre inserts, but even Nino Schurter started using them at select races, once he was off his favourite tubular wheels.
Now there are countless riders running something a little extra inside their tyres. Victor Koretzky, Ramona Forcini, Laura Stigger, Anne Terpstra… if you’re not glued to Redbull TV for World Cups these might not be names you recognise. But they’re riders atop World Cup podiums and include current and past World Champions.
Cross-country racing and riding is often seen as gram obsessed. And as a devout cross-country and marathon rider I can admit there is truth to that. But it’s a little more complex. I figure, I don’t want to use something heavy if there is no benefit. But I’ll use something heavier if it has better reliability and an advantage. And that’s why you see riders on the world stage using dual suspension bikes, wider tyres, wider rims, dropper posts, 29ers, hydraulic disc brakes and yes – tyre inserts. If grams were the only concern, you’d see a lot more 26” hardtails with 2.0” semi-slick tyres and V-brakes. But that would be slower – cross-country racing is like any racing, it’s about going fast.
And that’s why inserts can make just as much of an impact, if you can excuse the pun, for cross-country and marathon racers and riders as they do for trail and enduro riders or racers. The benefits are two-fold. Firstly, some inserts may help manage the lower pressures that are possible with modern 30mm rims and light 2.4” tyres. A good tyre liner adds a little more sidewall support when cornering hard on the low pressures that can be possible. Secondly, lower pressures just don’t deal with hard, square edged hits that well. So a tyre liner adds a level of insurance for riders, just incase they misjudge where they want to land when jumping a section of a rock garden. These sorts of mistakes are easy to make when your heart rate is 180bpm and you’re racing bar to bar with a dozen others, all looking for the fastest line.
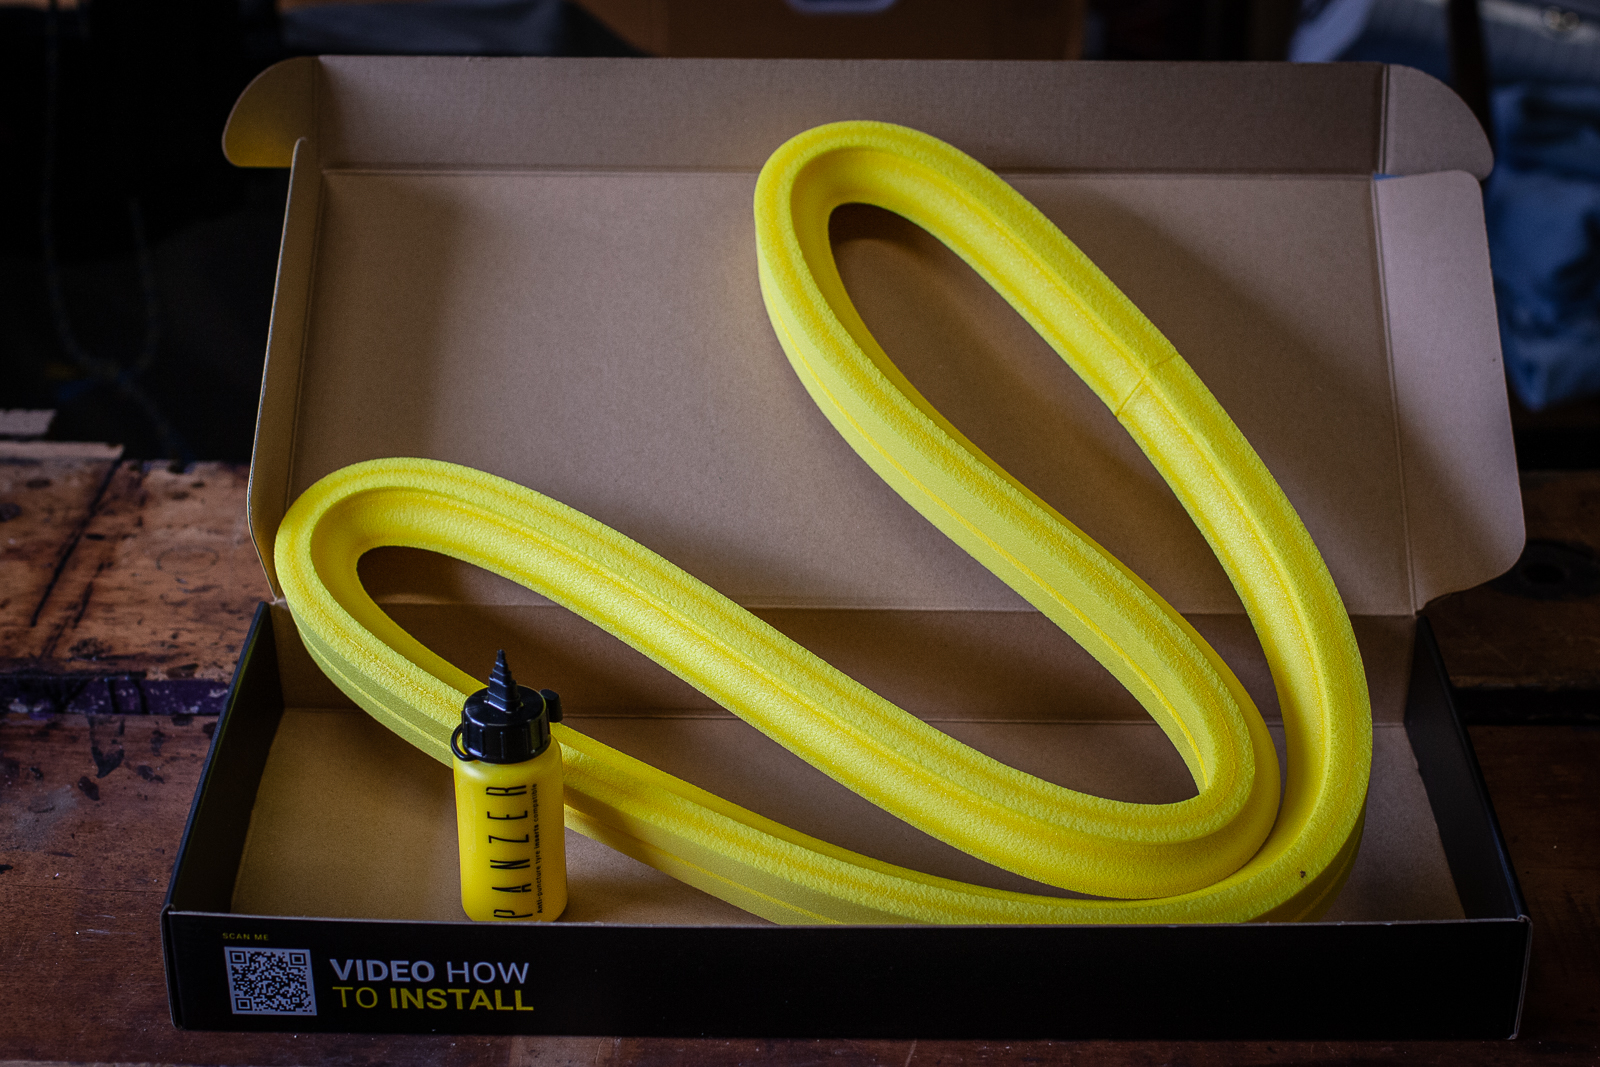
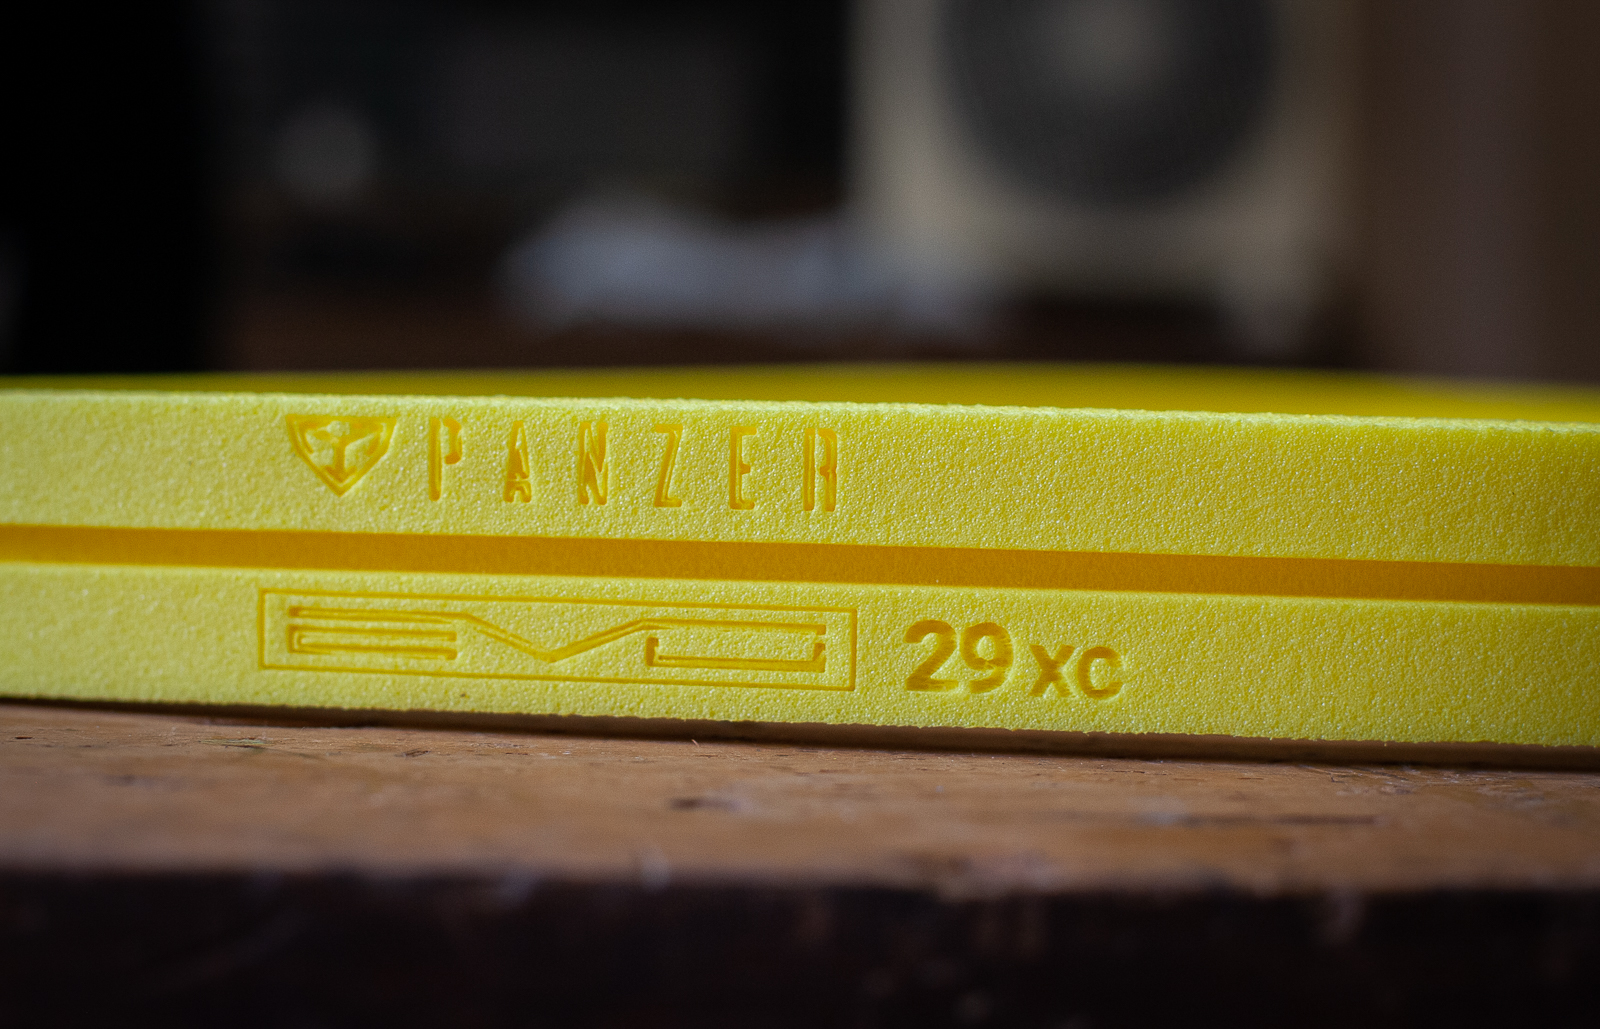
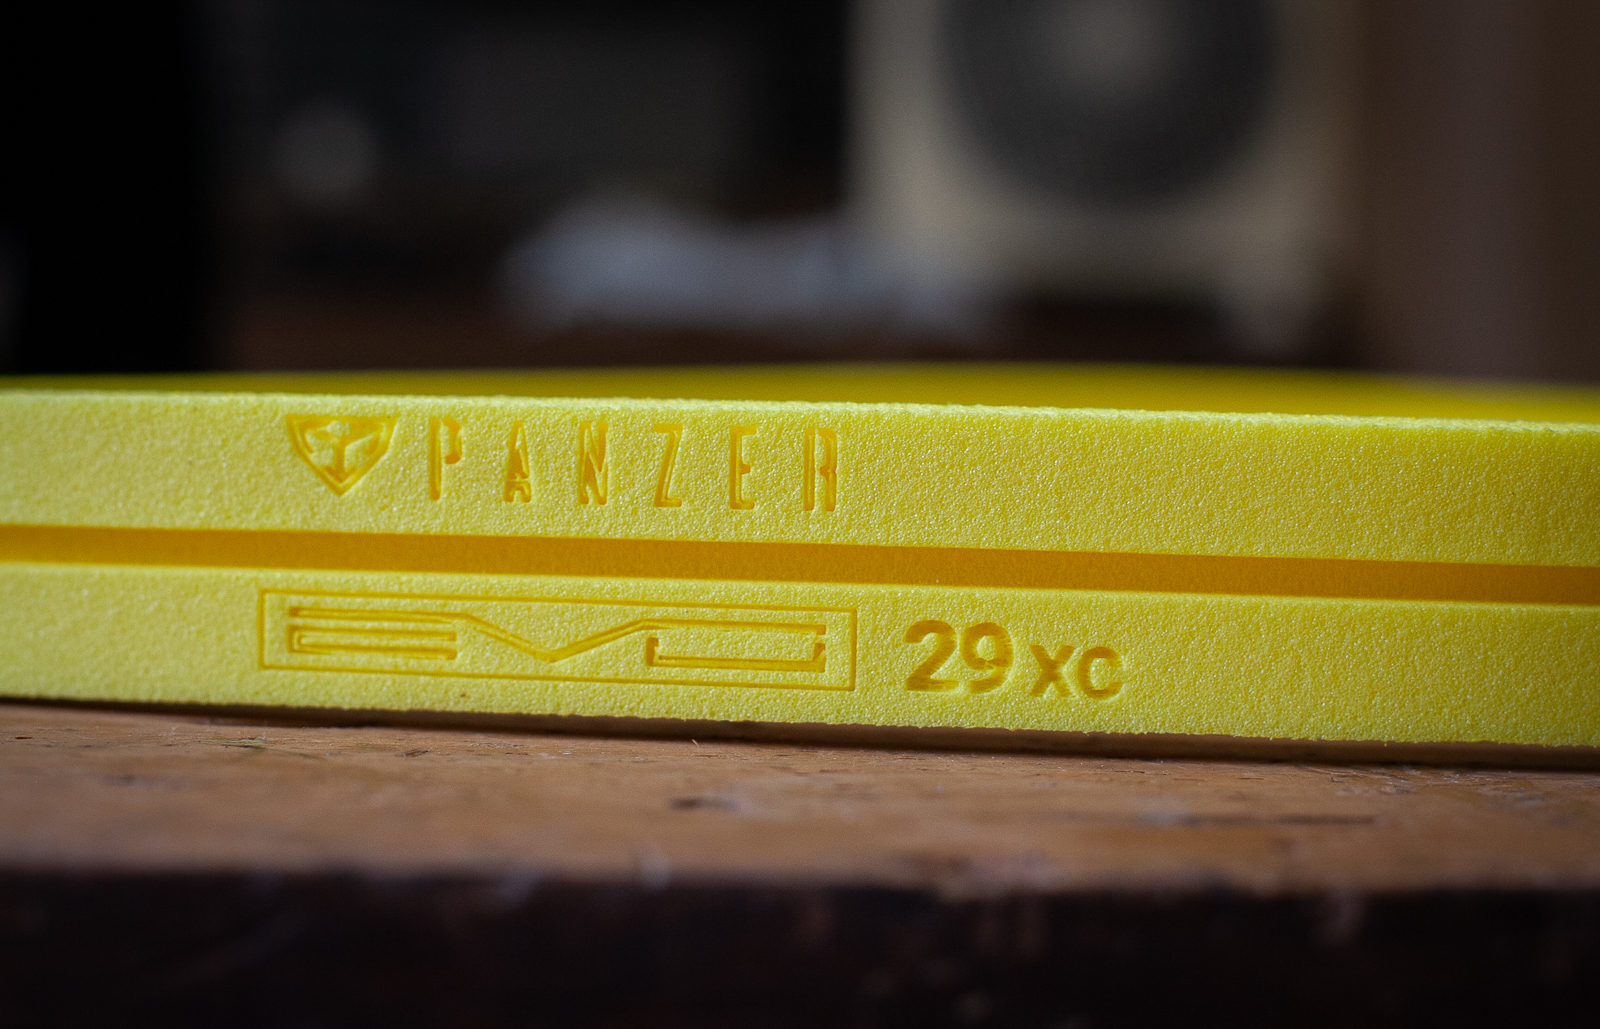
The trick here is finding a tyre liner that gives you the performance benefits you want, without being too heavy. The big name CushCore XC weighs 150g per rim for the 29” size, Rimpact XC are 95g, Pepi’s Tyre Noodles are just 77g for the Rokkline model. The Panzer EVO XCO 29” are a mere 60g per tyre (claimed). You might find almost this much variance in tyre weight in a wide XC tyre, so it really is very light.
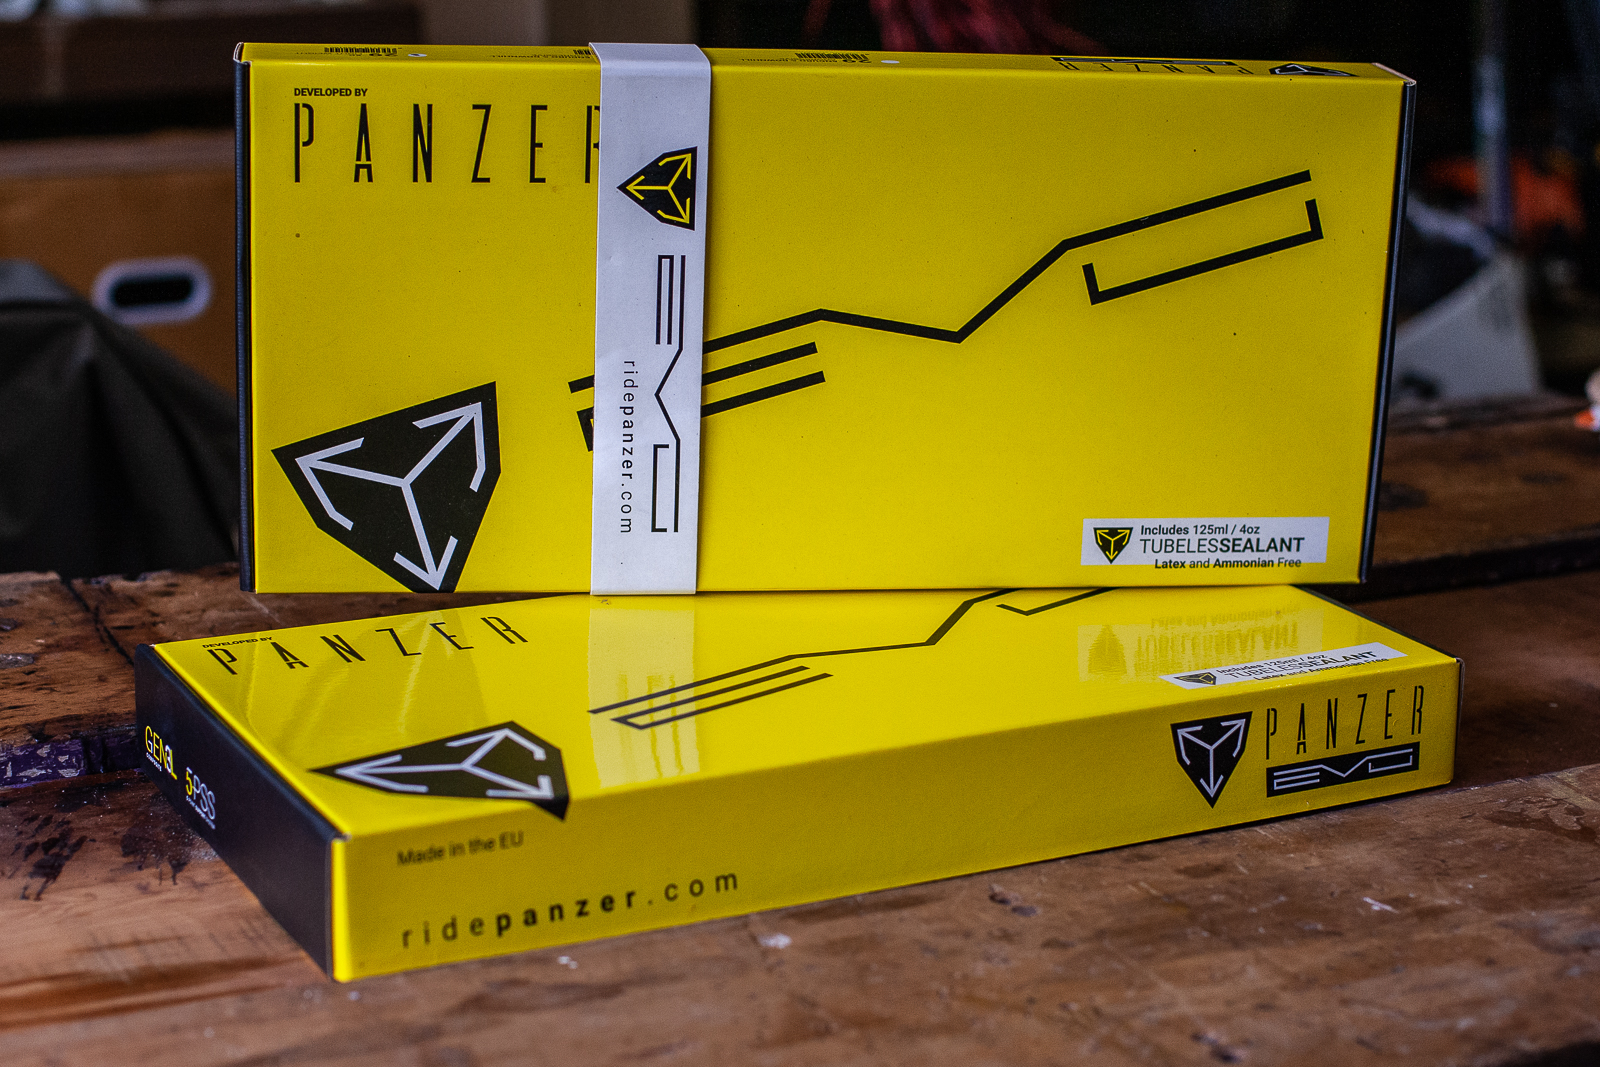
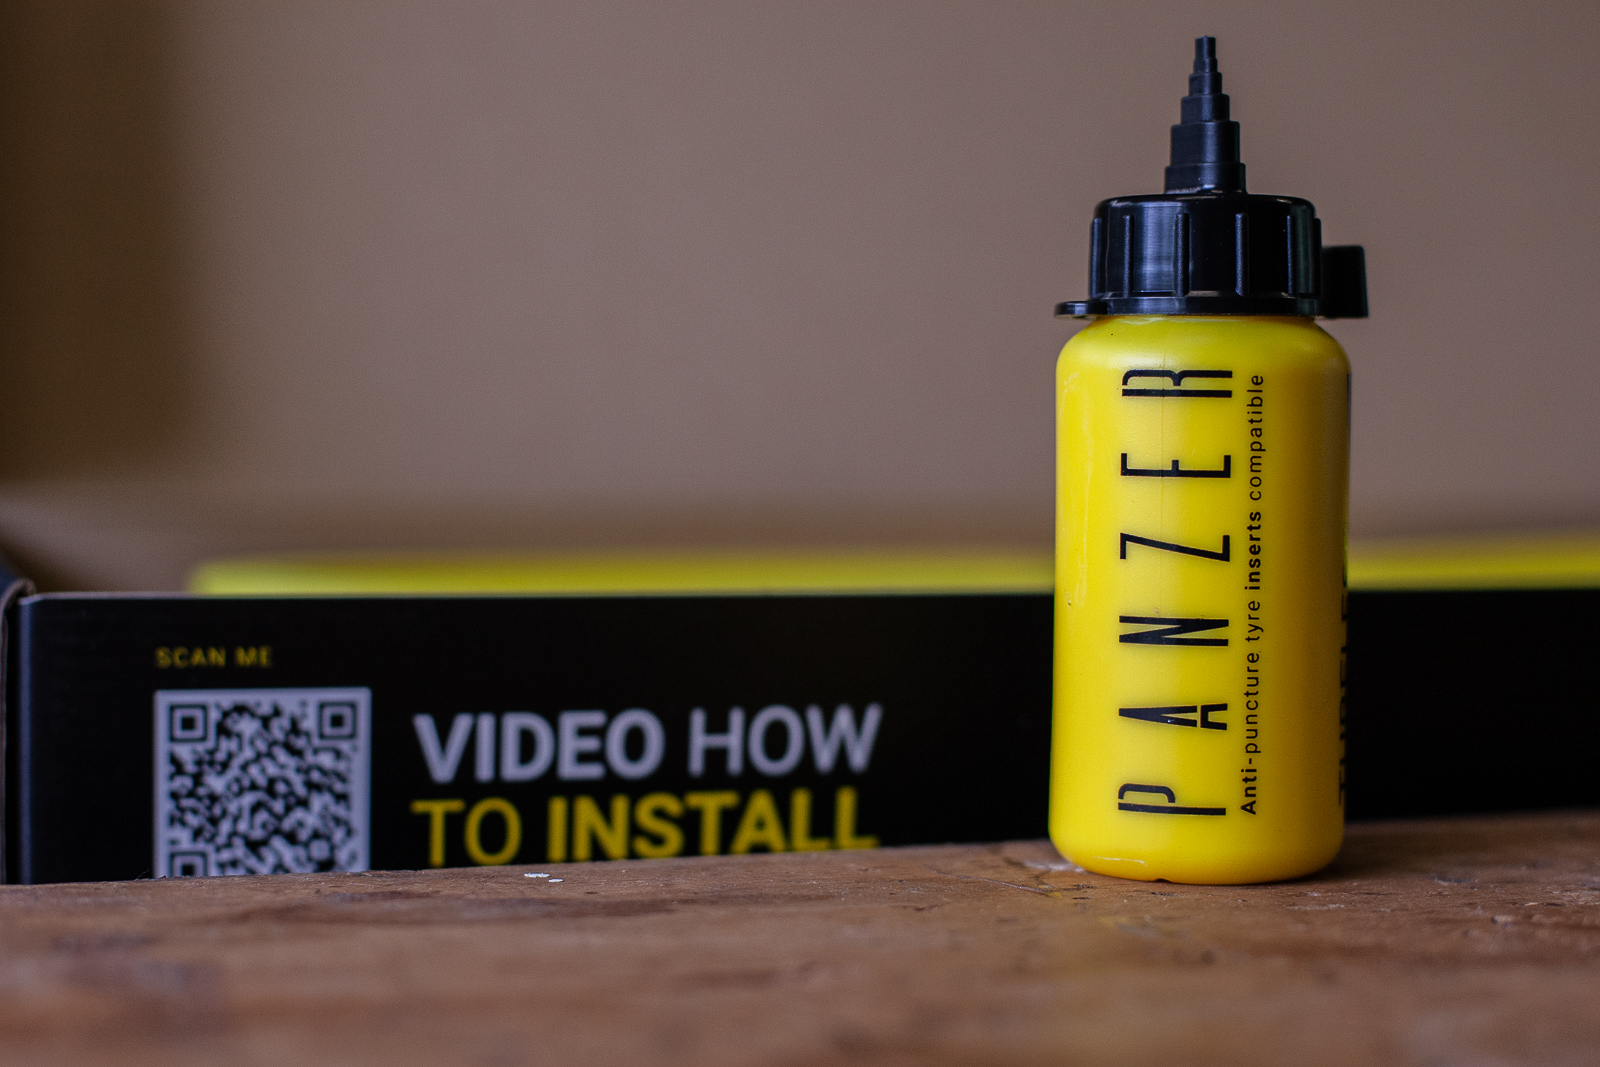
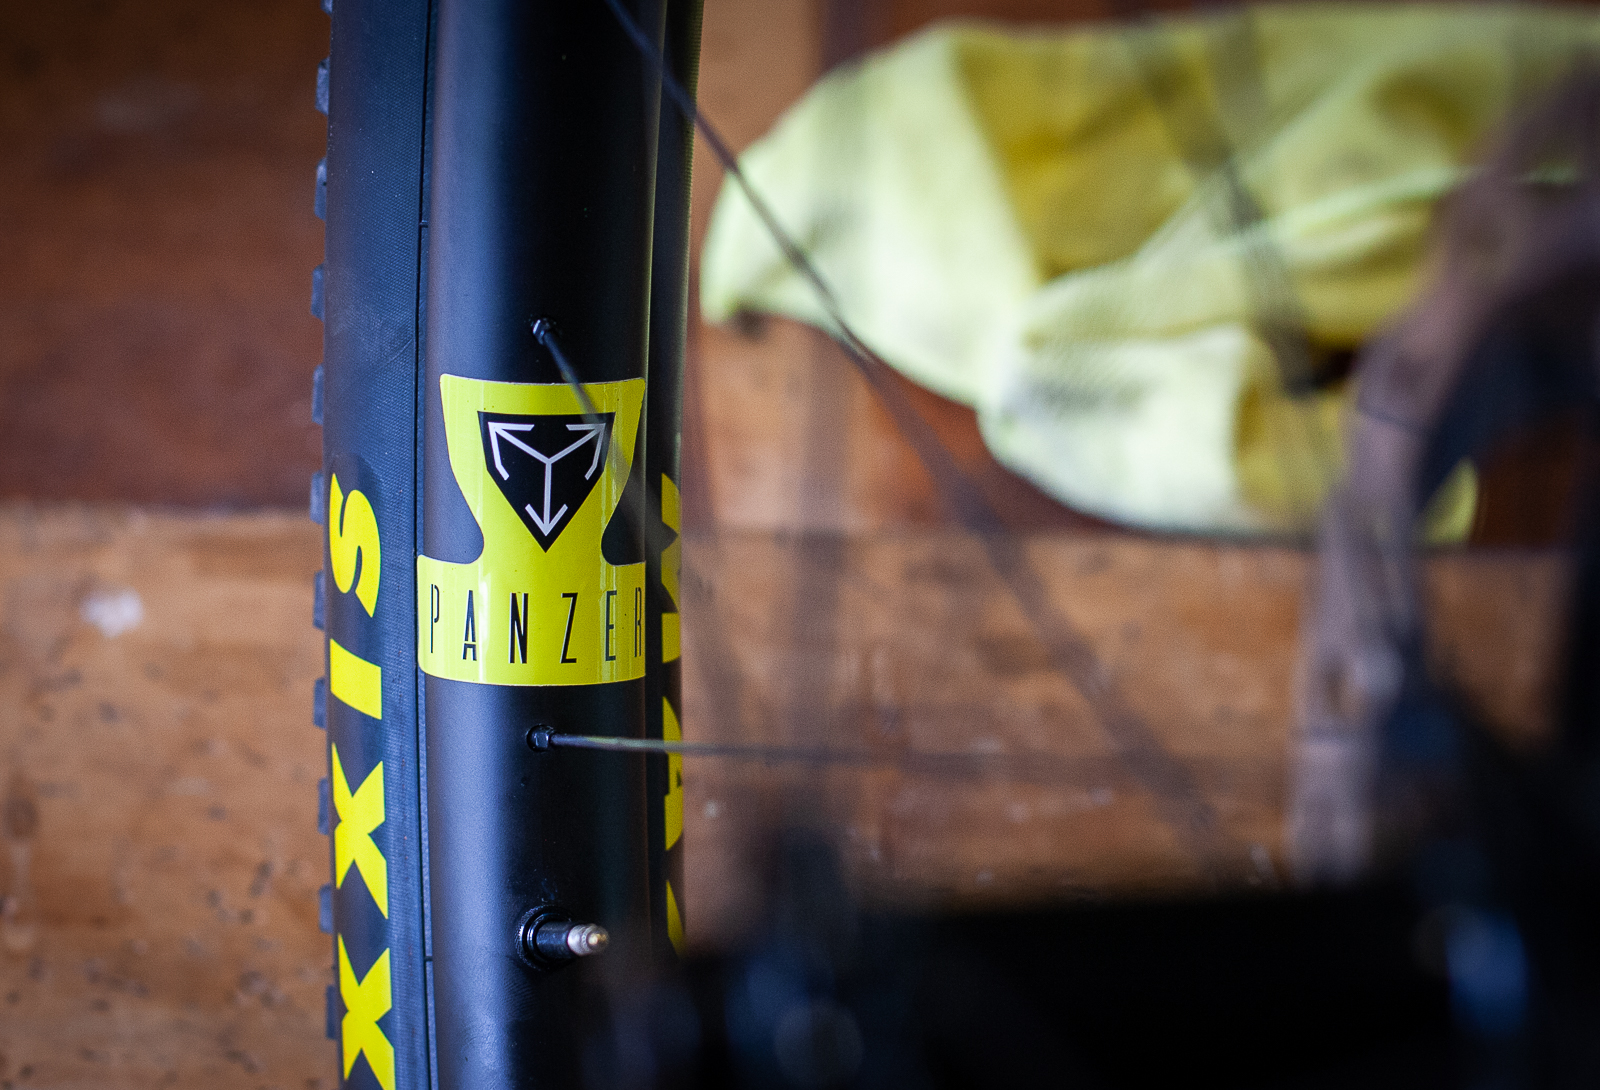
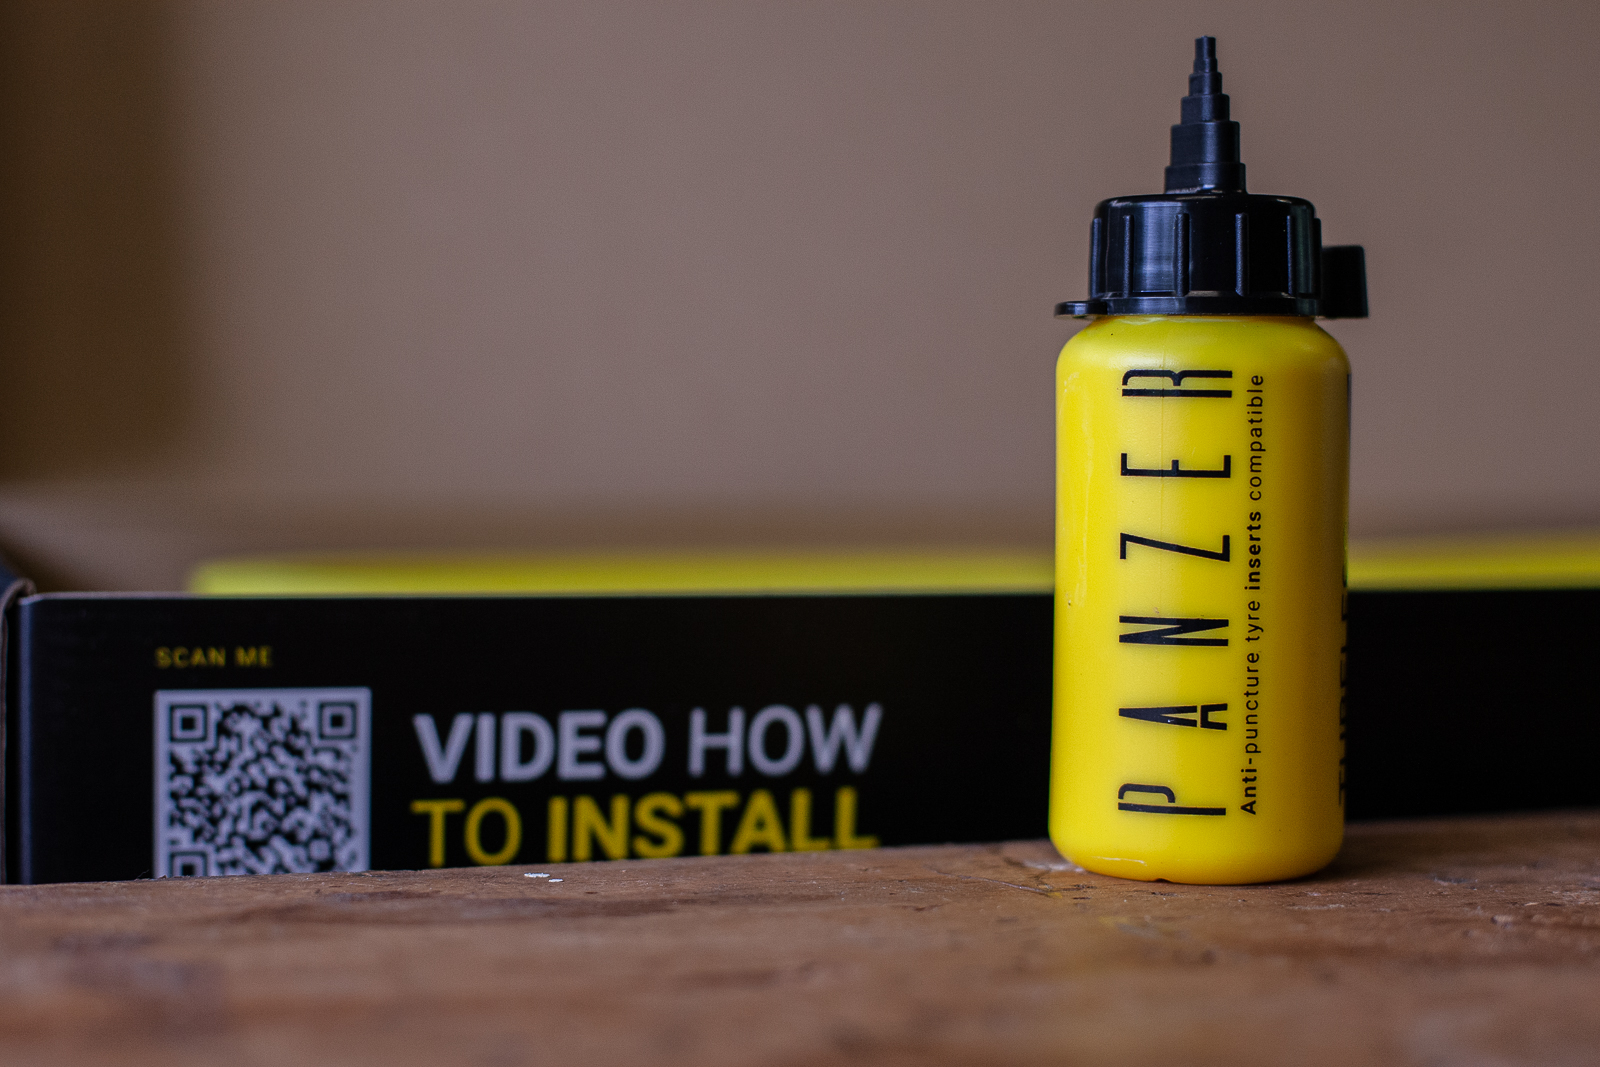
The inserts are sold in singles, and there are models for Enduro/Downhill in 27.5” and 29” also available. Each box comes with one liner, and a 125ml bottle of sealant. Panzer specify that you must clean any other sealant out of your tyre or rim before fitting the Panzer inserts. No doubt that Panzer inserts either soak up, or degrade with other sealants – and that is certainly something to keep in mind.
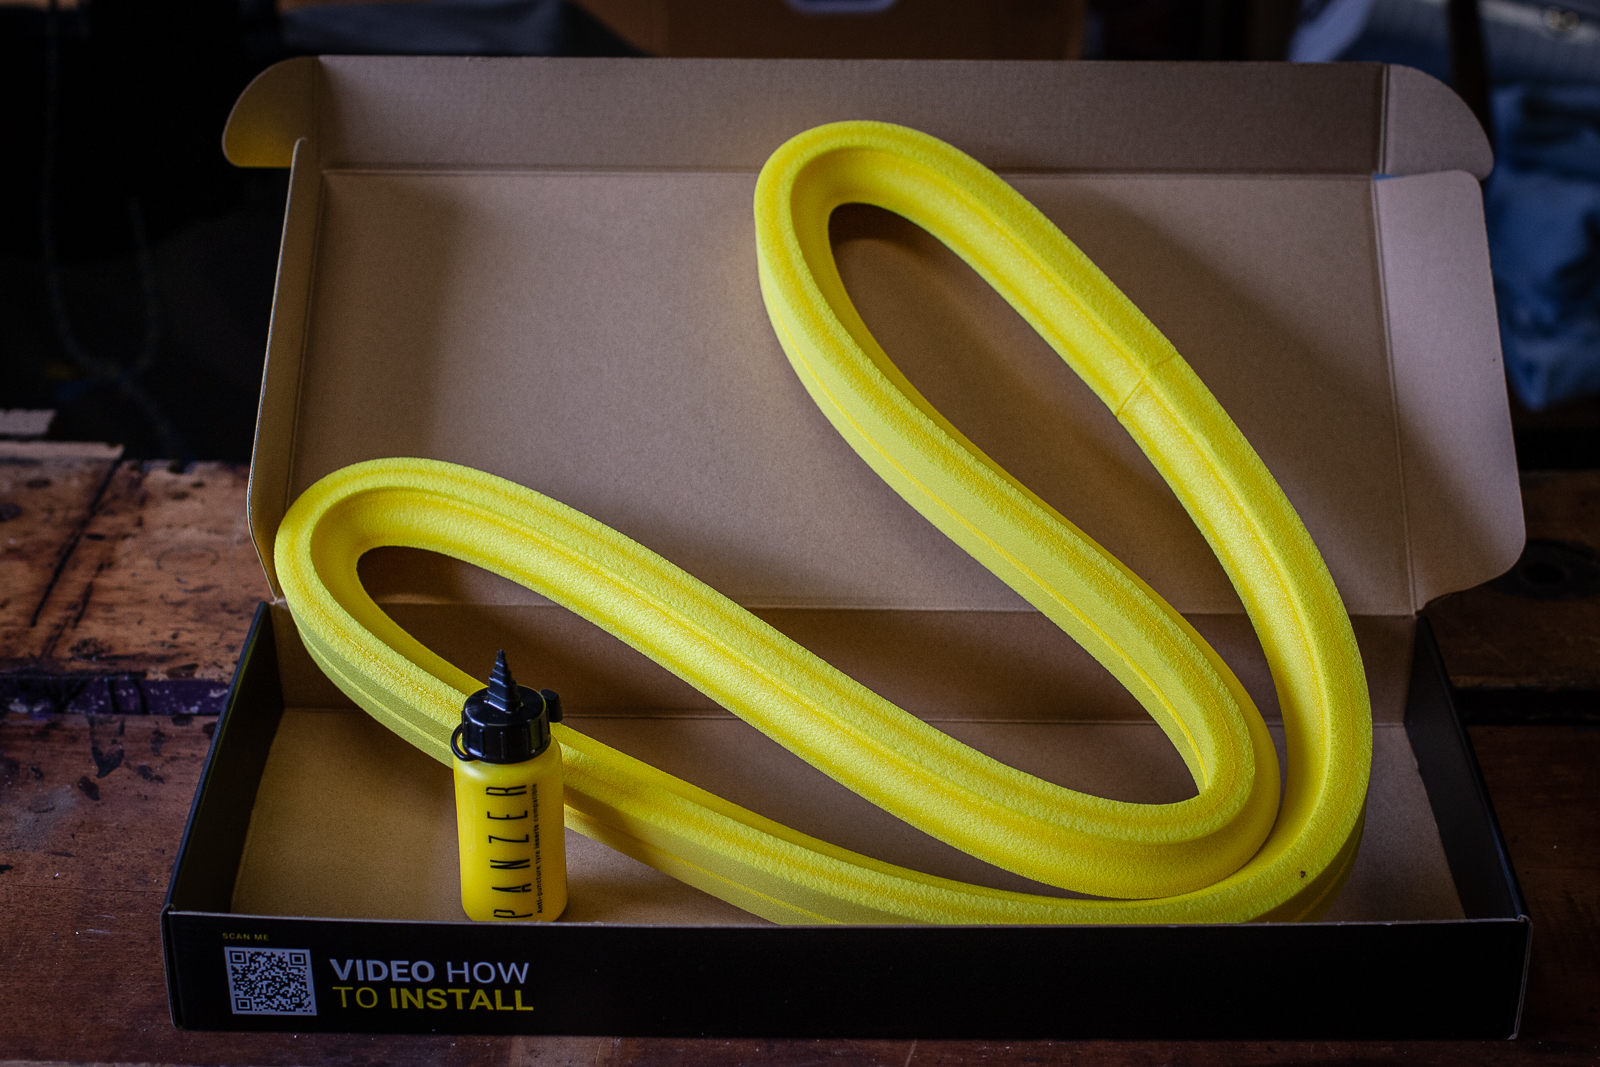
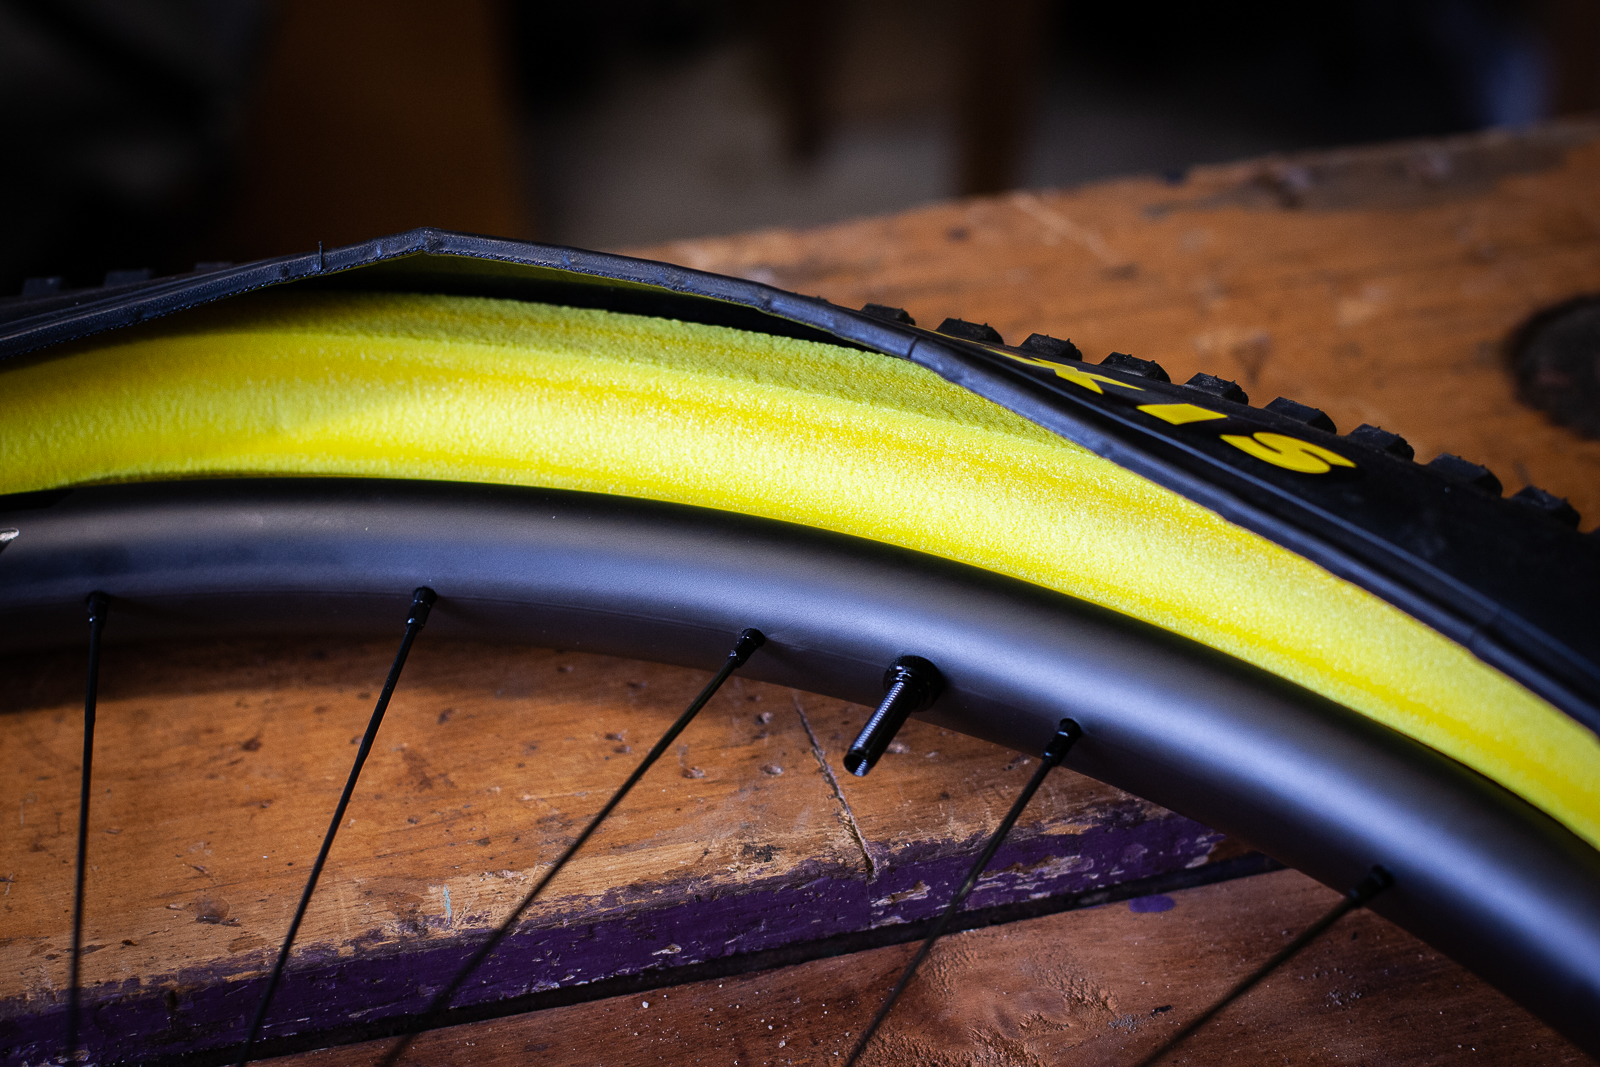
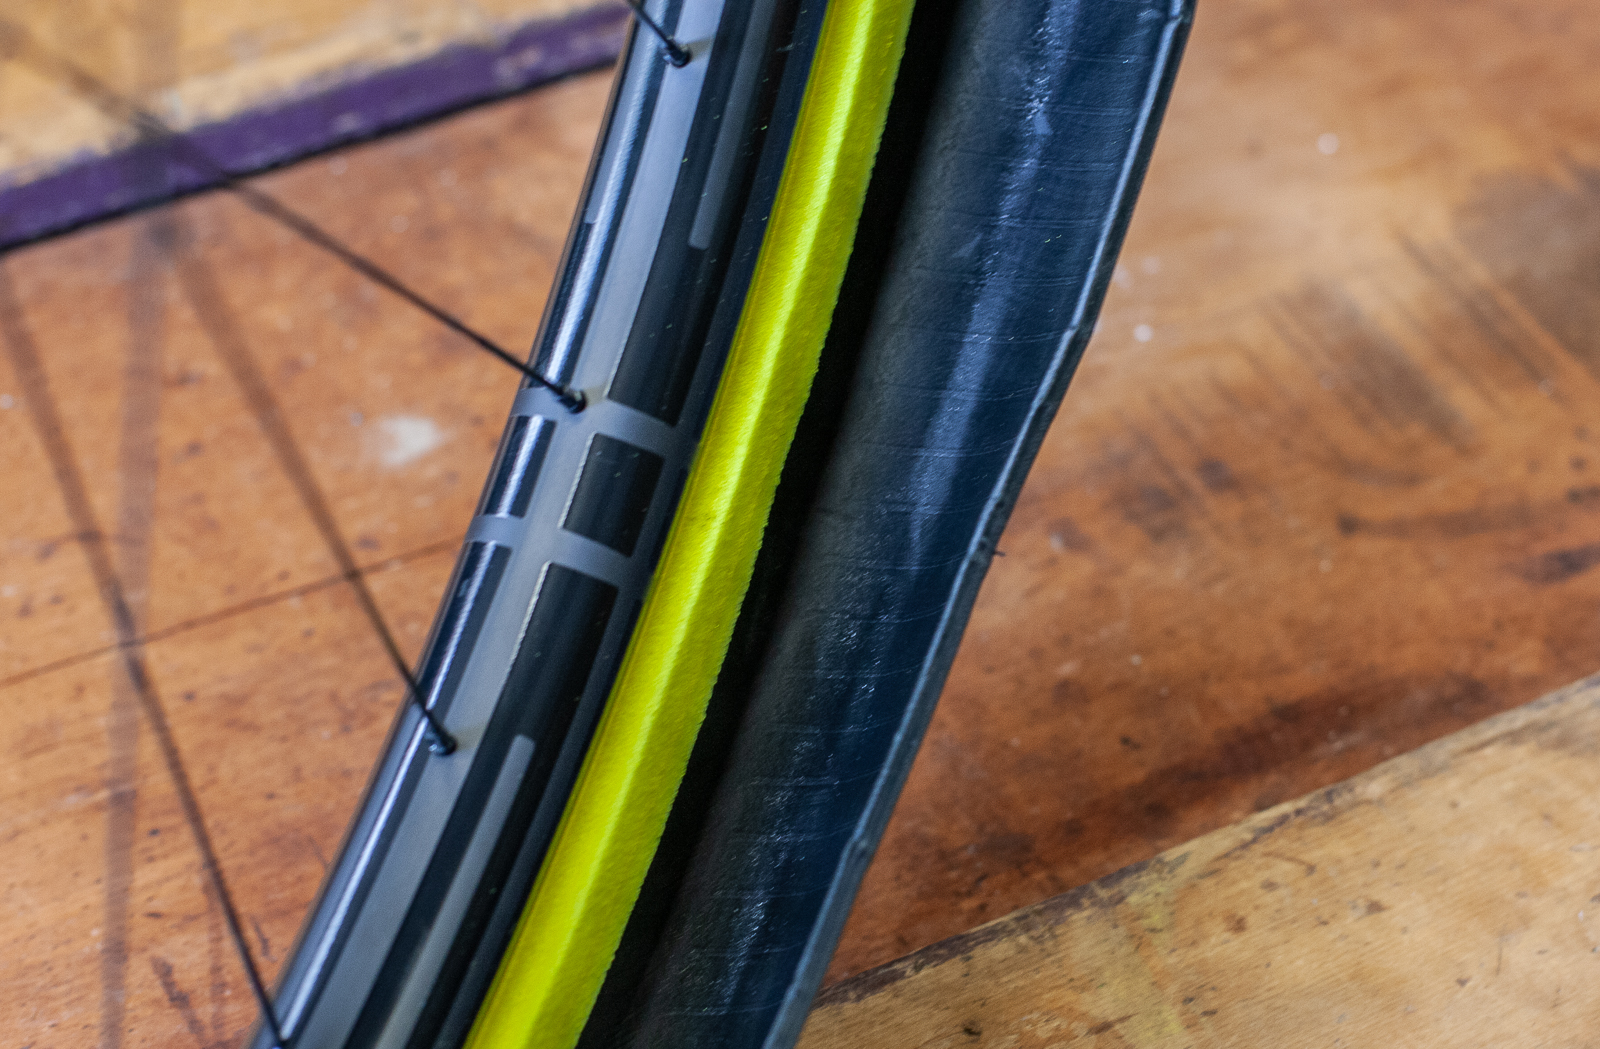
The insert shape has a V shape to sit into the rim and stay centred, and it is compatible with 2.0”-2.3” tyres. Although I did fit them to Maxxis 2.4” WT tyres. The Panzer insert is a similar style to the Rimpact or CushCore model, in that it sits close to the rim, but not like the noodle type like Pepi’s, or the rim strike protection like Effetto Tyreinvader or CSIXX Foamo.
Fitting up Panzer EVO inserts:
Full disclosure, I have only fitted a few types of tyre inserts. Panzer have their own video to watch (with a QR code on the box) and as always, the person in the video makes it look super easy. This type of insert gets fitted inside the tyre once one bead is already sitting in the rim well. Something like CushCore fits over the rim, then you fit the tyre onto it.
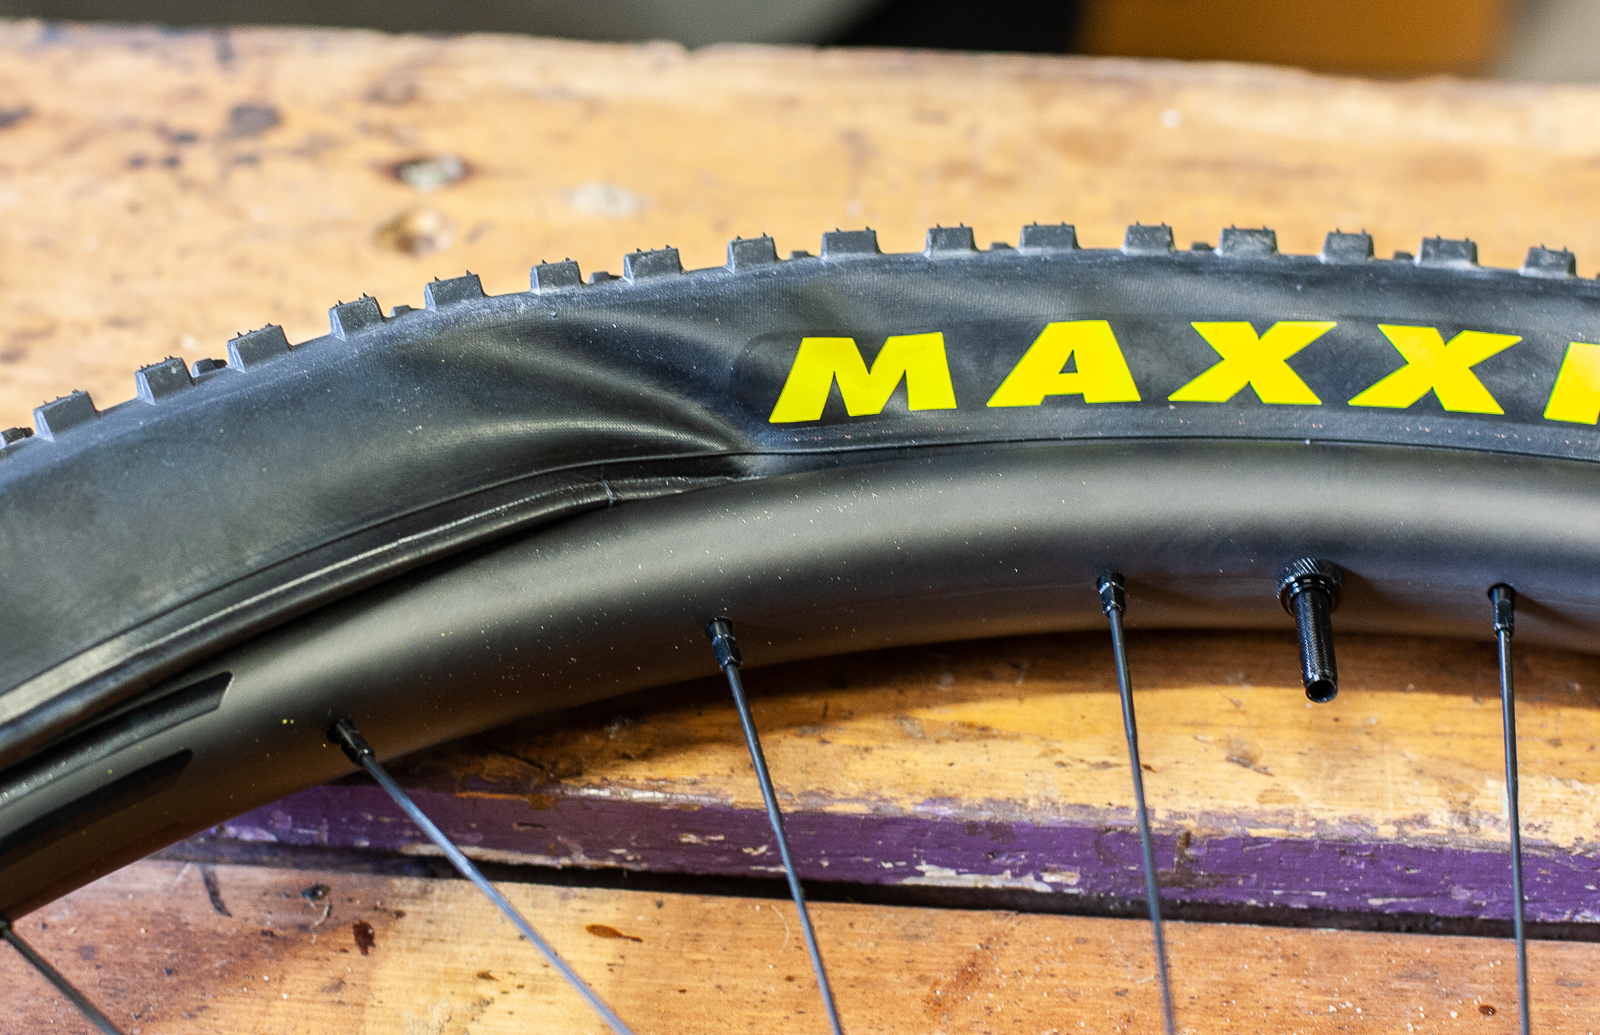
So the method for fitting the Panzer insert is pretty straight forward, until the point where you’re putting the last 20% of the other bead in, which is when it gets harder. Like any difficult tyre, or tyre and insert, it pays to make sure the bead is sitting well down into the rim well the whole way around. After doing that, finishing off the installation was reasonably straight forward. I went around to make sure the insert was sitting square on the rim, then it’s time to add air.
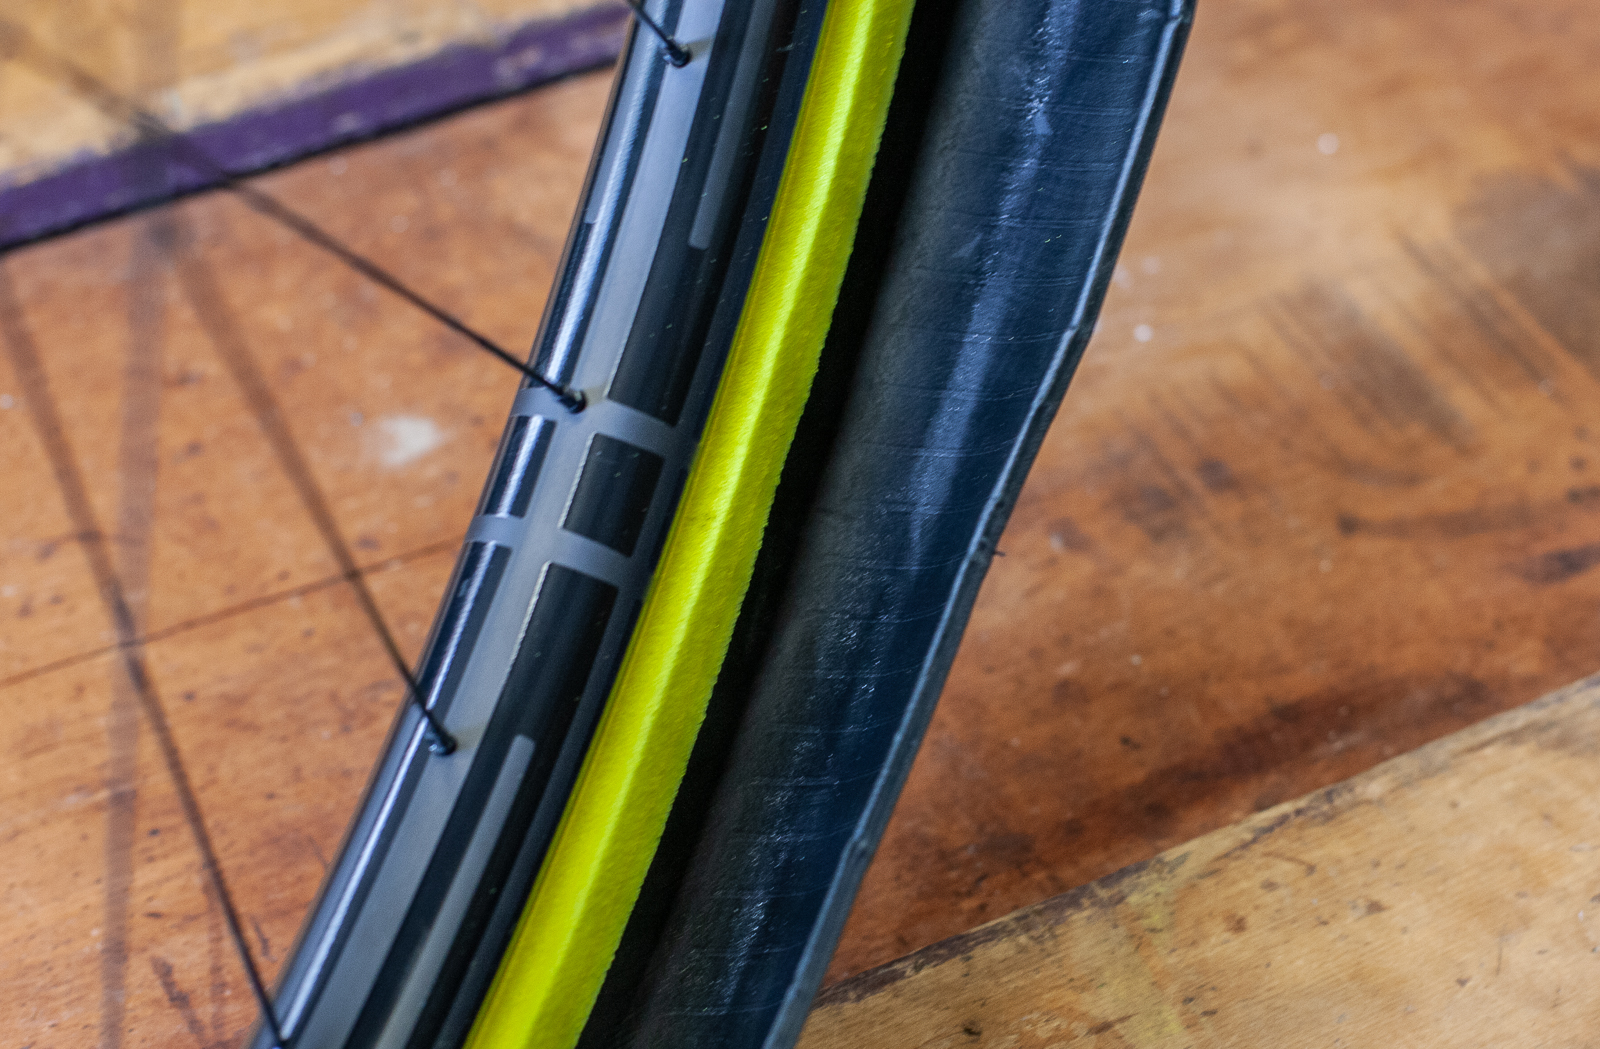
I inflated the tyre dry (without their own sealant) and the insert then gets forced down onto the rim – and the top of the valve. Panzer suggest poking through the valve stem (core removed) to release it. This works, although I’ve noticed it settles back down again too – and this is really annoying for setting tyre pressure. After adding some sealant through the valve stem, I set my tyre pressure at what I would normally run, to benchmark the setup.
On the trail:
After running my normal tyre pressures for 2.3-2.4” tyres (18 psi in the front and 19.5 in the rear) I managed to progressively drop the pressures a little. If you think this sounds low, bear in mind that these pressures are in wide tyres on wide rims – so there is lots of air there. And I’m a pretty staunchly grounded rider, I don’t tend to send my XC bike into oblivion when entering a rock garden.
I ended up settling at about 16psi in the front and 18 in the back. This is a lot lower than what I would normally run, and I did run a little lower as well, but ended up with this as the sweet spot.
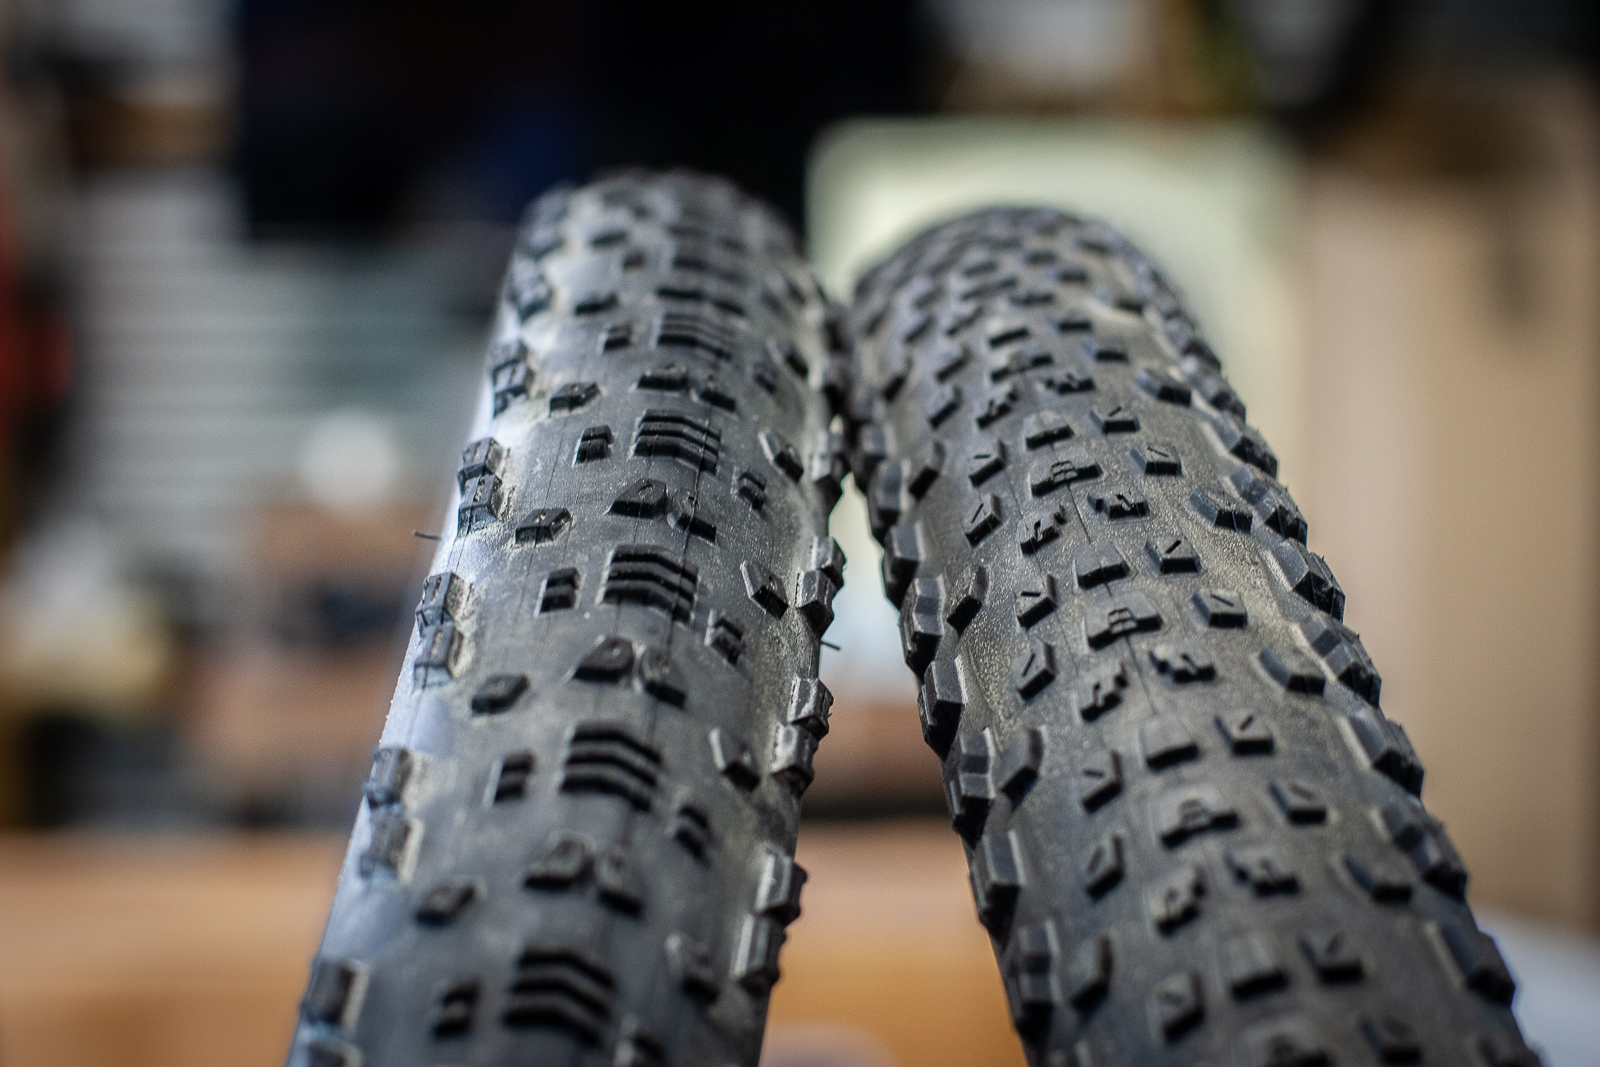
I found the shape of the Panzer insert really good for offering rim strike protection, which is useful on some of the faster trails that I tend to use for product testing. However, as a really light insert the Panzer setup doesn’t quite offer the same sidewall support as the heavier duty inserts that weight 3x or 4x as much! This isn’t a big surprise, but it meant that at lower pressures while I felt secure with rim strikes, I didn’t feel as secure in corners when there is more load on the tyres, and they just feel a bit too vague.
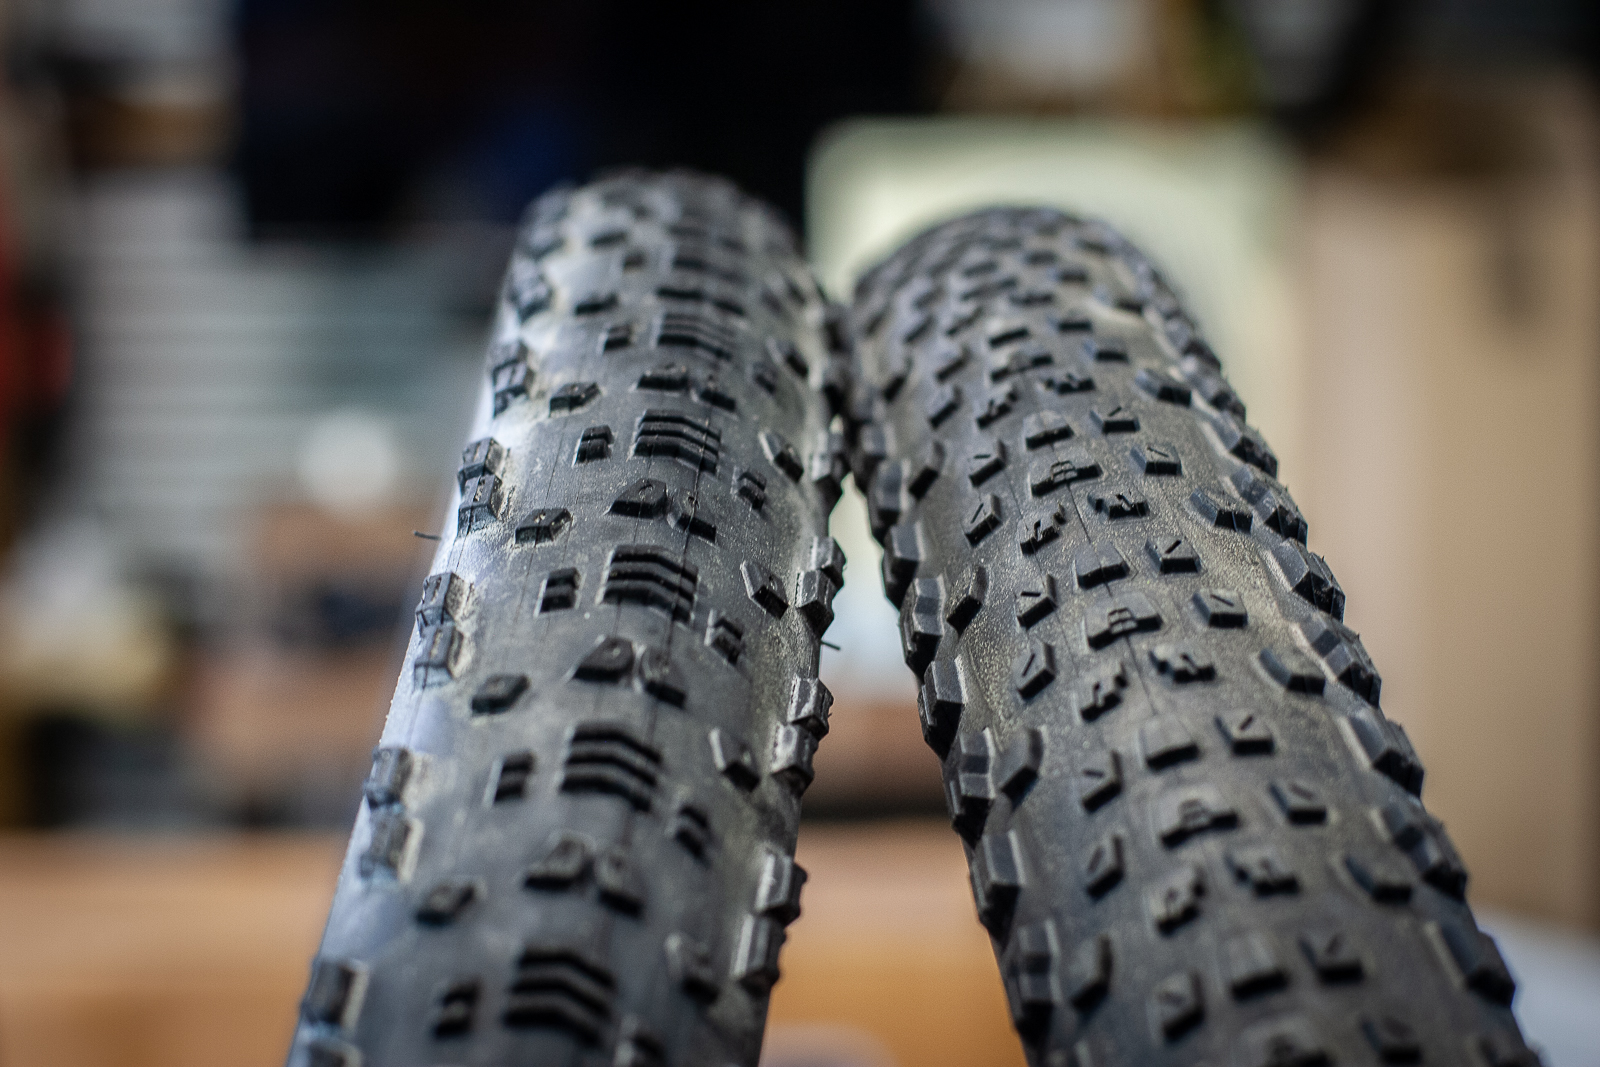
Regardless, I could run a little lower which did mean there was a bit more footprint on the ground. On a low tread height XC tyre this is a huge bonus, whether you’re on a singletrack climb pushing hard through corners, coming into a switchback on a descent pretty hot, or just working the terrain on a lumpy trail. More tread on the ground creates extra traction for acceleration, braking or steering. And I found this a really big bonus.
Looking for more tyre insert reviews?
TESTED: Tannus Armour Tubeless Inserts
TESTED: Rimpact Pro/Original Insert Pack
I didn’t get any sort of puncture when testing the tyres (it’s just not that rocky where I live) so I had to stab a tyre with a sharp spoke (2mm hole) as I wanted to test the sealant’s effectiveness. It did seal, but it wasn’t that fast. And a 2mm spoke makes a pretty small hole. I also tried a 3.5mm tool, and the sealant wasn’t able to seal it quickly at all. I tried a Stan’s DART plug but it didn’t really work successfully. The DART relies on a chemical reaction with the NoTubes sealant – and the Panzer sealant doesn’t have the same reaction. I pulled the DART plug out and tried a DynaPlug which relies more on physically filling the hole. This had a lot more success. So, why not run NoTubes sealant or similar? Panzer state that their rim protector isn’t designed for use with any latex or ammonia based sealant.
While I can see the benefits of inserts for rim protection and potentially getting a little more compliance out your tyre and wheel system, punctures are part of the reality of mountain biking. If the inserts remove the likelihood of tyre damage from rim and rock strike, that’s great. But sharp punctures still occur, and you want to be able to fix those with a plug or sealant – or both. But what if you need to put a tube in? This is an issue for the majority of liners/rim protectors. Do you carry out the liner? Of course you should, but will everyone do that? From a competitive racing perspective it’s a hard decision to make.
Final thoughts:
It is hard to look past the incredibly low weight of the Panzer inserts. For this alone, I think they’re an excellent insurance policy for cross-country racers. However, for the most fuss-free use I would use a valve that lets air fill the rim from the side of the head – like an Elk Titanium valve. This will prevent the occlusion of the valve that the insert creates. In the future I would hope that Panzer includes a valve like this.
Personally I wouldn’t use this insert for marathon and stage races that take me a long way out, as the sealant doesn’t work well enough. I can’t imagine pulling the liner out and carrying it after putting a tube in, with 45km to go to the end of a race. But for cross-country events where you’re on a short lap, with a technical zone, I think this type of insert is not only light, but offers some great performance advantages too.
Hits:
- Very light tyre insert
- Simple fitting
- Rim protection
Misses:
- Unique sealant required
- The liner can mess with pressure setting
RRP: $125.30 per wheel
From: kwtimports.com.au

