Tool Up - essential tools for your home workshop
What do you need to get a functional home workshop up and running? Will Shaw investigates.
Words: Will Shaw
Photos: Will Shaw/Mike Blewitt
Intro:
Working on your bike is great for many reasons. You’ll learn more about what components work for you, and what ones don’t. You’ll save money compared to taking your bike to the bike shop. Working on your bike is also a great excuse for some alone time, sneaking in some music, podcasts, and a maybe a cheeky drink.
Whilst fixing your own bike has lots of benefits, there are some tools you’re going to need to get the job done. Here’s a look at the essentials, as well as some luxury items that make working on your bike that much nicer.
The Essentials:
-
Workstand
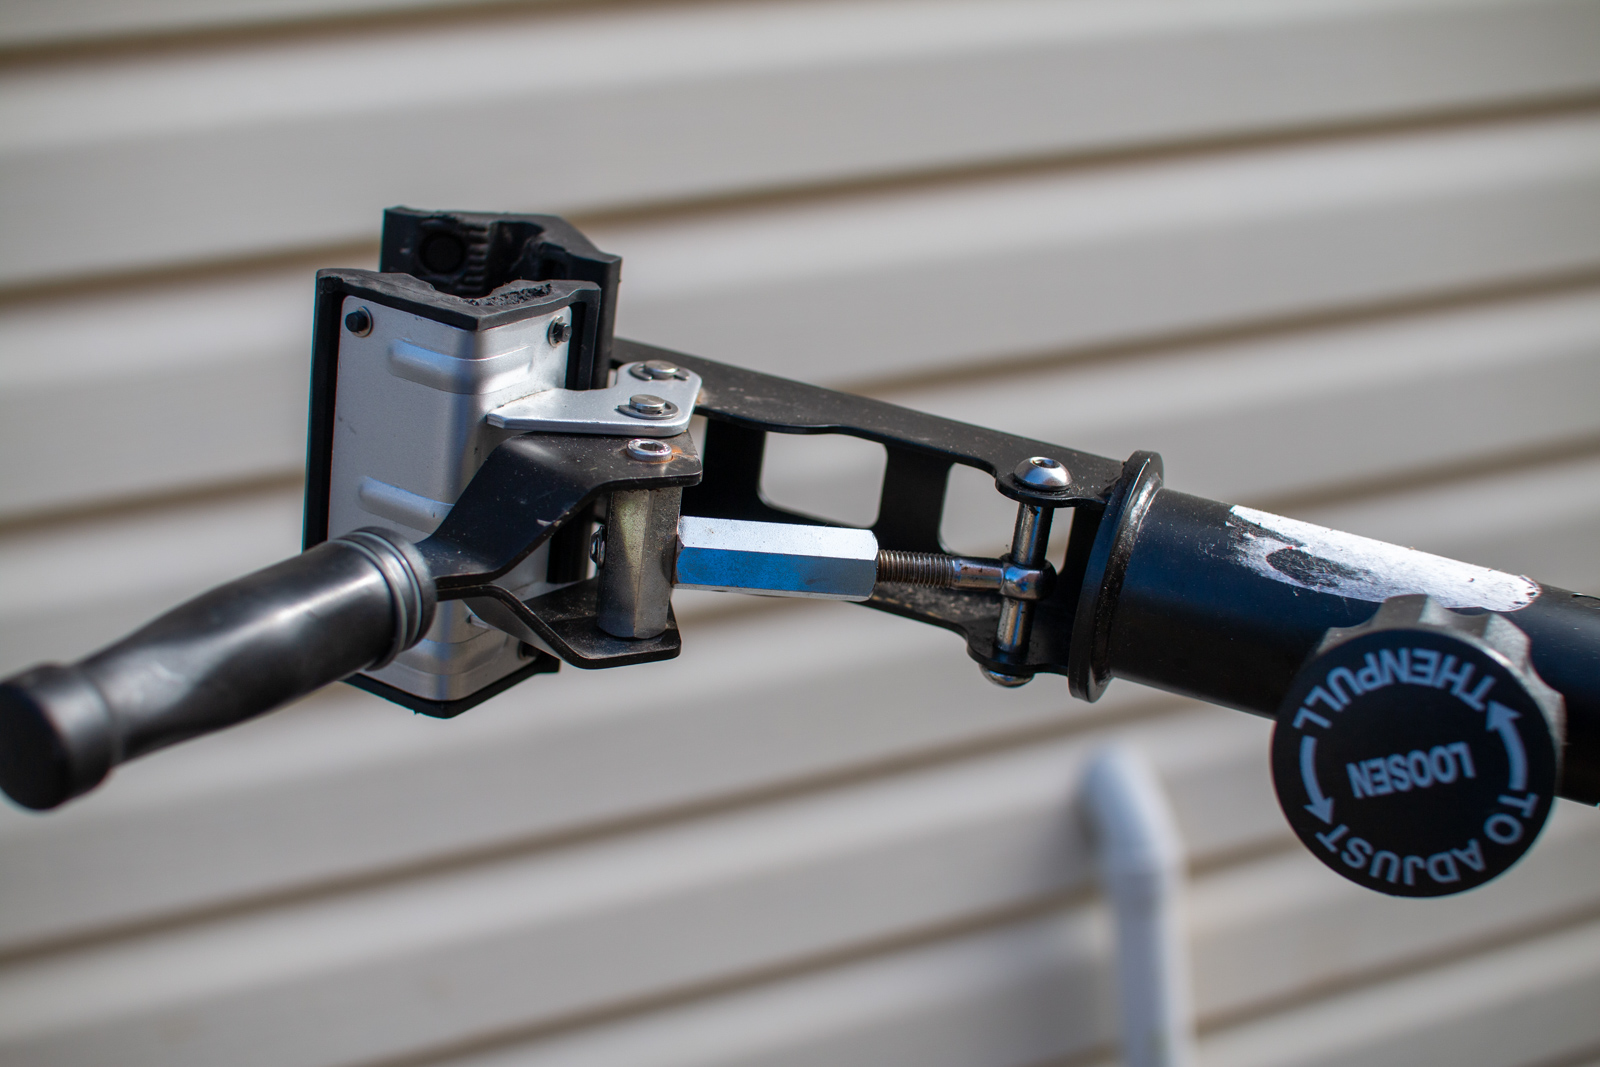
A good workstand is critical. There are lots of designs out there across all price points. I’d avoid going for the cheapest options, as the workstand is the element of your workshop you’ll use the most. A good stand will be adjustable, so it can hold your bike in the right position for you to work without hunching your back too much. A good stand will also hold the bike steady and allow for you to spin the cranks freely. Another consideration in the modern world is the stand’s ability to hold an eBike.
I’m currently using an eBike rated stand from Super B, which does the job nicely but isn’t as nice as something like Feedback Sports’ Pro Elite Workstand (although it comes in at under half the price at $219.99 as opposed to $500).
-
Work bench/tool kit
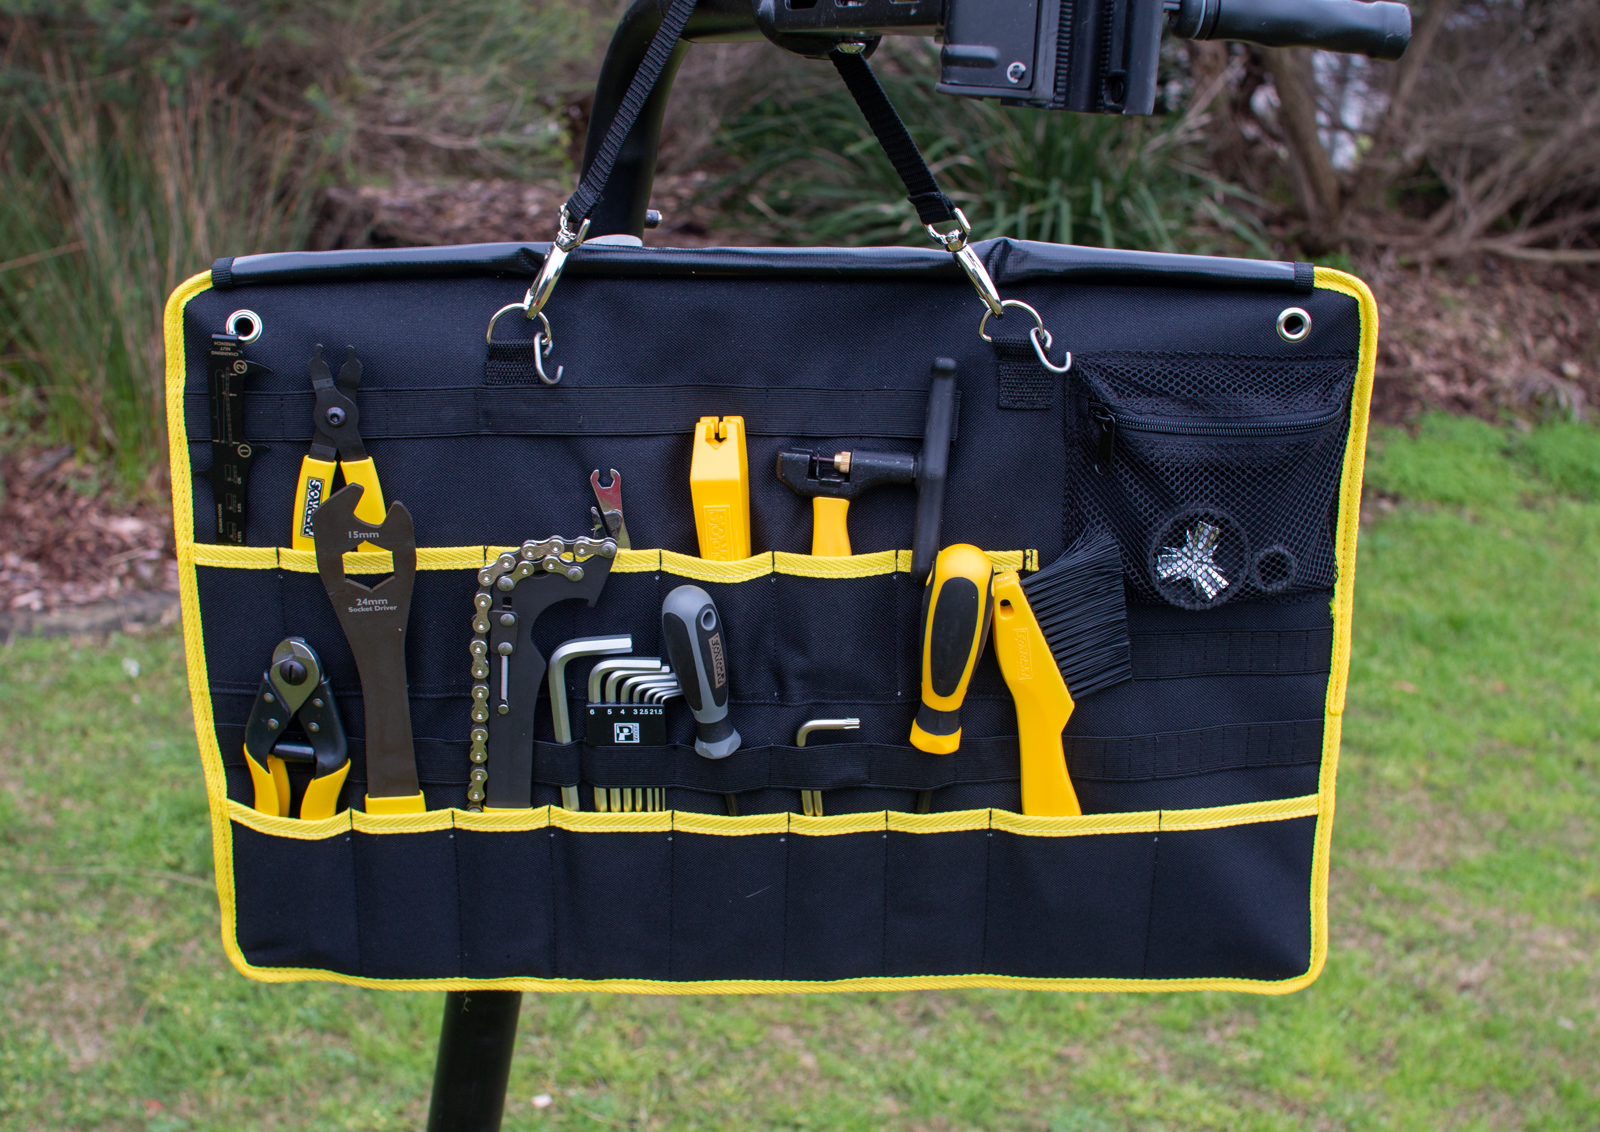
So, you’ve got your bike in the stand, and now it’s time to get fixing! A work bench or a tool kit that hangs off your stand is going to save your back, and you’ll spend less time on the floor looking for that rotor bolt you put down 10 seconds ago. Purchasing a tool kit with all the common tools in it serves the double purpose of keeping your tools in one place, and not needing to have a dedicated bench setup. Most tool brands offer kits, and they’re usually more economical than buying each tool individually.
Park Tool’s Home Mechanic Starter Kit will get you going with a nice spread of tools from $282.99, although the tools come in a case rather than a roll. Pedro’s Burrito Tool Kit is a great option if you’re after a more comprehensive range of tools from the off at $410 (it includes additional tools like cable cutters, pedal wrench, flat head screwdriver, a chain checker, and a disc wrench). You can also hang the Burrito Tool Kit over your newly acquired stand, which is easier for workflow if you don’t have a dedicated bench setup.
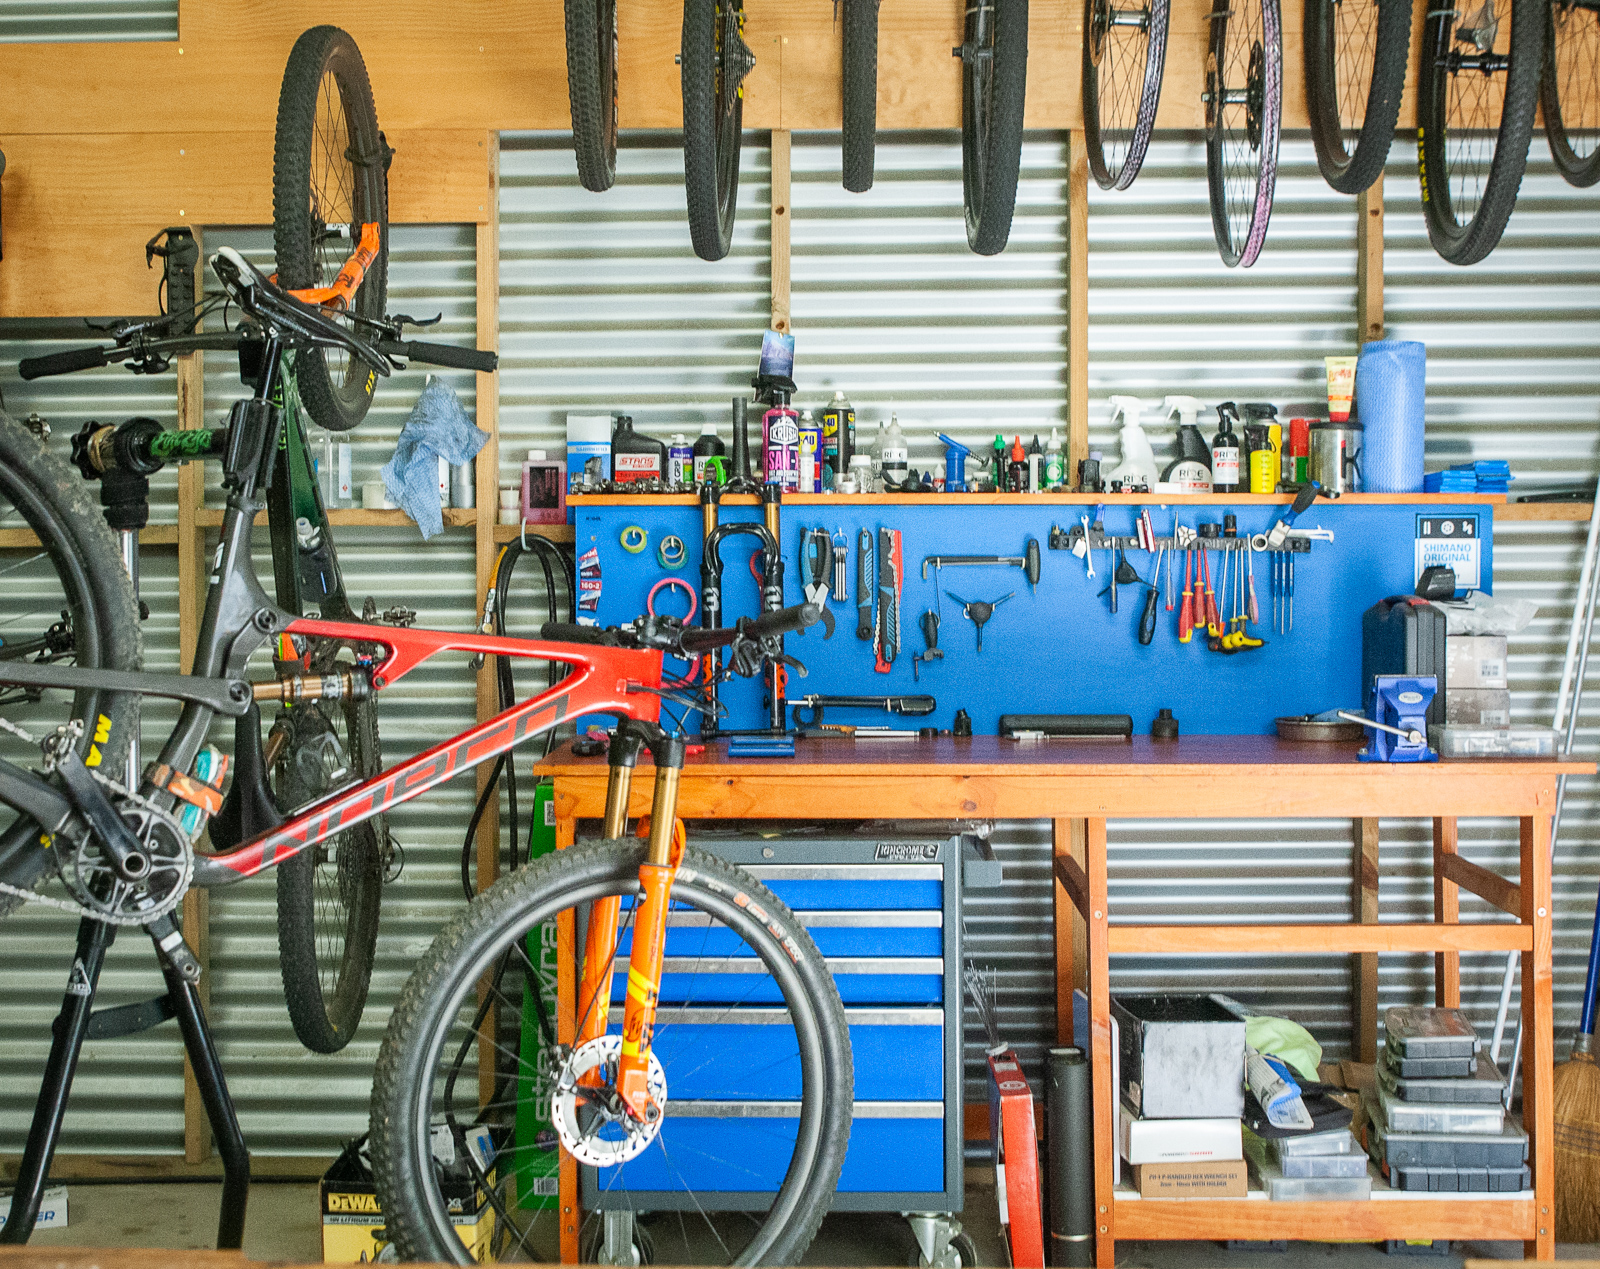
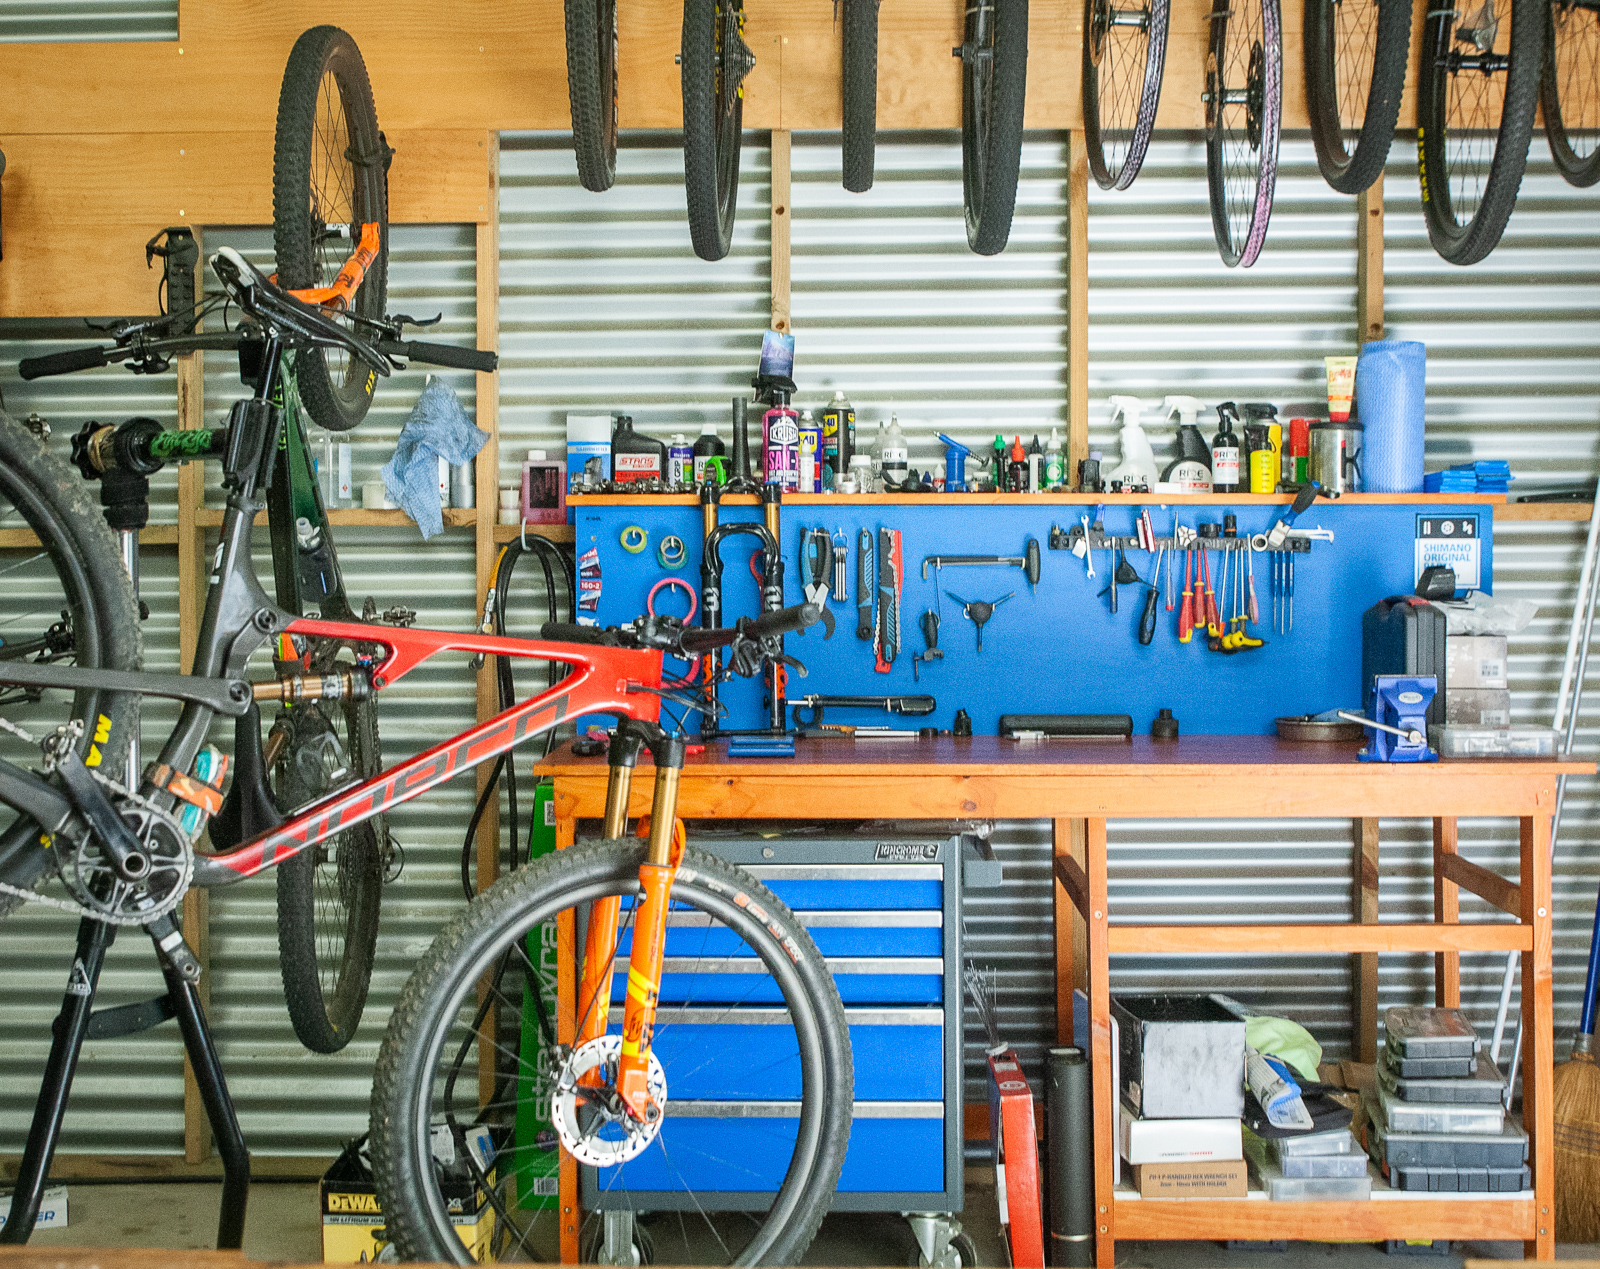
If you’ve got the space and budget, a dedicated work bench with drawers makes a world of difference. You can organise the drawers, so you always know where everything is, and the space on the bench means you’ll spend less time on your hands and knees retrieving parts and tools.
-
Set of allen keys (1.5mm – 10mm)
Like your workstand, allen keys are a tool you’ll use all the time. Aim for a set that has options from 1.5mm through to 10mm. Tools with a ball end are handy for bolts in awkward positions. Also, like your workstand, don’t go for the cheapest option. Something from the likes of Park Tool isn’t going to break the bank or round your bolts. They do a 1.5mm to 10mm ball ended set for $57.99.
Another handy option when it comes to allen keys is a three-way tool. Most tool brands offer set combinations (for example 4mm, 5mm, and 6mm keys), and there are also three ways that use bits, and therefore you can use any size head with them. One such example is the Prestacycle 3-way bits tool, which retails for $34.95. Whilst having the ability to use any bit size and keep using the tool when the bits wear, a fixed 4mm/5mm/6mm three way is a handy tool to have.
-
Set of Torx keys (T10 – T30)
Torx keys have been popping up more and more over the last ten years, particularly on SRAM components. A decent set of Torx keys won’t set you back much money, but at the absolute minimum a T25 is an essential tool for rotor bolts and SRAM components such as a matchmaker clamp. This is where a three-way driver like the Prestacycle offering could also come in handy with a few Torx bits. A 3-way Torx Wrench from Park Tool with 10mm, 25mm, and 30mm bits will set you back $29.99.
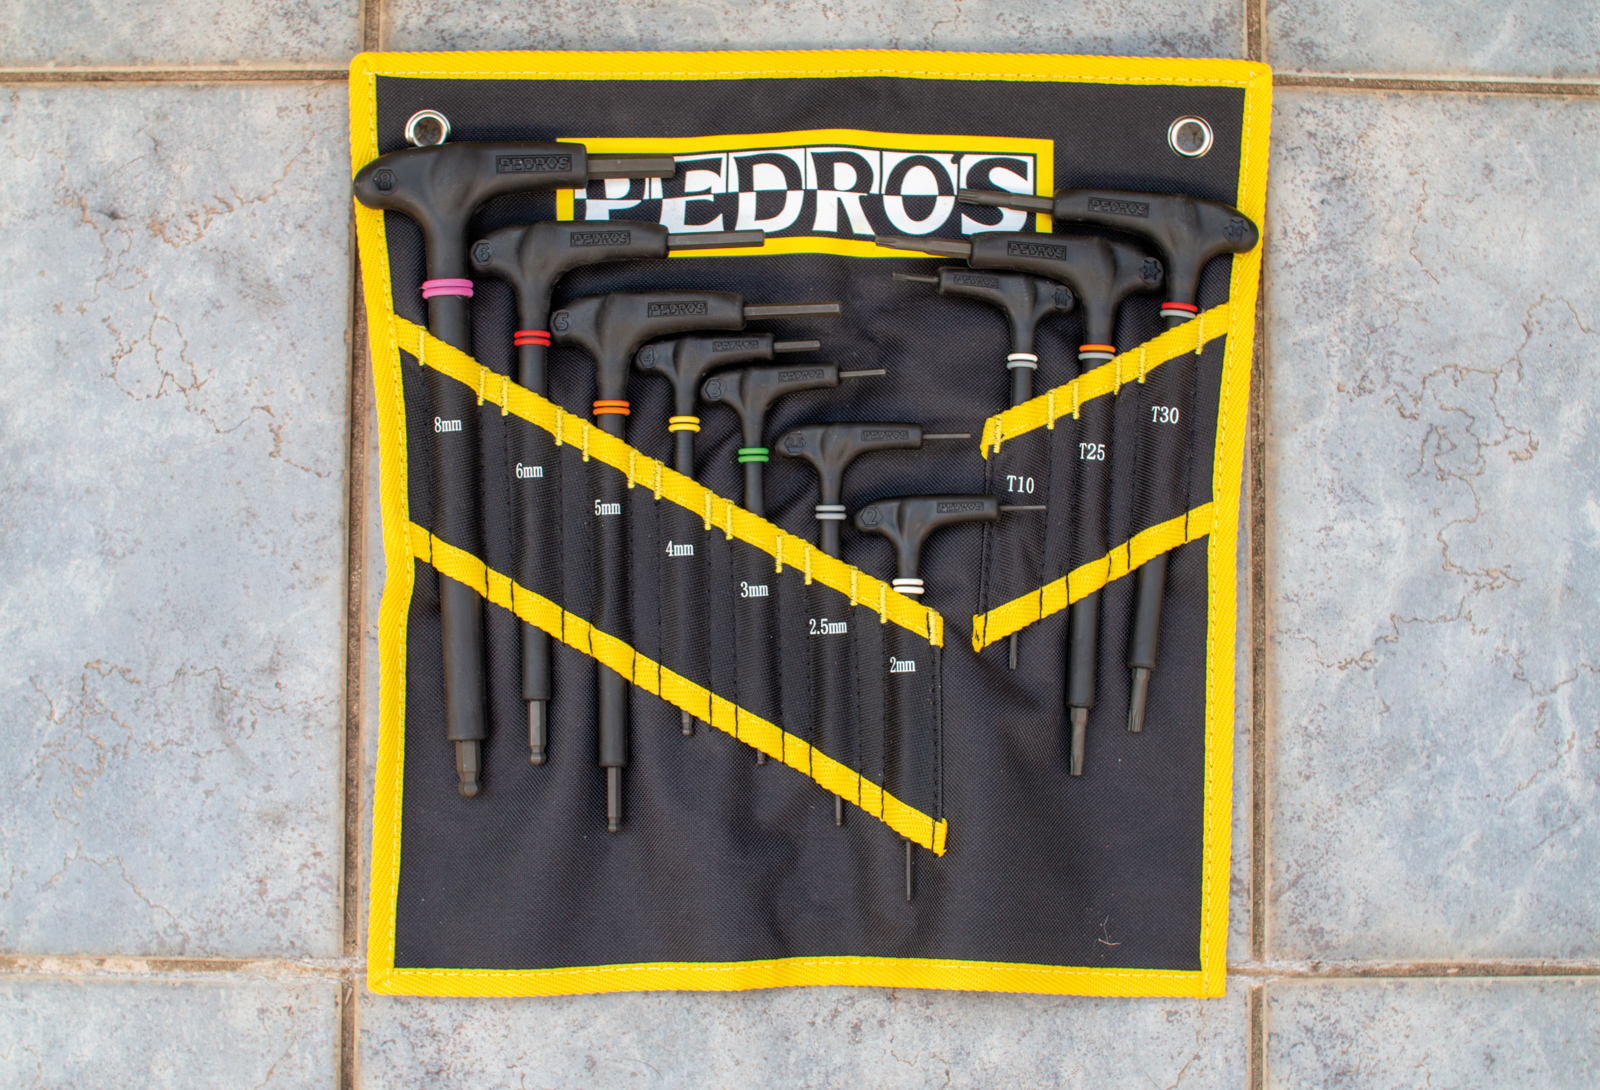
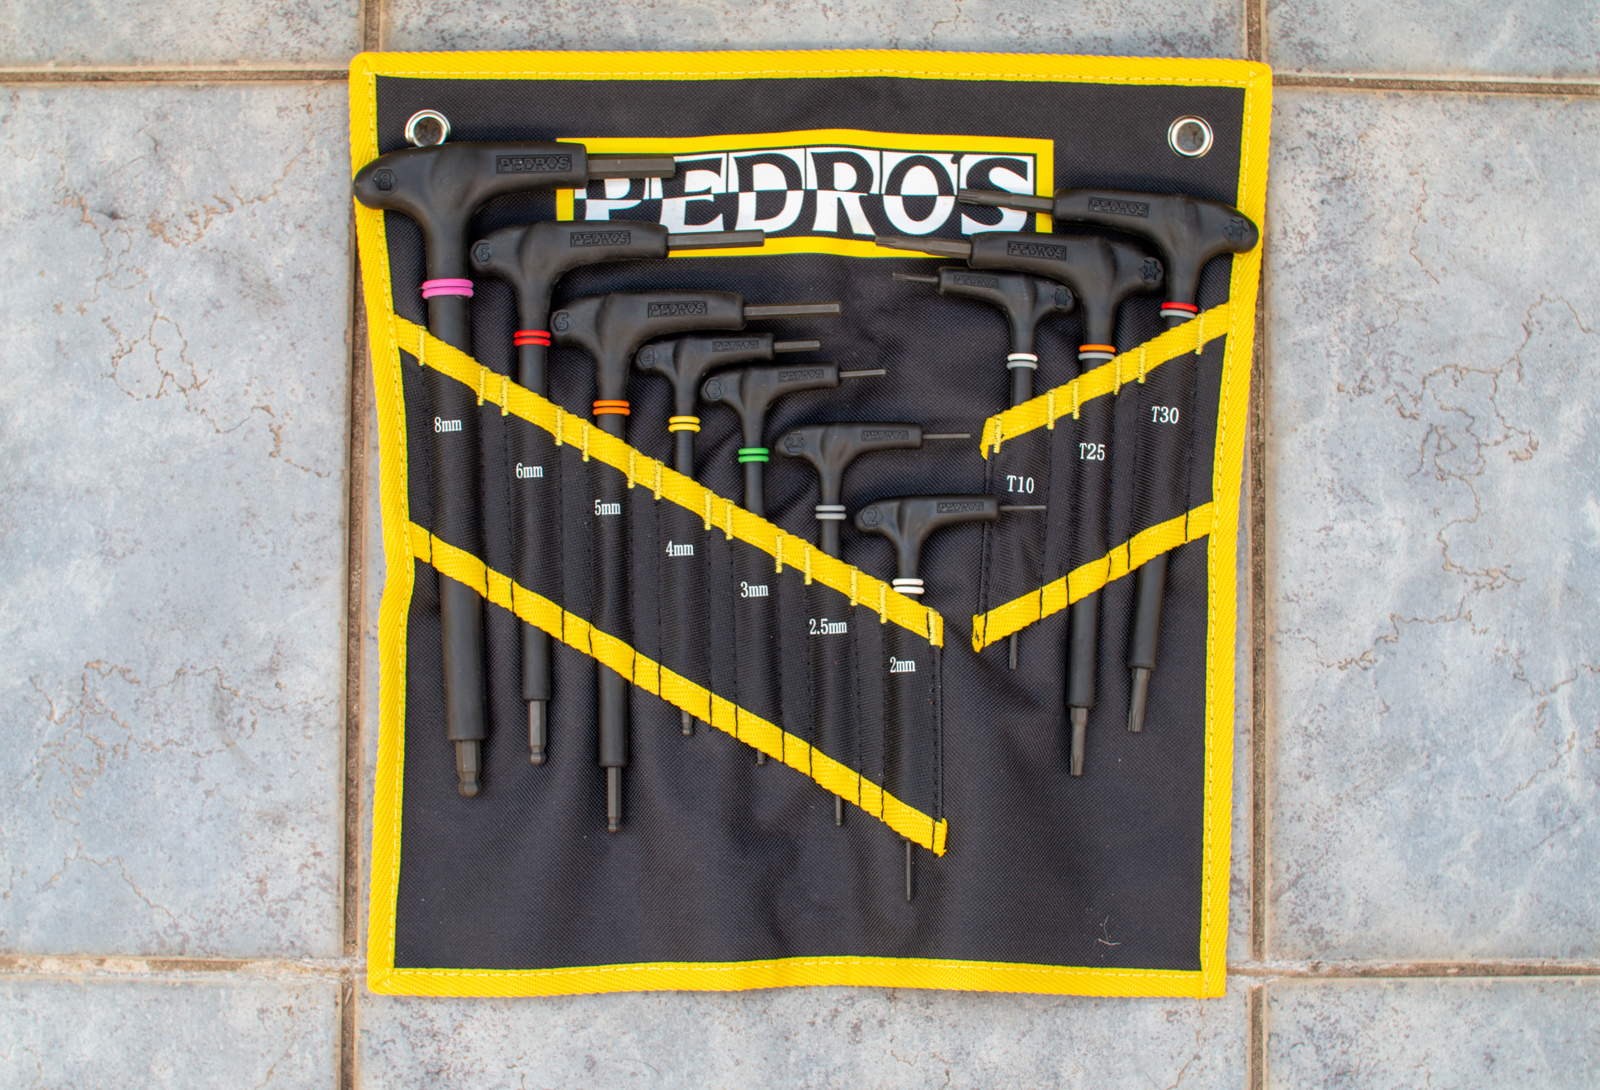
If you’re after something that covers your allen key and Torx key needs in single package, Pedro’s 10-piece hex and Torx wrench set for $155 will do the job nicely for years to come with T shaped 2-8mm allen keys, and T10-T30 Torx keys stored in a handy pouch.
-
Cable cutters
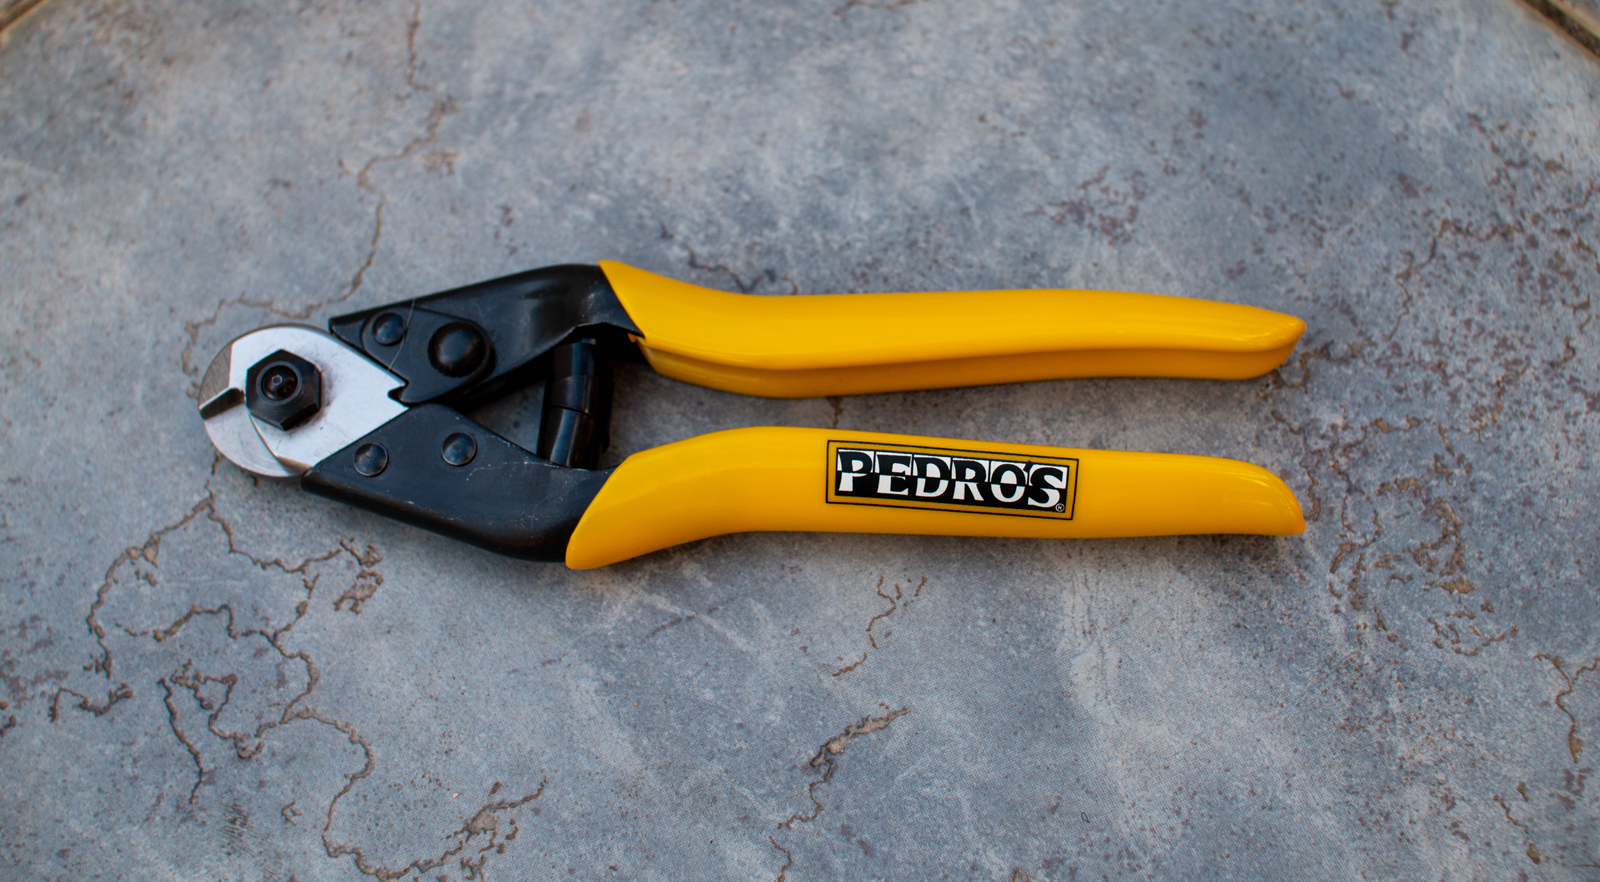
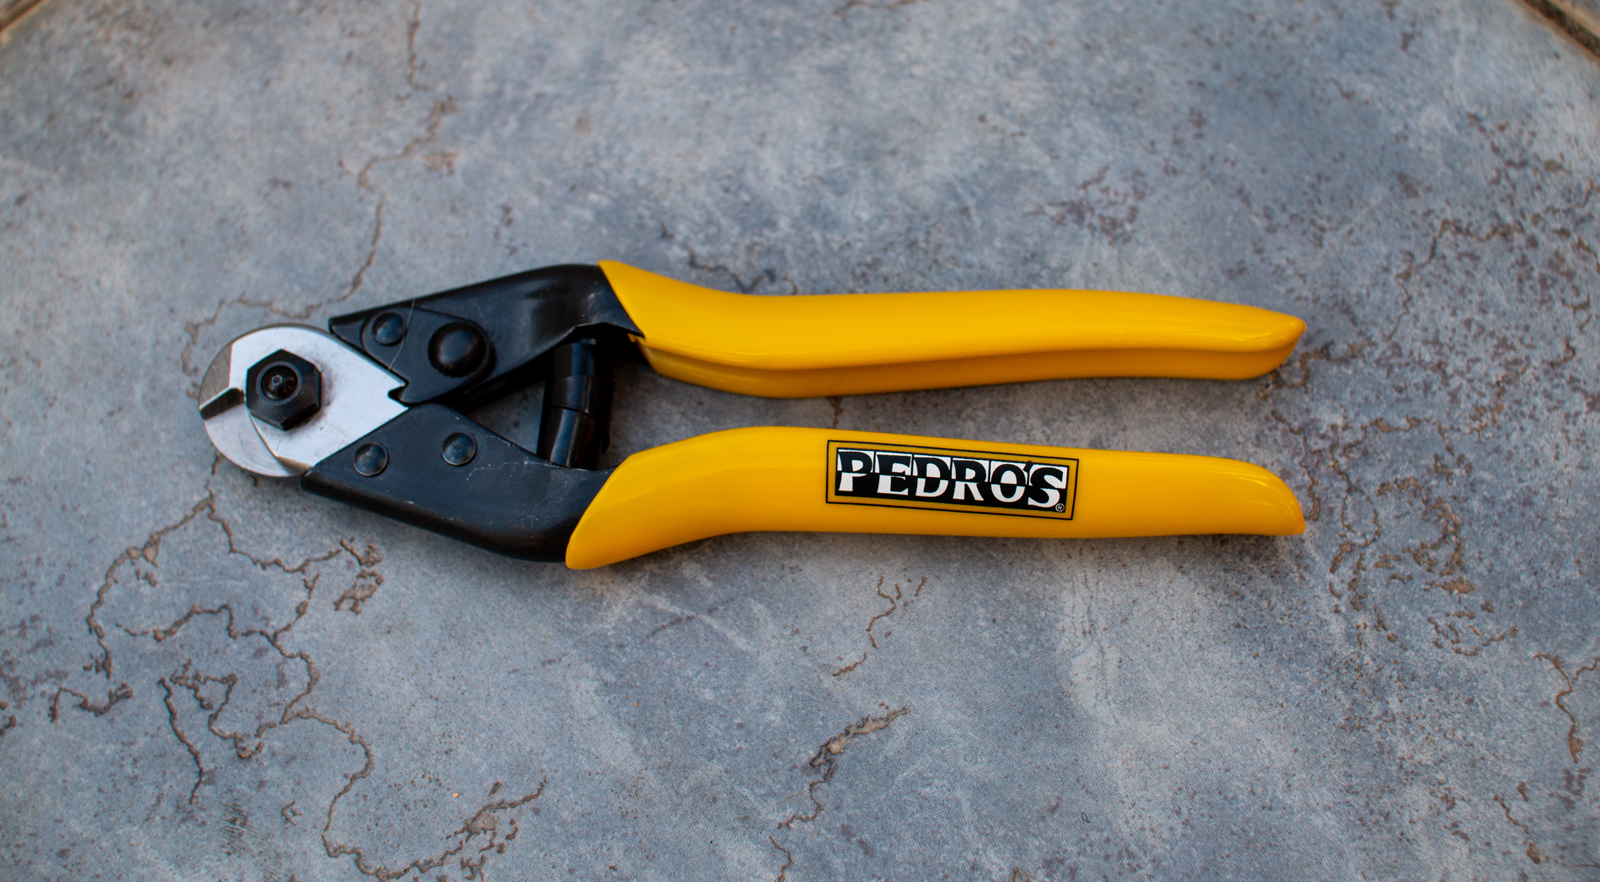
So, you’ve replaced your gear cable and those shifts are feeling crisp in the stand. All you need to do now is snip the excess cable and put an end cap on. Unfortunately, it’s at this stage that if you don’t have a set of dedicated cable cutters, you’re going to struggle to get a clean cut. It’s the same deal with cable outer. Lots of cable cutters have a crimping cut out that allows you to squash the end cap onto the cable nicely, although a set of side cutters will do the same trick. A set of cable cutters from Pedro’s with a crimping feature goes for $55, while the Park Tool variant sells for $75.
-
Side cutters
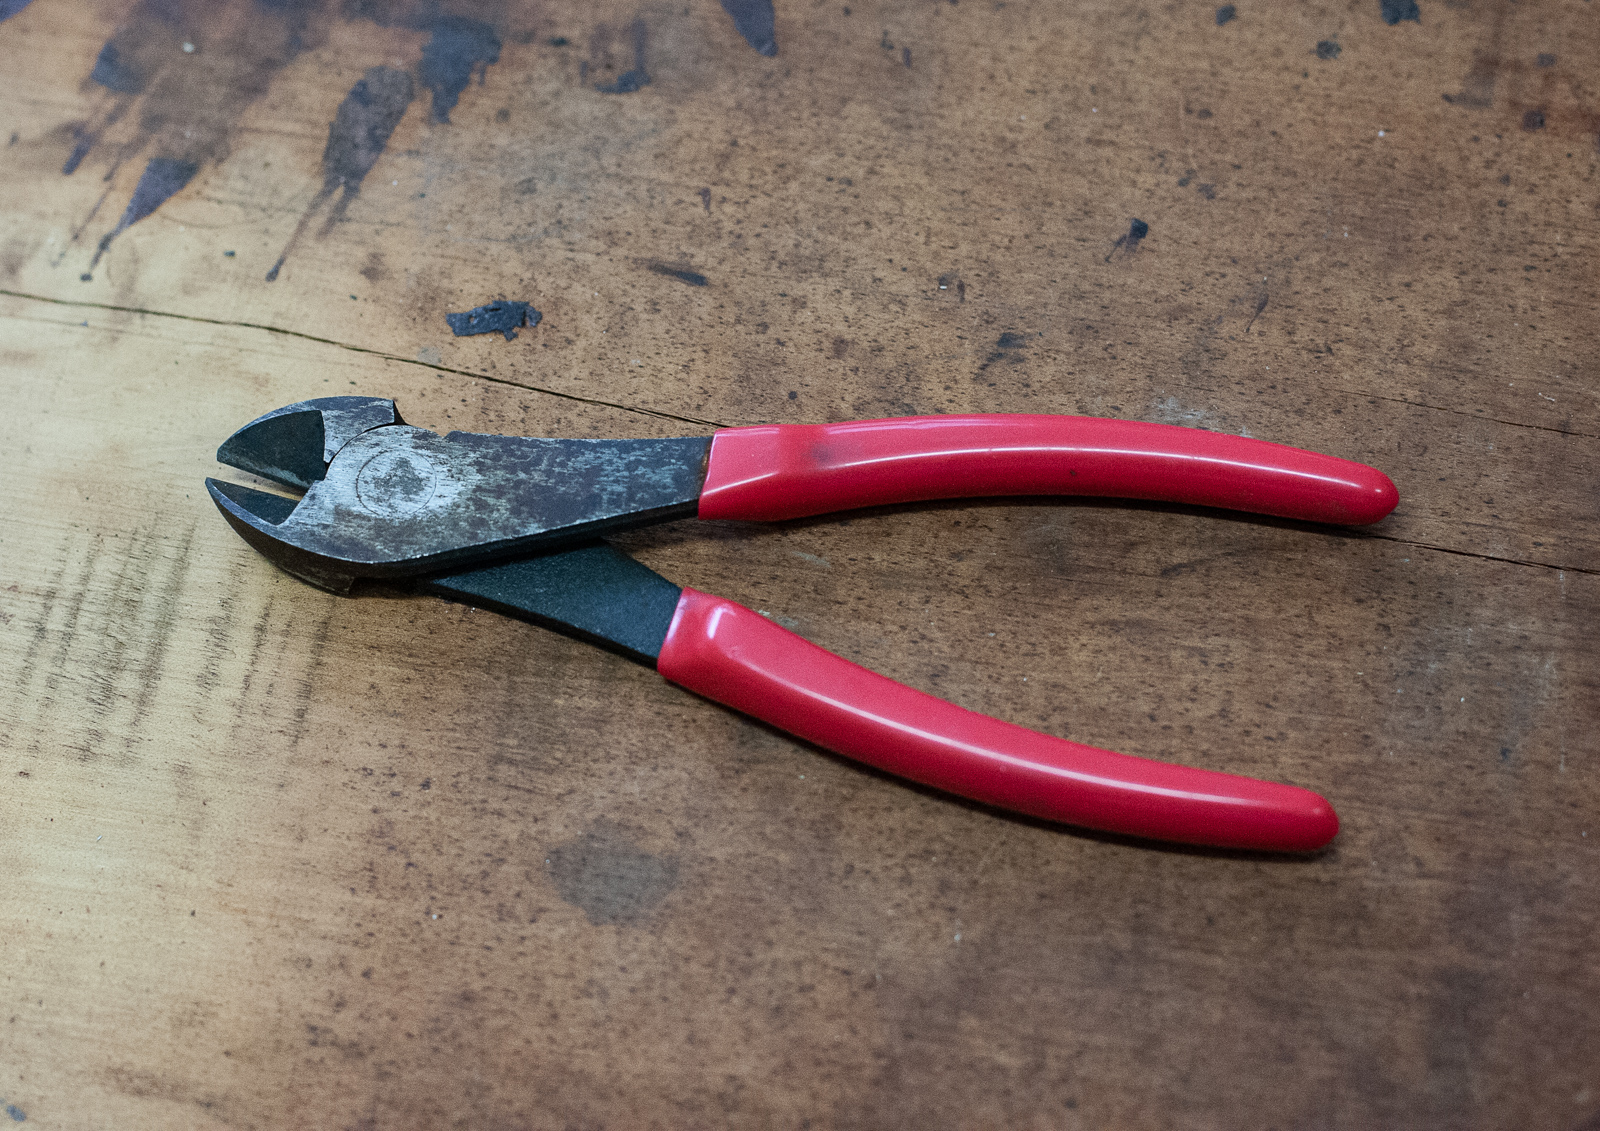
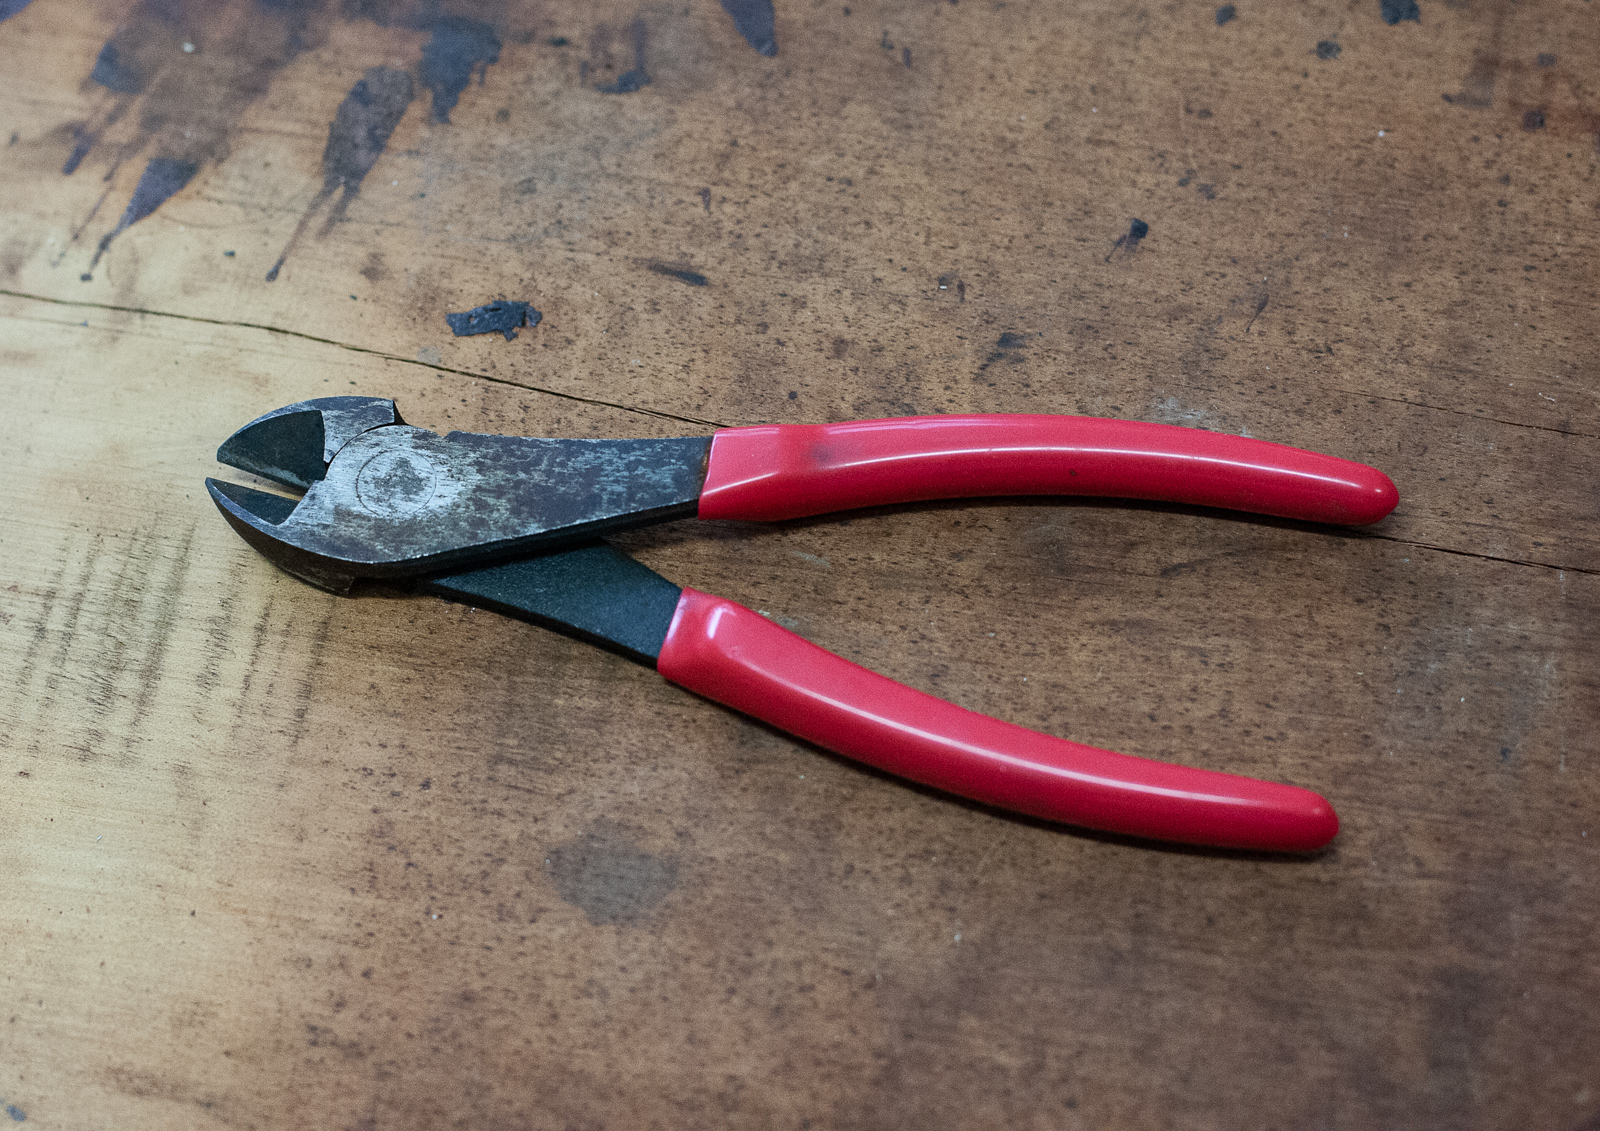
A good set of side cutters are very handy for lots of little things on your bike. They also let you to get creative with your cable end signatures.
-
Digital tyre pressure gauge
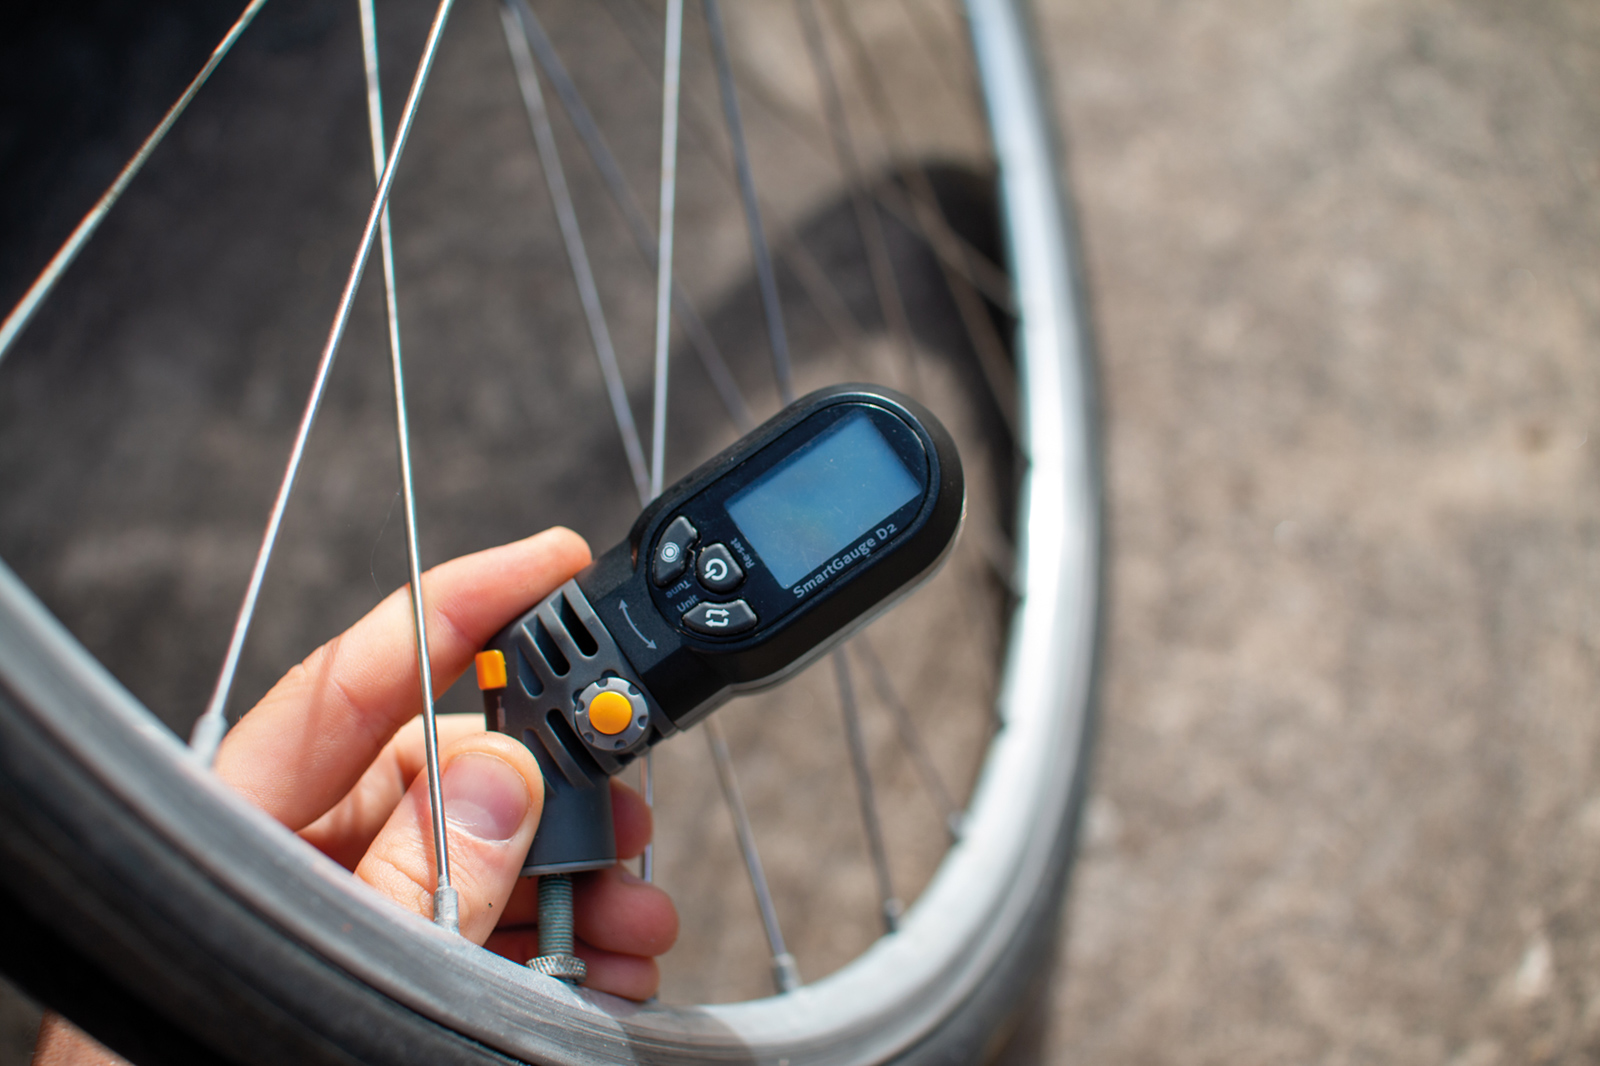
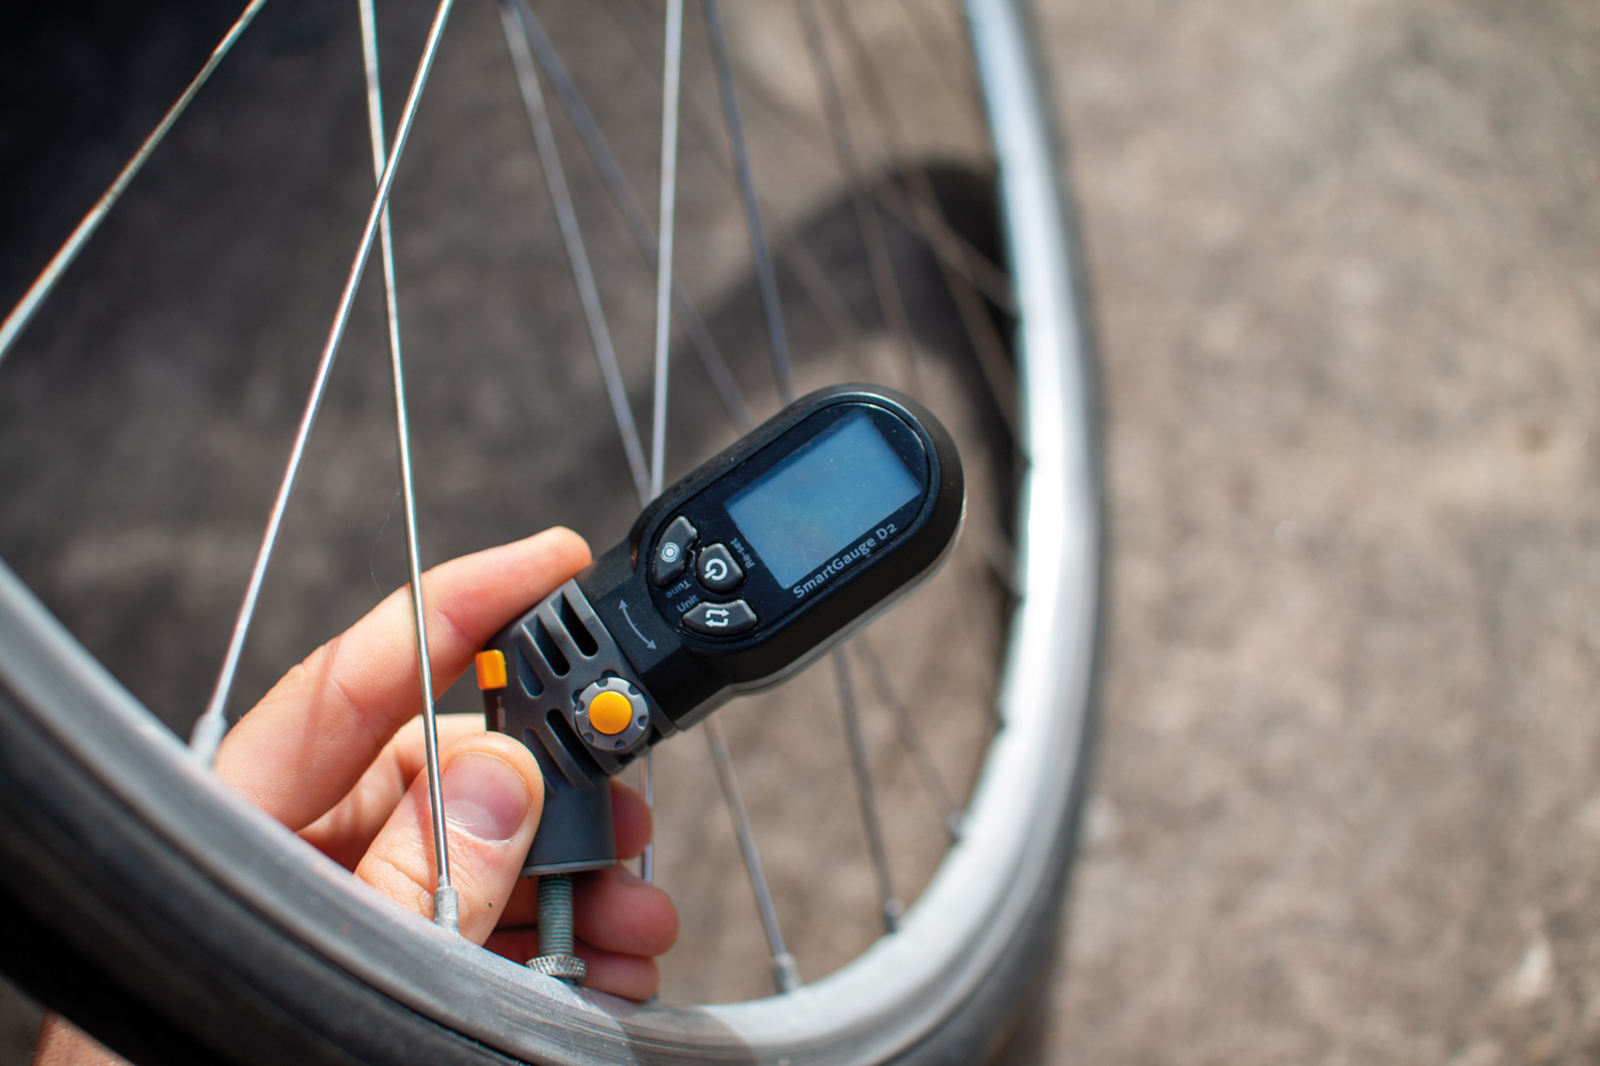
The number of riders riding around on high end bikes who don’t own a tyre pressure gauge amazes me. Getting hold of a digital pressure gauge and using it regularly allows you to dial in your pressures for different tyres and terrain types. It’ll also show you that most floor pumps’ pressure gauges are showing you a ballpark guess at best. When it comes to tyre pressure, a couple of PSI makes a big difference!
Whilst two different tyre pressure gauges might give you two different readings, if you stick to the same gauge then you’ll get to know your preferences. I’ve owned a Topeak Smartgauge D2 for a few years now, and it’s up there with the best $50 I’ve spent on riding.
-
Digital shock pump
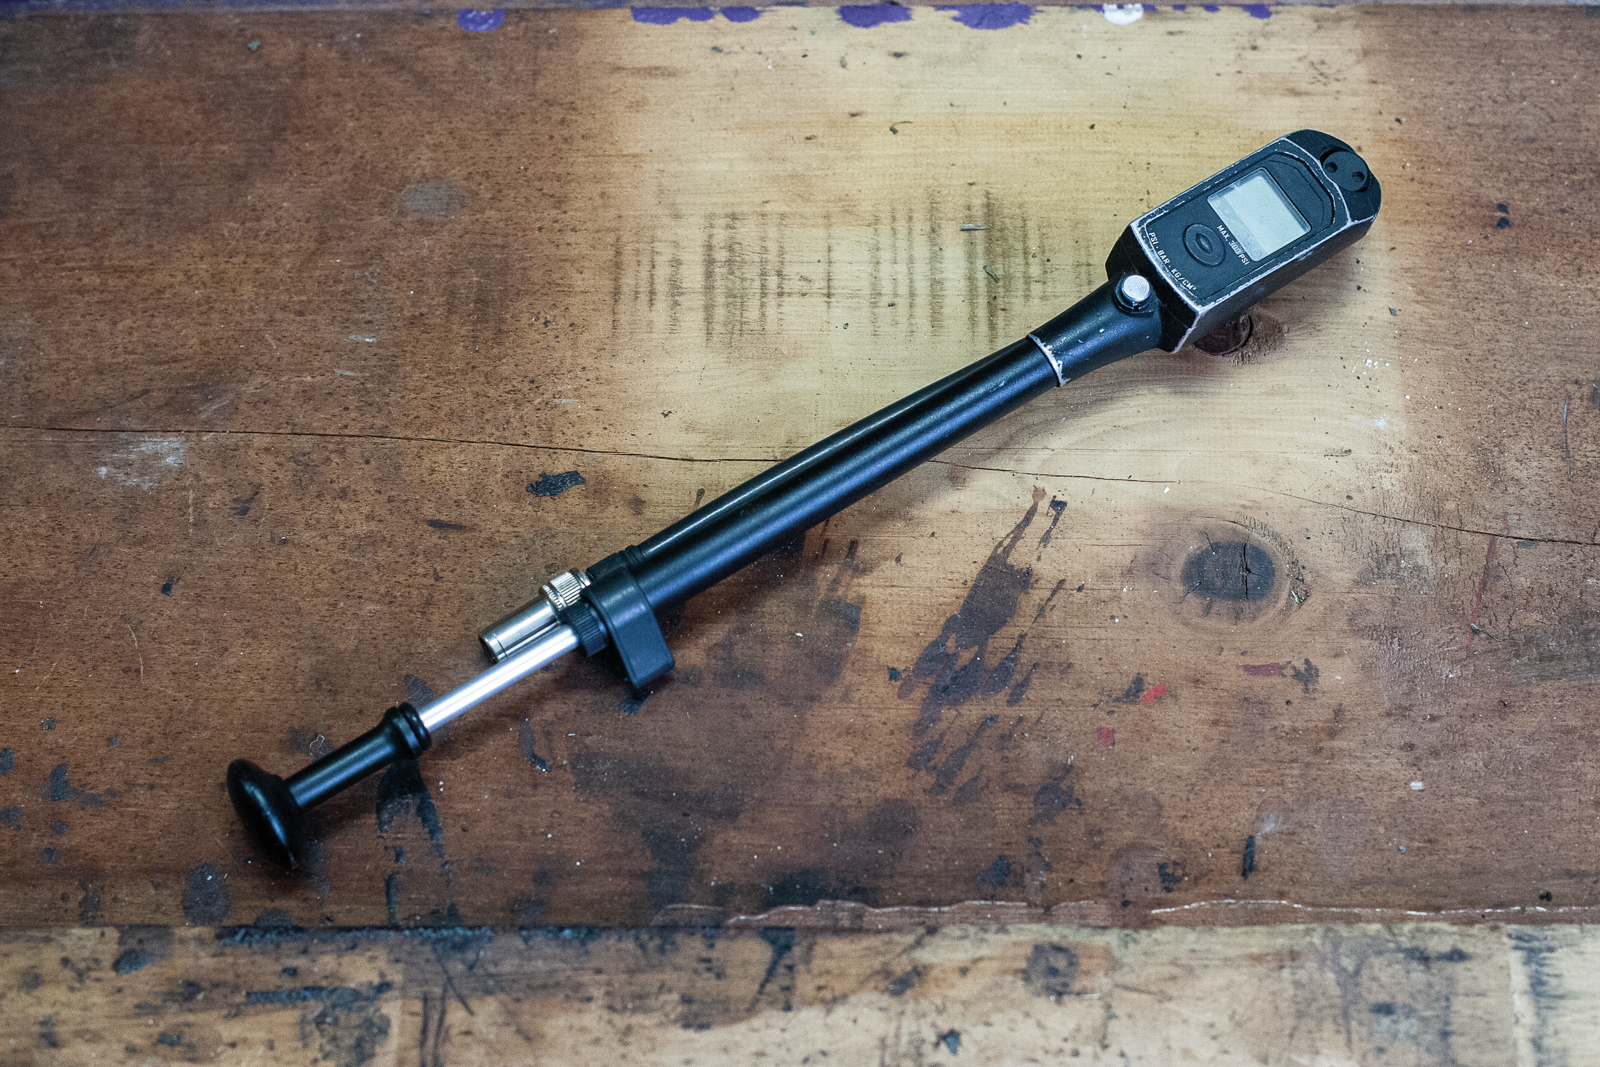
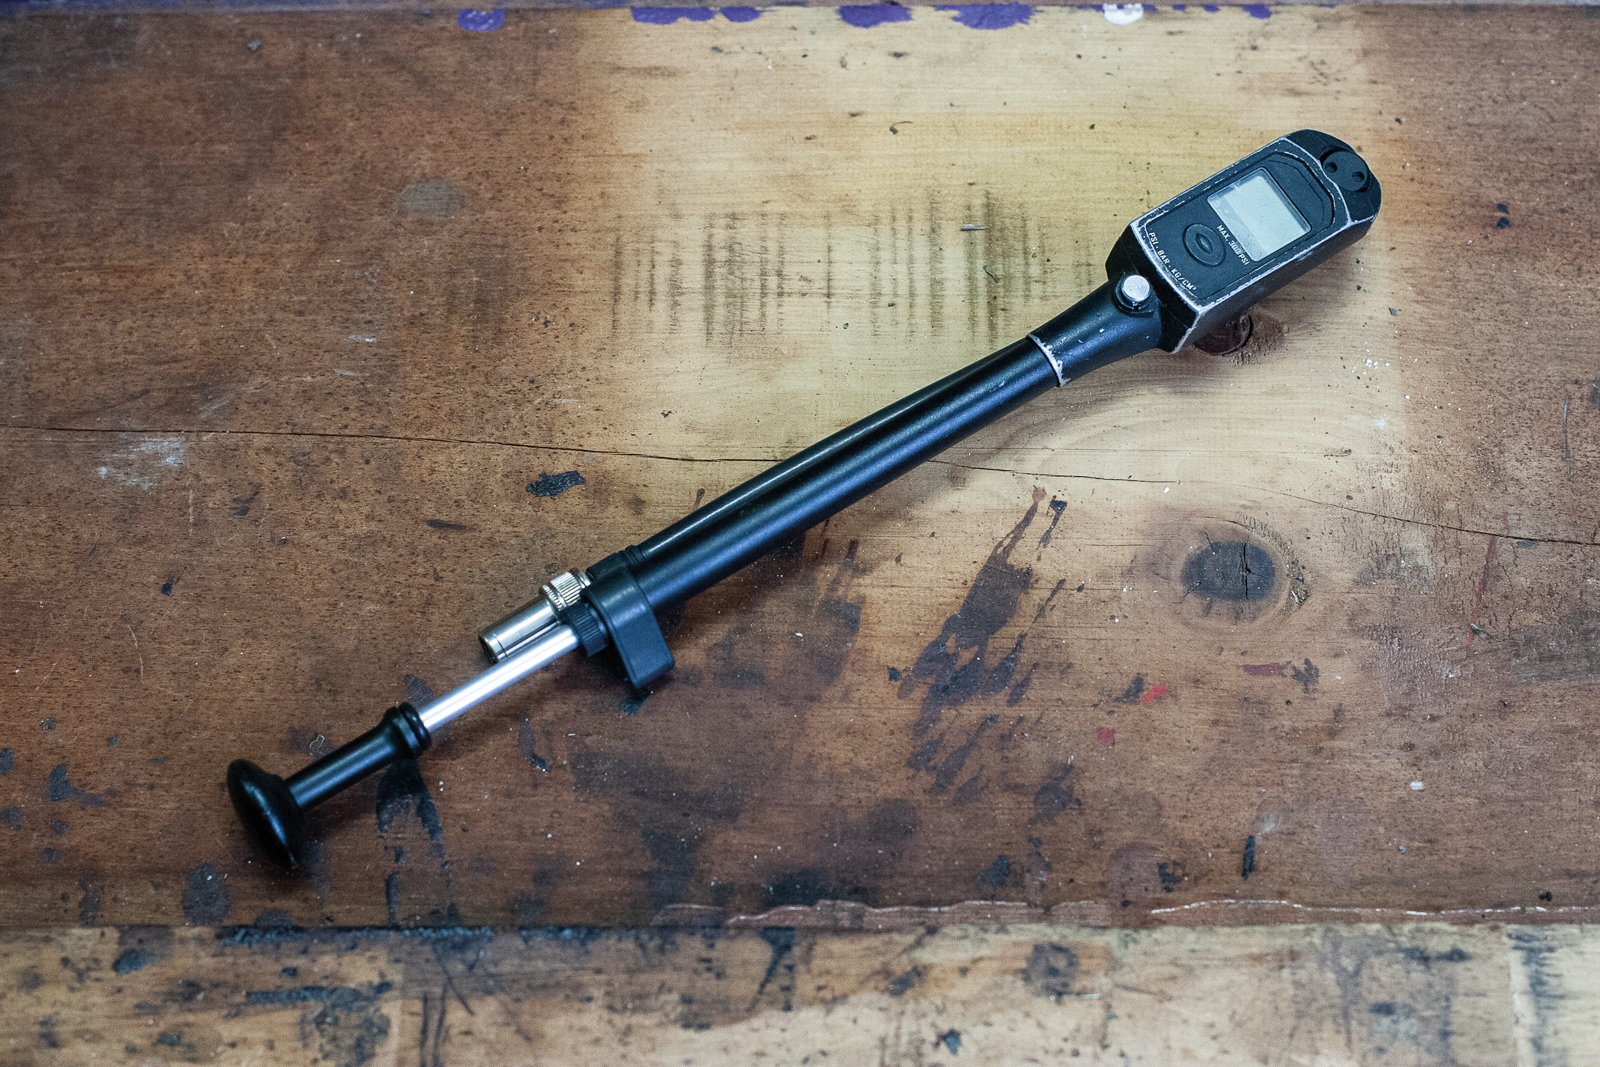
Like a tyre pressure gauge, there are plenty of riders who couldn’t tell you what pressure they’re running in their suspension (to be fair I couldn’t tell you either, but I do have it written down!). Having your own shock pump allows you to experiment with different pressures and dial in your preferred settings. Once again, stick to using the same shock pump to ensure consistency. I’ve got RockShox’s 300 psi digital shock pump, and it hasn’t caused me any issues in a couple of years of use so far. The model I have will set you back $130.
-
Phillips and Flat Blade Screwdrivers
Having both styles of screwdriver is a handy addition to your toolbox. Aside from tightening and loosening various screws (particularly on older bikes), a flathead screwdriver is also useful for odd jobs such as pushing your brake pads apart in a pinch if you don’t own a pad spreader. If you’ve bought a kit, they’ll normally come with a Phillips #2 screwdriver.
-
Spoke keys that fit your wheels
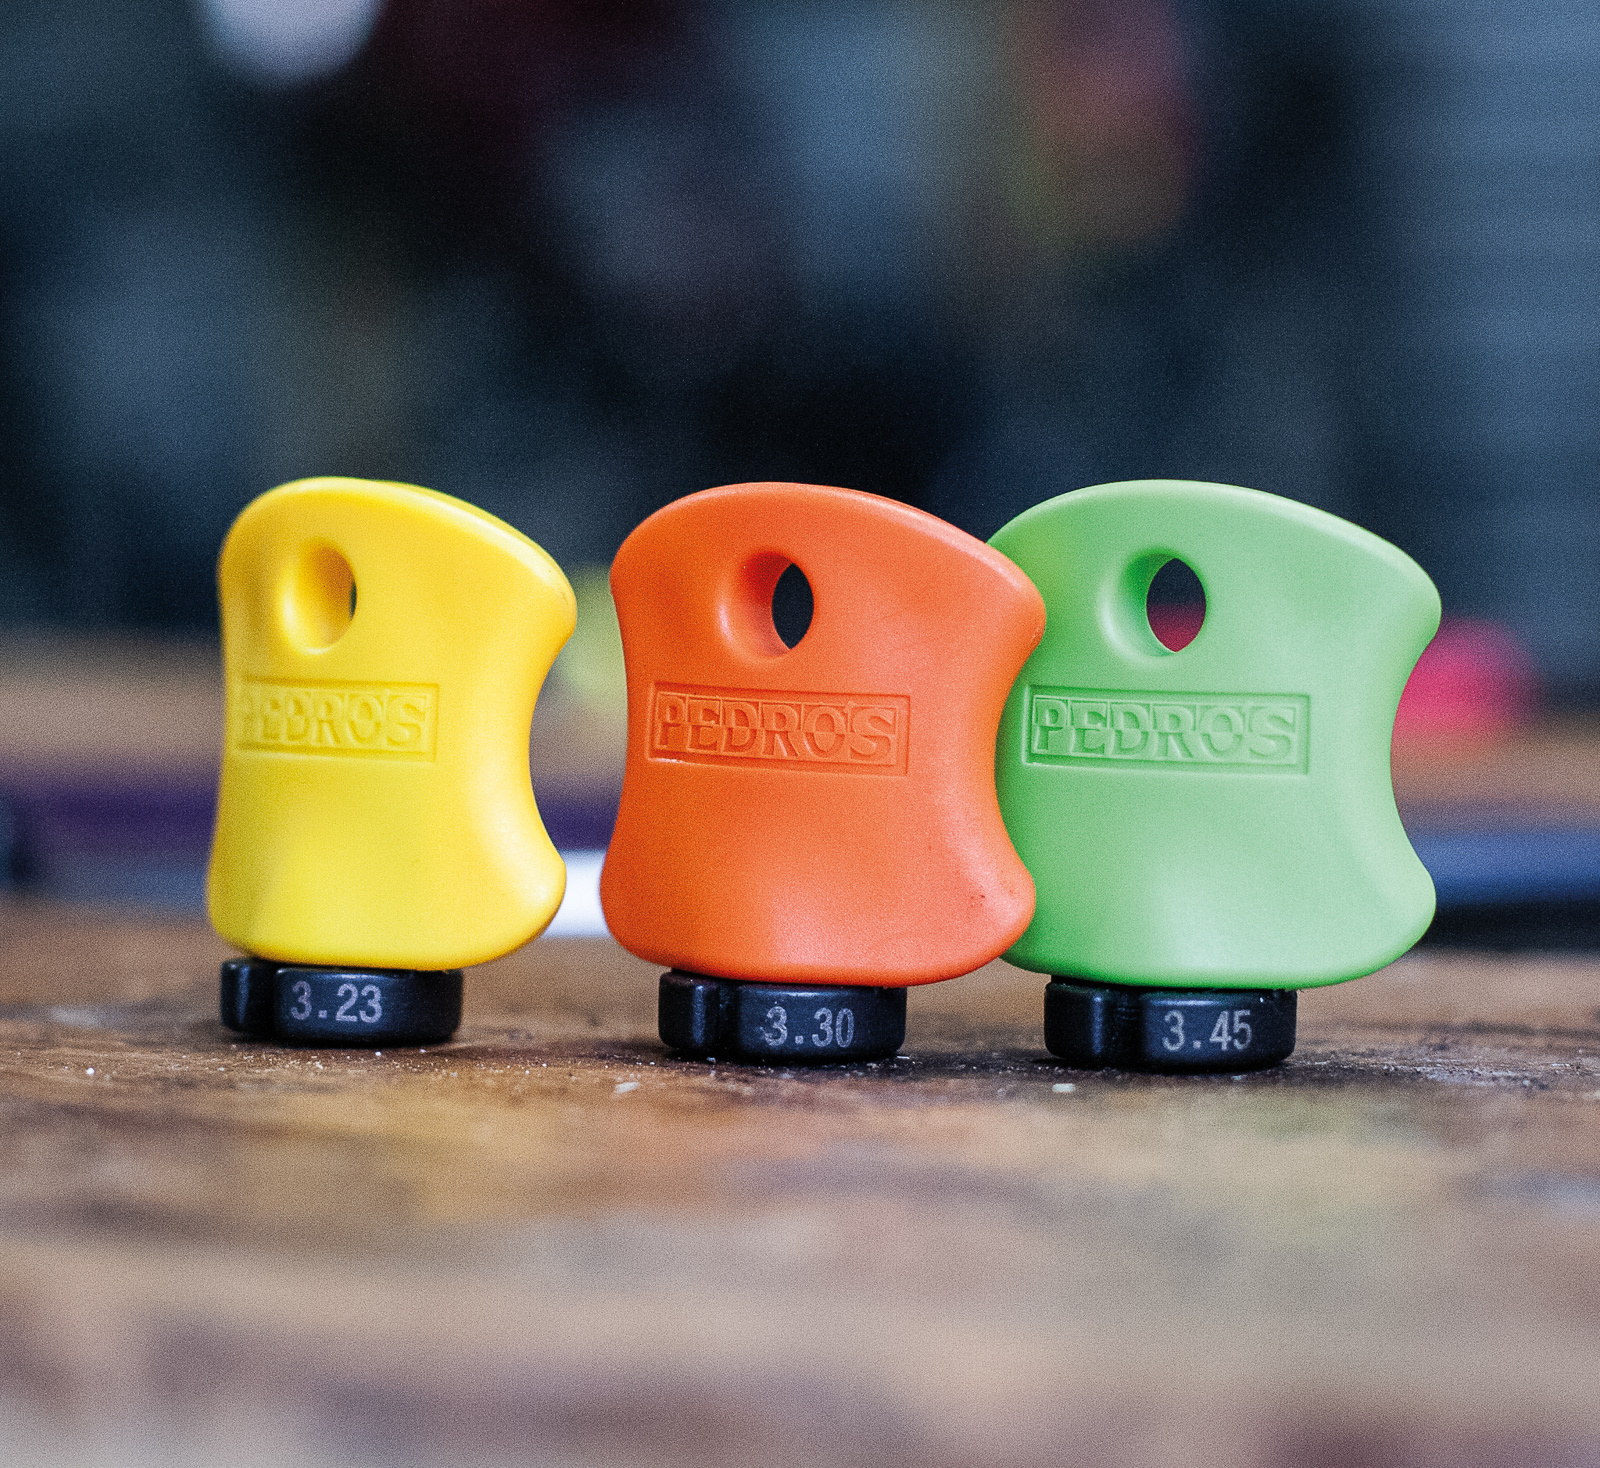
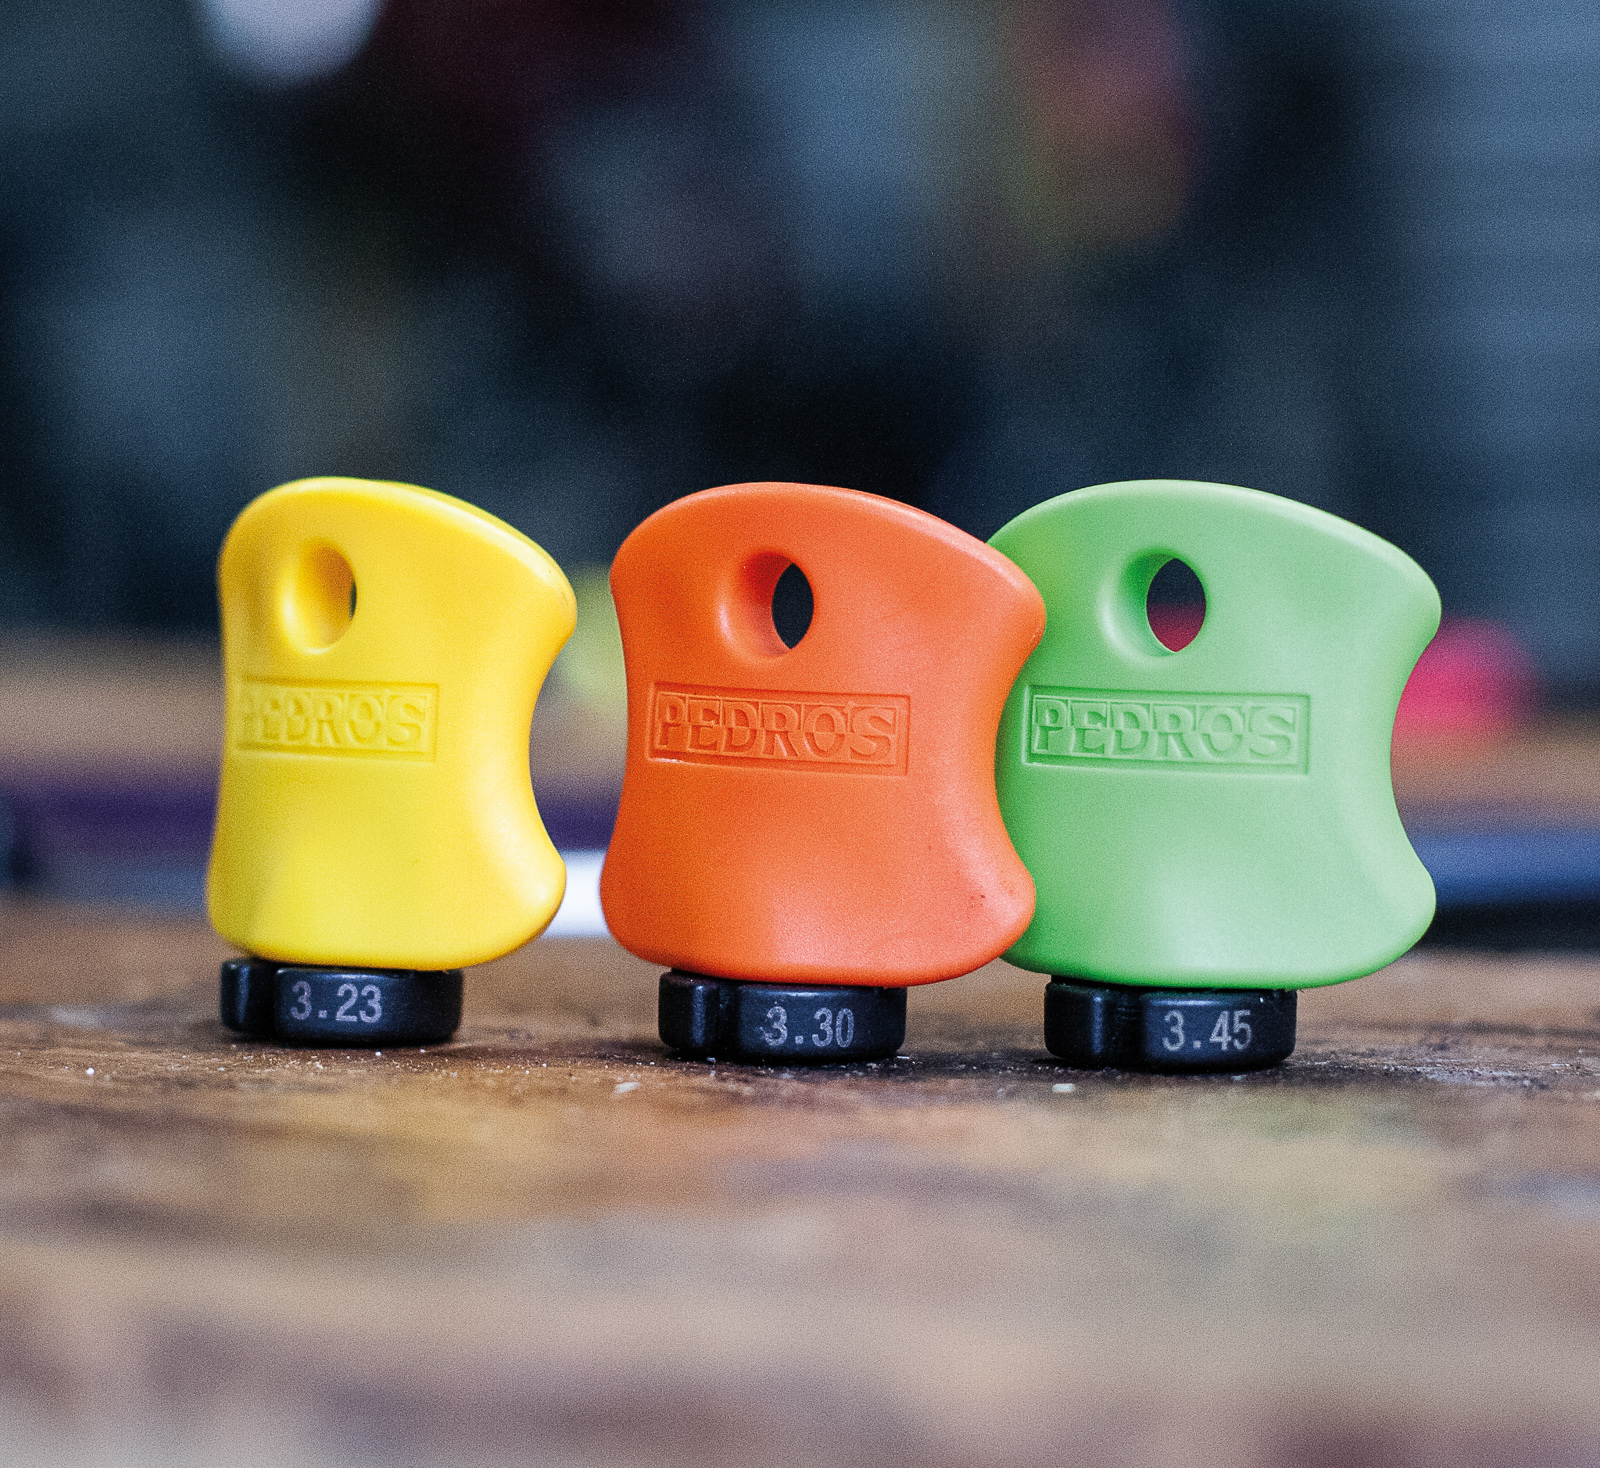
Whilst nothing will beat a proper truing stand for getting a weary wheel back into shape, having a spoke key to do half a turn here or there when necessary is useful. Make sure you get the right one for your wheels, otherwise you’ll end up with rounded nipples and a much tougher task on your hand. Expect to pay about $30 for a spoke key from a reputable brand. Pedro’s offer a set of the three most common sizes for $70, and their handles are quite nice to work with.
-
Needle Nose Pliers
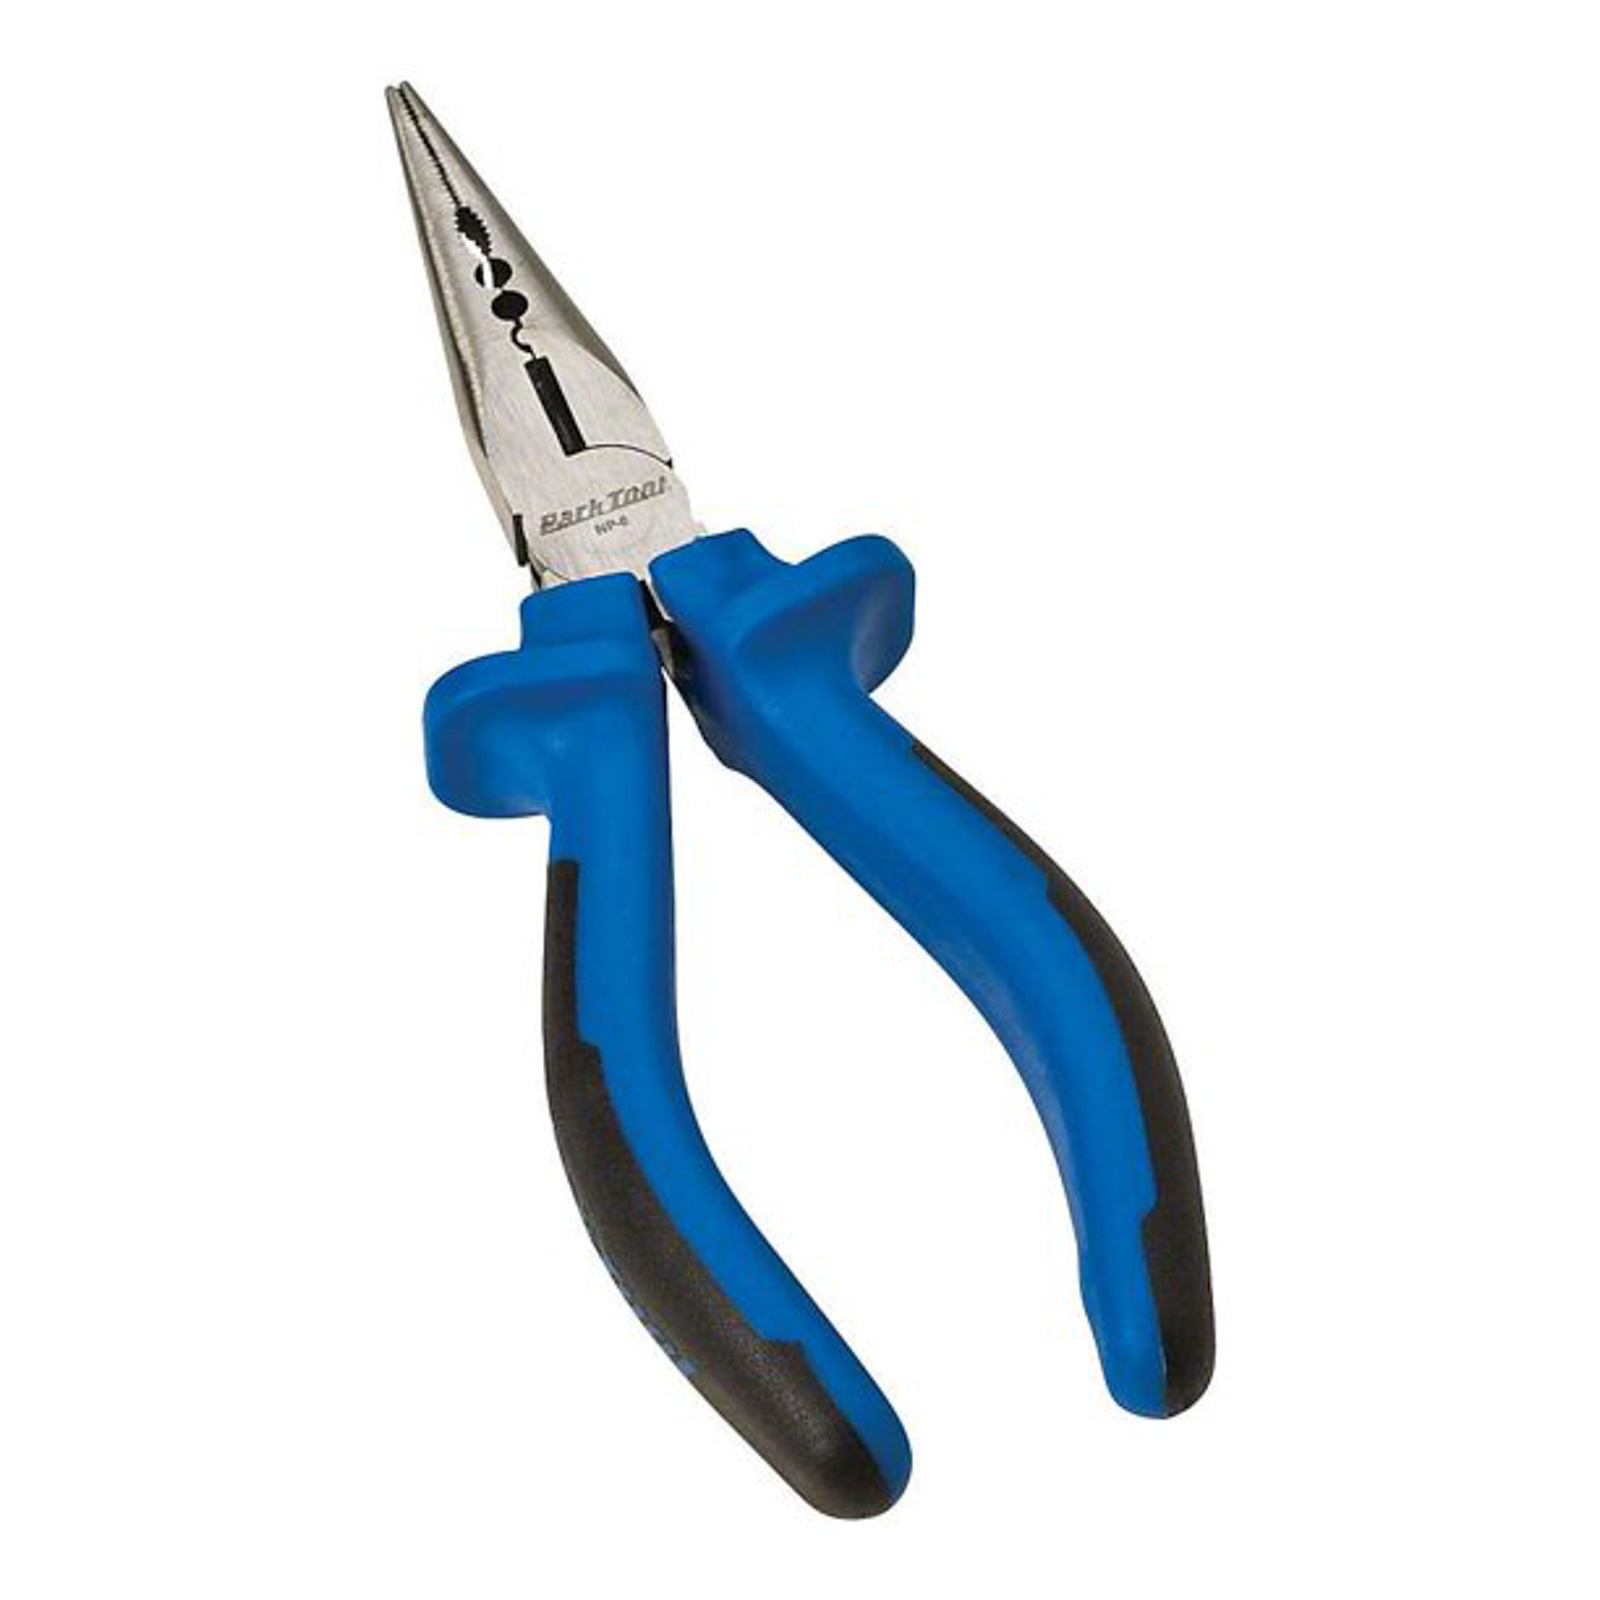
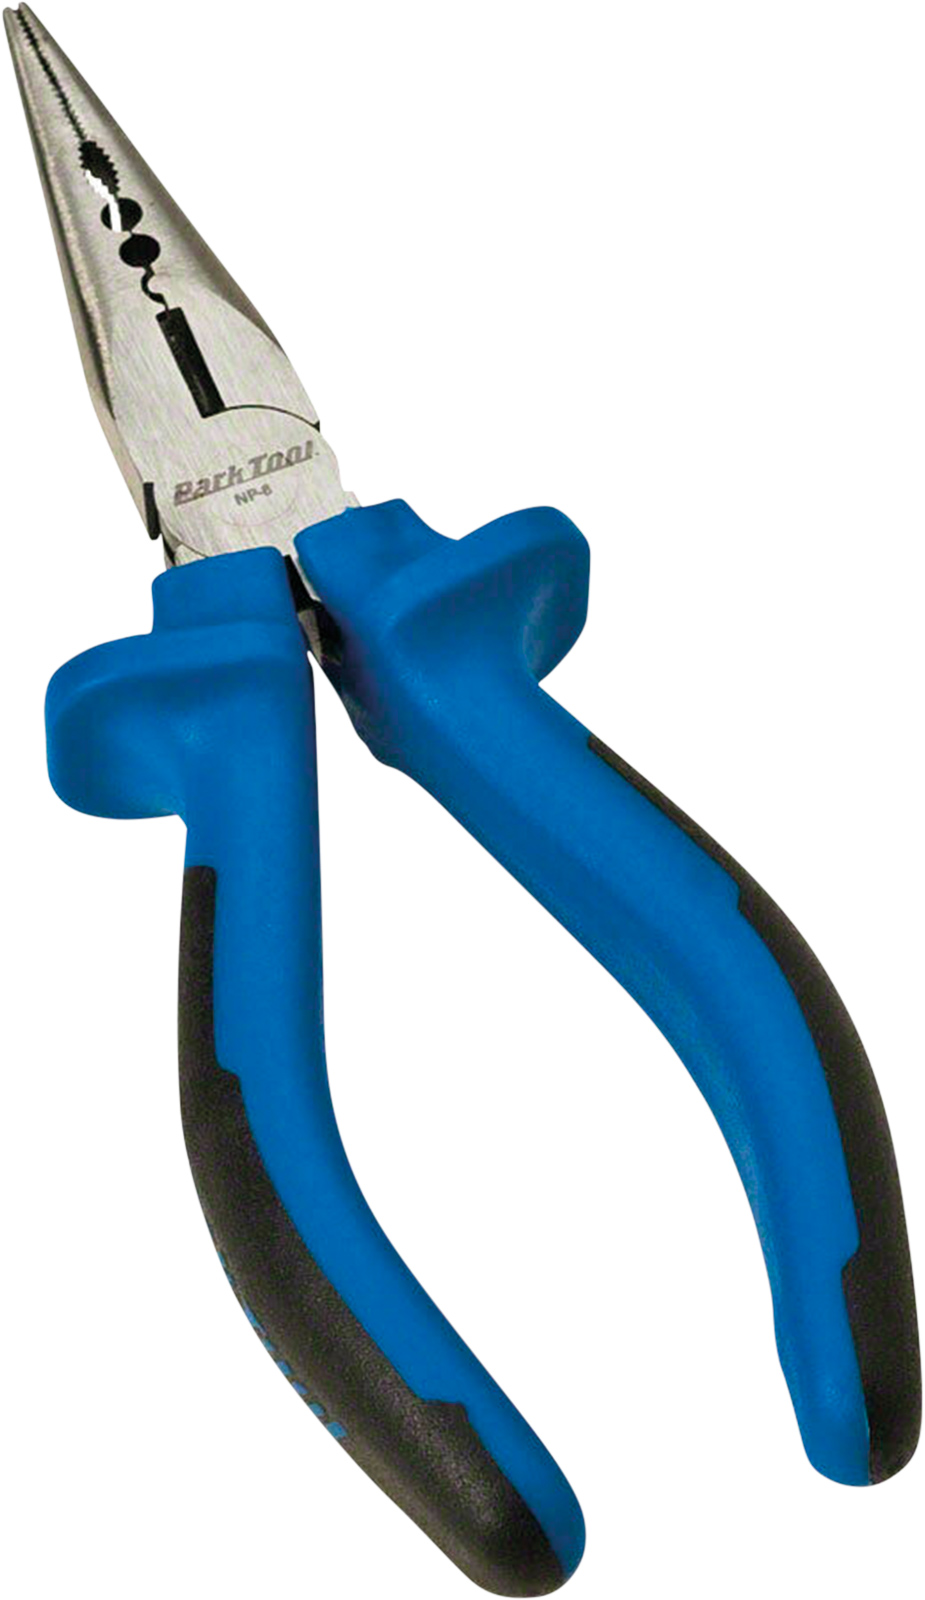
A set of needle nose pliers is another tool that comes in handy for finicky tasks, such as fishing cables and outer out of your frame. Lots of tool brands offer bike specific pliers that add additional versatility. Park Tool’s NP-6 Needle Nose Pliers have five different crimping/grasping areas and a cutting blade, and they retail for $52.99.
-
15 and 17mm Wrenches
15mm and 17mm wrenches are great tools for those who own a Dirt Jump or BMX bike, as you’ll need them to remove the rear wheel. Expect to pay about $30 per wrench, and ratcheting wrenches make things much easier.
-
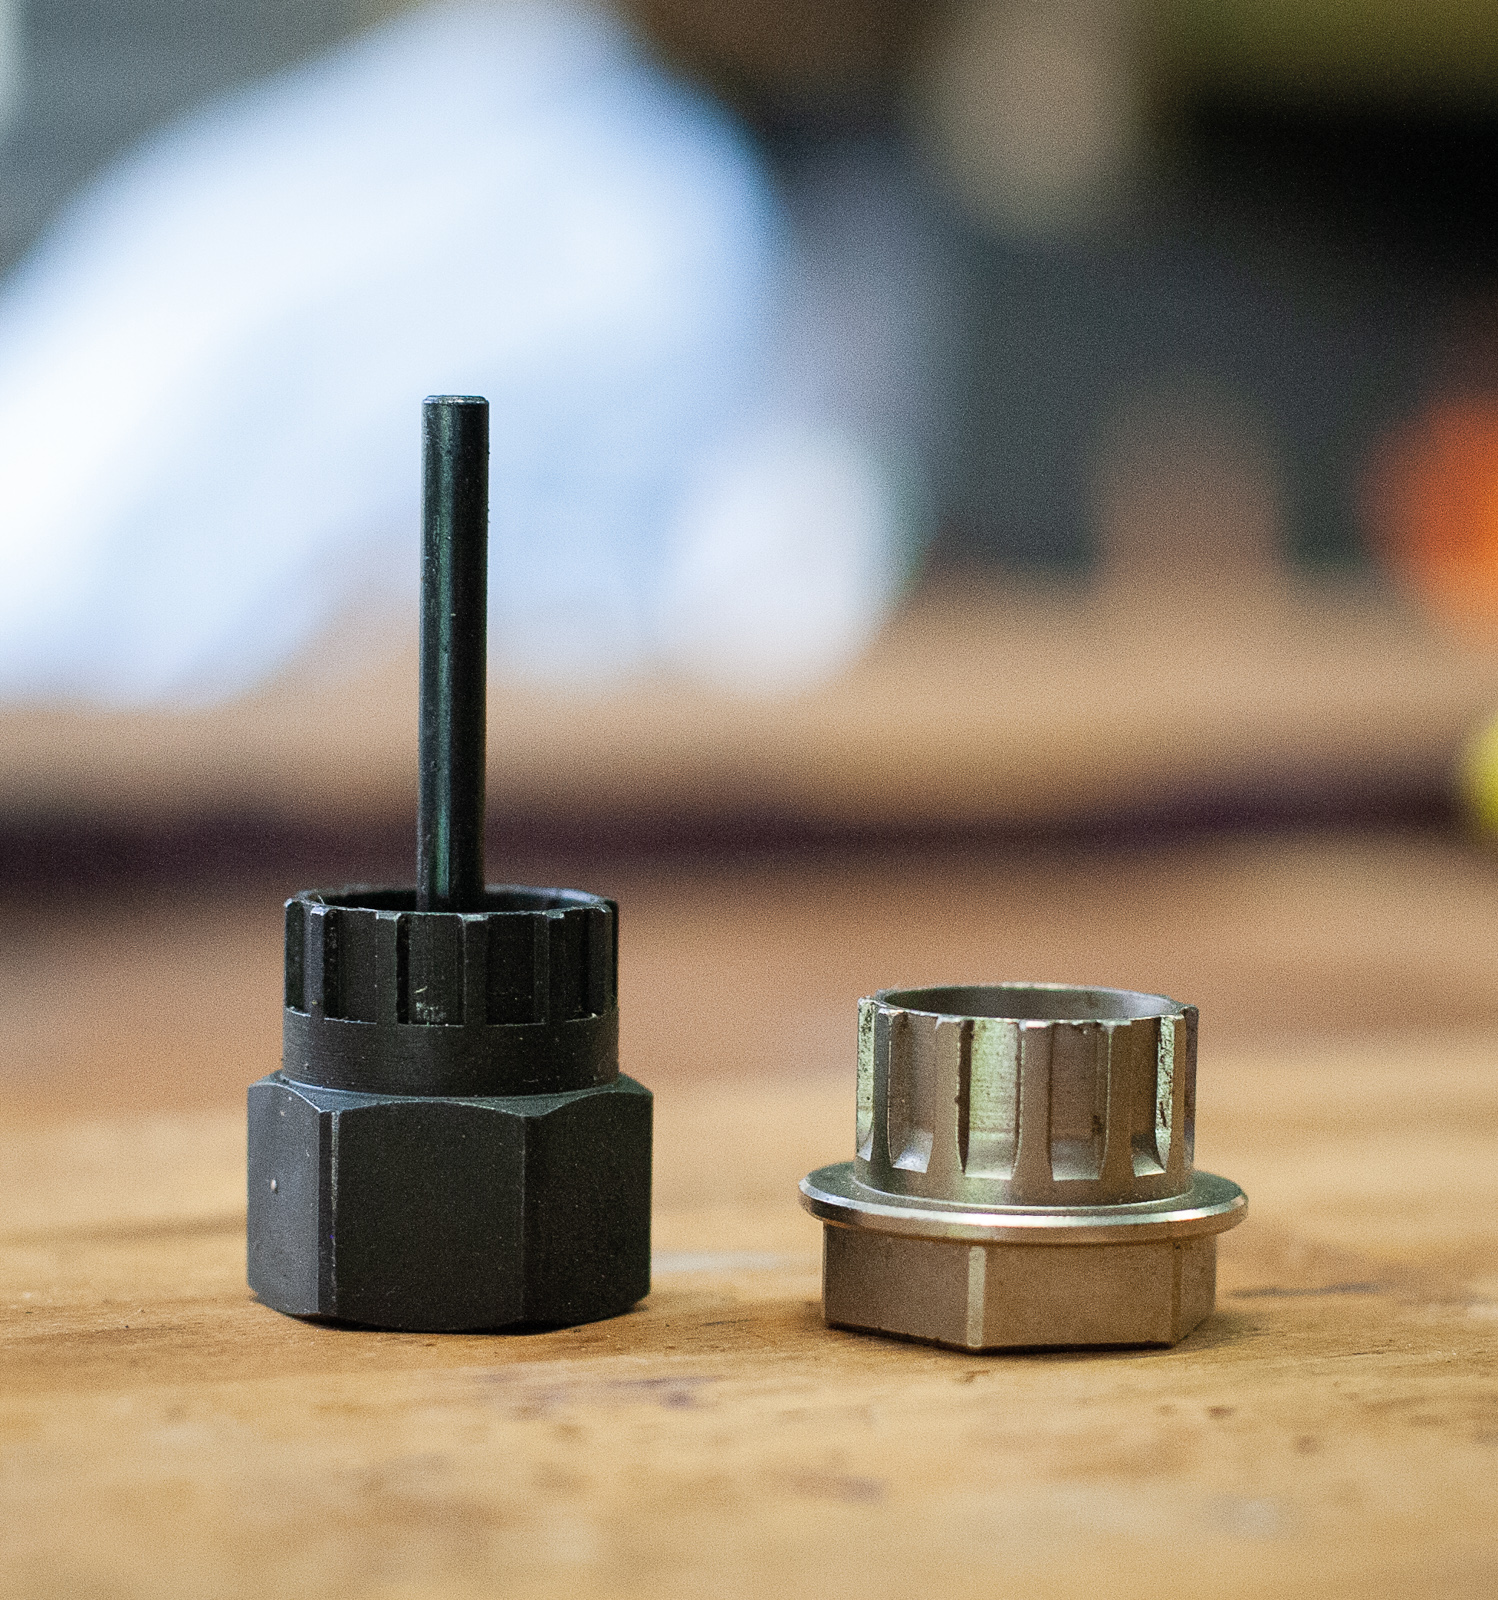
Cassette Tools
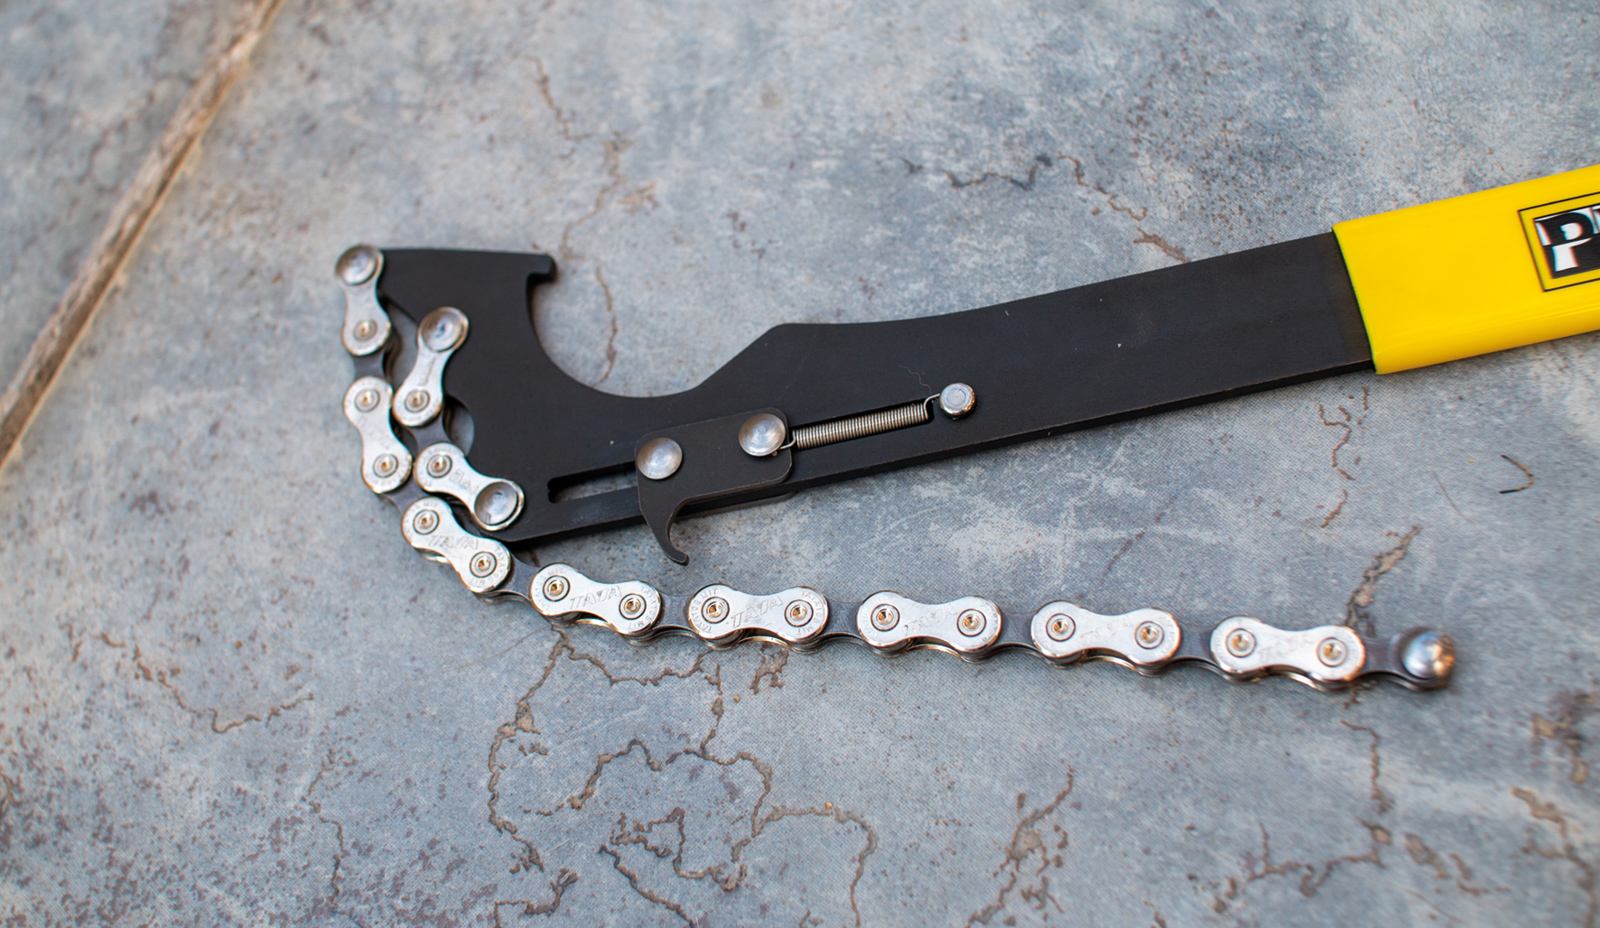
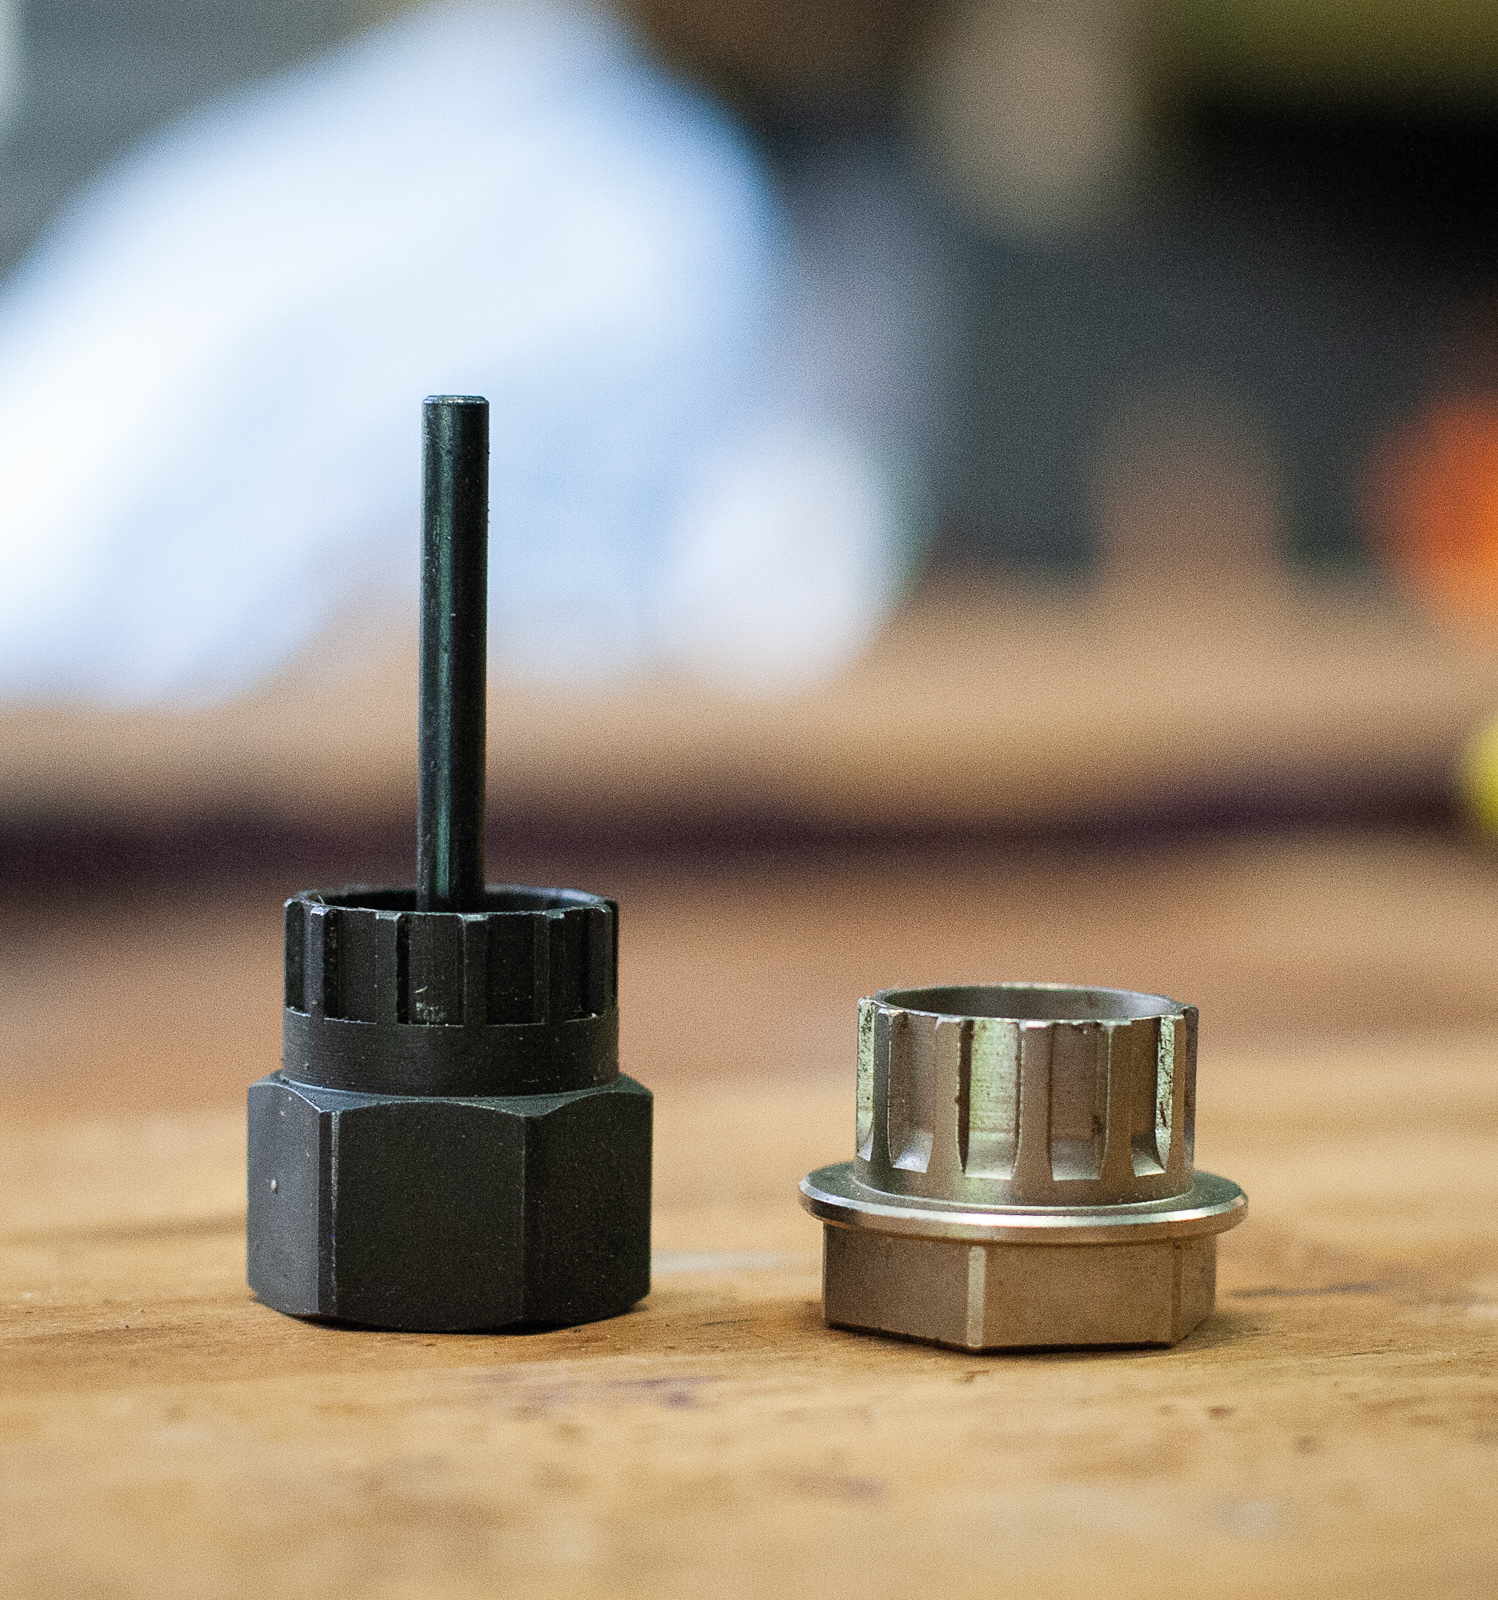
Cassette tools are the only way to get your cassette off, and therefore they’re a must have! If you can, go for a set that includes cassette pliers rather than a chain whip. I’m still rocking a chain whip, although the 8-speed chain on it has a tough time holding onto modern 12 speed cassettes. There is a price difference to consider though, Pedro’s Chain Whip retails for $55, whilst their Vise Whip II retails for $100. Pedro’s chain whip is better than an open design though, as it comes with a spring-loaded clip that provides security.
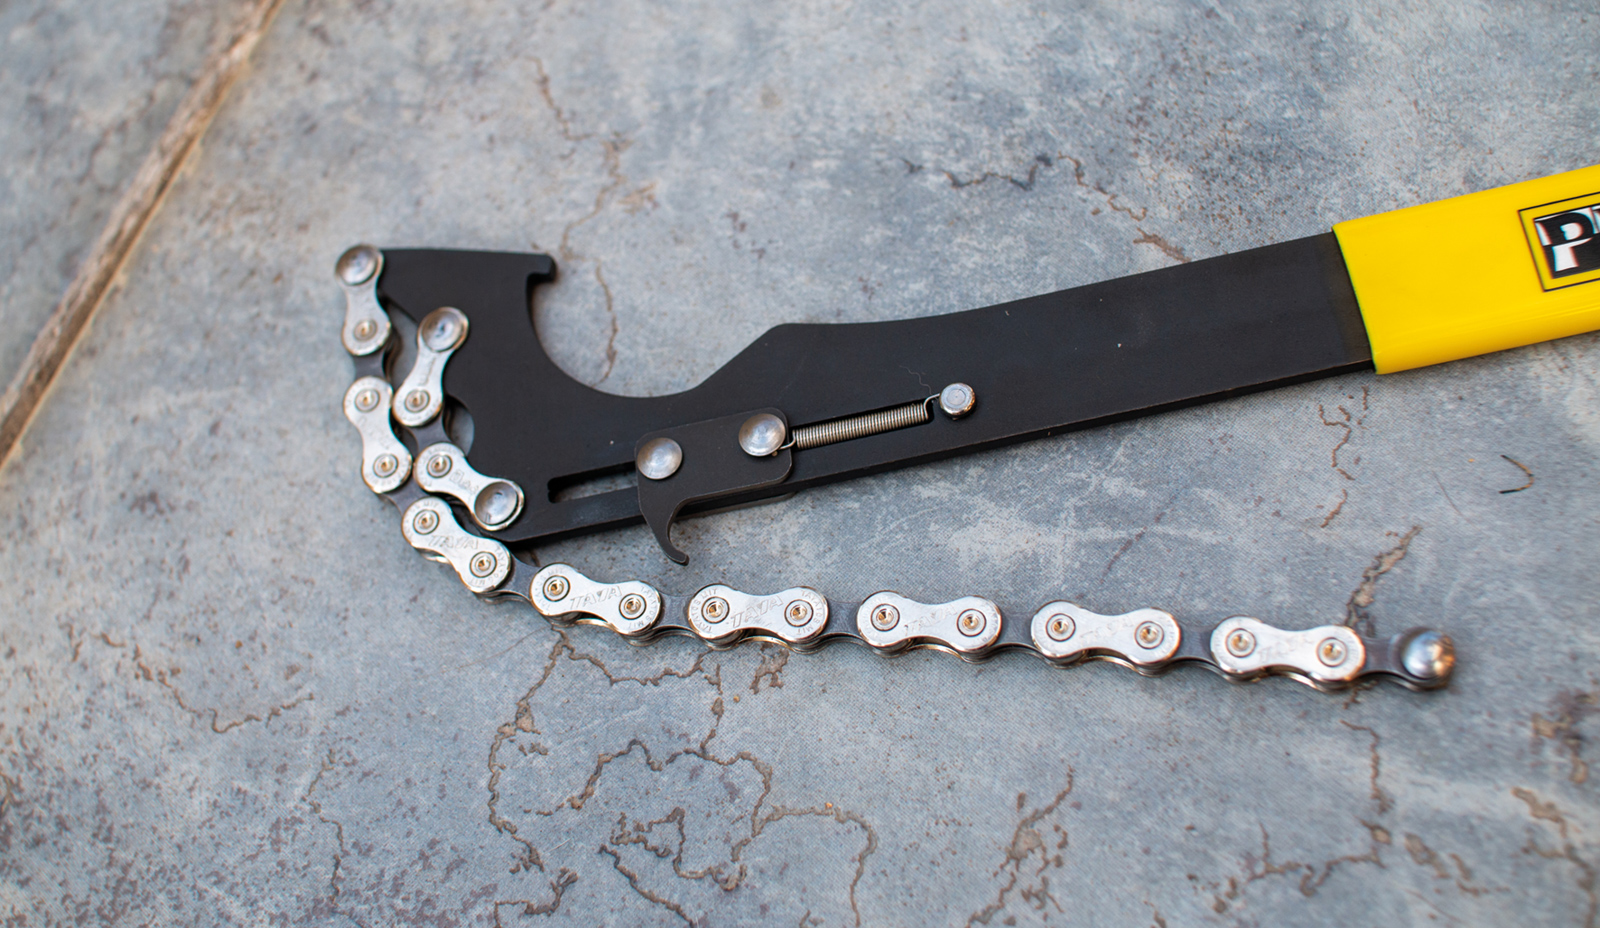
Sticking with Pedro’s, their 15mm pedal wrench has a cut out for a 24mm socket drive, meaning cassette lockring tools slot into the pedal wrench and make it two tools in one.
-
Quick Link pliers and chain tool
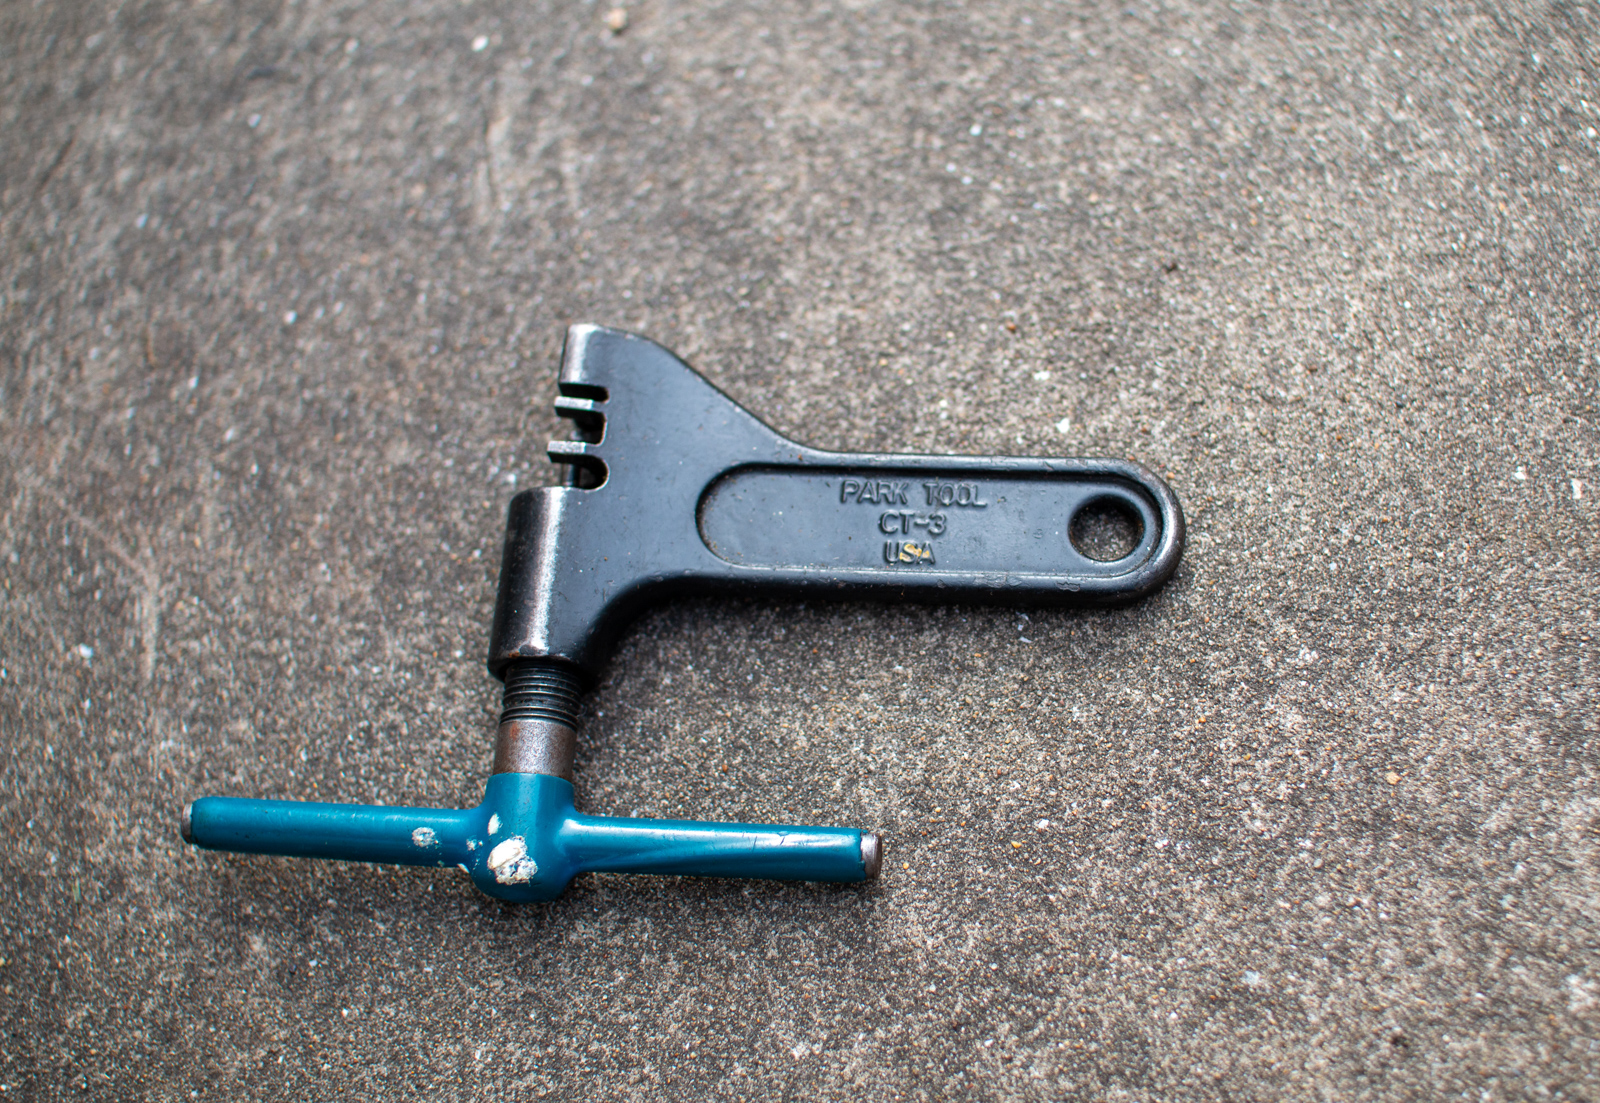
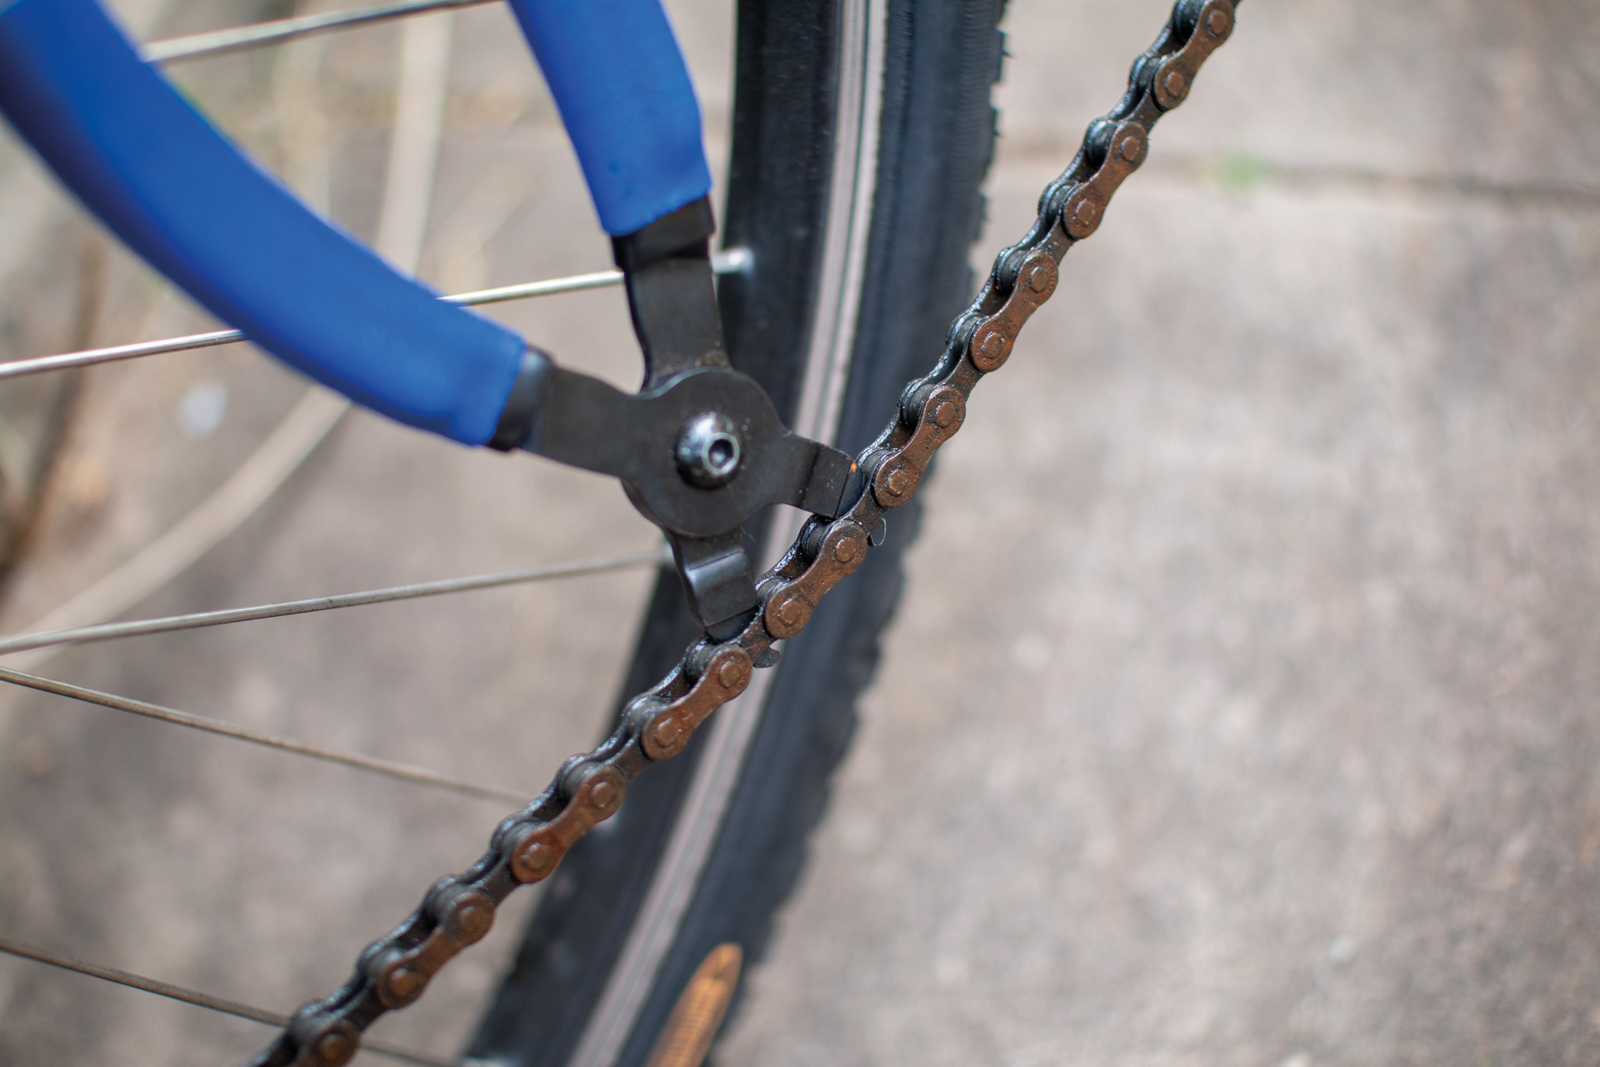
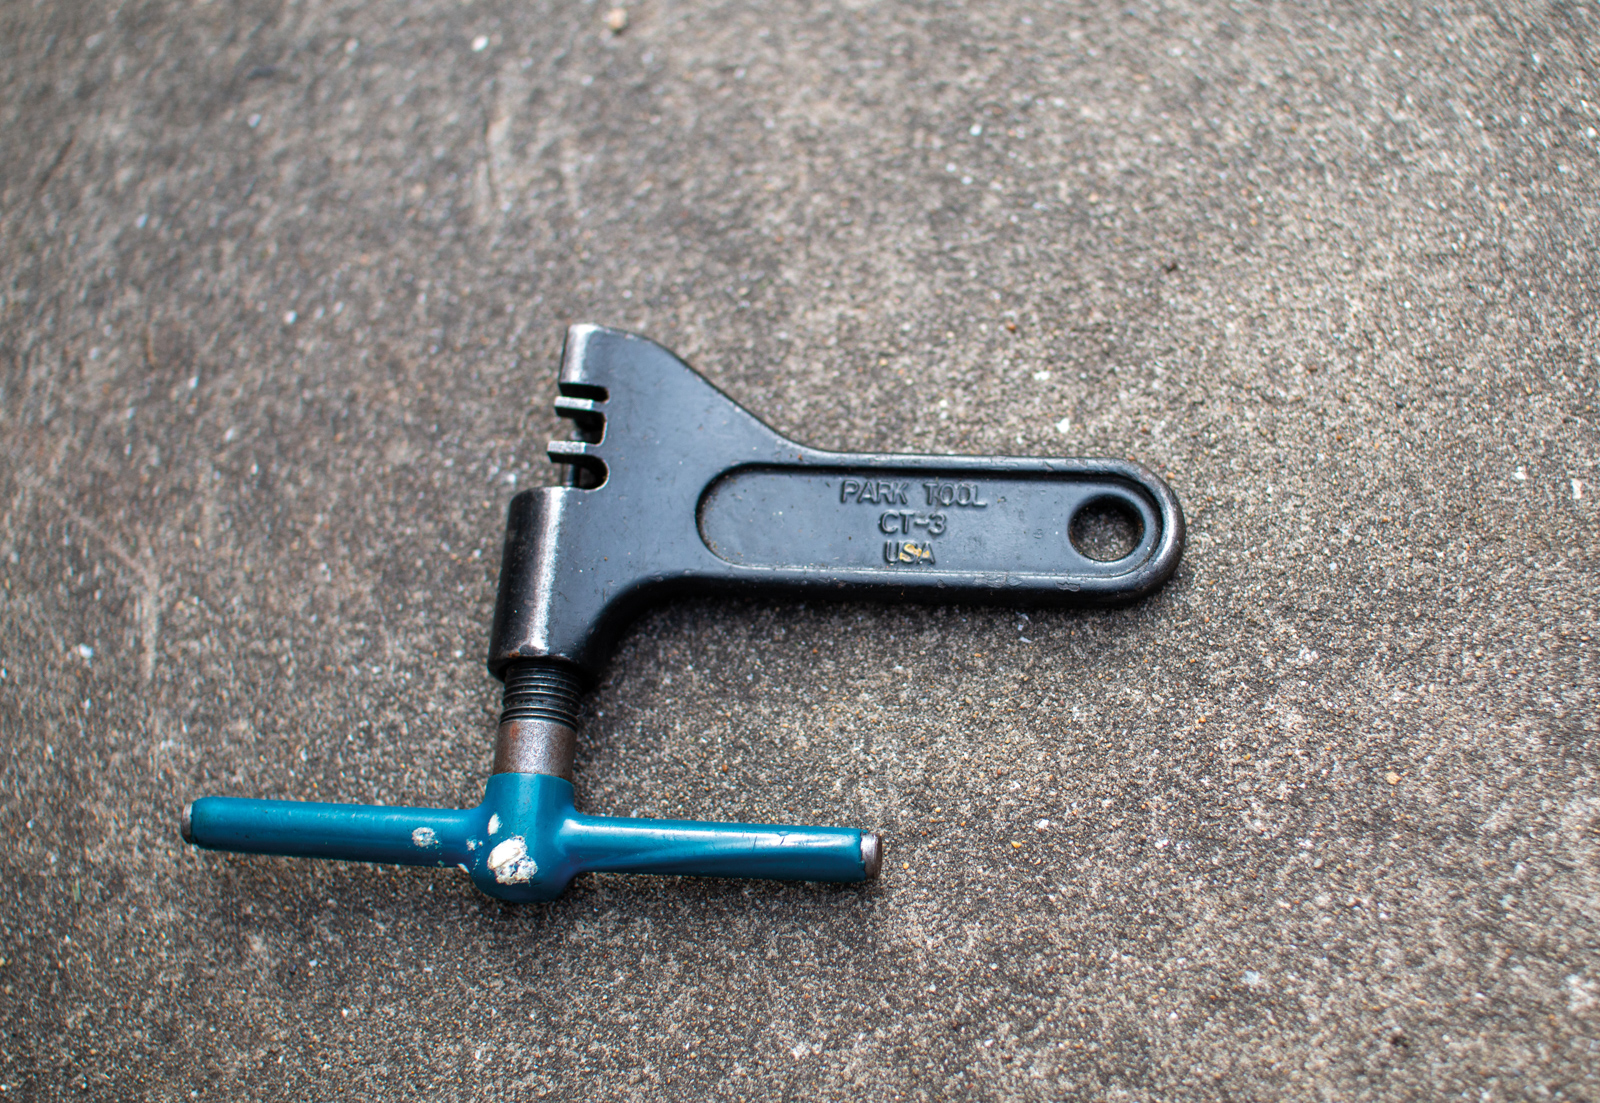
Like cable cutters, if you find yourself in a situation where you need to remove your chain, it’s going to be very tricky without a set of quick link pliers. Most quick link pliers have a lock that allows you to keep the chain tight while you get a new quick link prepped. I’ve had the Park Tool Master Link pliers for a few years (RRP: $47.99), and don’t see why you’d need anything fancier for this task. You’ll also need a chain tool to get chain length right when fitting a new chain.
-
Chain checker
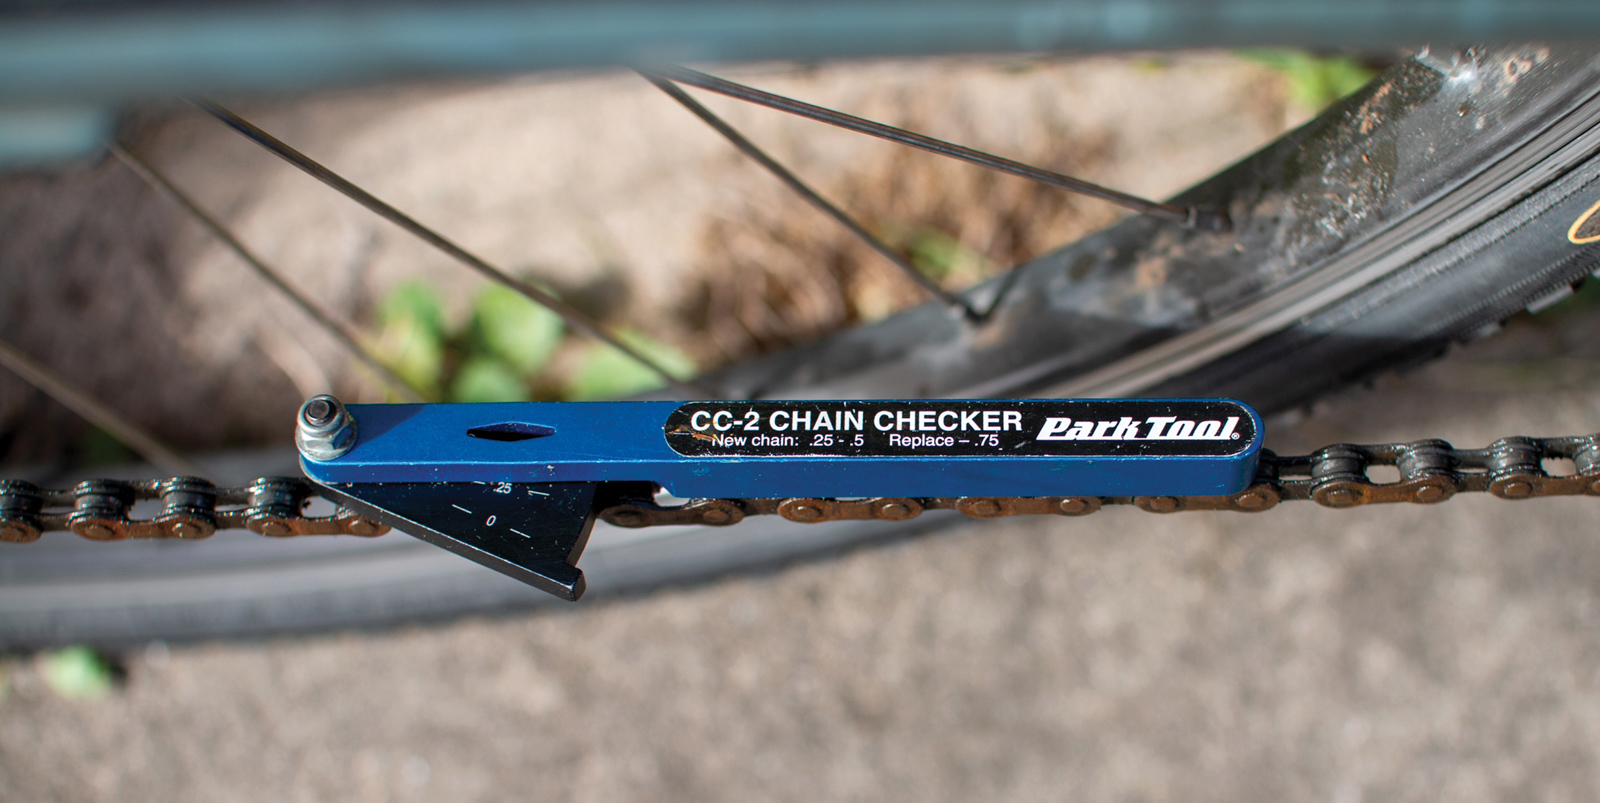
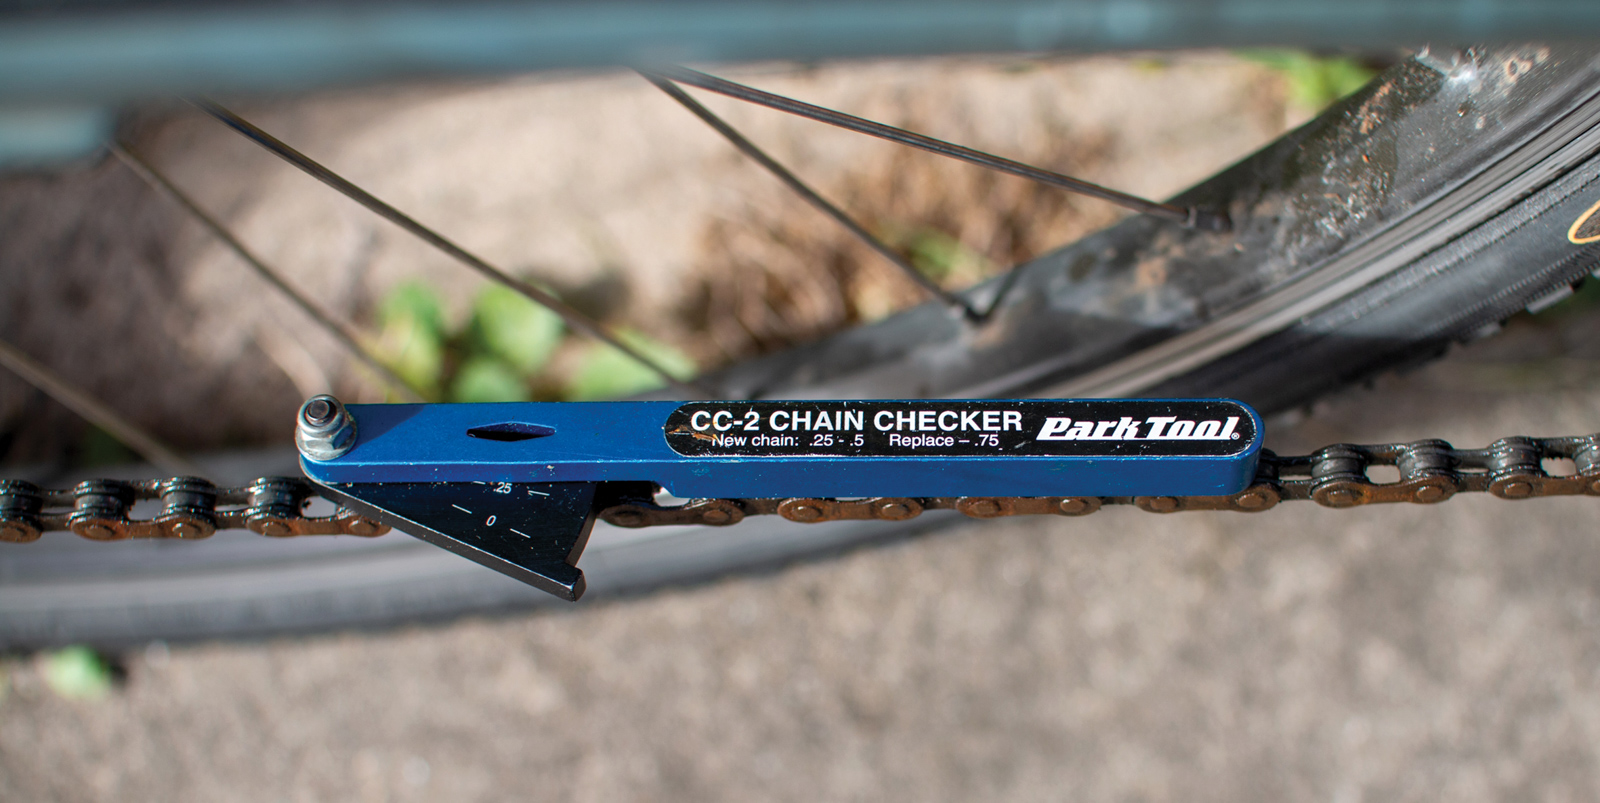
A chain checker is a crucial piece of equipment if you’re maintaining your own bike. No matter what camp you fall into in terms of replacing chains early and often versus running the whole system into the ground, a chain checker will let you know when it’s time to replace your drivetrain. Pedro’s Chain Wear Checker II gets the job done for $30. Park Tool’s CC3.2 is also a classic option (RRP: $26.99), whilst their CC2 (RRP: $52.99) is lightweight and portable but delivers variable results.
-
Pedal spanner
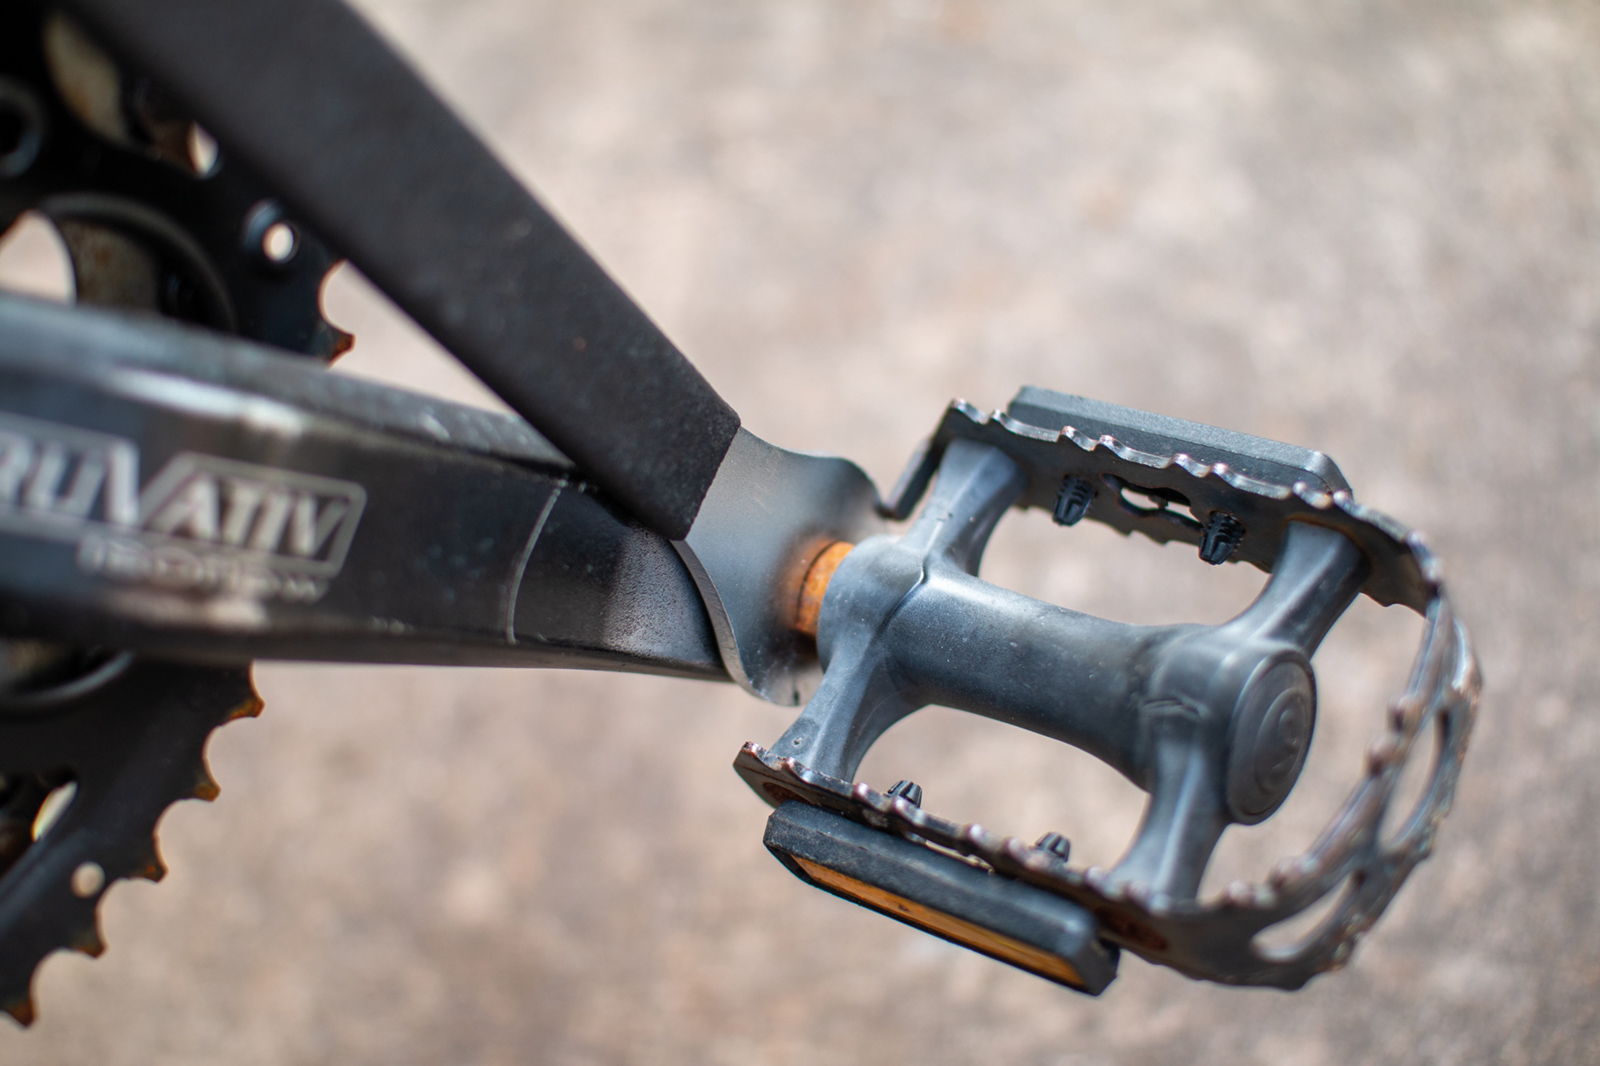
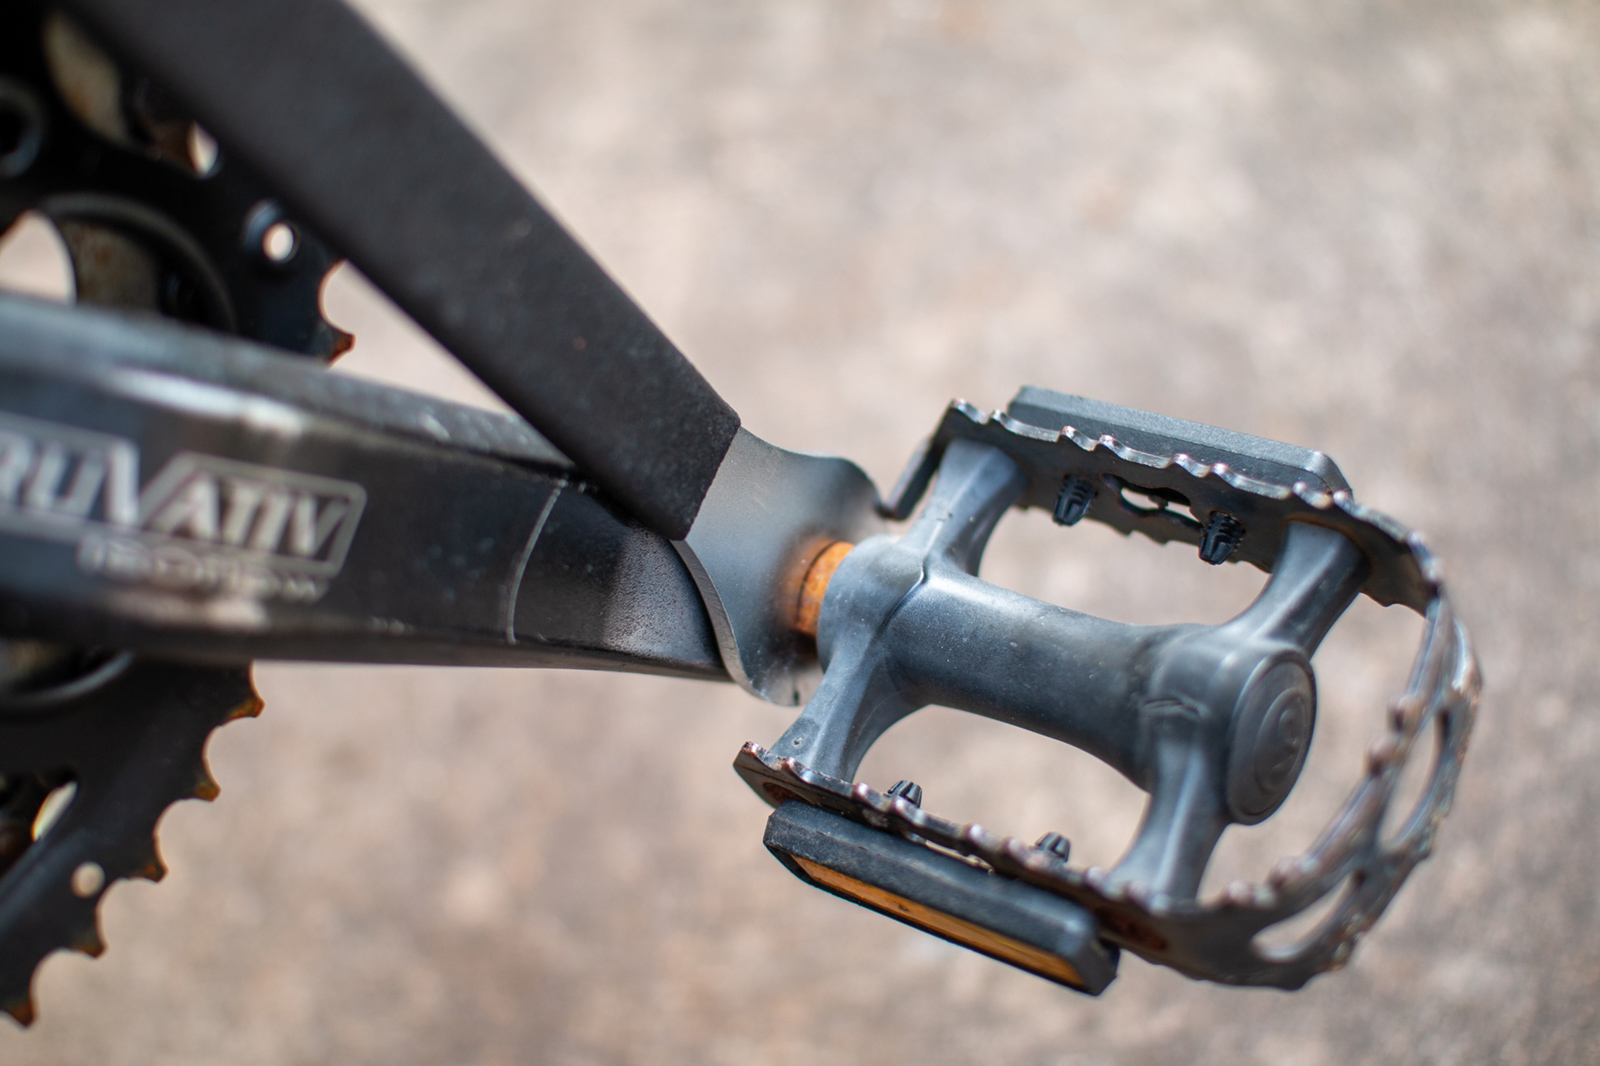
Whilst most high-end pedals have a 6mm or 8mm allen key attachment for installation and removal, if you’re working on your kid’s bike, you’ll need an old school pedal spanner to remove the pedals. Bonus points for pedal spanners with useful additions, like the Pedro’s option with the 24mm socket drive (RRP: $30).
-
Sharpened spoke/Pick
Whilst you can simply sharpen up an old spoke, many brands also offer picks that are useful for little detail jobs including making your cable outer hole bigger if your cutters have crushed them a touch. I’ve got both, and as ridiculous as it sounds the actual pick with a rubberised grip is easier to use than the sharpened spoke.
-
Bottom Bracket Tool
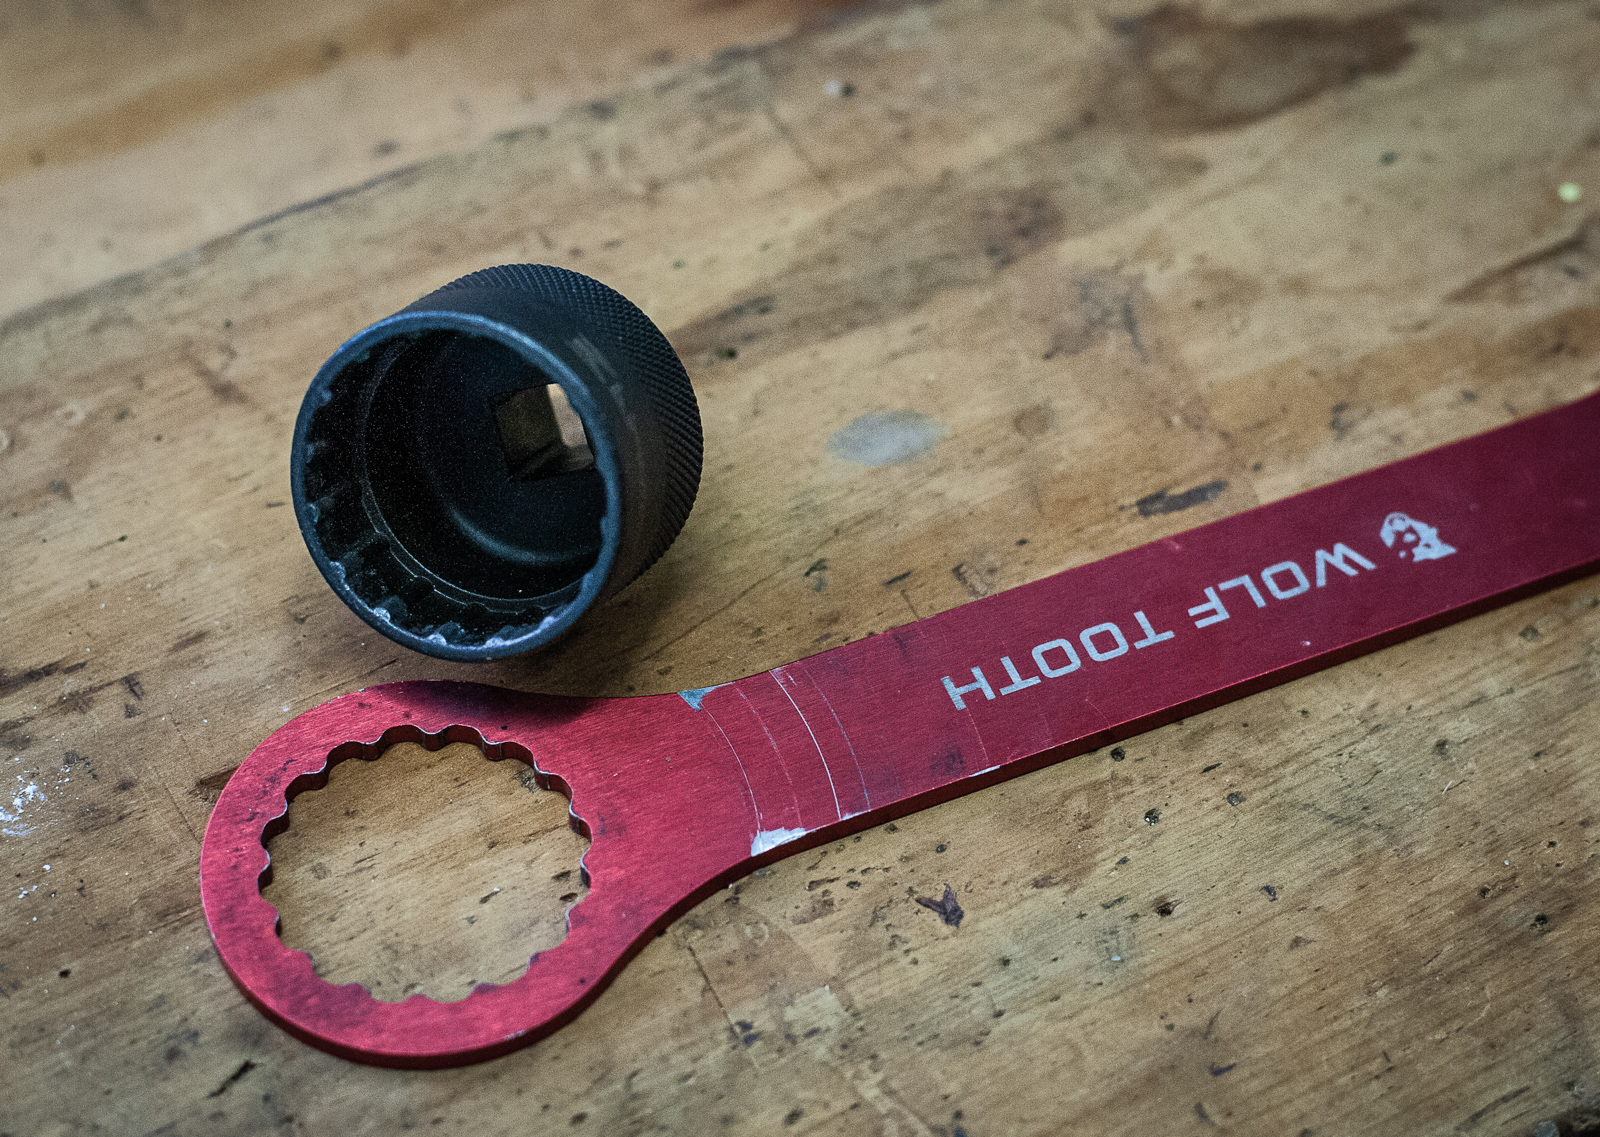
Threaded Bottom Brackets are coming back in a big way, which gets the thumbs up from me. A BB tool for threaded bottom brackets is also handy for centrelock rotors. Park Tool’s 16 notch BB socket will set you back $52.99, whilst the Pedro’s equivalent is $30.
-
Torque Wrench
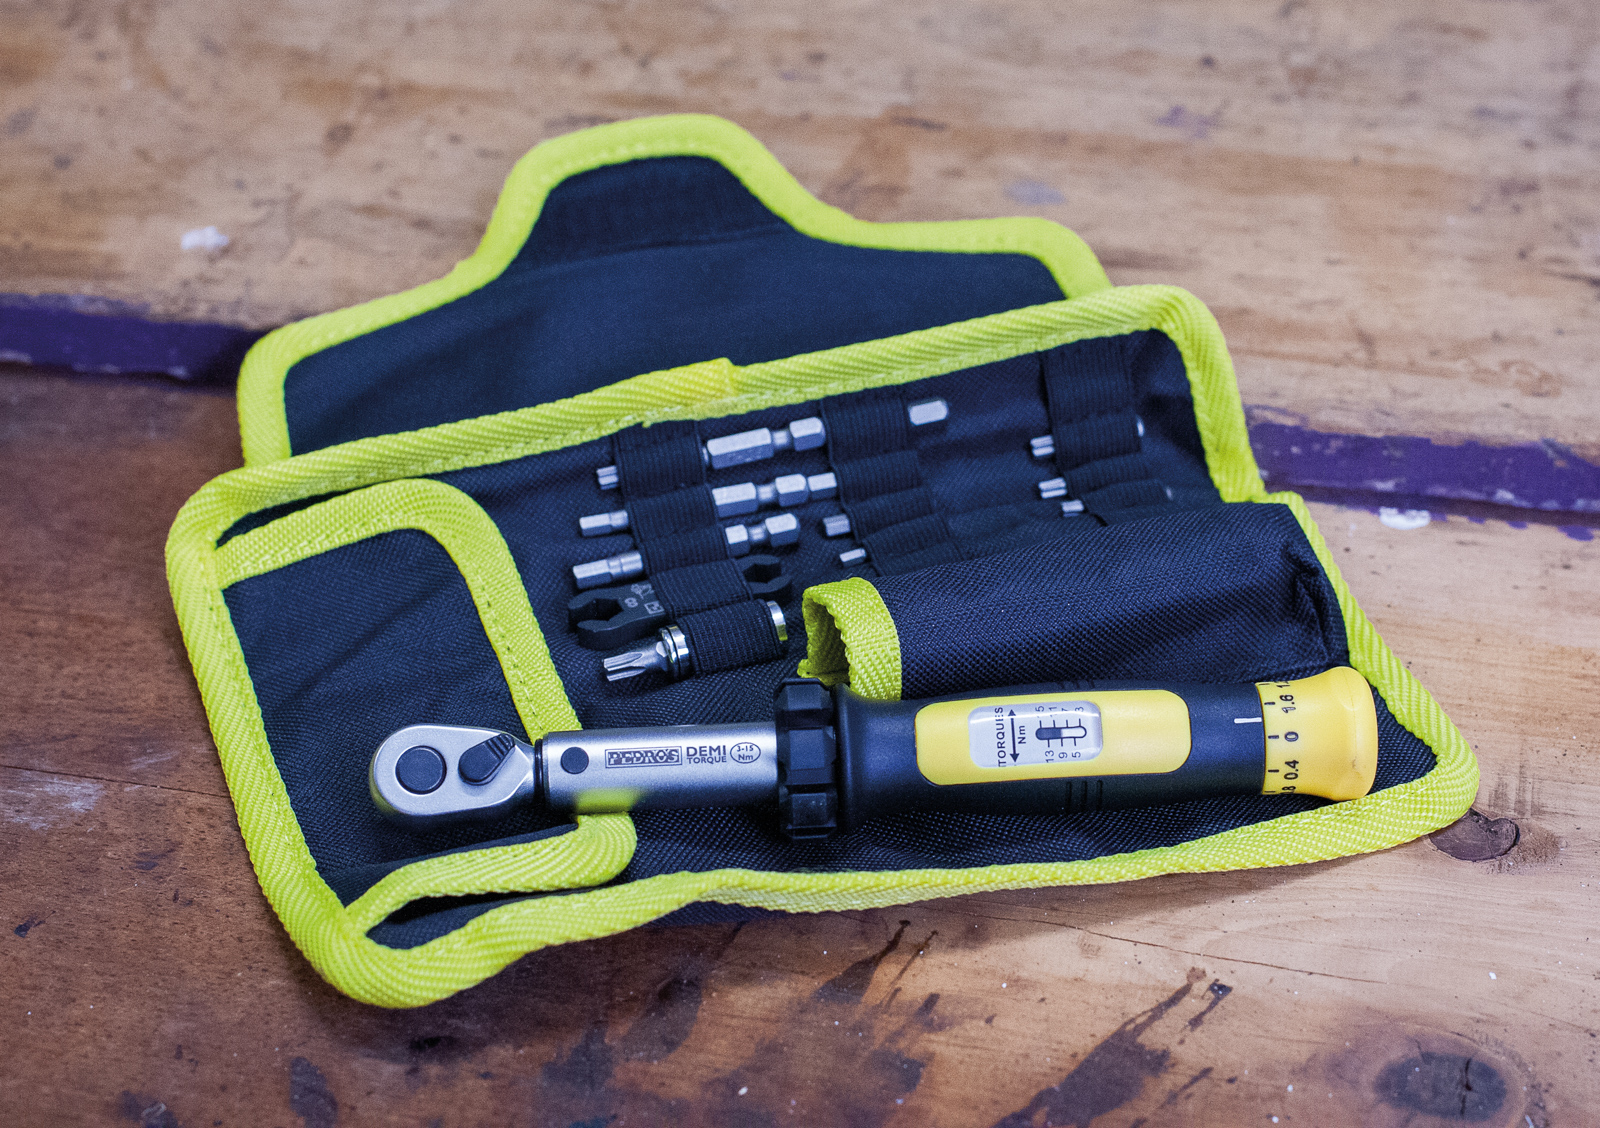
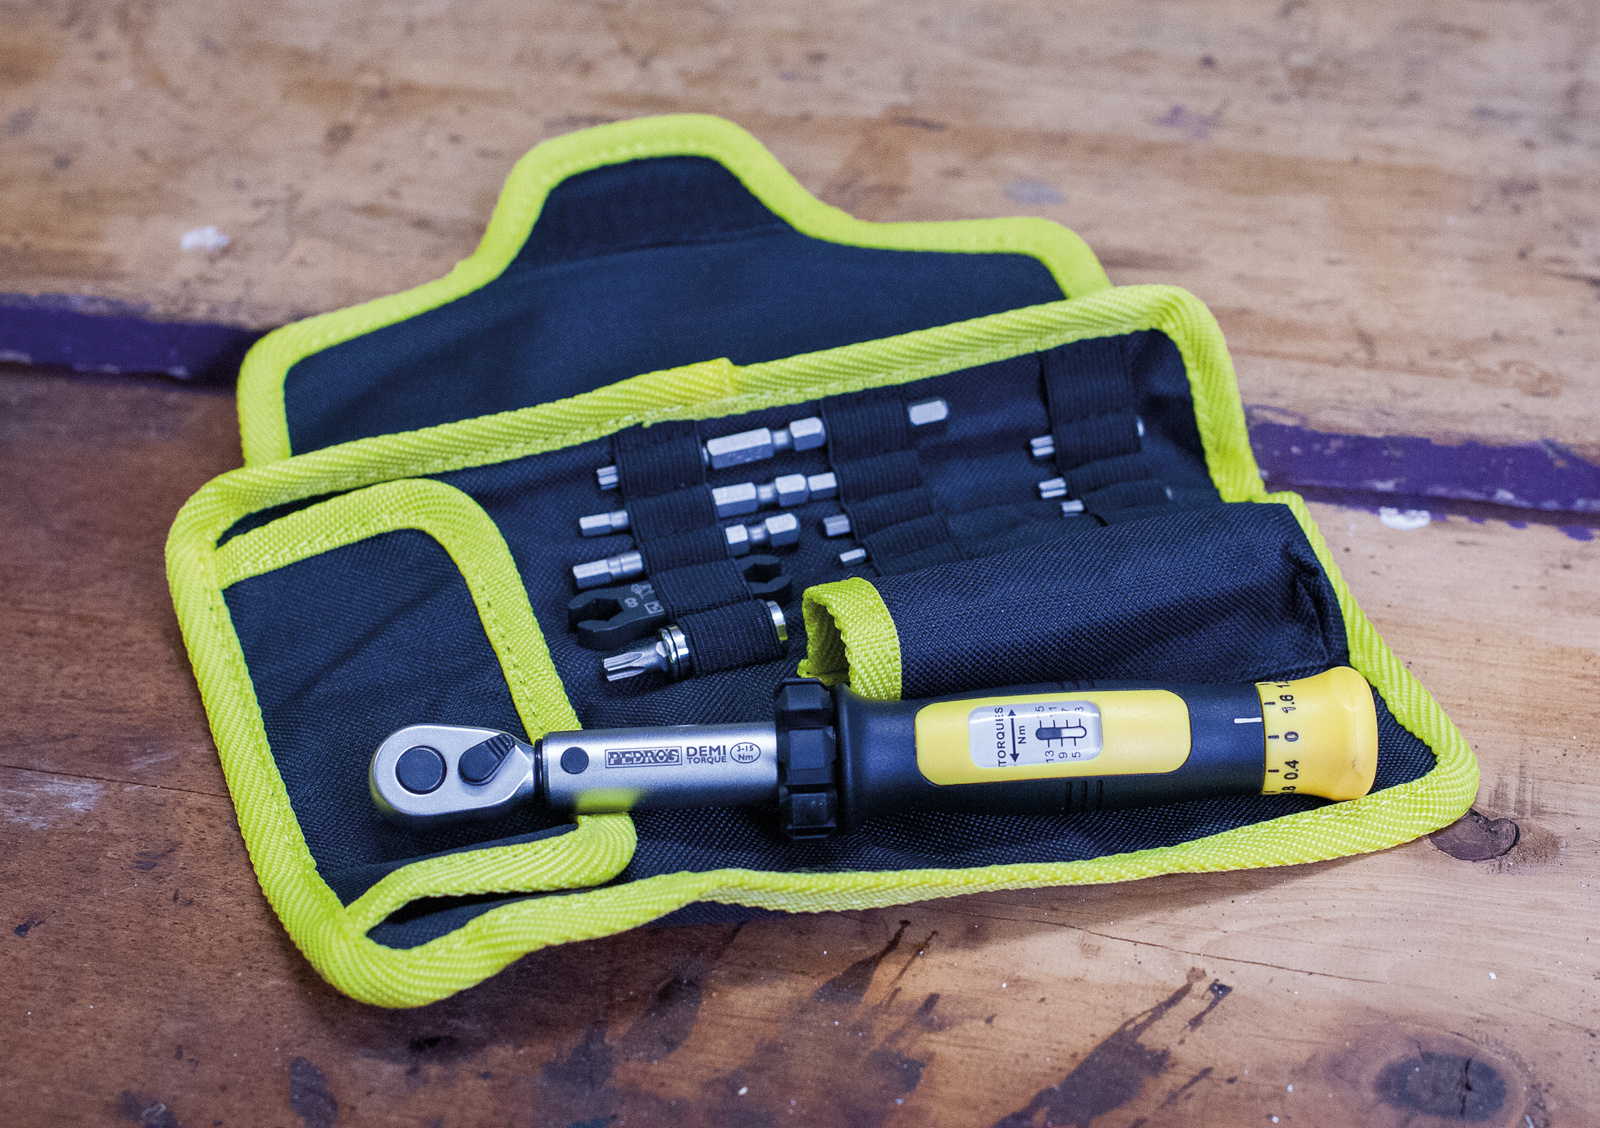
Regardless of whether you’ve got a carbon bike or not, a torque wrench will give you a good indication of what X amount of Nm feels like. Things like suspension pivot bolts and seatpost clamps need to be torqued correctly, and there’s no easier way to do it then with a torque wrench. I’ve got the PRO Workshop Torque Wrench that comes with M3-6 bits as well as a T25 and T30 for $199.95. The Pedros model here sells for $315.
-
Tape measure
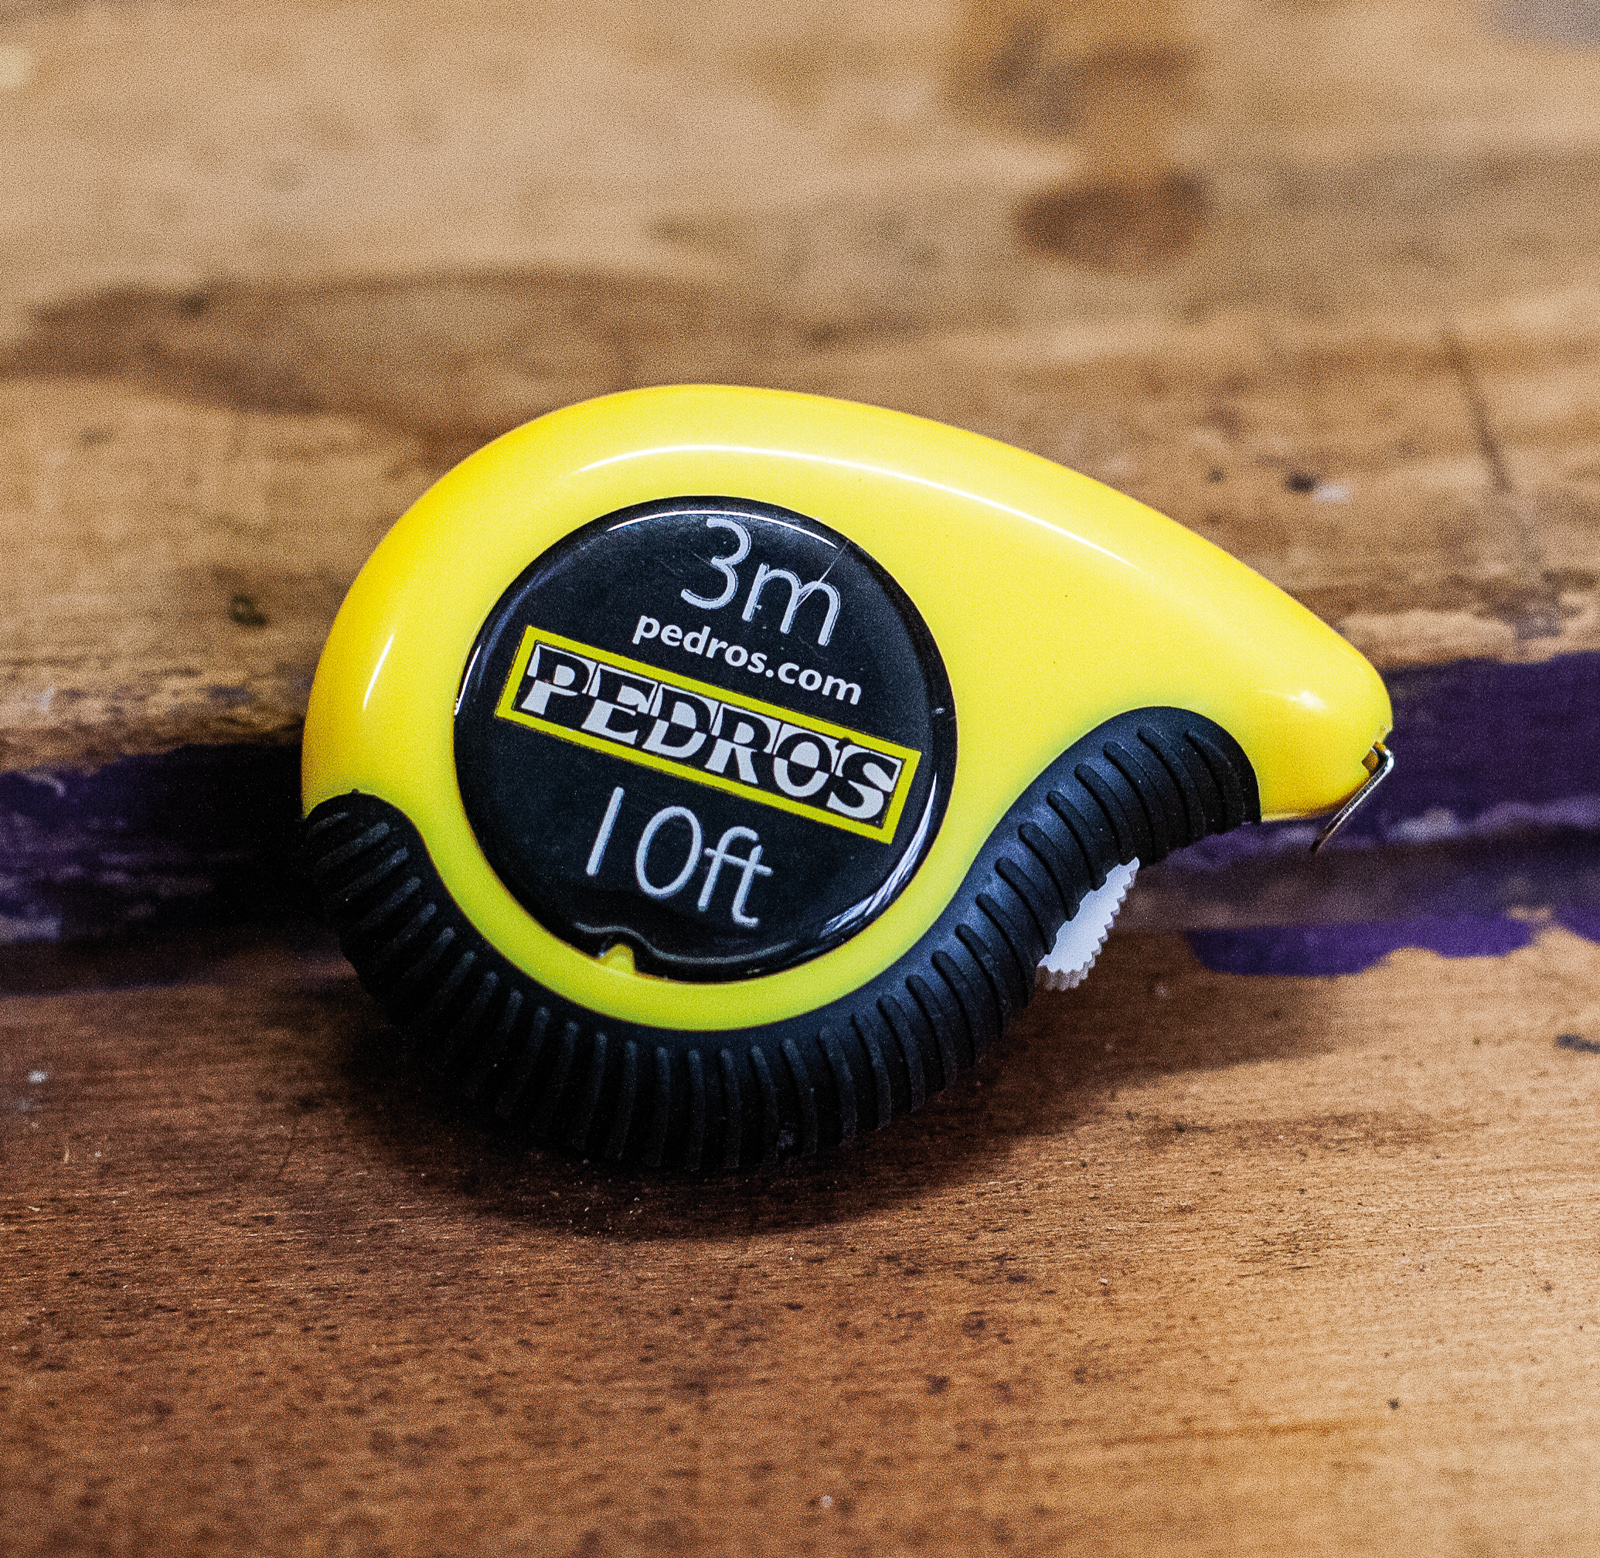
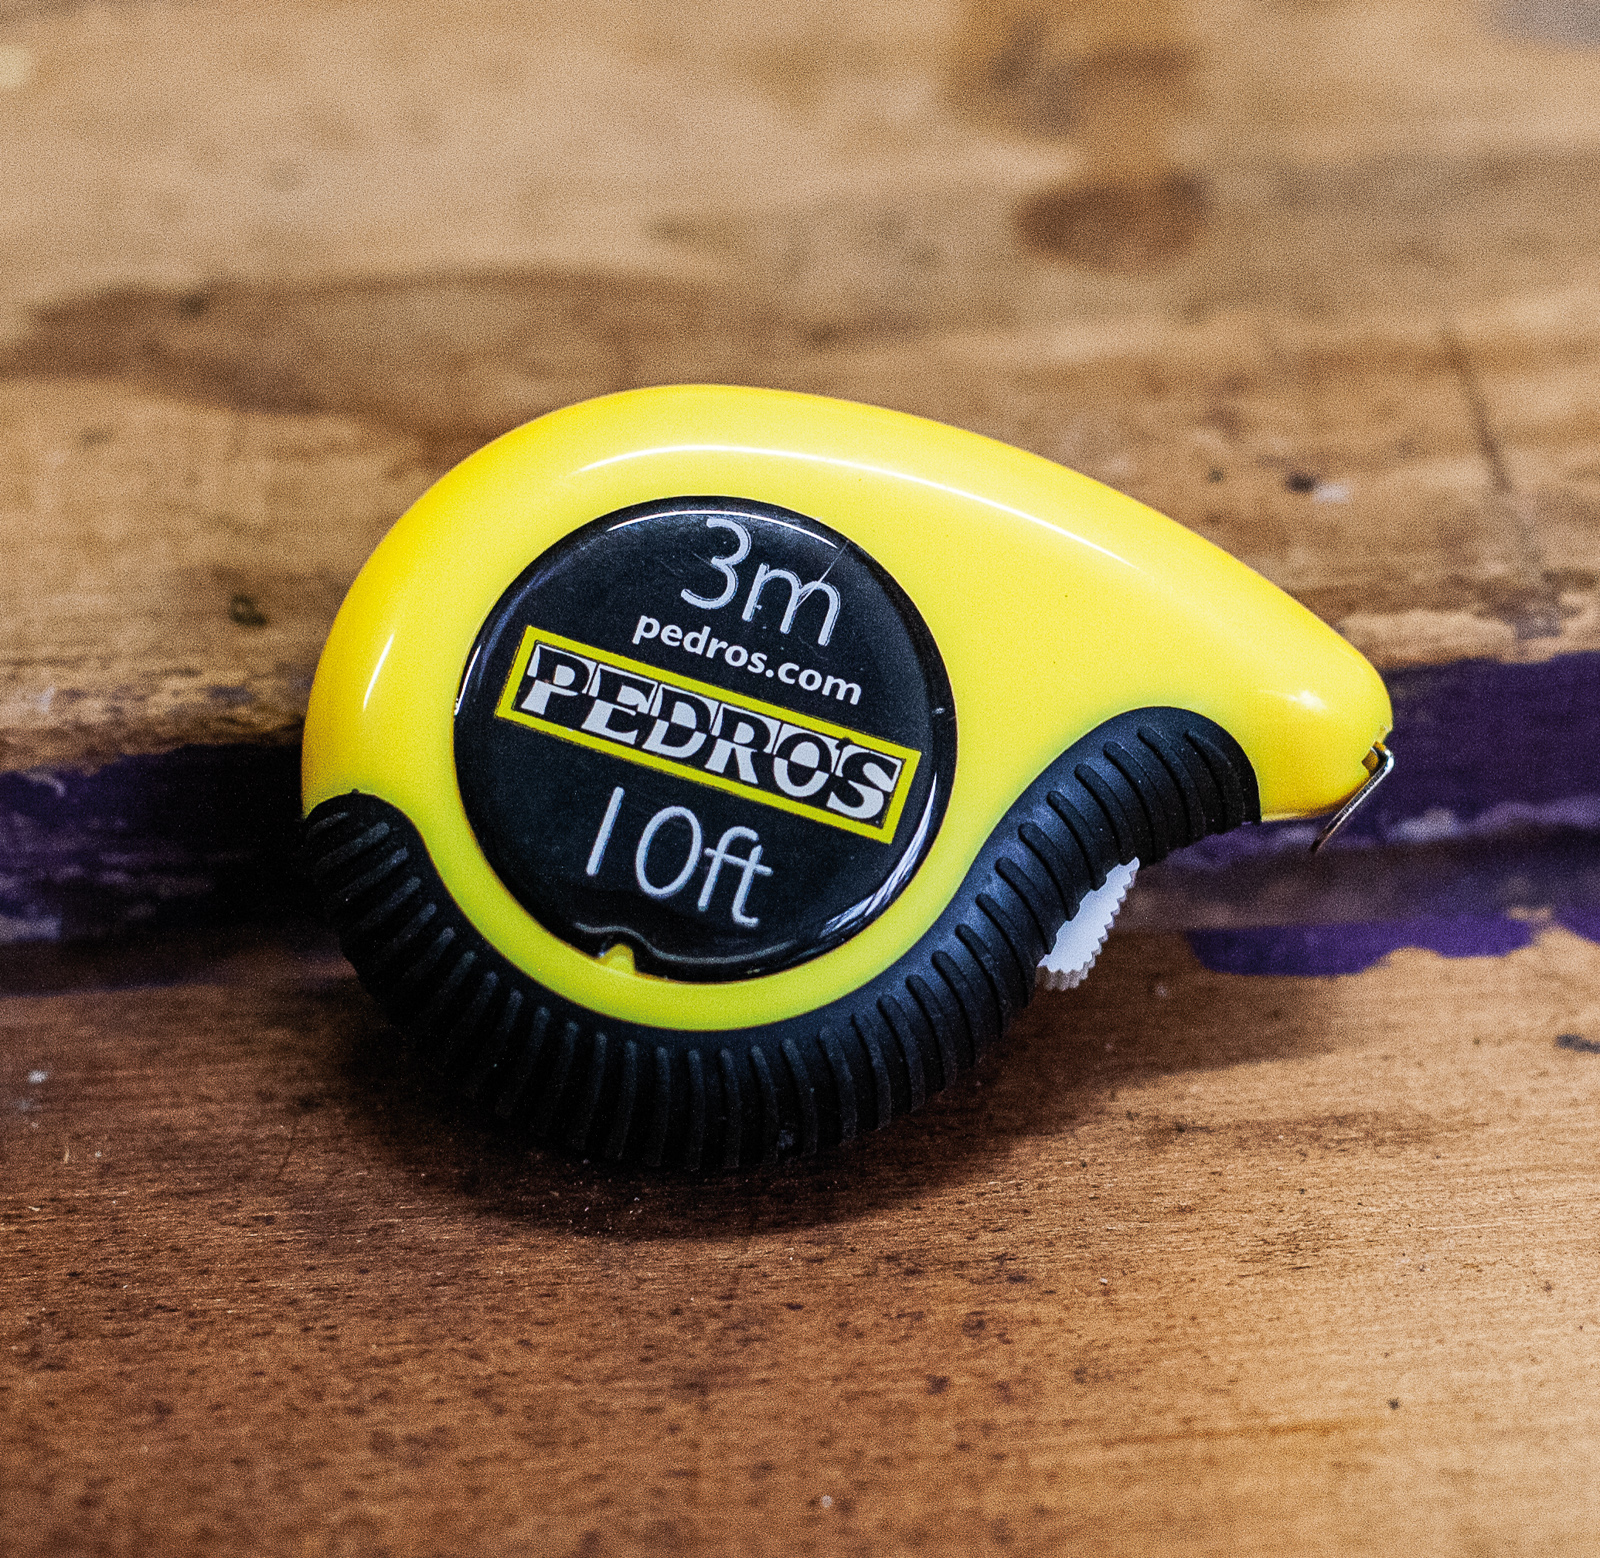
A tape measure is handy for lots of things. Whilst you’re probably not on a new bike every other week, knowing your saddle height for when you are changing bikes makes the process much easier. The tape measure I’m currently rocking is from Pedro’s and retails for $15.
-
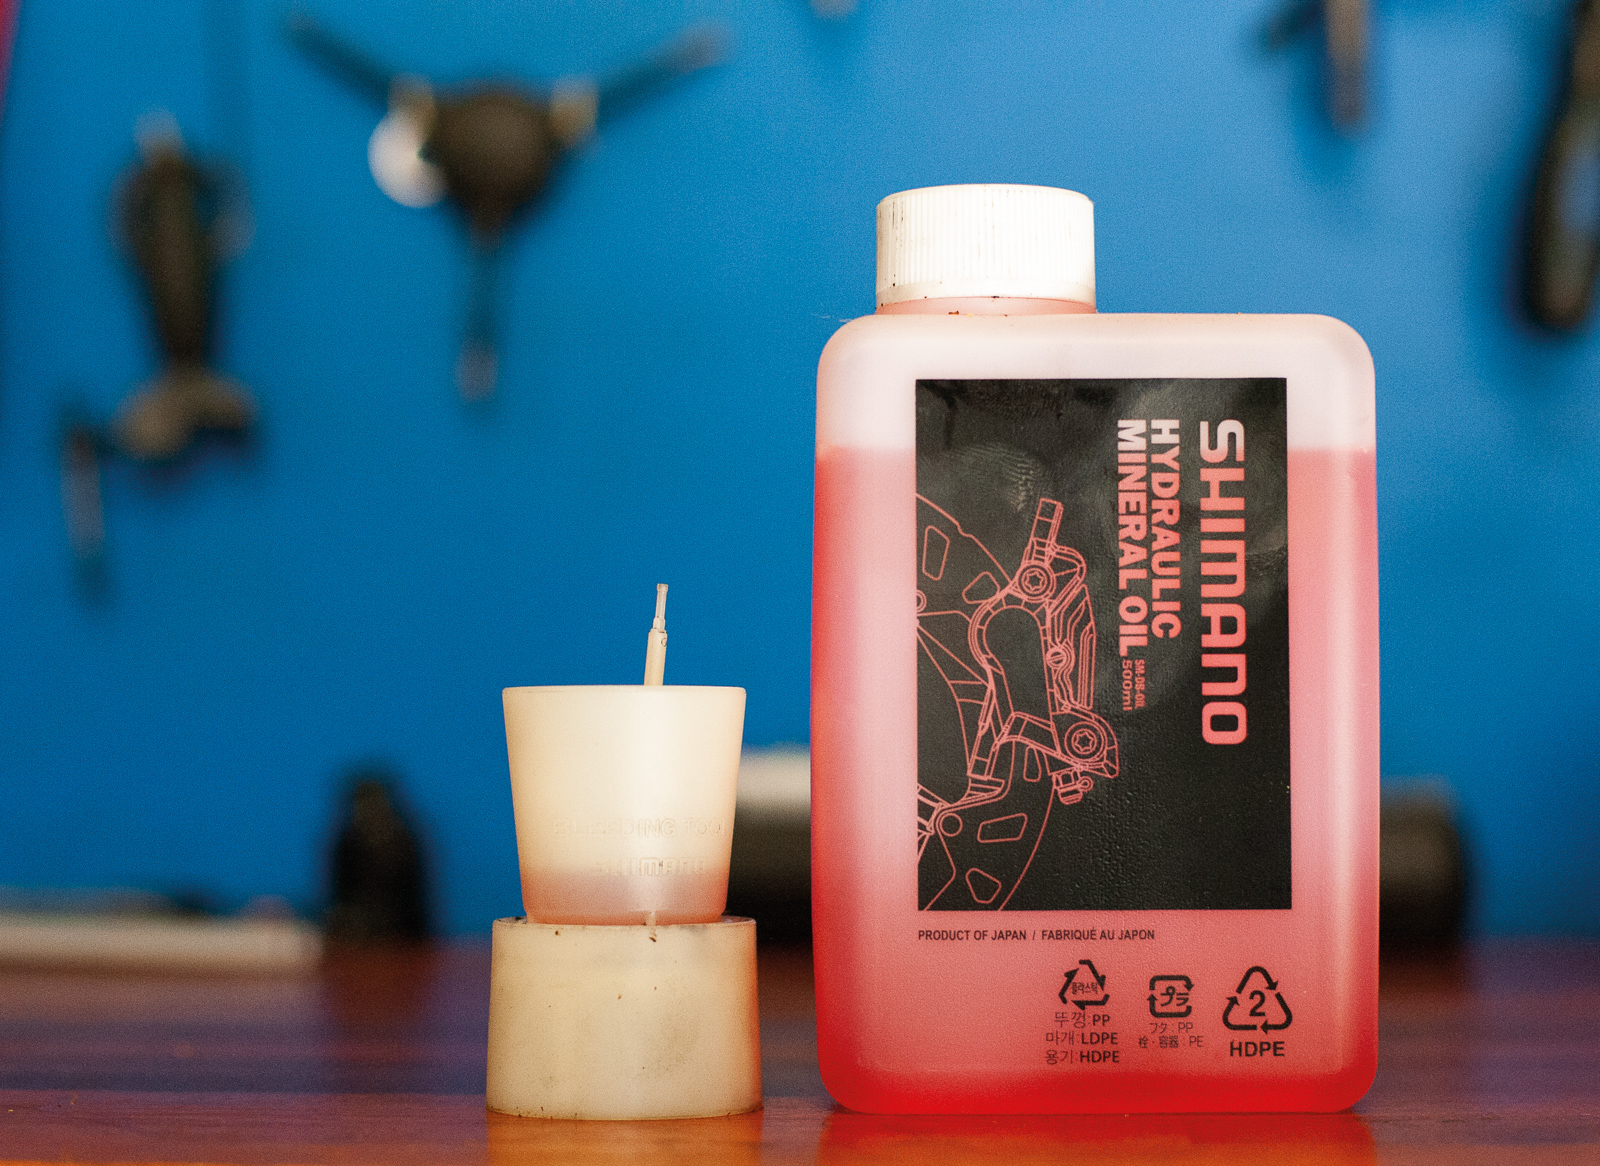
Shimano brake bleed bucket
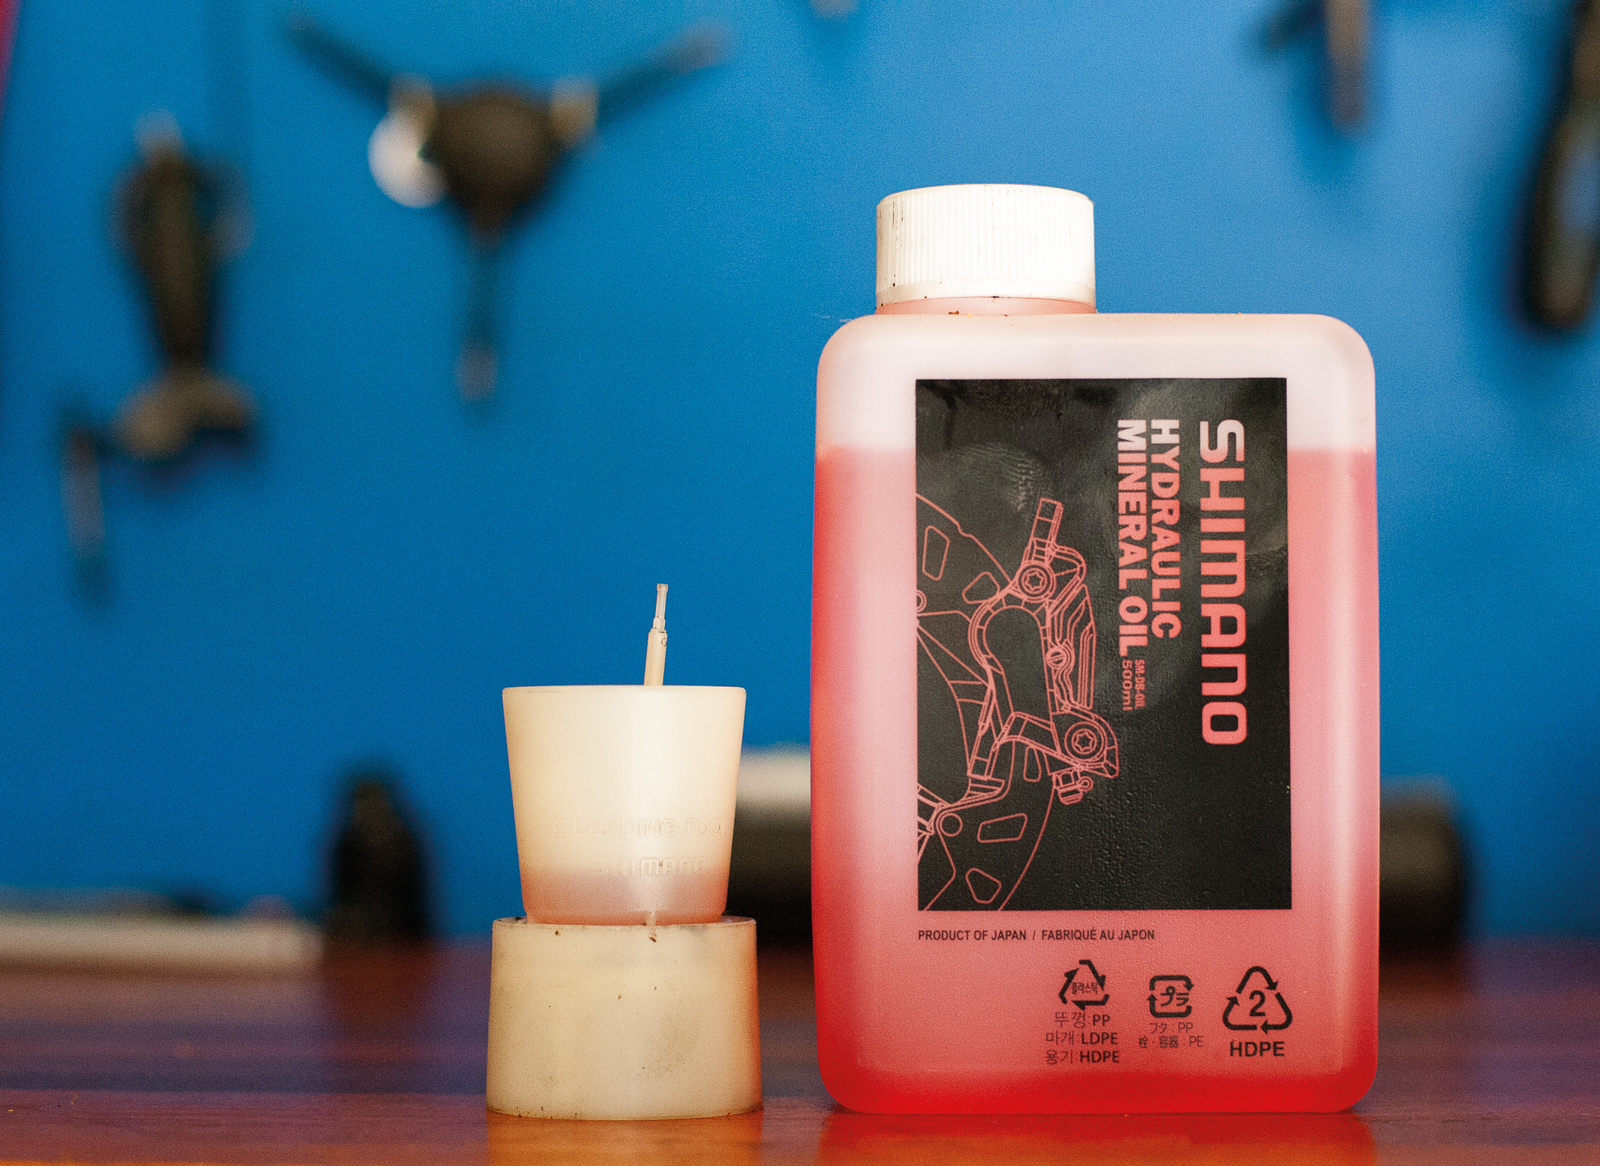
If you own a bike with Shimano brakes, a Shimano brake bleed bucket is potentially the best $10 you’ll ever spend. Allowing you to do a super quick ‘cheat bleed’ (providing you have Shimano mineral oil on hand), it’s a must have if you’re running Shimano brakes.
‘Luxury’ Tools:
These tools have very specific tasks, and while they might take a bigger investment, they can really make a difference to getting new bikes built, or old ones running properly.
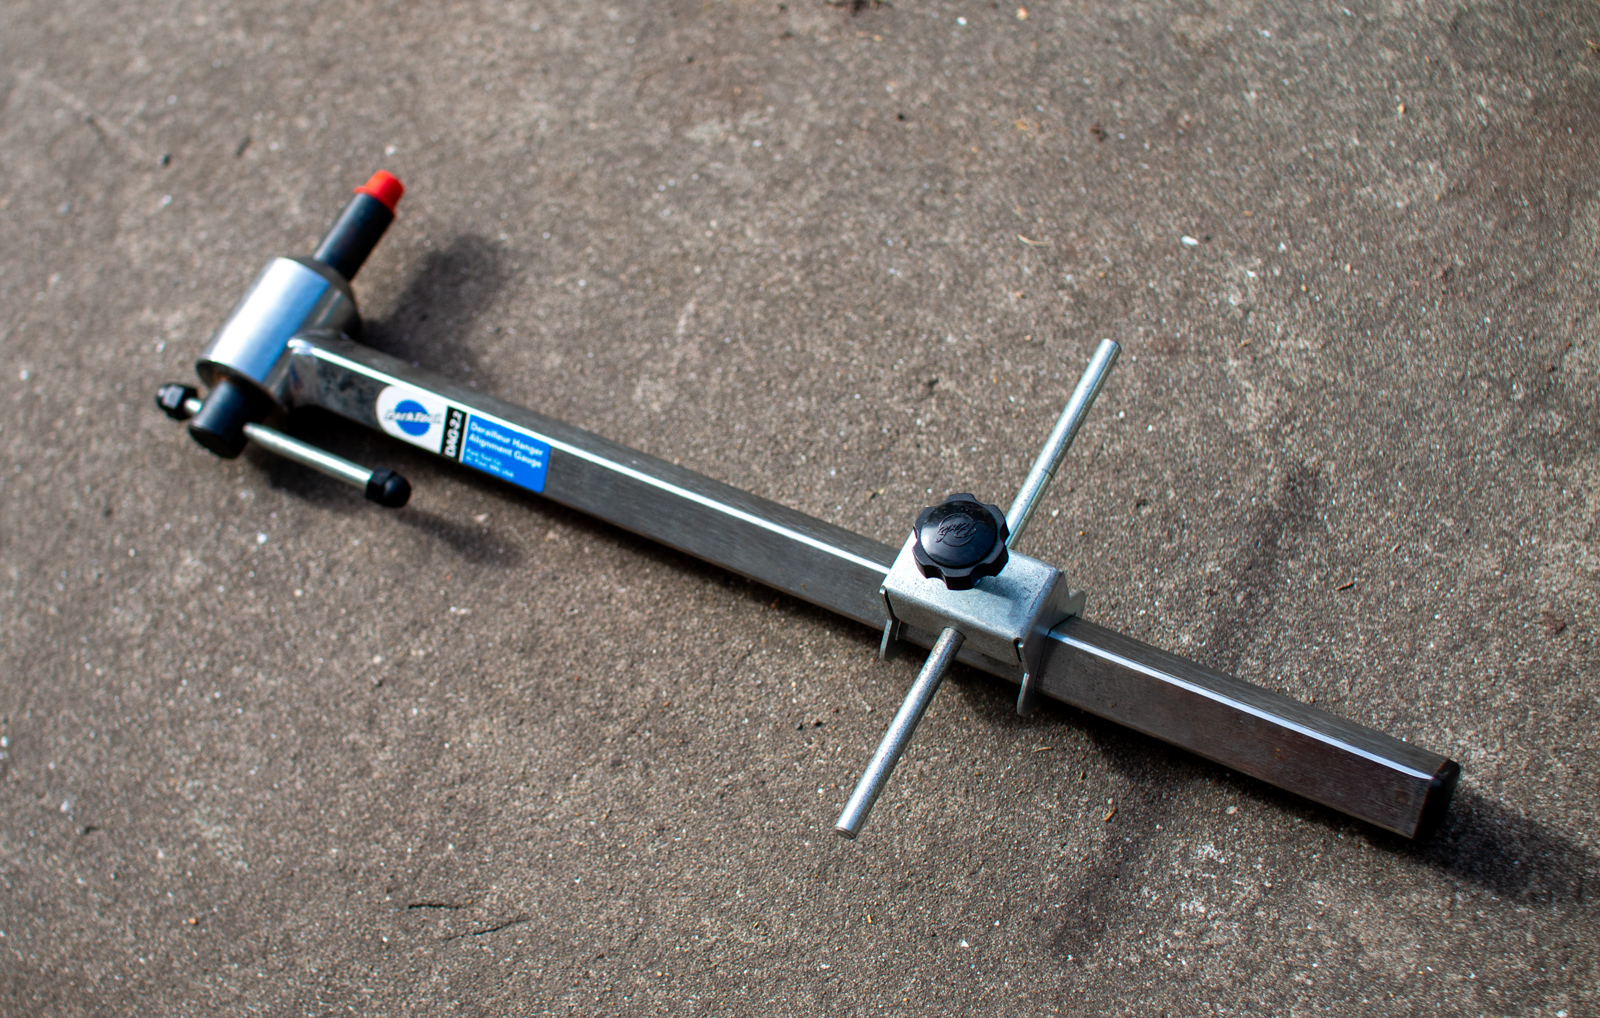
Derailleur Alignment Gauge:
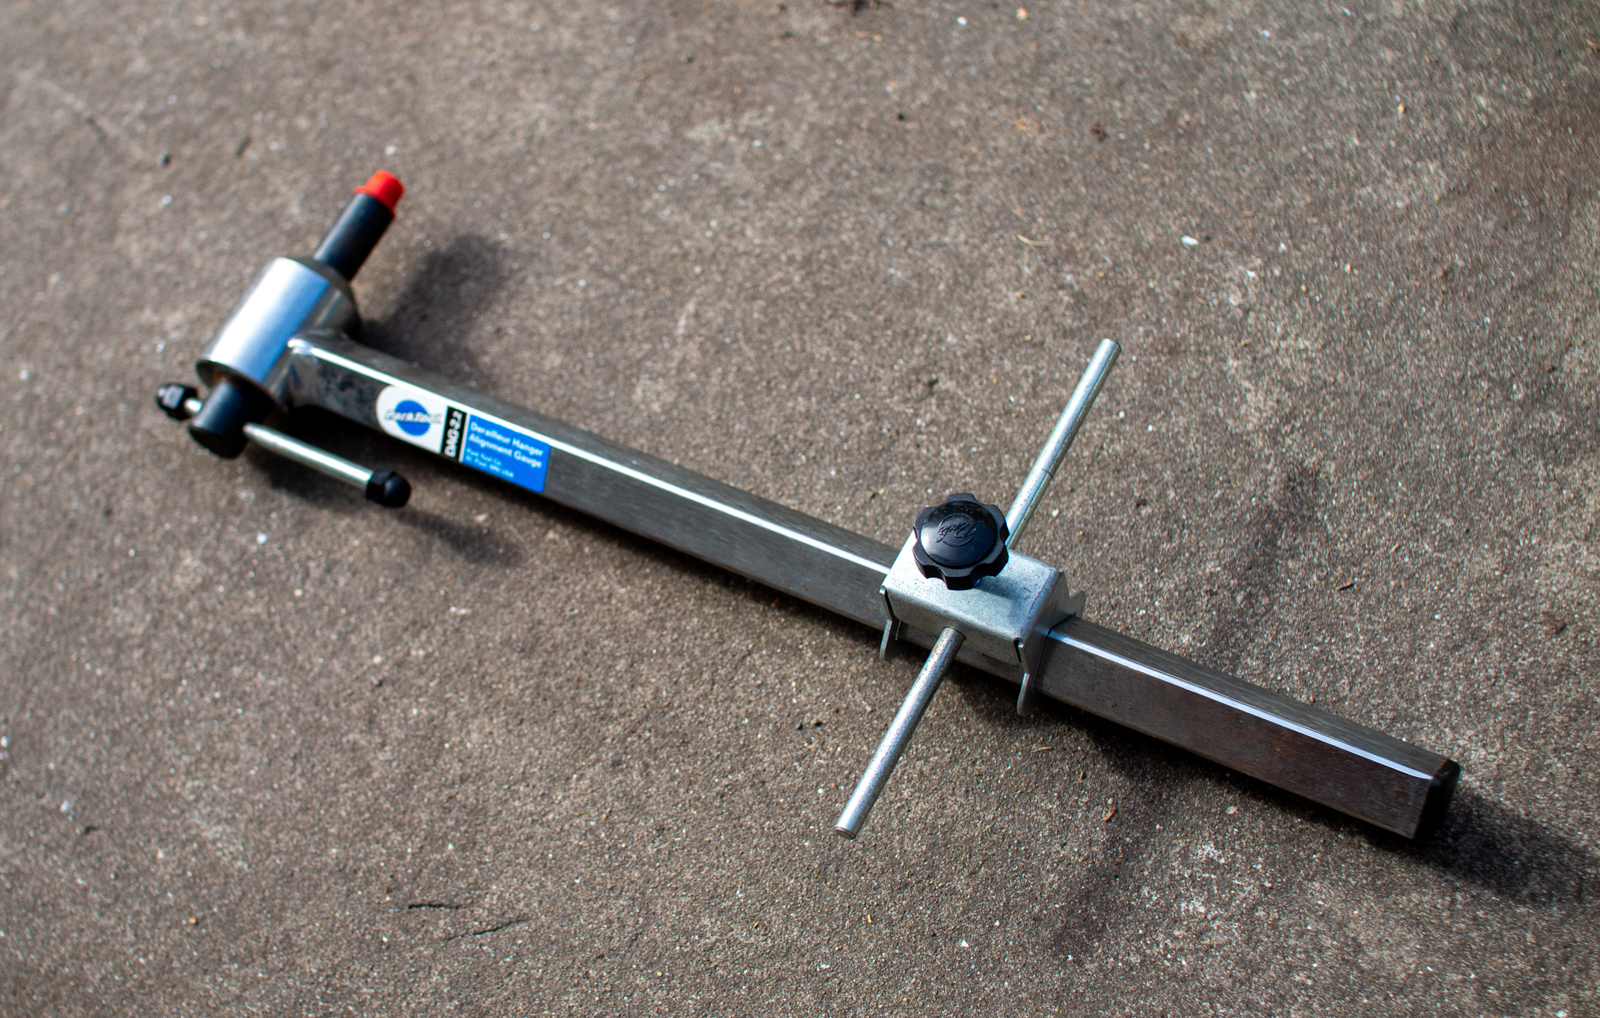
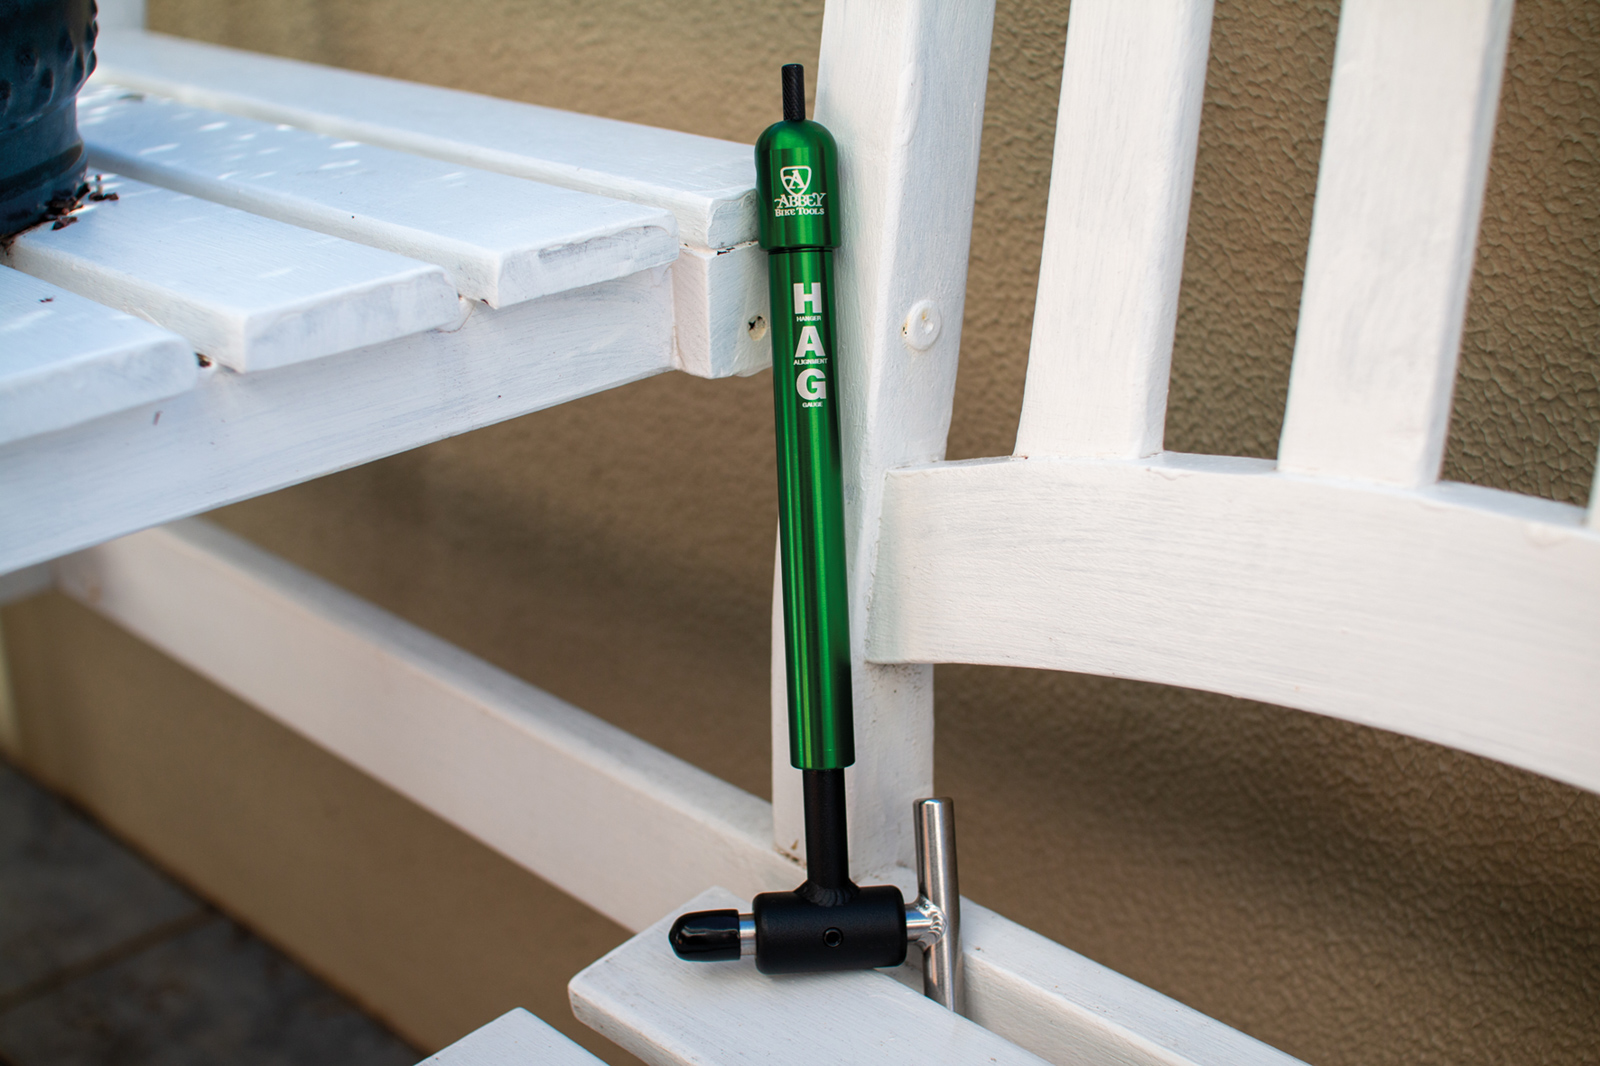
A derailleur alignment gauge (DAG) isn’t a cheap tool, but it will show you how often your derailleur isn’t aligned properly! It’ll also mean you’ll never spend hours trying to index your gears when all you needed from the beginning was a little tweak with the DAG. I’ve got the Park Tool variant (the DAG2.2, RRP: $159.99), but if budget isn’t an issue the Abbey Bike Tools HAG (hanger alignment gauge) is a lightweight piece of art and runs the tightest tolerances in the industry (RRP: $316.99).
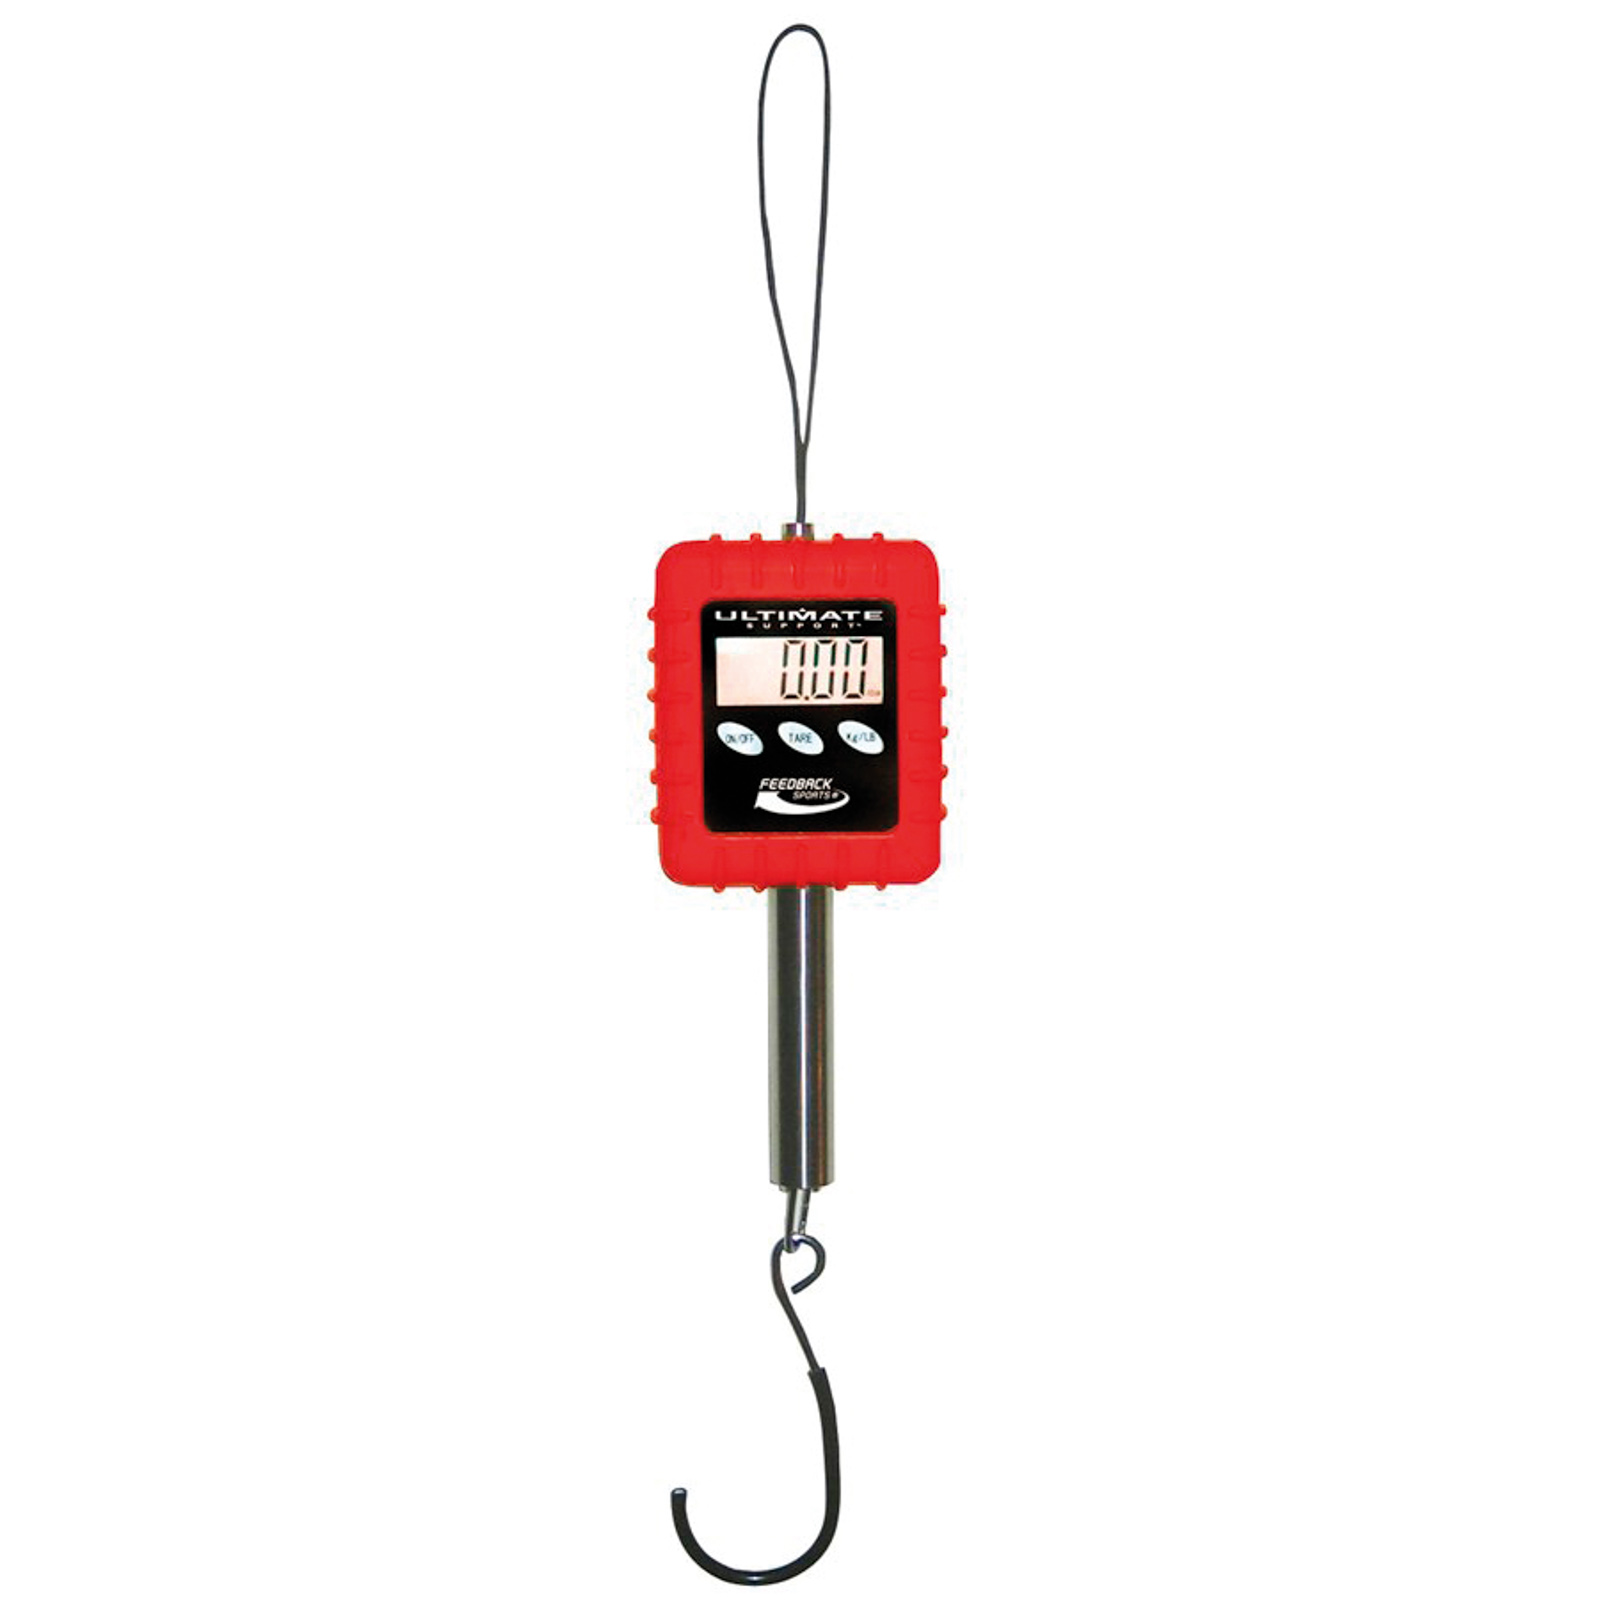
Scales:
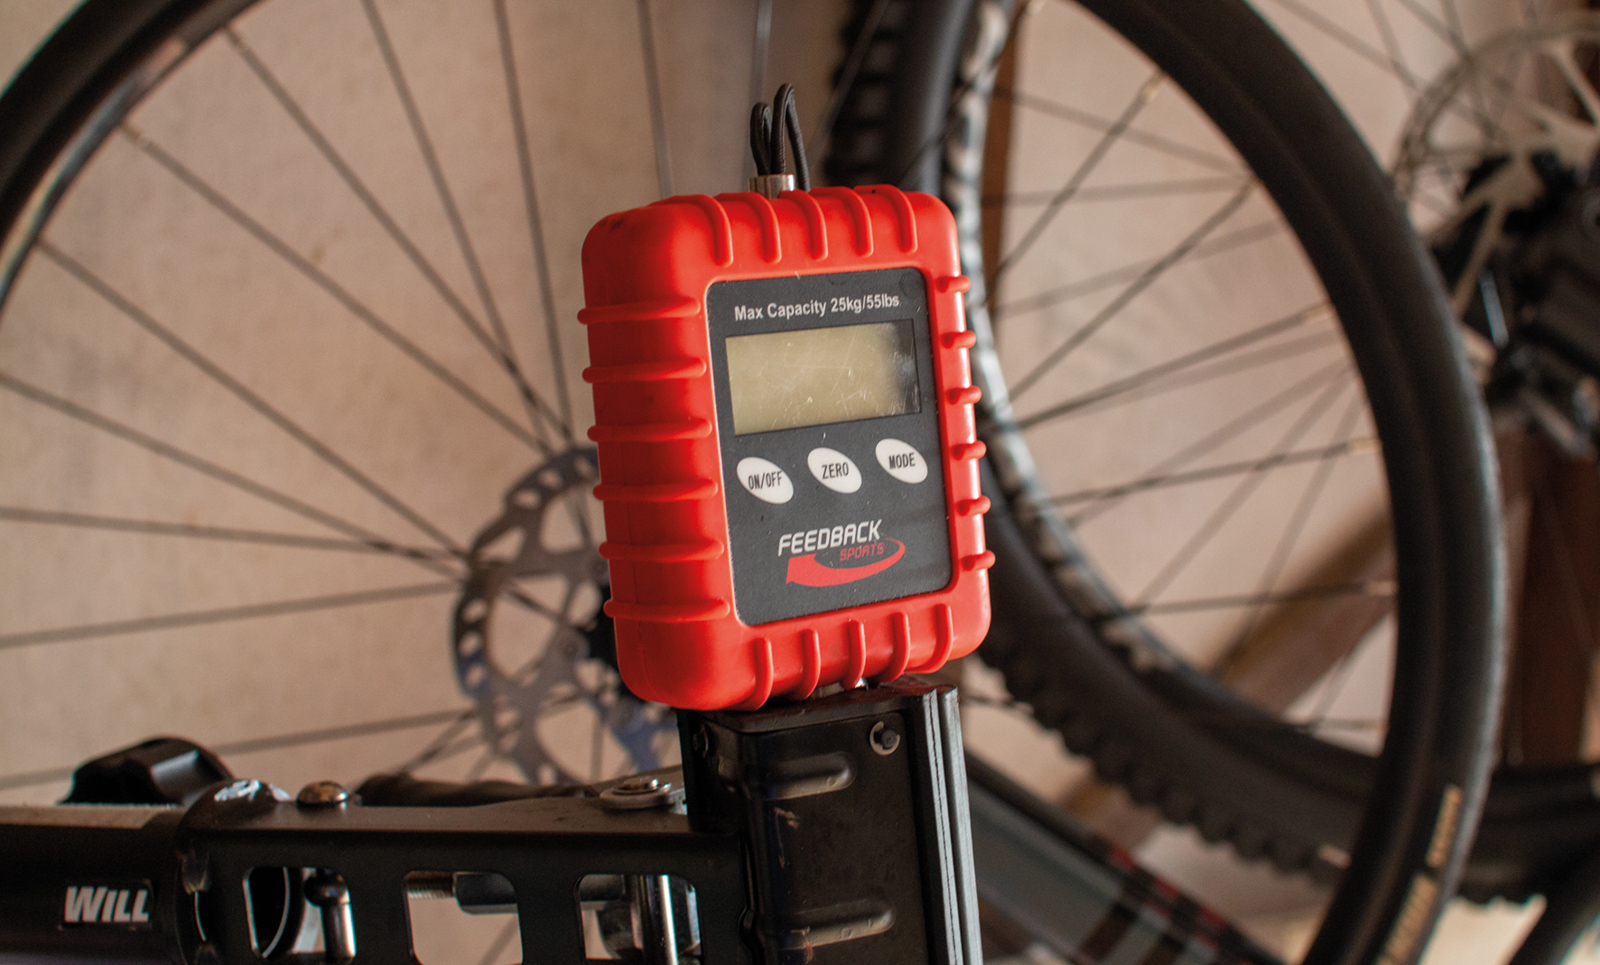
Whether or not you’re a cross-country racer wanting to maximise every gram, if you’ve got a set of scales to hand it’s hard to resist weighing every bike in sight. It also gives you an idea about what effect component changes have on overall bike weight, which is interesting regardless of your discipline of choice. I’ve got a set of Feedback Sports’ Alpine digital scales, which get the job done just fine and retail for $95.
Floor pump with an integrated pressure gauge:
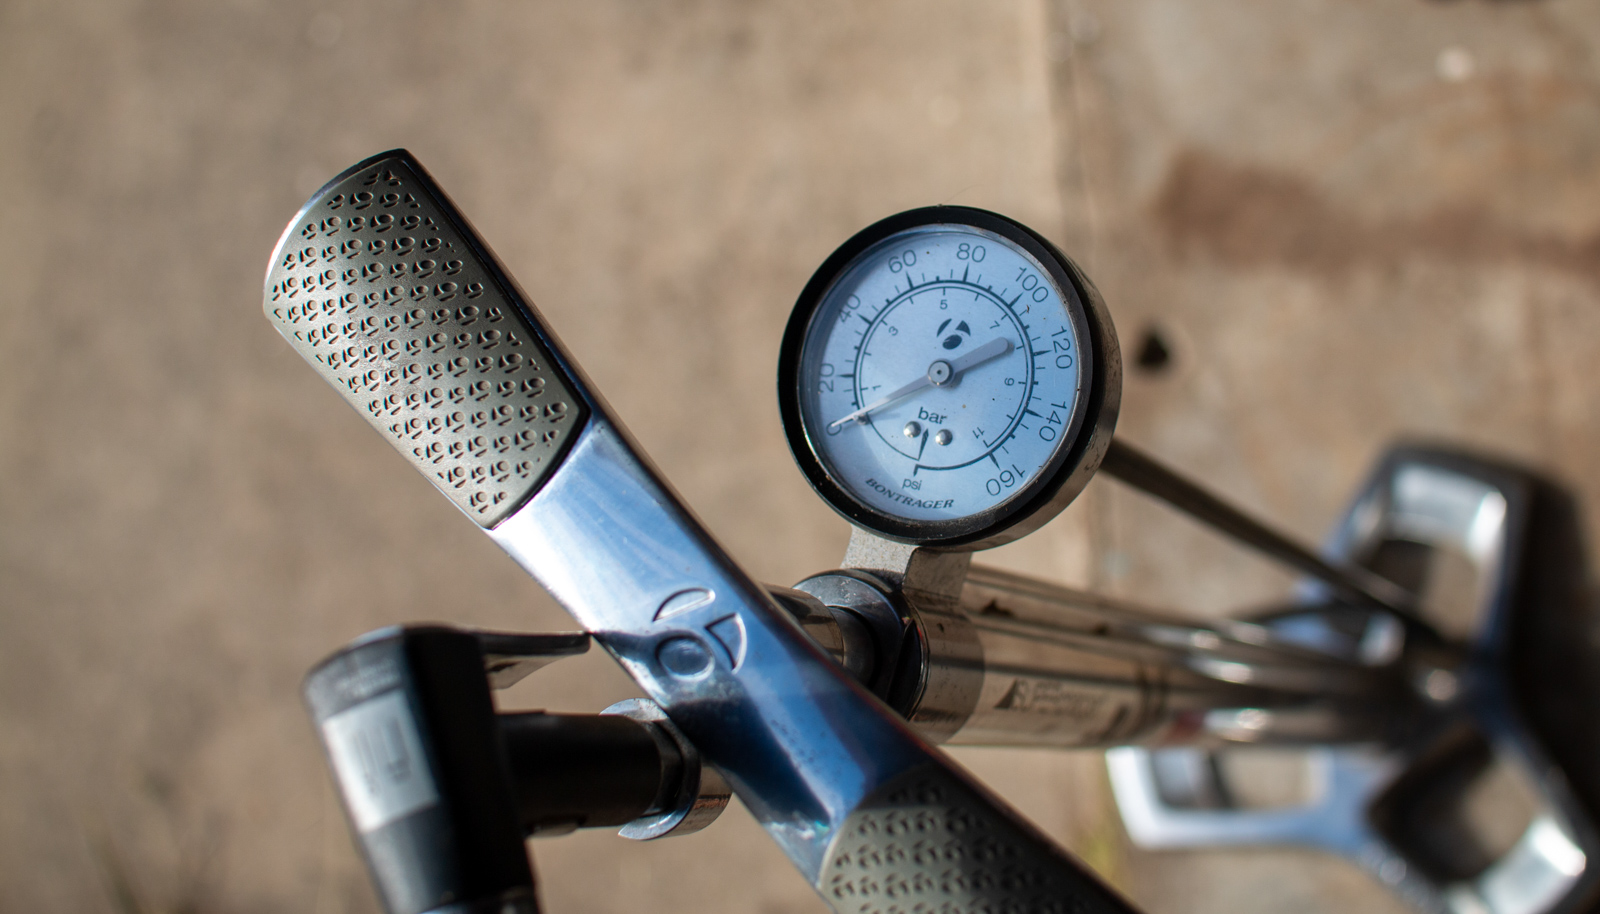
I mentioned this in the essential tools component of this article but keeping an eye on tyre pressure can have a huge effect on the way your bike feels. Whilst they’re more expensive than regular floor pumps, if you don’t own a digital pressure gauge than these pumps are a good way to kill two birds with one stone! I’ve heard favourable reviews of the Lezyne range, and you can pick up one of their digital floor pumps from between $100 and $200.
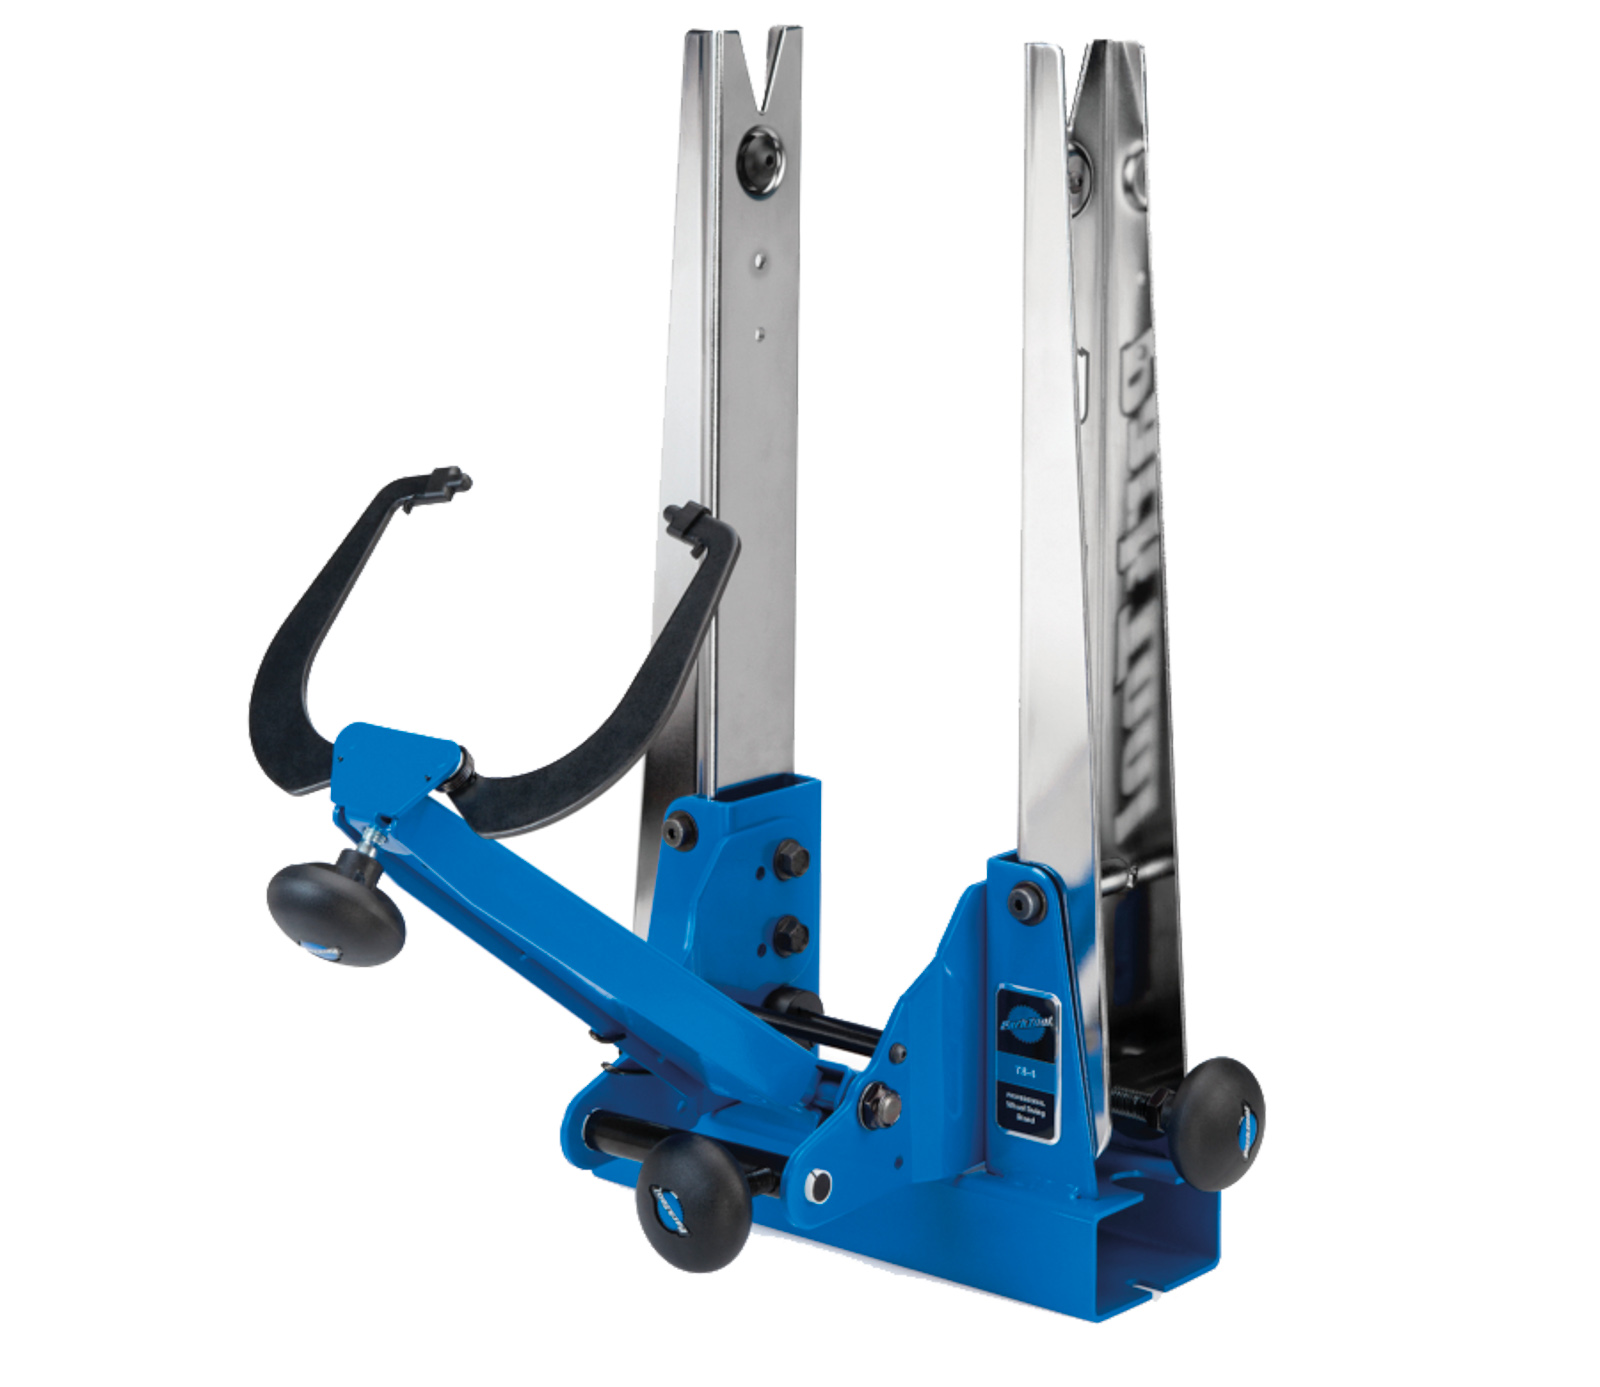
Wheel truing stand:
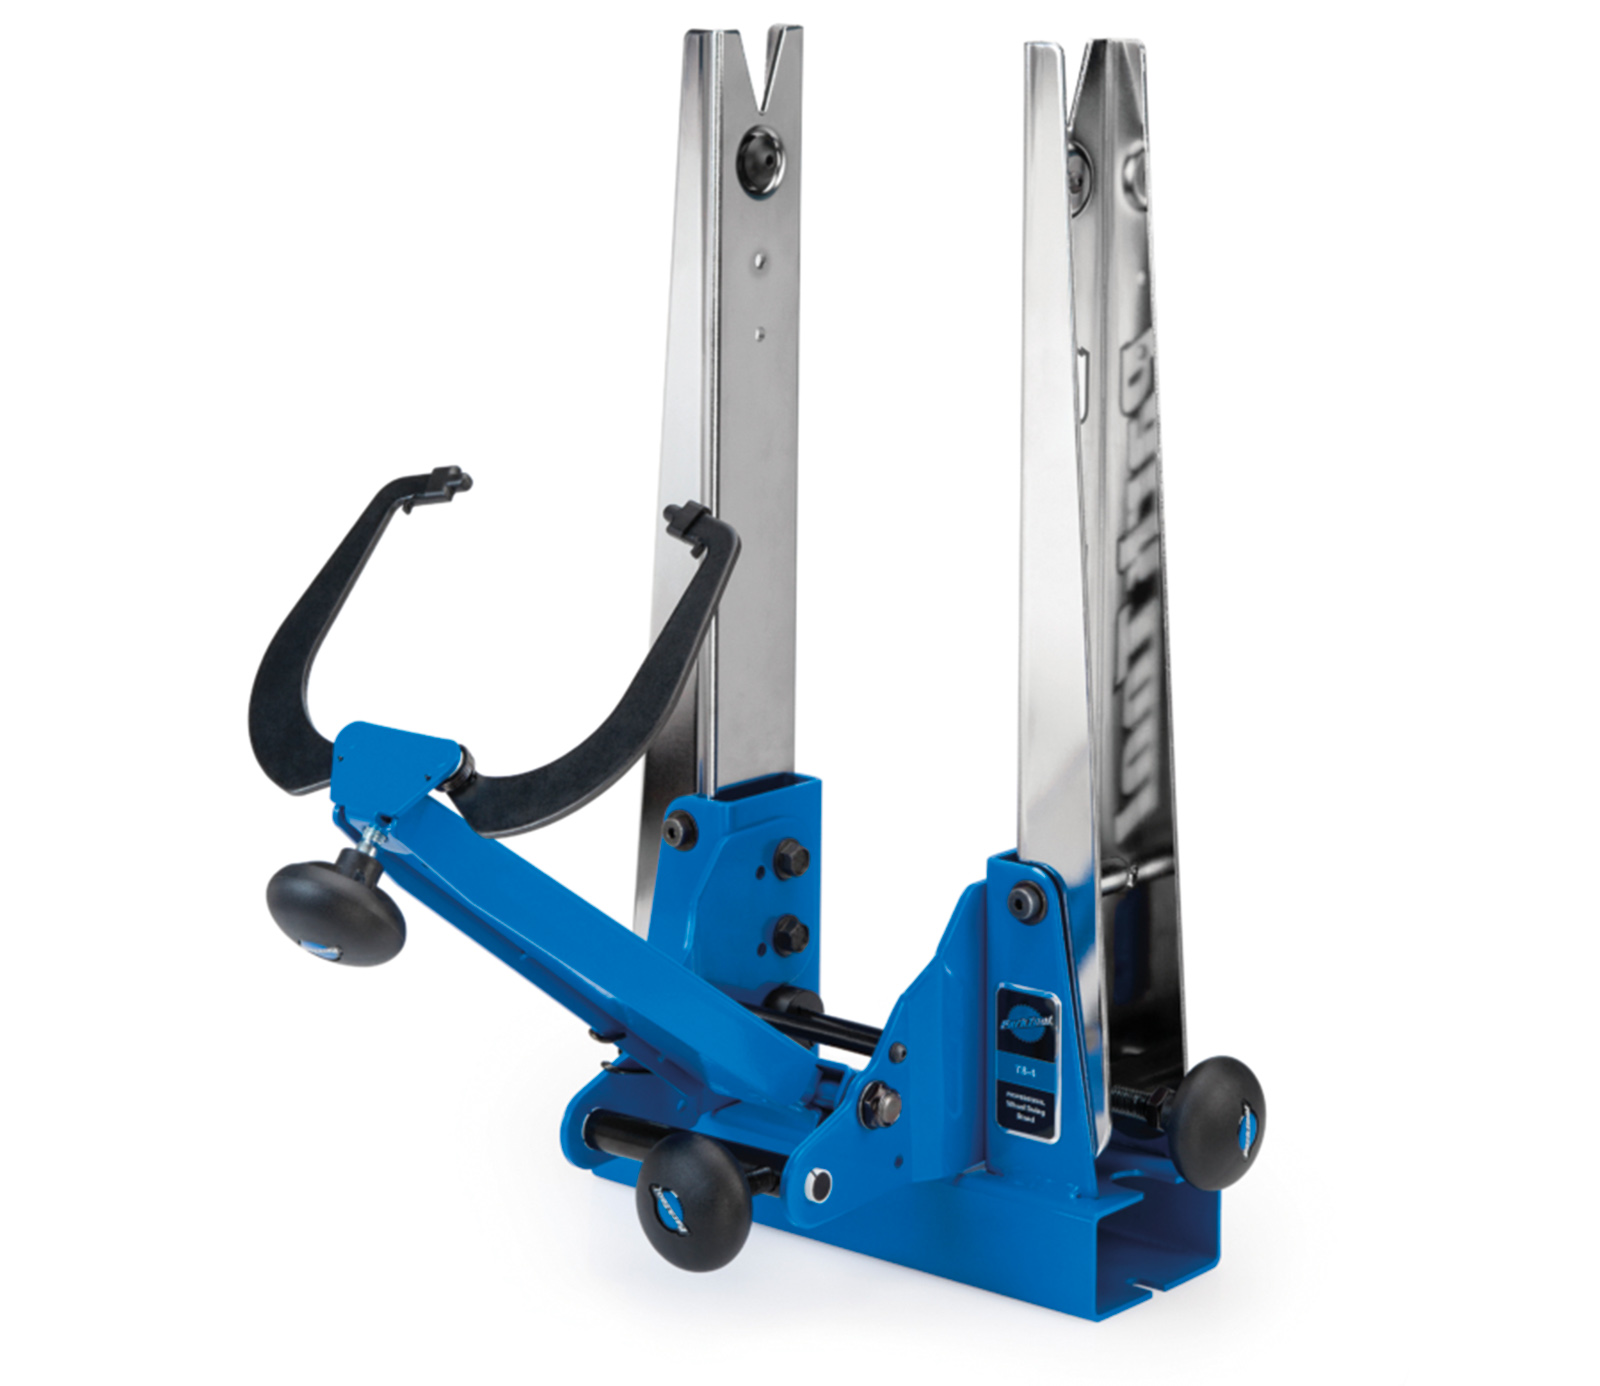
Much like a Derailleur Alignment Gauge, having a wheel truing stand at your disposal will mean your wheels get trued a whole lot more often. It’s another expensive tool to purchase, but perhaps the benefits are worth it if you’re not trashing wheels quite so often? Park Tool have a range of wheel truing stands, starting at $293.99 and topping out at $839.99.
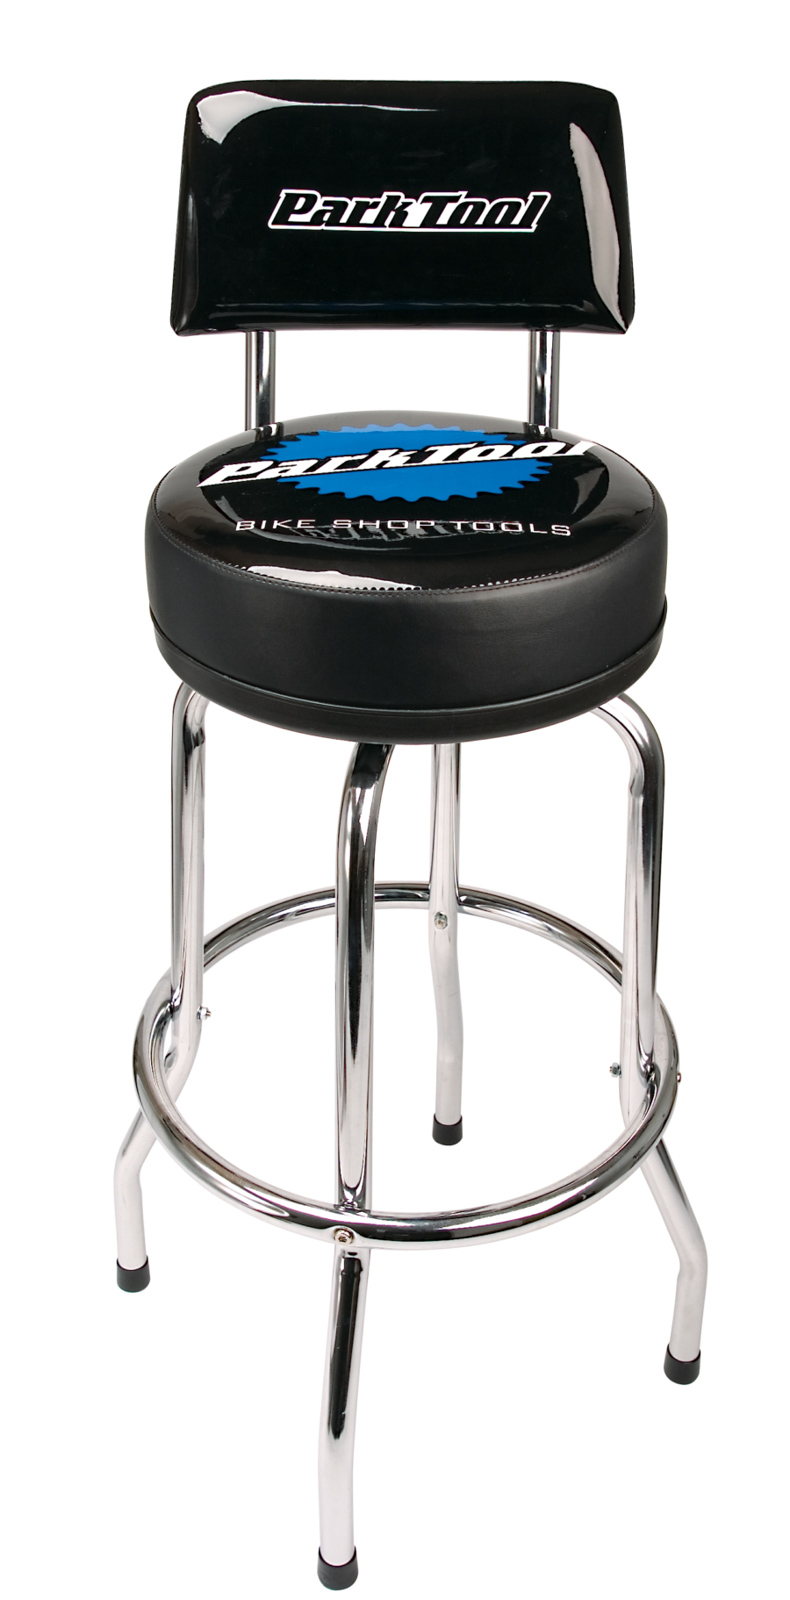
Work stool:
You’re going to want somewhere to sit for all that time spent truing your wheels? Why not treat yourself to a work stool that fits your specific home workshop setup?
Anything from SILCA or Abbey Bike Tools:
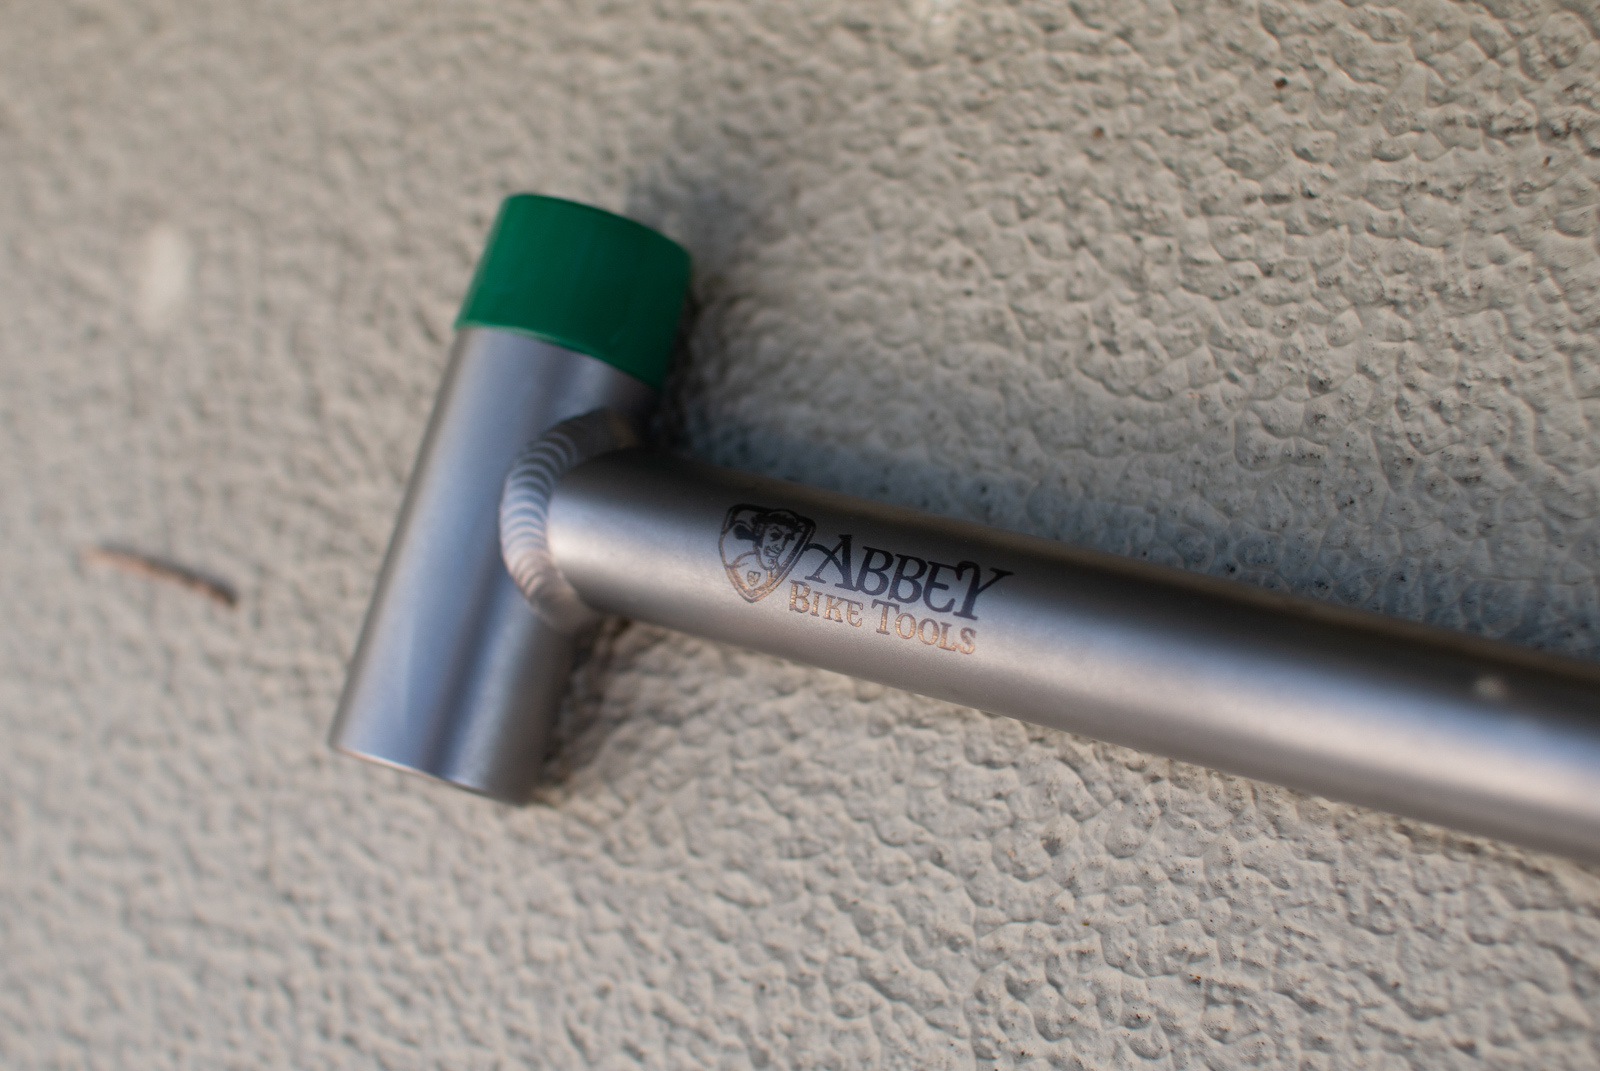
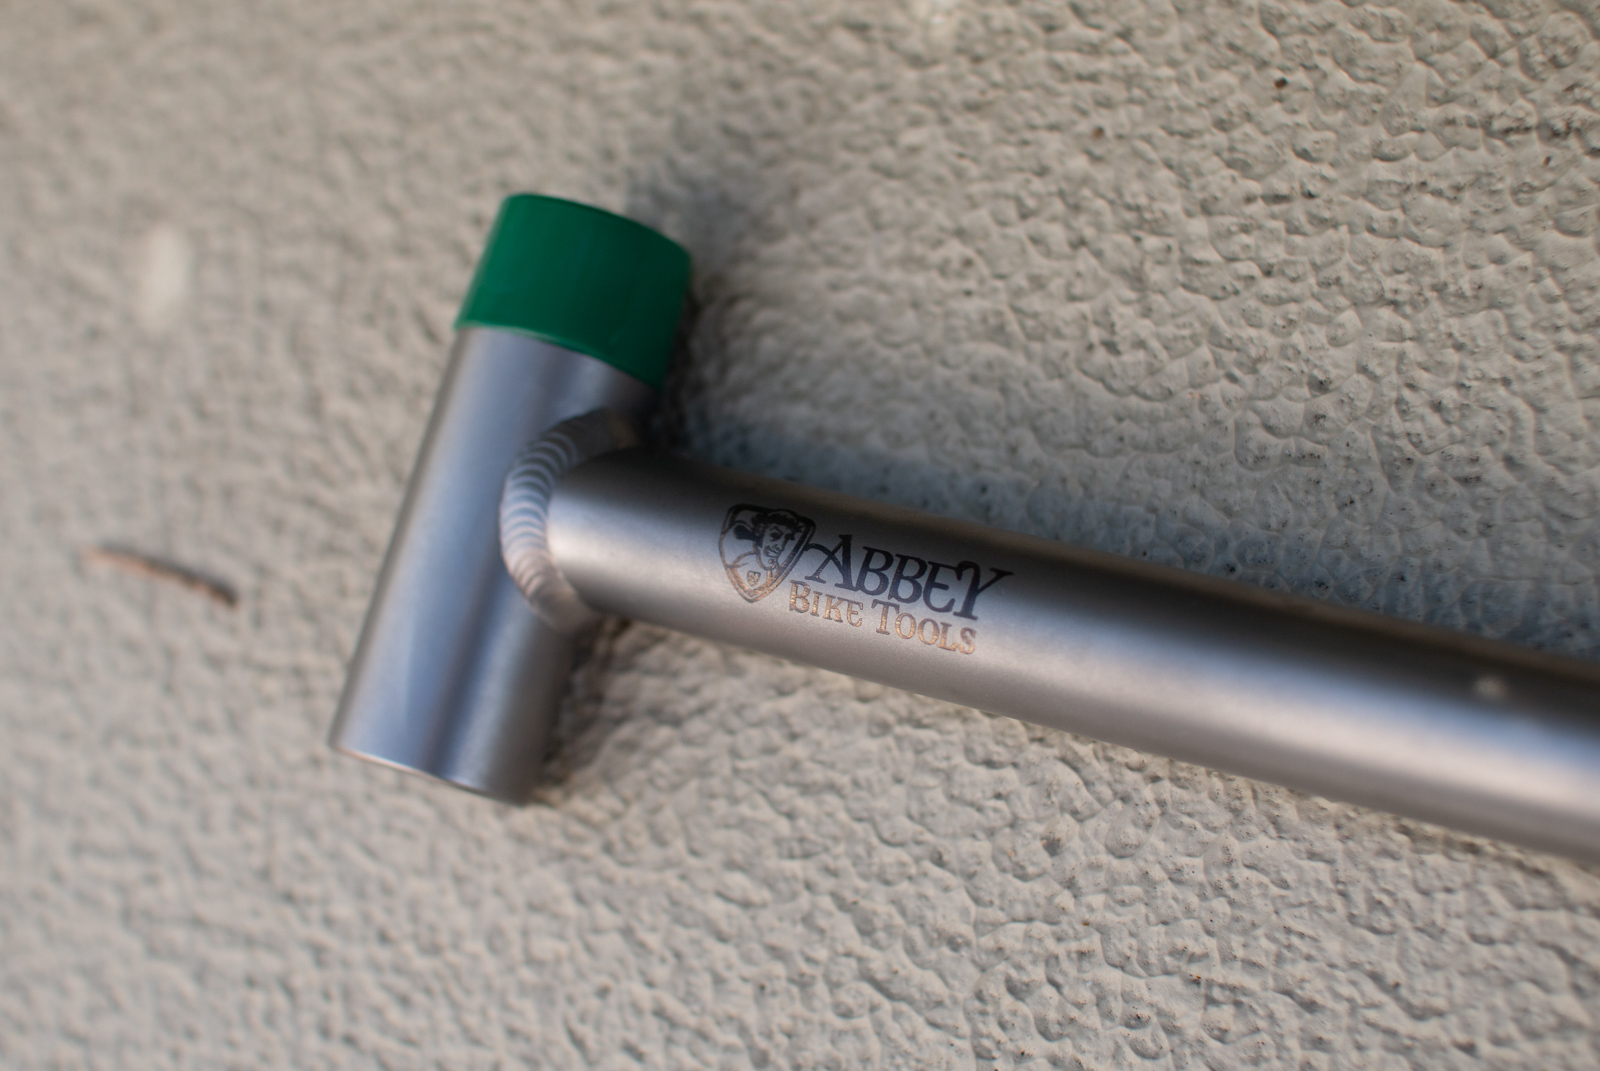
If you’re following #toolboxwars you’re probably familiar with the world of high-end tools from the likes of Abbey Bike Tools and SILCA. If you’re sick of paying off your credit card easily, head over to their websites. On a serious note, their tools make for great gifts for passionate home mechanics, or a great investment if you’re setting up a high-quality workshop at home. Abbey’s Titanium Hammer is far from cheap at $309.99, but it’s a tool you’ll find in lots of World Cup Mechanics’ toolboxes due to its light weight.
Hydraulic Hose Cutters:
If you’re only working on your own bike this isn’t something you’ll be doing all the time, a set of hydraulic hose cutters allow you to keep that cockpit sharp and tidy. Shimano’s TL-BH62 cutter does the job quickly and easily for $129.
Adjustable saw guide:
An adjustable saw guide is essential for getting a precise cut on both handlebars and steerer tubes. Once again though, the question to ask yourself is how often are you doing this? If this is only something you’d do when you purchase a new bike, your bike shop will happily cut down your bars and steerer for you.
Digital Vernier Calipers:
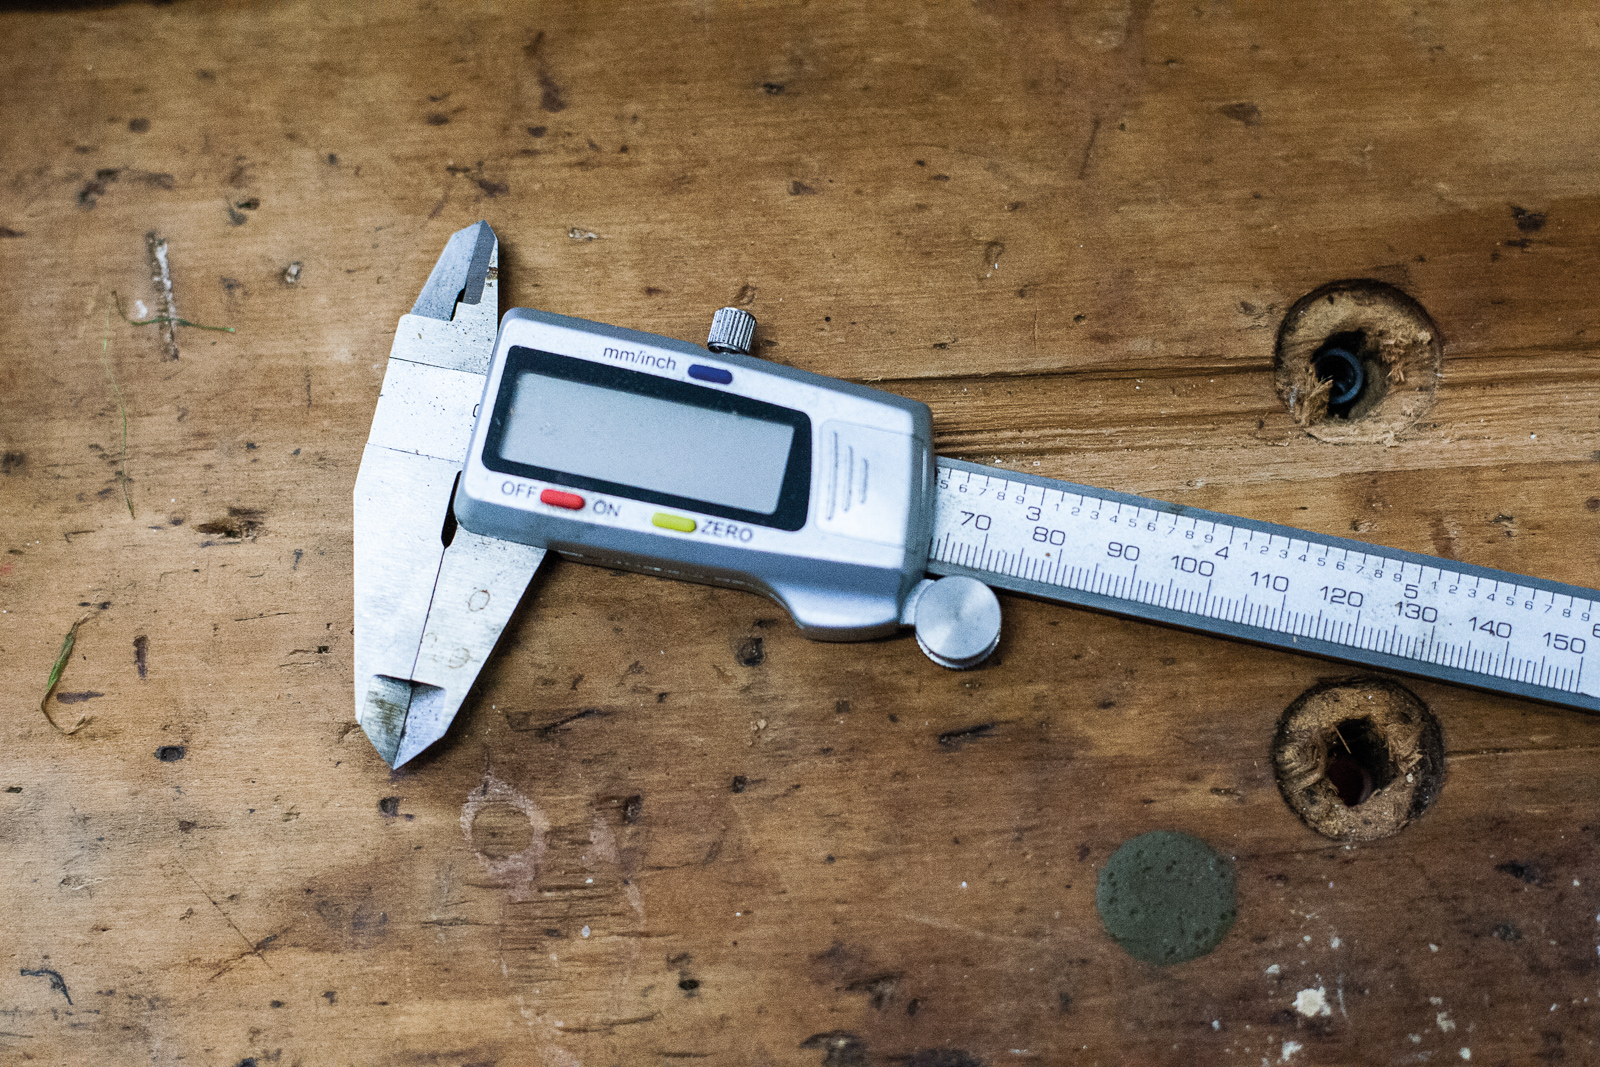
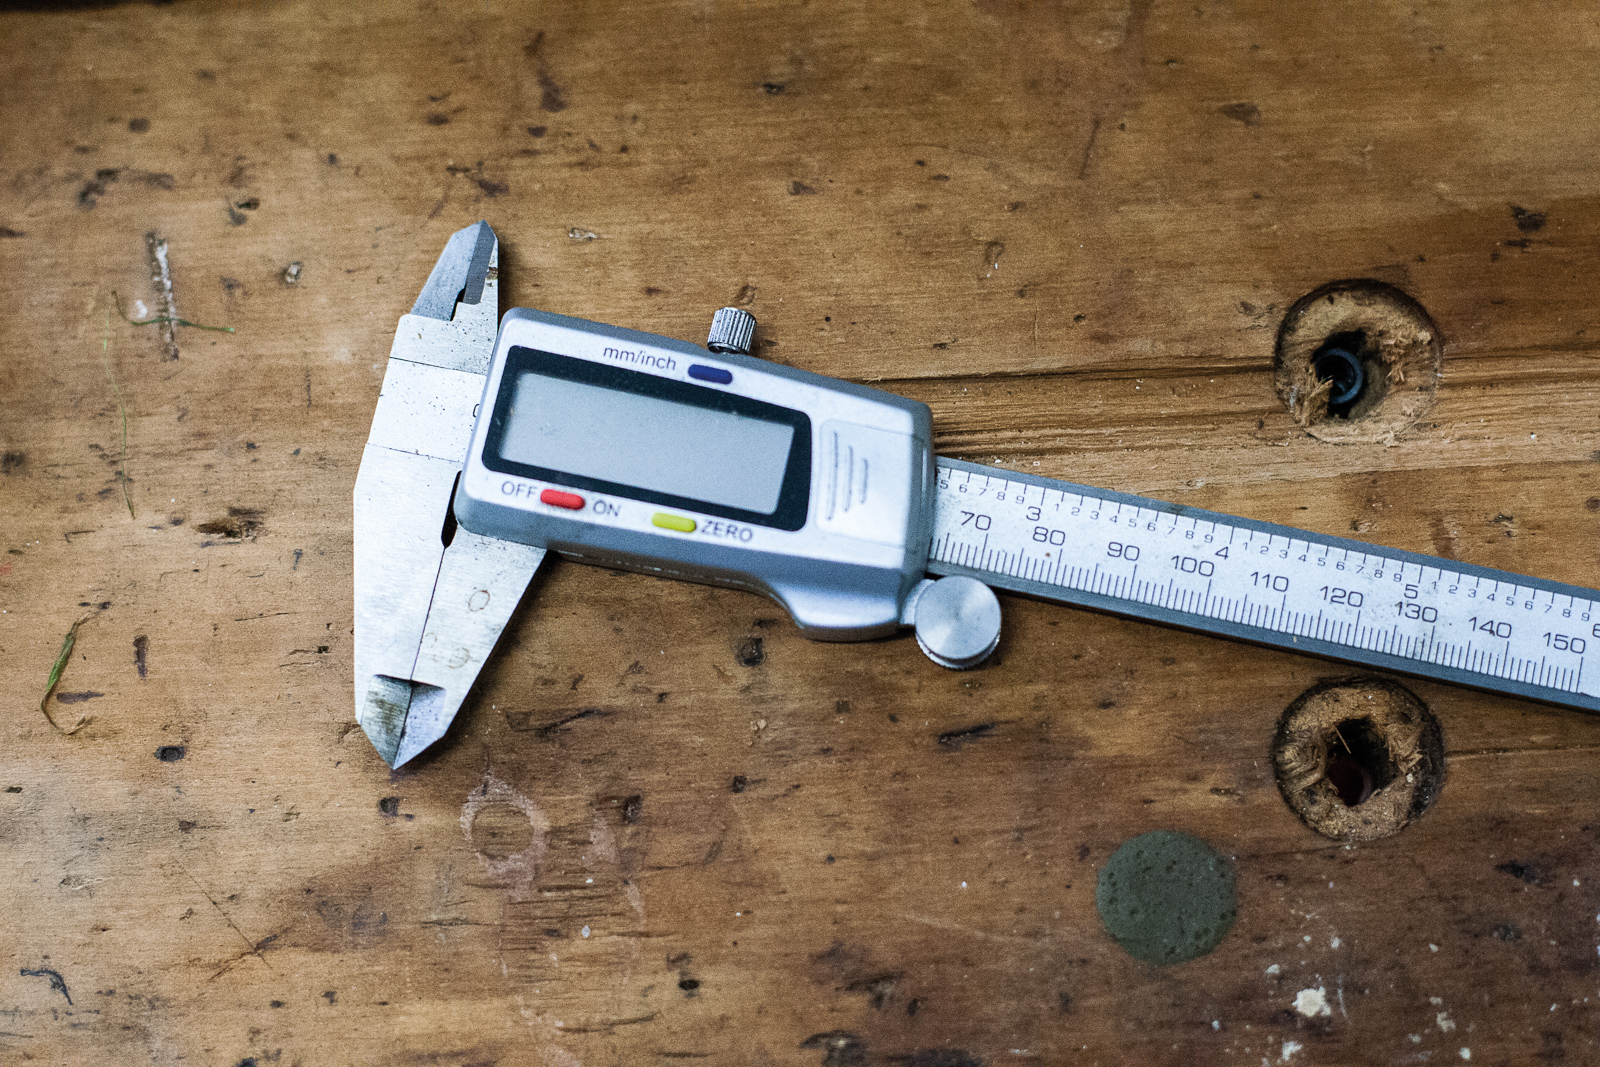
Are you thinking your rotors are on the way out but you’re not 100 percent sure? A set of verniers are exactly what you need when .1 of a mm matters. These are also great for other measurements like figuring out what bearings you need. Park Tool’s DC-1 calipers will set you back $119.99.
Bearing press kit:
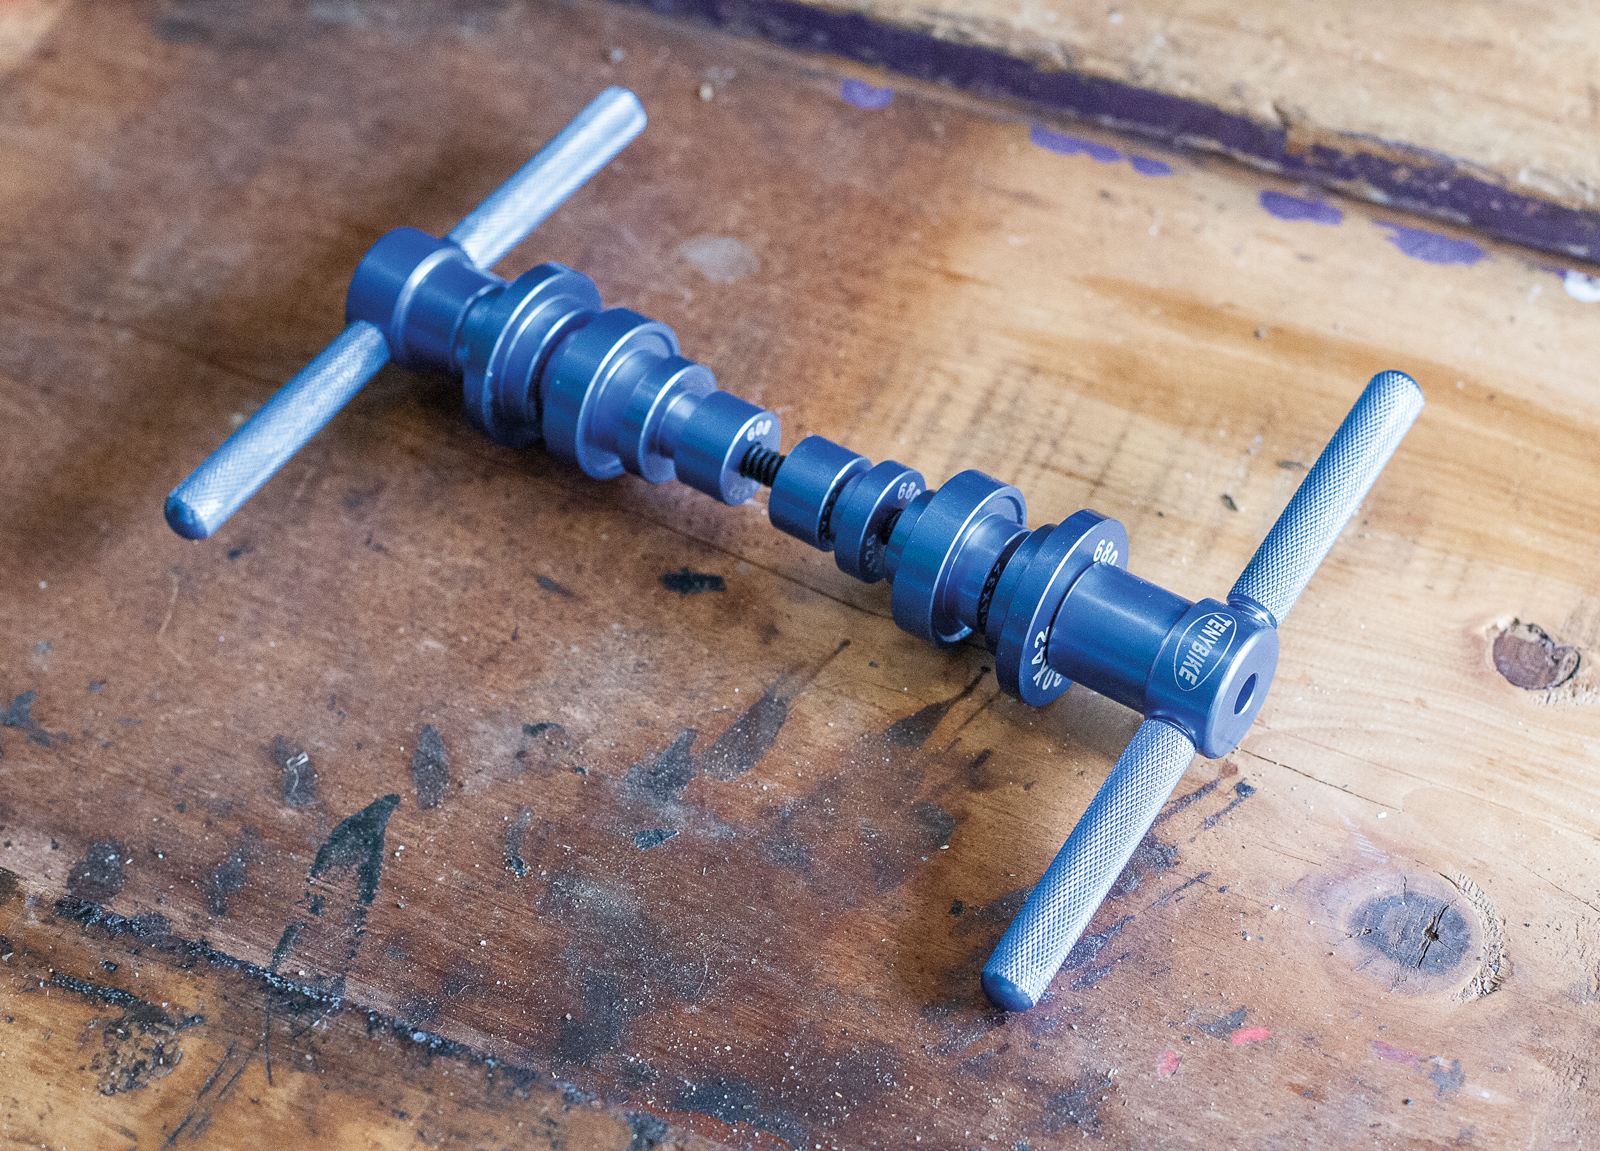
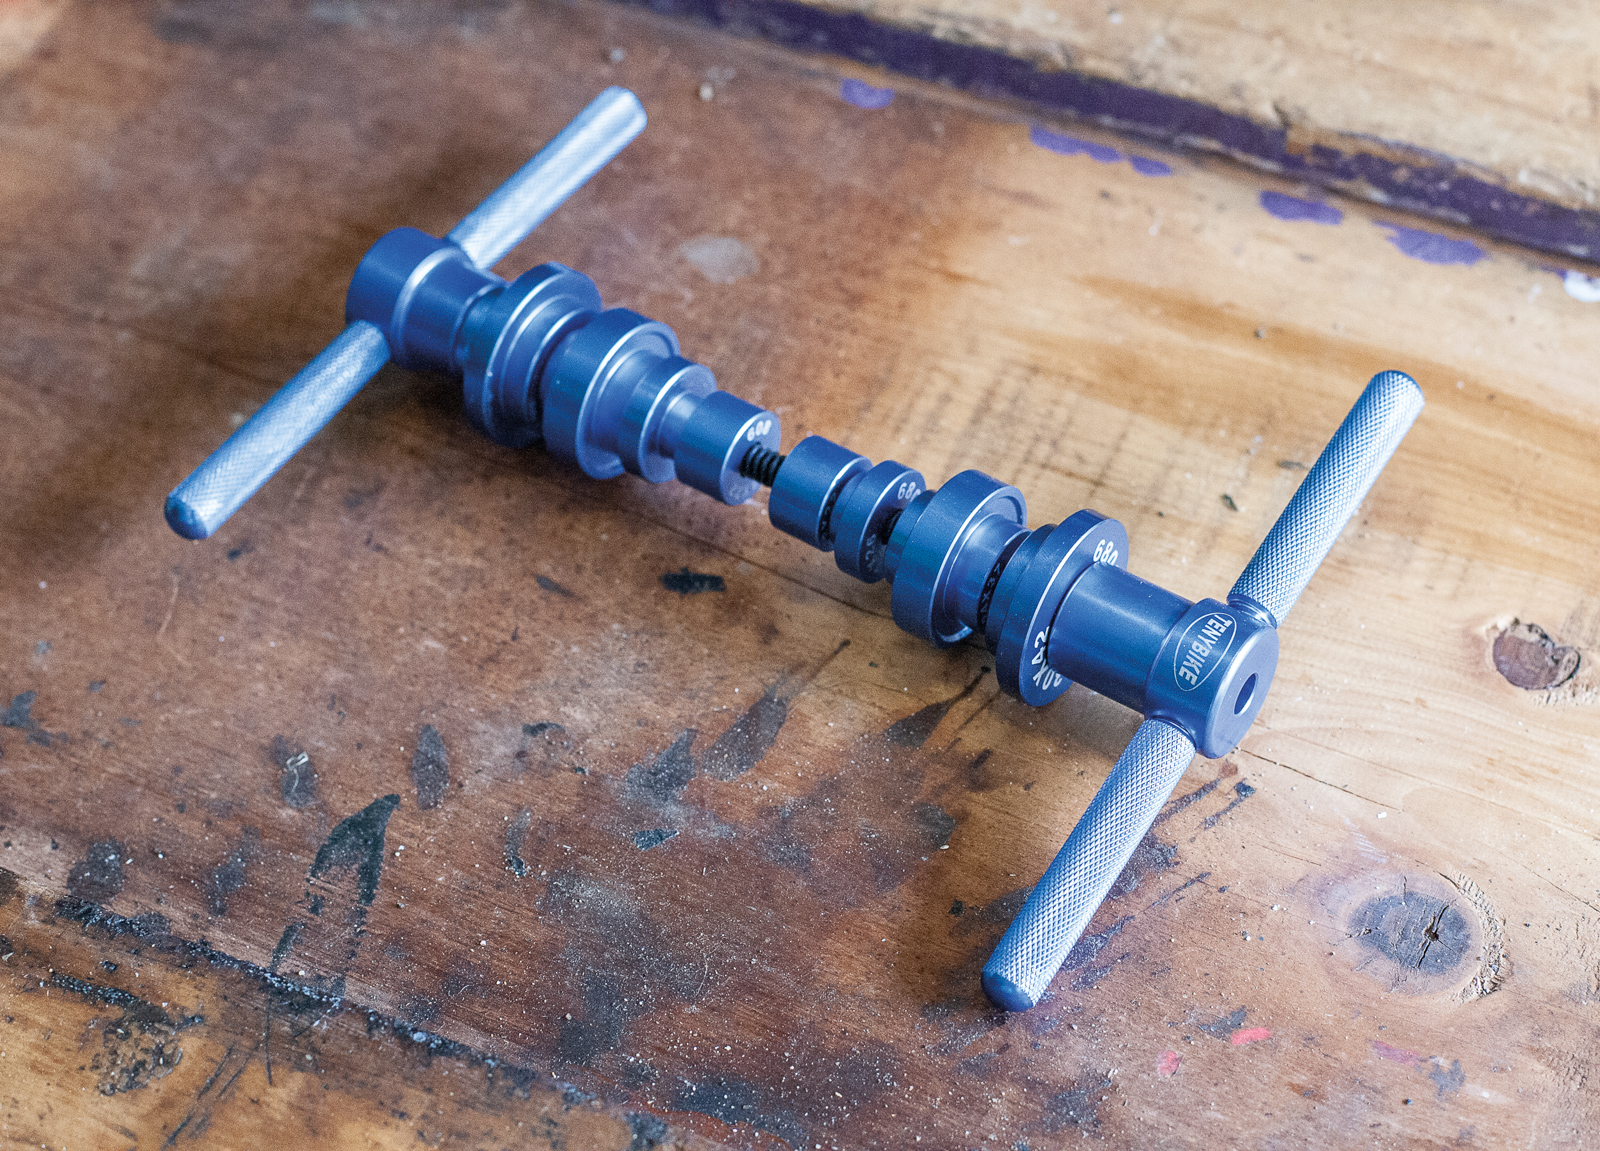
A bearing press kit is a great addition to an advanced workshop setup. Whilst a full kit doesn’t come cheap, when you can build up or tear down a frame from scratch you should save quite a bit of money on maintenance!
Air Compressor:
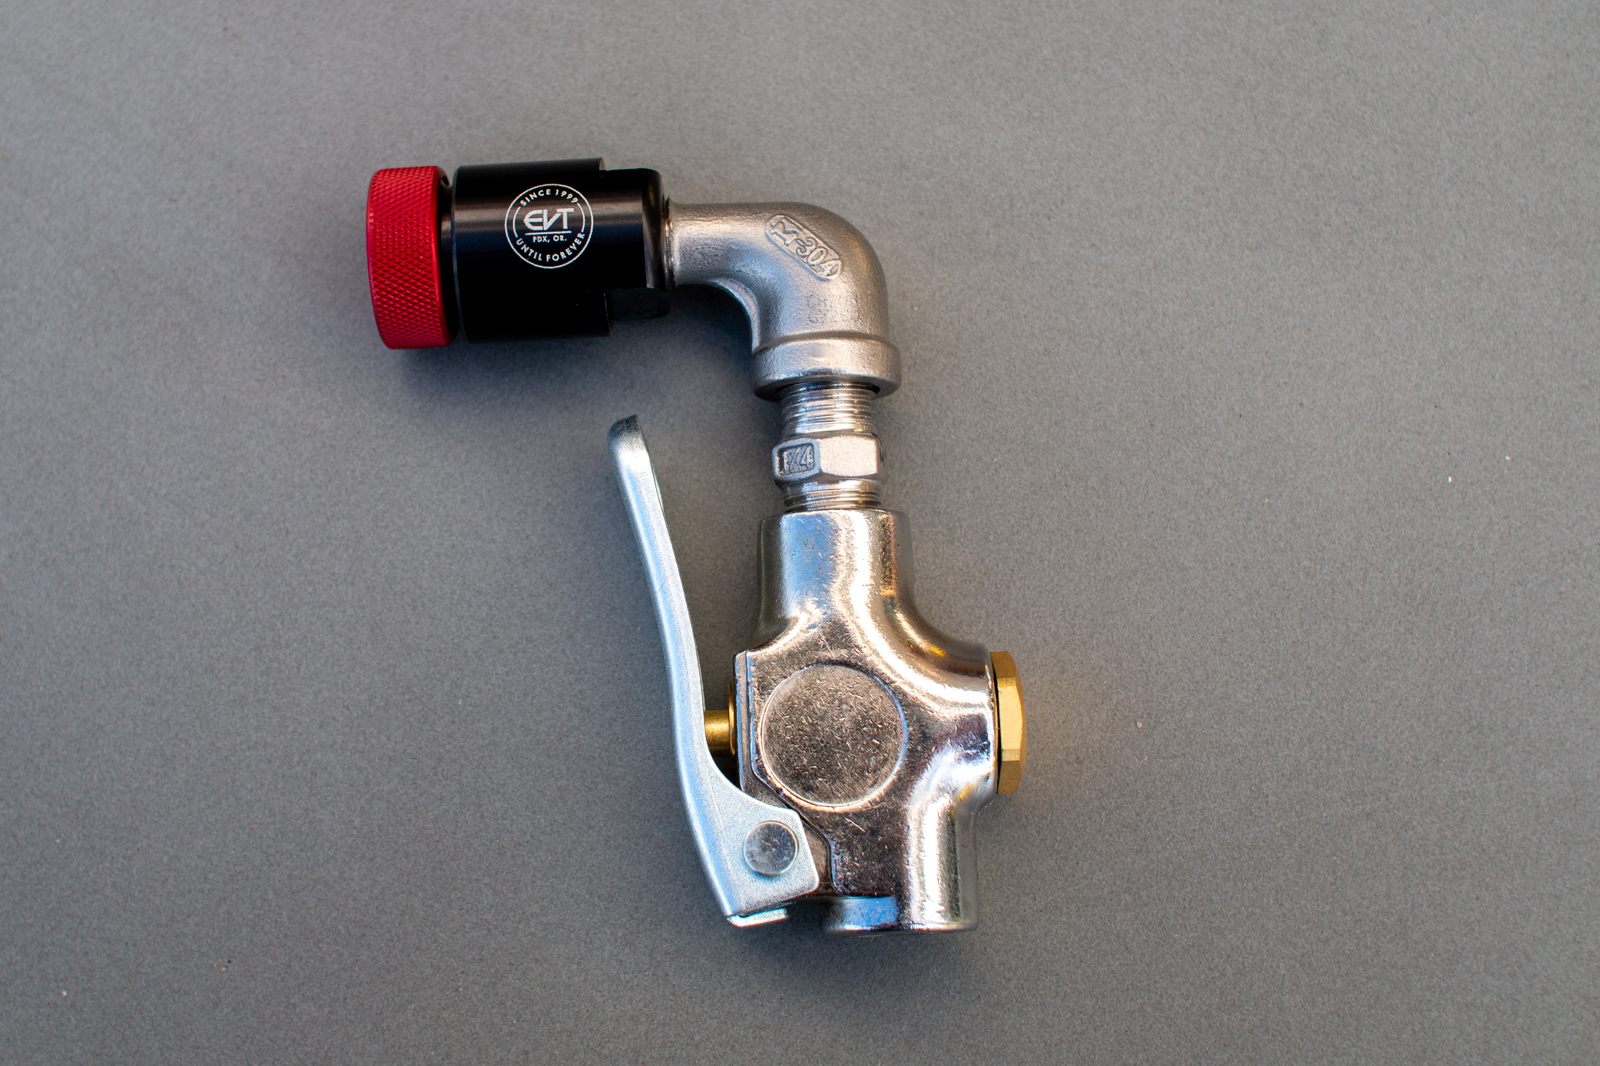
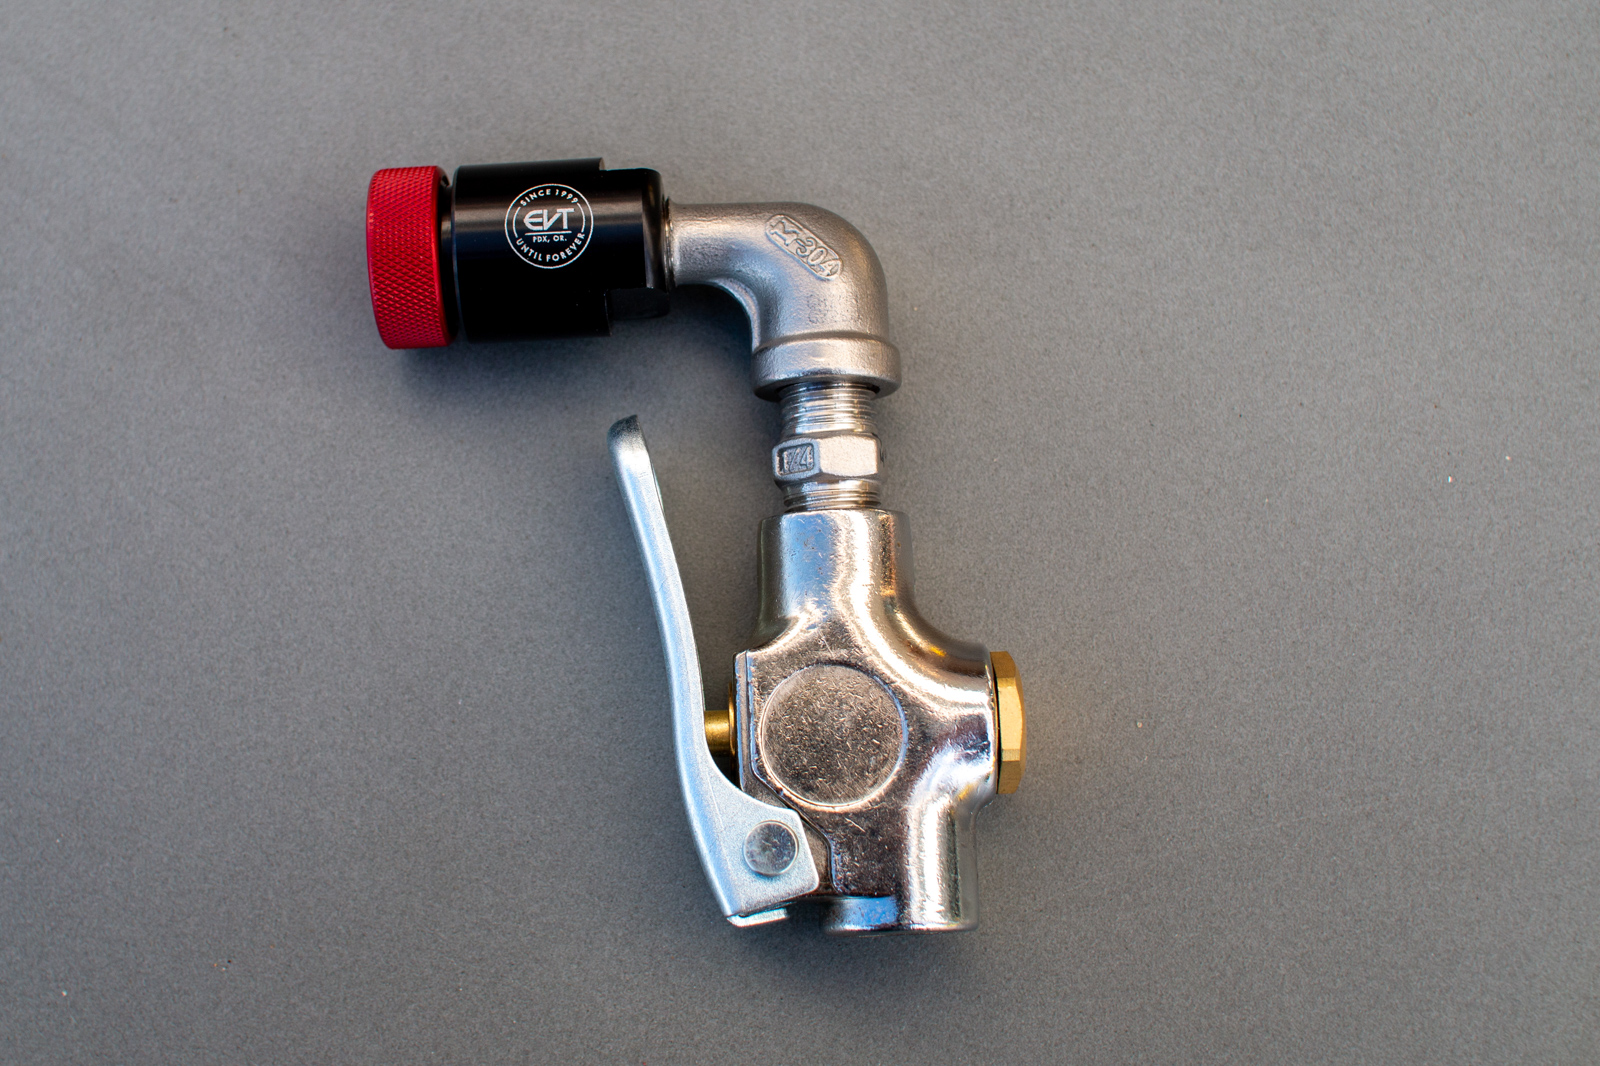
Great for inflating tubeless tyres and cleaning off your bike. If you’re the only rider who owns a compressor in your riding group, prepare to be inundated with visiting friends. In terms of heads for your compressor, the Efficient Velo Tools (EVT) products are widely recommended by professional mechanics, and AMB Editor Mike Blewitt is wrapped with his. They do a presta only head for $145.
Outro:
So, there you have it, a comprehensive list of what tools a first-time home mechanic should prioritise, and what tools might be a better purchase a bit further down the line. Whilst I haven’t been able to include every tool in this article, if you equip yourself with the essentials, you’ll be able to do most maintenance jobs on your bike. If money and space are no object, become the envy of your riding group and go all out on turning your garage into the most popular post ride hangout spot – you might just need to add a fridge.
Keen for more workshop articles? Click here.

